Home>Home Security and Surveillance>How To Connect Ring Security Camera To Wi-Fi
Home Security and Surveillance
How To Connect Ring Security Camera To Wi-Fi
Modified: August 28, 2024
Learn how to easily connect your Ring security camera to your home Wi-Fi network for complete home security and surveillance. Follow our step-by-step guide now!
(Many of the links in this article redirect to a specific reviewed product. Your purchase of these products through affiliate links helps to generate commission for Storables.com, at no extra cost. Learn more)
Introduction
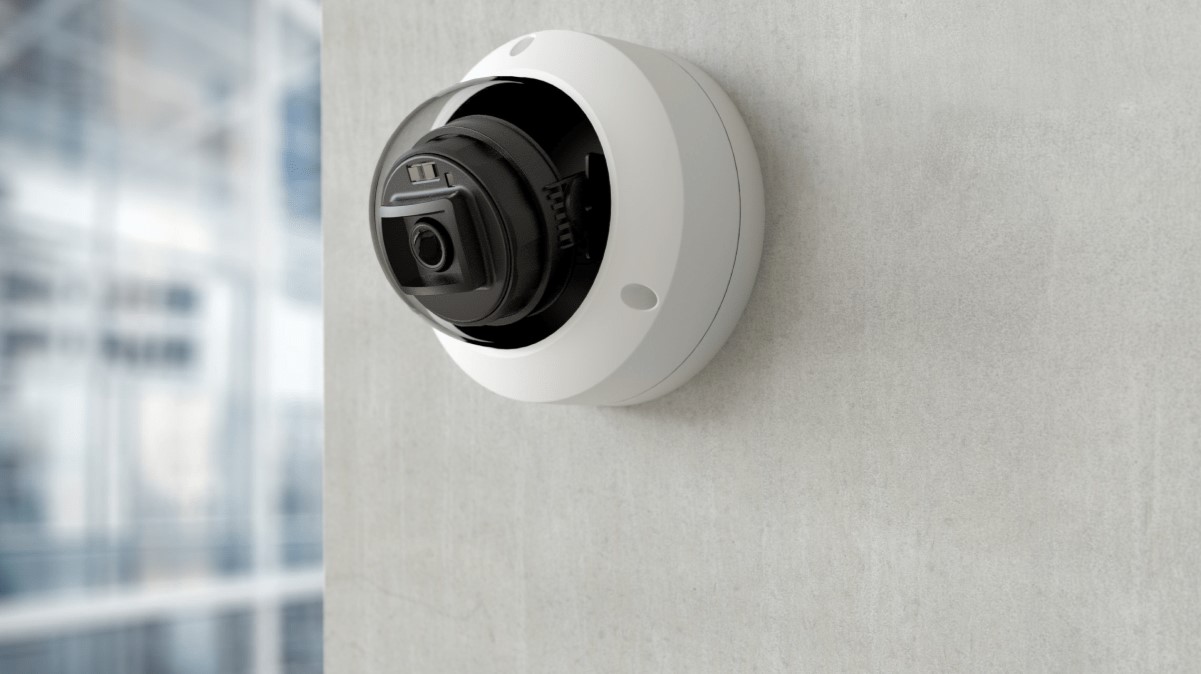
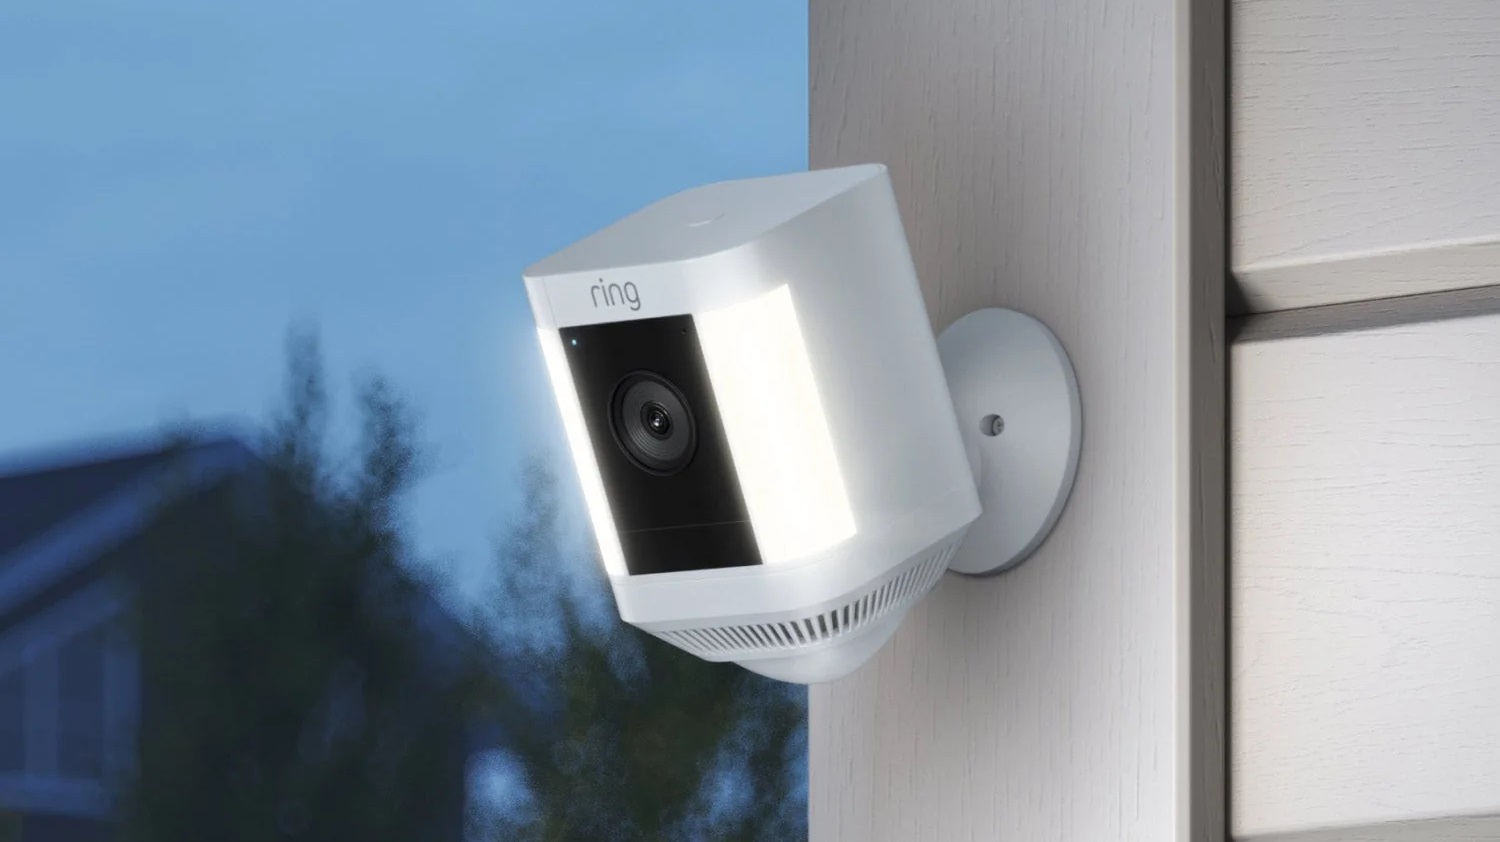
Home security and surveillance systems have become increasingly popular as homeowners seek peace of mind and protection for their properties. Among the many options available, Ring security cameras have emerged as a top choice for their advanced features and ease of use. These cameras offer high-quality video monitoring and can be easily connected to Wi-Fi networks, allowing homeowners to keep a close eye on their homes remotely.
If you’re new to the world of Ring security cameras and want to learn how to connect them to Wi-Fi, you’ve come to the right place. In this article, we’ll provide you with a step-by-step guide on how to set up and connect your Ring security camera to your Wi-Fi network.
Before we dive into the specifics, it’s essential to understand the importance of a secure and reliable Wi-Fi connection. To ensure that your Ring camera functions properly and delivers optimal performance, make sure that you have a strong and stable internet connection at your home. This will enable seamless communication between the camera and your smartphone or other connected devices.
Now that we’ve covered the basics, it’s time to get started with the step-by-step process of connecting your Ring security camera to Wi-Fi. Let’s dive in!
Key Takeaways:
- Connecting your Ring security camera to Wi-Fi is easy! Just gather the equipment, power up the camera, download the Ring app, create an account, and follow the app’s instructions to connect to Wi-Fi.
- After connecting, test the camera’s features and customize settings like motion detection and notification preferences. Enjoy peace of mind knowing you can monitor your home remotely and receive alerts.
Read more: How To Connect IP Camera To Wi-Fi Router
Step 1: Gather the necessary equipment
Before you begin the setup process, it’s essential to gather all the necessary equipment. This ensures a smooth and hassle-free installation of your Ring security camera. Here’s what you’ll need:
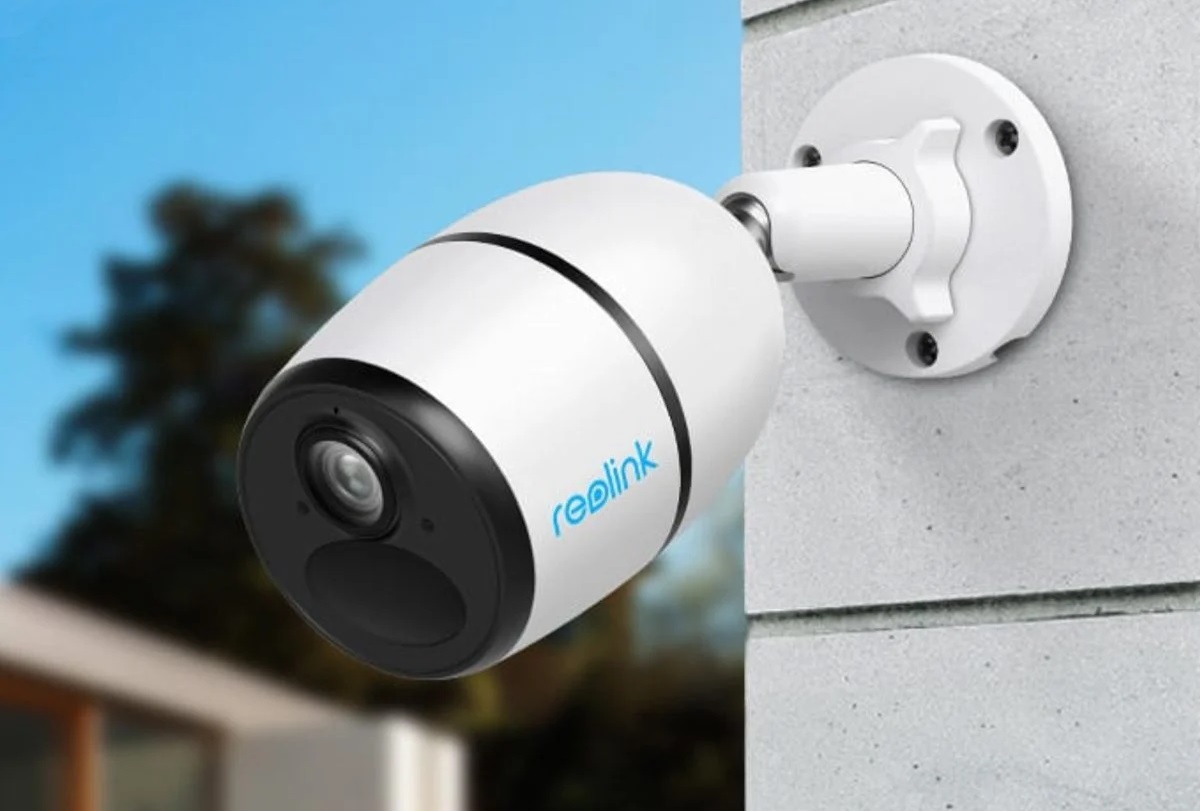
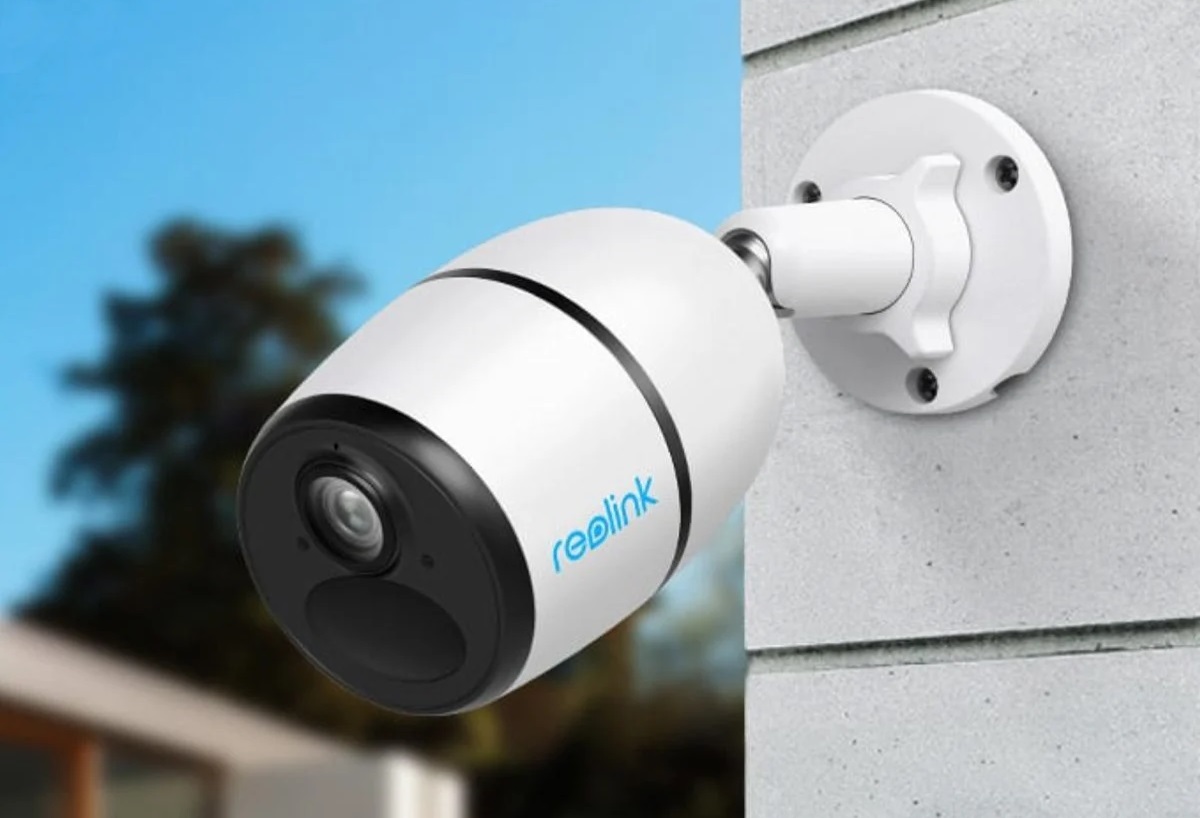
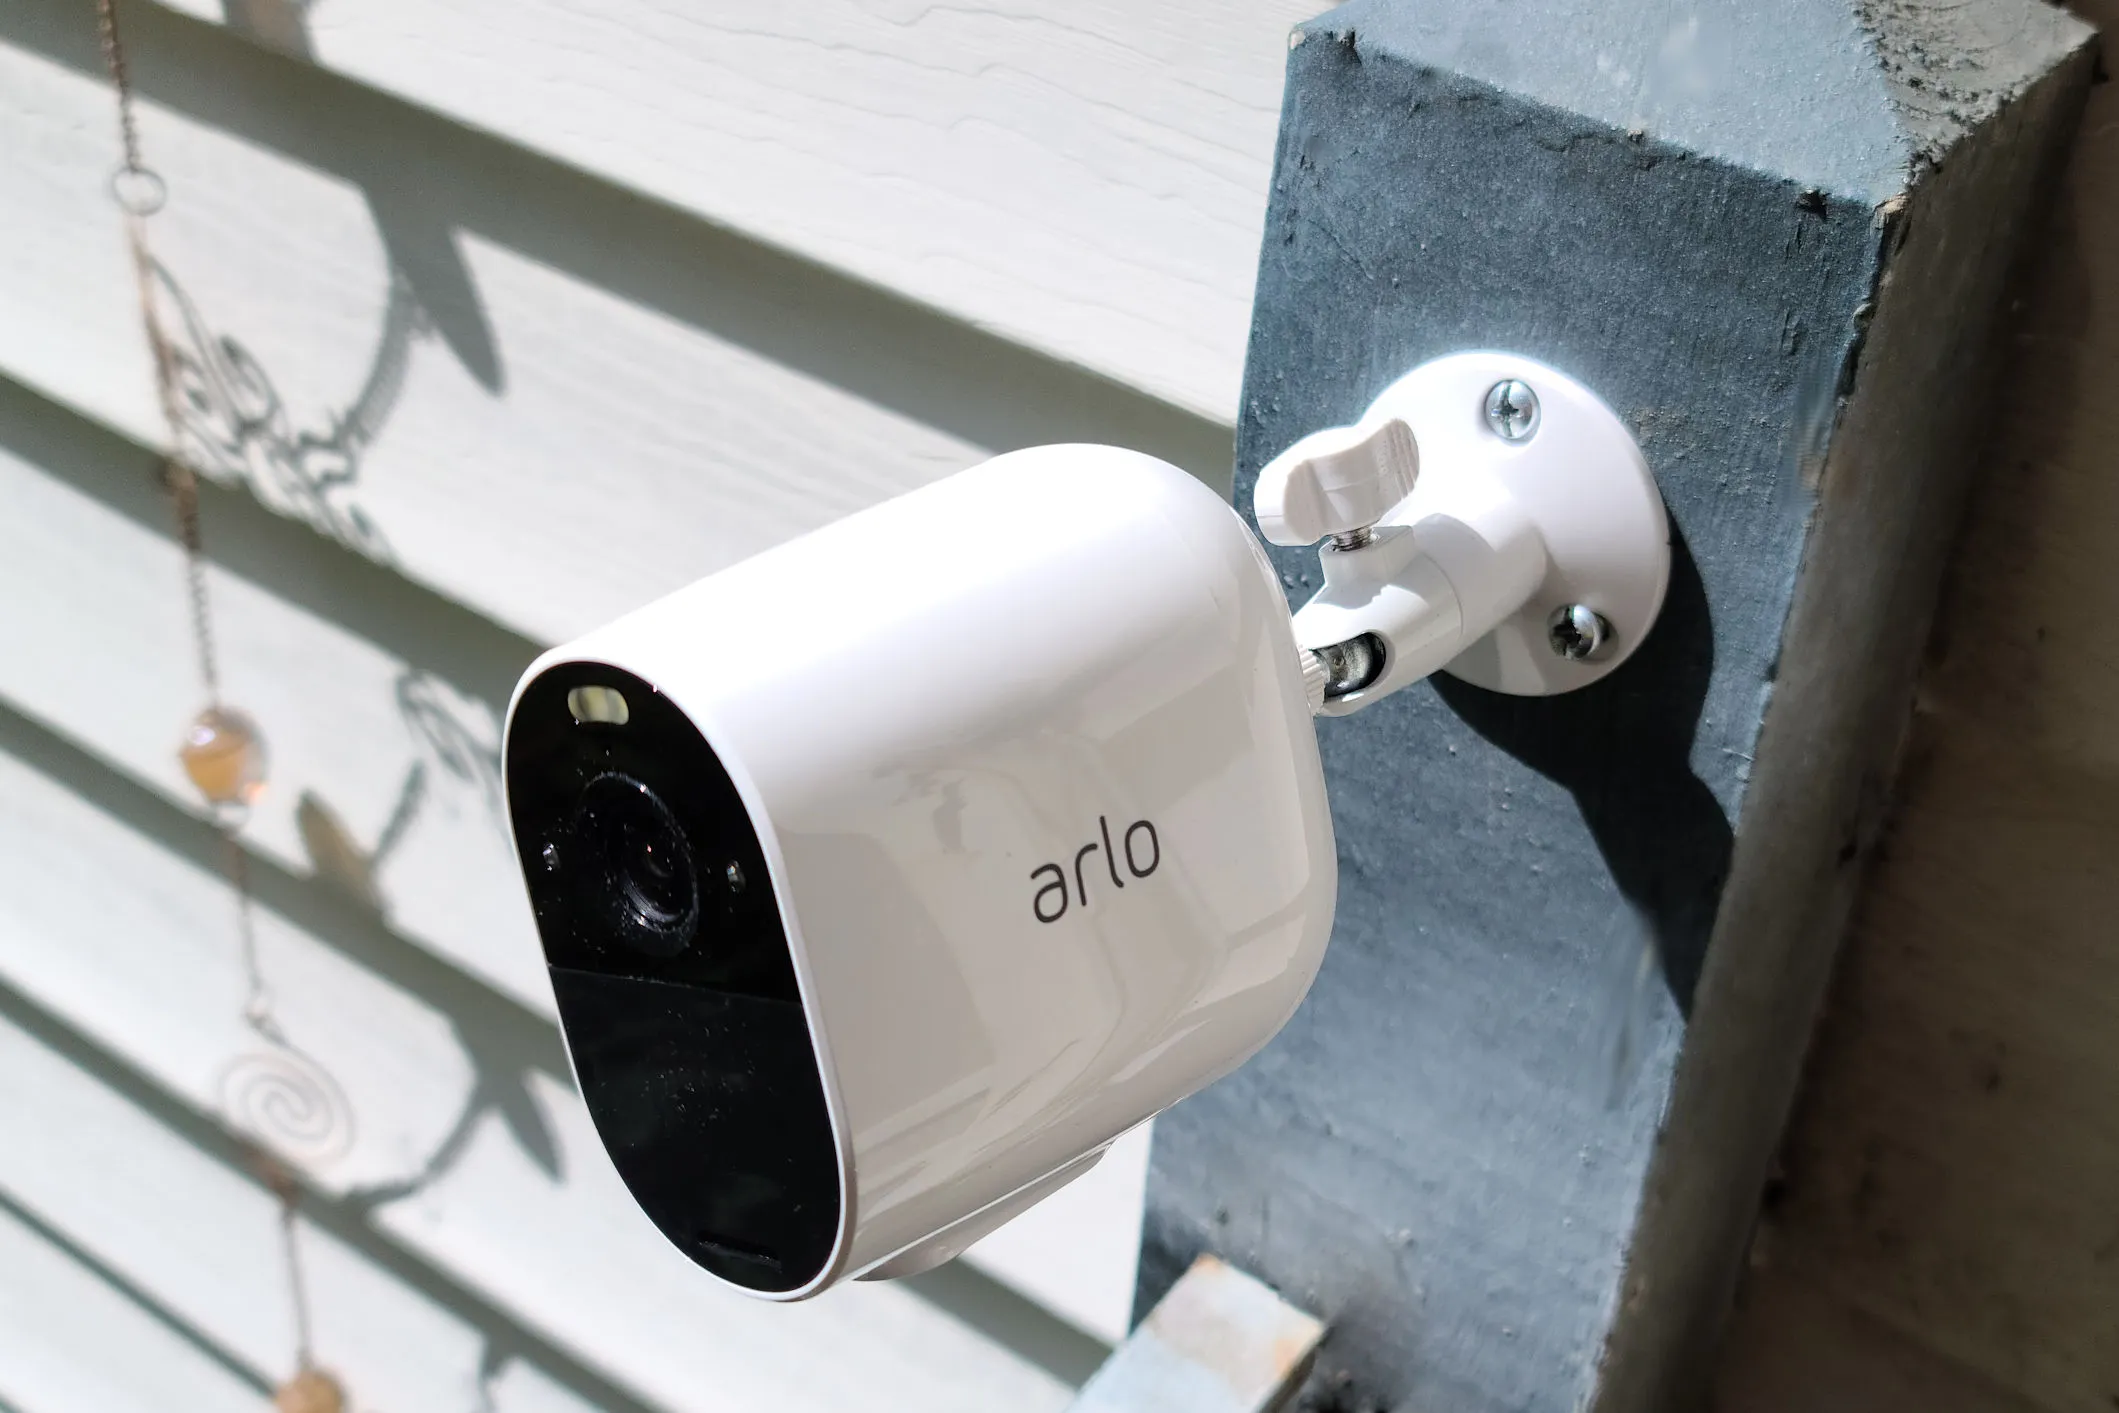
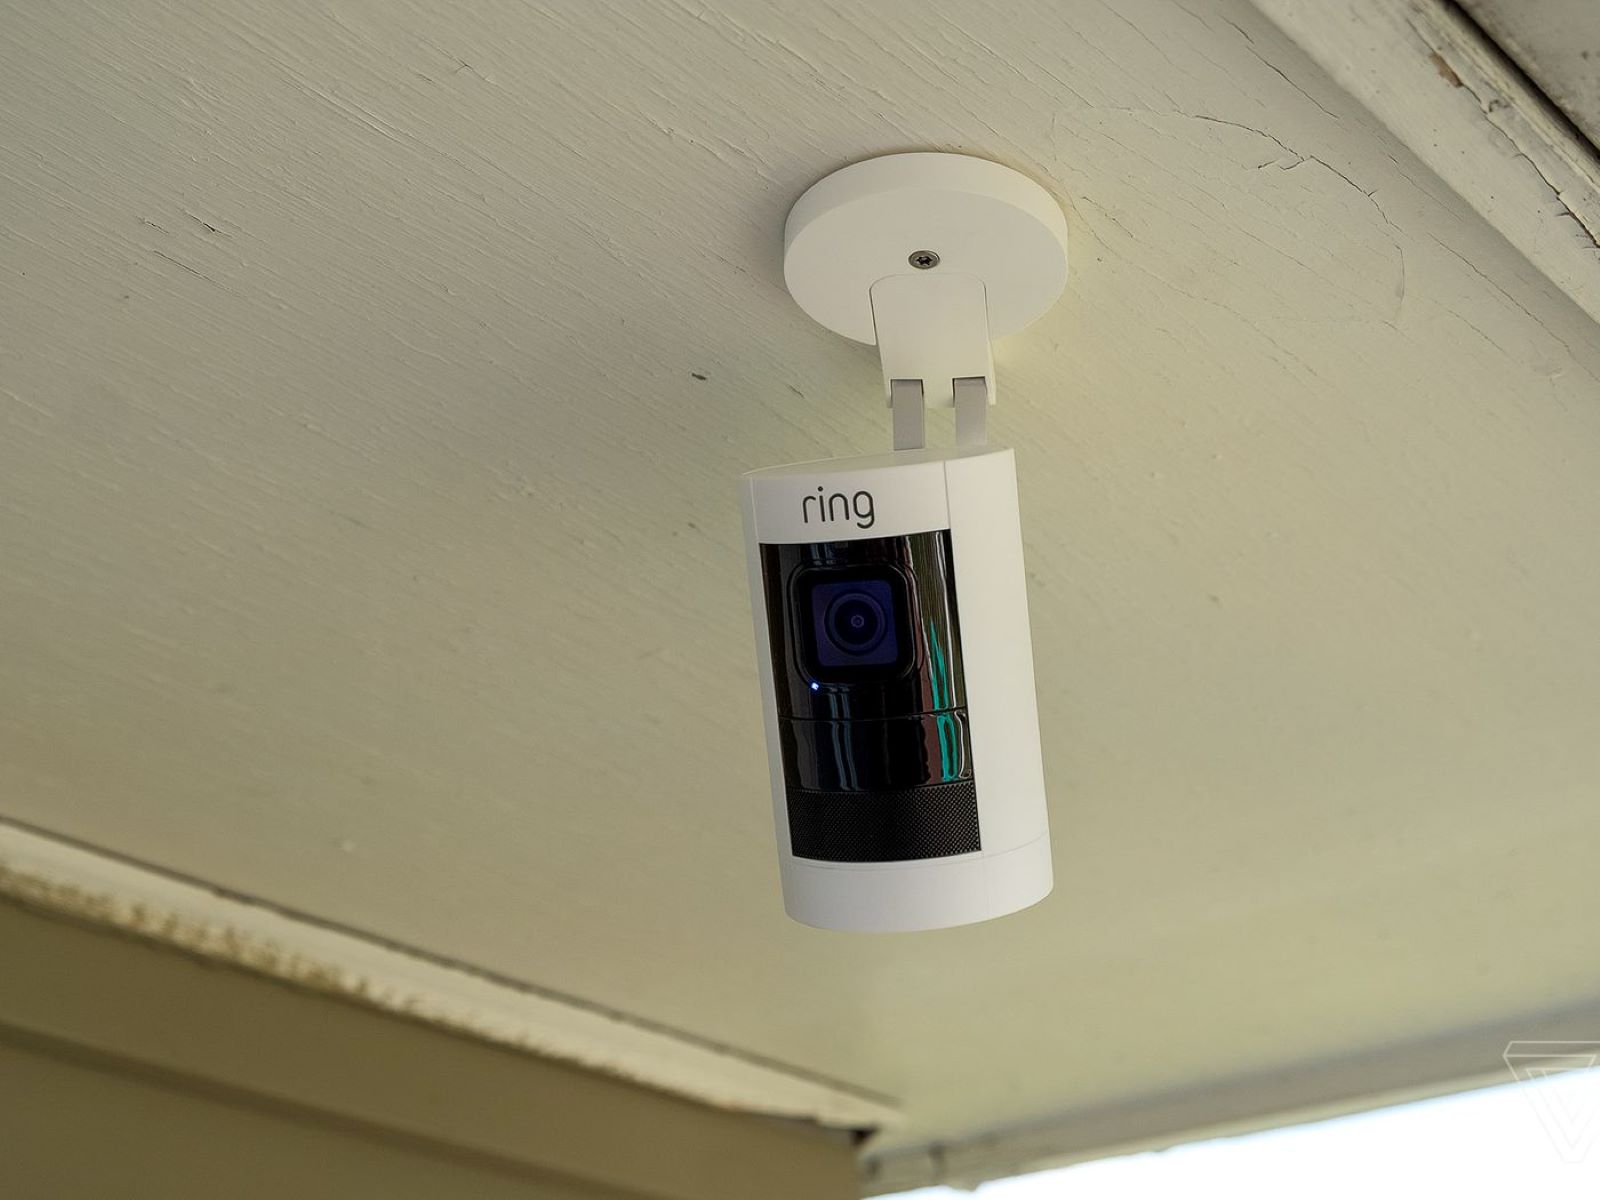
- A Ring security camera: Choose the camera model that suits your needs and installation requirements. Ring offers a variety of options, including indoor cameras, outdoor cameras, and doorbell cameras.
- A smartphone or tablet: You’ll need a mobile device with the Ring app installed to complete the setup process and control your camera remotely.
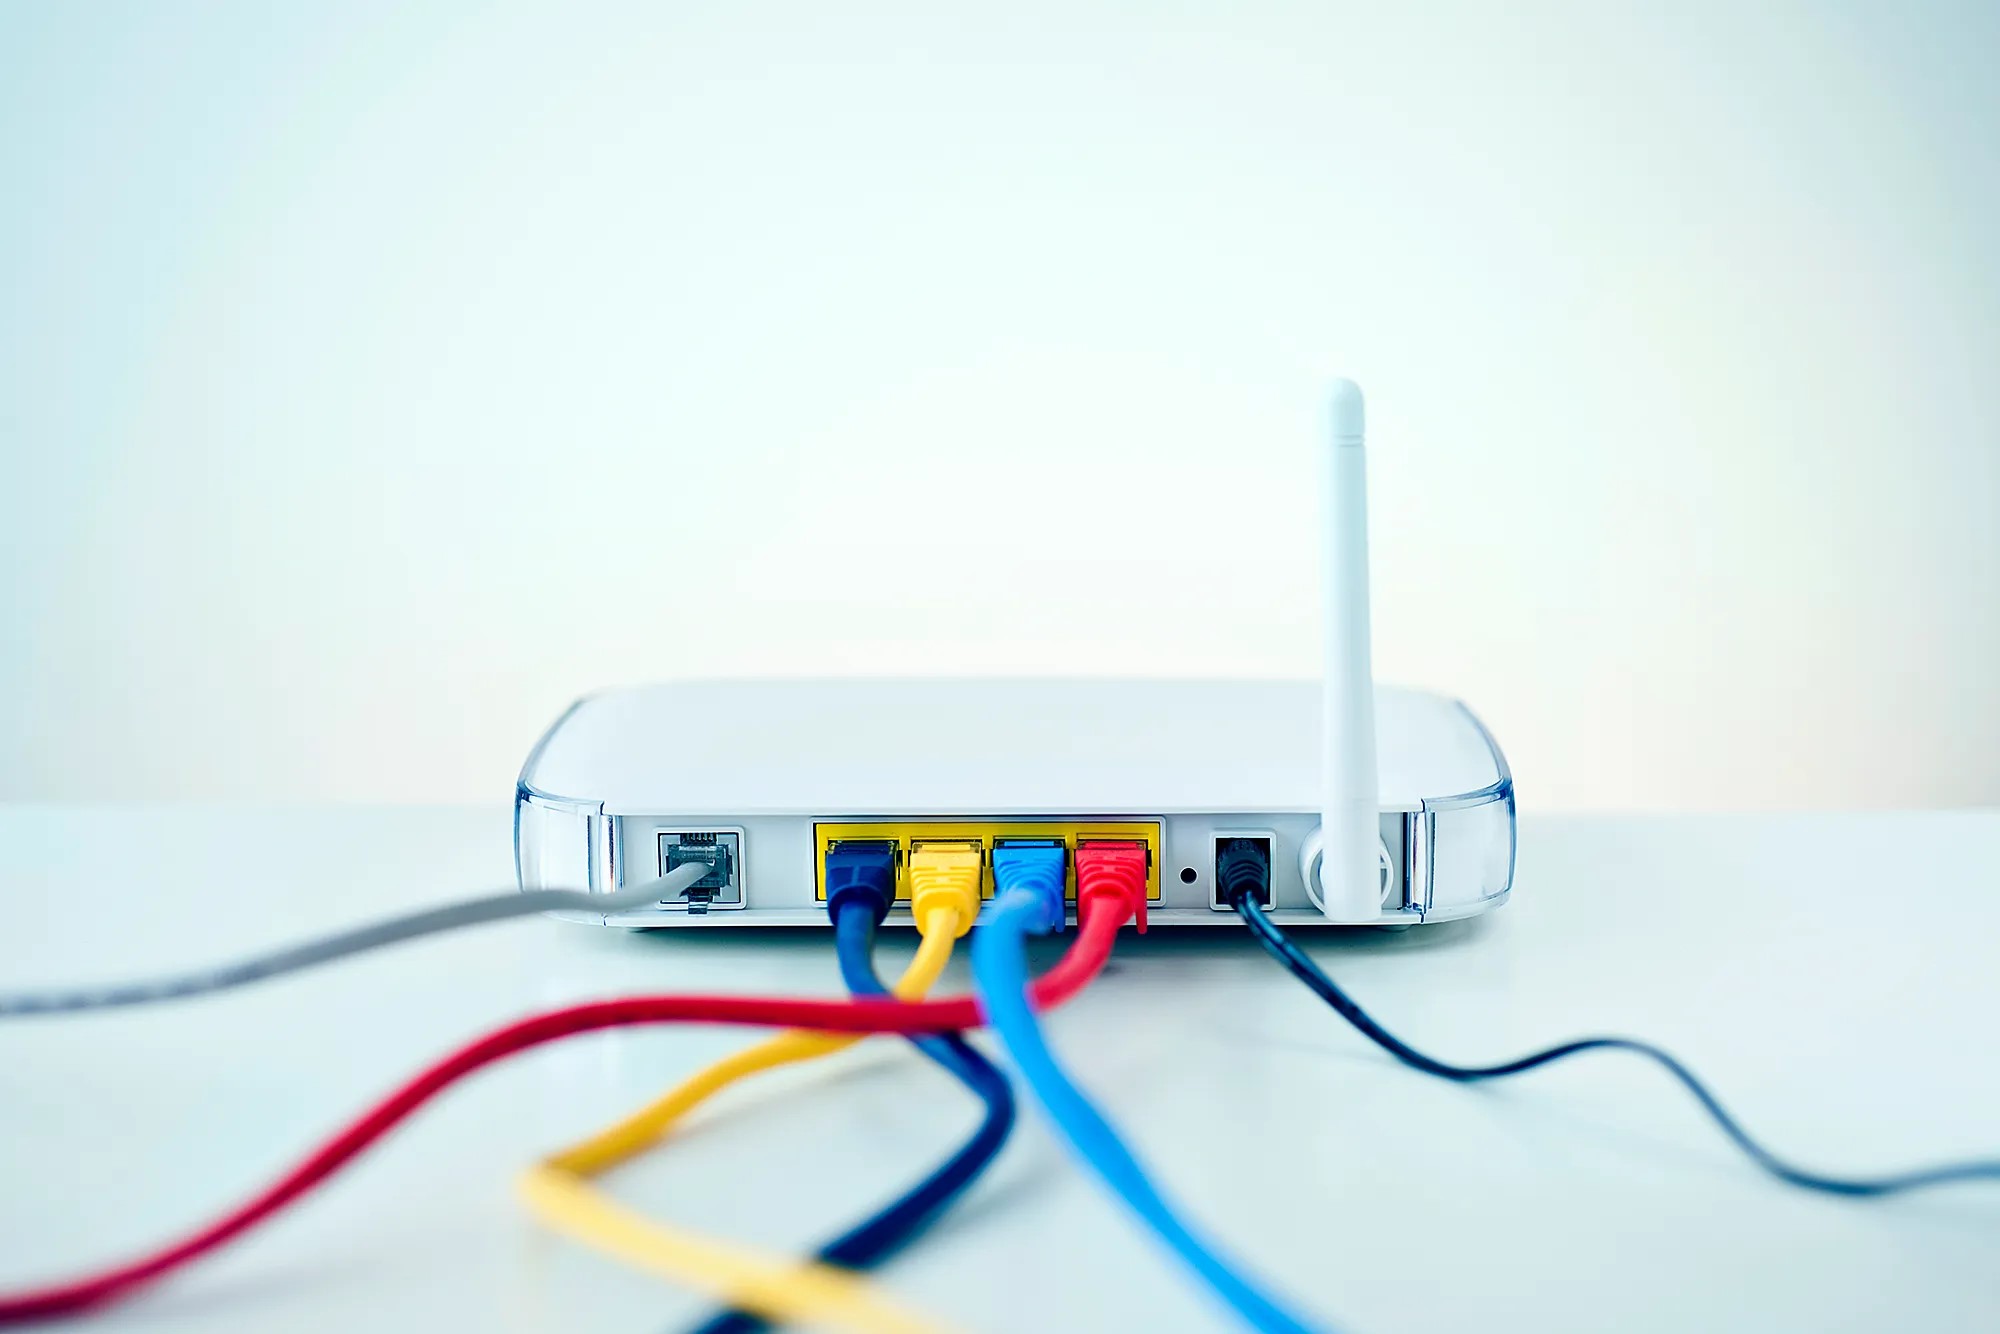
- A Wi-Fi network: Make sure you have access to a stable Wi-Fi network with internet connectivity. The camera will connect to this network for seamless communication.
- Power source: Depending on the camera model, you may need a power outlet nearby or a rechargeable battery for wireless installation.
- Mounting hardware: If you plan on mounting your camera, ensure that you have the necessary hardware, such as screws and wall anchors.
Take the time to gather these items before starting the installation process. This will help you avoid any unnecessary delays or interruptions during the setup.
Once you have everything ready, proceed to the next step to power up your Ring security camera.
Step 2: Power the Ring security camera
Now that you have all the necessary equipment, it’s time to power up your Ring security camera. The process may vary depending on the camera model you have chosen. Here are a few common methods:
- Wired cameras: If you have a wired Ring security camera, locate a power outlet near the installation area. Plug in the power adapter provided with the camera and connect it to the camera’s power port. Ensure that the camera has a stable power supply before proceeding to the next step.
- Battery-powered cameras: For battery-powered cameras, insert the charged battery into the camera. The battery compartment is usually located at the back or bottom of the camera. Make sure the battery is properly inserted and secure.
- Solar-powered cameras: If you have opted for a solar-powered camera, position the camera in an area with ample sunlight. Connect the solar panel to the camera using the provided cable. Ensure that the solar panel is exposed to direct sunlight to charge the camera’s battery.
Once you have powered up your Ring security camera, it’s time to move on to the next step and download the Ring app on your smartphone or tablet.
Step 3: Download the Ring app
To set up and control your Ring security camera, you’ll need to download the Ring app on your smartphone or tablet. The Ring app is available for both iOS and Android devices and can be downloaded from the respective app stores. Here’s how to download the app:
- Open the App Store or Google Play Store on your mobile device.
- Search for “Ring” in the search bar.
- Find the official Ring app and tap on it.
- Tap the “Download” or “Install” button to begin the download process.
- Wait for the app to download and install on your device.
Once the Ring app is successfully installed on your device, proceed to the next step to create a Ring account.
It’s important to note that during the installation process, the Ring app will ask for certain permissions, such as access to your device’s camera, microphone, and location. Granting these permissions will allow you to fully utilize the features of your Ring security camera and take advantage of its capabilities.
Now that you have downloaded the Ring app, let’s move on to the next step and set up your Ring account.
Step 4: Set up a Ring account
In order to access and manage your Ring security camera, you’ll need to set up a Ring account. The Ring account allows you to control your camera, receive alerts, and customize your camera settings. Here’s how to create a Ring account:
- Open the Ring app on your smartphone or tablet.
- Tap on the “Sign Up” or “Create Account” button.
- Enter your email address and create a strong password for your account.
- Follow the on-screen instructions to complete the account registration process.
- Once you have created your account, you may be prompted to verify your email address. Check your email inbox for a verification link and follow the instructions provided.
After verifying your email address, you’ll be able to log in to your Ring account within the app. Make sure to remember your login credentials, as you’ll need them for future access to your Ring security camera.
Setting up a Ring account also allows you to access additional features, such as Ring Protect plans, which offer cloud storage for your camera’s footage and extended warranty coverage.
Now that you have successfully set up your Ring account, proceed to the next step to connect your Ring security camera to your Wi-Fi network.
Make sure your Ring security camera is within range of your Wi-Fi signal. Use the Ring app to scan the QR code on the camera and follow the on-screen instructions to connect it to your Wi-Fi network.
Step 5: Connect the Ring camera to Wi-Fi
Now comes the crucial step of connecting your Ring security camera to your Wi-Fi network. This step is essential for seamless communication between the camera and your mobile device. Here’s how to connect your Ring camera to Wi-Fi:
- Open the Ring app and log in to your Ring account.
- In the app, tap on the “Devices” tab or a similar option to access your camera settings.
- Select the option to add a new device or set up a new camera.
- Follow the on-screen instructions to put your camera in setup mode. This may involve pressing a button or a combination of buttons on the camera.
- The app will prompt you to connect your camera to Wi-Fi. Follow the instructions to select your Wi-Fi network from the available list and enter the Wi-Fi password when prompted.
- Wait for the app to establish a connection between the camera and your Wi-Fi network. This process may take a few moments, so be patient.
Once the connection is established, your Ring security camera will be successfully connected to your Wi-Fi network. This allows you to access live video feeds, receive motion alerts, and control your camera remotely through the Ring app.
If you encounter any issues during the Wi-Fi setup process, make sure that you are within range of your Wi-Fi network and that the password you entered is correct. Additionally, ensure that your Wi-Fi network is functioning properly.
With your Ring camera connected to Wi-Fi, you’re one step closer to enjoying the enhanced security and peace of mind it provides. Let’s move on to the next step and test the connection.
Step 6: Test the connection
After successfully connecting your Ring security camera to your Wi-Fi network, it’s crucial to test the connection to ensure that everything is working correctly. This step allows you to confirm that your camera can communicate with your smartphone or tablet through the Ring app. Here’s how to test the connection:
- Open the Ring app on your mobile device.
- Navigate to the “Devices” tab or a similar option to access your camera.
- Select your Ring security camera from the list of available devices.
- Tap on the live view option to see a live feed from your camera.
- Observe the video stream from your camera to ensure that it’s clear and smooth.
- Test the two-way audio feature by speaking through your smartphone or tablet and listening for the audio coming from the camera.
- Try out any additional features or settings that your camera offers, such as motion detection or night vision.
If you encounter any issues during the testing process, check your internet connection and ensure that your camera and smartphone are within range of the Wi-Fi network. Additionally, ensure that your camera and app are running on the latest firmware and app versions, respectively. If necessary, consult the Ring website or support resources for troubleshooting information.
By testing the connection, you can ensure that your Ring security camera is properly set up and functioning as intended. This step gives you peace of mind that your camera will deliver the reliable performance you need to secure your home.
Now that you have tested the connection successfully, let’s move on to the final step and customize the settings of your Ring security camera.
Step 7: Customize camera settings
Now that your Ring security camera is connected and tested, it’s time to customize its settings to fit your specific needs and preferences. The Ring app provides a range of adjustable settings that allow you to fine-tune your camera’s performance. Here are a few key settings you may want to consider:
- Motion detection: Adjust the sensitivity of the motion detection feature to suit your environment. You can choose to receive alerts for all motion, only people, or specific zones. Experiment with different sensitivity levels to minimize false alerts.
- Video recording: If you have a Ring Protect plan, you can configure your camera to record video clips when motion is detected. Set the duration of the recorded clips and choose whether to enable or disable the recording of audio.
- Notification settings: Customize the types of notifications you receive from your camera. You can choose to receive alerts on your smartphone, tablet, or even through email notifications. Adjust the notification sound and toggle on/off specific notification types, such as motion alerts or live view requests.
- Privacy zones: If there are areas you want to exclude from the camera’s field of view, you can set up privacy zones within the Ring app. This feature helps protect your privacy by preventing the camera from recording or monitoring certain areas, such as windows or neighbor’s property.
- Sharing and access: Decide who can access your camera’s live feed and recorded videos. You can grant access to family members or trusted individuals, giving them the ability to view and control the camera through their own Ring accounts.
Take some time to explore the various settings offered by the Ring app and customize them according to your preferences. Remember to save any changes you make to ensure they are applied to your camera.
By customizing the settings, you can optimize your Ring security camera’s performance, tailor it to your unique needs, and maximize its effectiveness in protecting your home.
Congratulations! You have successfully connected, tested, and customized your Ring security camera. Now you can enjoy the peace of mind and enhanced security that comes with having a reliable home surveillance solution.
Remember to periodically check and update your camera’s settings as needed, and stay informed about any firmware updates or new features released by Ring.
We hope this step-by-step guide has been helpful in setting up and connecting your Ring security camera to Wi-Fi. If you have any further questions or need assistance, don’t hesitate to consult the Ring support resources or reach out to their customer support team.
Conclusion
Congratulations on successfully setting up and connecting your Ring security camera to Wi-Fi! By following the step-by-step guide provided in this article, you have taken an important step towards enhancing the security of your home and gaining peace of mind.
With your Ring security camera connected to Wi-Fi, you now have the ability to monitor your home remotely, receive alerts, and have a greater sense of control over your security. Whether you’re at work, on vacation, or simply in another room, you can keep an eye on what matters most to you.
Remember to periodically check the camera’s settings and ensure that it’s running on the latest firmware for the best performance. The Ring app provides a wealth of options to customize and tailor the camera’s functionality to your specific needs.
In addition to the features covered in this guide, explore the additional capabilities of your Ring security camera, such as two-way audio, night vision, and advanced motion detection. Familiarize yourself with all the functionalities and take advantage of the benefits they offer.
Don’t forget to consider additional security measures to further enhance your home’s protection, such as integrating your Ring camera with other smart home devices or upgrading to a Ring Protect plan for cloud storage and extended warranty coverage.
Lastly, stay informed about the latest updates, features, and tips from Ring by regularly visiting their website, exploring their support resources, and engaging with their customer support team if needed.
Thank you for choosing Ring as your home security solution, and we hope that this guide has provided you with the information you need to connect and set up your Ring security camera with ease. Enjoy the peace of mind and added security that your Ring camera brings to your home!
Curious about the gadget you just set up? Our detailed article on what a Ring security camera is will cover all you need to know about this savvy surveillance tool. Also, don't miss out on understanding why enhancing your home with a robust security system isn't just a luxury but a necessity. Dive into our insightful discussion on the benefits of home security and learn how to keep your sanctuary safe and sound.
Frequently Asked Questions about How To Connect Ring Security Camera To Wi-Fi
Was this page helpful?
At Storables.com, we guarantee accurate and reliable information. Our content, validated by Expert Board Contributors, is crafted following stringent Editorial Policies. We're committed to providing you with well-researched, expert-backed insights for all your informational needs.