Home>Home Security and Surveillance>How To Change Wi-Fi On Blink Outdoor Camera

Home Security and Surveillance
How To Change Wi-Fi On Blink Outdoor Camera
Modified: March 6, 2024
Looking to change the Wi-Fi on your Blink Outdoor Camera? Our guide on home security and surveillance will show you how, ensuring your peace of mind and protection.
(Many of the links in this article redirect to a specific reviewed product. Your purchase of these products through affiliate links helps to generate commission for Storables.com, at no extra cost. Learn more)
Introduction
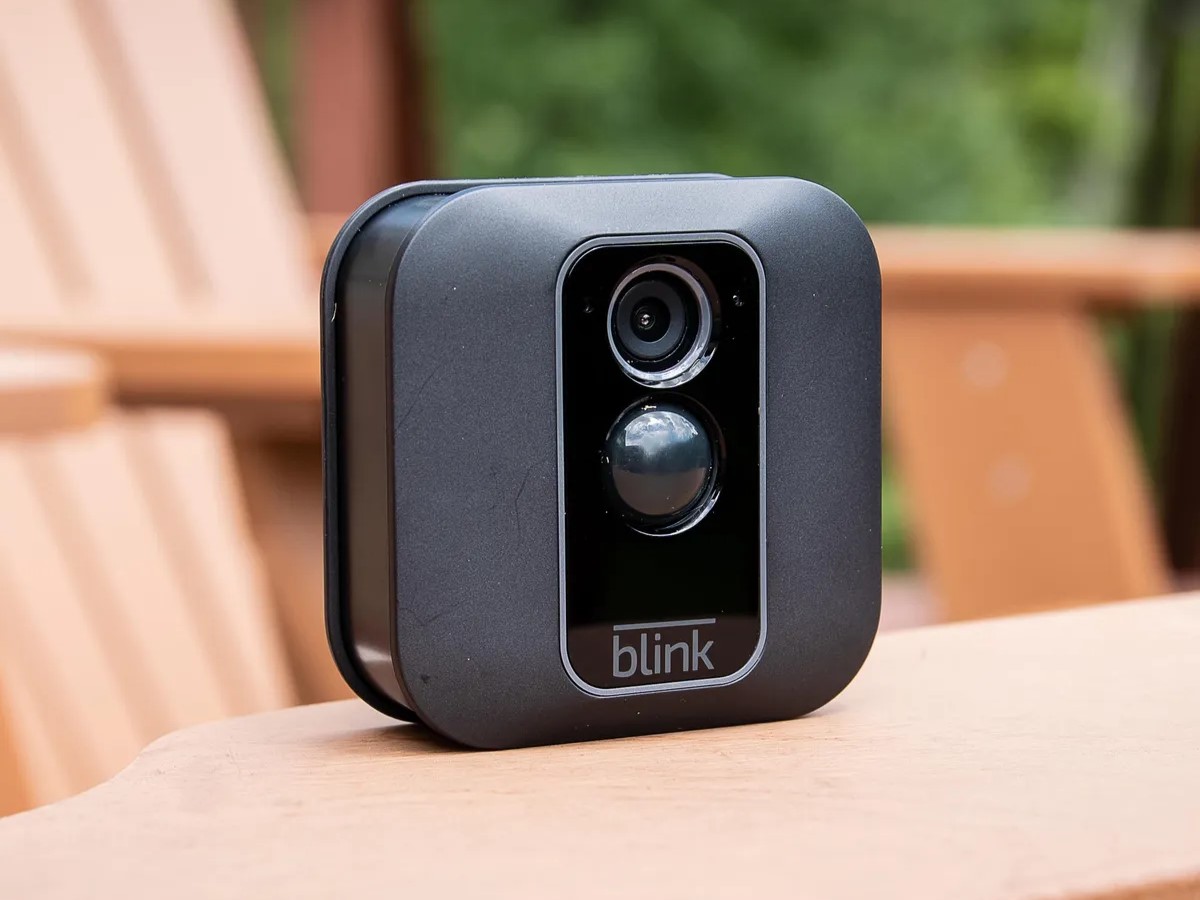
Welcome to the world of home security and surveillance, where the safety of your loved ones and your belongings is of utmost importance. In today’s fast-paced and connected world, having a reliable and efficient home security system is essential for peace of mind. One of the key components of a modern home security system is the Blink Outdoor Camera.
The Blink Outdoor Camera is a state-of-the-art wireless security camera that allows you to monitor your home from anywhere, at any time. With its easy installation and user-friendly interface, it has become a popular choice for homeowners looking to enhance their home security.
While setting up your Blink Outdoor Camera, you may find the need to change the Wi-Fi network to which it is connected. Whether you’ve upgraded your home network or moved to a new address, updating the Wi-Fi settings on your Blink camera is a simple yet crucial step.
In this article, we will guide you through the process of changing the Wi-Fi network on your Blink Outdoor Camera. By following these steps, you’ll be able to ensure a seamless connection and uninterrupted surveillance of your property.
Key Takeaways:
- Ensure seamless surveillance by changing your Blink Outdoor Camera’s Wi-Fi. Access settings, disconnect from old network, connect to new network, and verify the connection for uninterrupted security.
- Troubleshoot common issues like weak signal or incorrect password when changing Wi-Fi. Move camera closer to router, double-check password, and update software for smooth transition.
Step 1: Accessing the Blink Outdoor Camera Settings
Before you can change the Wi-Fi network on your Blink Outdoor Camera, you’ll need to access the camera settings. This can be done through the Blink mobile app, available for both iOS and Android devices. Follow these simple steps to get started:
- Ensure that your smartphone or tablet is connected to the same Wi-Fi network that you initially set up your Blink Outdoor Camera with.
- Open the Blink mobile app and log in to your account. If you haven’t created an account yet, you’ll need to do so by following the on-screen instructions.
- Once you’re logged in, you’ll be greeted with the Blink app’s home screen. Here, you’ll see a list of all the Blink cameras associated with your account.
- Select the Blink Outdoor Camera for which you want to change the Wi-Fi settings. The app will display a live feed from the camera, along with various options and settings.
- Locate and tap on the “Settings” icon, usually represented by a gear or cogwheel icon. This will open the camera settings menu.
Congratulations! You have successfully accessed the settings menu of your Blink Outdoor Camera. Now, let’s move on to the next step of changing the Wi-Fi network.
Step 2: Locating the Wi-Fi Settings
Now that you have accessed the settings menu of your Blink Outdoor Camera, it’s time to locate the Wi-Fi settings. This step will allow you to view and modify the current Wi-Fi network details. Follow these instructions:
- Within the settings menu, look for an option labeled “Wi-Fi” or “Network Settings.” Tap on it to enter the Wi-Fi settings screen.
- On this screen, you should be able to see the details of the current Wi-Fi network to which your Blink Outdoor Camera is connected. This will include the network name (SSID) and signal strength.
- If there is an option to “Change Wi-Fi Network” or “Edit Wi-Fi Network,” tap on it. This will prompt the camera to disconnect from the current network and allow you to connect to a new network.
By locating and accessing the Wi-Fi settings, you’re on the right track to changing the Wi-Fi network on your Blink Outdoor Camera. In the next step, we’ll guide you through the process of disconnecting from the current network.
Step 3: Disconnecting from Current Wi-Fi Network
Now that you’ve located the Wi-Fi settings on your Blink Outdoor Camera, it’s time to disconnect from the current Wi-Fi network. This step is essential to ensure a smooth transition to a new network. Follow these instructions:
- Within the Wi-Fi settings screen, look for an option to “Disconnect” or “Forget” the current Wi-Fi network. Tap on this option to initiate the disconnection process.
- The camera will now disconnect from the current network. This might take a few moments, so be patient. Once the disconnection is complete, the camera will no longer be connected to any Wi-Fi network.
It’s important to note that after disconnecting from the current network, your Blink Outdoor Camera will not be able to send or receive live footage until it is connected to a new Wi-Fi network. This brings us to the next step – connecting to a new Wi-Fi network for seamless surveillance.
To change the Wi-Fi on your Blink Outdoor Camera, first open the Blink app and select the camera you want to update. Then go to the device settings and choose “Wi-Fi Network” to connect to a new network. Follow the on-screen instructions to complete the process.
Step 4: Connecting to a New Wi-Fi Network
After disconnecting from the current Wi-Fi network, it’s time to connect your Blink Outdoor Camera to a new Wi-Fi network. Follow these steps to establish a connection:
- Within the Wi-Fi settings screen, look for an option to “Connect to Wi-Fi” or “Add Wi-Fi Network.” Tap on this option to initiate the connection process.
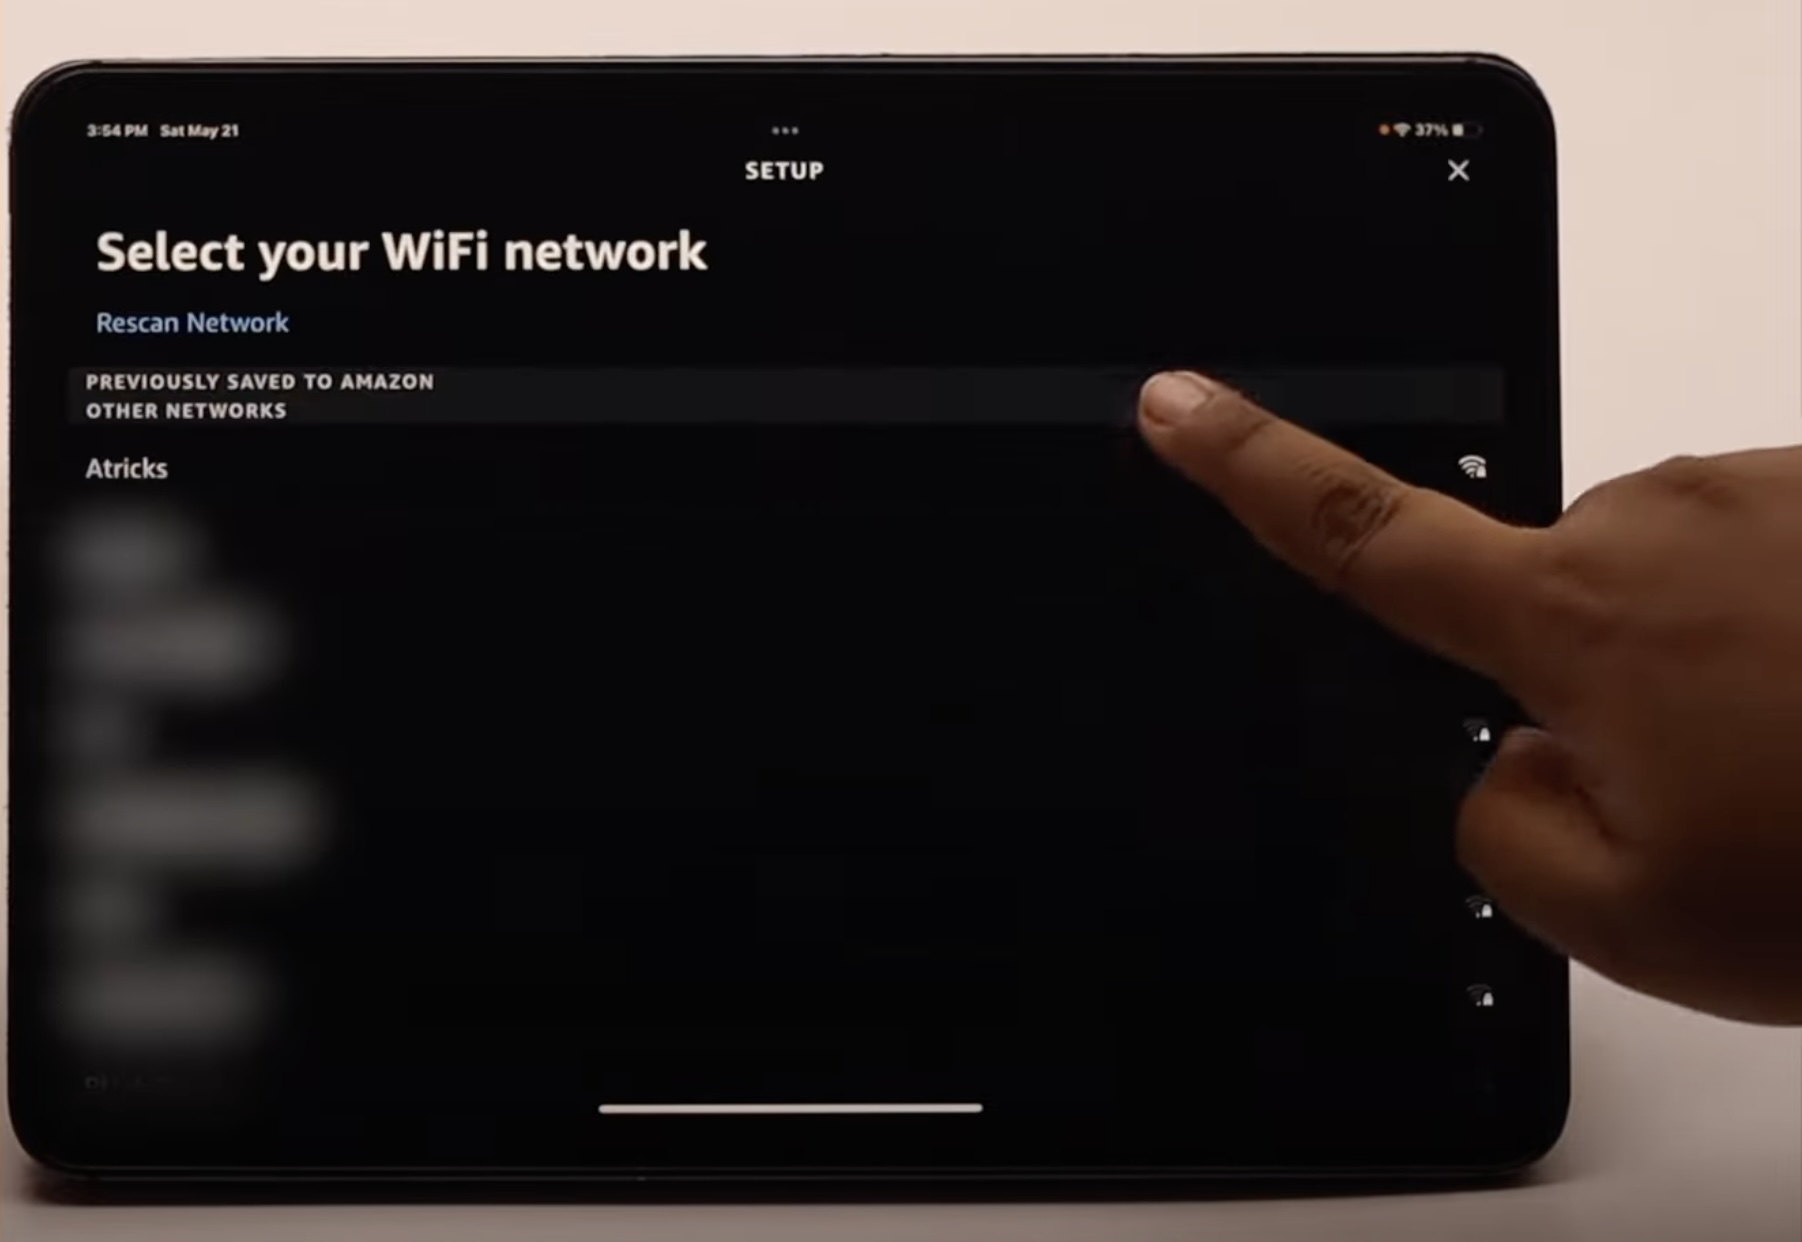
- A list of available Wi-Fi networks in your vicinity will be displayed. Locate and select the desired network that you want to connect your Blink Outdoor Camera to. Note that you will need the network name (SSID) and password for the new Wi-Fi network.
- Enter the password for the new Wi-Fi network, if prompted. Take care to enter it correctly, as Wi-Fi passwords are case-sensitive.
- Once you have entered the correct password, the Blink Outdoor Camera will attempt to connect to the new network. This might take a few moments. During this time, ensure that the camera is within range of the Wi-Fi signal and that the signal strength is sufficient.
- If the connection is successful, you will see a confirmation message indicating that the Blink Outdoor Camera is now connected to the new Wi-Fi network.
Voila! You have successfully connected your Blink Outdoor Camera to a new Wi-Fi network. In the next step, we’ll help you verify the Wi-Fi connection to ensure that everything is functioning smoothly.
Read more: How To Hook Up A Wi-Fi Outdoor Camera
Step 5: Verifying the Wi-Fi Connection
After connecting your Blink Outdoor Camera to a new Wi-Fi network, it’s important to verify the connection to ensure that it’s stable and functioning properly. Follow these steps to verify the Wi-Fi connection:
- Return to the settings menu of your Blink Outdoor Camera within the Blink mobile app.
- Once in the settings menu, navigate to the Wi-Fi settings screen.
- Check the Wi-Fi network details displayed on the screen. Ensure that the network name (SSID) matches the new Wi-Fi network that you connected the camera to.
- Verify the signal strength indicators. Ideally, the signal strength should be strong to ensure a stable connection.
- Test the camera’s live feed by tapping on the camera icon or selecting the live view option in the app. Observe if the camera is streaming the live footage smoothly without any interruptions.
- If the camera is functioning correctly and the live feed is stable, congratulations! Your Blink Outdoor Camera is successfully connected to the new Wi-Fi network.
It’s always a good practice to periodically check the Wi-Fi connection and camera functionality to ensure ongoing surveillance of your property. In the next step, we’ll address common issues that you may encounter during the process and provide troubleshooting tips.
Step 6: Troubleshooting Common Issues
While changing the Wi-Fi network on your Blink Outdoor Camera, you may encounter some common issues that can hinder the process. Here are a few troubleshooting tips to help you overcome these challenges:
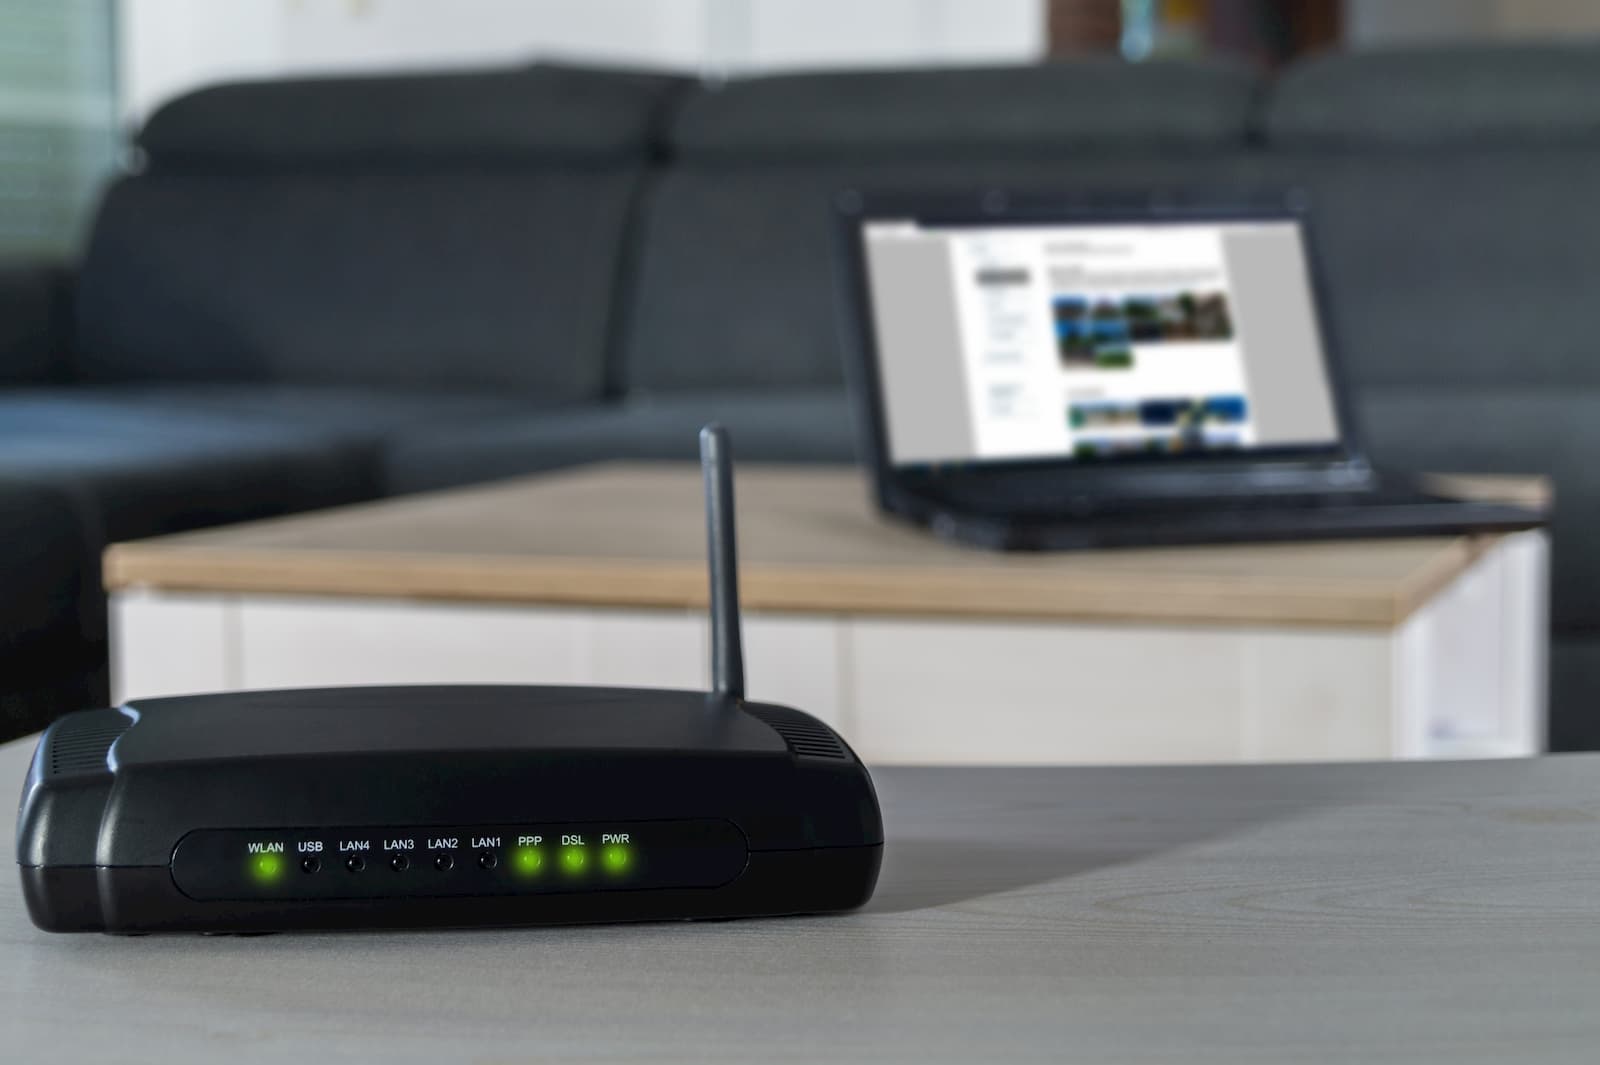
- Weak Wi-Fi Signal: If the camera is not able to connect to the new Wi-Fi network or the signal strength is weak, try moving the camera closer to the Wi-Fi router. Alternatively, consider purchasing a Wi-Fi range extender to improve the signal strength in the camera’s location.
- Incorrect Wi-Fi Password: Double-check that you have entered the correct password for the new Wi-Fi network. Wi-Fi passwords are case-sensitive, so ensure that you enter it accurately.
- Network Compatibility: Ensure that the new Wi-Fi network is compatible with the Blink Outdoor Camera. Check if the network is operating on a supported frequency band (e.g., 2.4GHz) and that it does not have any restrictive security settings that may prevent the camera from connecting.
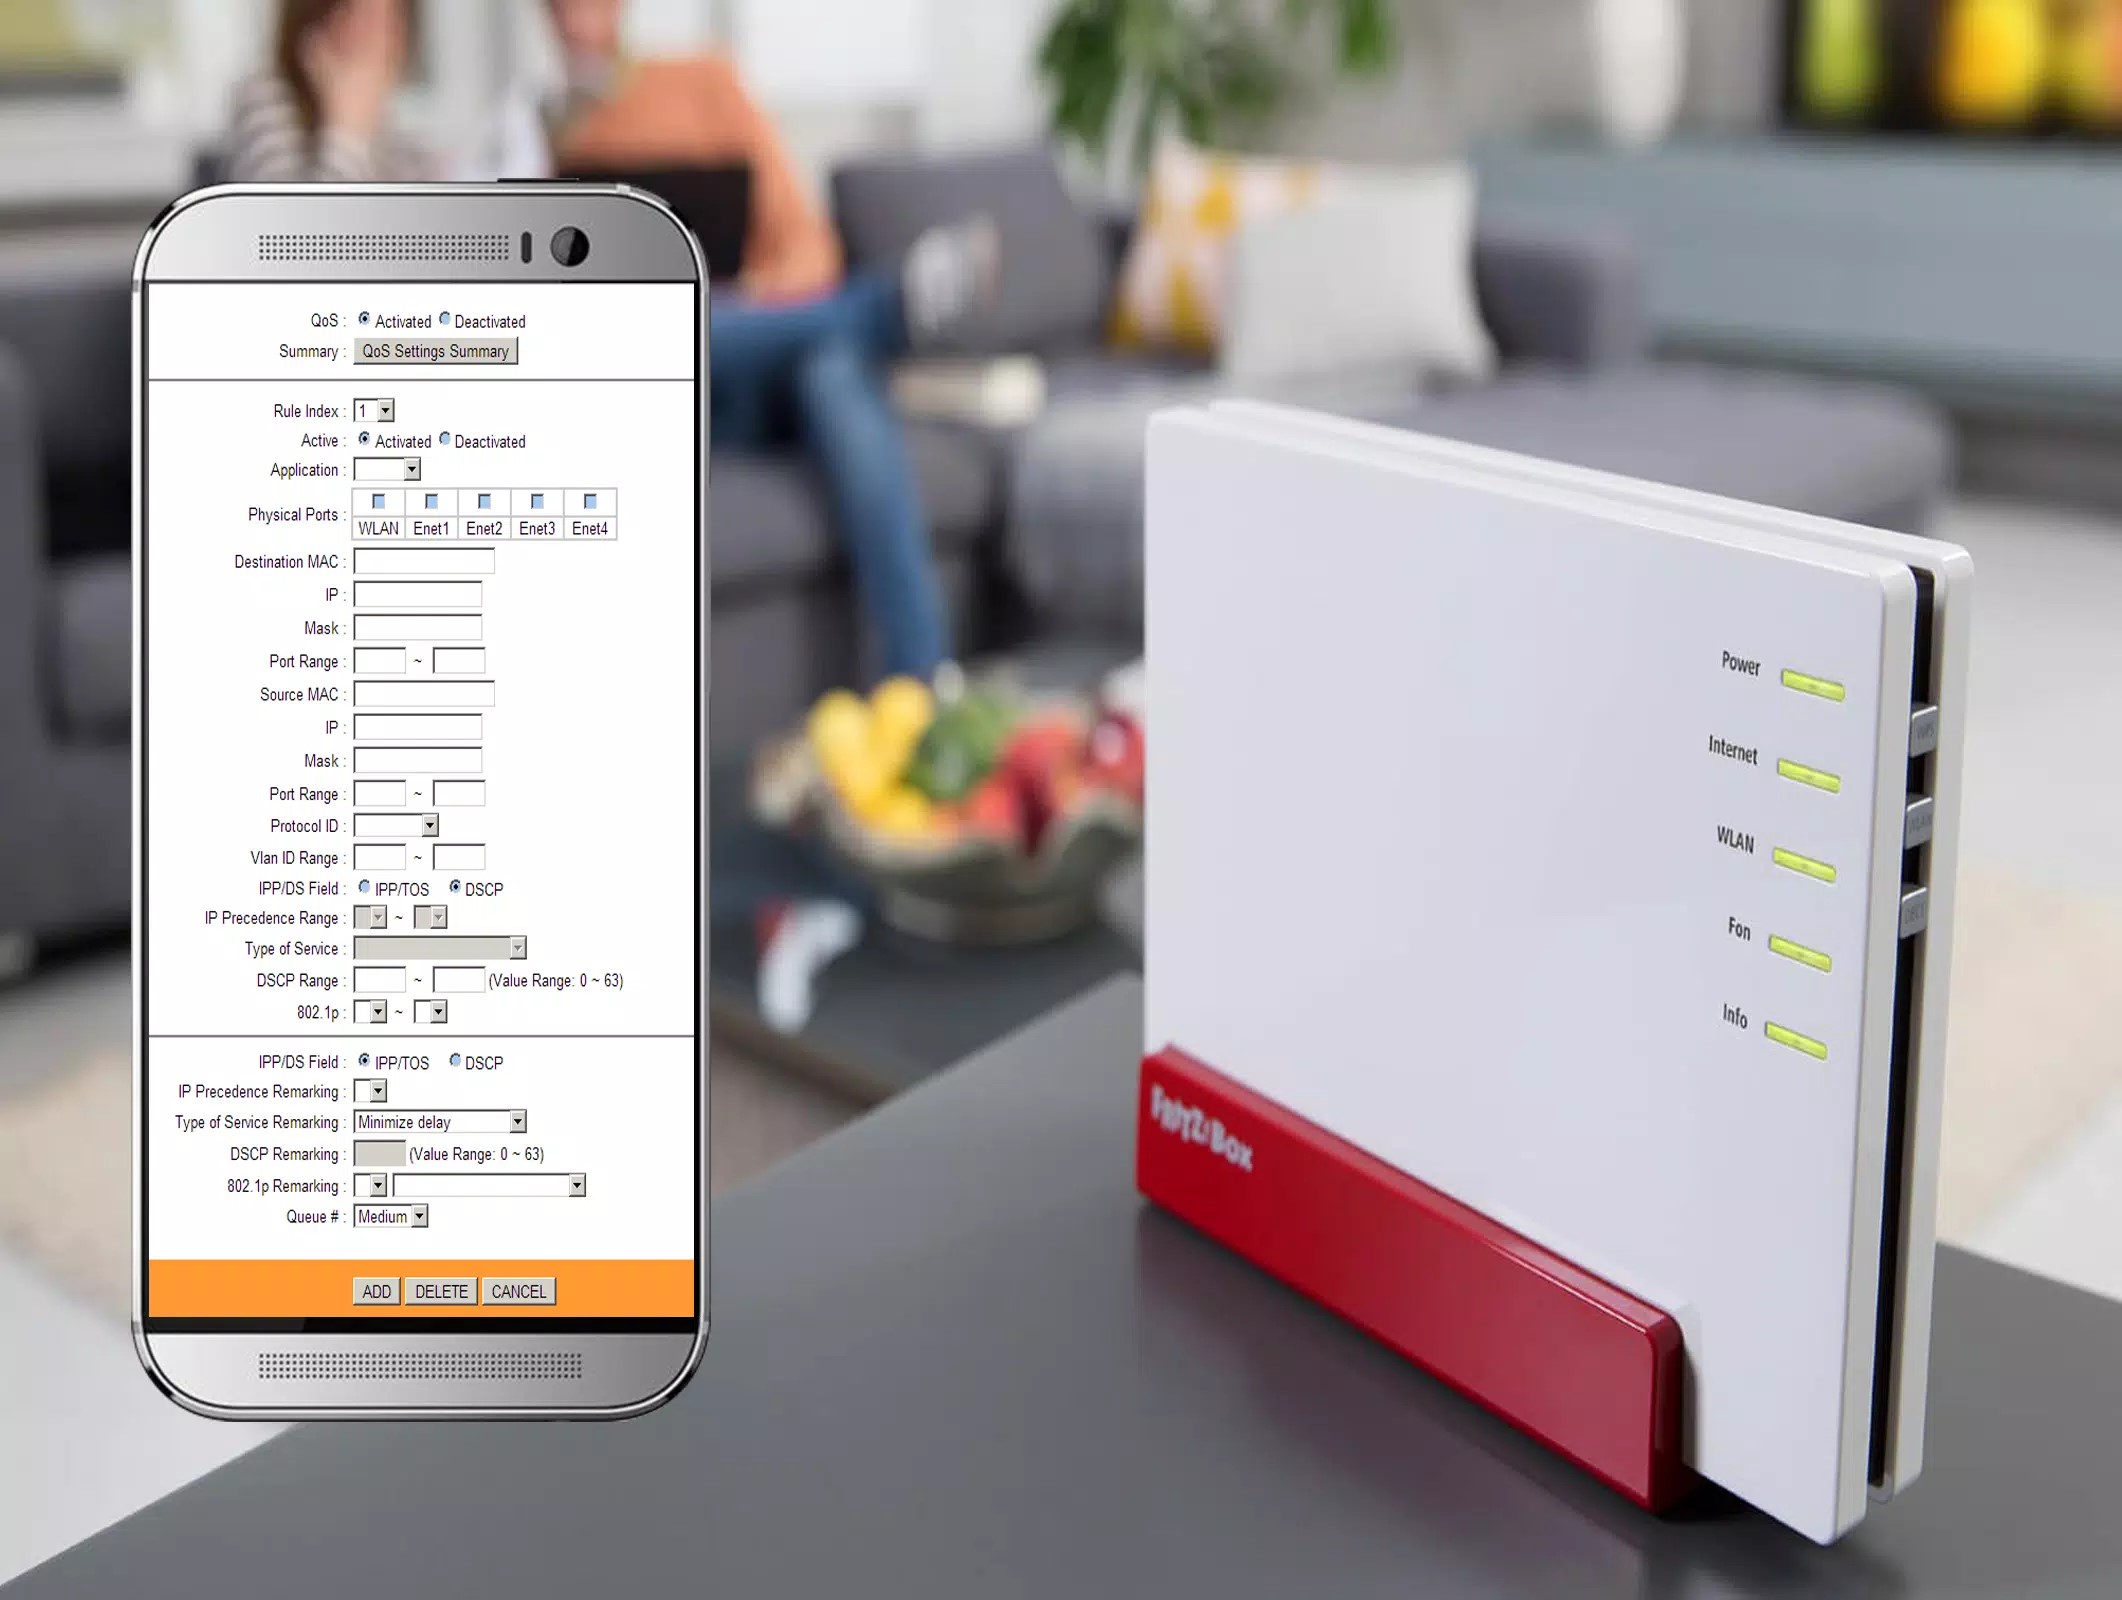
- Router Configuration: Verify that your Wi-Fi router is configured correctly and not blocking the connection to the Blink Outdoor Camera. Check for any firewall settings or MAC address filtering that may be interfering with the camera’s connectivity.
- Software Updates: Ensure that both the Blink app and the Blink Outdoor Camera firmware are up to date. Outdated software can sometimes cause connectivity issues. Update the app and camera firmware if there are any available updates.
- Restarting the Camera: Try restarting the Blink Outdoor Camera by unplugging it from the power source, waiting for a few seconds, and then plugging it back in. This can help resolve any temporary glitches that might be affecting the Wi-Fi connection.
If you encounter any other issues or are unable to resolve the problem on your own, refer to the Blink Outdoor Camera’s user manual or reach out to Blink’s customer support for further assistance.
With these troubleshooting tips in mind, you should be able to tackle common issues that may arise when changing the Wi-Fi network on your Blink Outdoor Camera.
Conclusion
Changing the Wi-Fi network on your Blink Outdoor Camera is a simple yet essential task to ensure seamless surveillance of your property. By following the steps outlined in this article, you will be able to update the Wi-Fi settings on your camera effortlessly.
Remember, accessing the Blink camera settings through the Blink mobile app is the first step. From there, you’ll navigate to the Wi-Fi settings, disconnect from the current network, connect to a new network, and verify the connection.
In case you encounter any issues, such as a weak Wi-Fi signal or an incorrect password, refer to the troubleshooting tips provided in Step 6. These tips will help you resolve common problems and ensure a smooth transition to the new Wi-Fi network.
The Blink Outdoor Camera is a reliable and user-friendly device that enhances the security of your home. By keeping your camera connected to a stable Wi-Fi network, you can monitor your property with confidence regardless of your location.
Now that you have the knowledge and understanding of how to change the Wi-Fi network on your Blink Outdoor Camera, you can navigate those settings with ease. Enjoy the peace of mind that comes with a secure and efficient home security system.
Remember to periodically check the Wi-Fi connection and camera functionality to ensure uninterrupted surveillance. And should you encounter any further difficulties, consult the Blink Outdoor Camera’s user manual or reach out to their customer support for additional assistance.
Take the necessary steps today to ensure the safety and security of your home with a properly connected Blink Outdoor Camera!
Frequently Asked Questions about How To Change Wi-Fi On Blink Outdoor Camera
Was this page helpful?
At Storables.com, we guarantee accurate and reliable information. Our content, validated by Expert Board Contributors, is crafted following stringent Editorial Policies. We're committed to providing you with well-researched, expert-backed insights for all your informational needs.