Home>Home Security and Surveillance>How To Install EZVIZ Husky 1080P Wi-Fi PoE Outdoor Camera
Home Security and Surveillance
How To Install EZVIZ Husky 1080P Wi-Fi PoE Outdoor Camera
Modified: August 17, 2024
Learn how to easily set up the EZVIZ Husky 1080P Wi-Fi PoE Outdoor Camera for enhanced home security and surveillance.
(Many of the links in this article redirect to a specific reviewed product. Your purchase of these products through affiliate links helps to generate commission for Storables.com, at no extra cost. Learn more)
Introduction
Welcome to our comprehensive guide on how to install the EZVIZ Husky 1080P Wi-Fi PoE Outdoor Camera. In today’s world, home security and surveillance have become essential for every homeowner. With advancements in technology, it has become easier and more convenient to monitor your property and keep it secure.
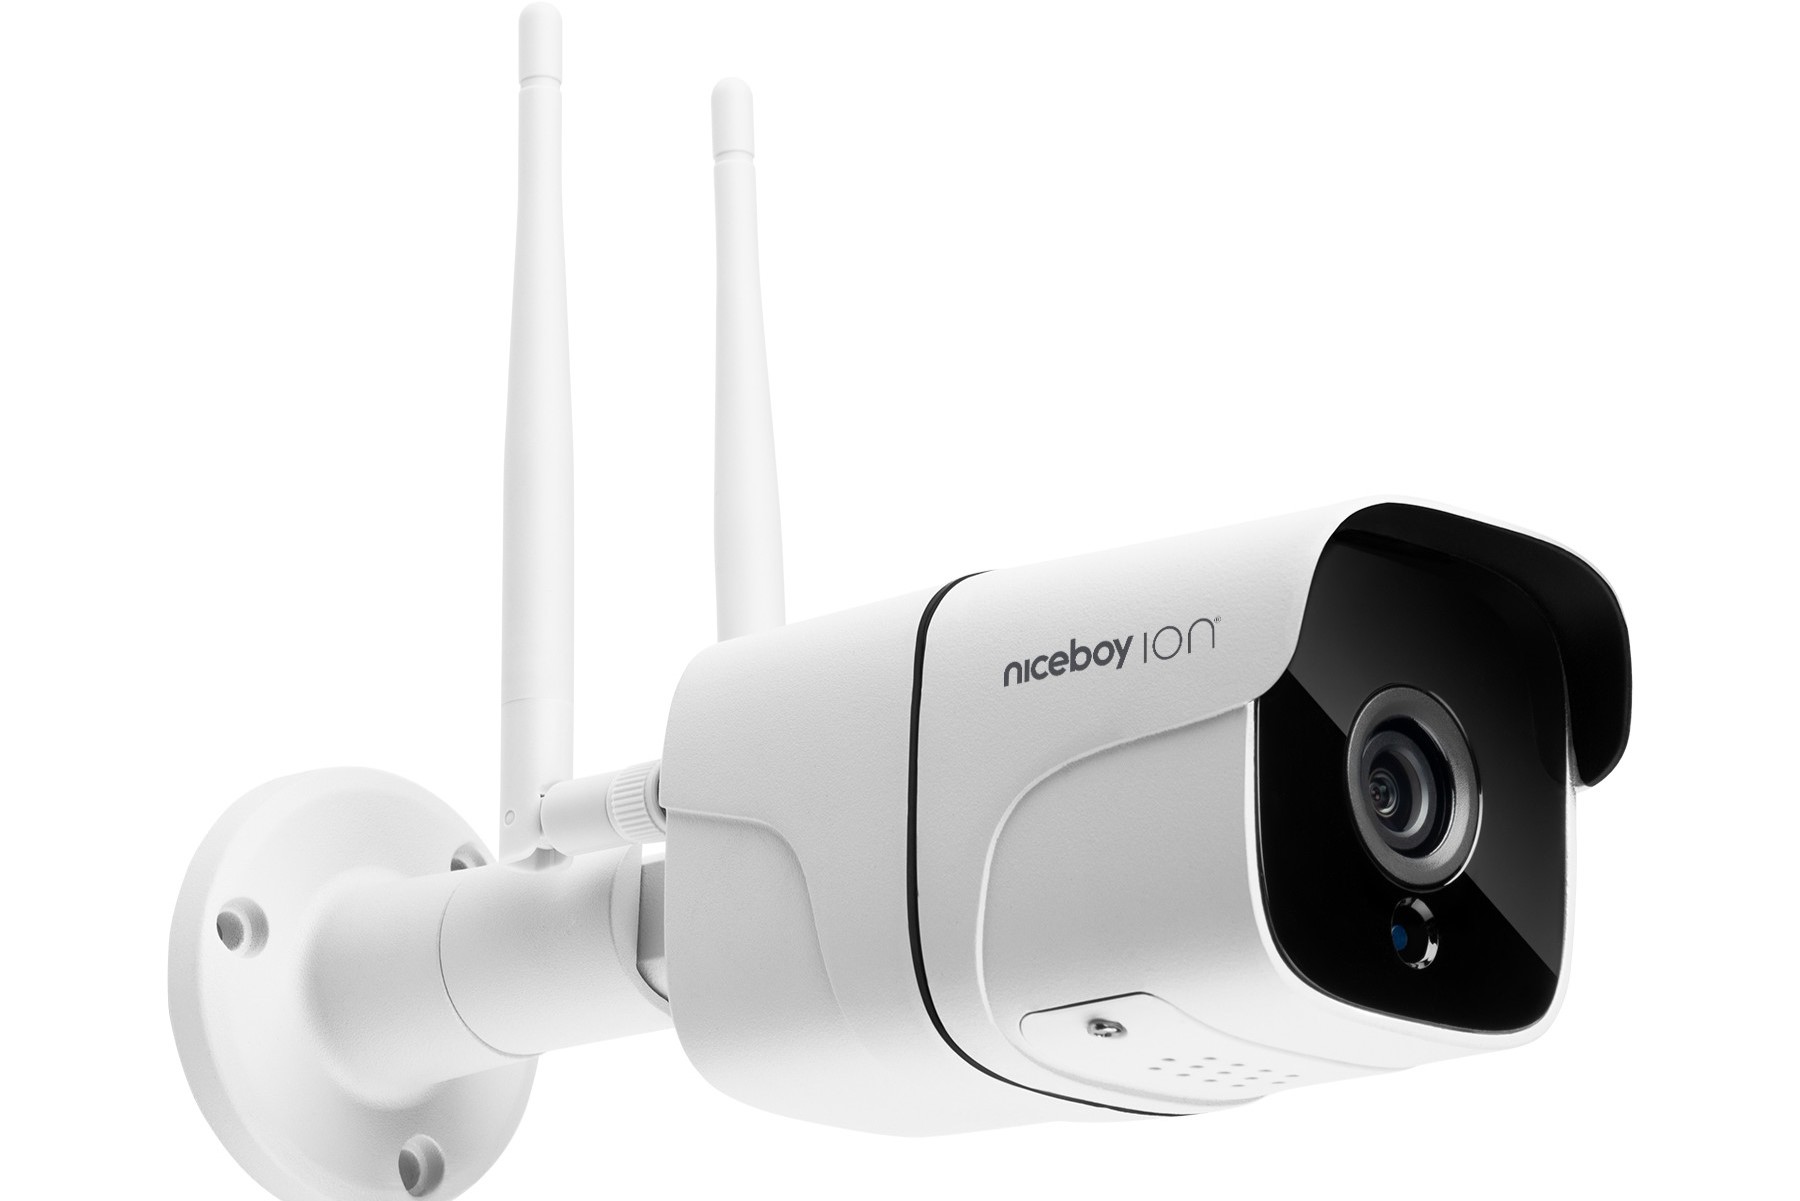
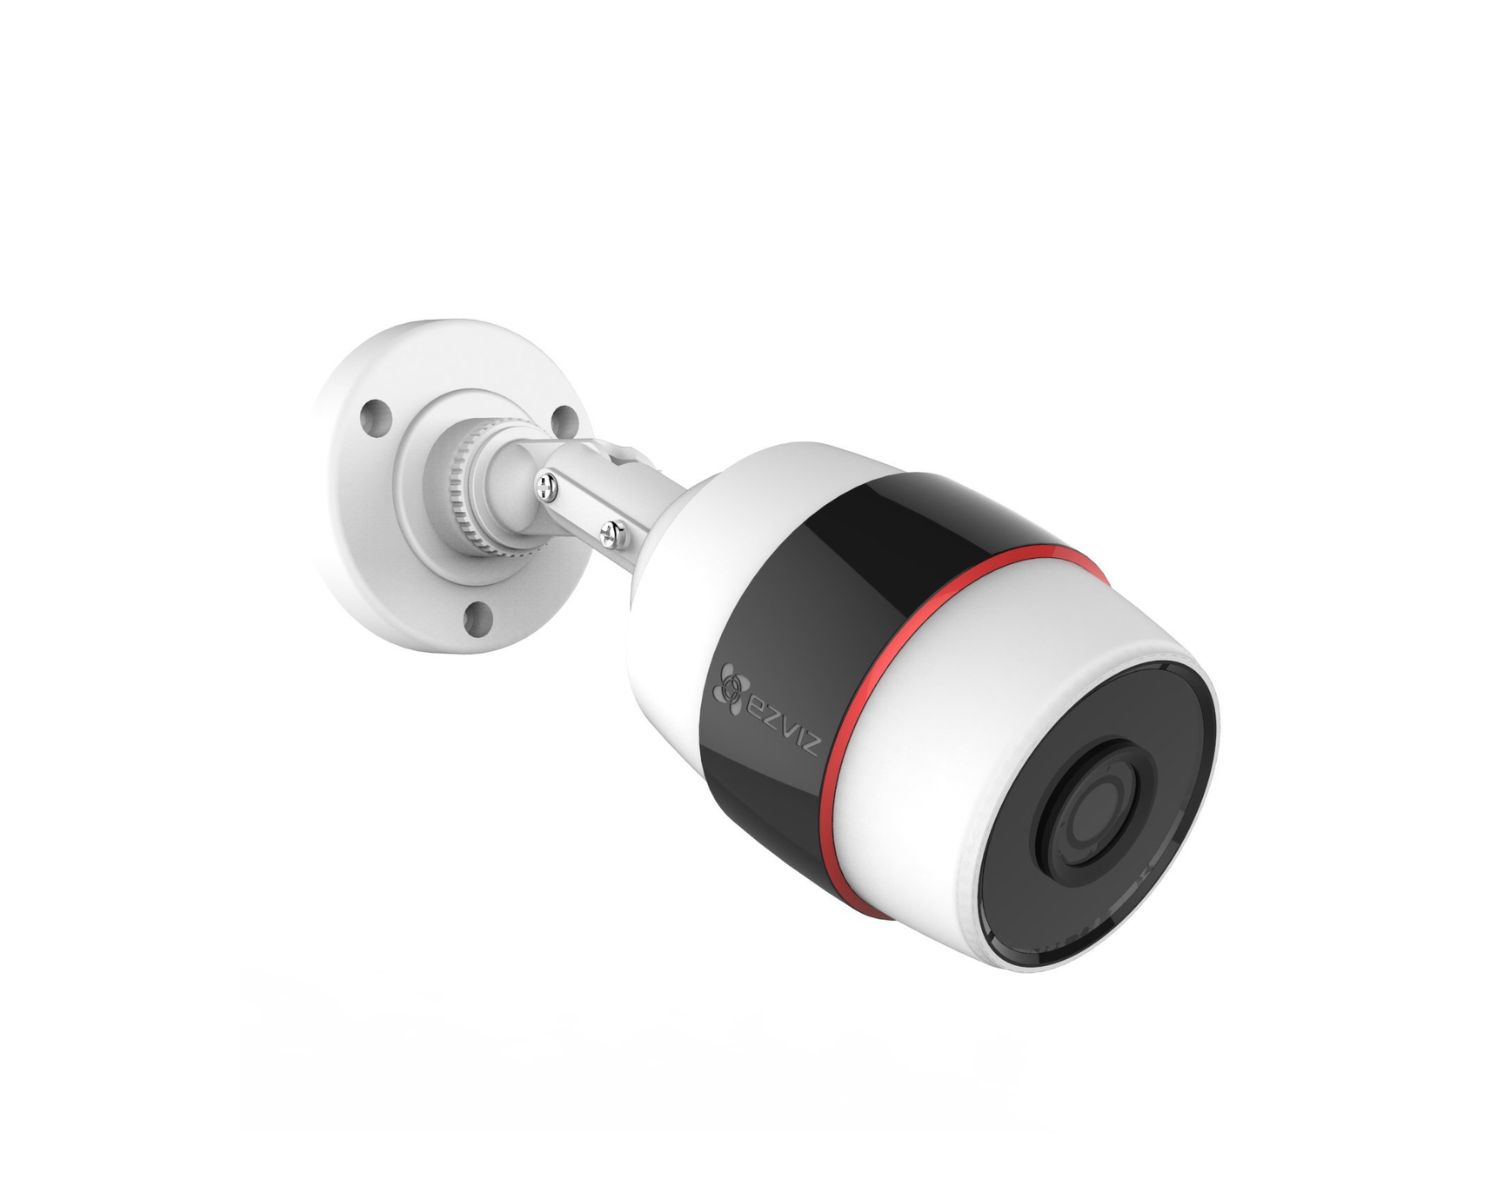
The EZVIZ Husky 1080P Wi-Fi PoE Outdoor Camera is a top-of-the-line security camera that offers high-definition video recording, night vision capabilities, and remote access through a smartphone app. Whether you want to keep an eye on your home while you’re away or deter potential intruders, this camera is a reliable and robust option.
In this guide, we will walk you through the step-by-step process of installing the EZVIZ Husky 1080P Wi-Fi PoE Outdoor Camera. We will cover everything from gathering the necessary tools and materials to securing and weatherproofing the camera. By the end of this article, you’ll have a clear understanding of how to set up and optimize your EZVIZ Husky camera for maximum security.
Before we dive into the installation process, let’s briefly discuss the benefits of having a home security system in place. Having a camera surveillance system acts as a deterrent for potential burglars, as they are less likely to target homes that have visible security measures. Additionally, in the unfortunate event of a break-in, having recorded footage can greatly assist law enforcement in identifying the culprit and recovering stolen items.
Furthermore, being able to monitor your property remotely provides you with peace of mind, knowing that you can check in on your home at any time. Whether you’re at work or on vacation, the EZVIZ Husky camera allows you to view live footage and receive motion detection alerts on your smartphone.
Now that we understand the importance of home security and the benefits of having a surveillance system let’s move on to the first step: gathering the necessary tools and materials for the installation process.
Key Takeaways:
- Installing the EZVIZ Husky 1080P Wi-Fi PoE Outdoor Camera involves gathering tools, preparing the site, mounting the camera, connecting to power and network, adjusting settings, testing functionality, and securing against weather.
- Proper installation and maintenance of the camera ensure optimal performance, clear footage, and long-term reliability, enhancing home security and providing peace of mind for homeowners.
Read also: 8 Best Security Cameras 1080P For 2025
Step 1: Gathering the Necessary Tools and Materials
In order to successfully install the EZVIZ Husky 1080P Wi-Fi PoE Outdoor Camera, you’ll need to gather a few essential tools and materials beforehand. Having these items ready will ensure a smooth and efficient installation process. Here’s a list of what you’ll need:
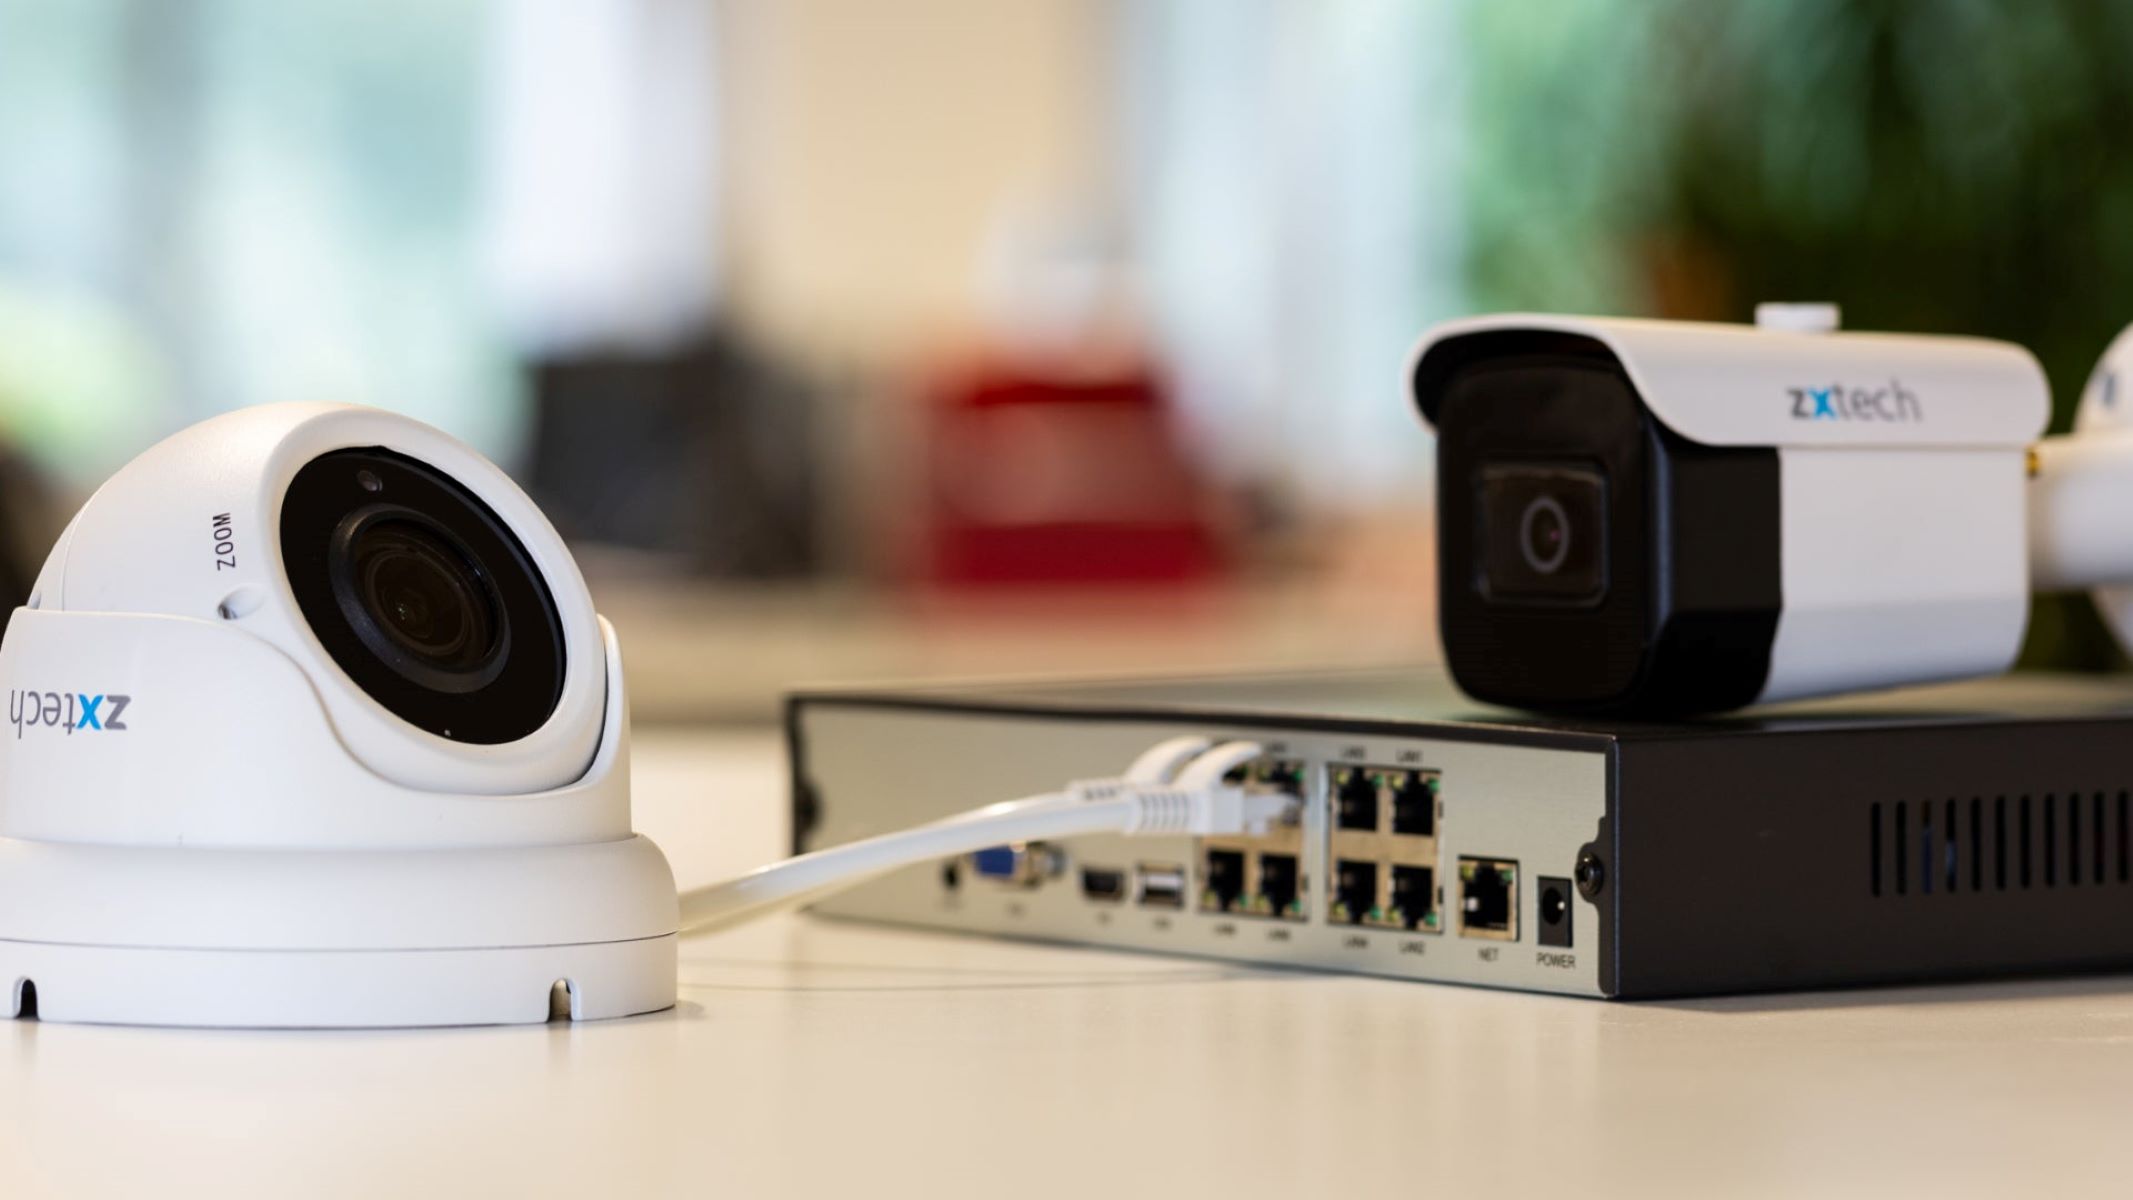
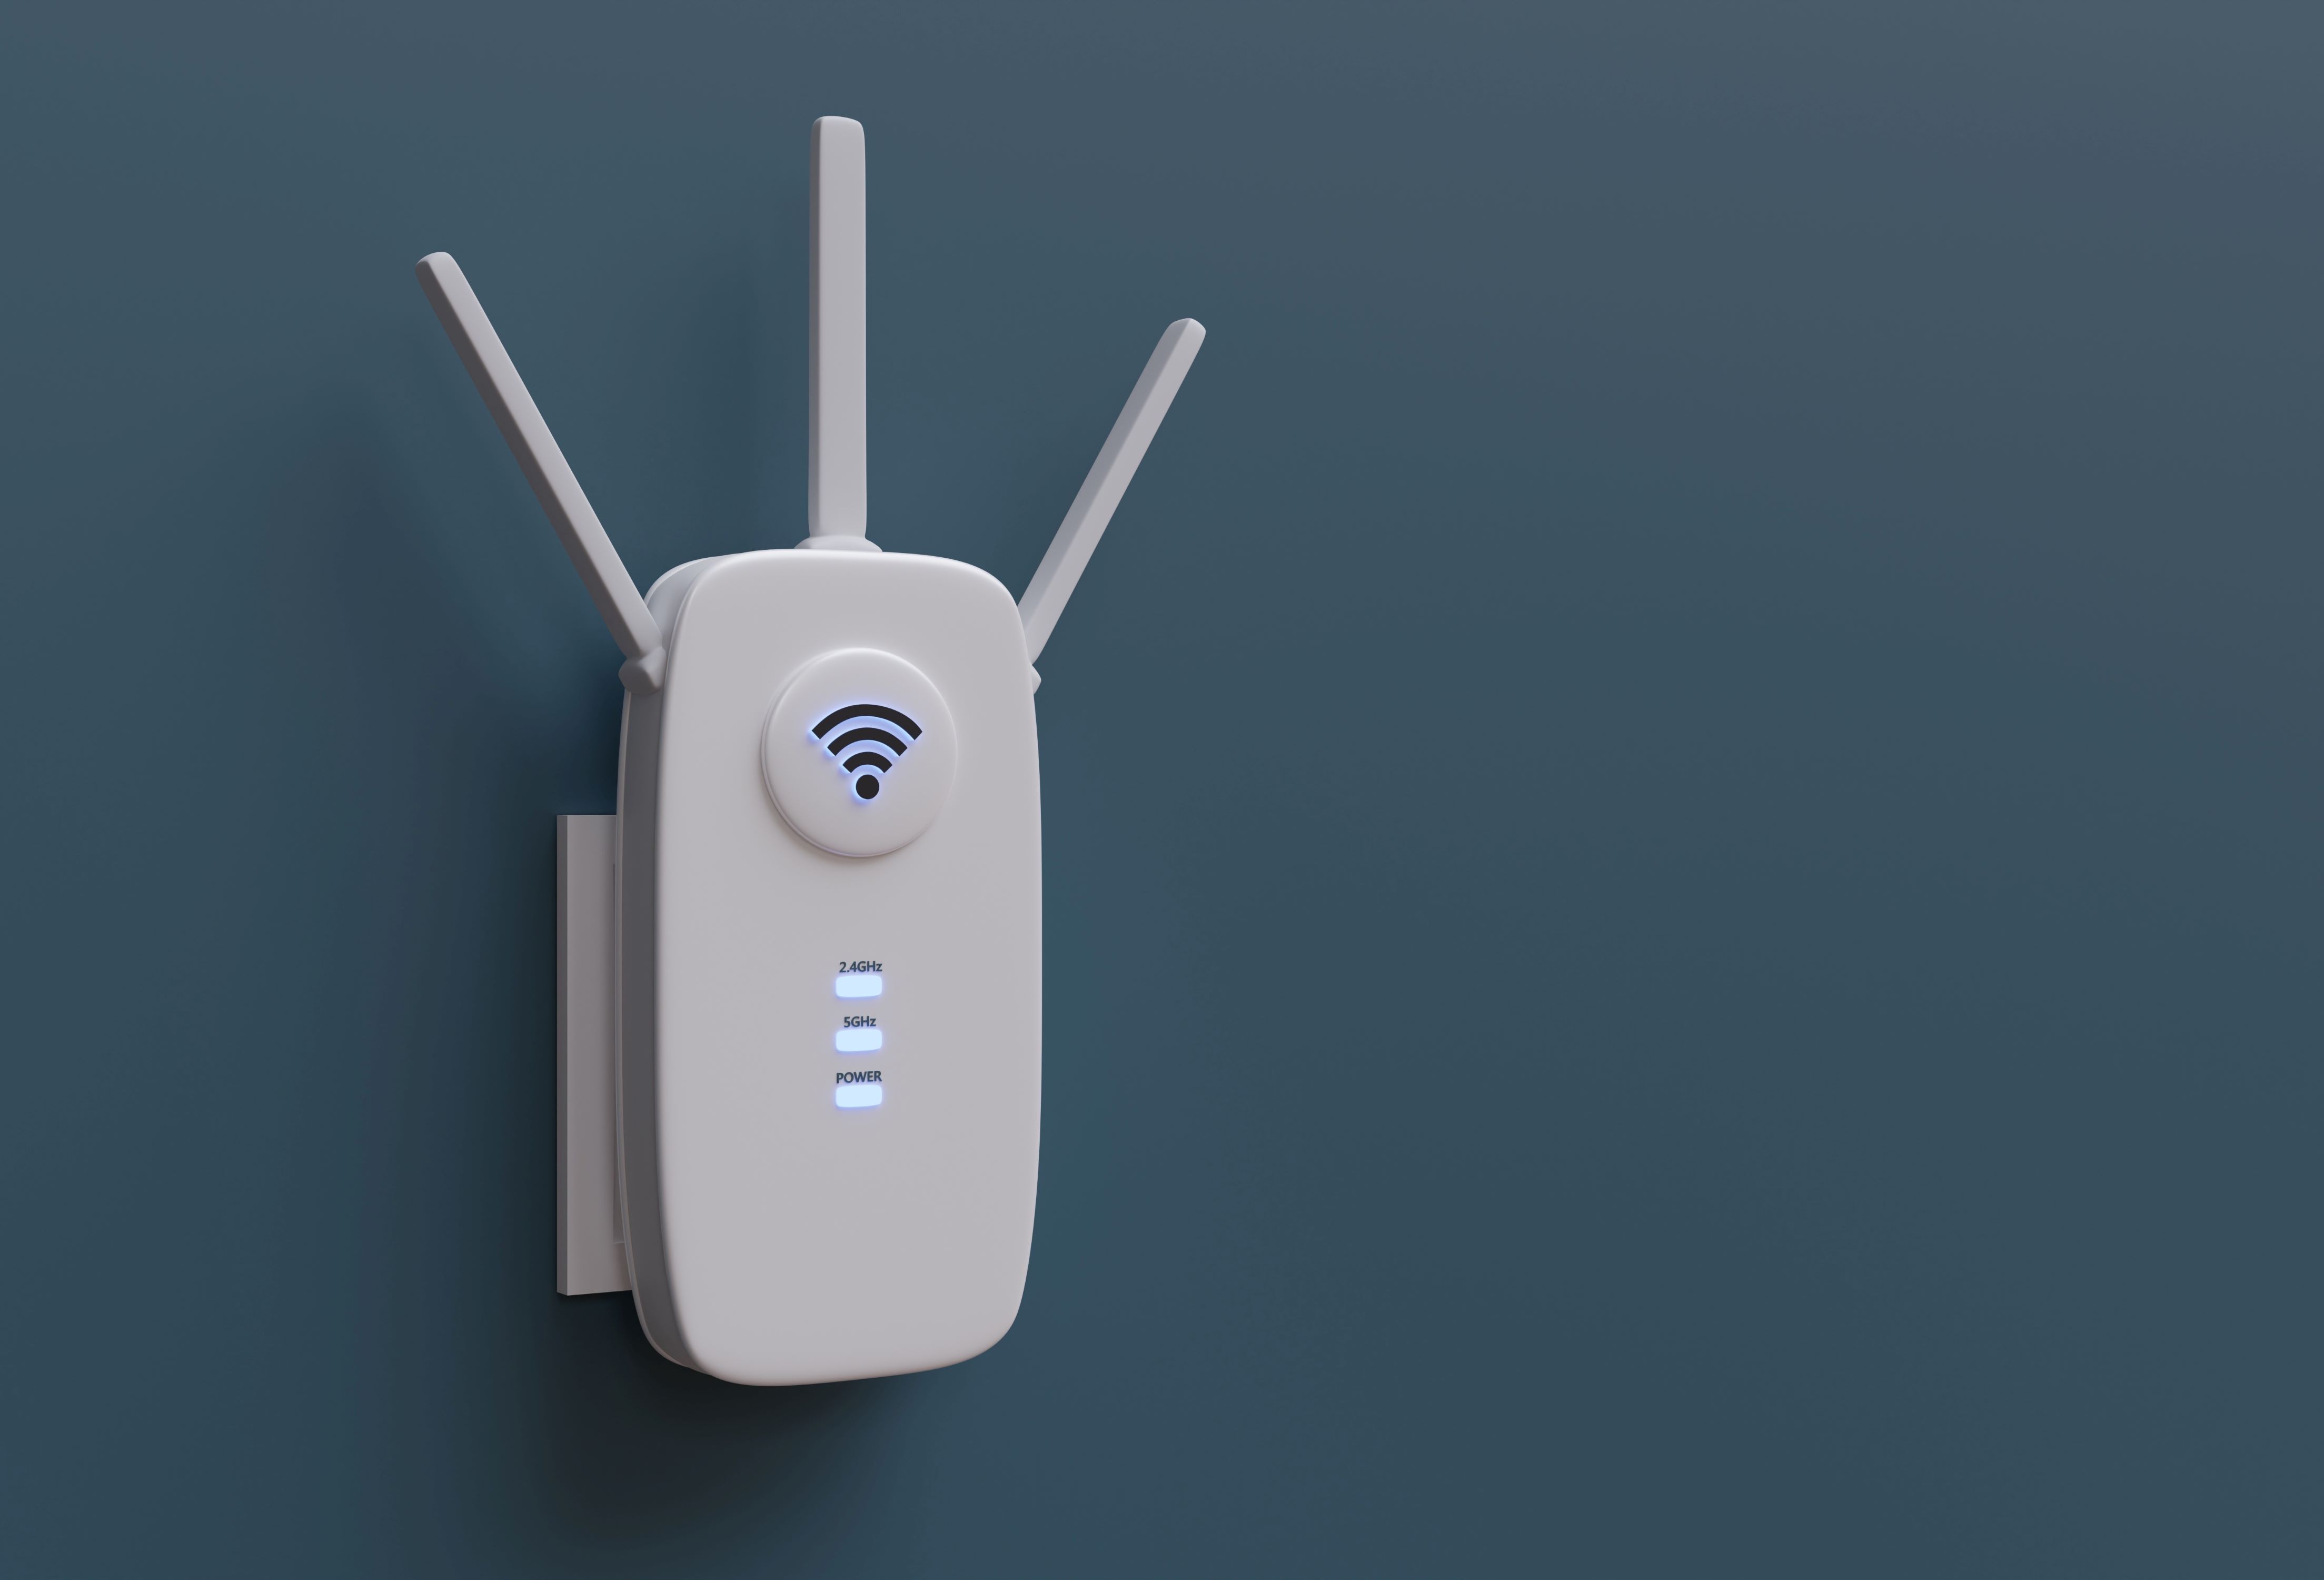
- Power over Ethernet (PoE) network switch or PoE injector: The EZVIZ Husky camera requires a PoE connection for both power and network connectivity. If you don’t already have a PoE network switch, you’ll need to connect the camera to a PoE injector, which will provide power and transmit the network signal to the camera.
- Ethernet cable: You’ll need an Ethernet cable to connect the PoE injector or network switch to the camera. Make sure you have enough cable length to reach the desired installation location.
- Drill with masonry bit: If you plan on mounting the camera on a wall or any other surface, you’ll need a drill with a masonry bit to create the necessary holes for mounting screws.
- Screwdriver and screws: These will be used to secure the camera mount to the desired surface.
- Smartphone or computer: You’ll need a smartphone or computer in order to set up and configure the camera using the EZVIZ mobile app or web interface.
- Sturdy ladder or step stool: Depending on the camera’s installation height, you may need a ladder or step stool to reach the mounting location safely.
Before you proceed with the installation, take a moment to ensure that you have all the required tools and materials. Having everything prepared beforehand will make the process much more efficient and minimize any unnecessary delays.
Now that you’ve gathered the necessary tools and materials, you’re ready to move on to the next step: preparing the site for installation.
Step 2: Preparing the Site for Installation
Before mounting the EZVIZ Husky 1080P Wi-Fi PoE Outdoor Camera, it’s important to properly prepare the installation site. This involves choosing the optimal location, ensuring the camera’s field of view is clear, and making any necessary adjustments to accommodate the camera’s mounting requirements. Here’s a breakdown of what you need to do:
- Survey the area: Take some time to assess your property and identify the areas that require surveillance. Look for potential blind spots or areas of vulnerability that you want to monitor with the camera. This could include entryways, driveways, backyards, or any other area that requires extra security.
- Choose the installation location: Once you’ve identified the areas you’d like to monitor, choose the most suitable location for mounting the camera. Consider factors such as line of sight, coverage area, and accessibility. Ideally, the camera should have an unobstructed view of the area you want to monitor.
- Ensure a stable mounting surface: The EZVIZ Husky camera comes with a mounting bracket that needs to be securely attached to a wall or other surface. Make sure the chosen mounting surface is stable and can support the weight of the camera. If mounting on a wall, ensure it’s strong enough to hold the camera and withstand external elements.
- Check for nearby power and network sources: Since the camera requires both power and network connectivity, make sure there’s a power outlet and network access point nearby. This will ensure that you can easily connect the camera without the need for additional extensions or wiring.
- Consider camera height and angle: The height and angle of the camera will determine its field of view. Aim to position the camera at a height that provides the best coverage for the desired area. Take into account any potential obstacles, such as trees or walls, that may obstruct the camera’s view.
By taking the time to properly prepare the installation site, you can ensure that the EZVIZ Husky camera is positioned optimally for capturing clear footage and maximizing its surveillance capabilities. Once you’ve completed this step, you’re ready to move on to mounting the camera itself.
Note: If you’re unsure about the location or need further guidance, it’s worth consulting the camera’s user manual or contacting the manufacturer’s support team for assistance.
Next up, we’ll cover the process of mounting the EZVIZ Husky 1080P Wi-Fi PoE Outdoor Camera.
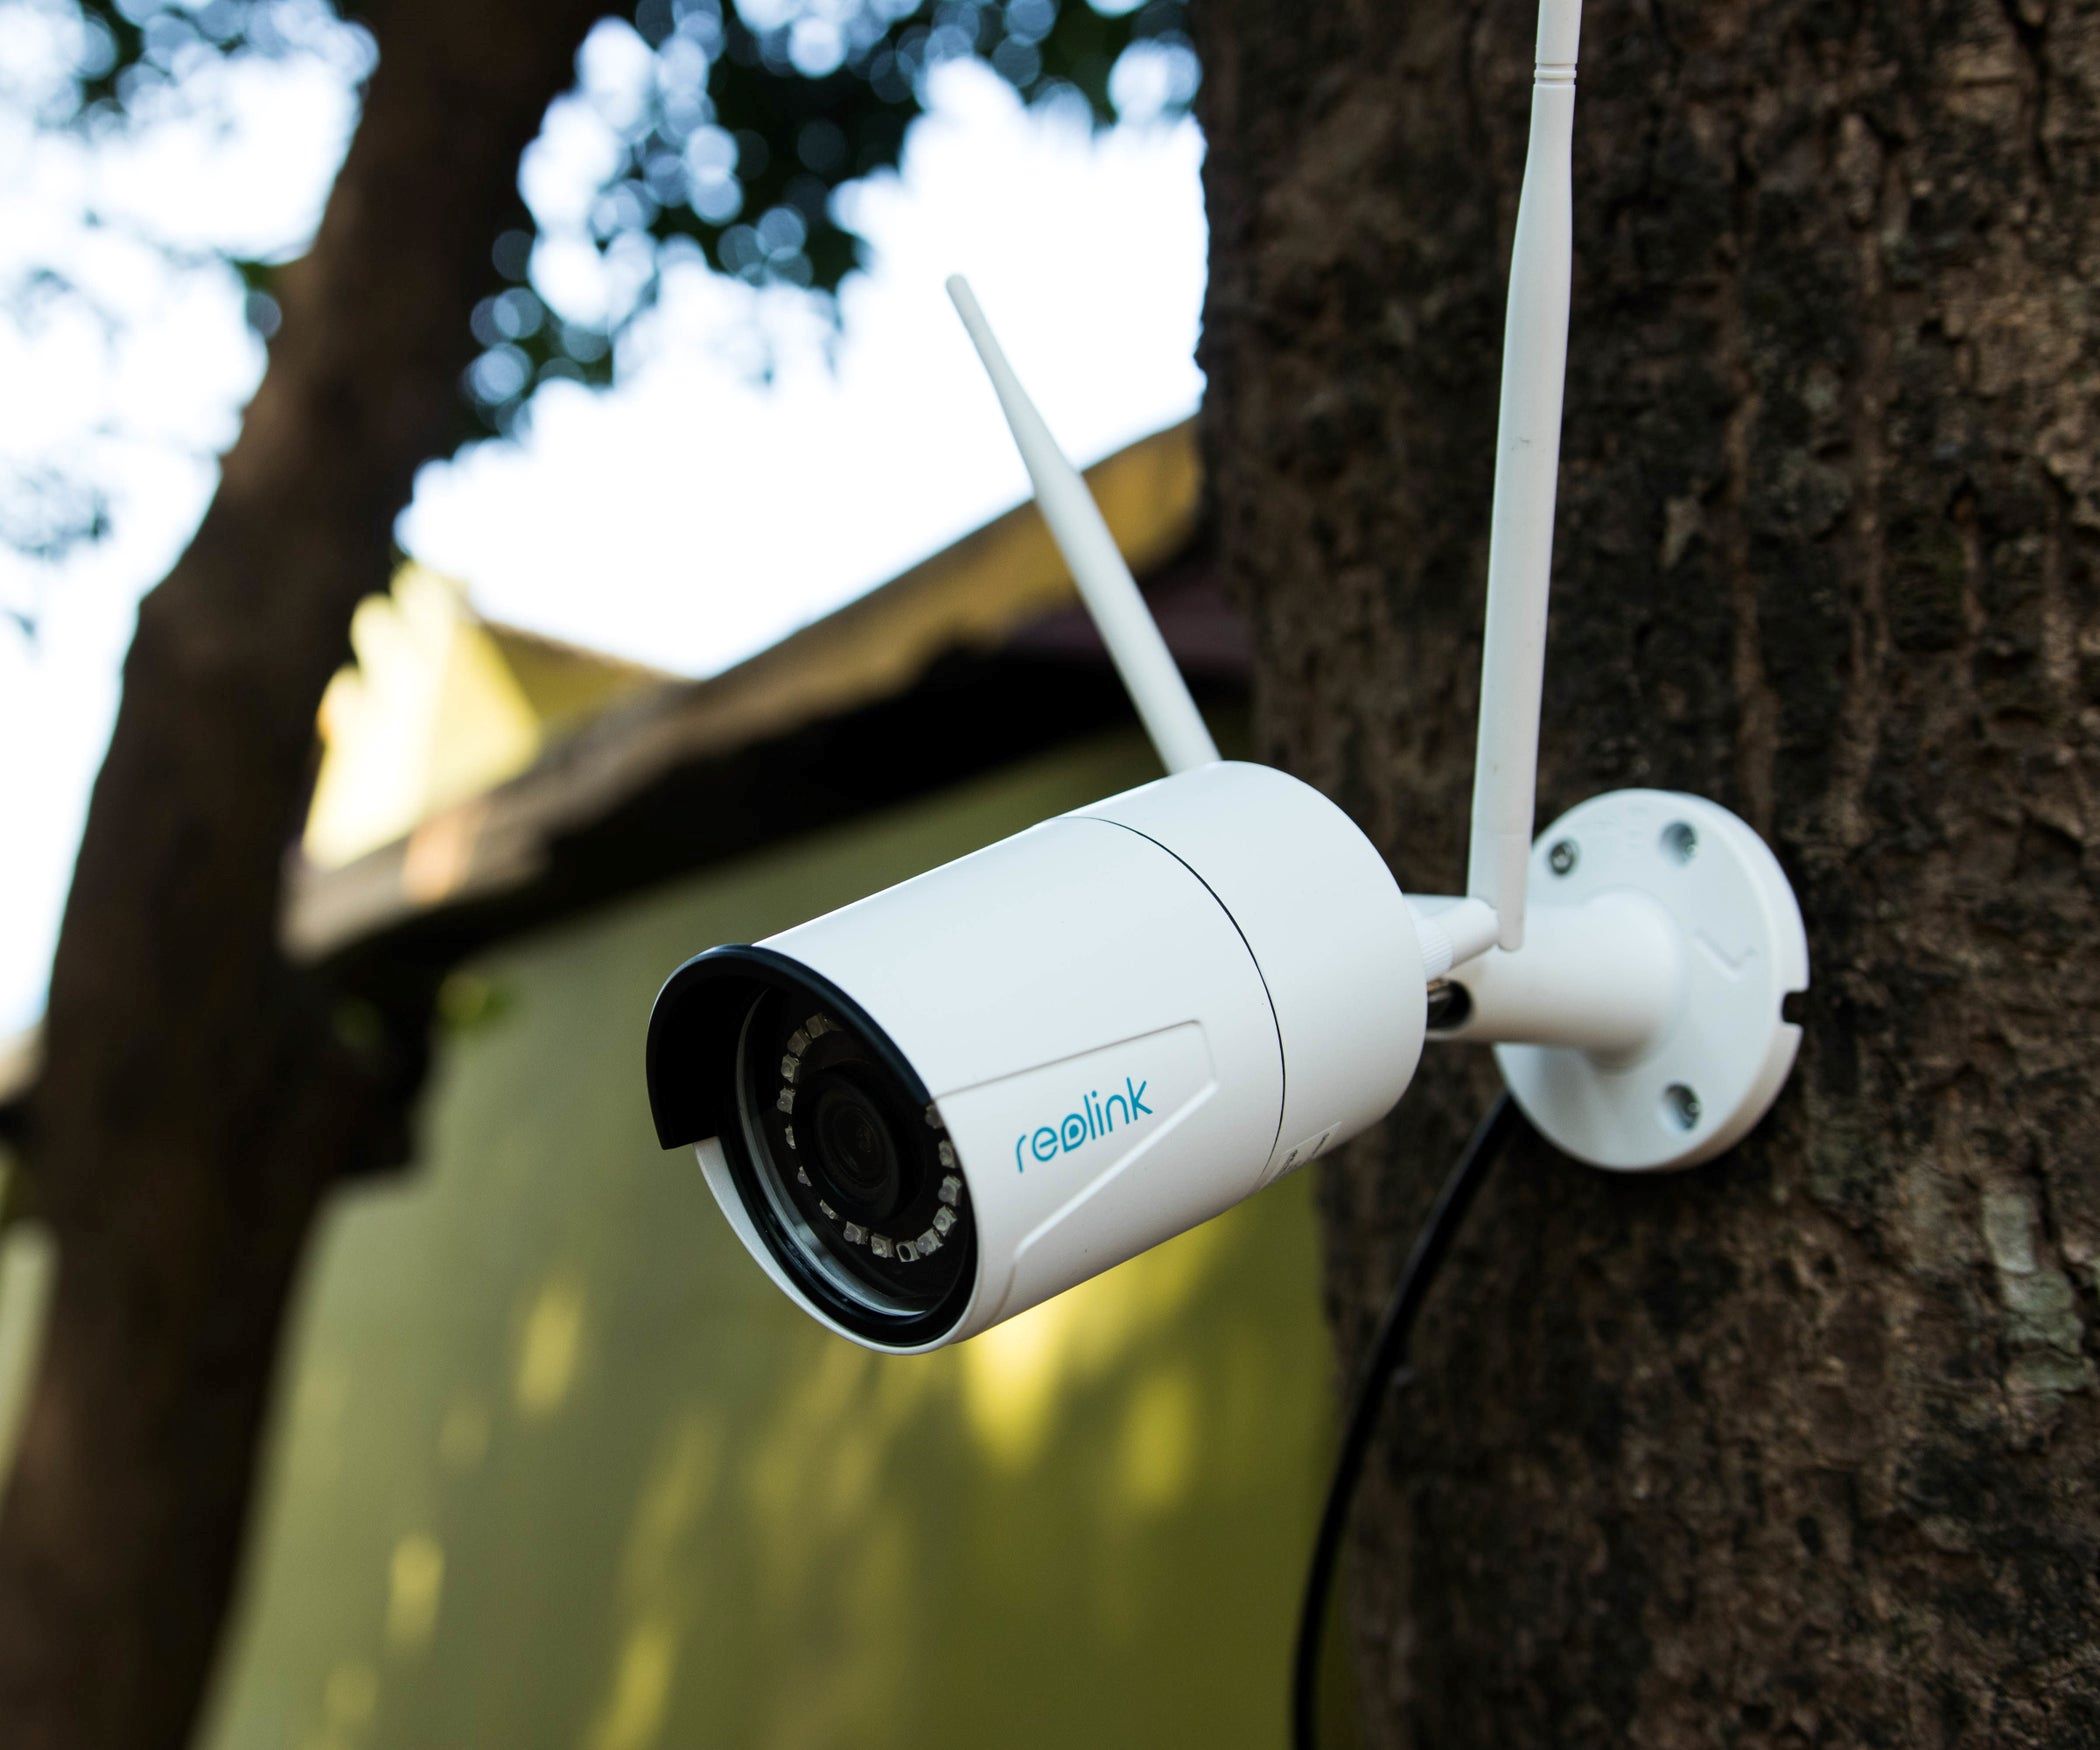
Step 3: Mounting the EZVIZ Husky 1080P Wi-Fi PoE Outdoor Camera
Now that you’ve prepared the installation site for the EZVIZ Husky 1080P Wi-Fi PoE Outdoor Camera, it’s time to mount the camera itself. This step involves attaching the camera’s mounting bracket to the chosen surface and ensuring a secure and stable installation. Follow these steps to successfully mount the camera:
- Locate the mounting bracket: The EZVIZ Husky camera comes with a mounting bracket that needs to be attached to a wall, ceiling, or other suitable surface. Locate the bracket and ensure that all necessary components are present.
- Position the mounting bracket: Hold the mounting bracket against the chosen installation surface and align it properly. Use a level to ensure the bracket is straight and level, which will help achieve a balanced field of view.
- Mark the mounting holes: With the bracket in place, use a pencil or marker to mark the positions of the mounting holes on the surface. This will serve as a guide when drilling the holes.
- Drill the mounting holes: Using a power drill and the appropriate size masonry bit, carefully drill the marked holes on the surface. Be sure to follow the instructions provided by the manufacturer for drilling into specific surfaces like concrete, wood, or brick.
- Attach the mounting bracket: Once the holes are drilled, align the mounting bracket with the holes and insert screws through the bracket and into the wall or surface. Tighten the screws securely to ensure the bracket is firmly attached.
- Attach the camera to the bracket: The EZVIZ Husky camera is designed to easily attach to the mounting bracket. Simply align the camera with the bracket’s screw holes and use the provided screws to secure it in place. Ensure the camera is tightly fastened to the bracket.
By following these steps, you can ensure a secure and sturdy mount for your EZVIZ Husky camera. Once the camera is successfully mounted, you can proceed to the next step of connecting it to power and the network.
Note: In case you’re unsure about the mounting process or encounter any difficulties, refer to the camera’s user manual or contact the manufacturer’s support for assistance.
In the next step, we will cover the process of connecting the camera to power and the network.
Step 4: Connecting the Camera to Power and Network
Now that you’ve successfully mounted the EZVIZ Husky 1080P Wi-Fi PoE Outdoor Camera, it’s time to connect it to power and the network. This step involves using a Power over Ethernet (PoE) connection to provide both power and network connectivity to the camera. Follow these steps to connect the camera:
- Locate the PoE network switch or PoE injector: If you have a PoE network switch, locate the available PoE port. If not, connect the PoE injector to a standard Ethernet port on your network router or switch.
- Connect the Ethernet cable: Take an Ethernet cable and connect one end to the PoE network switch or PoE injector. Then, connect the other end of the cable to the appropriate port on the EZVIZ Husky camera. The Ethernet port on the camera is usually found on the back near the power input.
- Secure the connections: Ensure that the Ethernet cable is securely connected to both the camera and the PoE network switch or PoE injector. A loose connection can cause issues with power and network transmission.
- Connect the power adapter: The EZVIZ Husky camera requires power to operate. Connect the provided power adapter to the camera’s power input. The power input is typically located next to the Ethernet port on the camera.
- Plug in the power adapter: Once the power adapter is connected to the camera, plug it into a nearby power outlet. Make sure the power source is reliable and provides a stable power supply to the camera.
By following these steps, you will provide both power and network connectivity to your EZVIZ Husky camera. The Power over Ethernet (PoE) connection streamlines the installation process by combining power and data transmission over a single Ethernet cable, eliminating the need for separate power outlets and extra wiring.
It’s important to note that the camera may take a few moments to power on and establish a network connection. During this time, ensure that all the connections remain secure and wait for the camera’s LED indicators to confirm a successful connection.
With the camera successfully connected to power and the network, we can now move on to adjusting the camera’s angle and settings in the next step.
When installing the EZVIZ Husky 1080P Wi-Fi PoE Outdoor Camera, make sure to carefully follow the manufacturer’s instructions for mounting and connecting the camera to your Wi-Fi or PoE network. It’s important to choose a secure location and ensure a stable power source for optimal performance.
Read more: How To Activate Cooau Home Security Wireless IP Camera 1080P Wi-Fi CCTV Surveillance Webcam
Step 5: Adjusting the Camera’s Angle and Settings
Now that your EZVIZ Husky 1080P Wi-Fi PoE Outdoor Camera is connected to both power and the network, it’s time to adjust its angle and configure the camera settings. This step ensures that the camera captures the desired field of view and functions according to your specific preferences. Follow these steps to adjust the camera’s angle and settings:
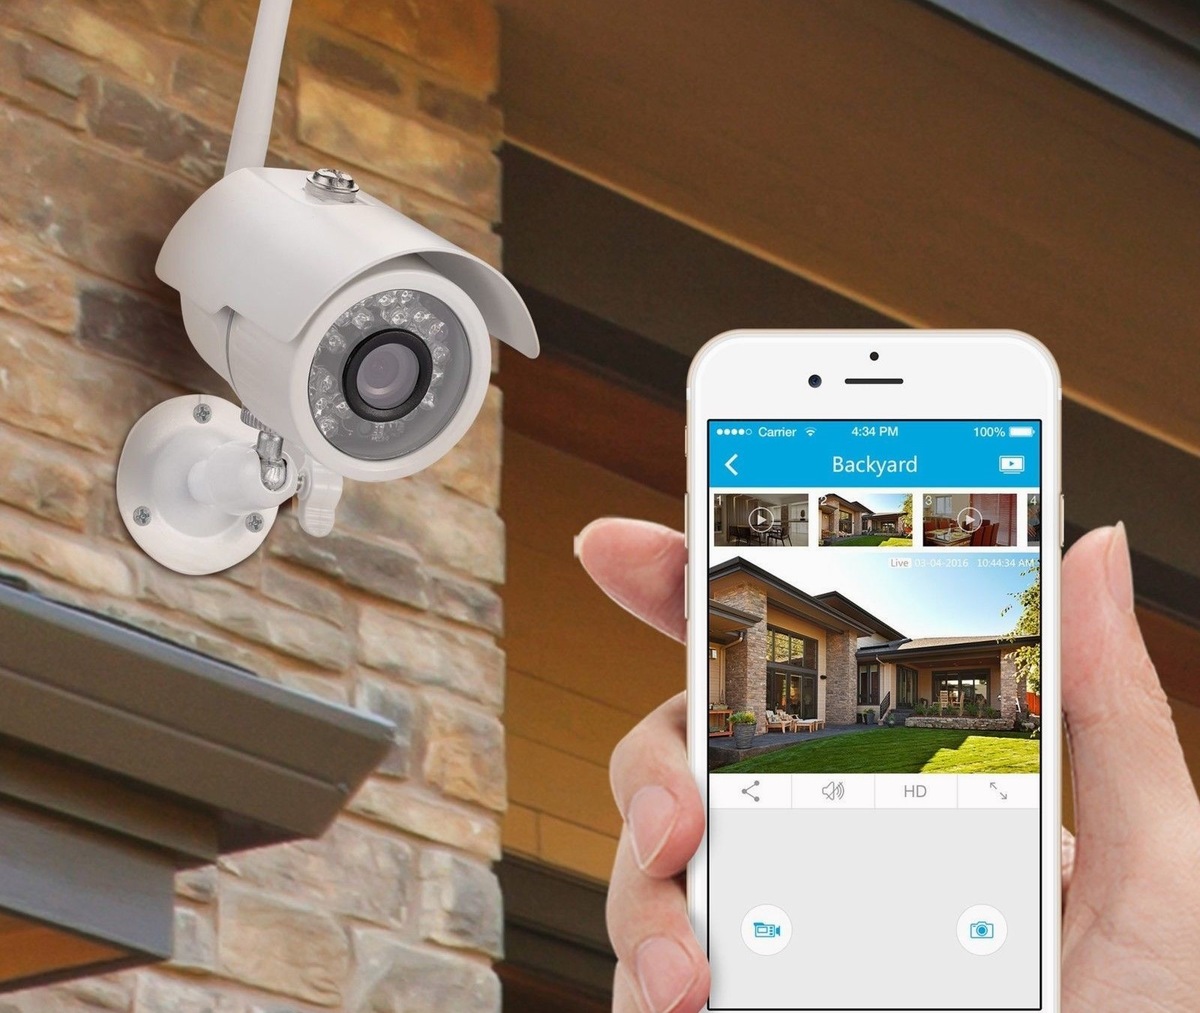
- Access the camera’s live view: Open the EZVIZ mobile app on your smartphone or access the camera’s web interface on your computer. Make sure you’re connected to the same network as the camera.
- Locate the camera in the app or web interface: Once you’re in the EZVIZ app or web interface, locate the camera in the device list. Select the camera to view its live feed and access the camera settings.
- Adjust the camera’s angle: With the live view displayed, physically adjust the camera’s angle to capture the desired field of view. The camera may have a pan-tilt-zoom (PTZ) functionality or a fixed lens, depending on the model. Use this feature to position the camera as needed for optimal coverage.
- Configure camera settings: Explore the camera settings within the app or web interface to customize the camera’s behavior. This may include adjusting image quality, enabling motion detection, setting up recording schedules, or configuring advanced options such as privacy masking or audio settings. Take your time to review and configure the settings according to your preferences.
- Save and apply the changes: Once you’ve adjusted the camera’s angle and configured the settings, save the changes within the app or web interface. This will ensure that the camera operates based on your desired configuration.
Keep in mind that the EZVIZ app and web interface may have additional features and options specific to the camera model. Take the time to explore these features and make any necessary adjustments to meet your specific requirements.
By following these steps, you’ll be able to customize the camera’s angle and settings to suit your surveillance needs. It’s recommended to test the camera’s functionality and ensure that it captures the desired area effectively.
With the camera’s angle and settings adjusted, we will move on to the next step: testing the camera’s functionality.
Step 6: Testing the Camera’s Functionality
After adjusting the angle and settings of your EZVIZ Husky 1080P Wi-Fi PoE Outdoor Camera, it’s important to thoroughly test its functionality to ensure that it is capturing clear footage and functioning as intended. Proper testing will help identify any potential issues and allow you to make any necessary adjustments. Follow these steps to test the camera’s functionality:
- Access the camera’s live view: Open the EZVIZ mobile app on your smartphone or access the camera’s web interface on your computer, making sure you’re connected to the same network as the camera.
- Check the camera’s live feed: Select the camera in the app or web interface to view its live feed. Ensure that the camera is capturing the desired field of view and that the image quality is clear and sharp.
- Test motion detection: Enable the camera’s motion detection feature and simulate movement in the camera’s field of view. This can be done by walking or waving your hand in front of the camera. Check if the camera detects motion and triggers alerts or recordings as configured.
- Check night vision: If your camera has night vision capabilities, test its performance in low-light or dark conditions. Turn off the lights in the area being monitored and verify that the camera can capture clear footage using its infrared (IR) LEDs.
- Monitor remote access: If you plan to access the camera remotely, such as when you’re away from home, test the ability to view the live feed and receive notifications through the EZVIZ mobile app or web interface. Make sure you can access the camera’s live feed and receive motion detection alerts as expected.
- Review recorded footage: If you have set up recording schedules or enabled continuous recording, check the recorded footage to ensure that it is being captured and stored correctly. Verify that playback is smooth and that the footage is of sufficient quality.
By following these steps, you can effectively test the functionality of your EZVIZ Husky camera and address any issues that may arise. If you encounter any challenges during the testing process, refer to the camera’s user manual or contact the manufacturer’s support for further assistance.
Once you are satisfied with the camera’s performance and functionality, you can proceed to the final step: securing and weatherproofing the camera for long-term use.
Step 7: Securing and Weatherproofing the Camera
Securing and weatherproofing your EZVIZ Husky 1080P Wi-Fi PoE Outdoor Camera is essential to protect it from tampering, theft, and the elements. These measures will ensure the longevity and reliability of your camera’s performance. Follow these steps to secure and weatherproof the camera:
- Tighten all screws and connections: Ensure that all screws and connections, including those on the mounting bracket and camera housing, are securely tightened. Loose screws can compromise the stability of the camera and may affect its performance.
- Consider using tamper-resistant screws: If security is a concern in your installation area, consider using tamper-resistant screws to further secure the camera. These screws have a unique design that requires a specific tool to remove, making it more difficult for unauthorized individuals to tamper with the camera.
- Protect cable connections: Seal the cable connections, including the Ethernet cable and power cable, to prevent moisture and water ingress. You can use waterproof connectors or weatherproofing tape to provide an extra layer of protection. This will help reduce the risk of electrical issues and ensure consistent performance.
- Apply weatherproofing sealant: If your camera is exposed to the elements, such as rain, snow, or extreme temperatures, it’s important to apply a weatherproofing sealant around the mounting bracket and any exposed cable openings. This will create a barrier against moisture and ensure longevity.
- Consider casing or housing options: If the camera is located in an area prone to extreme weather conditions or where additional protection is needed, consider investing in a compatible camera casing or housing. These accessories provide an extra layer of protection against physical damage, dust, and vandalism.
- Regularly inspect and clean the camera: Perform periodic inspections to check for any signs of damage, such as cracks in the housing or lens. Clean the camera lens using a microfiber cloth and gently remove any dirt or debris that may obstruct the camera’s view. Regular maintenance will help maintain the camera’s performance over time.
By following these steps, you can secure and weatherproof your EZVIZ Husky camera, ensuring its protection against tampering and the elements. These measures will contribute to the longevity and reliable performance of your camera system.
Congratulations! You have successfully completed the installation process of your EZVIZ Husky 1080P Wi-Fi PoE Outdoor Camera. By following this comprehensive guide, you now have a fully functional and secure home security system that provides peace of mind and enhances the safety of your property.
Remember to periodically check the camera’s performance, update the firmware, and review the settings to ensure continued optimal functioning. If you have any further questions or need assistance, refer to the camera’s user manual or reach out to the EZVIZ support team.
Conclusion
Home security and surveillance are paramount in today’s world, and the installation of a high-quality camera system can provide peace of mind and enhance the safety of your property. Throughout this comprehensive guide, we have walked you through the step-by-step process of installing the EZVIZ Husky 1080P Wi-Fi PoE Outdoor Camera.
We started by gathering the necessary tools and materials, ensuring that you have everything you need for a successful installation. We then moved on to preparing the site for installation, selecting the optimal location, and ensuring a stable mounting surface.
Next, we covered the process of mounting the camera securely, allowing for the best angle and field of view. We then proceeded to connect the camera to power and the network using a Power over Ethernet (PoE) connection, making use of Ethernet cables and PoE switches or injectors.
After that, we discussed the importance of adjusting the camera’s angle and settings to capture the desired coverage area. We explored the camera’s live view, motion detection capabilities, night vision, and remote access features. We also emphasized the significance of testing the camera’s functionality to ensure it meets your specific surveillance needs.
Finally, we highlighted the importance of securing and weatherproofing the camera, tightening screws, protecting cable connections, applying sealant, and considering additional housing options. Regular inspections and maintenance were encouraged to keep the camera’s performance optimal over time.
By following the steps outlined in this guide, you have successfully installed the EZVIZ Husky 1080P Wi-Fi PoE Outdoor Camera and can now enjoy the benefits of a reliable and robust home security system. Remember to periodically review the camera’s performance and settings, update the firmware, and perform necessary maintenance to ensure optimal performance and longevity.
We hope this guide has provided you with the knowledge and confidence to install and optimize your EZVIZ Husky camera. If you have any questions or need further assistance, refer to the camera’s user manual or contact the EZVIZ support team. Take control of your home security today and create a safe and protected environment for you and your loved ones.
Frequently Asked Questions about How To Install EZVIZ Husky 1080P Wi-Fi PoE Outdoor Camera
Was this page helpful?
At Storables.com, we guarantee accurate and reliable information. Our content, validated by Expert Board Contributors, is crafted following stringent Editorial Policies. We're committed to providing you with well-researched, expert-backed insights for all your informational needs.