Home>Home Security and Surveillance>How To Use Security Camera Without Wi-Fi
Home Security and Surveillance
How To Use Security Camera Without Wi-Fi
Modified: October 20, 2024
Learn how to use a security camera for home security and surveillance even without a Wi-Fi connection. Ensure your property's safety with our step-by-step guide.
(Many of the links in this article redirect to a specific reviewed product. Your purchase of these products through affiliate links helps to generate commission for Storables.com, at no extra cost. Learn more)
Introduction
Home security is a top priority for homeowners, and surveillance systems have become an essential part of ensuring the safety and protection of your family and property. Traditionally, security cameras have relied on a Wi-Fi connection to transmit video footage and provide remote access. However, there are instances where a Wi-Fi connection may not be available or desirable.
In this article, we will explore various options for using a security camera without Wi-Fi. Whether you’re living in a remote area with limited internet access or simply prefer a wired connection, these alternatives will help you maintain reliable surveillance capabilities.
Let’s dive into the different methods you can utilize to set up and use a security camera system without relying on Wi-Fi.
Key Takeaways:
- Don’t let Wi-Fi limitations stop you from securing your home. Explore wired, cellular, local network, hotspot/tethering, and wireless bridge options for using security cameras without Wi-Fi.
- Whether it’s stable connections, remote access, or coverage expansion, alternative methods offer flexibility to suit your specific needs, ensuring reliable home surveillance without relying on Wi-Fi.
Read more: How To Use Printer Without Wi-Fi
Option 1: Use a Wired Security Camera System
A wired security camera system is a reliable and effective way to monitor your home without relying on Wi-Fi. This option involves running Ethernet cables from the security cameras to a central recording device or a monitor.
Here are the steps to set up a wired security camera system:
- Choose the right cameras: Select wired security cameras that suit your surveillance needs. Ensure they come with Ethernet ports for connectivity.
- Plan the camera placement: Determine the areas you want to monitor and position the cameras accordingly. Remember to consider the necessary cable length to connect each camera to the recording device.
- Install the cameras: Mount the cameras securely using brackets or other mounting options. Run the Ethernet cables from each camera to the desired central location.
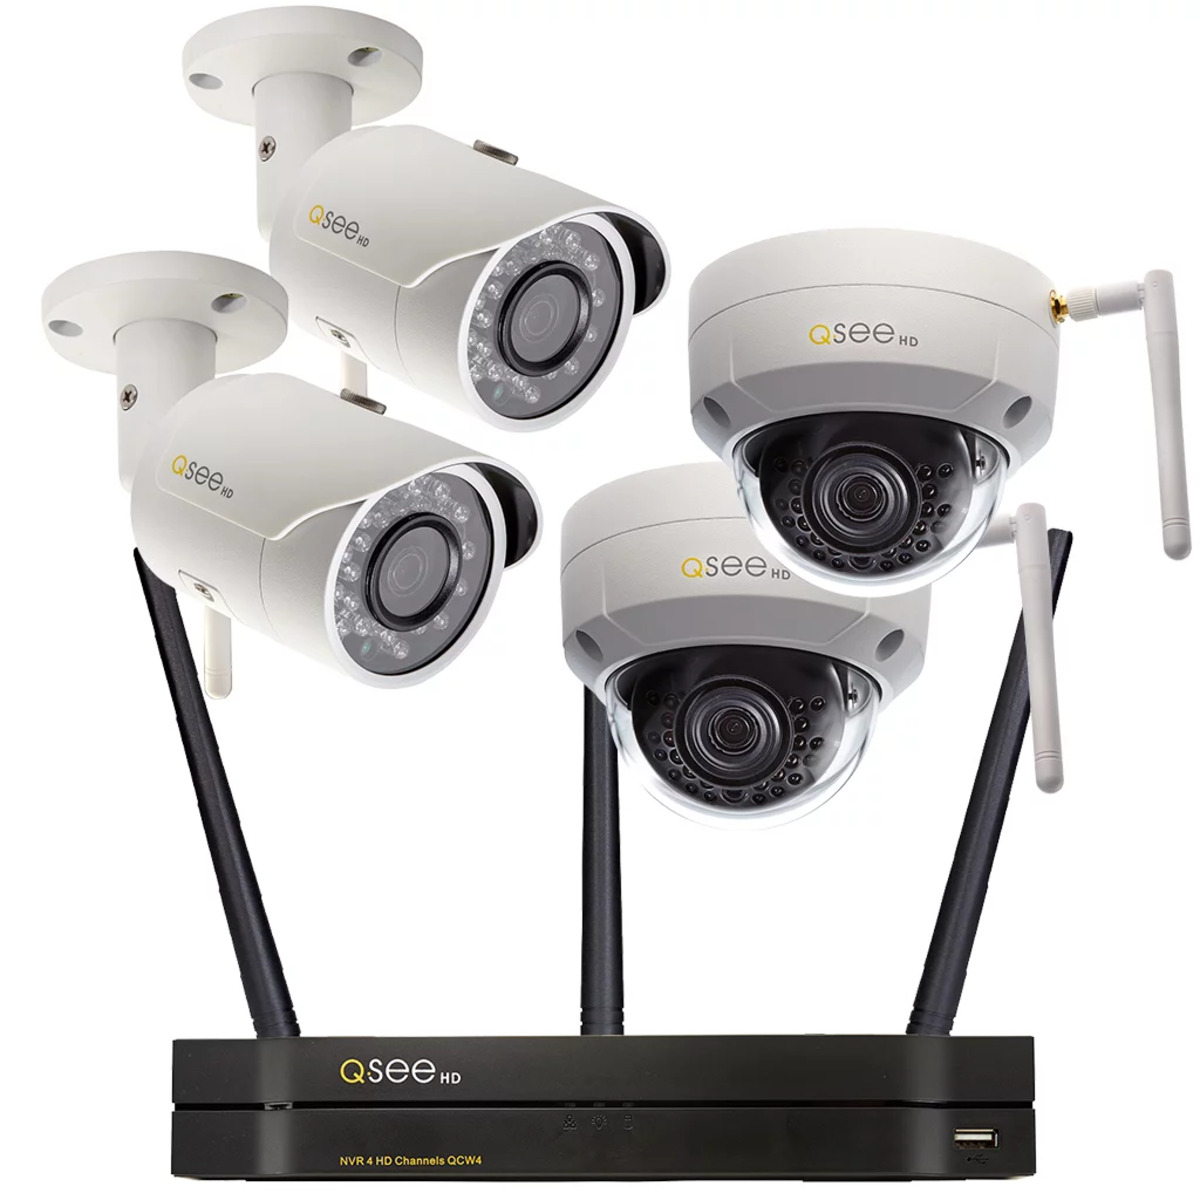
- Set up the recording device: Install a Network Video Recorder (NVR) or Digital Video Recorder (DVR) to receive and store footage from the cameras. Connect the cameras to the recording device using the Ethernet cables.
- Configure the system: Follow the manufacturer’s instructions to set up the recording device and customize the camera settings, such as motion detection and recording schedules.
- View the footage: Connect a monitor to the recording device, or access the system remotely through a computer connected to the same network.
A wired security camera system provides a stable and secure connection, eliminating the need for Wi-Fi. It ensures that the cameras stay connected and accessible, even in areas with weak or no Wi-Fi signal. Additionally, since the footage is transmitted through cables, there is minimal risk of signal interference or bandwidth limitations.
One of the advantages of using a wired system is the ability to have multiple cameras without experiencing network congestion. You can add as many cameras as needed, as long as you have sufficient cable length and inputs on the recording device.
Keep in mind that the installation process for a wired security camera system may be more involved compared to a wireless setup. However, the added reliability and uninterrupted connectivity make it an excellent option for those who prioritize stability and performance.
Option 2: Utilize a Cellular Network
If you don’t have access to Wi-Fi or prefer a wireless solution, utilizing a cellular network is a viable option for connecting your security cameras. This method allows you to leverage the mobile data network to transmit video footage and access your surveillance system remotely.
Here’s how you can set up a security camera system using a cellular network:
- Choose cellular-enabled cameras: Select security cameras that have built-in cellular connectivity. These cameras are specifically designed to utilize a cellular network for communication.
- Install a SIM card: Insert a SIM card into each camera that supports cellular connectivity. Make sure the SIM card is activated and has sufficient data and network coverage.
- Position the cameras: Determine the optimal locations for the cameras to capture the desired areas. Ensure that the cameras have a clear line of sight to the cellular tower for better signal reception.
- Configure the cameras: Follow the manufacturer’s instructions to connect the cameras to the cellular network. This usually involves inputting the APN (Access Point Name) settings provided by your mobile service provider.
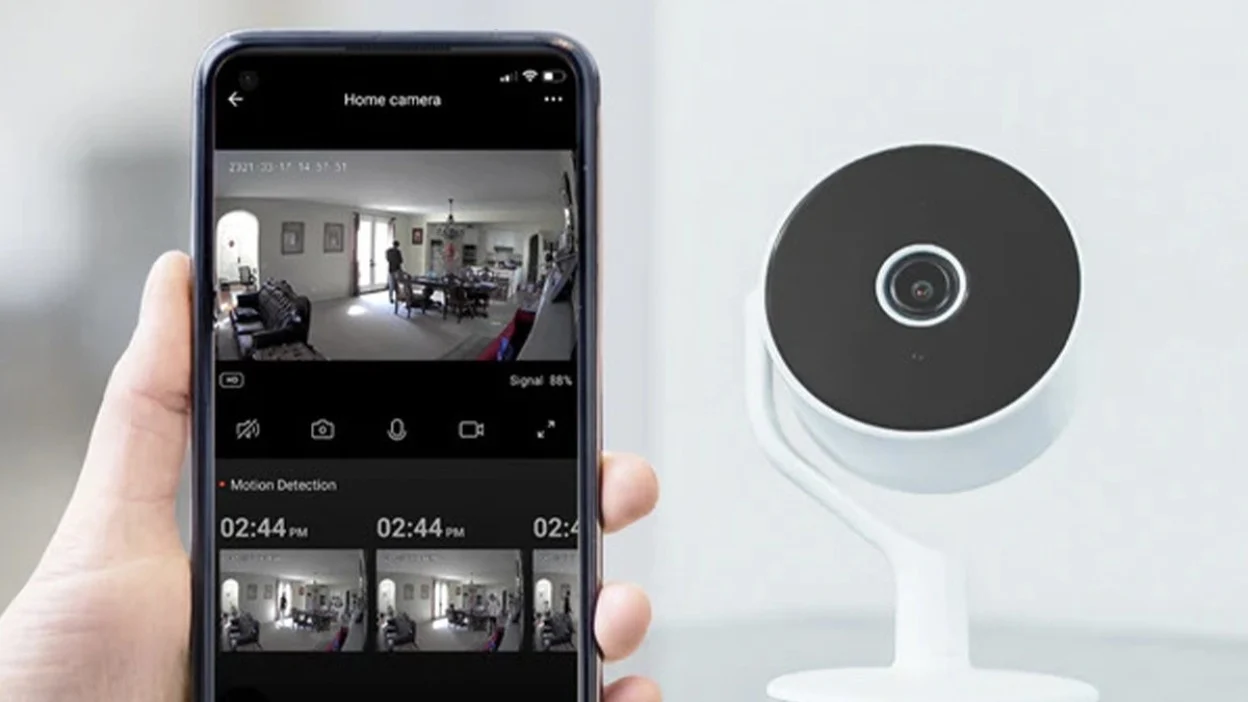
- Set up a remote viewing platform: Install the necessary software or mobile app provided by the camera manufacturer to access the camera feeds remotely. This will enable you to view the surveillance footage on your smartphone or computer.
- Ensure data plan and coverage: Make sure you have an appropriate cellular data plan with enough data allowance to support the video transmission. Additionally, verify that your location has adequate cellular signal coverage.
Using a cellular network for your security cameras offers flexibility and freedom, as it allows you to monitor your property even in areas without Wi-Fi access. It is particularly beneficial for remote locations or temporary setups where establishing a Wi-Fi network is not feasible.
However, it is important to consider the potential limitations of using cellular connectivity. Data usage can quickly add up, especially if you have multiple cameras or continuously stream high-resolution video. Monitoring your data consumption and choosing a suitable data plan is crucial to avoid unexpected charges.
Also, keep in mind that the reliability of the cellular network may vary depending on your location and network provider. Check the coverage maps and consult your provider to ensure that you can achieve consistent and stable camera connectivity.
Utilizing a cellular network for your security cameras can be a reliable and convenient alternative to Wi-Fi. It offers the advantage of remote access and monitoring without the need for a fixed internet connection.
Option 3: Set Up a Local Network
If you prefer to have a dedicated local network for your security cameras, setting up a non-Wi-Fi network can be a suitable option. This method involves using specialized networking equipment to create a local network solely for your surveillance system.
Here’s how you can set up a local network for your security cameras:
- Choose network-compatible cameras: Select security cameras that support Ethernet connectivity. Look for cameras with built-in Ethernet ports or those that can be connected to an Ethernet adapter.
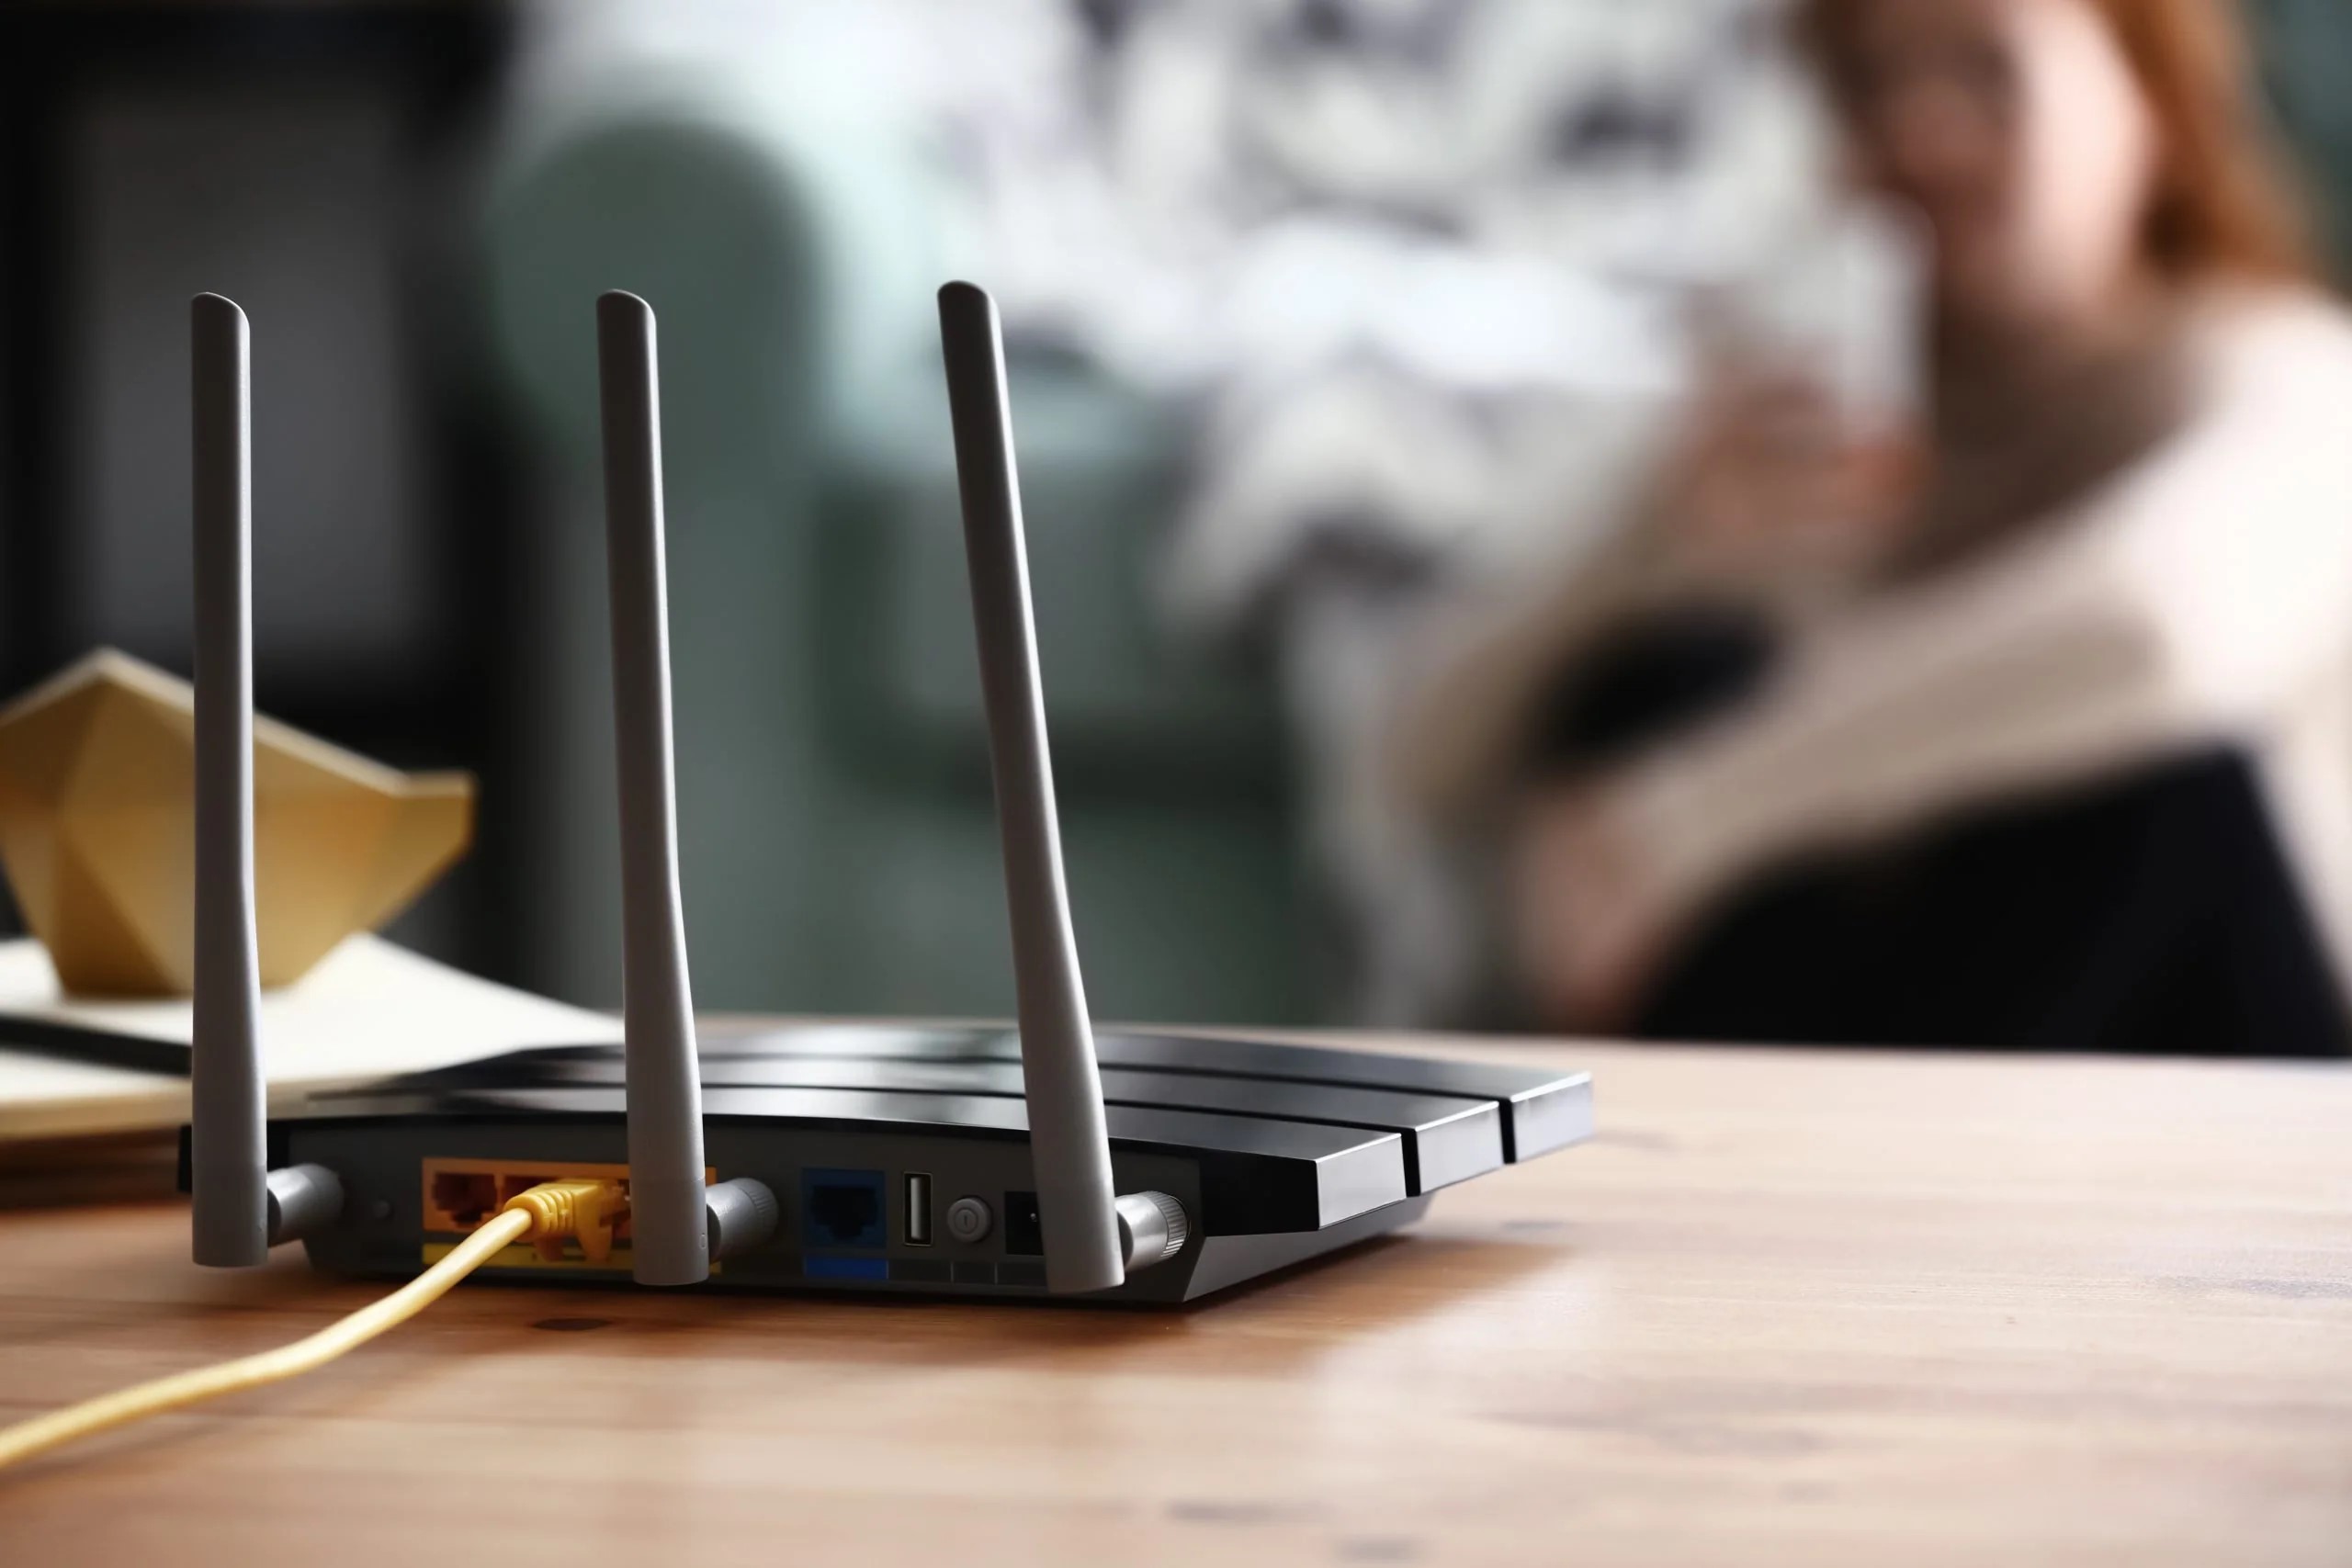
- Obtain networking equipment: Purchase a network switch or router that has enough ports to accommodate all your cameras. Ensure that it includes Ethernet ports for connecting the cameras.
- Connect the cameras: Use Ethernet cables to connect each camera to the network switch or router. The length of the cables will depend on the distance between the cameras and the networking equipment.
- Configure the network: Access the network switch or router’s administration settings and assign IP addresses to each camera. This step may require technical knowledge or assistance, but it allows you to manage and access the cameras through the local network.
- Set up remote access: If you want to access the camera feeds remotely, you’ll need to configure port forwarding on your router and use a dynamic DNS service to assign a domain name to your network. This will enable you to access the cameras using a web browser or a mobile app, even when you’re outside your local network.
- Additional considerations: You can enhance the security of your local network by utilizing features such as encryption, password protection, and firewall settings on the network switch or router. Regularly update firmware and password credentials to ensure network integrity.
Setting up a dedicated local network for your security cameras gives you more control over the connections and minimizes interference from other devices. It ensures a secure and stable network connection, as the cameras are not competing for bandwidth with other Wi-Fi devices.
Remember that creating and managing a local network may require technical expertise. If you’re unfamiliar with networking concepts or unsure about the setup process, consider consulting with a professional or seeking guidance from the camera manufacturer’s support team.
By establishing a local network, you can have a reliable and secure surveillance system without relying on Wi-Fi. It offers a dedicated connection for your cameras, ensuring consistent performance and ease of access.
You can use a security camera without Wi-Fi by choosing a camera with local storage options like a microSD card or a DVR. This allows the camera to record and store footage without needing an internet connection.
Option 4: Connect to a Hotspot or Tethering
If you have a smartphone or a mobile device with cellular data capabilities, you can use the hotspot or tethering feature to connect your security cameras to the internet. This method utilizes your device’s cellular data to establish a Wi-Fi connection for your cameras.
Here’s how you can connect your security cameras to a hotspot or through tethering:
- Confirm device compatibility: Ensure that your security cameras can connect to a Wi-Fi network. Look for cameras with built-in Wi-Fi capabilities or those that can be connected to a Wi-Fi adapter.
- Activate hotspot/tethering: Open the settings on your mobile device and navigate to the hotspot or tethering section. Enable the feature to create a Wi-Fi network that your cameras can connect to.
- Configure hotspot/tethering settings: Set a secure password for your hotspot or tethering network to prevent unauthorized access. Consider renaming the network to easily identify it when connecting the cameras.
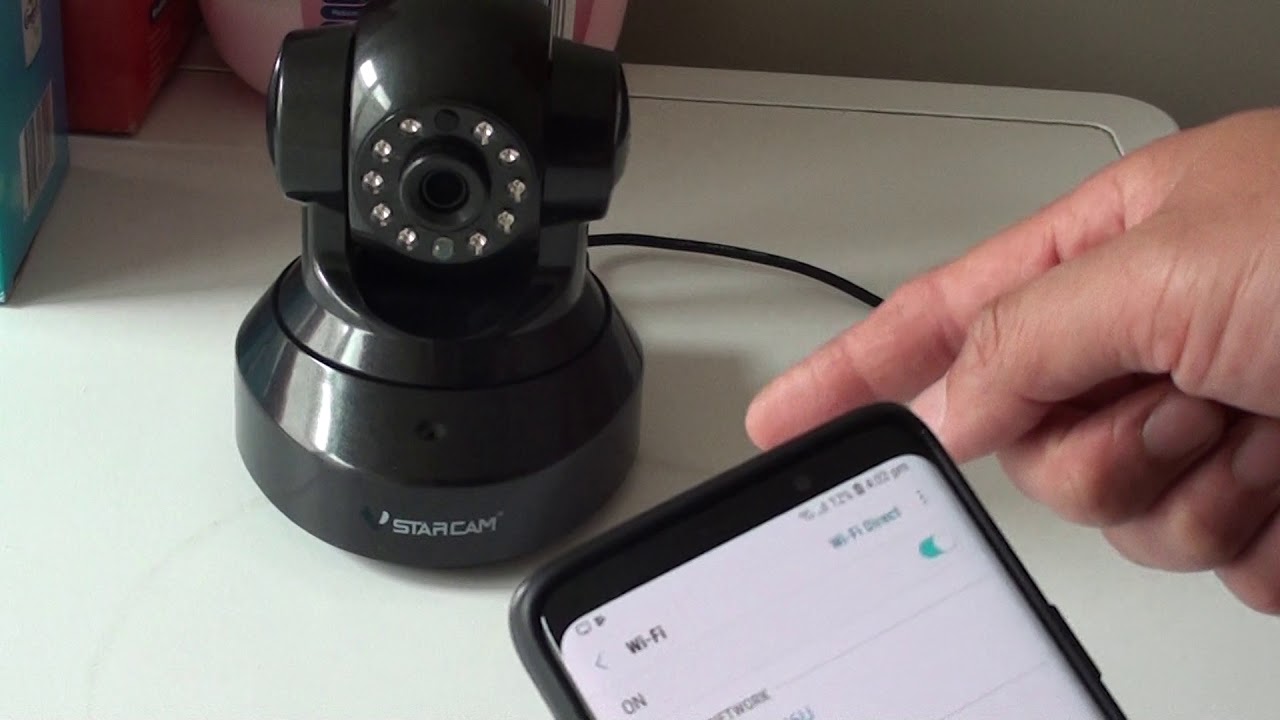
- Connect the cameras to the hotspot/tethering network: Access the Wi-Fi settings on each camera and locate the hotspot or tethering network you created. Enter the password and establish a connection to the network.
- Ensure mobile data coverage and data plan: Verify that you have sufficient cellular data coverage in your area and an appropriate data plan that allows for continuous video streaming.
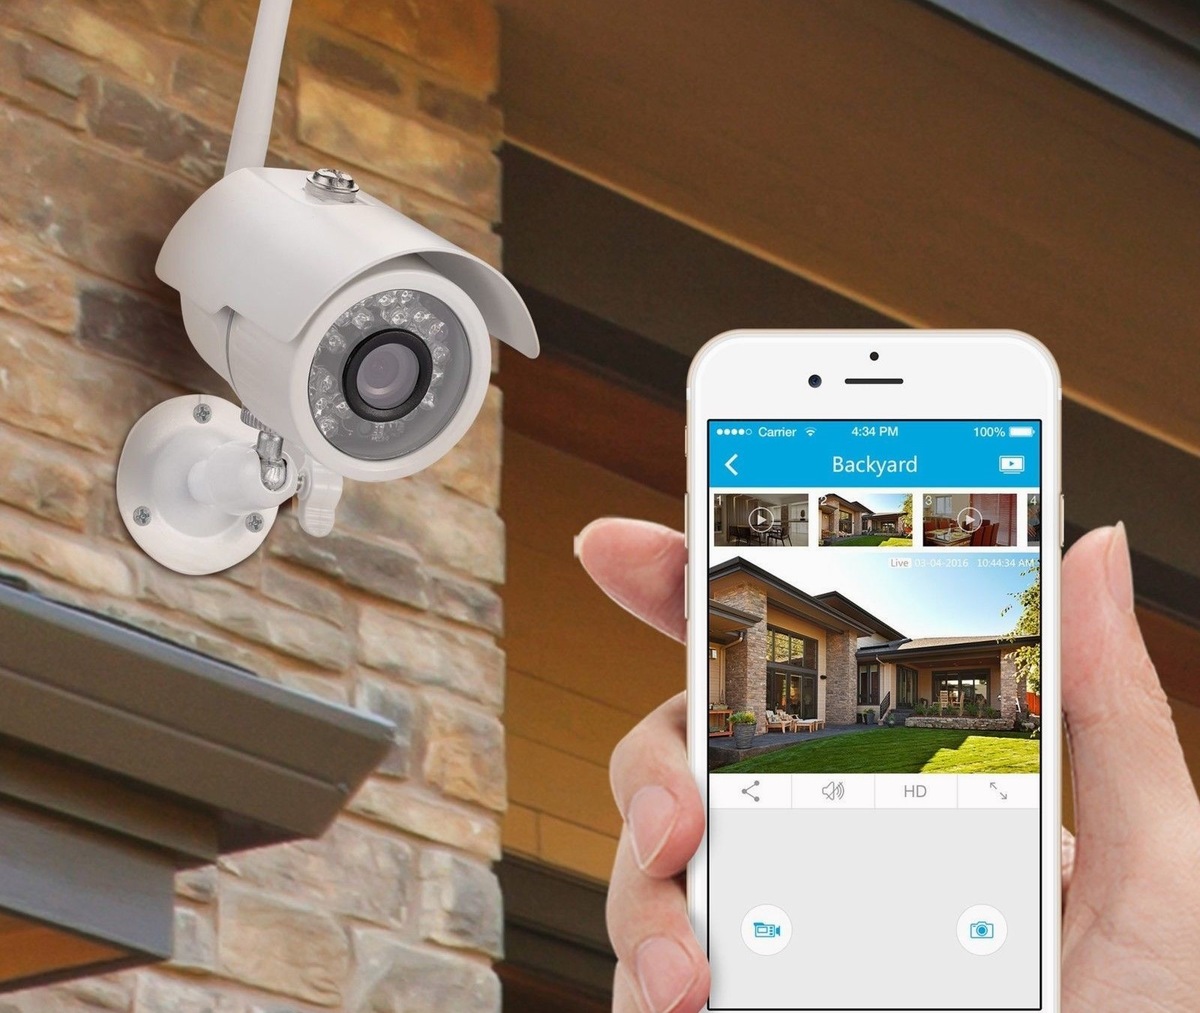
- Access the camera feeds: Download and install the manufacturer’s app or software on your mobile device. Use the app to access and view the camera feeds remotely.
Connecting your security cameras to a hotspot or through tethering gives you the flexibility to monitor your property while utilizing your existing mobile device’s data connection. It is a convenient option when Wi-Fi is unavailable or impractical.
However, it’s important to be mindful of the limitations of using a hotspot or tethering. The stability and quality of the connection may vary depending on your cellular network signal strength and data plan. Additionally, continuous video streaming can consume a significant amount of data, so consider monitoring your data usage to avoid exceeding your data plan’s limits.
This option is especially useful in temporary setups or locations where installing a wired or dedicated network is not feasible. By leveraging your mobile device’s hotspot or tethering feature, you can achieve reliable remote access to your security camera system.
Read more: How To Connect Ring Security Camera To Wi-Fi
Option 5: Use a Wireless Bridge or Range Extender
If you have an existing Wi-Fi network but face range limitations or weak signal strength, using a wireless bridge or range extender can help extend the coverage and connect your security cameras to the network. This option allows you to overcome Wi-Fi connectivity issues without the need for additional wiring or network setup.
Here’s how you can use a wireless bridge or range extender to connect your security cameras:
- Select the appropriate device: Choose a wireless bridge or range extender that is compatible with your existing Wi-Fi network. Look for devices that support the same Wi-Fi standard (e.g., 802.11ac) and offer sufficient coverage range.
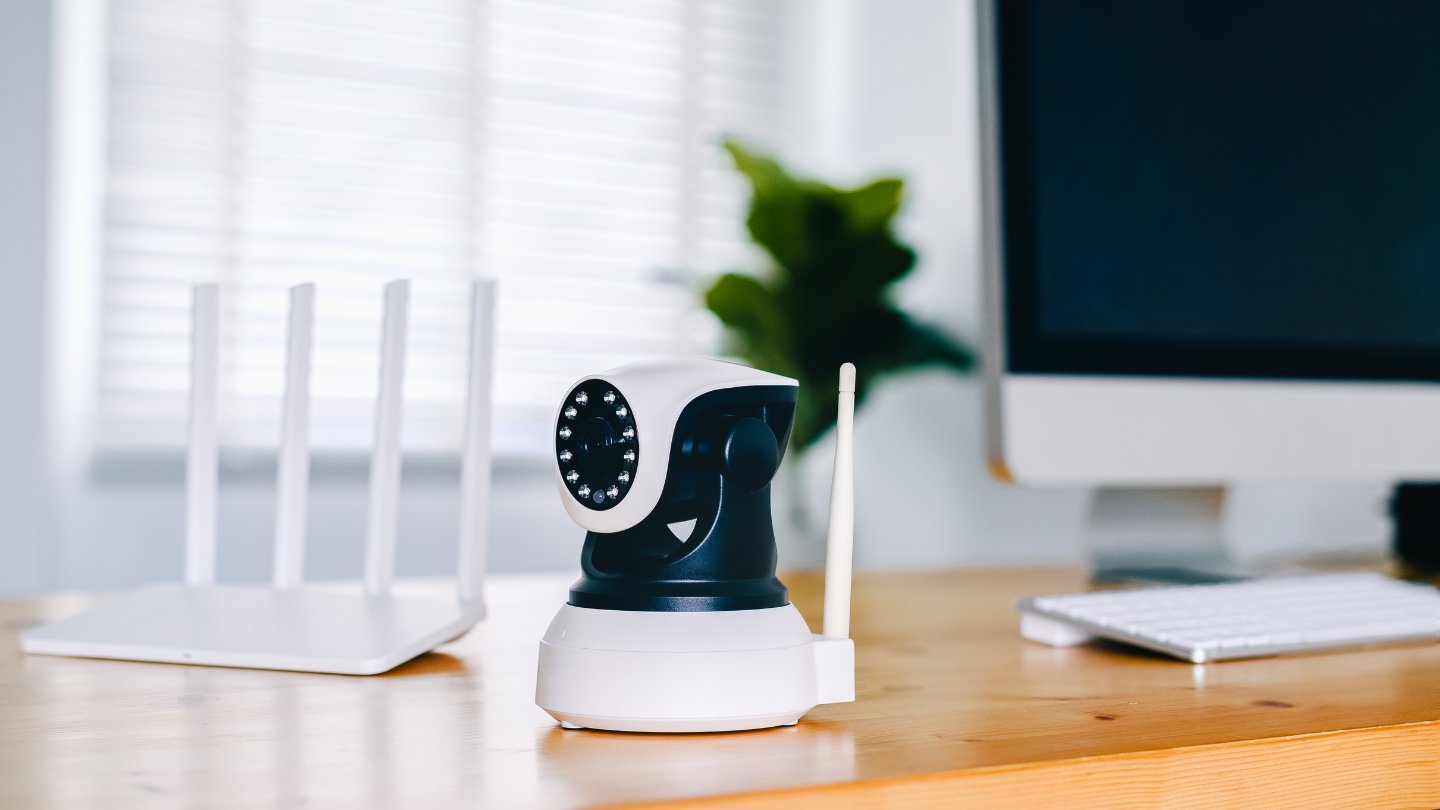
- Position the device: Place the wireless bridge or range extender within reasonable proximity to both your Wi-Fi router and the location of your security cameras. This ensures a strong and stable connection.
- Connect the device: Follow the manufacturer’s instructions to connect the wireless bridge or range extender to your existing Wi-Fi network. This usually involves pressing a WPS (Wi-Fi Protected Setup) button or manually configuring the device through a web-based interface.
- Connect the cameras to the device: Access the Wi-Fi settings on each camera and connect them to the network extended by the wireless bridge or range extender. This allows the cameras to utilize the extended Wi-Fi network for reliable connectivity.
- Test the connection: Ensure that the security cameras are successfully connected to the extended Wi-Fi network by accessing the camera feeds through a computer or mobile device. Verify that the video stream is smooth and uninterrupted.
- Consider network security: Protect your extended Wi-Fi network by setting up strong passwords and enabling encryption protocols. Regularly update the firmware of the wireless bridge or range extender to ensure network security.
Using a wireless bridge or range extender expands the reach of your Wi-Fi network, allowing you to connect security cameras in areas that were previously out of range. It eliminates the need for additional wiring or infrastructure, making it a convenient solution for expanding coverage.
Keep in mind that the performance of the extended Wi-Fi network may vary depending on factors such as distance, obstacles, and network congestion. It’s recommended to place the wireless bridge or range extender strategically to maximize signal strength and minimize interference.
By utilizing a wireless bridge or range extender, you can overcome the limitations of your existing Wi-Fi network and extend coverage to ensure reliable connectivity with your security cameras.
Conclusion
Securing your home with a surveillance system is essential for the safety and protection of your family and property. However, not all situations allow for a traditional Wi-Fi connection to support your security cameras. Fortunately, there are several alternative methods you can employ to use security cameras without relying on Wi-Fi.
If you prefer a wired setup, utilizing a wired security camera system is a reliable and effective option. By running Ethernet cables from the cameras to a central recording device, you can ensure a stable and secure connection, even in areas with limited or no Wi-Fi coverage.
Utilizing a cellular network is another viable option. By choosing cellular-enabled cameras and installing SIM cards with adequate data plans, you can leverage the mobile data network for video transmission and remote access. This is particularly useful in remote locations or situations where establishing a Wi-Fi network is not feasible.
Setting up a dedicated local network for your security cameras provides a secure and stable connection. By connecting the cameras to a network switch or router and configuring the necessary settings, you can have complete control over the connections and ensure consistent performance.
If you have access to a smartphone or device with cellular data capabilities, using the hotspot or tethering feature allows you to connect your security cameras to the internet. This provides flexibility and convenience, utilizing your existing mobile data connection to establish a Wi-Fi network for the cameras.
Extending the coverage of your existing Wi-Fi network is also possible with the use of a wireless bridge or range extender. By placing the device strategically, you can overcome range limitations and connect your security cameras to the extended network without additional wiring.
Each of these options offers unique benefits and considerations, allowing you to choose the method that best suits your specific needs and circumstances. Whether it’s ensuring a stable connection, providing remote access, or expanding coverage, these alternatives enable you to use security cameras without relying on Wi-Fi.
Before implementing any of these methods, it’s important to assess your requirements, consult with professionals if needed, and ensure that you have the necessary equipment and resources for successful installation and operation.
By exploring these alternative options, you can enhance the security of your home and have peace of mind knowing that your surveillance system is reliable and tailored to your specific needs, regardless of the availability or limitations of Wi-Fi connectivity.
Frequently Asked Questions about How To Use Security Camera Without Wi-Fi
Was this page helpful?
At Storables.com, we guarantee accurate and reliable information. Our content, validated by Expert Board Contributors, is crafted following stringent Editorial Policies. We're committed to providing you with well-researched, expert-backed insights for all your informational needs.