Home>Technology>Smart Home Devices>How To Connect IP Camera To Wi-Fi Router
Smart Home Devices
How To Connect IP Camera To Wi-Fi Router
Modified: August 28, 2024
Learn how to easily connect your IP camera to your Wi-Fi router for seamless integration with your smart home devices. Simplify your setup and enhance your home security.
(Many of the links in this article redirect to a specific reviewed product. Your purchase of these products through affiliate links helps to generate commission for Storables.com, at no extra cost. Learn more)
Introduction
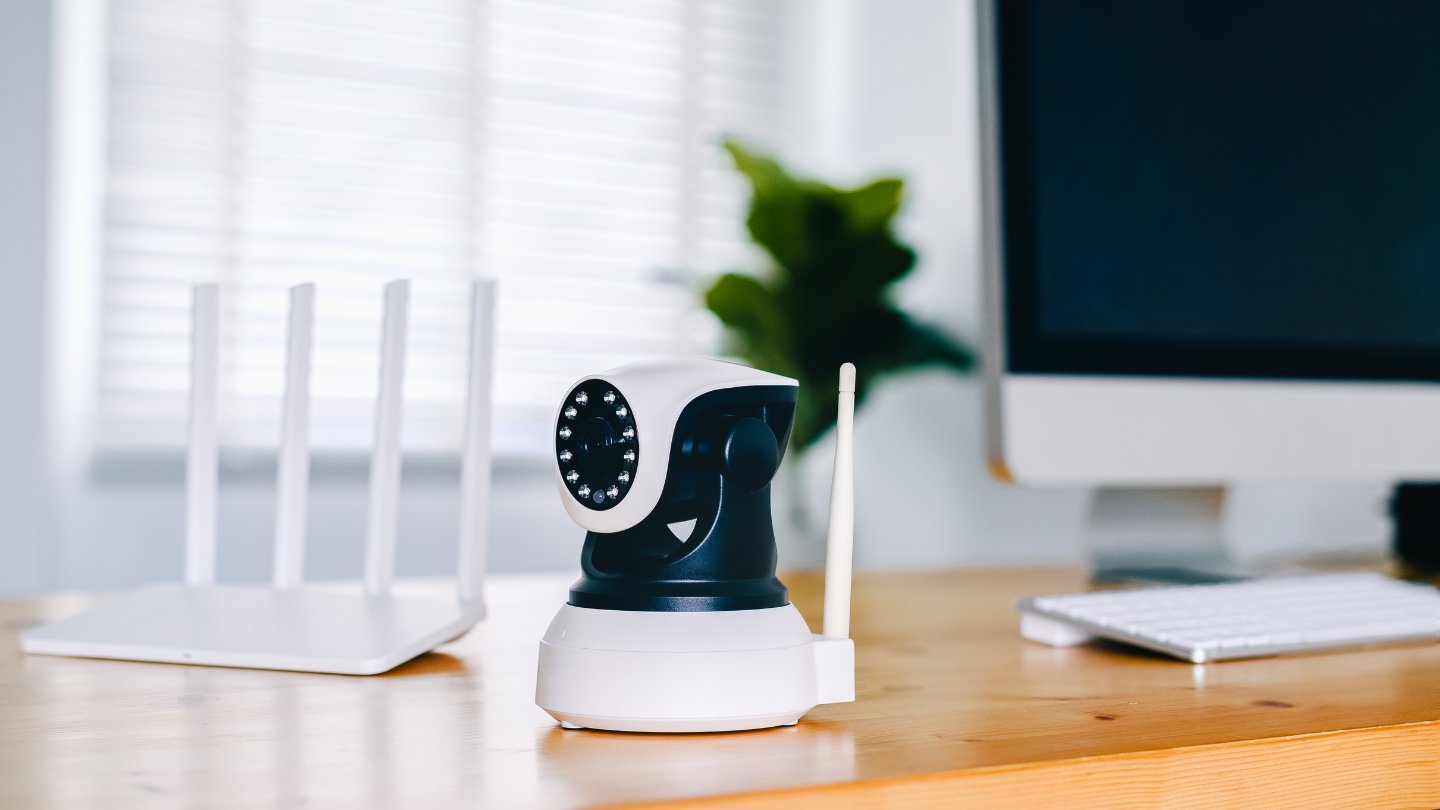
In the era of smart homes and interconnected devices, IP cameras have become an integral part of modern security systems. These devices offer the convenience of remote monitoring, allowing homeowners to keep an eye on their property from anywhere in the world. However, to harness the full potential of an IP camera, it must be properly connected to the Wi-Fi router. This article will guide you through the process of connecting an IP camera to your Wi-Fi network, ensuring that you can take full advantage of its capabilities.
Whether you're a tech enthusiast or a novice in the world of smart home devices, this step-by-step guide will demystify the process of setting up your IP camera. By following these instructions, you'll be able to establish a seamless connection between your IP camera and Wi-Fi router, paving the way for enhanced security and peace of mind.
So, grab your IP camera, gather the necessary equipment, and let's embark on this journey to connect your IP camera to your Wi-Fi router seamlessly.
Key Takeaways:
- Connecting your IP camera to your Wi-Fi router is like giving your home a pair of digital eyes. It lets you keep an eye on your property from anywhere, adding an extra layer of security and peace of mind.
- Once your IP camera is connected, you can customize its settings to fit your needs, like adjusting video quality and enabling motion detection. It’s like teaching your camera to work just the way you want it to!
Read more: How To Connect Verizon Wi-Fi Router
Step 1: Gather Necessary Equipment
Before diving into the process of connecting your IP camera to your Wi-Fi router, it’s essential to ensure that you have all the necessary equipment at hand. Here’s a checklist of the items you’ll need:
- IP Camera: The central component of your security setup, the IP camera captures video footage and transmits it over the network. Ensure that the camera is compatible with Wi-Fi connectivity and has the necessary ports for power and network cables.
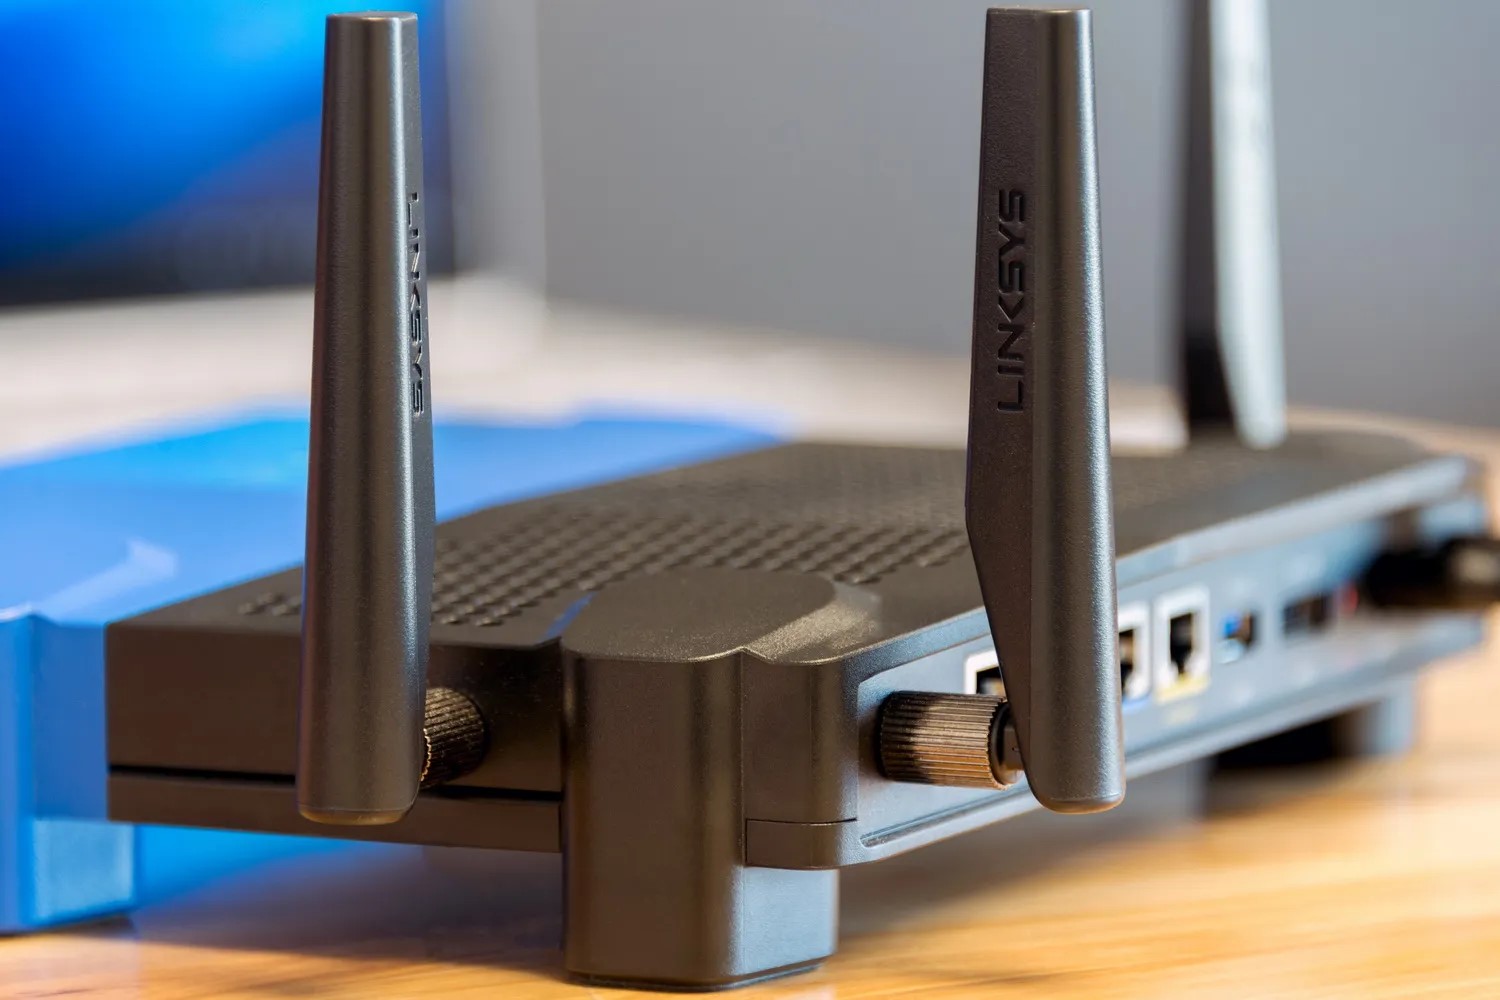
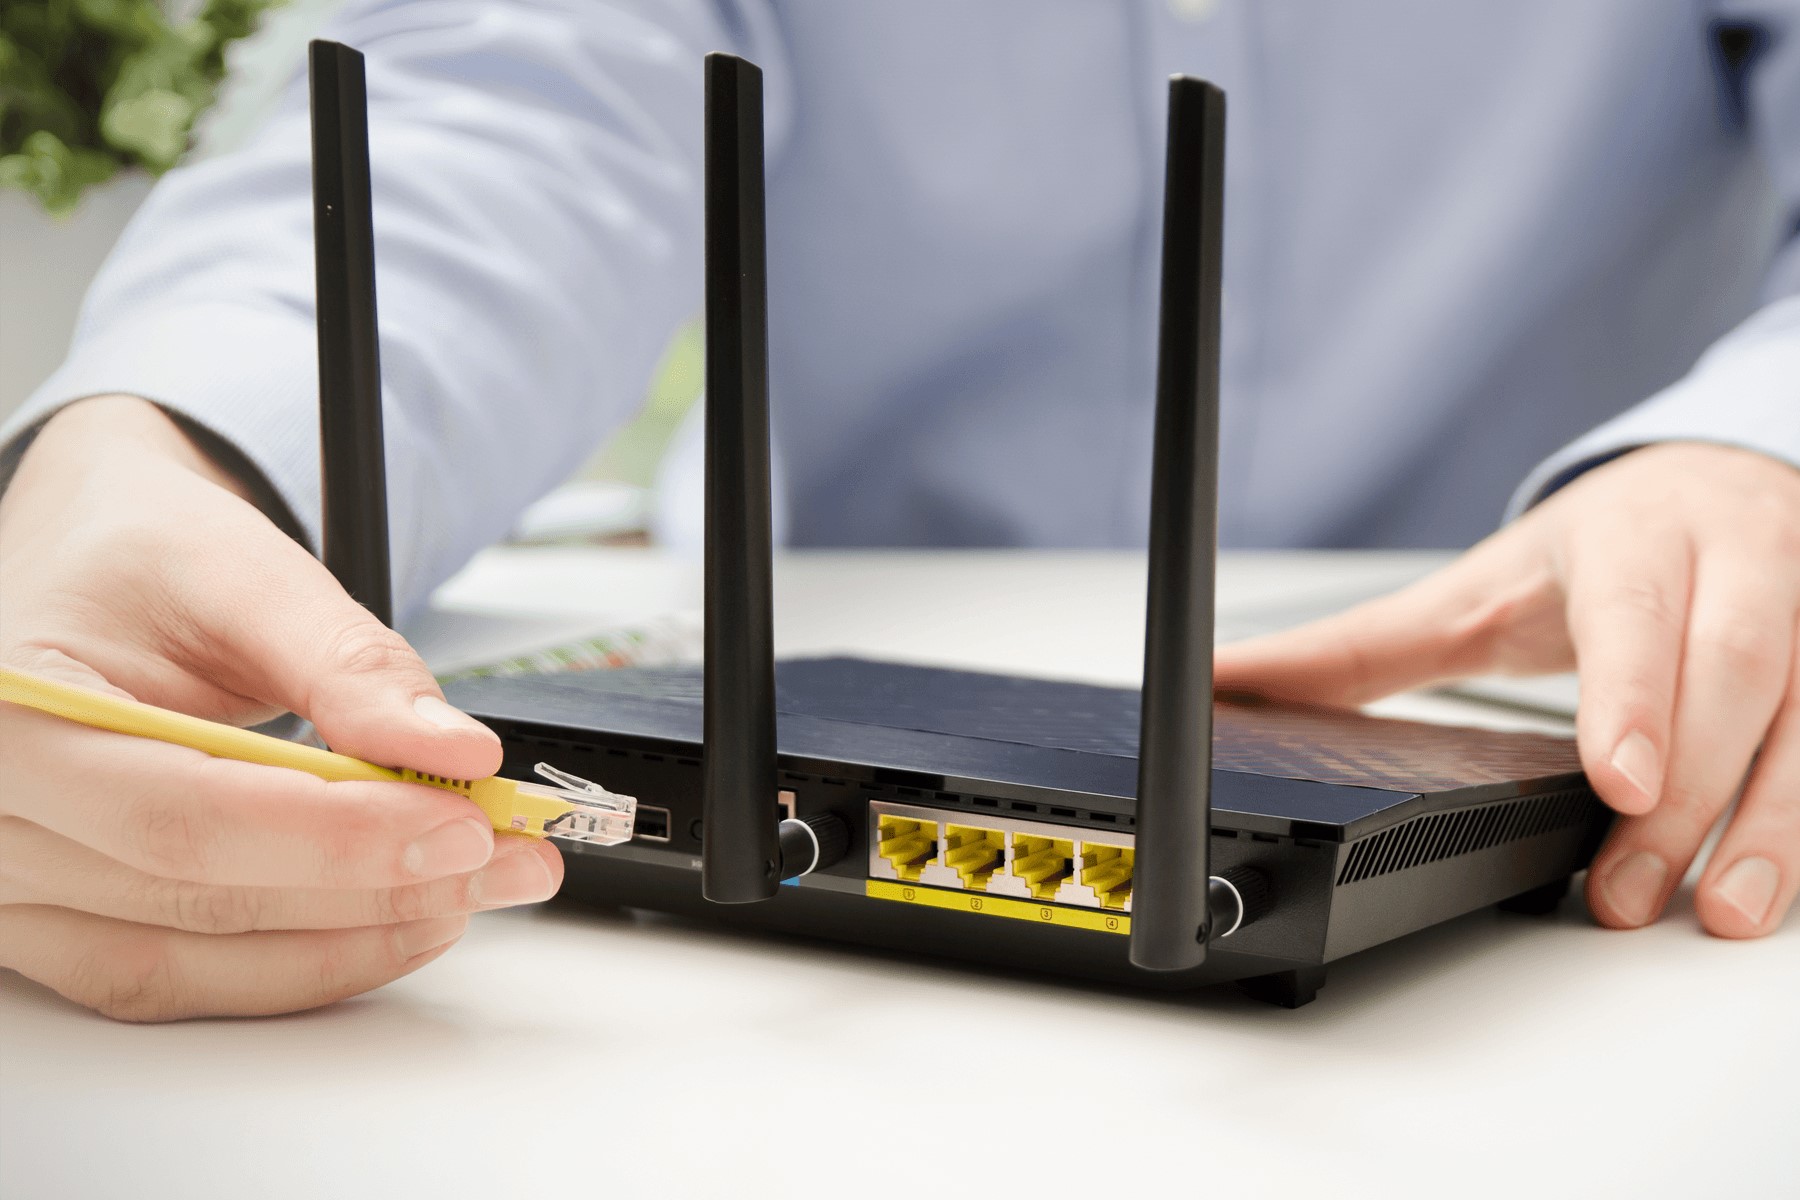
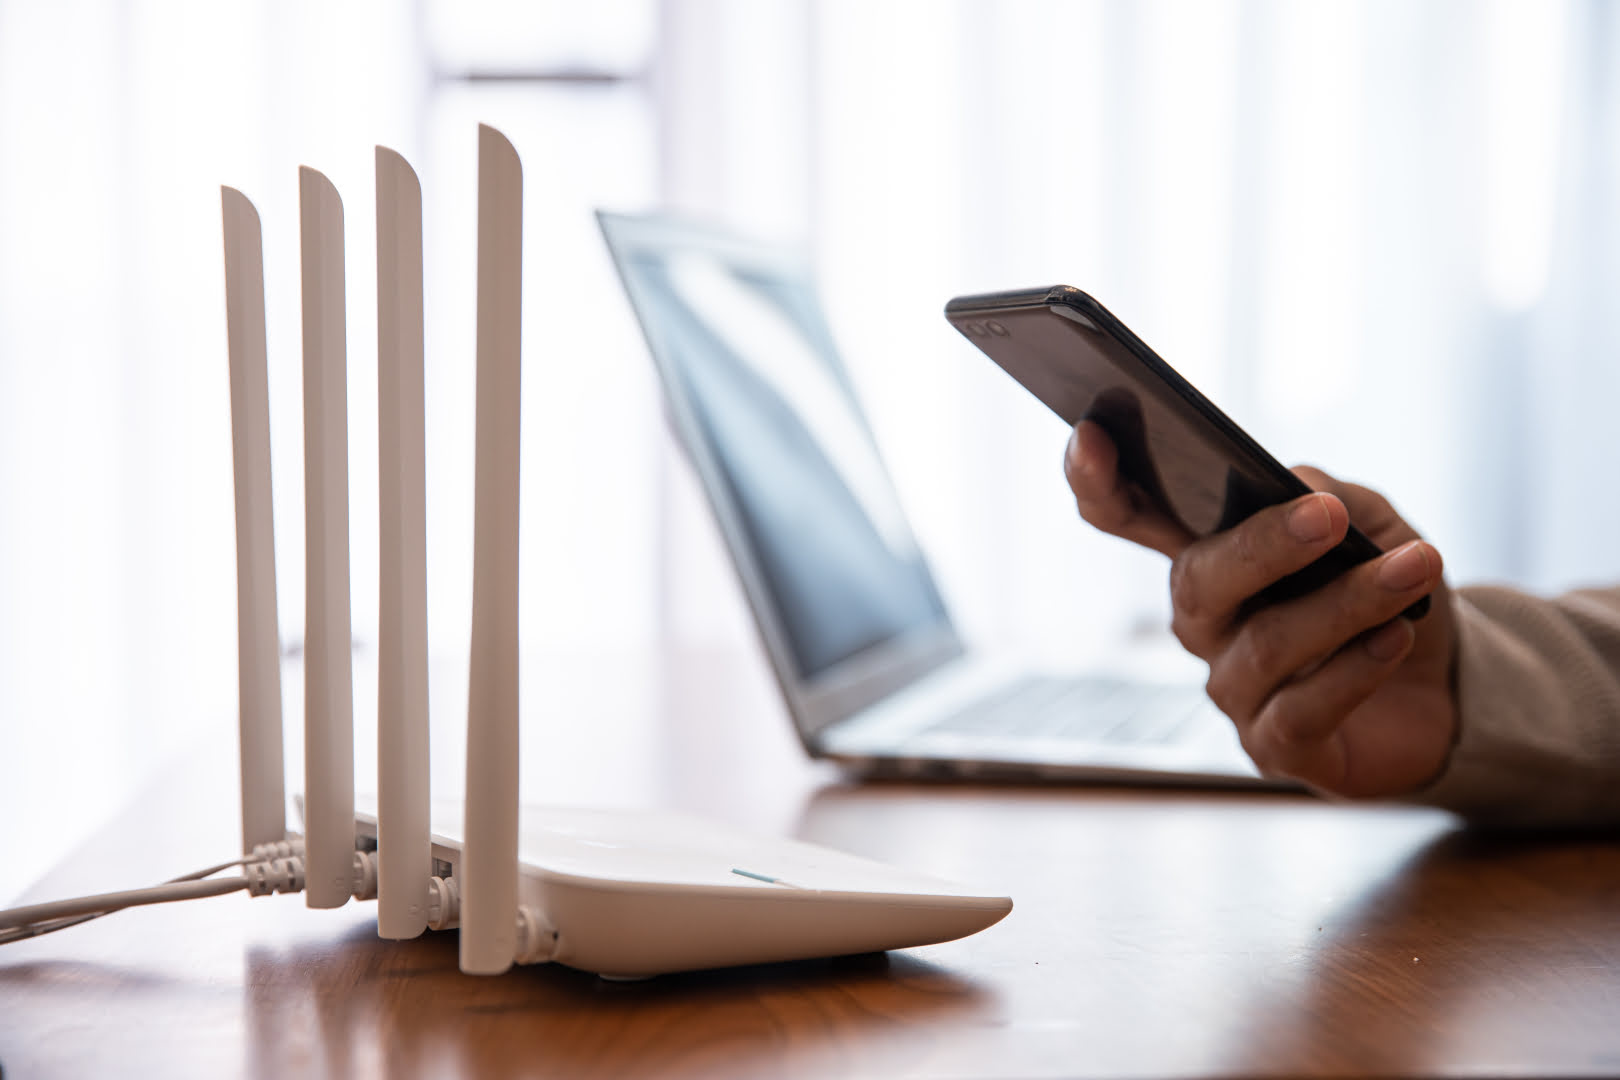
- Wi-Fi Router: Your home’s Wi-Fi router serves as the gateway for connecting your IP camera to the internet. Make sure your router is powered on and functioning properly.
- Power Adapter and Cable: Most IP cameras require a power source, so ensure that you have the appropriate power adapter and cable to supply electricity to the camera.
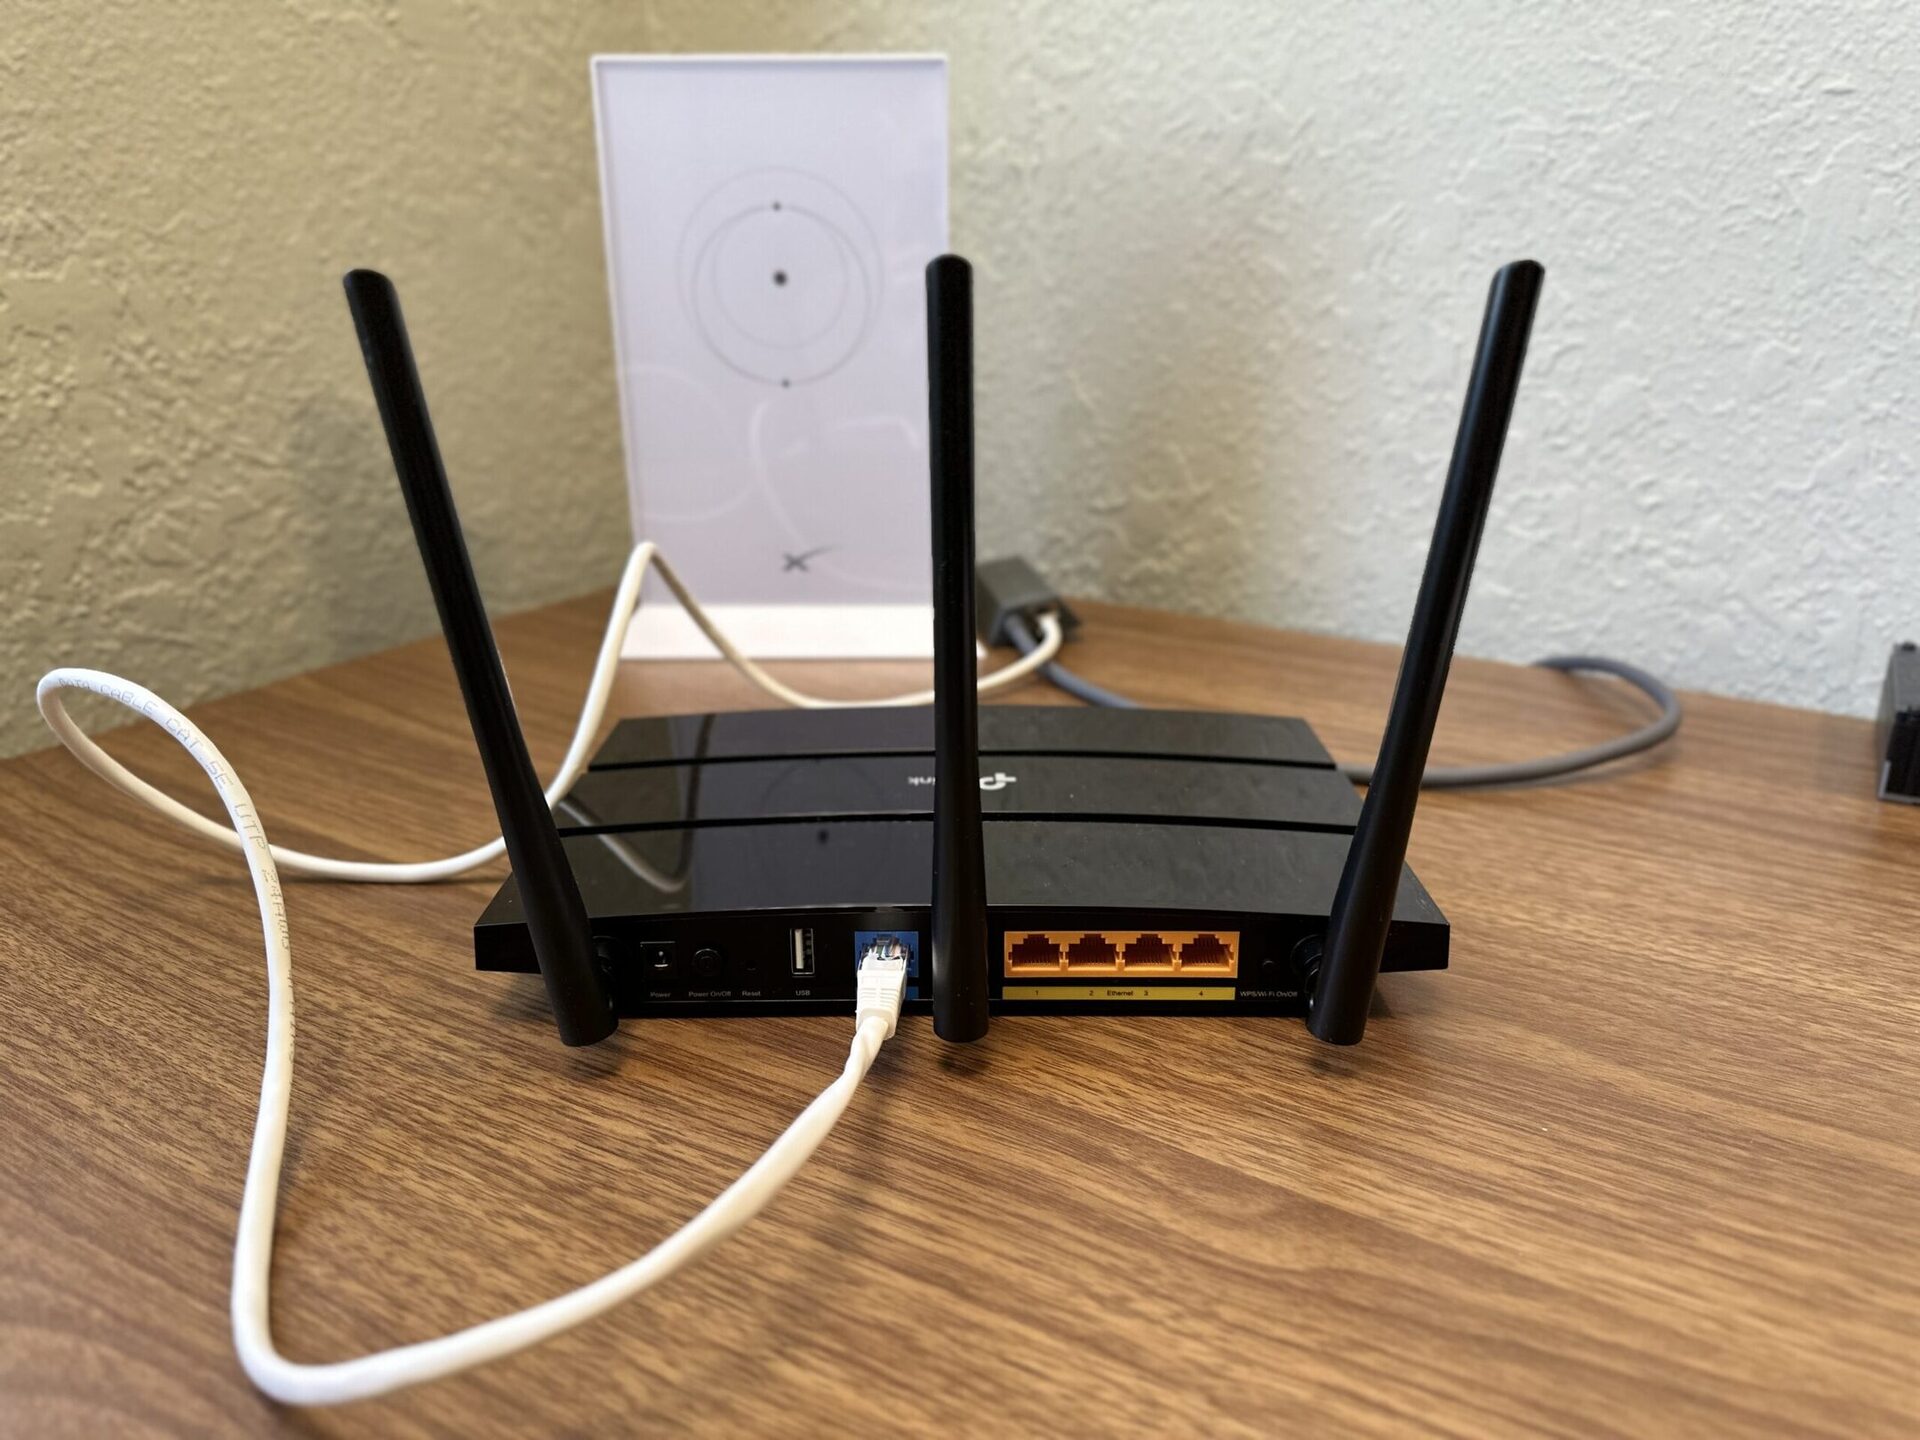
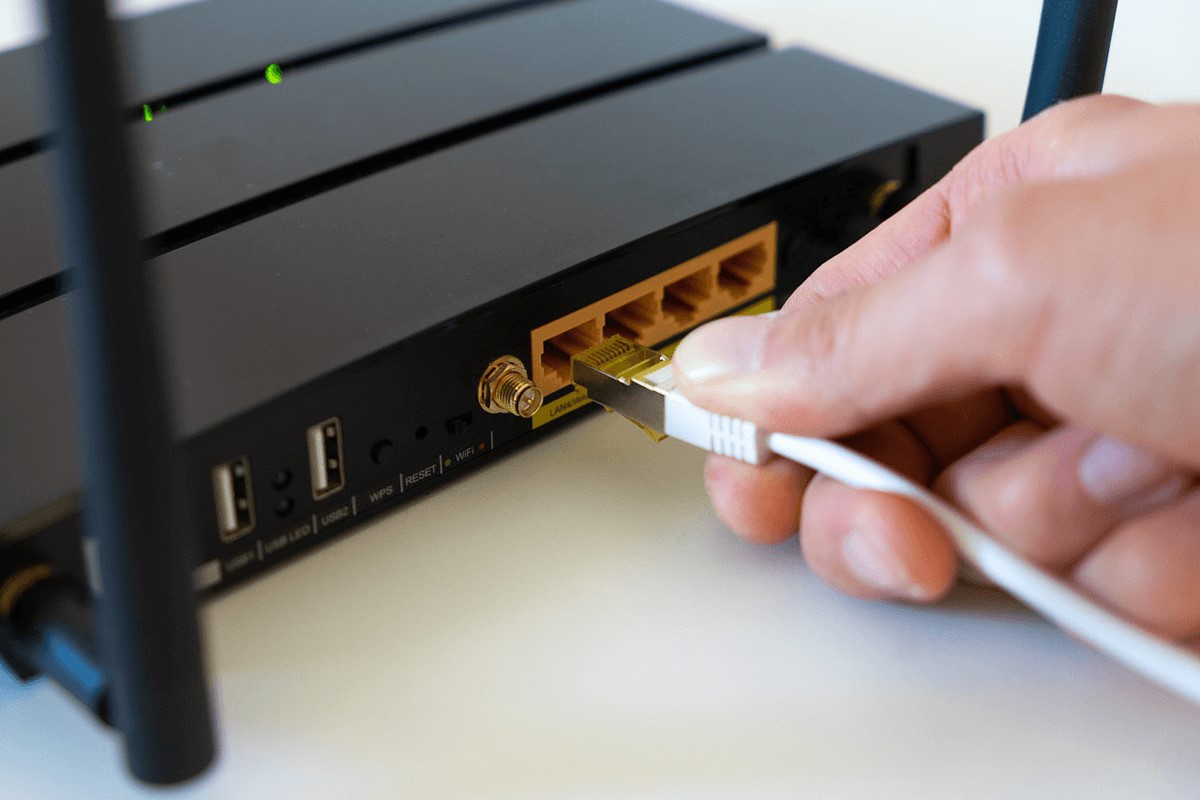
- Network Cable (Optional): While Wi-Fi connectivity is the primary mode of communication for IP cameras, having a network cable on hand can be useful for initial setup and configuration.
- Mobile Device or Computer: You’ll need a smartphone, tablet, or computer to access the IP camera’s settings and configure its connection to the Wi-Fi network.
- Access Credentials: If your IP camera requires a username and password for initial setup, ensure that you have this information readily available.
By gathering these essential components, you’ll be well-prepared to proceed with the setup process, ensuring a smooth and efficient connection between your IP camera and Wi-Fi router.
Step 2: Power on the IP Camera
Now that you’ve assembled all the necessary equipment, it’s time to power on your IP camera. Follow these steps to ensure a seamless activation process:
- Locate a Power Source: Identify a suitable power outlet near the intended installation location of the IP camera. Ensure that the power source is easily accessible and within reach of the camera’s power cable.
- Connect the Power Adapter: Plug the power adapter into the power outlet and connect the other end to the power input port of the IP camera. Ensure that the connection is secure to prevent any power interruptions during the setup process.
- Power On the IP Camera: Once the power adapter is connected, switch on the IP camera using the designated power button or switch. Wait for the camera to initialize and enter a ready state, indicated by LED lights or display indicators, depending on the camera model.
- Verify Power Status: Check for visual cues, such as LED indicators or display messages, to confirm that the IP camera is receiving power and is ready for the next steps.
By following these steps, you’ll ensure that your IP camera is powered on and ready for the subsequent stages of the setup process. A properly powered IP camera is essential for establishing a stable connection to your Wi-Fi router and ensuring uninterrupted surveillance functionality.
Step 3: Connect the IP Camera to the Router
Now that your IP camera is powered on, it’s time to establish a connection between the camera and your Wi-Fi router. Follow these steps to ensure a seamless and secure connection:
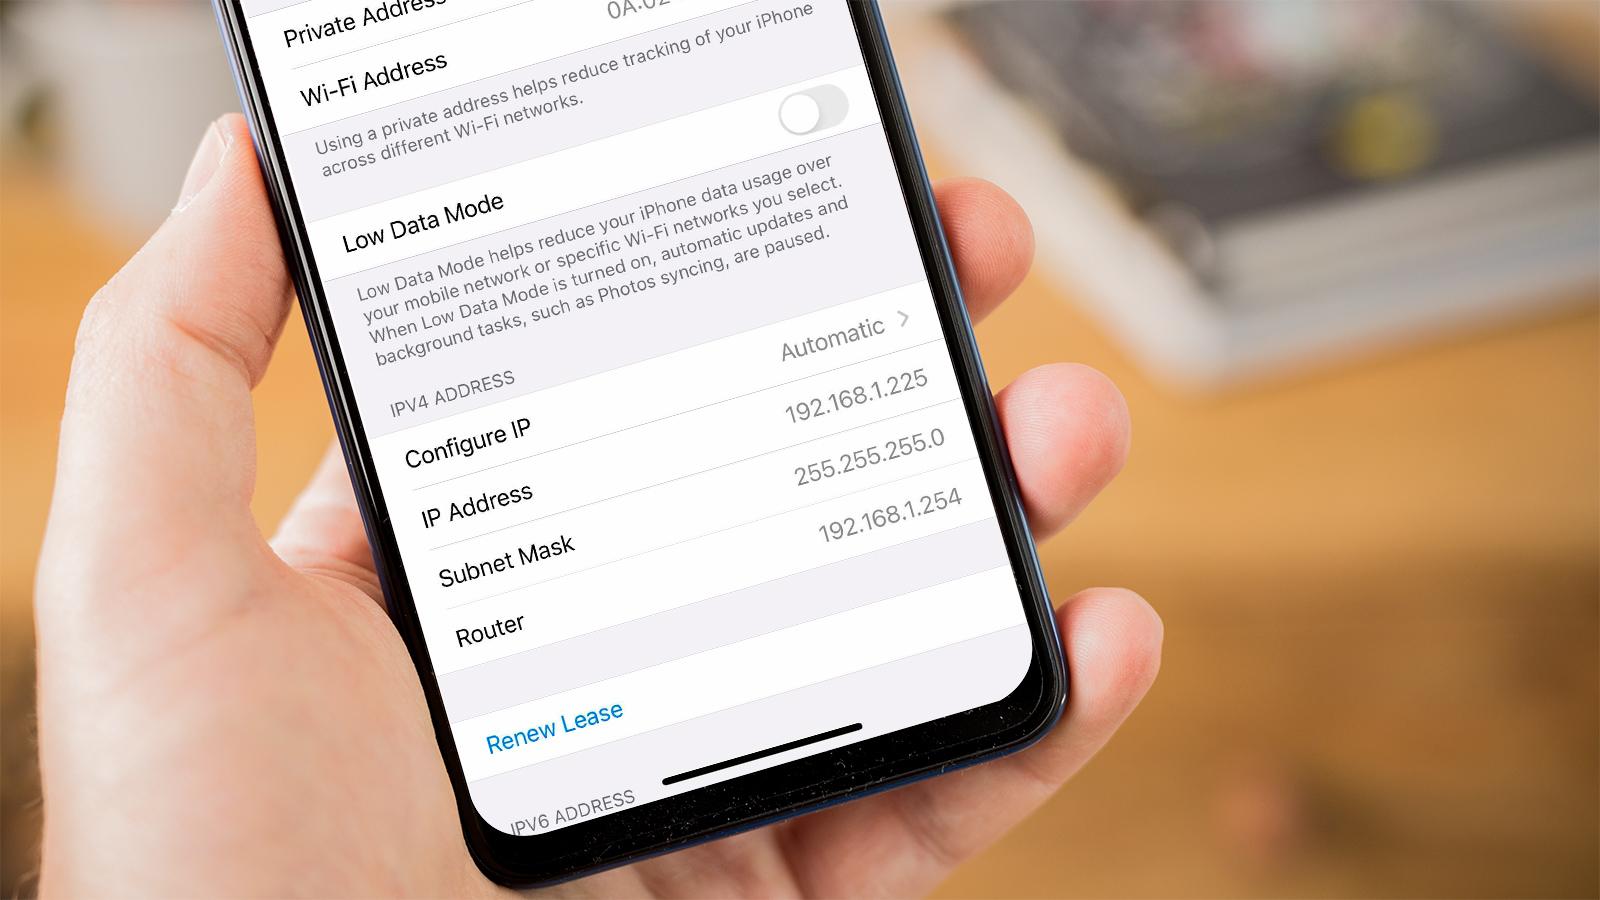
- Access the Camera’s Settings: Using a computer or mobile device connected to the same network as the IP camera, access the camera’s settings interface. This is typically done through a web browser or a dedicated mobile app provided by the camera manufacturer.
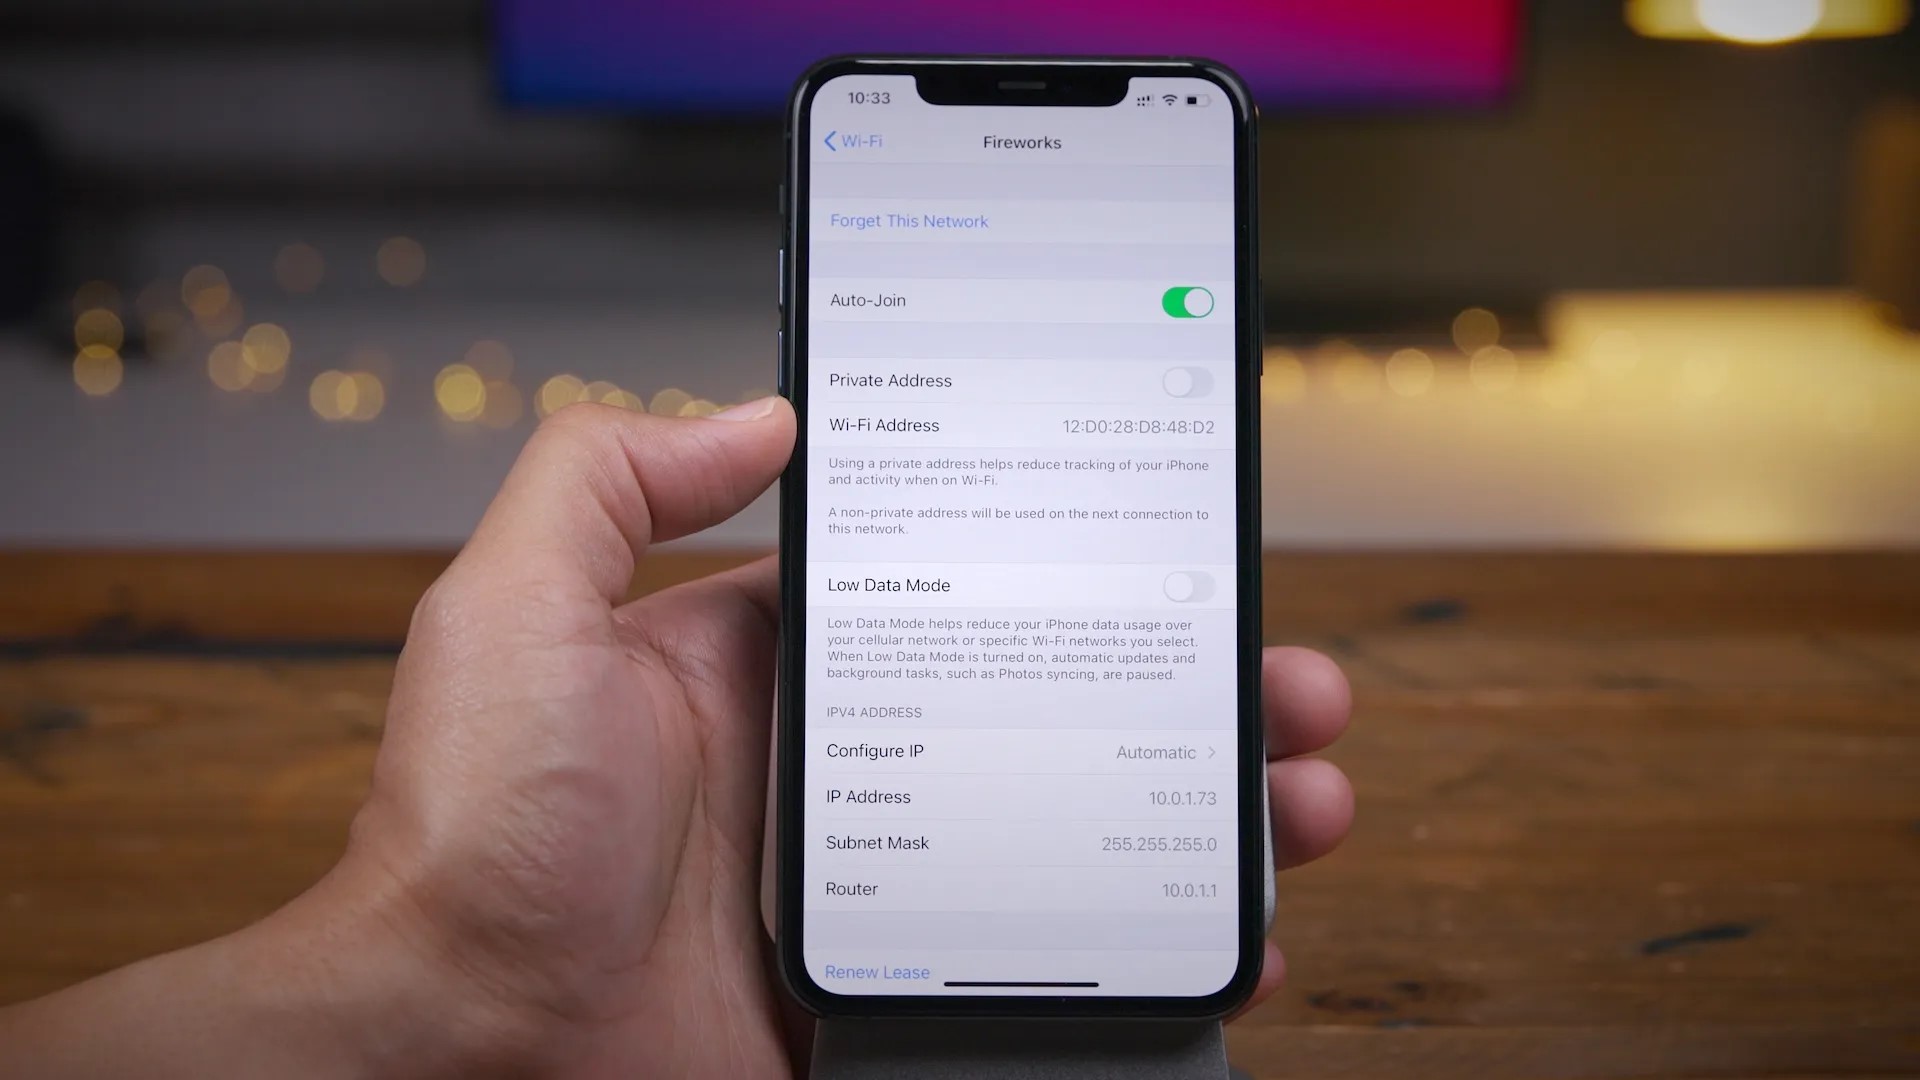
- Locate the Wi-Fi Settings: Navigate to the Wi-Fi or network settings within the camera’s interface. Here, you’ll find options to scan for available Wi-Fi networks and configure the camera’s connection settings.
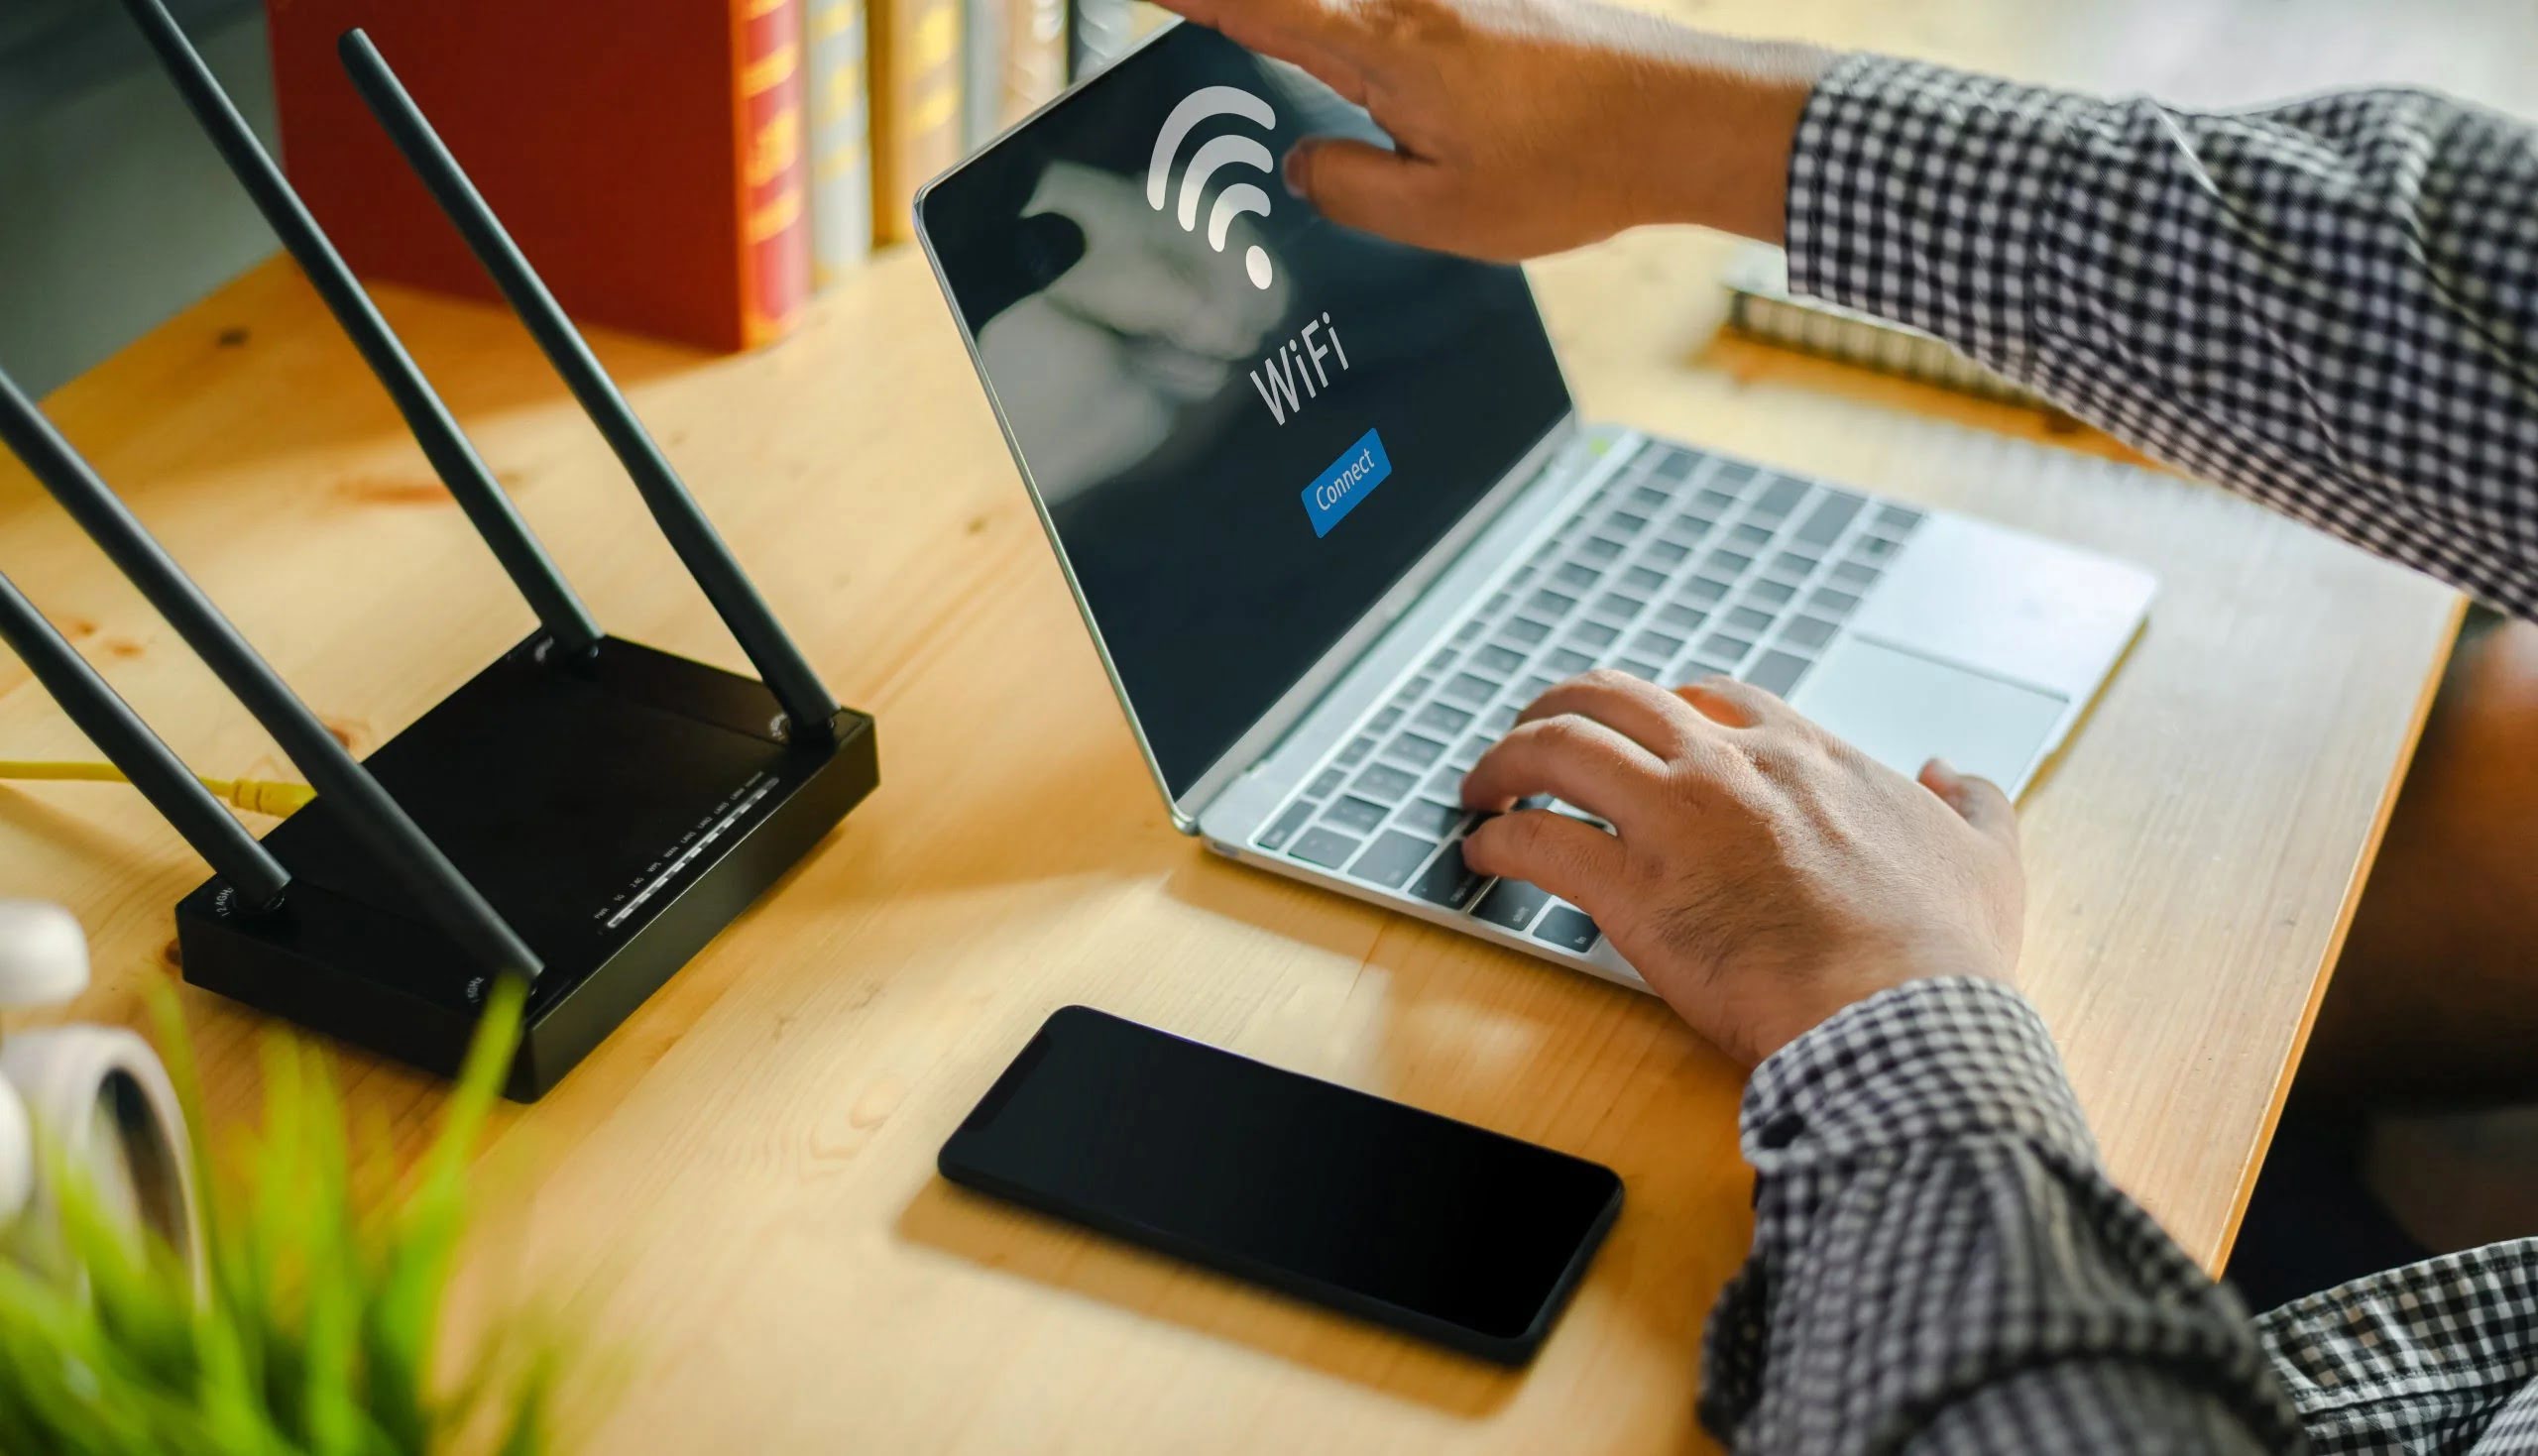
- Scan for Wi-Fi Networks: Initiate a scan for available Wi-Fi networks using the camera’s interface. Select your home Wi-Fi network from the list of detected networks.
- Enter Wi-Fi Credentials: Once you’ve selected your home Wi-Fi network, you’ll be prompted to enter the network’s password or security key. Provide the necessary credentials to authenticate the camera’s connection to the Wi-Fi network.
- Initiate the Connection: After entering the Wi-Fi credentials, instruct the camera to initiate the connection process. The camera will attempt to establish a secure connection to your Wi-Fi network using the provided credentials.
- Verify Connection Status: Once the camera indicates that the connection process is complete, verify the connection status within the camera’s settings interface. Look for confirmation messages or indicators that signal a successful connection to your Wi-Fi network.
By following these steps, you’ll successfully connect your IP camera to your Wi-Fi router, enabling seamless communication and remote access. A stable and secure Wi-Fi connection is crucial for ensuring that the camera can transmit video footage and receive commands effectively, enhancing the overall functionality of your smart home security system.
When connecting an IP camera to a Wi-Fi router, make sure to have the correct Wi-Fi network name and password. Follow the camera’s instructions to access the settings and input the Wi-Fi details to establish the connection.
Step 4: Configure the IP Camera Settings
With the IP camera successfully connected to your Wi-Fi router, it’s time to configure its settings to ensure optimal performance and functionality. Follow these essential steps to customize the camera’s settings according to your preferences:
- Access the Camera’s Configuration Interface: Using a computer or mobile device connected to the same network as the IP camera, access the camera’s configuration interface. This can typically be done through a web browser by entering the camera’s IP address or using a dedicated mobile app provided by the manufacturer.
- Set Video Quality and Resolution: Configure the video quality and resolution settings based on your specific requirements. Higher resolution settings may result in clearer footage but can also consume more network bandwidth and storage space.
- Enable Motion Detection and Alerts: If your IP camera supports motion detection, consider enabling this feature and configuring alert notifications. Motion detection allows the camera to trigger recordings or send alerts when movement is detected within its field of view, enhancing security monitoring.
- Assign a Unique Camera Name: Give your IP camera a distinctive and easily identifiable name within your network. This helps differentiate it from other devices and simplifies remote access and management.
- Set Up Remote Access: If you intend to access the camera’s live feed and recordings remotely, configure remote access settings. This may involve creating a secure account with the camera’s manufacturer or setting up dynamic DNS (Domain Name System) for convenient access from outside your home network.
- Configure Storage Options: If your IP camera supports local storage or cloud storage integration, configure the storage options according to your preferences. This includes setting up automatic recording schedules and managing storage space.
By customizing these settings, you’ll tailor the IP camera’s functionality to suit your specific security and monitoring needs. Configuring motion detection, video quality, remote access, and storage options ensures that your IP camera operates efficiently and provides valuable surveillance capabilities for your smart home.
Read more: How To Connect My Wi-Fi Router
Step 5: Test the Connection
After configuring the settings of your IP camera, it’s crucial to test the connection to ensure that the camera is effectively communicating with your Wi-Fi network and transmitting video footage. Follow these steps to verify the stability and functionality of the camera’s connection:
- Access the Live Feed: Using a computer, smartphone, or tablet, access the live feed of the IP camera through the manufacturer’s provided app or web interface. Ensure that the camera’s feed is accessible and displays clear, real-time footage.
- Trigger Motion Detection: Test the camera’s motion detection capabilities by deliberately moving within its field of view. Verify that the camera accurately detects motion and triggers alerts or recordings based on your configured settings.
- Check Remote Access: If you’ve configured remote access, attempt to access the camera’s live feed from a location outside your home network. Confirm that the remote access functionality works as intended and provides seamless viewing of the camera’s feed.
- Review Recording and Storage: If the camera supports local or cloud storage, review the recorded footage to ensure that the camera is effectively storing and organizing video recordings based on your configured settings.
- Verify Notifications: If you’ve enabled alert notifications for motion detection or other events, verify that the camera sends timely and accurate notifications to your connected devices or email address.
By conducting these tests, you’ll gain confidence in the reliability and performance of your IP camera’s connection to your Wi-Fi network. Verifying live feed accessibility, motion detection, remote access, and storage functionality ensures that your smart home security system is fully operational and ready to provide enhanced surveillance and peace of mind.
Conclusion
Connecting your IP camera to your Wi-Fi router opens up a world of possibilities for enhancing the security and surveillance capabilities of your home. By following the step-by-step guide outlined in this article, you’ve successfully navigated the process of establishing a seamless connection, configuring essential settings, and testing the functionality of your IP camera. As a result, you now have a powerful tool at your disposal for monitoring your property and ensuring peace of mind, whether you’re at home or away.
With your IP camera securely connected to your Wi-Fi network, you can remotely access live video feeds, receive motion detection alerts, and review recorded footage with ease. This level of accessibility and control empowers you to stay informed about activities in and around your home, bolstering your overall sense of security.
Furthermore, the flexibility of remote access allows you to check in on your property from anywhere, providing invaluable peace of mind when you’re at work, on vacation, or simply away from home. The ability to monitor your surroundings in real time and review recorded footage offers a layer of protection that contributes to a safer and more secure living environment.
By mastering the process of connecting your IP camera to your Wi-Fi router, you’ve taken a significant step toward creating a smarter and more secure home. Embracing the capabilities of smart home devices, such as IP cameras, empowers you to proactively safeguard your property and loved ones, ultimately contributing to a more connected and protected living space.
As you continue to explore the potential of smart home technology, remember that proper maintenance and periodic checks of your IP camera’s connectivity and settings are essential for ensuring ongoing reliability and performance. Regularly reviewing and updating your camera’s configurations will help maintain its effectiveness as a key component of your home security infrastructure.
With your IP camera seamlessly integrated into your smart home ecosystem, you’re well-equipped to enjoy the benefits of modern surveillance technology while fostering a greater sense of security and control within your living environment.
Frequently Asked Questions about How To Connect IP Camera To Wi-Fi Router
Was this page helpful?
At Storables.com, we guarantee accurate and reliable information. Our content, validated by Expert Board Contributors, is crafted following stringent Editorial Policies. We're committed to providing you with well-researched, expert-backed insights for all your informational needs.


0 thoughts on “How To Connect IP Camera To Wi-Fi Router”