Home>Home Security and Surveillance>How To Make A Dummy LED Burglar Alarm (Popular Electronics)

Home Security and Surveillance
How To Make A Dummy LED Burglar Alarm (Popular Electronics)
Modified: October 20, 2024
Learn how to create a reliable and affordable home security system with our step-by-step guide on making a dummy LED burglar alarm. Enhance your home security and surveillance effortlessly.
(Many of the links in this article redirect to a specific reviewed product. Your purchase of these products through affiliate links helps to generate commission for Storables.com, at no extra cost. Learn more)
Introduction
In today’s world, home security has become a top priority for many homeowners. With the rise in burglary and theft incidents, it’s crucial to take proactive measures to protect our homes and loved ones. One effective way to deter potential criminals is by installing a home security system. While there are various options available in the market, they can be quite expensive and may require professional installation.
However, if you’re looking for a budget-friendly and DIY solution, you can create a dummy LED burglar alarm. This simple yet effective device gives the illusion of a fully functional alarm system, which can be a powerful deterrent for intruders. In this article, we will guide you through the process of making your very own dummy LED burglar alarm.
Before we dive into the step-by-step instructions, let’s take a look at the materials you will need to gather for this project. Remember, safety is of utmost importance, so ensure you have all the necessary equipment before proceeding.
Key Takeaways:
- You can create a realistic-looking burglar alarm using simple electronic components like LED, buzzer, and Arduino. It’s a budget-friendly DIY solution to deter potential intruders and protect your home.
- Positioning the LED and alarm components strategically is crucial for the effectiveness of your dummy alarm system. Regular testing and maintenance are essential to ensure its reliability as a deterrent.
Read more: How To Make A Burglar Alarm Circuit
Materials Needed
- Breadboard
- Arduino microcontroller (such as Arduino Uno)
- LED (Light Emitting Diode)
- Buzzer or alarm sound module
- Jumper wires
- Resistors
- Power source (battery or wall adapter)
- Wire strippers
- Screwdriver
Key Takeaways:
- You can create a realistic-looking burglar alarm using simple electronic components like LED, buzzer, and Arduino. It’s a budget-friendly DIY solution to deter potential intruders and protect your home.
- Positioning the LED and alarm components strategically is crucial for the effectiveness of your dummy alarm system. Regular testing and maintenance are essential to ensure its reliability as a deterrent.
Read more: How To Make A Burglar Alarm Circuit
Materials Needed
Creating a dummy LED burglar alarm requires a few essential components that can easily be found at electronics stores or online retailers. Here’s a list of the materials you will need to gather for this project:
- Breadboard: This is a useful tool for prototyping electronic circuits. It acts as a base for connecting different components together.
- Arduino microcontroller: The Arduino microcontroller is the brain of the dummy alarm system. It is a programmable board that allows you to control the LED and alarm components.
- LED (Light Emitting Diode): An LED is a small electronic component that emits light when an electric current passes through it. In this project, the LED will act as an indicator for the burglar alarm.
- Buzzer or alarm sound module: The buzzer or alarm sound module is responsible for generating a loud sound when the alarm is triggered. It adds an extra layer of realism to the dummy alarm system.
- Jumper wires: Jumper wires are used to establish connections between the different components on the breadboard. They come in various lengths and colors.
- Resistors: Resistors are electronic components that control the flow of electric current in a circuit. In this project, resistors will be used to regulate the brightness of the LED.
- Power source: You will need a power source to provide electricity to the dummy alarm system. This can be a battery or a wall adapter depending on your preference and availability.
- Wire strippers: Wire strippers are used to remove insulation from the ends of the jumper wires, allowing for better electrical connections.
- Screwdriver: A screwdriver may be required to mount the LED and buzzer components onto a surface, such as a dummy alarm box or a wall.
It’s important to note that the specific models and specifications of these components may vary. Make sure to choose components that are compatible with each other and suitable for your project. Once you have gathered all the necessary materials, you are ready to start assembling your dummy LED burglar alarm.
Step 1: Assembling the Circuit
Once you have all the materials ready, it’s time to start assembling the circuit for your dummy LED burglar alarm. Follow these step-by-step instructions to ensure a proper setup:
- Prepare the breadboard: Begin by placing the Arduino microcontroller on the breadboard. Make sure it is centered and firmly inserted into the appropriate slots.
- Connect the LED: Take the LED and identify its anode (longer leg) and cathode (shorter leg). Insert the anode into one of the breadboard rows connected to the Arduino’s digital pin, say pin 13. Connect the cathode to the breadboard’s ground row using a resistor, either through series or parallel connection depending on the LED’s forward voltage and current rating. This will regulate the current flow and protect the LED from burnout.
- Wire the buzzer or alarm sound module: Connect the positive terminal of the buzzer or alarm sound module to another digital pin on the Arduino, say pin 8. Connect the negative terminal to the breadboard’s ground row.
- Connect the power source: Depending on the power source you are using, connect its positive terminal to the Arduino’s Vin pin and the negative terminal to the breadboard’s ground row. Alternatively, if using a battery, connect the positive terminal to the Arduino’s 5V pin and the negative terminal to the ground row.
- Establish the connections: Use jumper wires to establish the necessary connections between the components. Connect the appropriate pins of the LED, buzzer, and power source to the corresponding pins on the Arduino, ensuring proper polarity.
- Double-check the connections: Once all the connections are made, carefully inspect and double-check them for any loose connections or incorrect wiring. A loose connection can cause the circuit to malfunction or not work at all.
By following these steps, you will successfully assemble the circuit for your dummy LED burglar alarm. Remember to handle the components with care and avoid applying excessive force that may damage them.
Now that the circuit is ready, it’s time to move on to the next step – programming the microcontroller – where we will bring the dummy alarm system to life.
When making a dummy LED burglar alarm, make sure to place the LED lights in a visible and intimidating location to deter potential intruders.
Step 2: Programming the Microcontroller
In this step, we will program the microcontroller to control the LED and simulate the alarm functionality. Follow these instructions to program your Arduino microcontroller:
- Set up the Arduino IDE: Start by downloading and installing the Arduino IDE (Integrated Development Environment) software from the official Arduino website. This software allows you to write, compile, and upload code to the Arduino microcontroller.
- Connect the Arduino: Connect your Arduino microcontroller to your computer using a USB cable. Ensure that it is properly recognized by your computer and that the necessary drivers are installed.
- Open a new sketch: Launch the Arduino IDE and open a new sketch by going to “File” > “New”. You should now have a blank sketch ready for your code.
- Write the program: In the Arduino sketch, you will need to define the necessary variables and write the code to control the LED and buzzer. The program should include logic to simulate the behavior of a burglar alarm, such as flashing the LED and sounding the buzzer when the alarm is triggered.
- Upload the program: Once you have finished writing the program, verify that there are no errors. If everything looks good, click on the “Upload” button in the Arduino IDE to compile and upload the code to the microcontroller.
- Test the program: After the code has been successfully uploaded, disconnect the Arduino from your computer and connect it to the power source you have chosen. The LED should start flashing, and the buzzer should begin producing the alarm sound.
Programming the microcontroller is a crucial step in creating your dummy LED burglar alarm. It gives you control over the behavior of the LED and alarm components, allowing you to mimic the functionality of a real security system. Feel free to customize the program to suit your preferences and experiment with different patterns or alarm sounds.
Once you have successfully programmed the microcontroller, you can move on to the next step – mounting the LED and alarm components – where we will bring the dummy alarm system to life physically.
Read more: How To Make Your Own Burglar Alarm
Step 3: Mounting the LED and Alarm Components
In this step, we will guide you through the process of mounting the LED and alarm components onto a suitable surface. This step is crucial in creating a visually convincing dummy LED burglar alarm. Follow these instructions to mount the components:
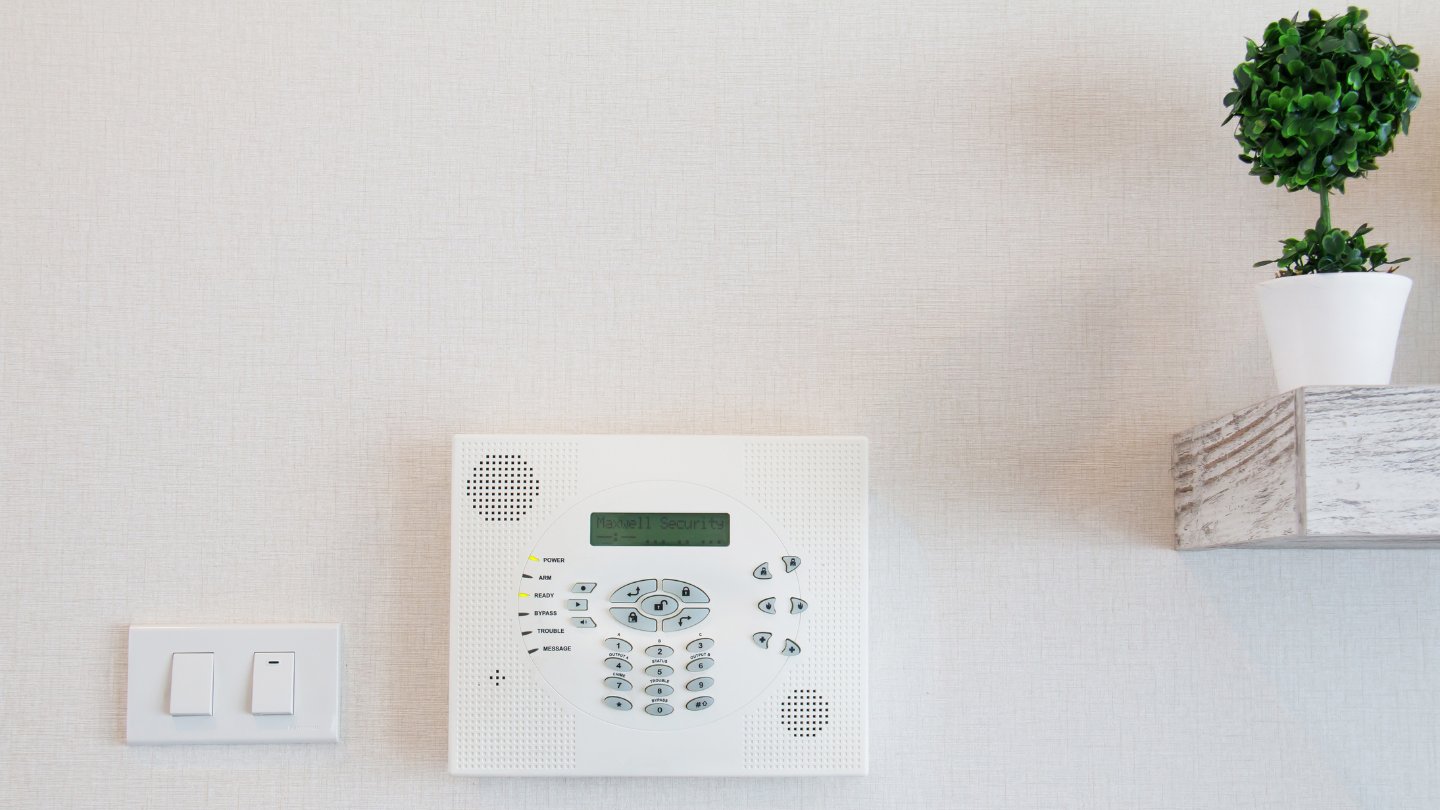
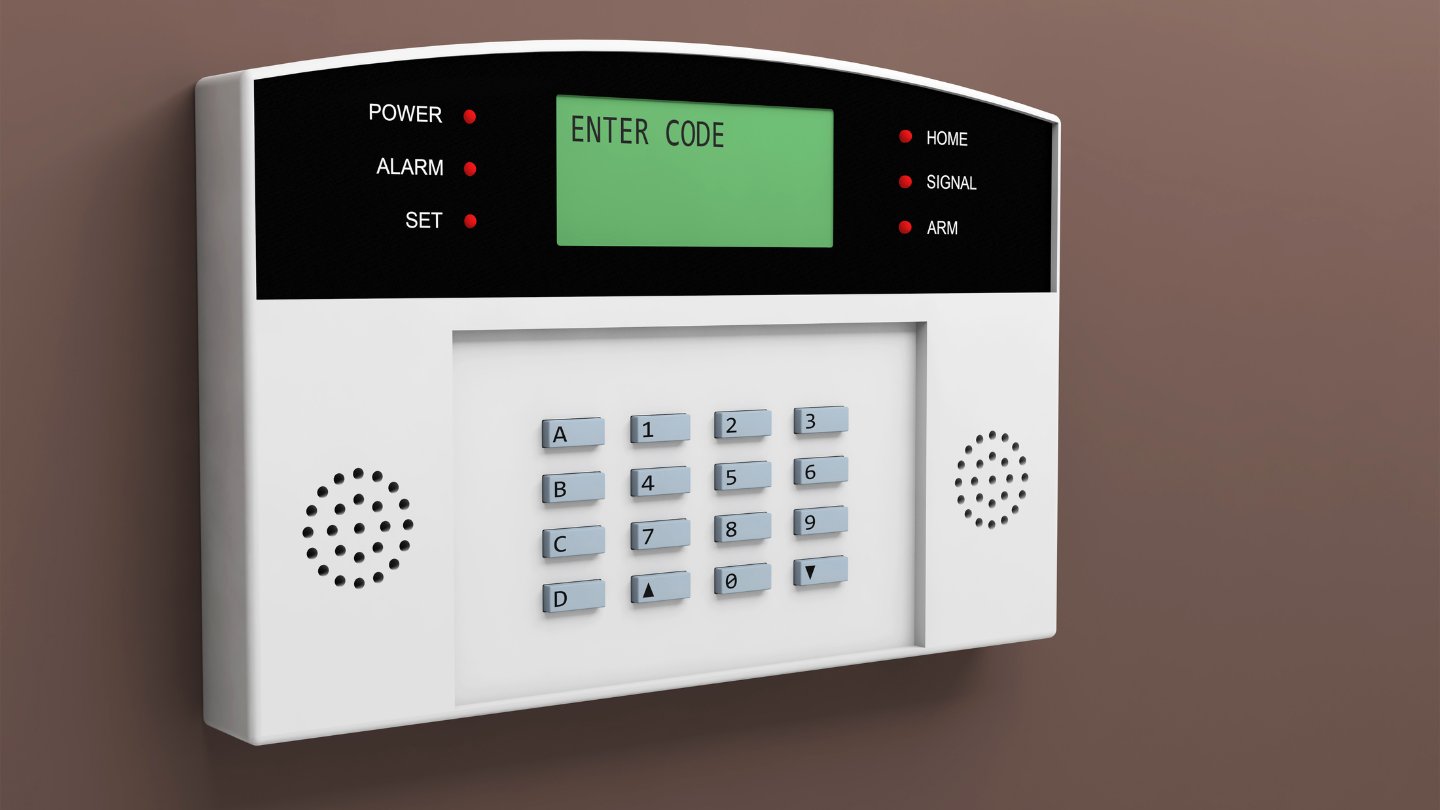
- Choose a surface: Select a surface where you want to mount your dummy LED burglar alarm. This could be a wall, a door, a window frame, or even a dummy alarm box.
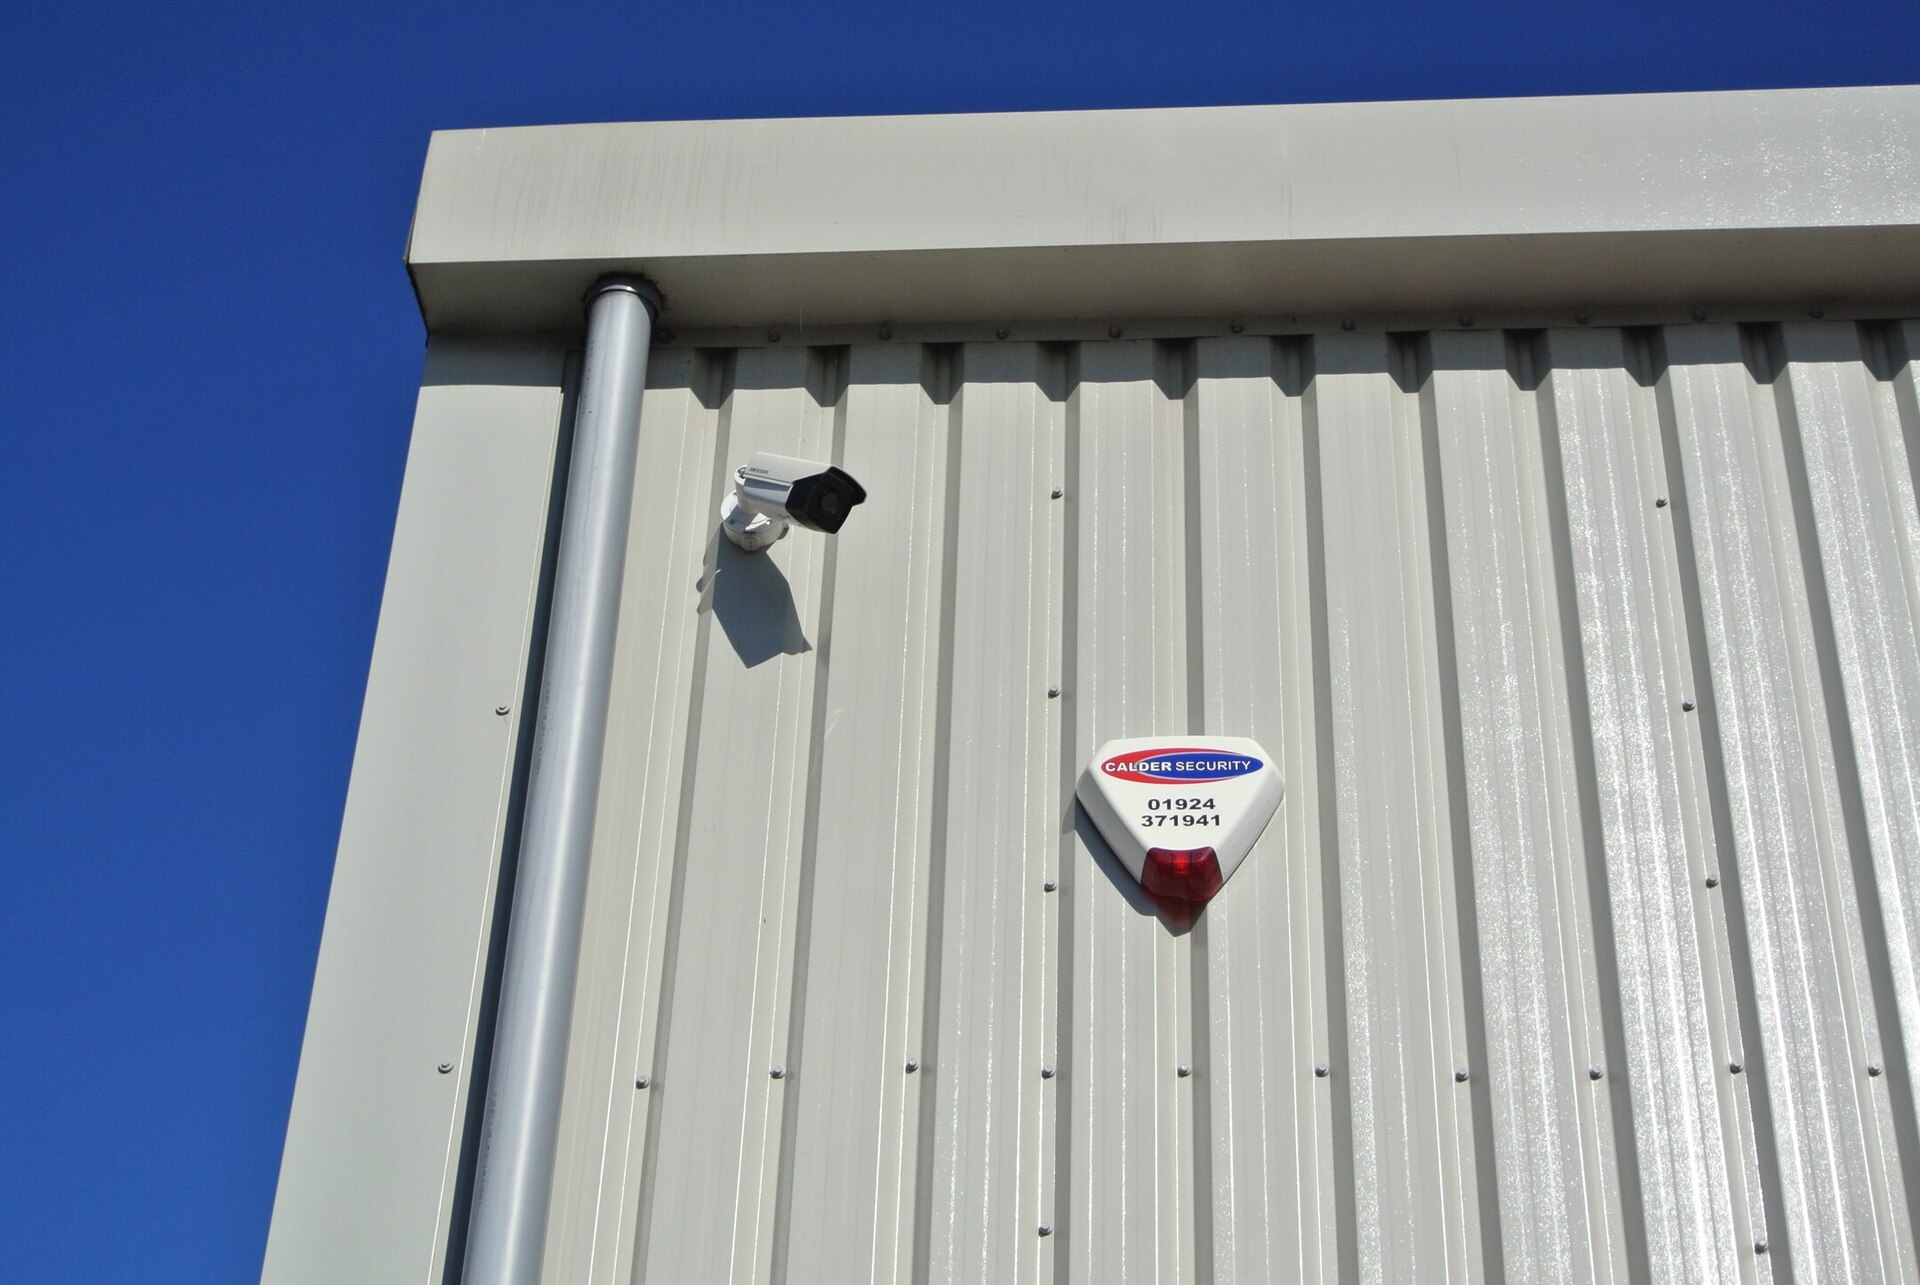
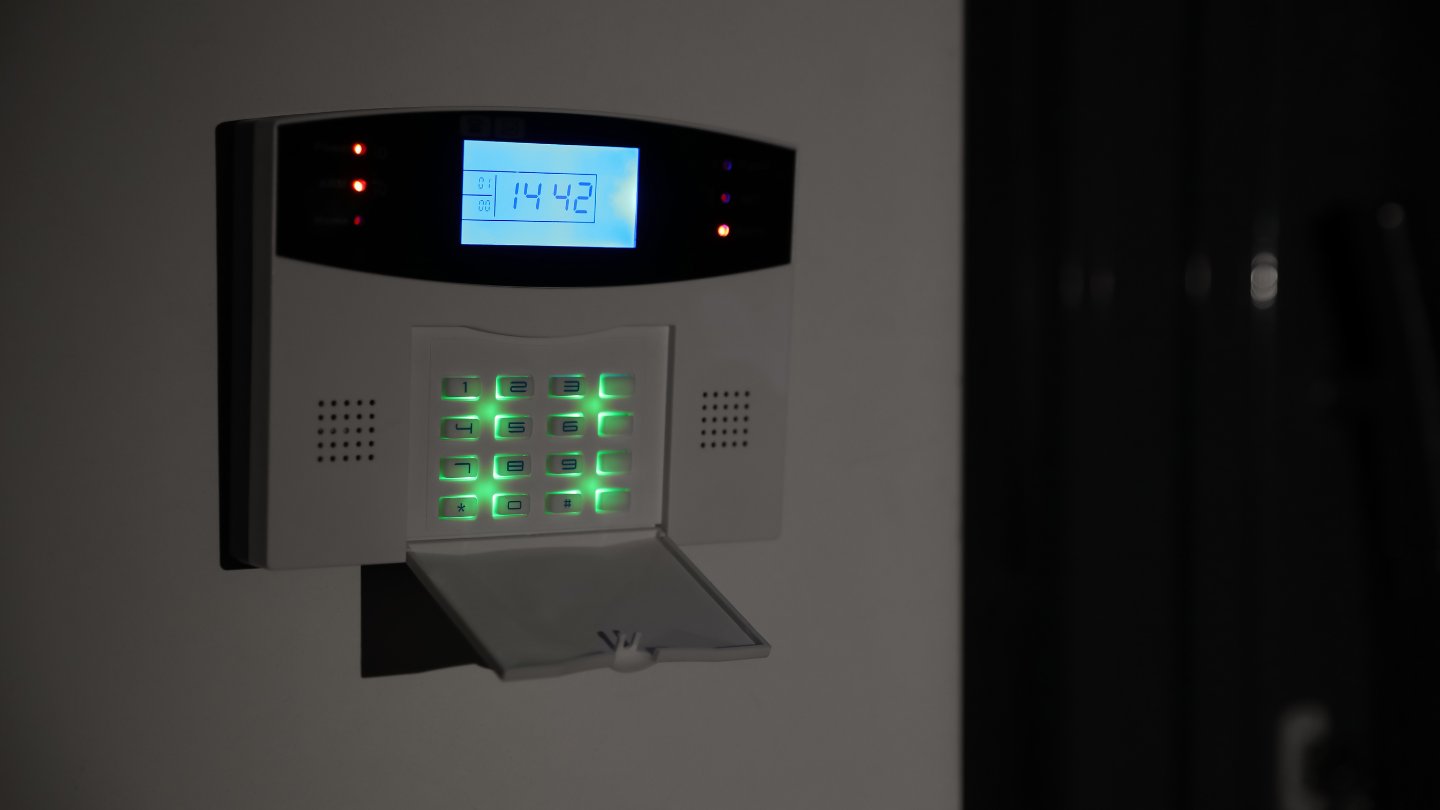
- Position the LED: Decide where you want to place the LED to create the most visible and realistic effect. Consider locations near entry points or areas that are easily noticeable. Once you have chosen the spot, use a screwdriver or other suitable tools to securely mount the LED on the surface.
- Mount the alarm component: Similar to the LED, choose an appropriate location for mounting the alarm component. This could be next to the LED or in a strategic location where it can be easily seen and heard. Attach the alarm component to the surface using screws, adhesive, or any other suitable method.
- Ensure proper wiring: When mounting the components, ensure that the wires are neatly and securely connected. Use cable clips or ties to manage and organize the wires, preventing them from being messy or exposed.
- Test the mounted components: With the components securely mounted, connect the wires to the appropriate pins on the breadboard or microcontroller. Power on the circuit and test the LED and alarm components. Check that they are functioning correctly and providing the desired visual and audio effects.
By following these steps, you will be able to mount the LED and alarm components of your dummy LED burglar alarm system. Take your time to position the components strategically and ensure that they are securely attached to the surface.
Remember, the goal is to create a visually convincing deterrent that gives the impression of a working security system. The more realistic your dummy alarm appears, the more effective it will be in deterring potential intruders.
With the LED and alarm now mounted, it’s time to move on to the final step – testing the functionality of your dummy LED burglar alarm.
Step 4: Testing the Dummy LED Burglar Alarm
Now that you have assembled and mounted your dummy LED burglar alarm, it’s time to test its functionality. Follow these instructions to ensure that your dummy alarm system is working properly:
- Activate the alarm: Depending on the programming of your microcontroller, activate the alarm either by triggering a specific event or by manually pressing a button.
- Observe the LED: As the alarm is activated, the LED should start flashing. The frequency and pattern of the flashing can be personalized based on your programming. The aim is to create a visual effect that mimics a genuine security system.
- Listen for the alarm: Pay attention to the alarm sound produced by the buzzer or alarm sound module. It should be loud enough to be heard from a distance. If required, you can adjust the volume or sound pattern in your programming to make it more realistic.
- Check for realism: Step back and assess the overall appearance of your dummy alarm system. Ensure that the LED and alarm components are noticeable and convincing. Consider factors such as the positioning, visibility, and functionality of the system.
- Make adjustments if necessary: If you feel that certain aspects of your dummy LED burglar alarm could be improved, such as the brightness of the LED or the volume of the alarm, you can modify the programming accordingly.
- Re-test the functionality: After making any adjustments, re-test the alarm system to ensure that the changes have been implemented successfully.
Testing is an essential part of the process to ensure that your dummy LED burglar alarm effectively serves its purpose as a deterrent. Regularly check the system for any faults or malfunctions and make any necessary repairs or adjustments.
Remember, although a dummy alarm system can provide a sense of security, it is not a substitute for a professionally installed and monitored security system. It is important to assess your individual security needs and consider additional measures such as surveillance cameras, motion detectors, or professional monitoring services.
With the testing complete, you have successfully created and tested your own dummy LED burglar alarm. Congratulations! By taking this DIY approach, you have not only saved money but also added an extra layer of security to your home.
Conclusion
Creating a dummy LED burglar alarm can be a cost-effective and practical way to enhance your home security. By following the steps outlined in this article, you have learned how to assemble the circuit, program the microcontroller, mount the LED and alarm components, and test the functionality of your dummy alarm system.
While a dummy LED burglar alarm may not provide the same level of security as a professionally installed system, it can still serve as a powerful deterrent. The flashing LED and sounding alarm create the illusion of a functioning security system, deterring potential intruders who may think twice before targeting your home.
Remember to position the LED and alarm components strategically to maximize their visibility and effectiveness. Regularly test and maintain your dummy alarm system to ensure it continues to operate reliably.
It’s important to note that a dummy alarm system should be used as a complement to other home security measures, such as secure locks, motion sensor lights, or surveillance cameras. Additionally, consider consulting a professional security provider for a comprehensive evaluation and to explore additional security options that fit your specific needs.
By taking the DIY approach and creating your own dummy LED burglar alarm, you have not only empowered yourself with a customized security solution but also achieved peace of mind knowing that you have taken steps to protect your home and loved ones.
Remember, the goal is to make your home less attractive to potential burglars by creating the perception that it’s secure and monitored. With a well-designed dummy alarm system, you can significantly reduce the risk of a break-in and enjoy a greater sense of security within your home.
Stay safe, stay proactive, and keep your home protected with your very own dummy LED burglar alarm system.
Frequently Asked Questions about How To Make A Dummy LED Burglar Alarm (Popular Electronics)
Was this page helpful?
At Storables.com, we guarantee accurate and reliable information. Our content, validated by Expert Board Contributors, is crafted following stringent Editorial Policies. We're committed to providing you with well-researched, expert-backed insights for all your informational needs.