Home>Home Security and Surveillance>How To Make A CCTV Camera At Home
Home Security and Surveillance
How To Make A CCTV Camera At Home
Modified: March 6, 2024
Learn how to create a DIY CCTV camera for enhanced home security and surveillance with our simple step-by-step guide. Discover affordable ways to protect your space.
(Many of the links in this article redirect to a specific reviewed product. Your purchase of these products through affiliate links helps to generate commission for Storables.com, at no extra cost. Learn more)
Introduction
In today’s world, ensuring the safety and security of our homes has become a top priority. With the advancements in technology, there are various home security and surveillance systems available on the market. These systems can provide peace of mind by monitoring and protecting our homes from potential threats.
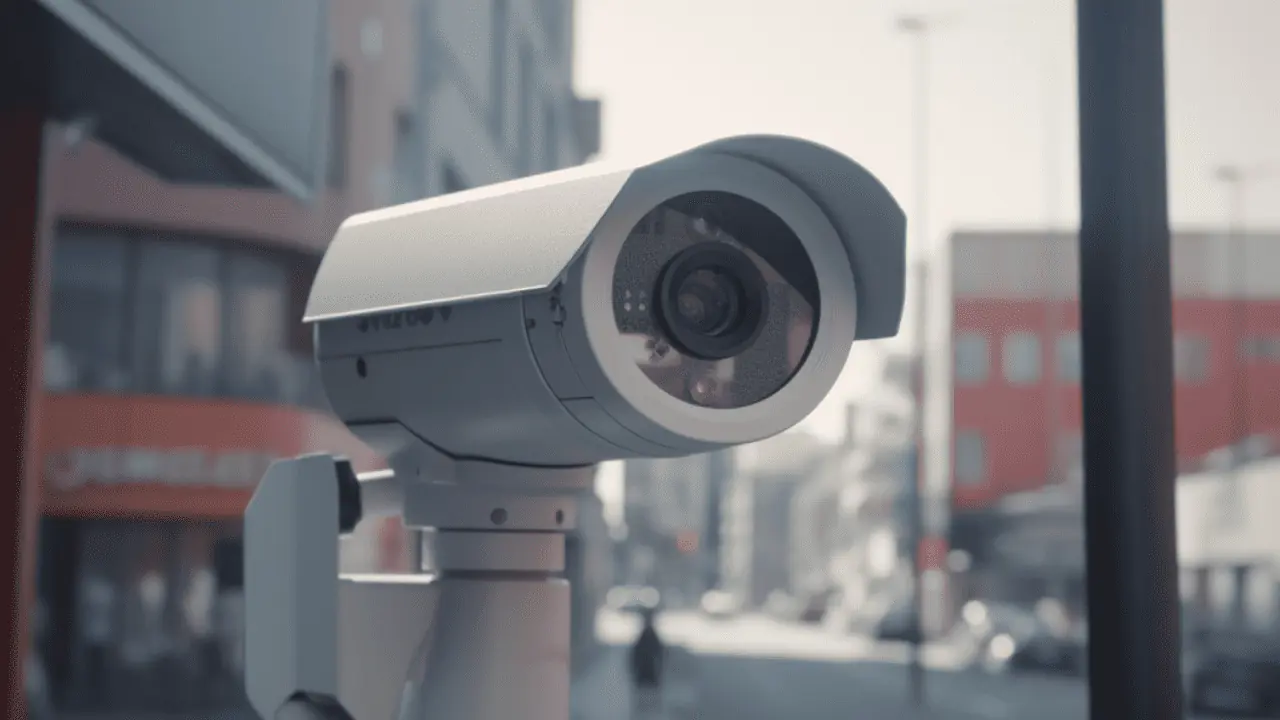
One popular option is CCTV (Closed-Circuit Television) cameras, which are widely used for surveillance purposes. These cameras not only act as a deterrent to potential burglars but also provide valuable evidence in the event of a break-in or other suspicious activity. While there are a plethora of CCTV camera options available for purchase, making a DIY CCTV camera at home can be a rewarding and cost-effective alternative.
In this article, we will guide you through the process of creating your very own CCTV camera at home. We will provide a list of required materials, step-by-step instructions, and helpful tips to ensure a successful DIY project.
Key Takeaways:
- You can create your own CCTV camera at home using a Raspberry Pi, camera module, and other simple materials. It’s a fun and cost-effective way to enhance home security.
- Building a DIY CCTV camera allows you to customize your surveillance system and gain technical skills. While professional systems offer advanced features, DIY projects provide a sense of accomplishment and control.
Read more: What Is CCTV Security Cameras
Materials Required
Before starting your DIY CCTV camera project, it’s essential to gather all the necessary materials. Here is a list of the items you will need:
- A Raspberry Pi or similar single-board computer
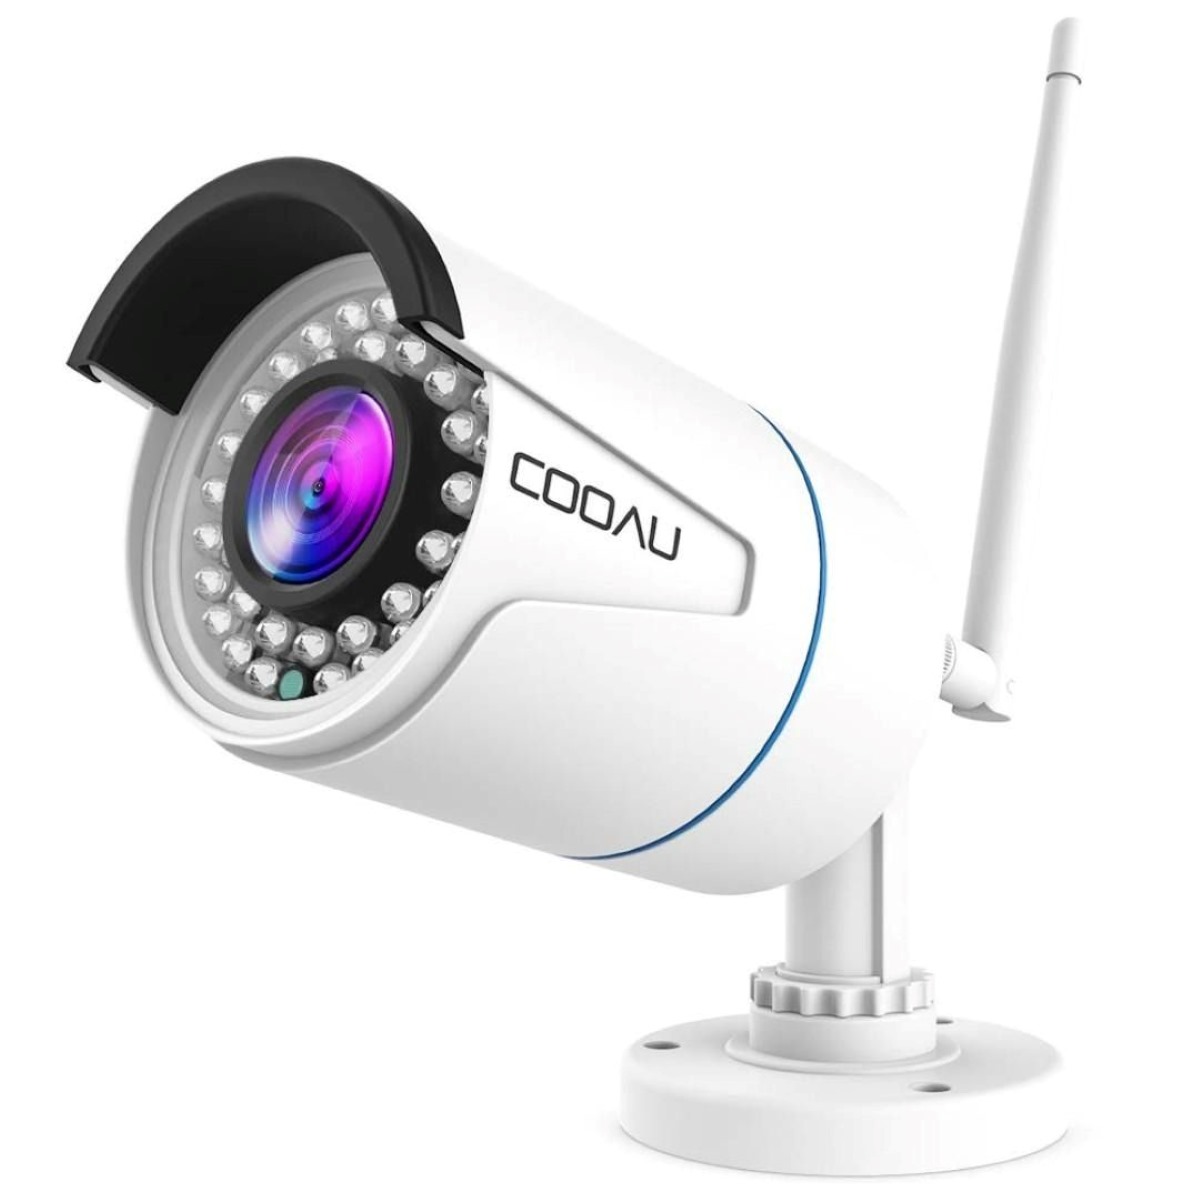
- A Raspberry Pi camera module or USB webcam
- A camera housing or enclosure
- A power supply for the Raspberry Pi
- An SD card for the Raspberry Pi’s operating system
- A network connection (either Wi-Fi or Ethernet)
- A monitor or TV to view the camera feed (optional)
- A computer or smartphone for remote viewing (optional)
These items are easily available online or at your local electronics store. Make sure to choose a high-quality camera module or webcam that can deliver clear and sharp video footage. Additionally, consider the size and design of the camera housing to ensure it meets your requirements and provides adequate protection for the camera module.
Once you have gathered all the materials, you are ready to move on to the next step of the DIY CCTV camera project: preparing the camera housing.
Step 1: Gathering the necessary components
The first step in creating your DIY CCTV camera is to gather all the necessary components. As mentioned earlier, you will need a Raspberry Pi or similar single-board computer, a camera module or webcam, a camera housing or enclosure, a power supply for the Raspberry Pi, an SD card, a network connection, and optional devices such as a monitor or TV for viewing the camera feed, and a computer or smartphone for remote viewing.
Start by obtaining a Raspberry Pi or any similar single-board computer. The Raspberry Pi is a popular choice due to its affordability and versatility. Make sure to choose a model that suits your needs and budget.
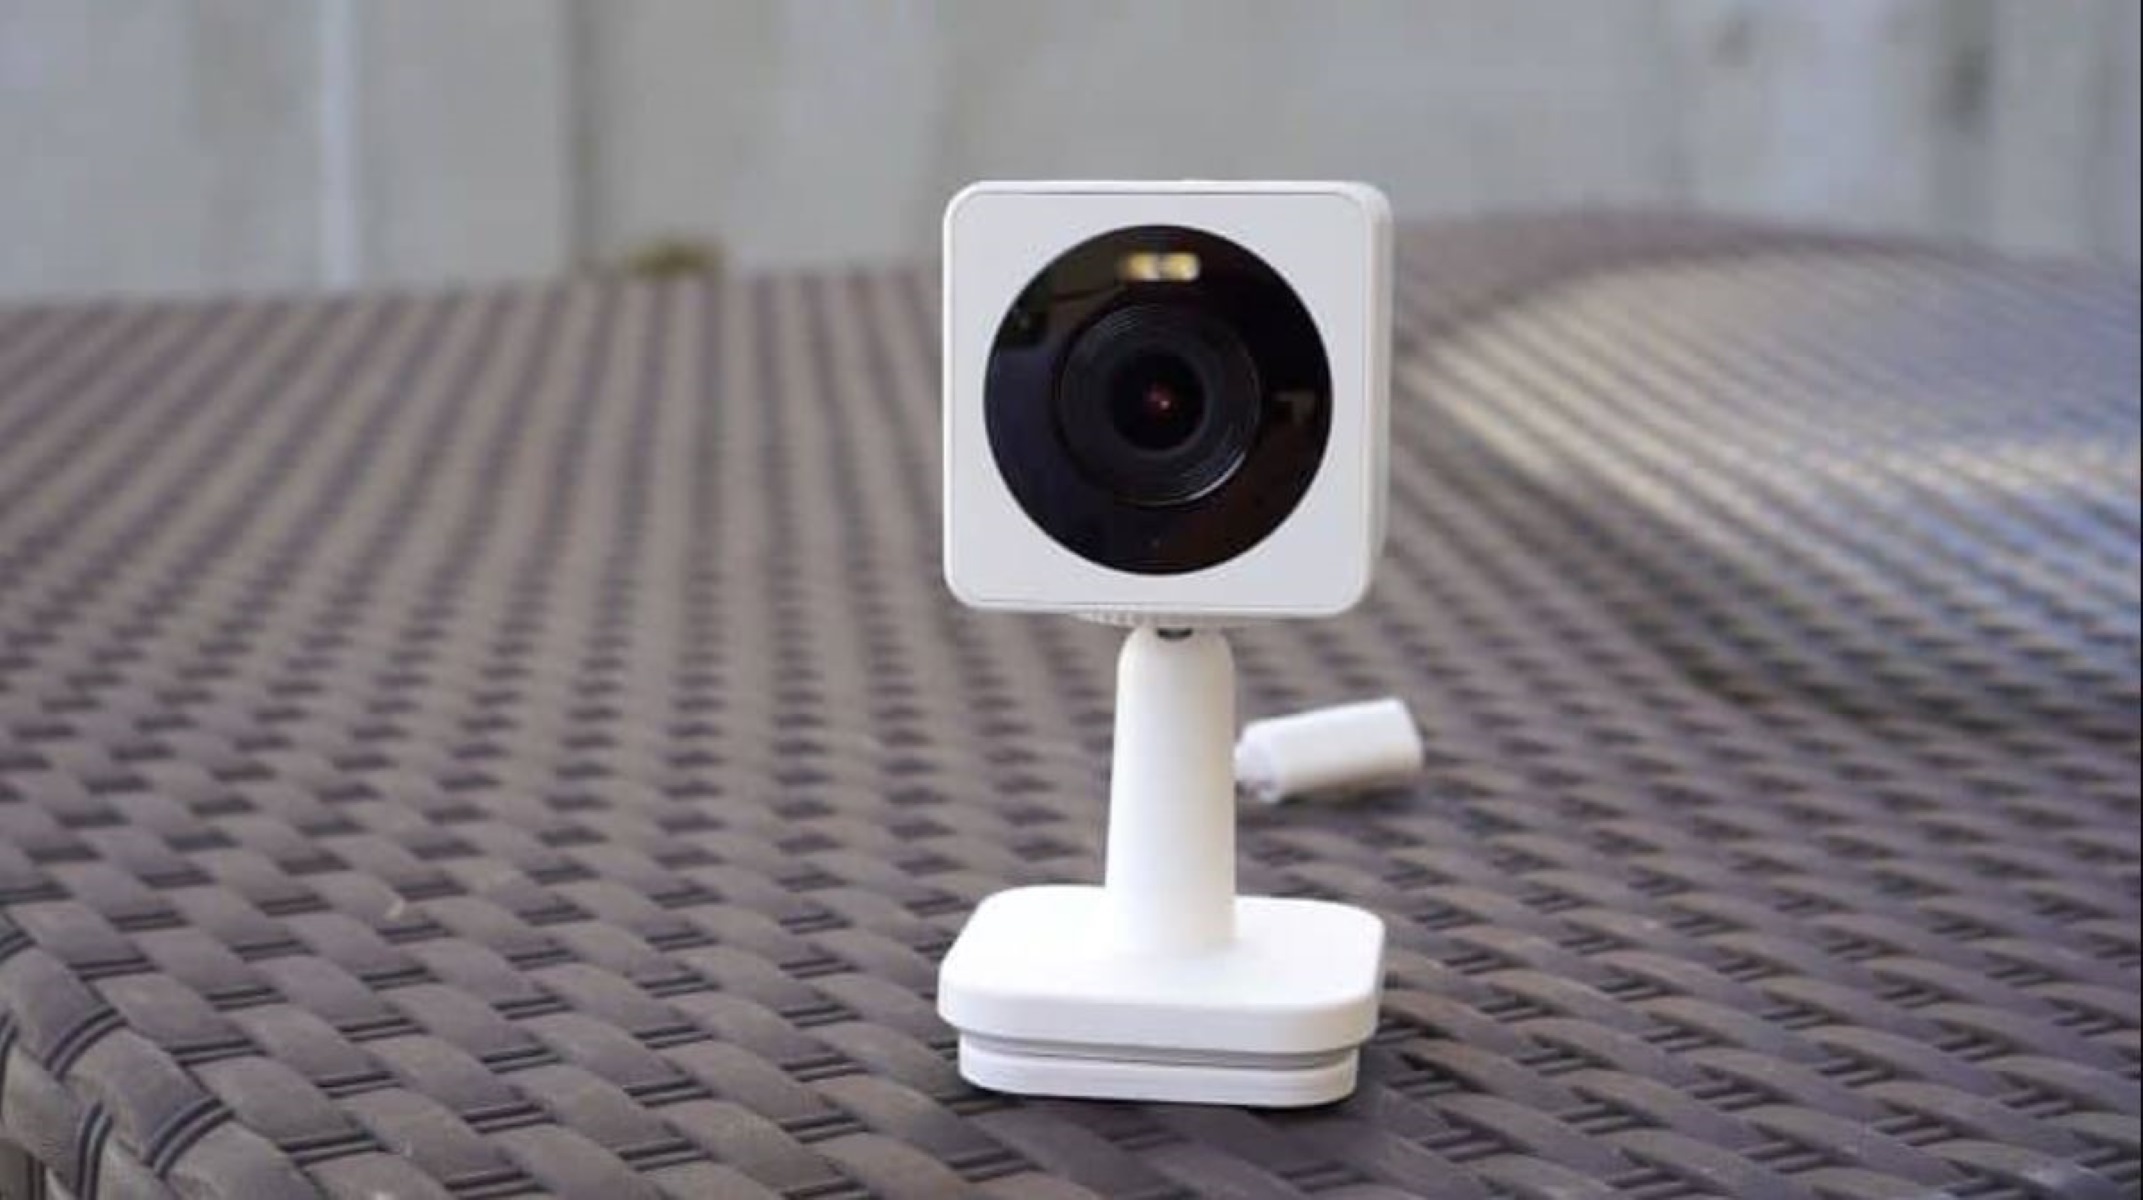
Next, select a camera module or USB webcam that is compatible with the Raspberry Pi or your single-board computer. An official Raspberry Pi camera module is highly recommended for optimal performance and compatibility, but other USB webcams can also work well.
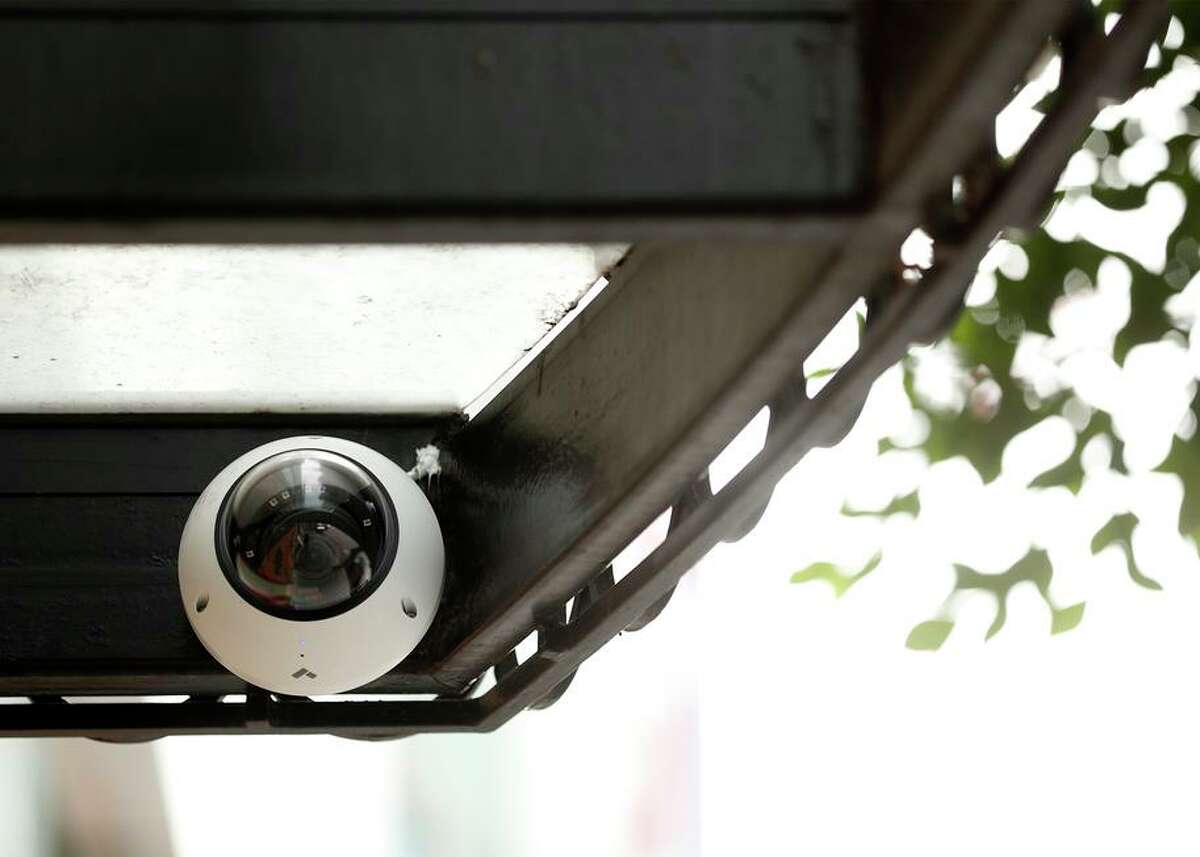
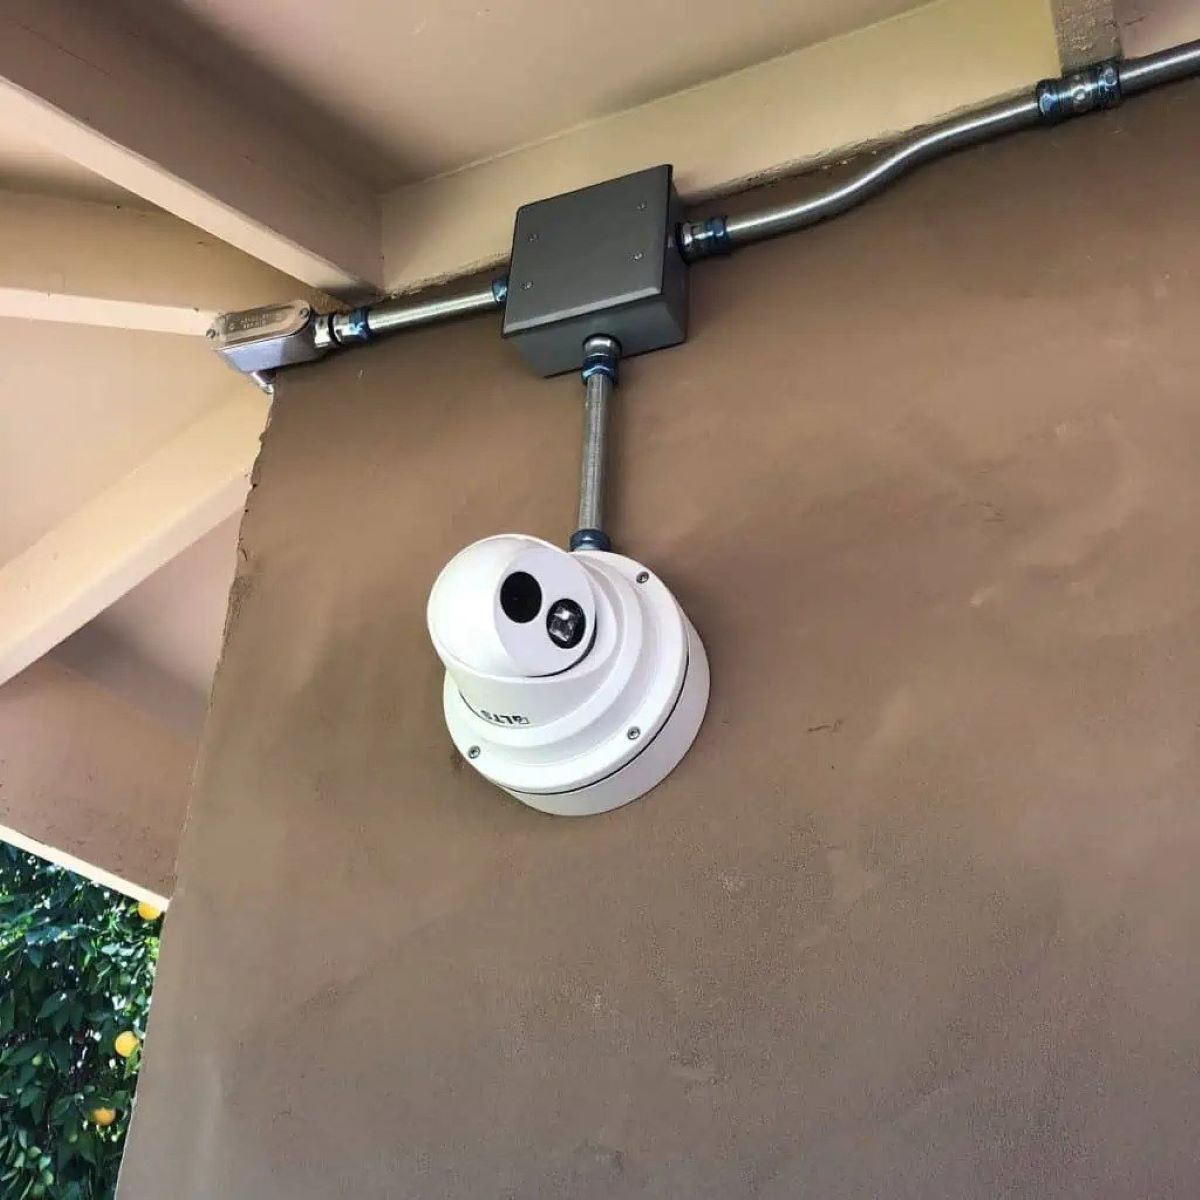
Now, it’s time to find a suitable camera housing or enclosure. This will protect the camera module from dust, moisture, and other environmental factors. Look for a housing that fits your camera module and provides easy access to the lens for adjustments.
Additionally, ensure you have a reliable power supply for your Raspberry Pi. Depending on the model, the power requirements may vary. It is best to use a power supply that meets the manufacturer’s specifications to avoid any potential issues.
An SD card is needed to install the operating system for the Raspberry Pi. Choose a high-quality SD card with enough storage capacity to accommodate the operating system and any additional software.
Finally, you will need a network connection for your CCTV camera. You can either use Wi-Fi or an Ethernet connection depending on your setup and preferences. If you plan on remote viewing, make sure your network allows for port forwarding or uses a VPN for secure access.
Once you have gathered all the necessary components, you are ready to proceed to the next step: preparing the camera housing.
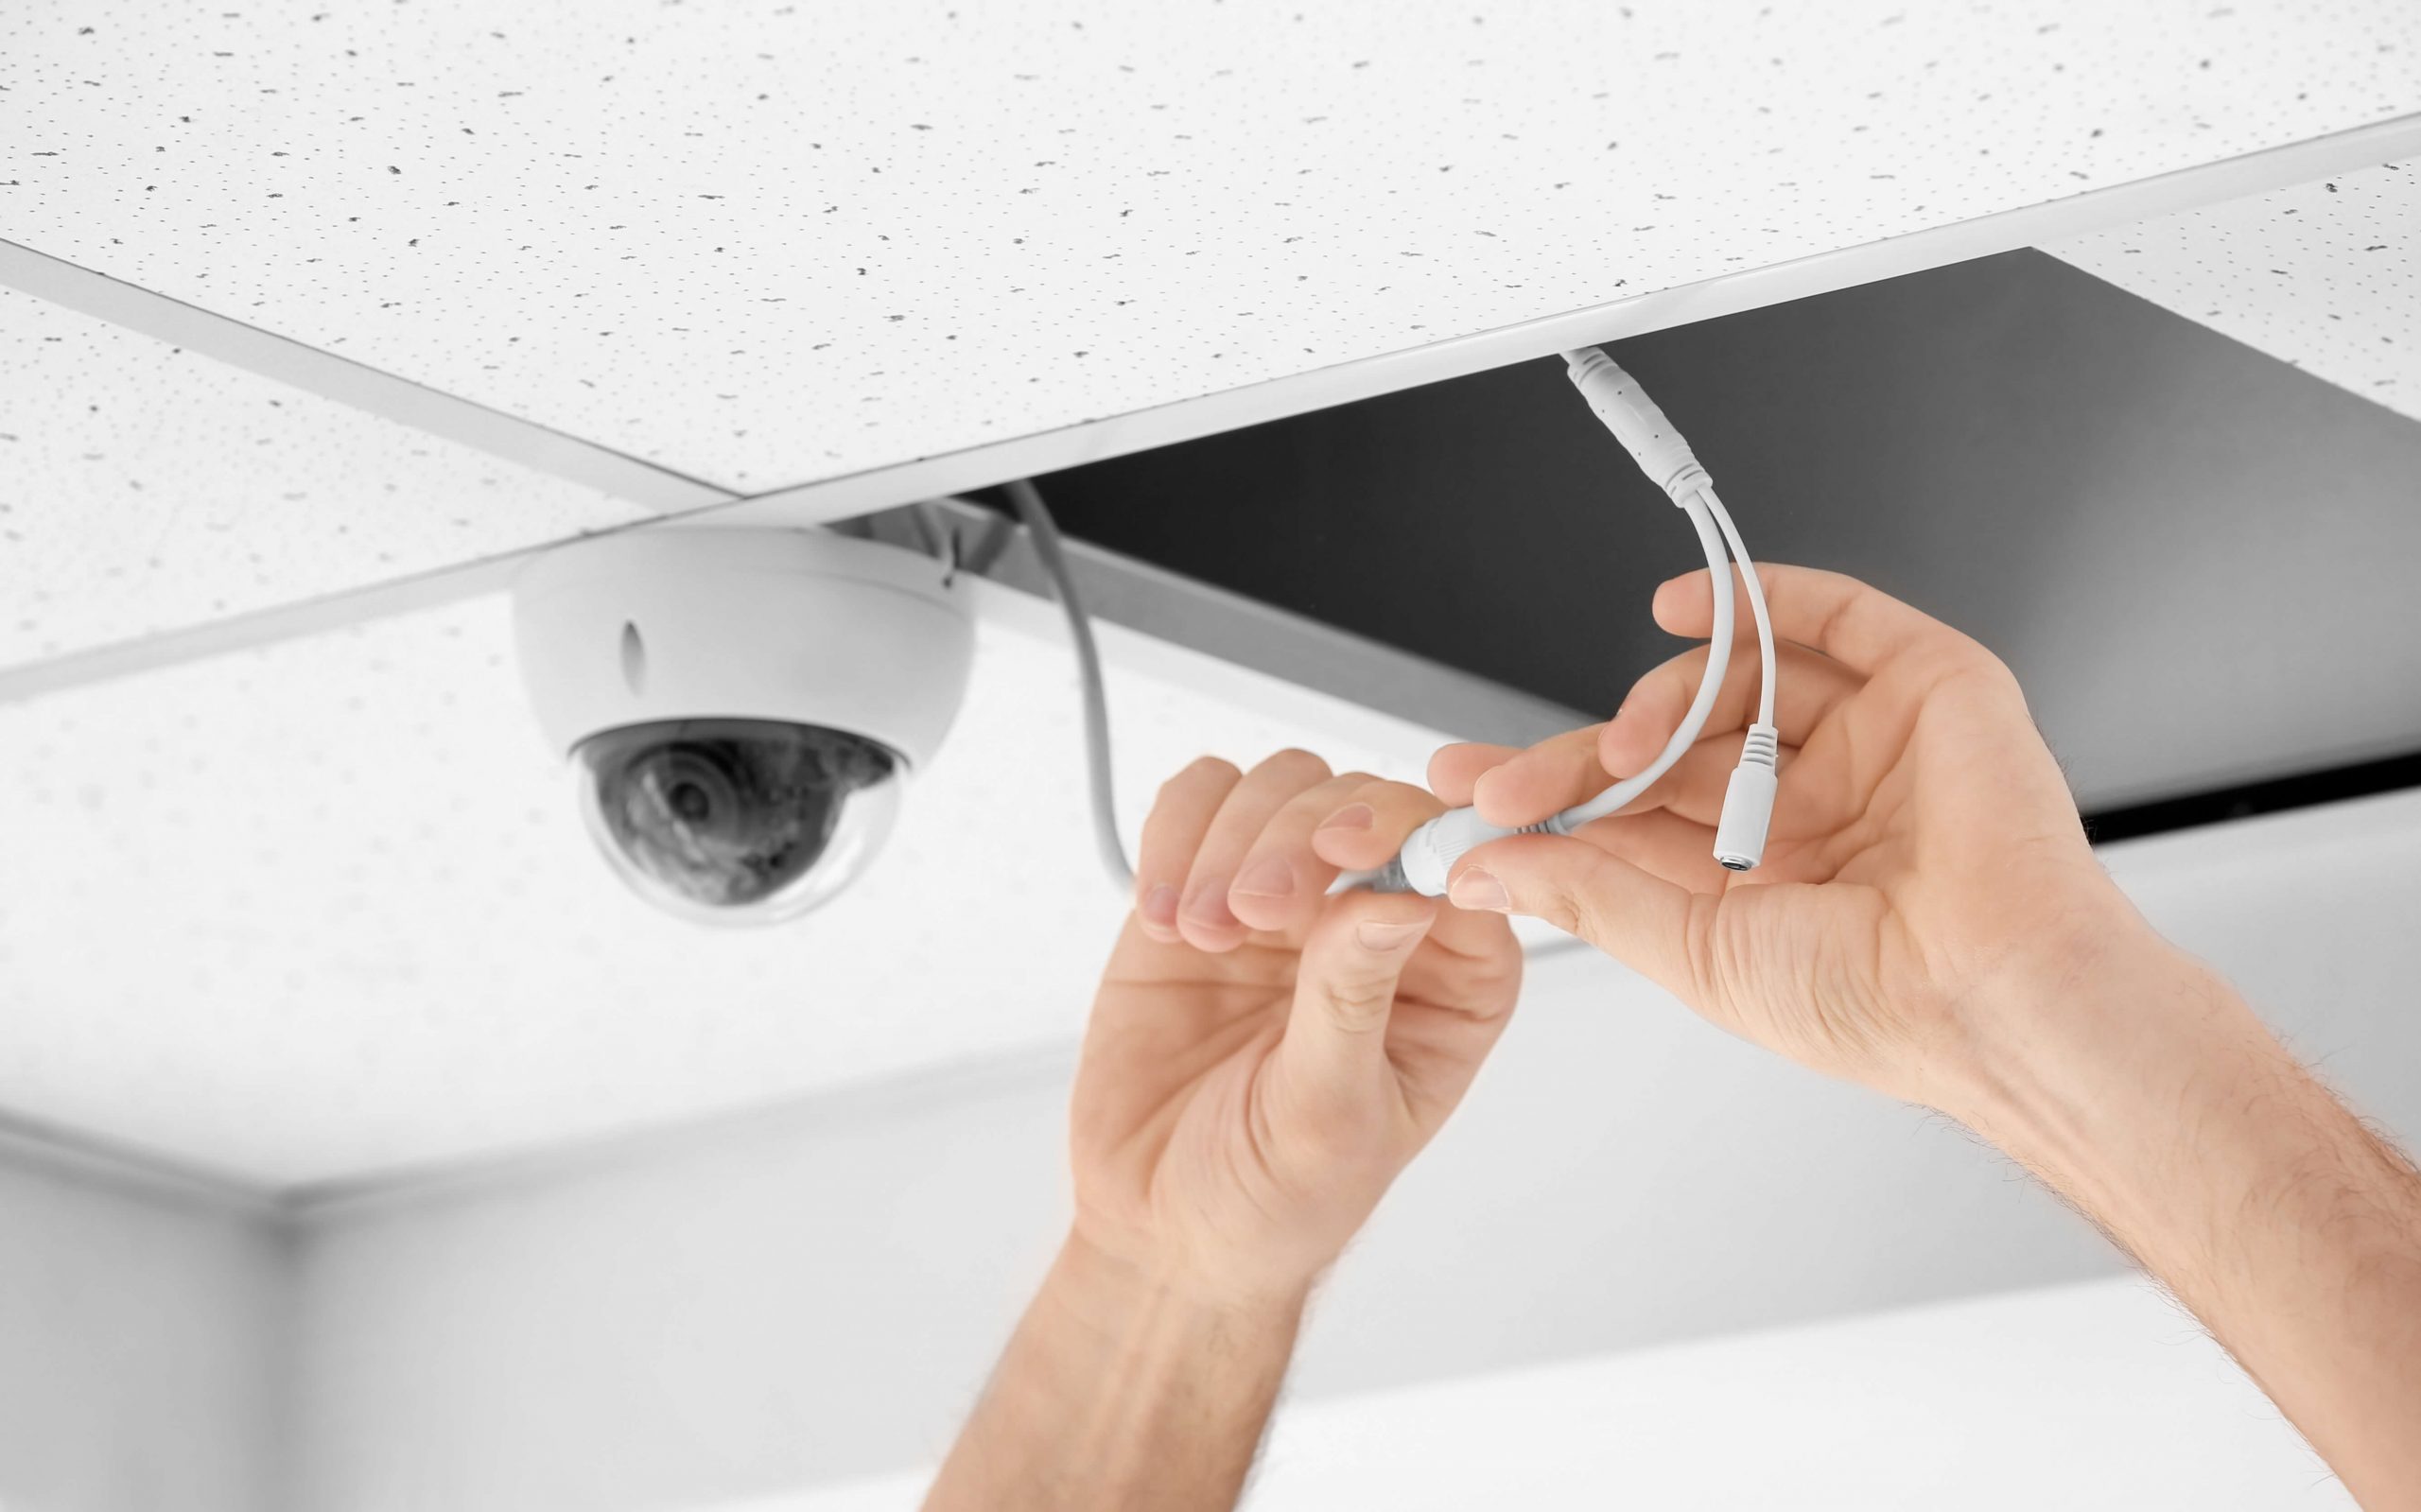
Step 2: Preparing the Camera Housing
Now that you have all the necessary components for your DIY CCTV camera, it’s time to prepare the camera housing. The camera housing serves as a protective enclosure for the camera module, shielding it from elements such as dust, moisture, and potential damage.
Here are the steps to prepare the camera housing:
- Clean the housing: Start by ensuring that the camera housing is clean and free from any dirt or debris. Use a soft cloth or brush to gently clean both the interior and exterior of the housing.
- Make necessary modifications: Depending on the design of the housing, you may need to make modifications to accommodate the camera module and necessary wiring. Use a drill or appropriate tools to create holes for the camera lens, wires, and any other required connections.
- Add a protective cover: If your camera housing does not come with a protective cover or lens shield, consider adding one to provide additional protection against weather conditions and potential physical damage. This cover should be transparent and non-reflective to ensure optimal video quality.
- Secure the camera module: Once the housing is modified and a protective cover is in place, carefully secure the camera module inside the housing. Use screws or other appropriate fasteners to ensure it stays in place.
- Seal the housing: To prevent any moisture or dust from entering the housing, apply a waterproof sealant or gasket to seal any gaps or openings. This will help maintain the integrity of the camera module and extend its lifespan.
Once you have prepared the camera housing, you are now ready to move on to the next step: mounting the camera module.
Step 3: Mounting the Camera Module
With the camera housing prepared, it’s time to mount the camera module securely inside. Proper mounting ensures stability and optimal positioning for capturing clear video footage. Follow these steps to mount the camera module:
- Position the camera module: Carefully place the camera module inside the housing, ensuring that the lens is aligned with the opening you created earlier.
- Secure the module: Use screws or other suitable fasteners to secure the camera module in place. Make sure it is firmly held and does not move or shake.
- Adjust the lens: Once the camera module is securely mounted, adjust the lens to ensure the desired angle and focus. This may require some trial and error to find the optimal position.
- Test the view: Connect the camera module to the Raspberry Pi or your chosen single-board computer. Power on the system and check the camera’s view through a monitor or TV if available. Make any necessary adjustments to the lens position for the desired field of view.
It’s important to ensure that the camera module is mounted securely and aligned properly within the housing. This will help avoid any issues with video quality or stability. Once the camera module is mounted and adjusted, you are now ready to move on to the next step: connecting the wires and power source.
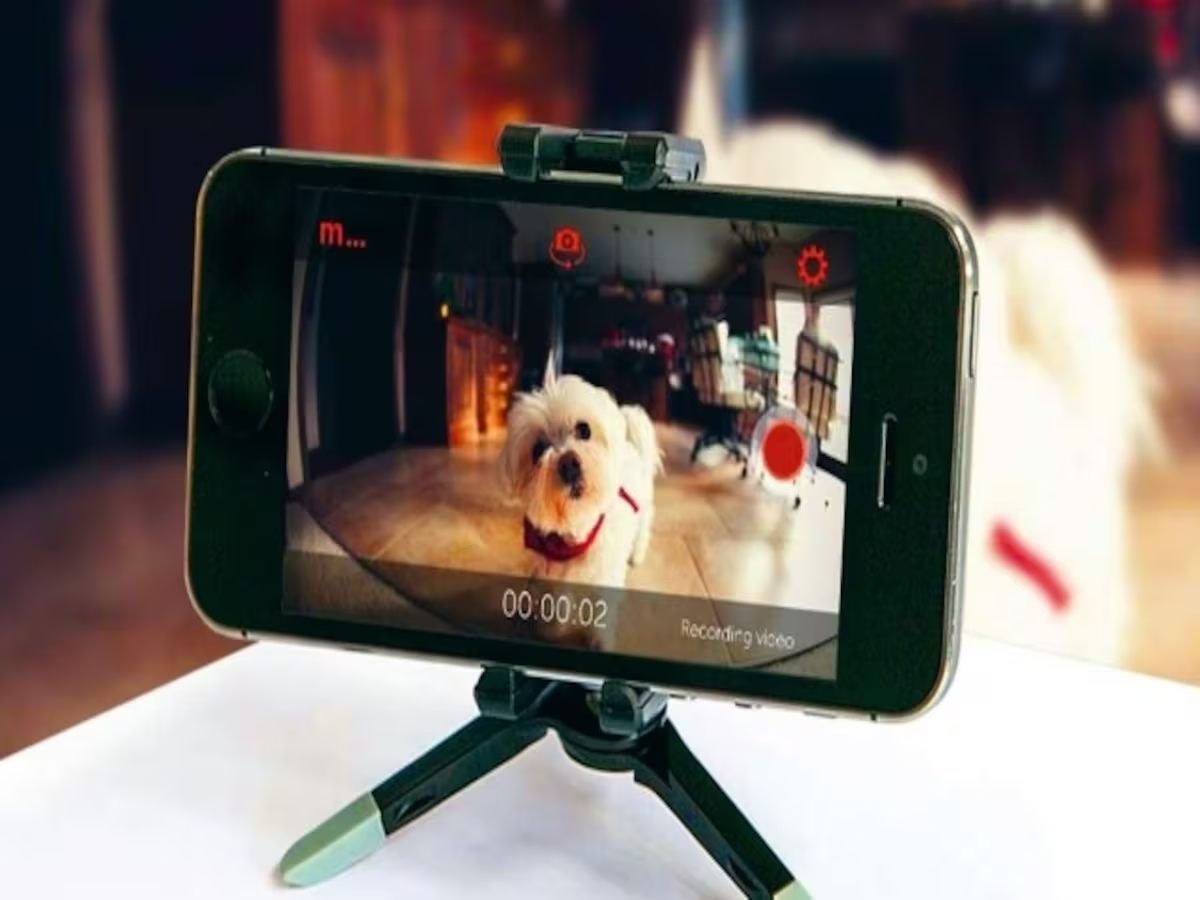
You can repurpose an old smartphone as a DIY CCTV camera by downloading a free security camera app and mounting the phone in a strategic location. This can be a cost-effective way to monitor your home.
Read more: How To Set Up A CCTV Camera At Home
Step 4: Connecting Wires and Power Source
Now that the camera module is securely mounted inside the housing, it’s time to connect the necessary wires and provide a power source for your DIY CCTV camera. Follow these steps to ensure proper connections:
- Identify the camera module’s connectors: Locate the connectors on the camera module. Typically, there will be a ribbon cable connector or a USB connector depending on the type of camera module you are using.
- Connect the camera module to the Raspberry Pi: If you are using a Raspberry Pi, connect the camera module to the appropriate connector on the board. For ribbon cable connectors, ensure that the cable is inserted correctly and securely. If using a USB webcam, connect it to one of the USB ports on the Raspberry Pi.
- Connect the power supply to the Raspberry Pi: Plug in the power supply to the Raspberry Pi, ensuring that it is compatible with the board’s power requirements. This will provide the necessary power to both the Raspberry Pi and the camera module.
- Test the camera feed: Power on the Raspberry Pi and wait for it to boot up. Once it’s ready, you should be able to access the camera feed through the appropriate software or application. Test the camera feed to ensure that it is working properly and capturing clear video footage.
- Optional: Connect to a network: If you want to access the camera feed remotely, you will need to connect the Raspberry Pi to your home network. You can do this by either connecting an Ethernet cable from the Raspberry Pi to your router or configuring the Wi-Fi settings on the Raspberry Pi.
Make sure all connections are secure and double-check the power source to ensure proper functionality. Once all the wires are connected and the power is supplied, you can move on to the next step: setting up the video feed.
Step 5: Setting up the Video Feed
With the camera module connected and powered on, it’s time to set up the video feed for your DIY CCTV camera. Follow these steps to get the video feed up and running:
- Install the necessary software: Depending on the operating system you are using on your Raspberry Pi or single-board computer, you may need to install specific software to access and manage the camera feed. For example, if you are using a Raspberry Pi, you can install the official Raspberry Pi OS and enable the camera module through the configuration settings.
- Configure the camera settings: Once the software is installed, access the camera settings to adjust various parameters such as resolution, frame rate, and exposure. This step allows you to customize the camera settings based on your preferences and requirements.
- Set up recording options: Decide whether you want your DIY CCTV camera to continuously record or only capture footage when motion is detected. Depending on the software you are using, you can configure recording options and set up a motion detection feature.
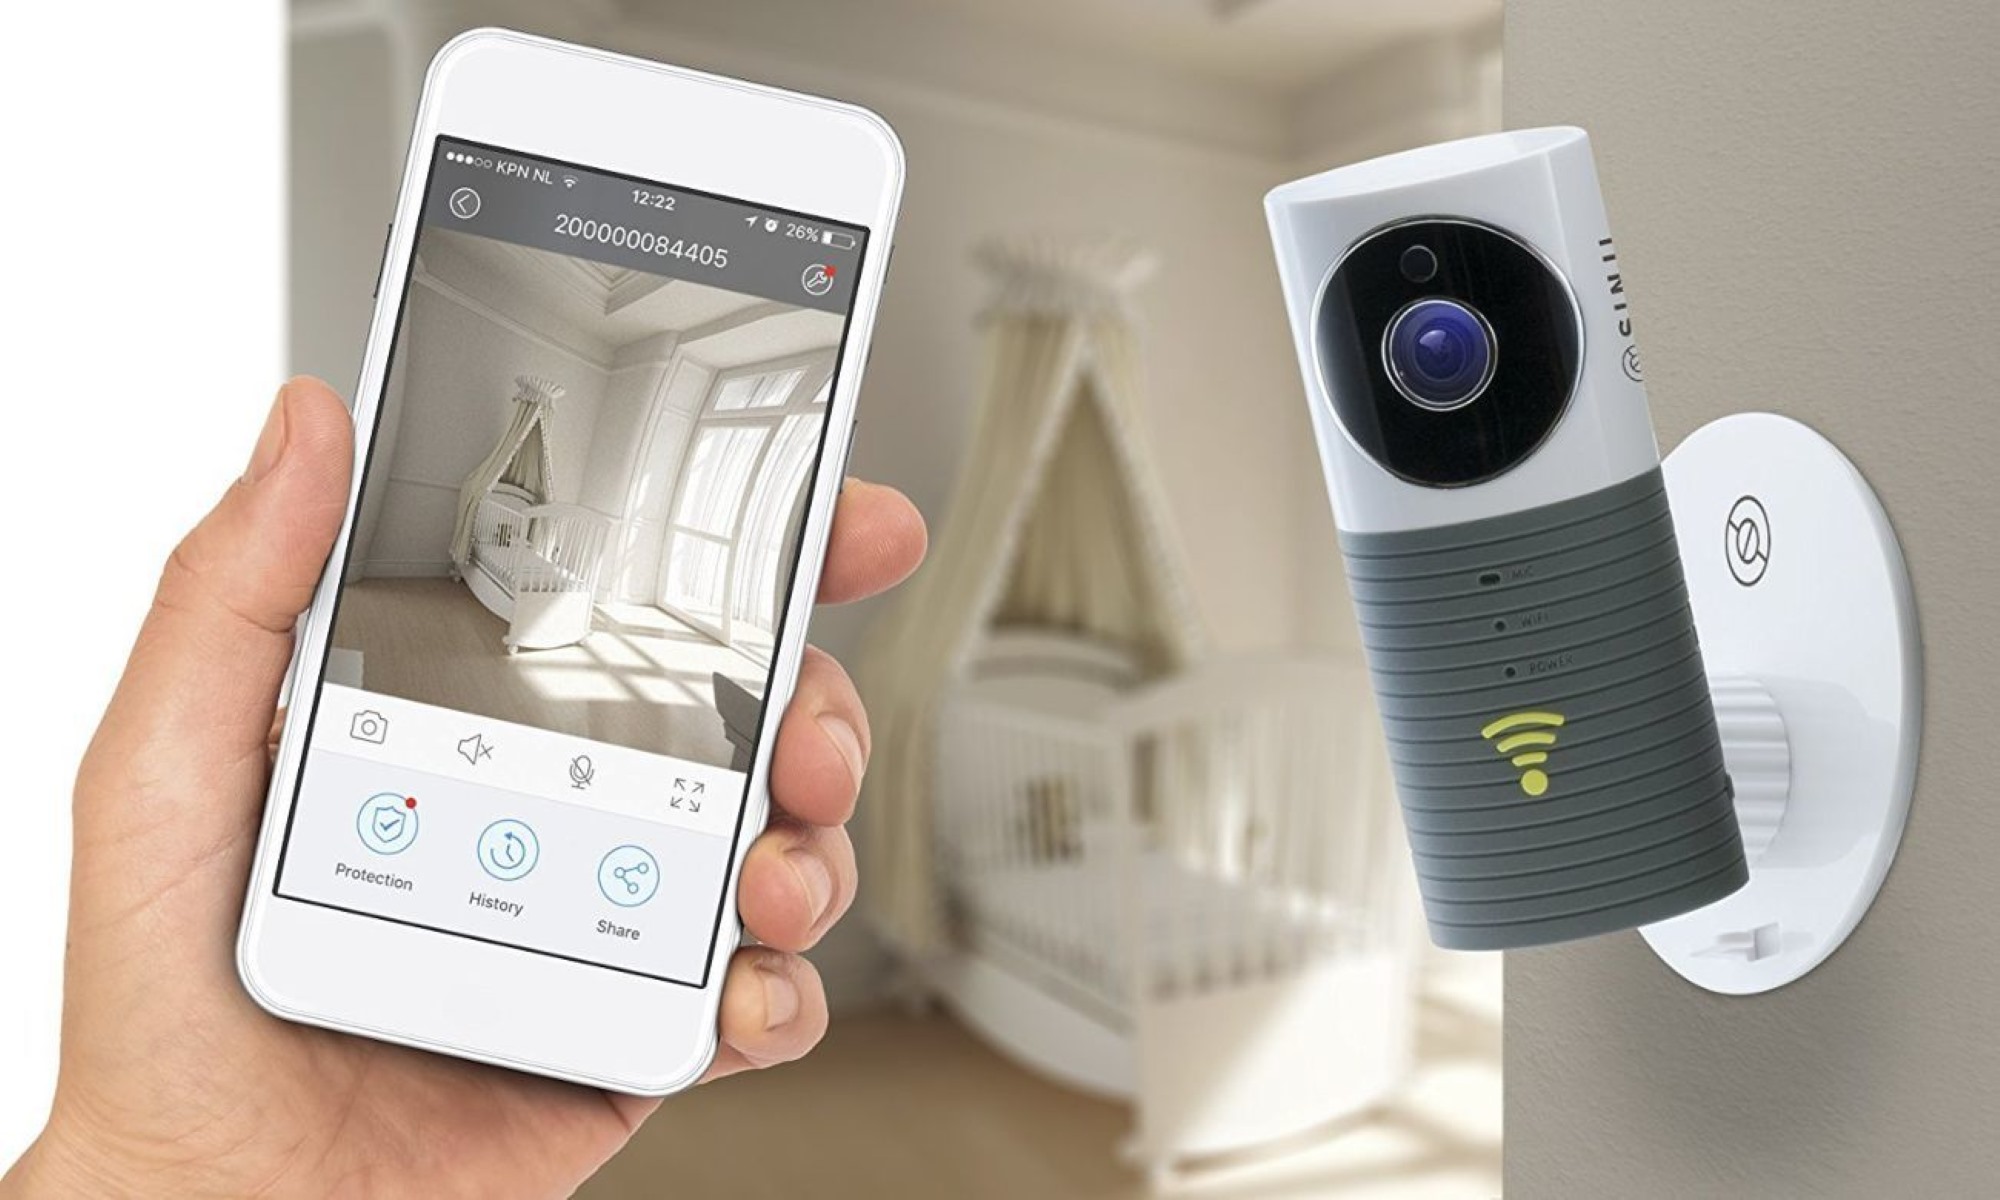
- Access the camera feed: Once everything is configured, you can access the camera feed through a web browser, mobile app, or designated software. Ensure that you have proper access credentials and any necessary port forwarding or VPN settings configured for remote access.
- Test the video feed: Take a few moments to test the video feed and make sure it is functioning correctly. Verify that the footage is clear, the motion detection feature is working as expected, and you can access the feed securely if remote viewing is enabled.
Setting up the video feed plays a crucial role in maximizing the effectiveness of your DIY CCTV camera. Take the time to configure the settings to meet your specific needs and test the feeds to ensure optimal performance.
After successfully setting up the video feed, you are ready to move on to the final step: testing and troubleshooting your DIY CCTV camera.
Step 6: Testing and Troubleshooting
After completing the setup of your DIY CCTV camera, it’s important to thoroughly test it and troubleshoot any issues that may arise. Follow these steps to ensure that your camera is functioning properly:
- Test the camera’s functionality: Begin by testing the camera’s basic functionality. Check if it captures clear video footage and if the camera feed is accessible through your chosen method (web browser, mobile app, or software). Ensure that you can view the camera feed both locally and remotely (if applicable).
- Check for any connectivity issues: Verify that the camera is reliably connected to your home network. If you are experiencing connectivity issues, review your network settings, including Wi-Fi signal strength, IP address allocation, and any firewall settings that may be blocking access.
- Adjust camera settings if necessary: Fine-tune the camera settings to optimize the video quality, motion detection sensitivity, and any other desired parameters. Adjust the camera’s angle and focus if needed to capture the desired area effectively.
- Test the recording and storage capabilities: If your DIY CCTV camera is set to record, ensure that the recording function is working correctly. Check if the camera is saving video footage to the designated storage location, such as an SD card or a network-attached storage (NAS) system.
- Identify and address any hardware or software issues: If you encounter any hardware or software issues, carefully review the setup process and consult relevant documentation or online resources. Look for firmware updates for your camera module or single-board computer that may address any known issues.
- Seek assistance if needed: If you are unable to resolve any issues or concerns, seek assistance from online communities, forums, or support channels specific to your DIY CCTV camera setup. Fellow enthusiasts or experts in the field may be able to provide guidance and troubleshooting tips.
Regularly test and monitor your DIY CCTV camera to ensure optimal performance and reliability. Periodically review the camera footage to confirm that it captures clear and useful information.
By thoroughly testing and troubleshooting your DIY CCTV camera, you can have confidence in its ability to enhance the security of your home.
With the completion of the testing and troubleshooting step, you have successfully created your very own DIY CCTV camera!
Conclusion
Creating a DIY CCTV camera at home can be a rewarding and cost-effective way to enhance the security and surveillance of your property. By following the steps outlined in this guide, you have learned how to gather the necessary materials, prepare the camera housing, mount the camera module, connect the wires and power source, set up the video feed, and test and troubleshoot your DIY CCTV camera.
With advancements in technology and the availability of affordable single-board computers, camera modules, and other components, it has become easier than ever to create your own customized surveillance system. By building your own CCTV camera, you have the flexibility to tailor it to your specific needs and preferences.
Remember, successful implementation of a DIY CCTV camera requires careful consideration of factors such as camera placement, proper wiring, network connectivity, and video storage options. Regular maintenance and monitoring are also important to ensure that your CCTV camera operates effectively and provides the desired level of security.
While a DIY approach can be fulfilling, it’s important to understand that professional-grade CCTV systems may offer more advanced features and functionality. If you require a higher level of security or specialized requirements, consulting with a professional installer or security expert may be beneficial.
Overall, creating a DIY CCTV camera provides you with an opportunity to exercise your technical skills, save costs, and have greater control over your home security. Whether you are looking to deter potential intruders or keep an eye on your property remotely, a DIY CCTV camera can add an extra layer of protection and peace of mind.
So, gather the necessary materials, embark on this exciting project, and enjoy the satisfaction of knowing you’ve taken an active role in safeguarding your home with your very own DIY CCTV camera.
Frequently Asked Questions about How To Make A CCTV Camera At Home
Was this page helpful?
At Storables.com, we guarantee accurate and reliable information. Our content, validated by Expert Board Contributors, is crafted following stringent Editorial Policies. We're committed to providing you with well-researched, expert-backed insights for all your informational needs.