Home>Home Security and Surveillance>How To Set Up Home CCTV Network

Home Security and Surveillance
How To Set Up Home CCTV Network
Modified: March 6, 2024
Learn how to set up a reliable home CCTV network for optimal home security and surveillance. Get expert tips and advice to protect your loved ones and property.
(Many of the links in this article redirect to a specific reviewed product. Your purchase of these products through affiliate links helps to generate commission for Storables.com, at no extra cost. Learn more)
Introduction
Welcome to the world of home security and surveillance. With the increasing need to protect our homes and loved ones, setting up a CCTV network has become a popular choice for homeowners. Installing a home CCTV system not only provides peace of mind but also acts as a deterrent to potential intruders. In this article, we will guide you through the process of setting up your own home CCTV network.
Before we get started, it’s important to note that while we will provide a comprehensive overview, it’s always recommended to consult with a professional or follow manufacturer’s instructions specific to your equipment. Let’s dive in and explore the various steps involved in setting up your home CCTV network.
Key Takeaways:
- Setting up a home CCTV network involves determining surveillance needs, choosing the right cameras, and strategically placing them. It’s important to configure camera settings, enable remote viewing, and perform regular maintenance for optimal security.
- Maintaining and monitoring your CCTV network is crucial for continued effectiveness. Regularly inspect cameras, review storage capacity, and update firmware. Educate users and consider professional maintenance for top performance.
Step 1: Determine Your Surveillance Needs
The first step in setting up your home CCTV network is to determine your specific surveillance needs. Consider the areas you want to monitor, such as the front door, backyard, driveway, or any other vulnerable spots around your property.
Take note of any specific requirements you may have. For example, if you live in an area prone to vandalism or theft, you may want to prioritize cameras with night vision capabilities. If you have a large property, you may need multiple cameras or a PTZ (pan-tilt-zoom) camera to cover a wide area.
Additionally, think about whether you want your cameras to be visible or discreet. Visible cameras can act as a deterrent, while discreet cameras can blend in with their surroundings and go unnoticed.
Consider the recording and storage capabilities you require. Do you want your cameras to continuously record footage, or only when motion is detected? How long do you want to retain the recorded videos? This will help you determine the storage capacity needed for your network video recorder (NVR) or the cloud-based storage service you plan to use.
Lastly, think about the ability to access your CCTV footage remotely. Do you want to be able to view live or recorded videos from your mobile device or computer? This will help you choose cameras and equipment that offer remote viewing capabilities.
By clearly defining your surveillance needs, you can make informed decisions when selecting equipment and setting up your home CCTV network.
Step 2: Choose the Right CCTV Cameras
Choosing the right CCTV cameras is crucial for capturing high-quality footage and ensuring optimal surveillance coverage. Here are some important factors to consider when selecting your cameras:
Resolution: Higher resolution cameras provide clearer and more detailed images. Here are some common resolutions:
– 720p (HD) cameras offer decent image quality.
– 1080p (Full HD) cameras provide more detail and clarity.
– 4K cameras offer the highest resolution and are ideal for large areas or when you need the finest details.
Camera Type: There are various types of CCTV cameras available, each with its own advantages:
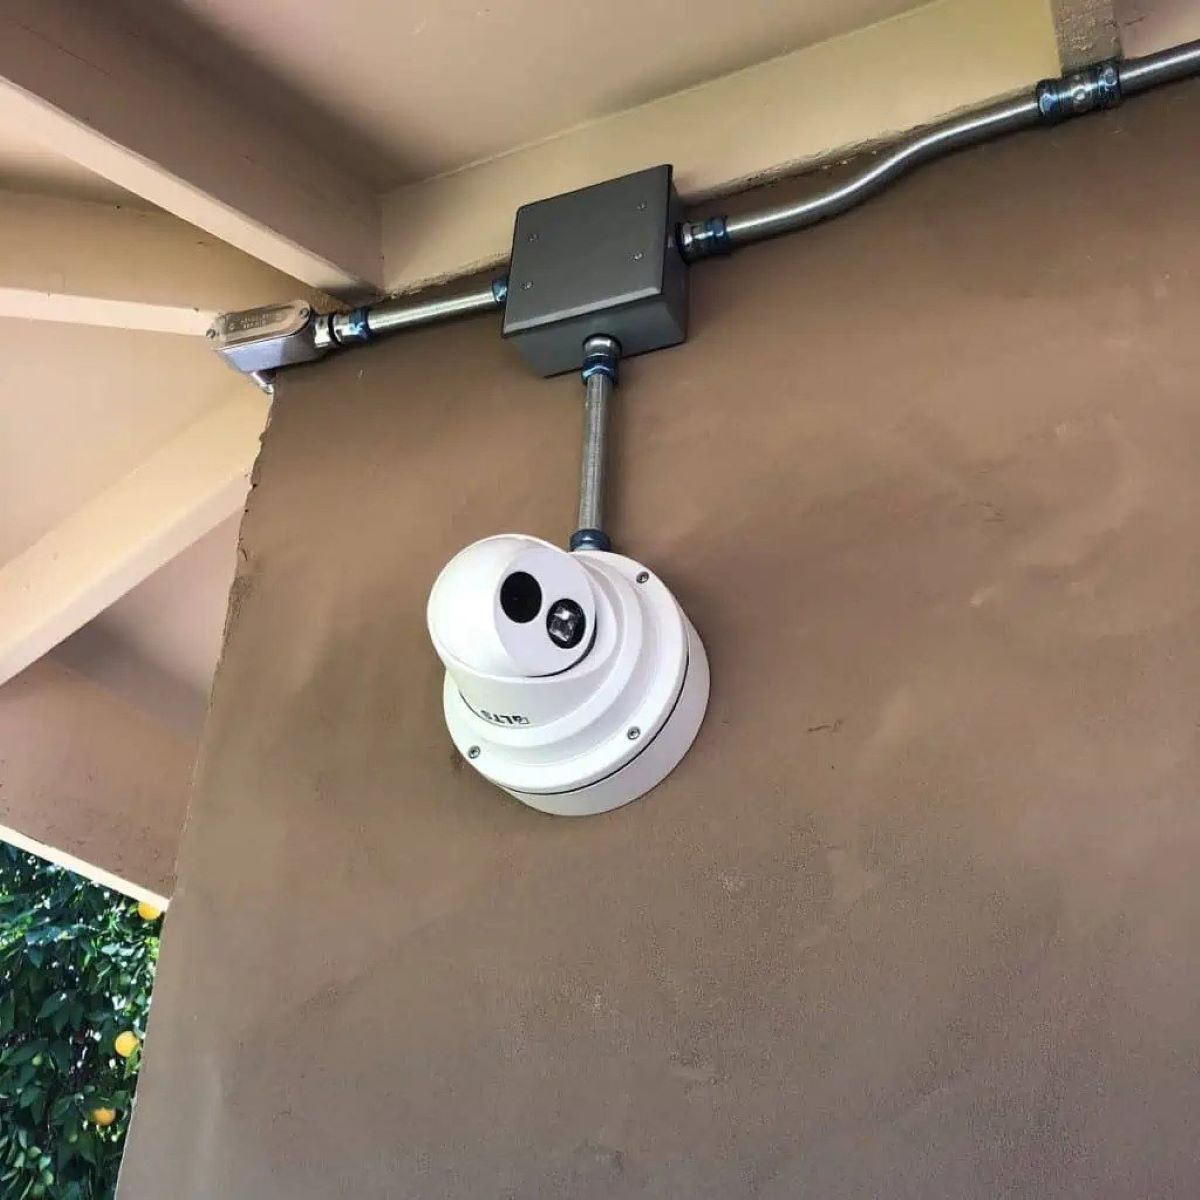
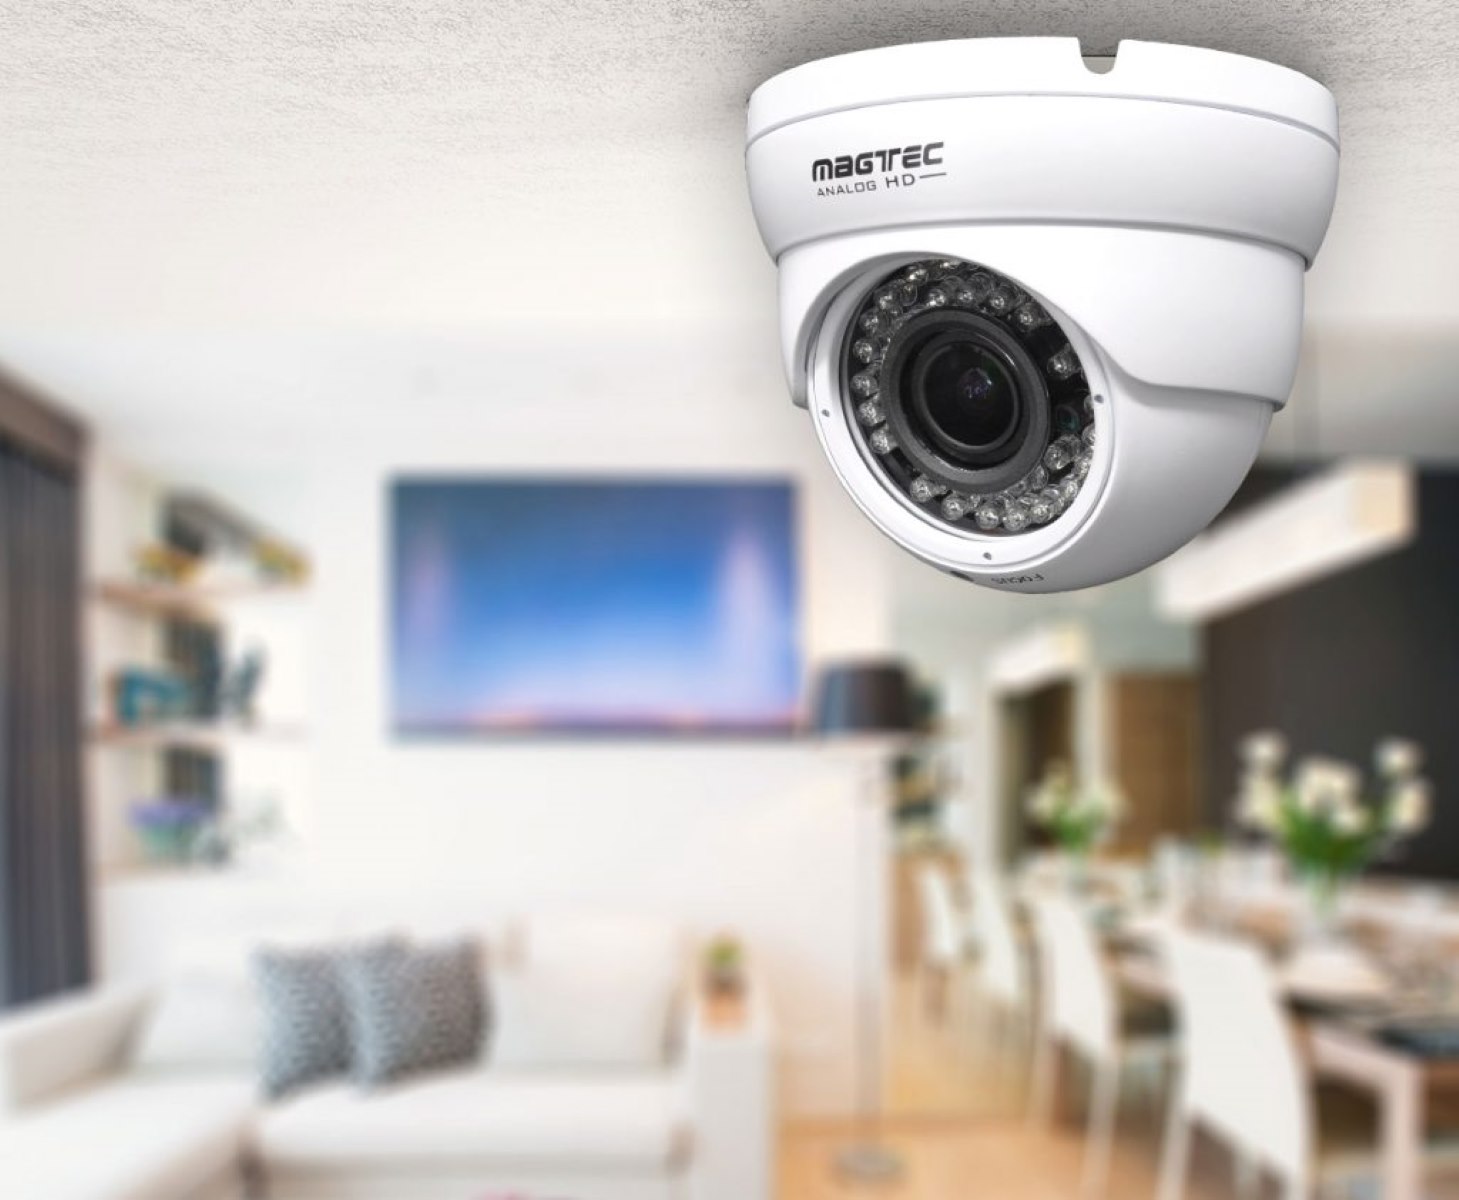
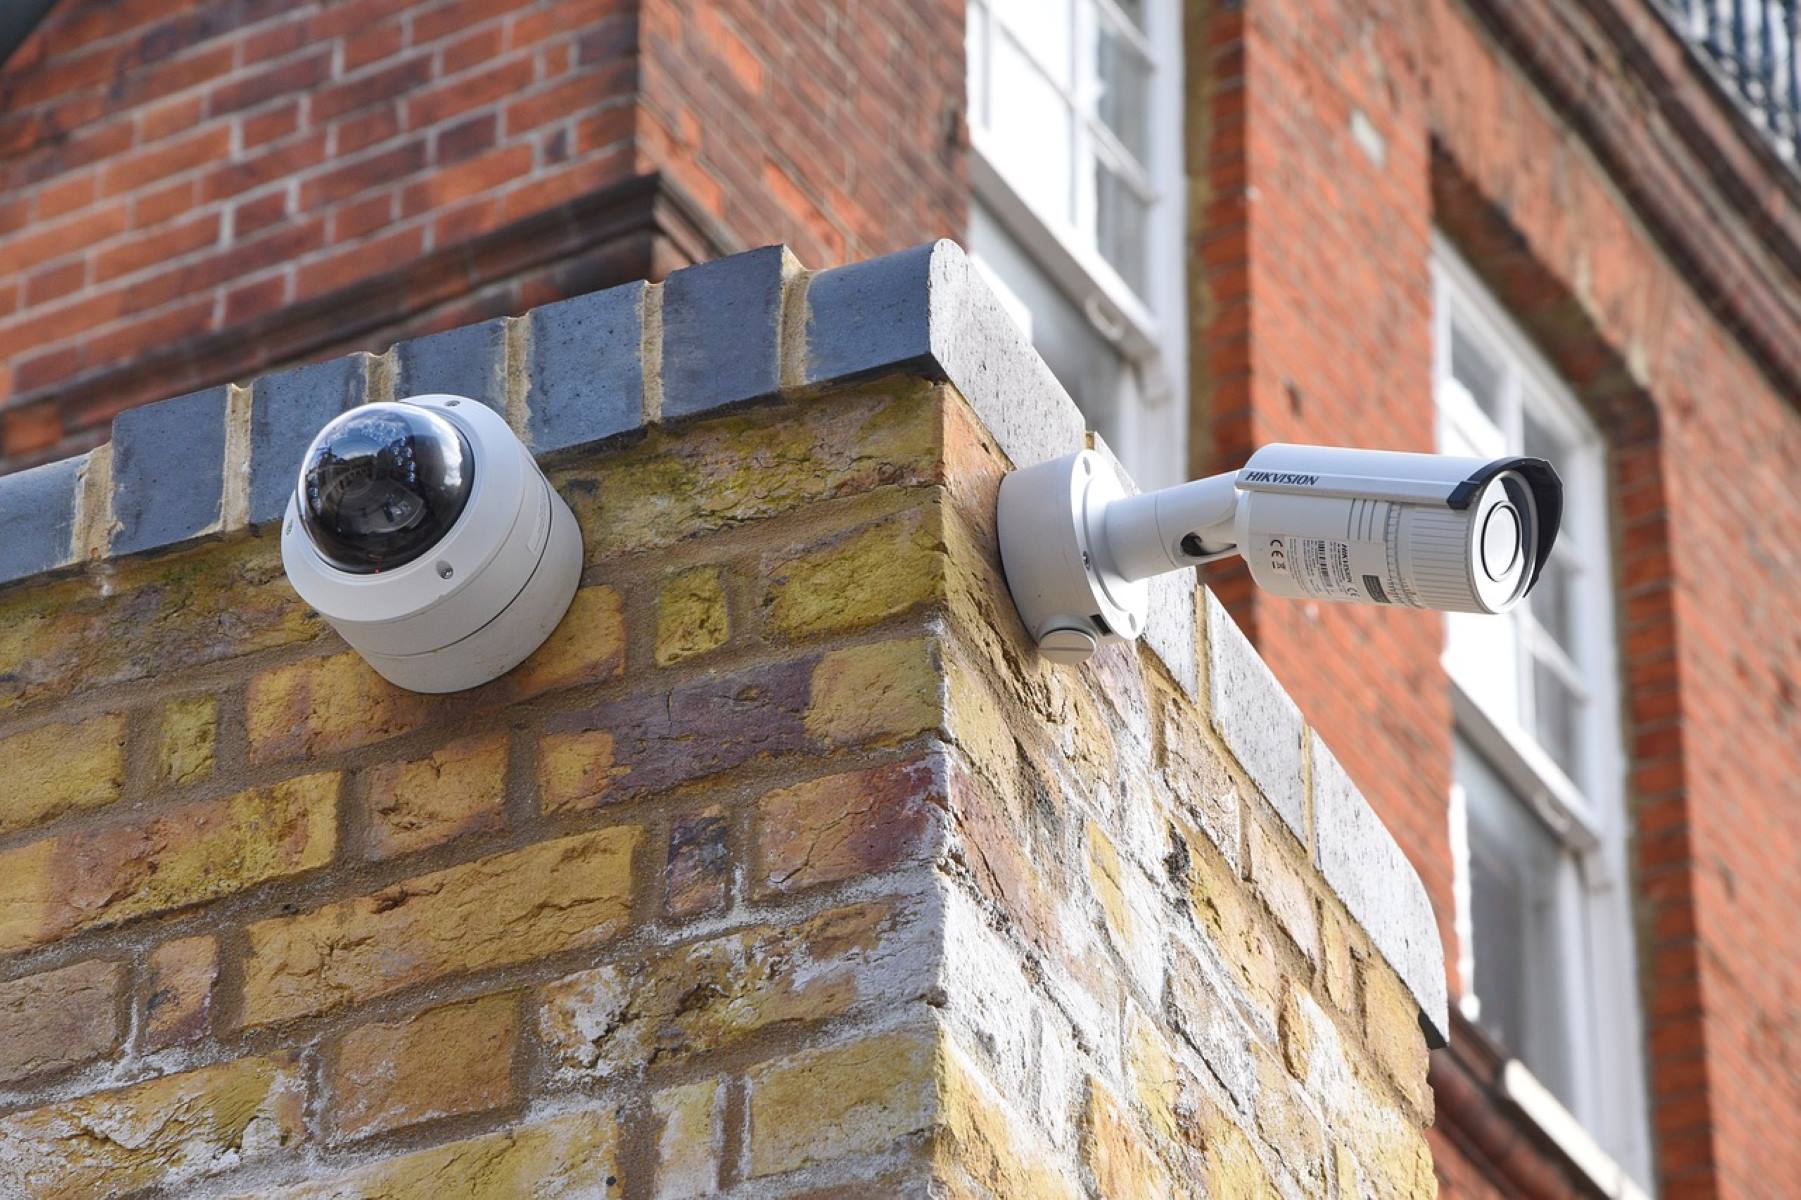
- Dome Cameras: These are compact, vandal-resistant cameras that can be easily mounted on ceilings. They offer a wide viewing angle and are less noticeable, making them suitable for indoor and outdoor use.
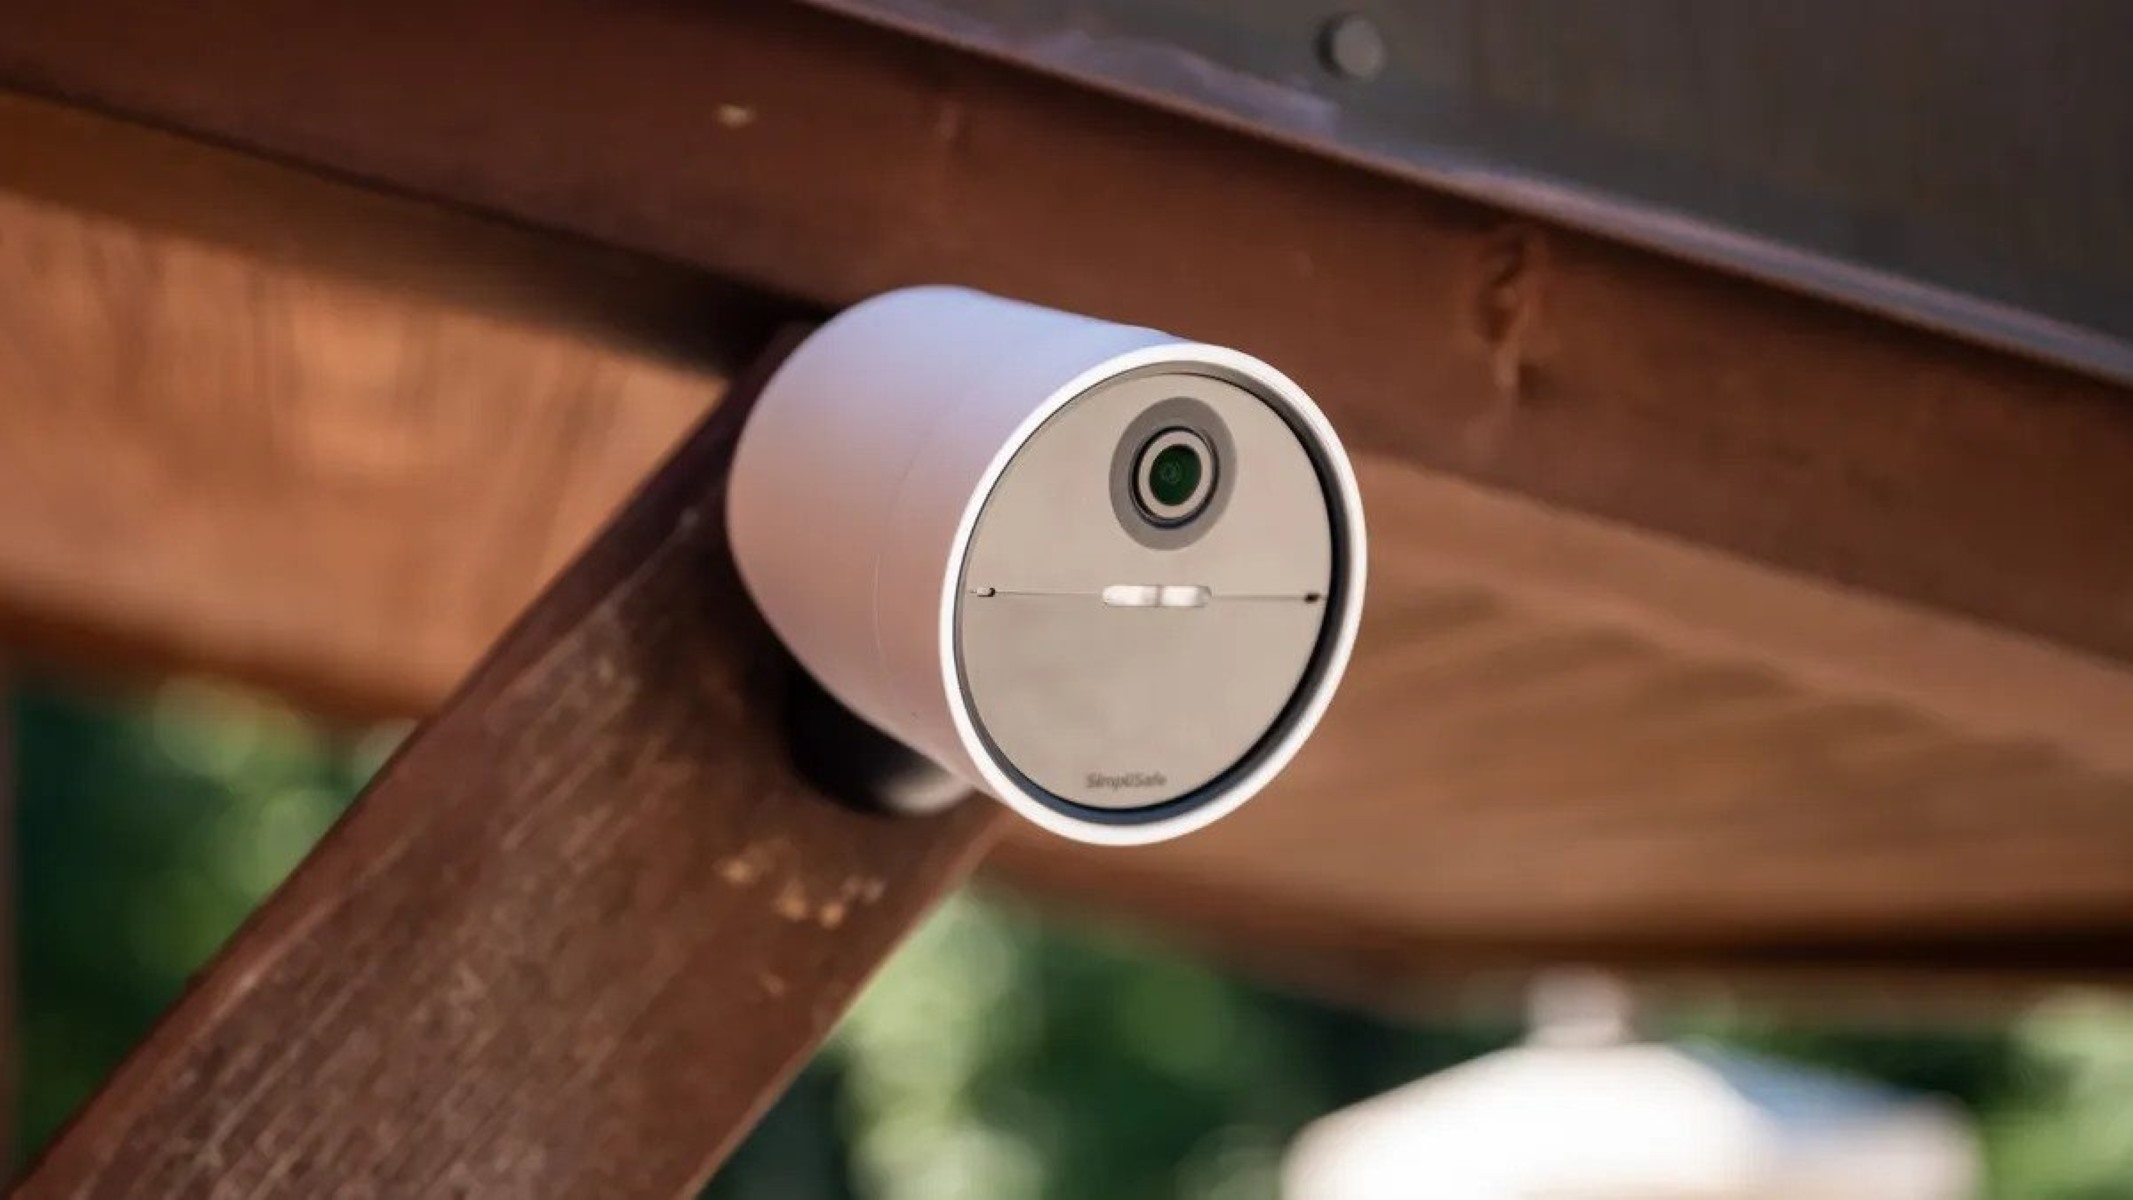
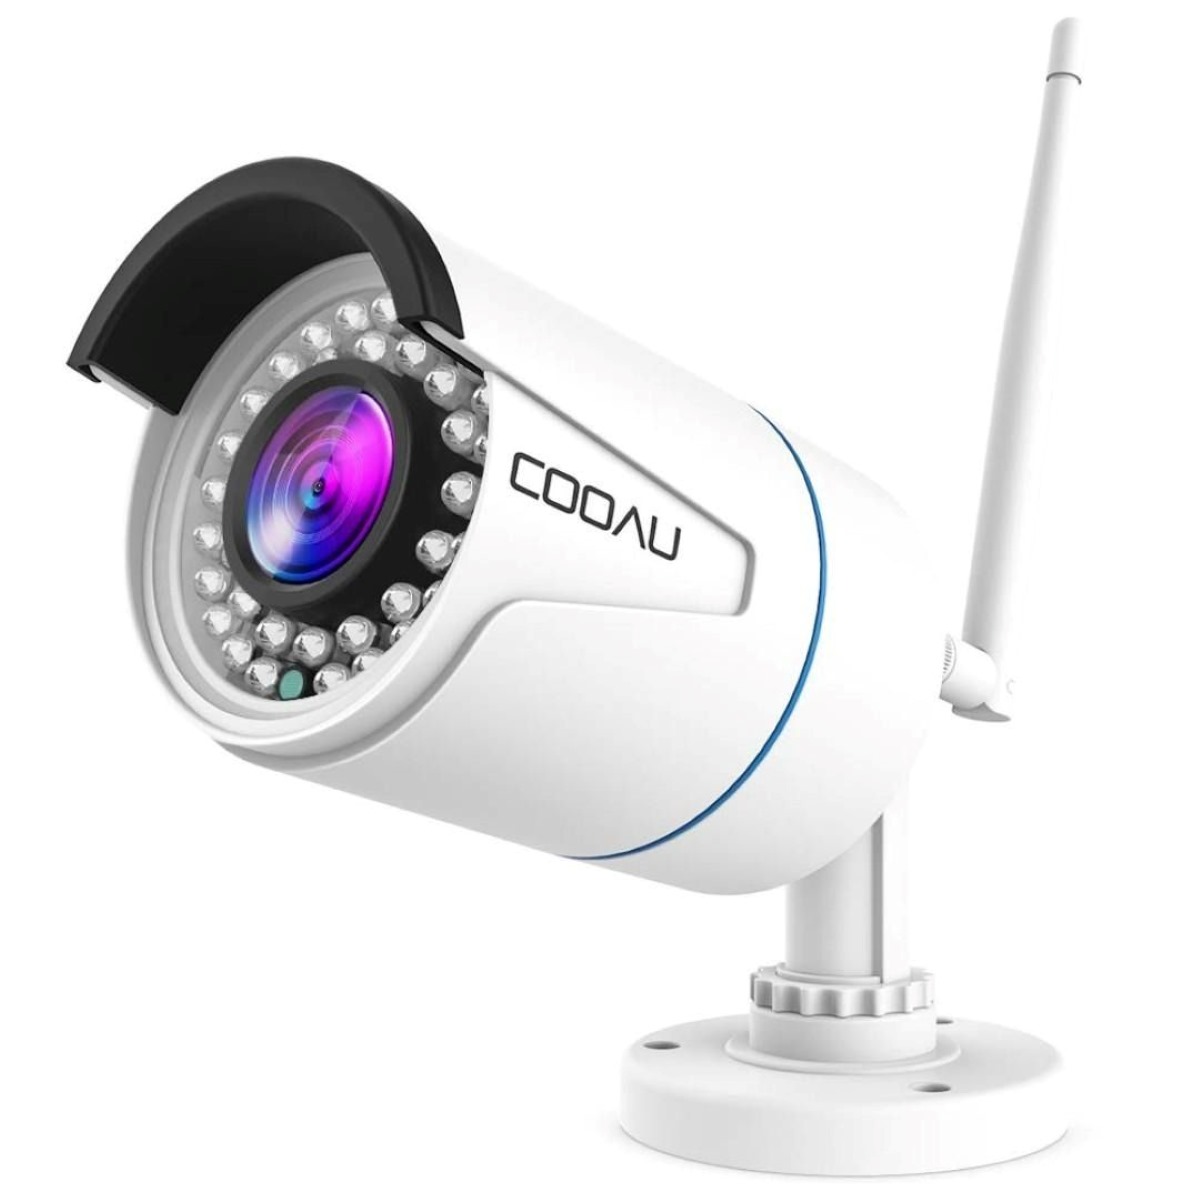
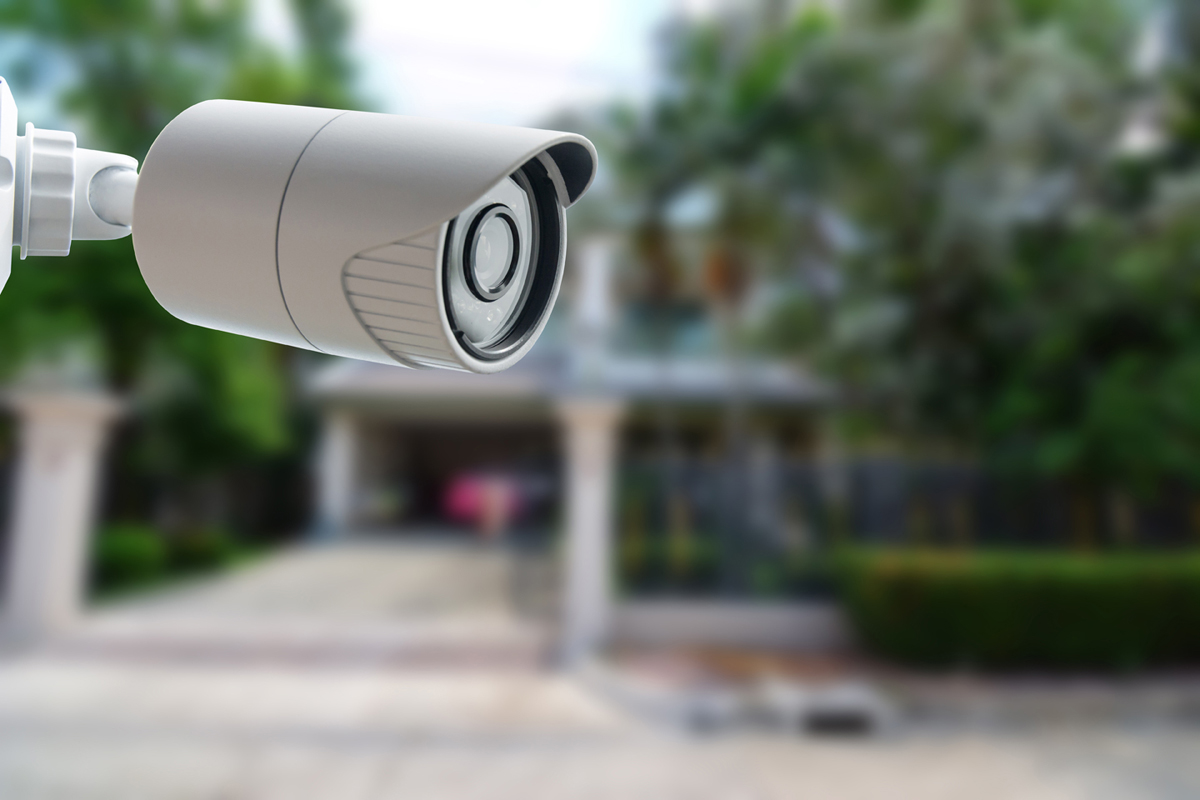
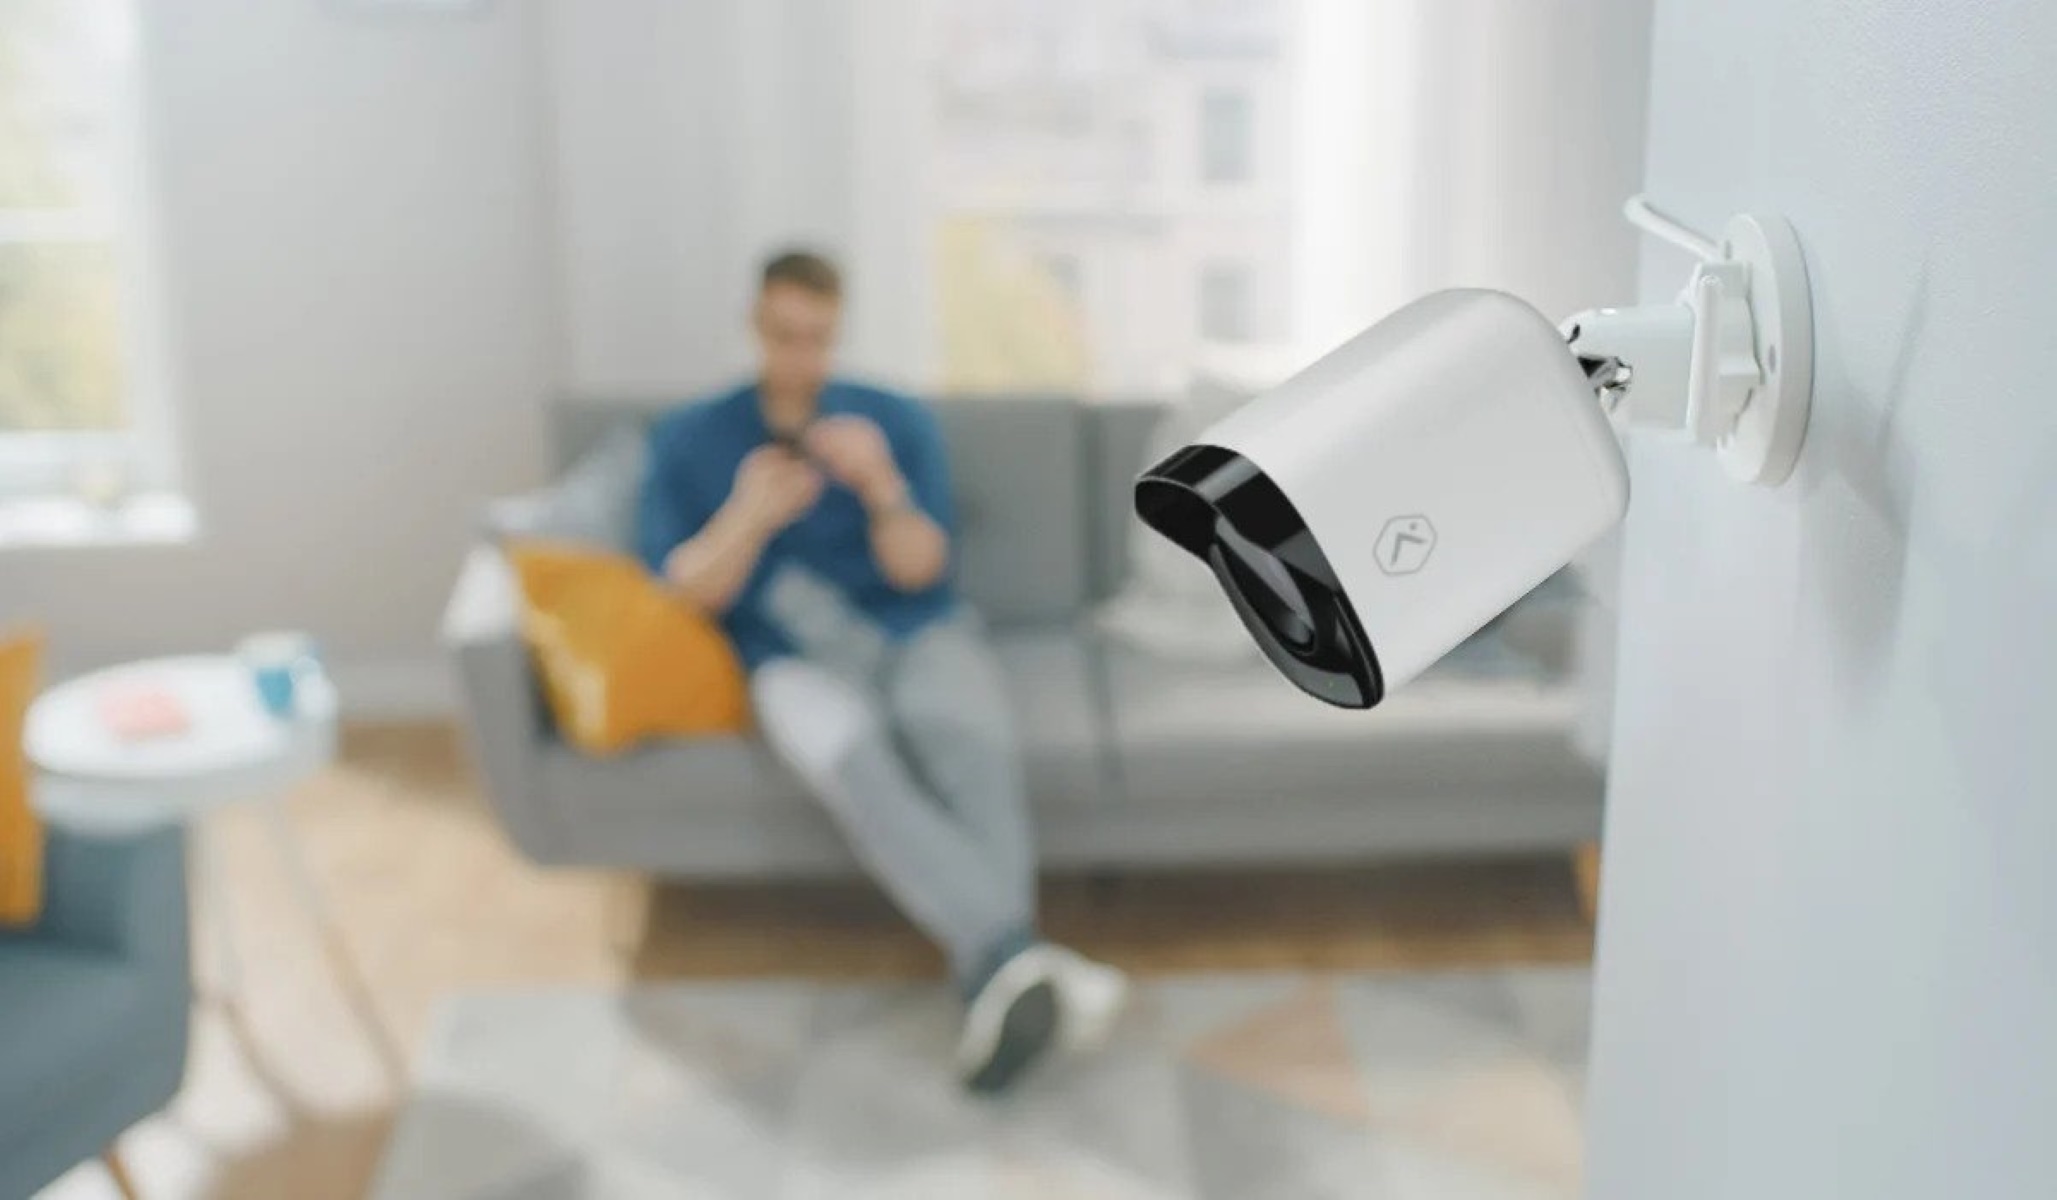
- Bullet Cameras: These cameras have a long, cylindrical shape and are commonly used for outdoor surveillance. They are weatherproof and often come with infrared night vision capabilities.
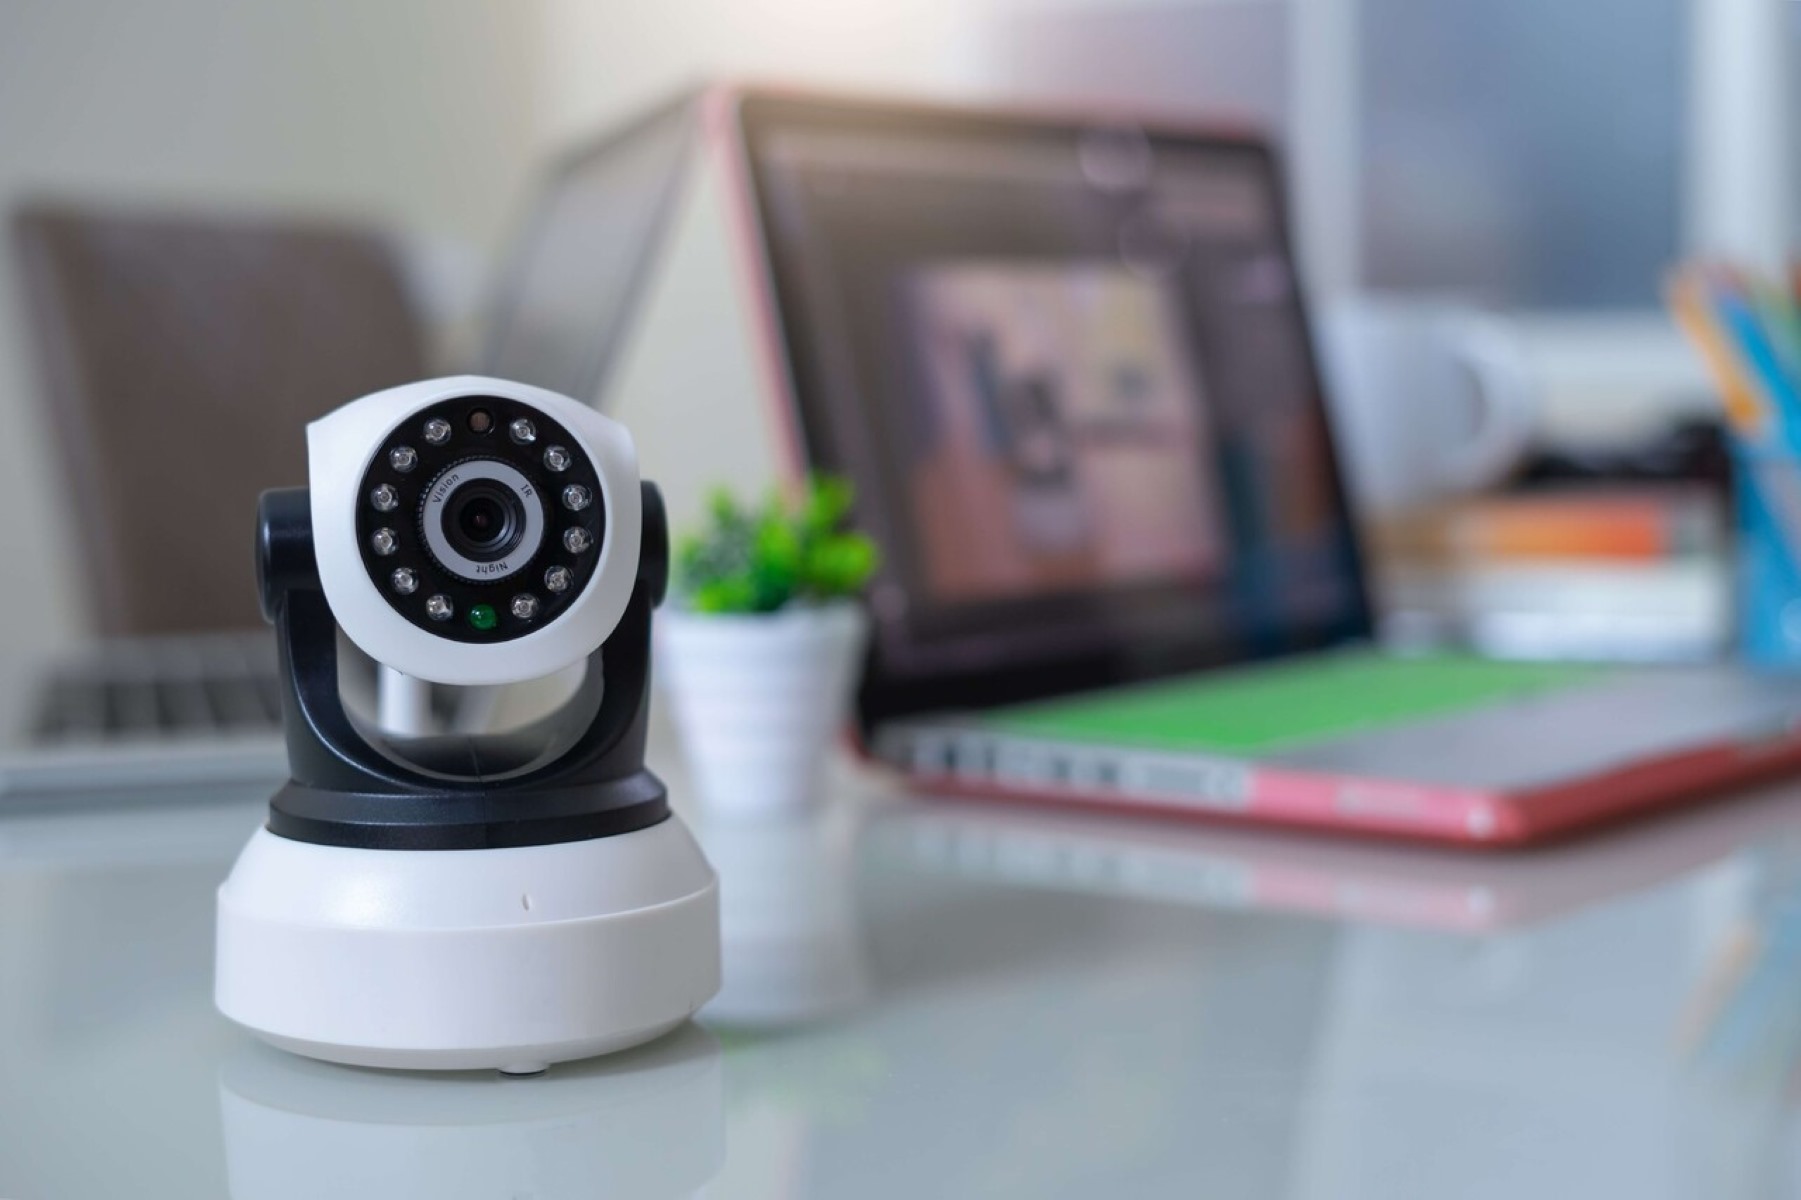
- PTZ Cameras: PTZ cameras can pan, tilt, and zoom remotely, allowing you to control their movement and focus on specific areas. They are suitable for monitoring large areas.
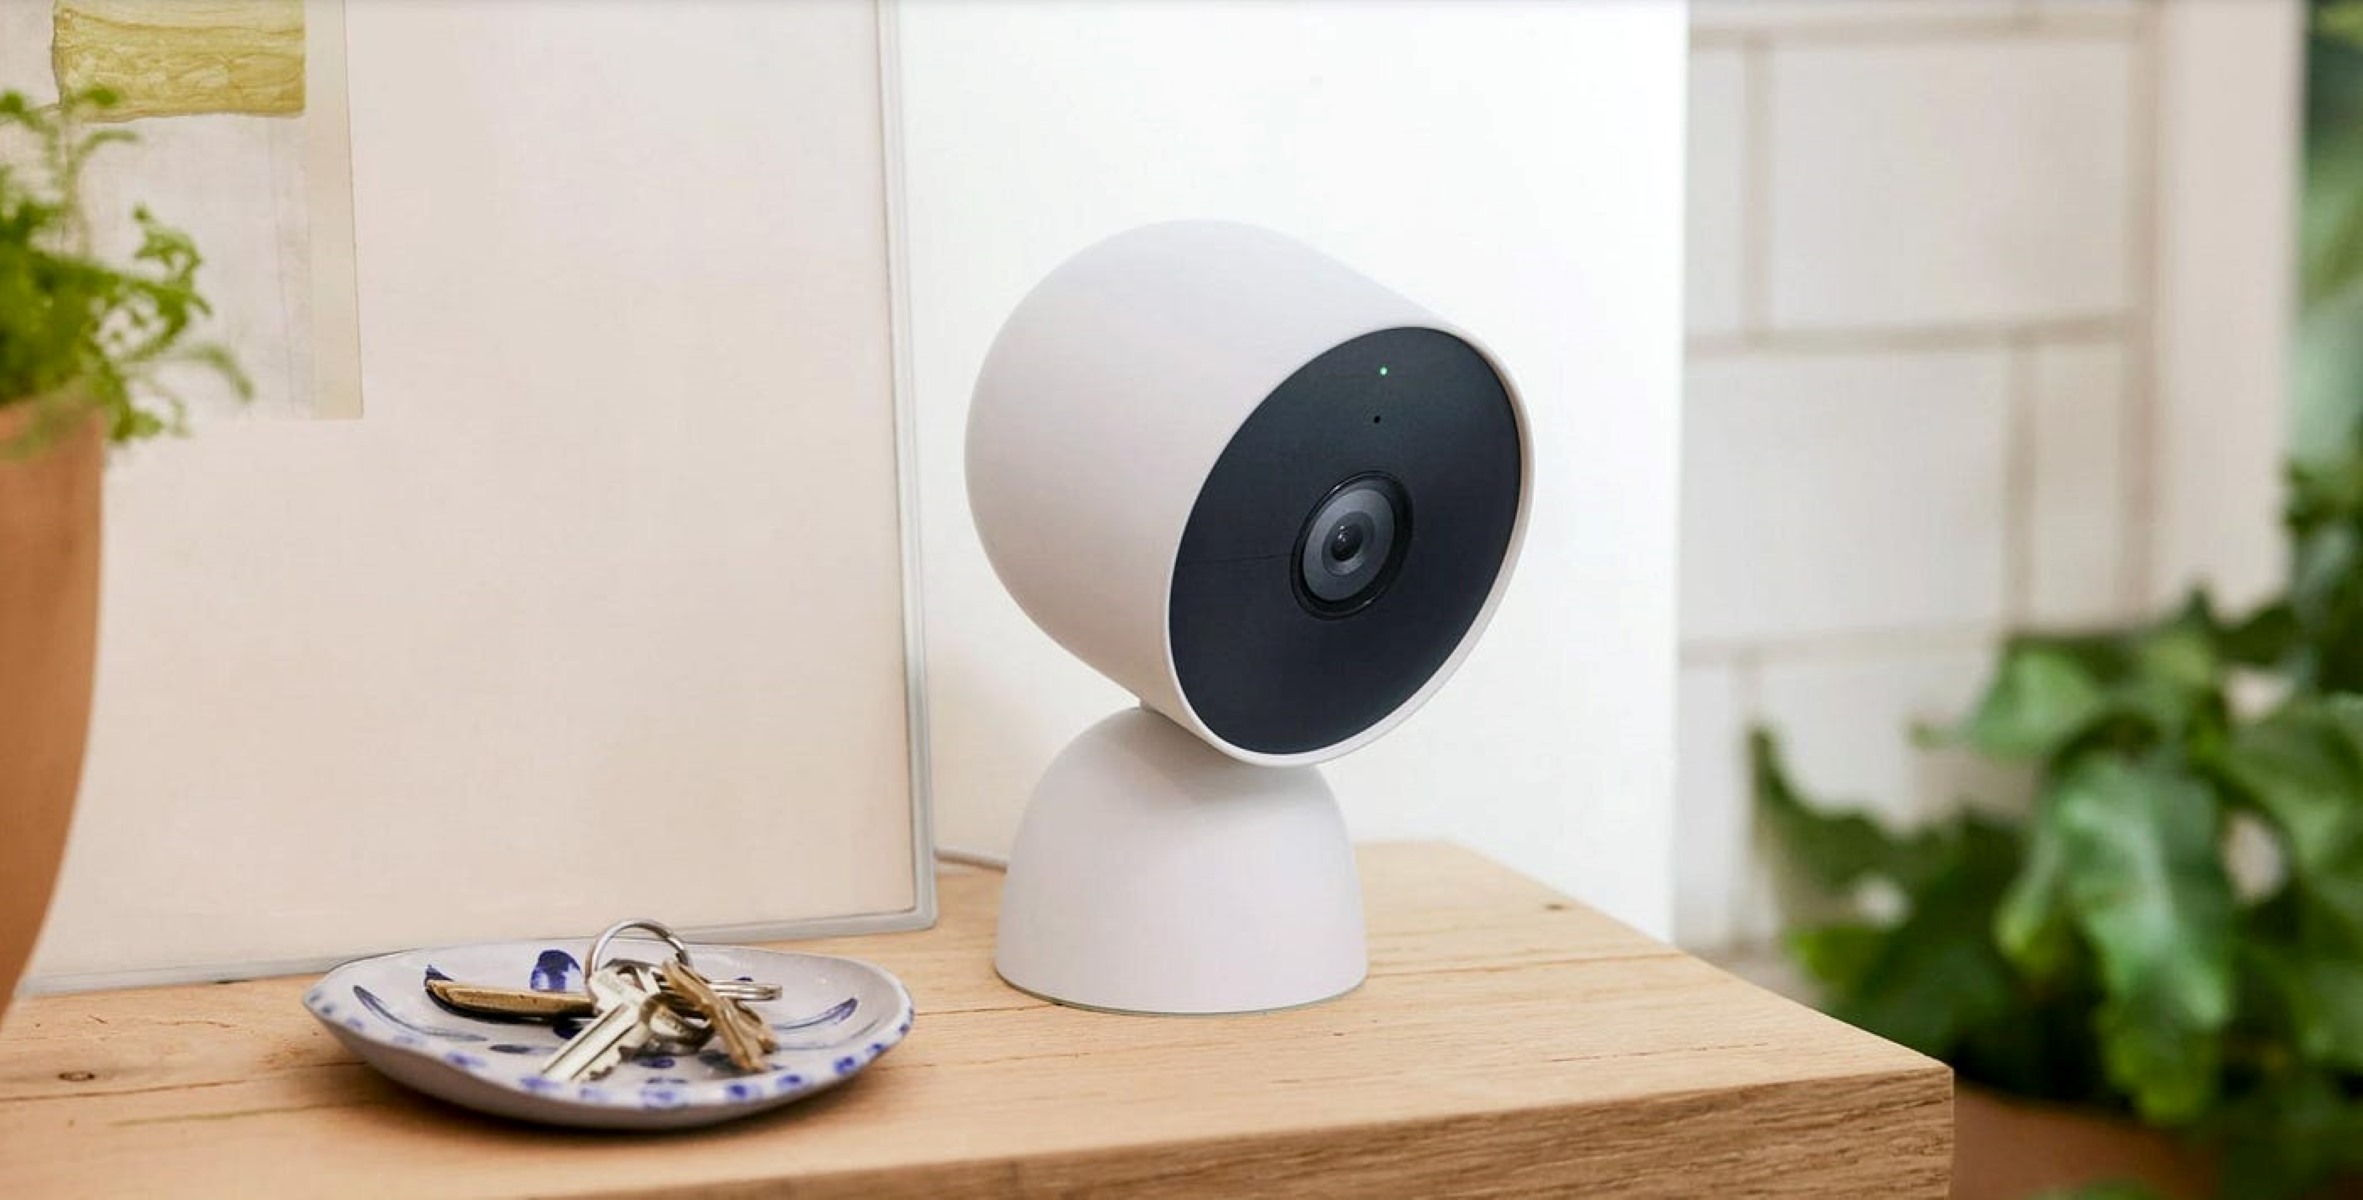
- Wireless Cameras: Wireless cameras offer flexibility in installation and are easier to set up without the need for extensive wiring. However, they rely on a stable Wi-Fi connection.
Low Light Performance: If you need surveillance in low-light conditions, consider cameras with good low light performance. Look for features like infrared (IR) night vision, which allows the camera to capture clear images even in complete darkness.
Field of View (FOV): The field of view of a camera determines the area it can cover. A wider FOV ensures more coverage, while a narrower FOV allows for more focused surveillance. Consider the specific areas you want to monitor and choose cameras accordingly.
Weather Resistance: If you plan to install cameras outdoors, ensure they have an adequate IP (Ingress Protection) rating to withstand dust, water, and other environmental elements.
These factors will help you narrow down your options and select the CCTV cameras that best meet your surveillance needs and budget. Take the time to research and read reviews to ensure you choose reliable and reputable brands.
Step 3: Select the Appropriate Camera Locations
Once you have chosen the right CCTV cameras, the next step is to determine the appropriate locations for installing them. The placement of your cameras plays a crucial role in maximizing the effectiveness of your surveillance system. Here are some tips to consider:
Entry and Exit Points: Identify the main entry and exit points of your property, such as doors, windows, or gates. These areas are high-priority zones for surveillance as they are common points of entry for intruders.
Perimeter Coverage: Consider the perimeter of your property and ensure you have cameras covering the entire boundary. This will provide a comprehensive view and deter any attempts to breach your property.
Points of Vulnerability: Assess any areas around your property that may be more vulnerable to break-ins or trespassing. This could include blind spots, secluded corners, or areas with valuable assets. Make sure to place cameras strategically to monitor these areas.
Outdoor Cameras: If you are setting up cameras outdoors, make sure they are weatherproof and have a wide viewing angle to capture the maximum area. Mount them at a height that is out of reach and ensures a clear line of sight.
Indoor Cameras: Install cameras indoors to monitor high-traffic areas like living rooms, hallways, or entrances. Consider placing them discreetly to maintain privacy while still capturing crucial footage.
Consider Privacy: While it’s important to have a robust surveillance system, it’s equally crucial to be mindful of your neighbors’ privacy. Avoid pointing cameras directly into neighboring properties or areas where privacy may be compromised.
Test Camera Angles: Before permanently mounting the cameras, it’s a good practice to test different angles and perspectives to ensure you are capturing the desired coverage. This will help eliminate blind spots and optimize your surveillance system.
Remember to refer to the manufacturer’s instructions for recommended mounting heights and installation guidelines. It’s also a good idea to consult with a professional to ensure the optimal placement of your cameras.
By selecting appropriate camera locations, you can enhance the security of your home and have a comprehensive view of potential security threats.
Step 4: Install the CCTV Cameras
Now that you’ve determined the appropriate camera locations, it’s time to install your CCTV cameras. Here’s a step-by-step guide to help you through the installation process:
Prepare the necessary tools: Gather the tools you’ll need, such as a power drill, mounting brackets, screws, and a cable management system. Ensure you have the proper safety measures in place, such as a ladder or safety harness, if required.
Mount the cameras: Follow the manufacturer’s instructions to mount the cameras in the selected locations. Use the provided mounting brackets and screws to secure the cameras firmly in place. Make sure they are positioned at the correct angle to achieve the desired field of view.
Route the cables: Carefully route the camera cables from each camera to the desired connection point. This could be a central location where you plan to install the network video recorder (NVR) or a power source. Conceal the cables using a cable management system or by routing them through walls or ceilings for a neater installation.
Connect the power supply: Connect the power supply for each camera, either by plugging them into a power outlet or by using a power distribution box. Ensure that the power supply is stable and protected from power surges or outages.
Connect the video cable: Connect the video cable from each camera to the input ports on the NVR or any other recording device you are using. Follow the manufacturer’s instructions to ensure the correct connections.
Configure wireless cameras (if applicable): If you are using wireless cameras, follow the manufacturer’s instructions to connect them to your Wi-Fi network. Ensure that you have a strong and stable Wi-Fi signal in the camera’s locations.
Secure the installation: Once the cameras are installed and connected, double-check all the connections and make sure everything is working properly. Secure the camera cables and power cords to prevent accidental disconnection or tampering.
It’s worth mentioning that if you are not comfortable with the installation process, it is advisable to seek professional assistance. They will ensure that the cameras are installed correctly, saving you time and any potential mishaps.
Remember, installation methods may vary depending on the camera model and manufacturer. Always refer to the provided instructions for specific guidance. By following these installation steps, you can confidently set up your CCTV cameras and move on to the next phase of the setup process.
Read more: How To Set Up A CCTV Camera At Home
Step 5: Set Up the Network Video Recorder (NVR)
After installing the CCTV cameras, the next step is to set up the network video recorder (NVR), which is the central hub for recording and storing the camera footage. Here’s a step-by-step guide to help you with the NVR setup:
Choose the right NVR: Ensure that the NVR you choose is compatible with your CCTV cameras and meets your specific requirements in terms of storage capacity, recording resolution, and remote access capabilities.
Connect the NVR to the network: Use an Ethernet cable to connect the NVR to your home network. This will allow the NVR to communicate with the cameras and enable remote viewing and playback on other devices.
Power on the NVR: Plug the NVR into a power outlet and power it on. Make sure the NVR is connected to a stable power source and protected against power surges or outages.
Configure the NVR settings: On a connected monitor or through a web browser, access the NVR’s interface and follow the on-screen instructions to set up the initial settings. This may involve choosing language preferences, creating a password, and setting the date and time.
Create a recording schedule: Set up a recording schedule based on your preferences and surveillance needs. This could include continuous recording, motion-based recording, or scheduled recording during specific time periods.
Assign camera channels: Assign each CCTV camera to a specific channel on the NVR. This will allow you to view and manage the footage from each camera individually. Ensure that each camera is correctly assigned and identified on the NVR interface.
Configure storage settings: Set up the storage settings on the NVR to determine how long the recorded footage will be stored, the recording quality, and whether the NVR should overwrite old footage when the storage capacity is full. Adjust these settings according to your storage requirements.
Enable remote access: If you wish to view the camera footage remotely on your mobile device or computer, configure the NVR for remote access. This typically involves setting up port forwarding on your router and creating an account with the NVR manufacturer’s cloud service.
Test the NVR: Once the NVR is set up, test its functionality by checking all the cameras’ live feeds, recording capabilities, and playback options. Ensure that the NVR is recording and storing the footage as expected.
Keep in mind that the steps may vary slightly depending on the NVR brand and model. Always refer to the manufacturer’s instructions for specific guidance on setting up your particular NVR.
With the NVR properly set up, you are one step closer to having a fully functioning CCTV network for your home surveillance needs.
When setting up a home CCTV network, make sure to place cameras in strategic locations such as entry points and high-value areas. Also, ensure that the cameras are connected to a secure and reliable recording device.
Step 6: Connect Cameras to the NVR
Now that the network video recorder (NVR) is set up, it’s time to connect the CCTV cameras to the NVR. Here’s a step-by-step guide to help you with the camera-NVR connection:
Identify the camera ports: Take note of the camera ports available on the NVR. These ports are usually labeled with corresponding numbers or channels that indicate the camera connections.
Connect the camera video cables: Take the video cables from each CCTV camera and connect them to the corresponding ports on the NVR. Ensure a secure and proper connection, as loose or incorrect connections can result in no video feed or poor video quality.
Connect the camera power cables: Depending on the camera type, connect the power cables to each camera. This can be directly to power outlets or through a separate power distribution box. Ensure stable power connections to prevent camera malfunctions.
Check the video feed: Once the cameras are connected to the NVR and powered on, check the NVR’s interface or the connected monitor to view the camera feeds. Verify that all cameras are displaying a clear video feed. If any camera is not functioning properly, double-check the connections.
Configure camera settings: Access the NVR’s interface and navigate to the camera settings section. Here, you can customize various camera settings, such as video quality, motion detection sensitivity, and recording modes. Adjust these settings according to your preferences and surveillance needs.
Test camera functionality: Perform a test by triggering motion in front of each camera to ensure that motion detection settings are working correctly and that the cameras are capturing the desired areas. Check the NVR’s recording and playback functionality to ensure that the camera footage is being recorded and stored properly.
Ensure network connectivity: Confirm that the NVR is connected to your home network, as this will enable remote viewing and access to the camera feeds from mobile devices or computers. Test remote access by using a mobile device or computer to connect to the NVR and view the camera feeds from outside your home network.
Remember to consult the manufacturer’s instructions for any specific details or variations in the camera-NVR connection process, as different equipment may have slightly different procedures.
Once you have successfully connected the cameras to the NVR, you have completed an important step in establishing a fully functional CCTV network for your home. Now, you can move on to configuring camera settings and enabling remote viewing for enhanced surveillance convenience.
Step 7: Configure Camera Settings
Configuring the camera settings is an essential step in optimizing the performance and functionality of your CCTV network. By customizing the camera settings, you can tailor the surveillance system to your specific needs. Here’s a step-by-step guide to help you configure the camera settings:
Access the camera settings: Depending on the brand and model of your CCTV cameras, you can access the camera settings through a web browser, a dedicated camera management software, or directly on the camera’s interface. Follow the manufacturer’s instructions to access the settings for each camera.
Set the camera resolution: Adjust the camera resolution according to your requirements. Higher resolutions offer more detail but may consume more storage space. Choose a resolution that provides a balance between image quality and storage capacity.
Configure video quality: Adjust the video quality settings, such as brightness, contrast, and saturation, to achieve the desired image appearance. Fine-tuning these settings can significantly improve the clarity and visibility of the recorded footage.
Enable motion detection: Activate the motion detection feature to trigger recordings and alerts when motion is detected within the camera’s field of view. Adjust the sensitivity settings to minimize false alarms while ensuring accurate detection of relevant events.
Set up privacy masking: If there are areas within the camera’s field of view that should not be recorded or viewed, such as windows or neighboring properties, enable privacy masking to block out those specific regions. This helps ensure privacy while still maintaining surveillance coverage.
Enable night vision: If your cameras support night vision, configure the night vision settings to ensure optimal performance in low-light conditions. Adjust settings such as infrared (IR) illumination intensity or enable automatic IR mode switching for seamless day-to-night transition.
Customize camera schedules: Set up custom schedules for each camera to determine when and how the cameras record footage. This could include continuous recording, scheduled recording during specific time periods, or motion-triggered recording based on your surveillance needs.
Configure network settings: If your cameras have network connectivity, customize the network settings to ensure seamless communication between the cameras, the NVR, and any remote viewing devices. Set up appropriate IP addresses, subnet masks, and port forwarding if necessary.
Adjust camera angles and positions: Fine-tune the camera angles and positions, if required, to ensure optimal coverage and minimize blind spots. Test the camera views and make necessary adjustments to achieve the desired surveillance coverage.
Remember to save and apply the settings after configuring each camera. Do periodic checks to ensure that the cameras are operating according to the configured settings and make adjustments as needed.
Keep in mind that specific camera settings and customization options may vary depending on the brand and model of your cameras. It’s always recommended to consult the manufacturer’s documentation or seek professional assistance for detailed guidance.
By configuring the camera settings, you can optimize the performance of your CCTV network, improve image quality, and ensure accurate detection of relevant events for enhanced home security and surveillance.
Step 8: Set Up Remote Viewing
Setting up remote viewing capabilities allows you to access your CCTV camera feeds and recorded footage from anywhere using a mobile device or computer. Here’s a step-by-step guide to help you set up remote viewing:
Check network connectivity: Ensure that your network is stable and has a reliable internet connection. Remote viewing requires a solid internet connection to stream the camera feeds in real-time.
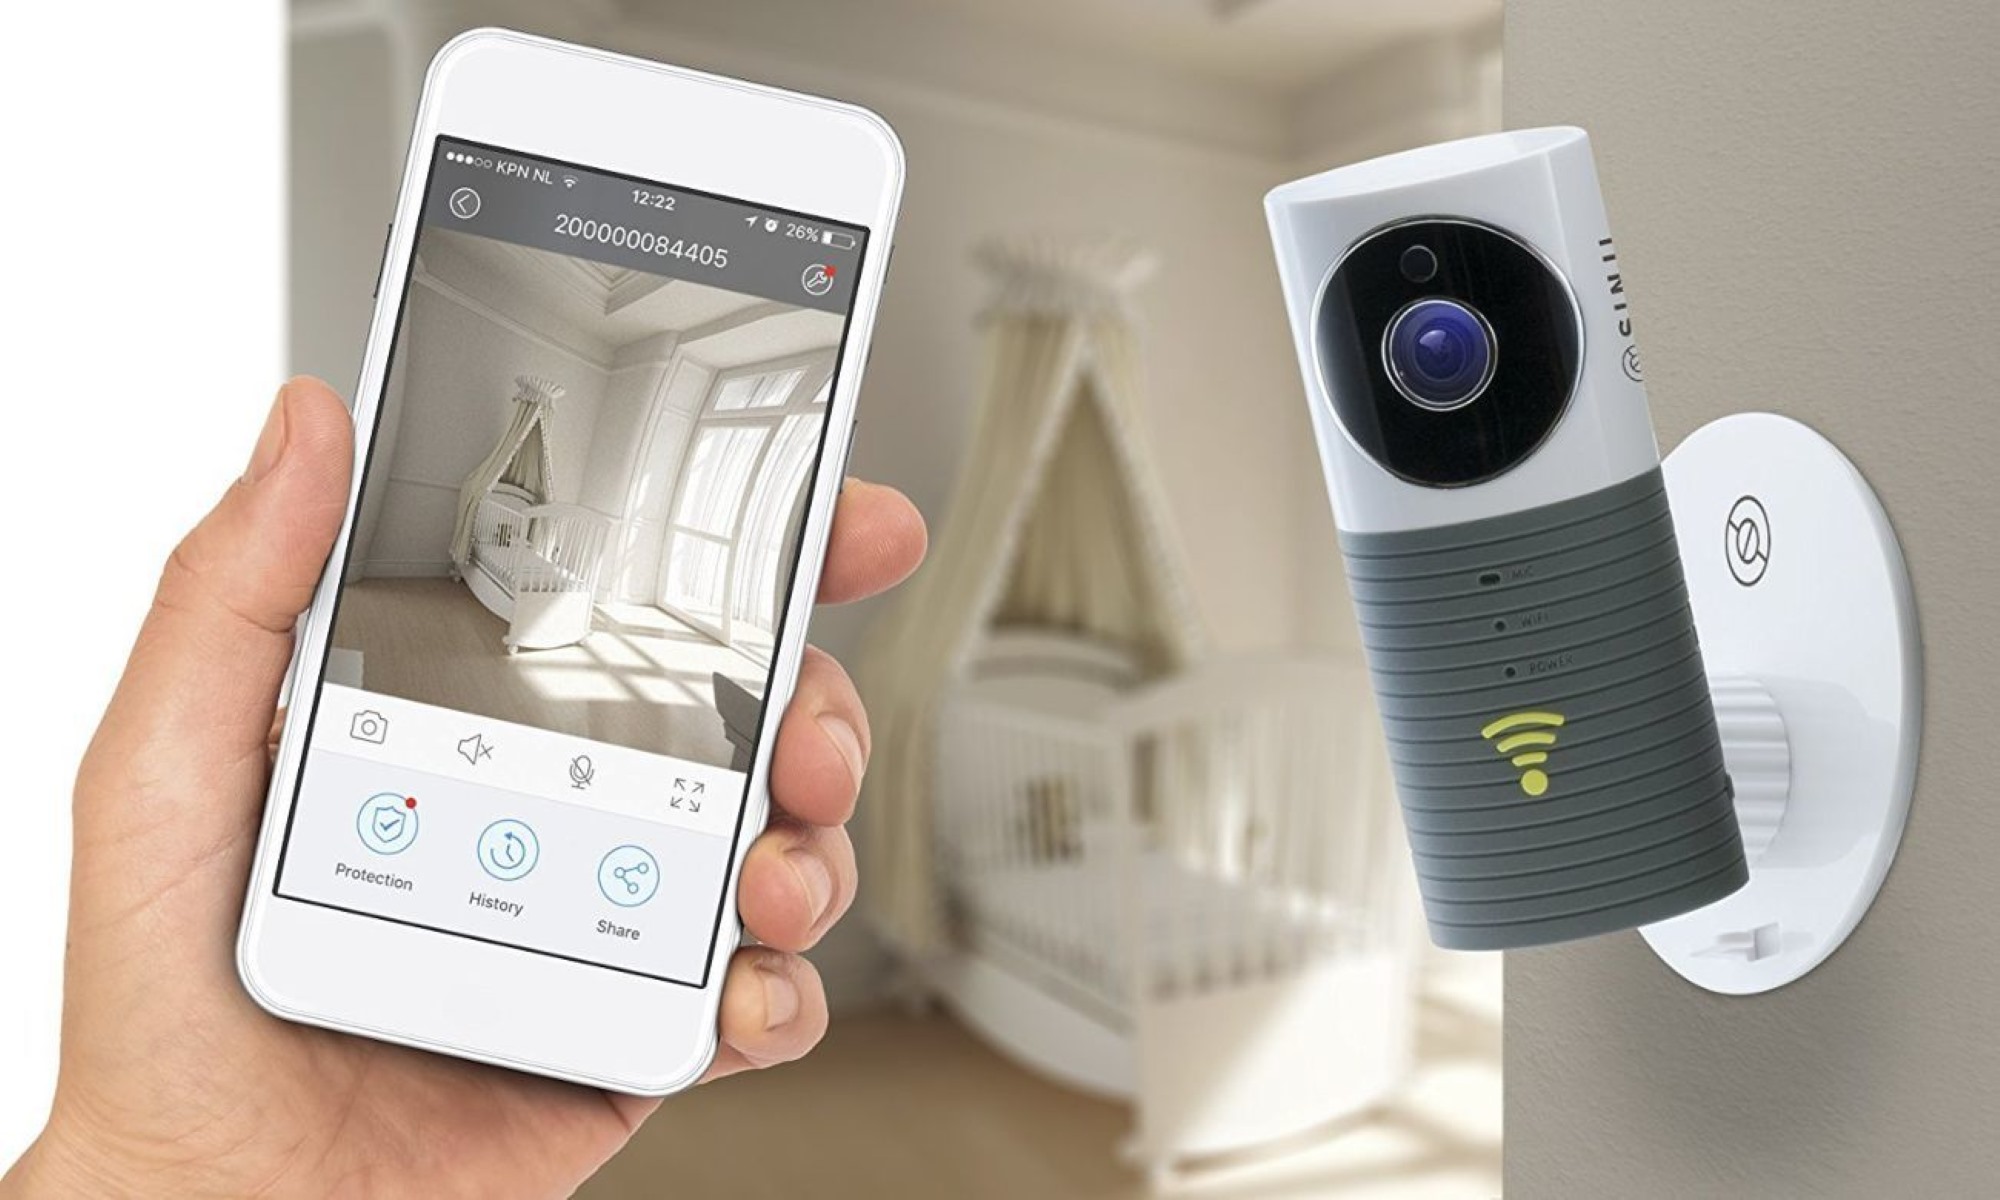
Enable mobile app or software: Install the mobile app or software provided by the camera manufacturer on your smartphone, tablet, or computer. These apps or software will allow you to access and view your CCTV camera feeds remotely.
Create an account: Follow the app or software instructions to create an account. This account will be used to authenticate your access to the camera feeds and recorded footage. Make sure to choose a strong and secure password.
Configure port forwarding: Access your router’s settings and set up port forwarding for the cameras or the network video recorder (NVR). This will allow external access to your CCTV network. Consult your router’s documentation or manufacturer’s website for specific instructions on port forwarding.
Note: Alternatively, you can use cloud-based services: Some CCTV camera manufacturers offer cloud-based services that eliminate the need for port forwarding. These services allow you to securely connect to your cameras without modifying router settings. Follow the manufacturer’s instructions to set up a cloud-based account and link your cameras to the account.
Scan the QR code: On the mobile app or software, locate the QR code provided by the camera manufacturer or on the NVR. Scan this QR code using the app or software to establish the connection between your remote viewing device and your CCTV network.
Verify camera access: After scanning the QR code, the app or software should automatically detect and connect to your CCTV network. Verify that you can see the live camera feeds and access the recorded footage on your remote viewing device.
Customize remote viewing settings: Depending on the app or software, you may have options to customize remote viewing settings. This could include adjusting video quality, enabling push notifications for motion events, or setting up motion detection sensitivity for alerts. Customize these settings based on your preferences and needs.
Test remote viewing: Ensure that your remote viewing setup is functioning properly by accessing the camera feeds and recorded footage from a location outside your home network. Use a cellular network or a different Wi-Fi network to test the remote viewing capabilities.
Remember to keep your remote viewing app or software up to date with the latest versions to ensure compatibility and security. Regularly check for any firmware updates for your cameras or NVR to ensure optimal performance.
By setting up remote viewing, you can monitor your home or property in real-time, access recorded footage, and receive instant alerts, providing you with peace of mind and enhanced convenience.
Read more: How To Secure Home CCTV
Step 9: Test and Troubleshoot the System
Testing and troubleshooting the CCTV system ensures that all components are functioning properly and that you can rely on it for effective home security. Here are some steps to help you test and troubleshoot your CCTV system:
Verify camera functionality: Check each camera to ensure that it is capturing clear video footage. Look for any signs of poor image quality, pixelation, or other issues that may affect the camera’s performance. If you notice any problems, check the camera connections and settings, and adjust if necessary.
Test motion detection: Trigger motion in front of each camera to verify that the motion detection feature is working correctly. Ensure that the cameras are detecting motion and accurately recording the events. Adjust the motion sensitivity settings if needed to minimize false alarms or missed events.
Review recording quality: Play back the recorded footage from each camera to ensure that the quality is satisfactory. Check for any loss of video or audio, as well as any irregularities or disturbances in the recording. Adjust camera settings or upgrade storage if necessary to improve recording quality.
Test remote viewing: Use your remote viewing device, such as a smartphone or computer, to access the camera feeds remotely. Verify that you can view the live camera feeds and play back the recorded footage. Test the remote viewing capabilities on different networks, such as cellular data or public Wi-Fi, to ensure reliable access from various locations.
Check storage capacity: Monitor the storage capacity on the NVR or the storage device where the footage is saved. Make sure it has sufficient space to accommodate the recorded footage without running out of storage. Consider setting up automatic backup or cloud storage options to prevent data loss.
Inspect camera angles and coverage: Do a visual inspection to ensure that the camera angles and coverage are suitable for your surveillance needs. Look for any blind spots or areas with poor coverage and adjust camera positions as required. Consider adding additional cameras or adjusting existing ones to maximize surveillance coverage.
Resolve connectivity issues: If you encounter any connectivity issues, check your network settings, including router configurations, to ensure that the cameras and NVR are connected properly. Resolve any network issues or contact your internet service provider (ISP) for assistance if needed.
Consult technical support: If you encounter persistent issues or difficulties with your CCTV system, contact the manufacturer’s technical support for guidance. They can provide troubleshooting assistance and help resolve more complex issues that may arise during the testing process.
Regularly perform system checks and testing to ensure ongoing reliability and to address any issues promptly. Stay updated with the latest firmware updates for your cameras and NVR to benefit from any bug fixes or performance enhancements.
By thoroughly testing and troubleshooting your CCTV system, you can ensure that it is functioning effectively, providing you with peace of mind and reliable home security.
Step 10: Maintain and Monitor Your CCTV Network
Maintaining and monitoring your CCTV network is crucial to ensure its continued effectiveness in protecting your home and loved ones. Here are some key steps to help you maintain and monitor your CCTV network:
Regularly clean and inspect cameras: Clean the camera lenses and housing regularly to remove any dust, dirt, or debris that may affect image quality. Inspect the cameras for signs of wear, damage, or tampering, and replace any faulty or damaged cameras promptly.
Check camera connections: Periodically inspect the camera connections to ensure they are secure and in good condition. Loose or damaged connections can result in poor video quality or even camera malfunction. Re-secure any loose connections and replace damaged cables or connectors as needed.
Review and optimize camera positions: Regularly review and assess the camera positions to ensure they are still providing adequate coverage of your property. Make adjustments or add new cameras if necessary to address any blind spots or areas with poor coverage.
Monitor camera feeds regularly: Take time to monitor the camera feeds regularly to ensure they are functioning properly. Look for any unusual activity or potential security vulnerabilities. Actively monitoring the camera feeds can also help you identify and react to any incidents or emergencies in a timely manner.
Review storage capacity: Monitor the storage capacity of your NVR or storage device. Ensure that it has sufficient space to continue recording without running out of storage. Regularly review and manage storage options, such as deleting unnecessary footage or expanding storage capacity, to ensure uninterrupted recording.
Update firmware and software: Stay up to date with firmware updates for your cameras, NVR, and any remote viewing devices or software. Firmware updates often include bug fixes, security patches, and performance enhancements, so keeping your equipment updated ensures that you have the latest features and improved functionality.
Perform regular system backups: Implement a backup strategy to protect your recorded footage. Regularly back up important recordings to external storage devices or cloud-based services. This provides an additional layer of security against data loss due to equipment failure or unforeseen events.
Train and educate users: If multiple individuals have access to the CCTV network, ensure that they are properly trained on how to use and operate the system effectively. Educate them on best practices for maintaining privacy, handling footage, and understanding the system’s features.
Consider professional maintenance: For complex or extensive CCTV networks, consider hiring professionals for periodic maintenance and system checks. They can provide expert knowledge and ensure that your system is optimized for top performance.
By following these maintenance and monitoring practices, you can keep your CCTV network in optimal condition and be confident in its ability to safeguard your home and property.
Remember, maintaining and monitoring your CCTV network is an ongoing process that requires attention and regular checks. Stay proactive and address any issues promptly to ensure the continued effectiveness of your home security system.
Conclusion
Setting up a home CCTV network can significantly enhance the security and surveillance of your property. The step-by-step process outlined in this guide has provided you with a comprehensive understanding of how to install, configure, and maintain your CCTV system.
By determining your surveillance needs, selecting the appropriate cameras, and strategically positioning them around your property, you have taken the first crucial steps. Installing the cameras and connecting them to the network video recorder (NVR) ensures that the system is ready to capture and store video footage.
Configuring the camera settings allows you to customize image quality, motion detection, and other features to suit your specific requirements. Enabling remote viewing empowers you to access the camera feeds and recorded footage remotely, giving you peace of mind and flexibility.
Testing and troubleshooting the system, along with regular maintenance and monitoring, are essential to ensure the optimal performance and reliability of your CCTV network. Keep an eye on camera functionality, connectivity, and storage capacity, while also staying updated with firmware and software upgrades to benefit from the latest enhancements.
Remember, while this guide provides a comprehensive overview, it’s always advisable to consult the manufacturer’s instructions and seek professional assistance when needed. Each CCTV system may have specific requirements and variations in the installation and configuration process.
With a well-designed and properly maintained CCTV network, you can enjoy enhanced security, deter potential intruders, and have the ability to monitor your home and loved ones, even when you’re away. Investing time and effort into setting up a reliable home CCTV network will provide you with peace of mind and a safer living environment.
Frequently Asked Questions about How To Set Up Home CCTV Network
Was this page helpful?
At Storables.com, we guarantee accurate and reliable information. Our content, validated by Expert Board Contributors, is crafted following stringent Editorial Policies. We're committed to providing you with well-researched, expert-backed insights for all your informational needs.
