Home>Home Security and Surveillance>How To Set Up A CCTV Camera At Home
Home Security and Surveillance
How To Set Up A CCTV Camera At Home
Modified: October 19, 2024
Learn how to set up a CCTV camera at home for enhanced home security and surveillance. Find step-by-step instructions and expert tips to ensure your peace of mind.
(Many of the links in this article redirect to a specific reviewed product. Your purchase of these products through affiliate links helps to generate commission for Storables.com, at no extra cost. Learn more)
Introduction
Welcome to the world of home security and surveillance! In today’s rapidly changing world, ensuring the safety and protection of our homes has become more important than ever. Thankfully, technological advancements have made it easier for homeowners to set up their own CCTV camera systems, providing an additional layer of security and peace of mind.
In this comprehensive guide, we will walk you through the process of setting up a CCTV camera system in your home. Whether you’re a first-time DIYer or an experienced home security enthusiast, we’ll cover everything you need to know, from planning and preparation to installation and troubleshooting.
Before we dive into the technical details, it’s important to understand the benefits of having a home CCTV camera system. While the primary purpose is to deter potential burglars and intruders, CCTV cameras also offer a range of other advantages. They provide visual evidence in the event of a crime, can help identify suspicious activities, and offer remote monitoring capabilities, allowing you to keep an eye on your property even when you’re away.
Now, let’s begin our journey into the world of home security and surveillance, as we guide you through the step-by-step process of setting up your very own CCTV camera system.
Key Takeaways:
- Planning and preparation are crucial for setting up a home CCTV camera system. Assess security needs, choose camera features, and consider legal regulations to ensure a smooth and effective installation process.
- Properly mounting and powering CCTV cameras, adjusting settings, and conducting regular testing and maintenance are essential for maximizing the effectiveness of a home surveillance system.
Read more: How To Make A CCTV Camera At Home
Planning and Preparation
Before diving into the installation process, it’s crucial to spend some time planning and preparing for your CCTV camera system. This will ensure that you have a smooth and successful installation experience. Here are the key steps to follow:
1. Assess Your Security Needs: Begin by evaluating your home’s security requirements. Identify the vulnerable areas or points of entry that need to be monitored. This could include entrances, windows, driveways, or backyards.
2. Determine the Number of Cameras: Based on your security assessment, determine how many cameras you’ll need to effectively cover all the areas you want to monitor. Keep in mind that it’s better to have a few high-quality cameras that cover important areas rather than many low-quality ones.
3. Consider Camera Features: Think about the specific features you require in your CCTV cameras. For instance, do you need night vision capabilities for monitoring in low-light conditions? Are you looking for cameras with motion detection or pan-tilt-zoom (PTZ) functionality? Consider these factors to choose cameras that meet your specific needs.
4. Define Recording and Storage Requirements: Determine how long you want to retain the surveillance footage and how much storage capacity you’ll need. This will influence the type of recording system you choose, such as a Digital Video Recorder (DVR) or a Network Video Recorder (NVR).
5. Check Legal and Privacy Regulations: Before installing CCTV cameras, make sure to familiarize yourself with local laws and regulations regarding surveillance on residential properties. Ensure that you comply with privacy guidelines and obtain any necessary permits or permissions.
6. Plan Camera Placement: Create a detailed plan for camera placement, considering the field of view, angle, and coverage area of each camera. Take note of any potential obstacles or obstructions that may affect visibility and make adjustments accordingly.
7. Ensure Proper Wiring and Power Supply: Determine how you’ll run the necessary cables for the cameras and ensure access to power outlets. Decide whether you’ll opt for wired cameras or wireless ones, and plan accordingly.
8. Set a Budget: Establish a budget for your CCTV camera system. Consider the cost of cameras, recording devices, cabling, and any additional accessories you may need.
Taking the time to plan and prepare will streamline the installation process and help you make informed decisions about camera placement and equipment selection. Once you have a clear plan in place, you’ll be ready to move on to the next steps of setting up your home CCTV camera system.
Choosing a Location
The success of your CCTV camera system largely depends on choosing the right locations to install the cameras. Here are some important considerations to keep in mind:
1. Cover Vulnerable Entry Points: Identify the areas of your property that are most vulnerable to break-ins or unauthorized access. These typically include entrances like front doors, back doors, and windows. Make sure to position cameras in such a way that they provide clear coverage of these entry points.
2. Consider Line of Sight: Ensure that the cameras have a clear line of sight to the areas you want to monitor. Avoid placing cameras where they may be obstructed by obstacles like trees or other structures. This will ensure that the cameras capture unobstructed footage.
3. Strategic Placement: Position the cameras at an elevated angle to gain a wider field of view and prevent tampering. Installing cameras at a height of 9 to 10 feet is often recommended. This makes it difficult for intruders to reach and disable the cameras.
4. Focus on High-Traffic Spaces: Install cameras in high-traffic areas such as hallways, staircases, or living rooms to monitor movements within your home. This can help you keep an eye on any suspicious activities or potential threats.
5. Consider Indoor and Outdoor Surveillance: Determine whether you need cameras both indoors and outdoors. Outdoor cameras should be weatherproof and able to withstand harsh conditions. Indoor cameras can be smaller and more discreet.
6. Privacy Concerns: Be mindful of privacy concerns when selecting camera locations. Avoid positioning cameras in areas where they may inadvertently record private spaces, such as bedrooms or bathrooms. Respect the privacy of your household members and neighbors.
7. Lighting Conditions: Consider the lighting conditions in the areas you wish to monitor. For low-light areas, select cameras with night vision capability or consider adding supplementary lighting to improve visibility.
8. Deterrence Factor: Place some cameras in visible locations to act as a deterrent to potential intruders. The mere presence of cameras can dissuade criminals from targeting your property.
Remember, the location of your cameras plays a crucial role in the effectiveness of your CCTV system. Take the time to carefully evaluate and select the best positions for your cameras to maximize security coverage and ensure optimal surveillance.
Selecting a CCTV Camera
Choosing the right CCTV camera is essential to ensure high-quality surveillance and maximum security for your home. With a wide variety of options available in the market, here are some key factors to consider when selecting a CCTV camera:
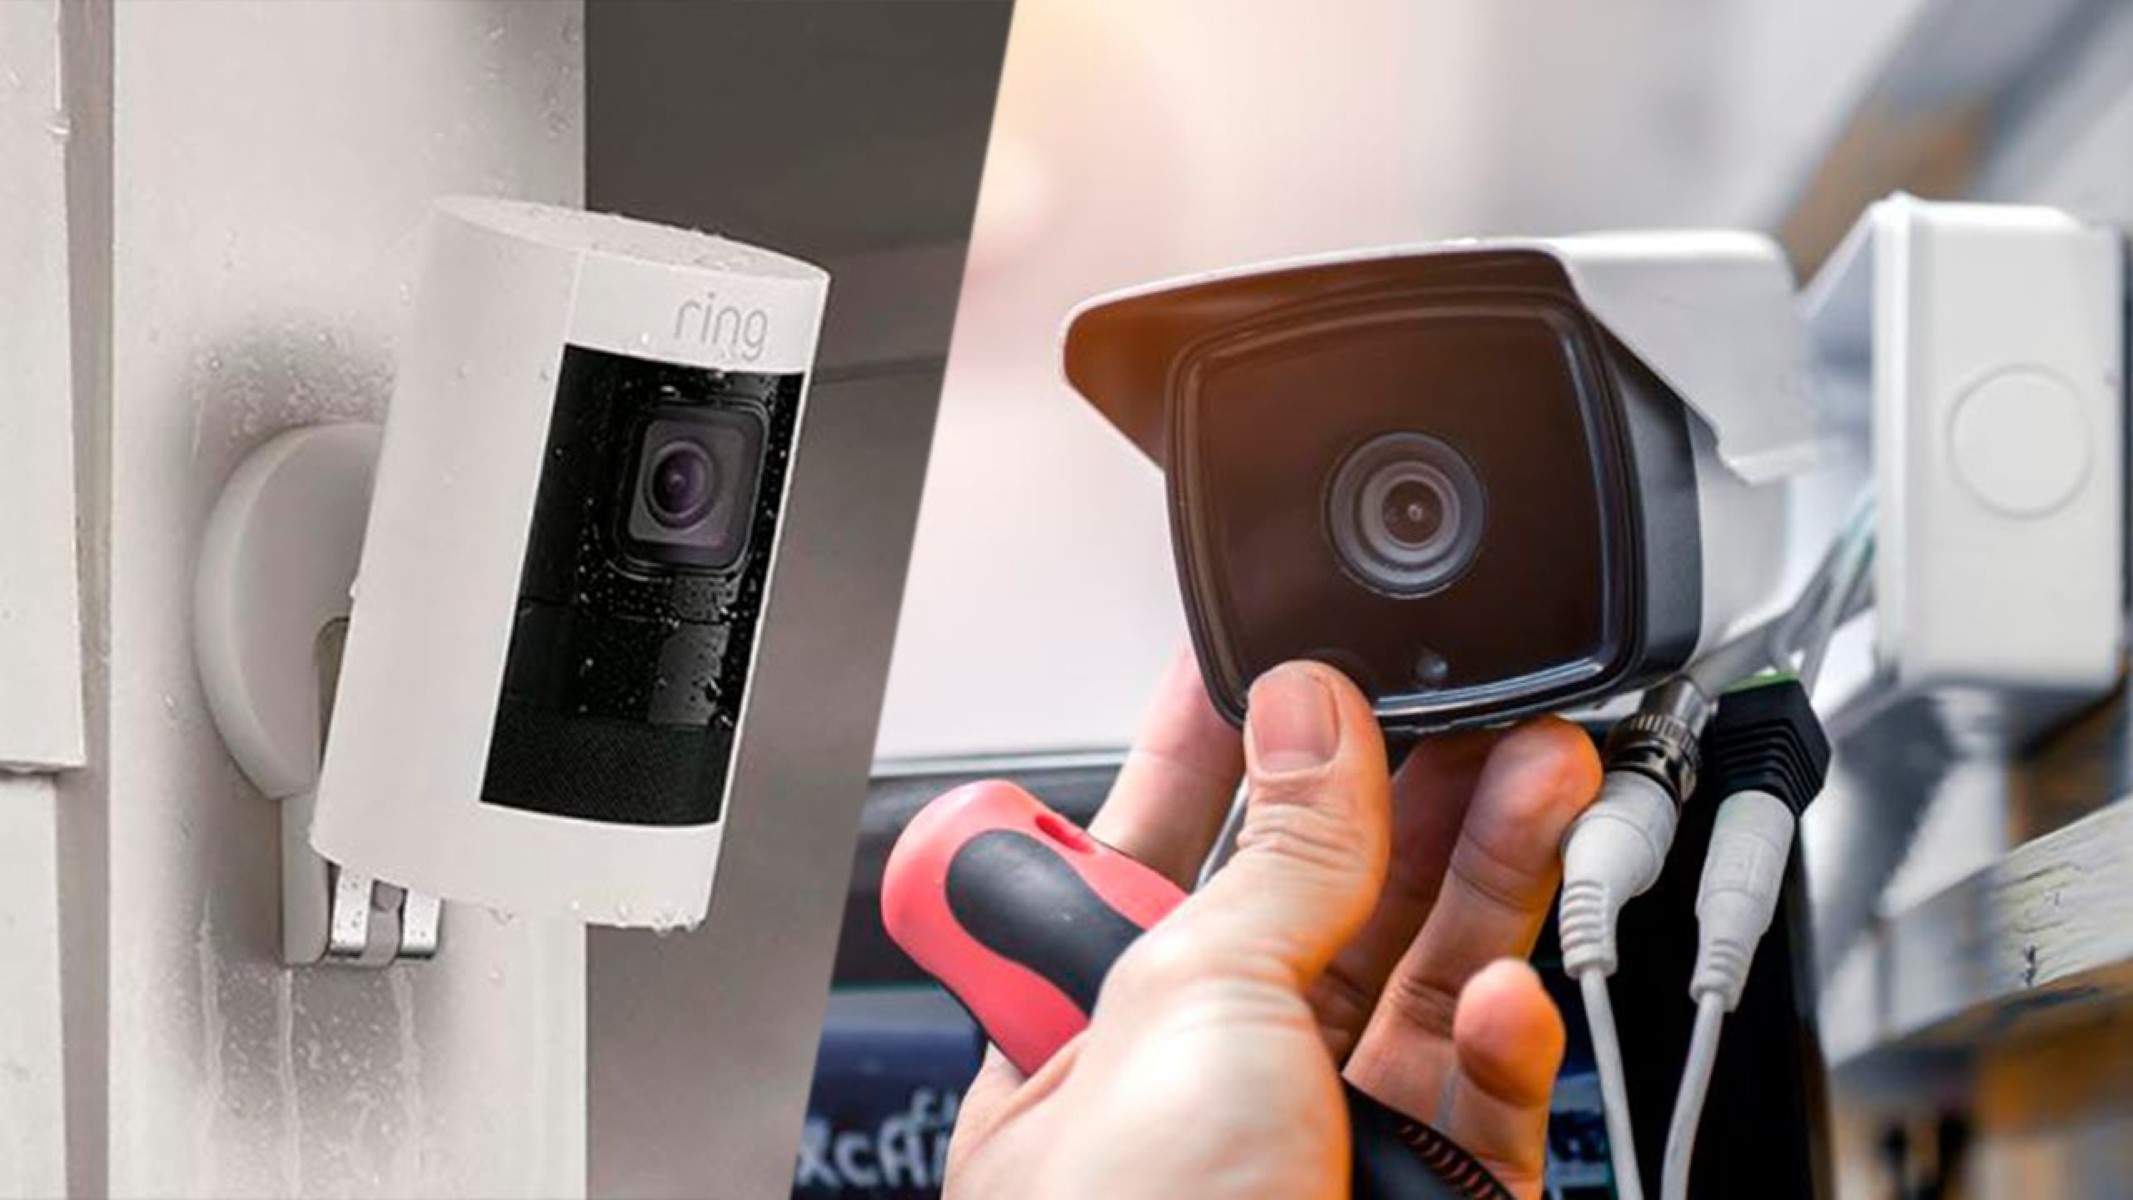
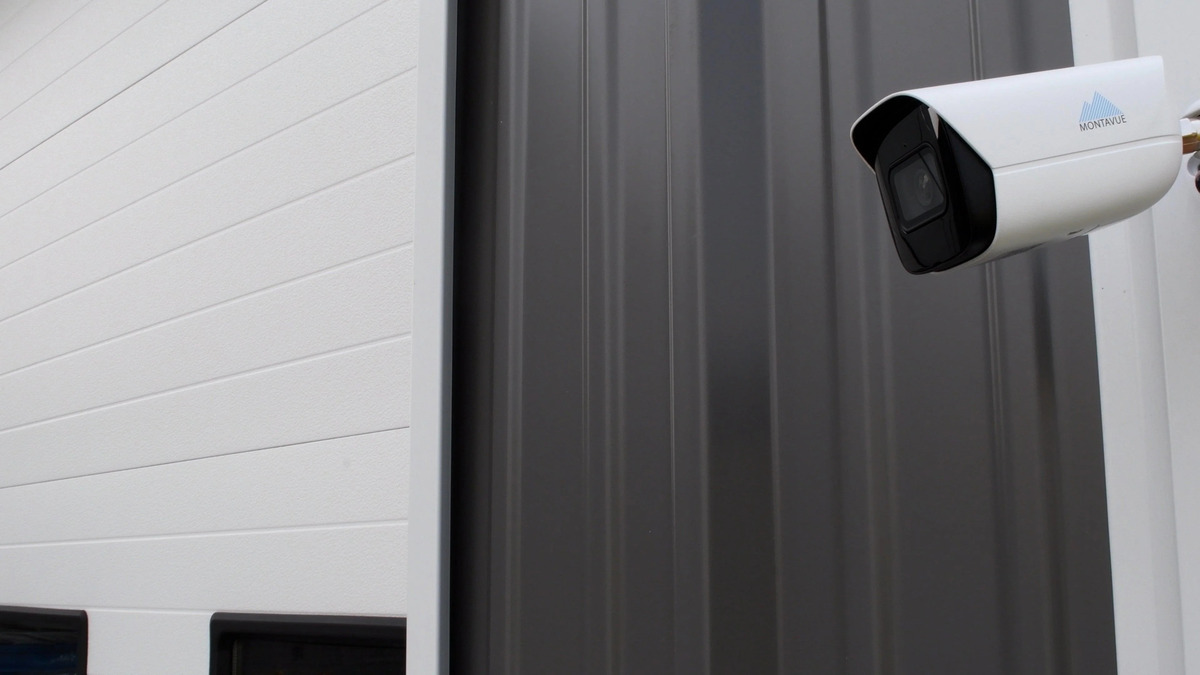
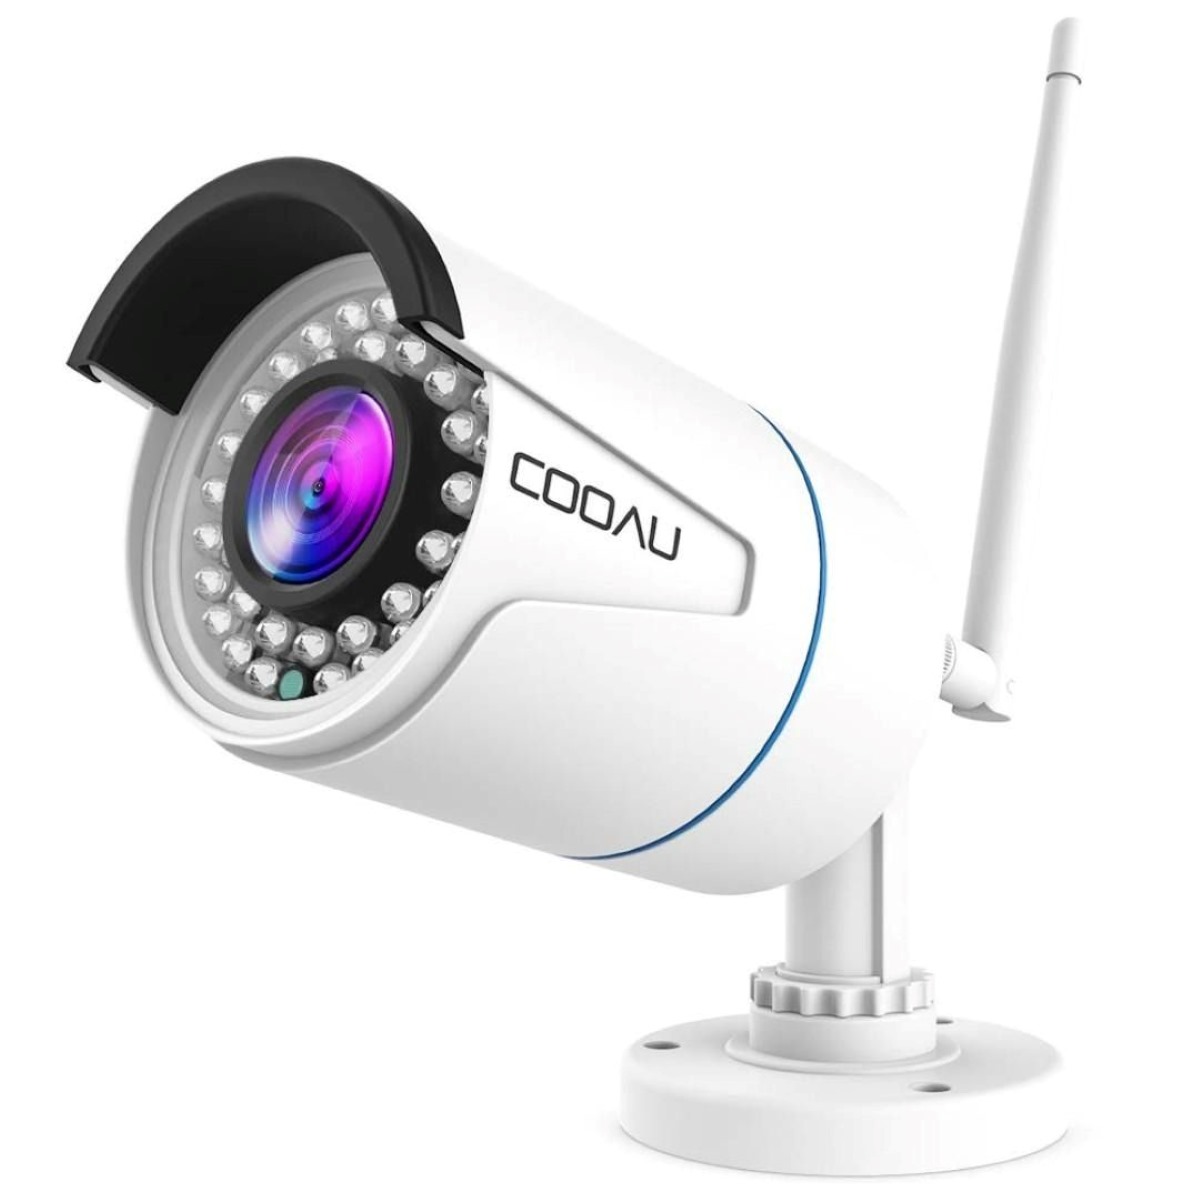
1. Camera Type: Determine the type of camera that suits your needs. The two most common types are dome cameras and bullet cameras. Dome cameras offer a sleek and discreet design that is less noticeable, while bullet cameras are more visible and often come with longer-range lenses.
2. Resolution: Look for cameras with high-resolution capabilities for clear and detailed footage. High Definition (HD) cameras with a resolution of 1080p or higher are recommended for capturing fine details.
3. Field of View: Consider the field of view (FOV) of the camera, which determines how much area the camera can cover. Cameras with wider FOV are ideal for monitoring large spaces, while cameras with a narrower FOV are suitable for focusing on specific areas.
4. Low Light Performance: If you need surveillance in low light conditions, opt for cameras with good low light performance. Look for features like infrared (IR) capability or low lux rating, which allow the cameras to capture clear footage even in dimly lit environments.
5. Day/Night Functionality: Choose cameras with day/night functionality, which automatically switch between color mode during daylight and black-and-white mode with infrared illumination at night. This ensures optimal image quality regardless of lighting conditions.
6. Weather Resistance: If you plan to install cameras outdoors, ensure they are weather-resistant and suitable for outdoor use. Look for cameras with an IP65 or higher rating to withstand exposure to rain, dust, and other environmental factors.
7. Audio Capability: Consider whether audio monitoring is necessary for your surveillance needs. Some cameras come with built-in microphones or audio input/output ports that allow for two-way communication.
8. Connectivity and Compatibility: Check the connectivity options and compatibility of the camera with your recording device (DVR/NVR) or monitoring system. Most cameras use either analog or IP connectivity, so ensure compatibility with your existing setup.
9. Budget: Set a budget for your CCTV camera system and consider the cost, features, and quality of the cameras. Find a balance between affordability and the specific requirements of your home security needs.
10. Reviews and Recommendations: Research customer reviews and seek recommendations from trusted sources or professionals to ensure you choose reliable and reputable camera brands.
By considering these factors, you can select CCTV cameras that best fit your home security requirements. Remember to prioritize quality, reliability, and compatibility to ensure optimal performance and peace of mind.
Gathering Necessary Equipment
Before you can proceed with the installation of your CCTV camera system, it’s important to gather all the necessary equipment. Here’s a list of essential items you’ll need:
1. CCTV Cameras: Based on your planning and camera selection, ensure you have all the cameras you need for your surveillance setup. This may include dome cameras, bullet cameras, or specialized cameras for specific purposes.
2. DVR/NVR: A Digital Video Recorder (DVR) or Network Video Recorder (NVR) is required to record and store the surveillance footage. Choose a recording device that supports the number of cameras you have and has sufficient storage capacity for your needs.
3. Cables: Depending on the type of cameras you have chosen, you’ll need the appropriate cables for connection. This may include coaxial cables for analog cameras or Ethernet cables for IP cameras. Make sure you have enough cable length to reach the desired camera locations.
4. Power supply: Cameras will require a power source to operate. Check if your cameras can be powered through a direct power outlet or if you need power adapters or power-over-Ethernet (PoE) injectors for IP cameras.
5. Video Connectors: Depending on your camera and DVR/NVR connectivity, you may need BNC connectors, RCA connectors, or HDMI cables for video output and connections.
6. Mounting Hardware: Ensure you have the necessary mounting brackets, screws, and other hardware to securely mount the cameras in your chosen locations. This will depend on the type of cameras you have and the mounting surfaces.
7. Monitor: A monitor or display device is required to view the live feed or playback footage from your CCTV camera system. Check if your existing monitor is compatible with your DVR/NVR or consider purchasing a separate monitor if necessary.
8. Mouse and Keyboard: For DVR/NVR configuration and control, you’ll need a USB mouse and keyboard for easy navigation and setup.
9. Network Equipment: If you plan to connect your cameras to a network for remote access or live viewing, ensure you have the necessary network switches, routers, and cables to establish a connection.
10. Tools: Gather basic tools such as a drill, screwdrivers, cable crimping tool, and a ladder to assist with the installation process.
Make a checklist of all the required equipment and ensure you have everything before starting the installation. This will save you time and ensure a smooth setup process. If you’re unsure about any specific equipment requirements, consult the user manuals or seek advice from a professional.
Read more: What Is CCTV Security Cameras
Installing the CCTV Camera
Now that you have gathered all the necessary equipment, it’s time to proceed with the installation of your CCTV camera system. Follow these steps to ensure a successful installation:
1. Double-Check Your Camera Placement: Before mounting the cameras, re-evaluate your chosen locations to confirm they provide optimal coverage and visibility. Ensure the cameras are positioned at the desired angles and heights to capture clear footage.
2. Mount the Cameras: Use the appropriate mounting brackets and hardware to securely attach the cameras in their designated locations. Make sure the cameras are firmly fastened and angled correctly for the desired field of view.
3. Connect the Cameras: Depending on the type of cameras and cables you’re using, connect the camera video outputs to the corresponding inputs on the DVR/NVR using appropriate connectors. If using IP cameras, connect them to your network switch or router.
4. Power the Cameras: If your cameras require separate power sources, connect them to power outlets using the provided power adapters or PoE injectors. Ensure a stable power supply to each camera.
5. Verify Camera Functionality: Check the live feed from each camera on the monitor connected to the DVR/NVR. Ensure that all cameras are functioning properly and capturing clear images. Adjust camera settings if needed to enhance image quality.
6. Cable Management: Neatly organize and secure the cables to prevent them from being accidentally disconnected or creating an unsightly mess. Use cable clips, conduits, or cable ties to manage and conceal the cables along walls or ceilings.
7. Configure Recording Settings: Access the DVR/NVR settings menu and configure the recording settings, such as recording mode (continuous or motion-based), resolution, and frame rate. Set up scheduled recording, if desired, and adjust storage settings based on your requirements.
8. Network Setup (Optional): If you want to access your CCTV camera system remotely or view live footage on your mobile device, configure network settings on your DVR/NVR. Ensure proper port forwarding, enable remote access, and set up a secure login process.
9. Test the System: Perform thorough testing of your CCTV camera system. Check if all cameras are capturing footage correctly, verify the recording functionality, and test remote access (if applicable). Make any necessary adjustments or troubleshooting as needed.
10. Inform and Educate: Ensure that household members or relevant individuals are aware of the CCTV camera system installation and provide any necessary instructions for accessing the live feed or playback recordings.
Remember to consult the user manuals provided with your equipment for detailed installation instructions specific to your camera and recording device. If you encounter any difficulties or require professional assistance, do not hesitate to reach out to a qualified technician or installer.
Mounting the Camera
Mounting the cameras securely is a crucial step in the installation of your CCTV camera system. Follow these steps to ensure proper mounting:
1. Gather the Required Tools: Before you begin, gather the necessary tools for mounting the cameras. These may include a drill, screws, wall anchors (if needed), a screwdriver, and a ladder.
2. Select the Ideal Mounting Location: Refer to your initial camera placement plan and select the exact location for mounting each camera. Ensure that the chosen location provides an optimal view of the area you want to monitor and is easily accessible for mounting.
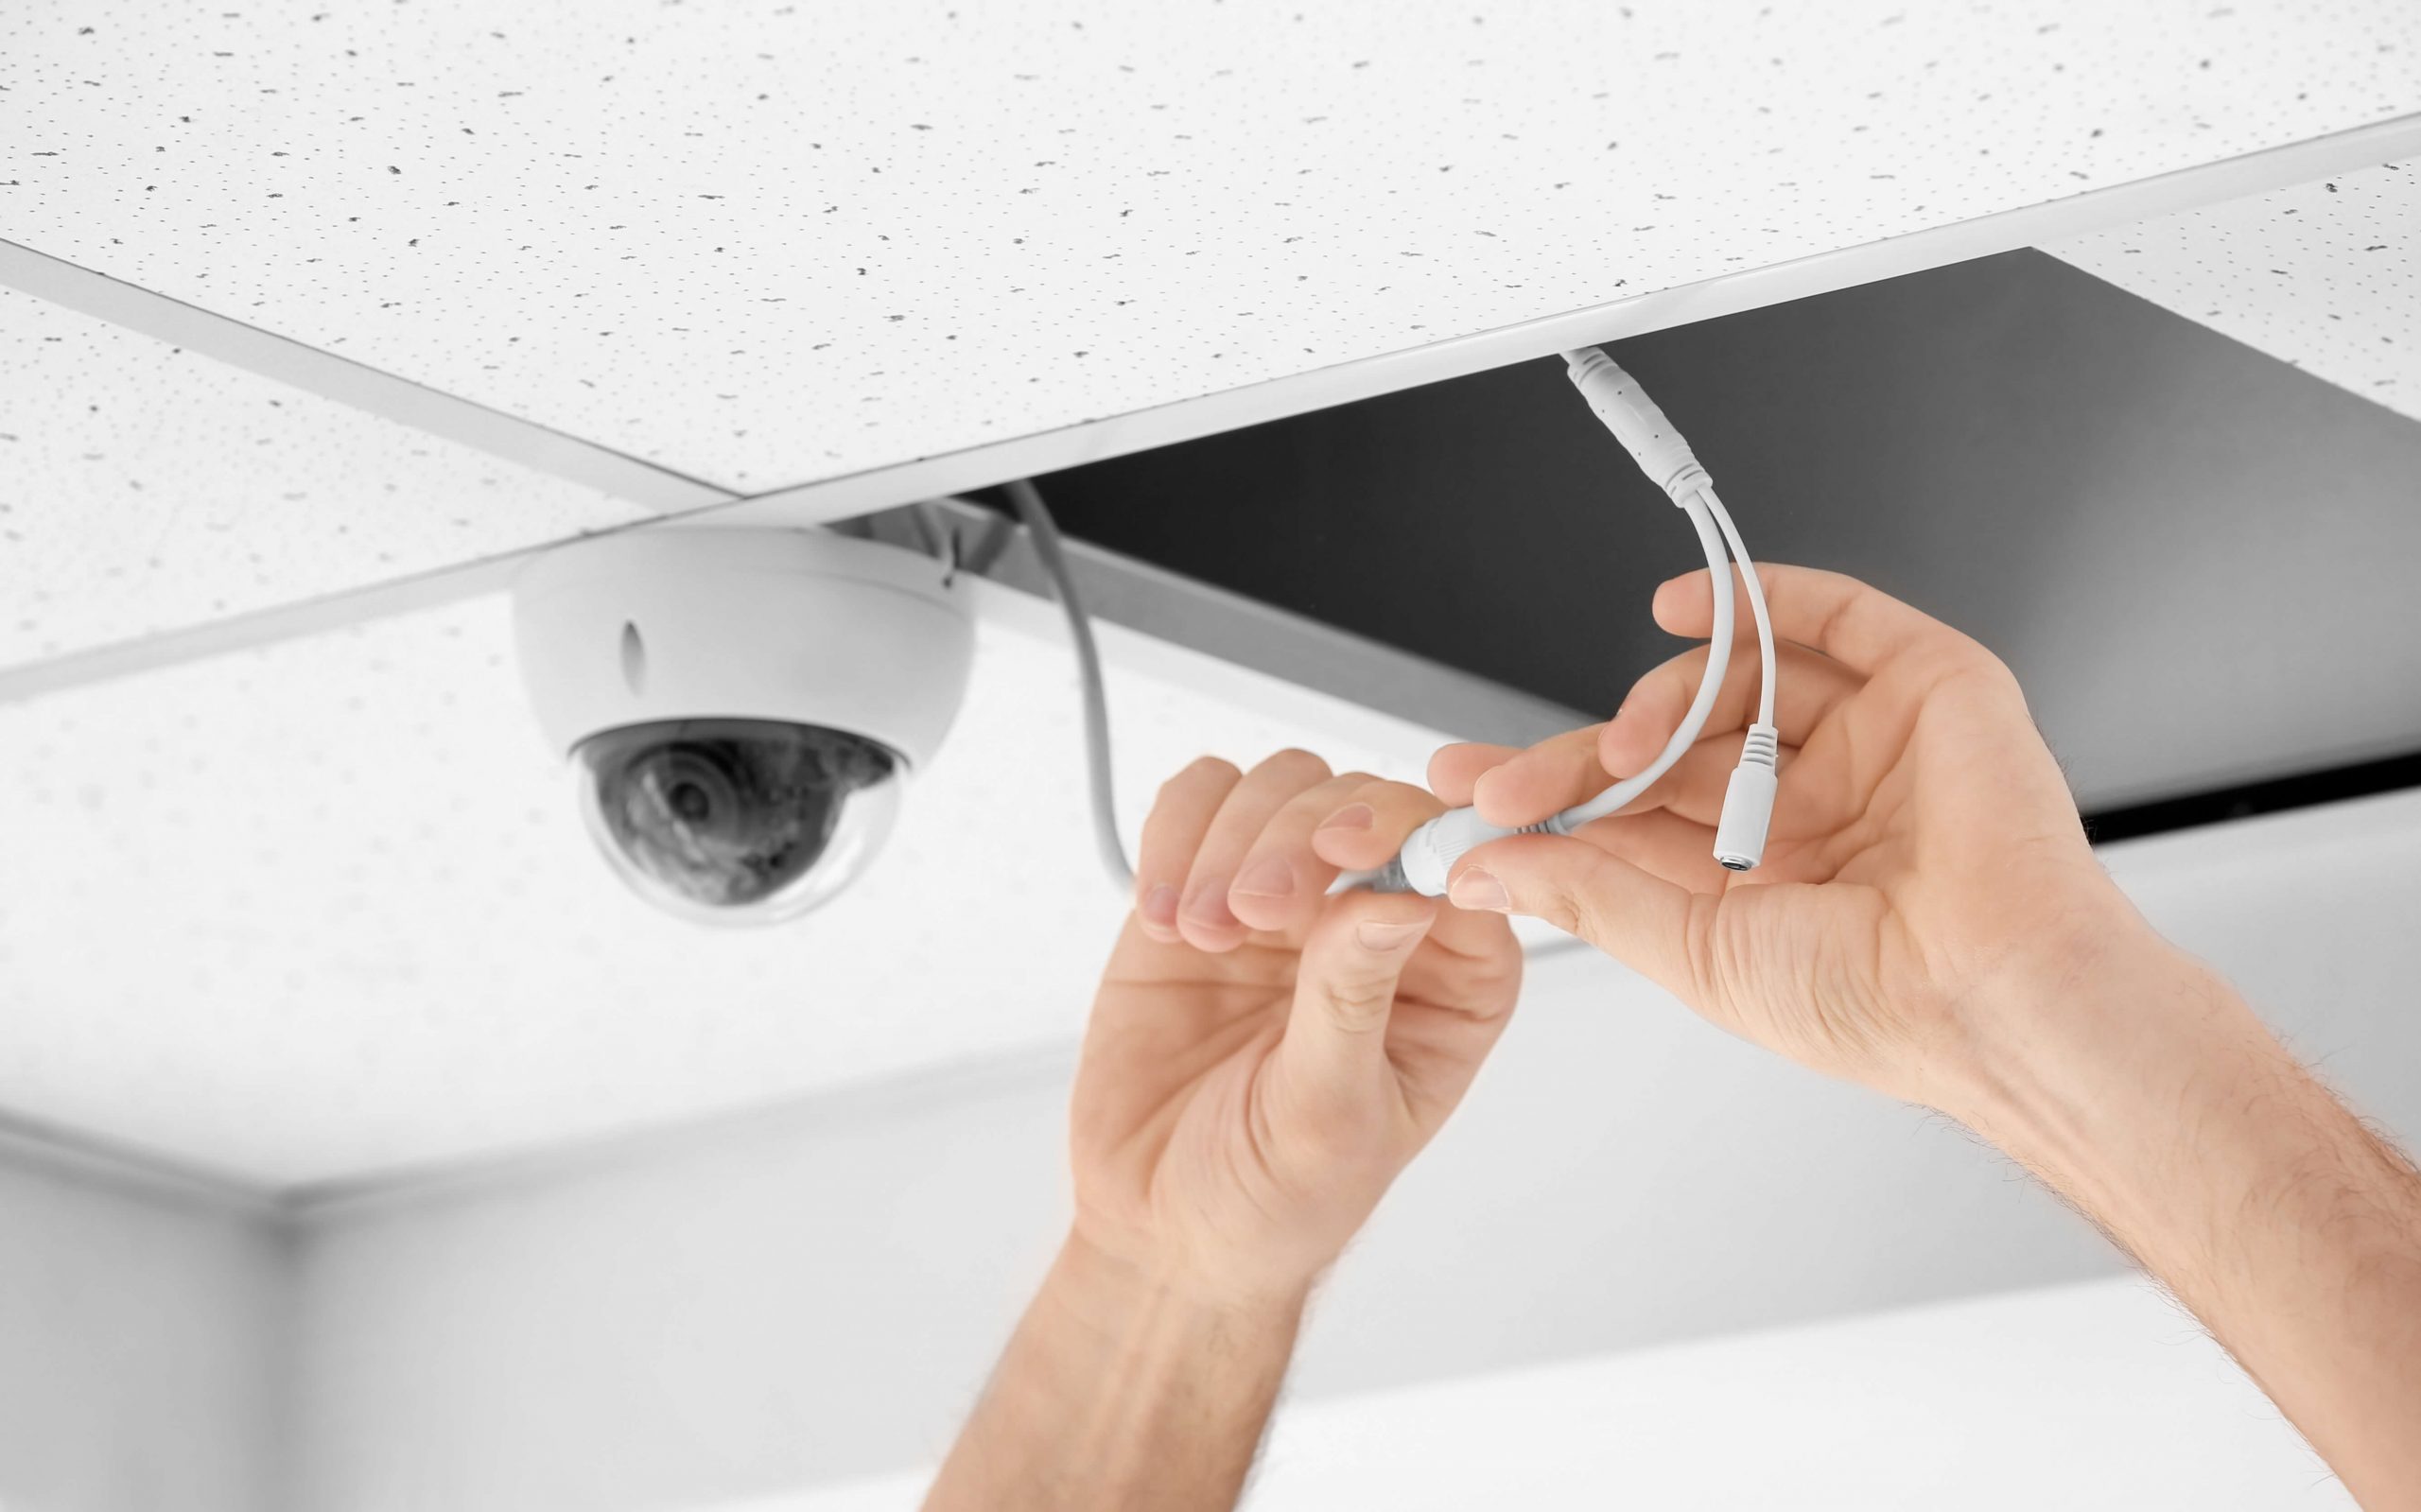
3. Determine the Mounting Method: Choose the appropriate mounting method based on your camera type and the surface on which you will be mounting it. Common mounting methods include wall-mounting, ceiling-mounting, and pole-mounting.
4. Prepare the Mounting Surface: If you’re mounting the camera on a wall, make sure the surface is clean and free of any debris. If necessary, use a level to ensure the mounting surface is straight and level.
5. Mark the Mounting Points: Using a pen or pencil, mark the spots where you’ll be drilling holes for mounting the camera. Ensure that the marks are aligned with the mounting holes on the camera and are level.
6. Drill Holes: Use a drill with an appropriate drill bit size to create holes at the marked points. The size of the drill bit will depend on the size of the mounting screws provided with your camera.
7. Insert Wall Anchors (if needed): If you’re mounting the camera on a hollow surface like drywall, insert wall anchors into the drilled holes to provide additional support. Tap the anchors gently with a hammer until they are flush with the wall.
8. Attach the Mounting Bracket: Securely attach the mounting bracket provided with your camera to the wall or ceiling using the screws provided. Ensure that the bracket is level and aligned with the drilled holes.
9. Mount the Camera: Carefully place the camera onto the mounting bracket, aligning the screw holes on the camera with the holes on the bracket. Insert the mounting screws through the holes and tighten them securely using a screwdriver.
10. Adjust the Camera Position: Once the camera is mounted, adjust the camera position to achieve the desired field of view. Use the adjustment mechanisms on the mounting bracket, if available, to tilt or pan the camera as needed.
11. Test Camera Positioning: Test the camera’s field of view by accessing the live feed on your DVR/NVR. Make any necessary adjustments to ensure that the camera captures the desired area and angle of surveillance.
Remember to follow the manufacturer’s instructions provided with your camera for specific mounting guidelines and weight limitations. If you’re uncertain about the process or any safety precautions, consult a professional installer to ensure proper and secure mounting of your CCTV cameras.
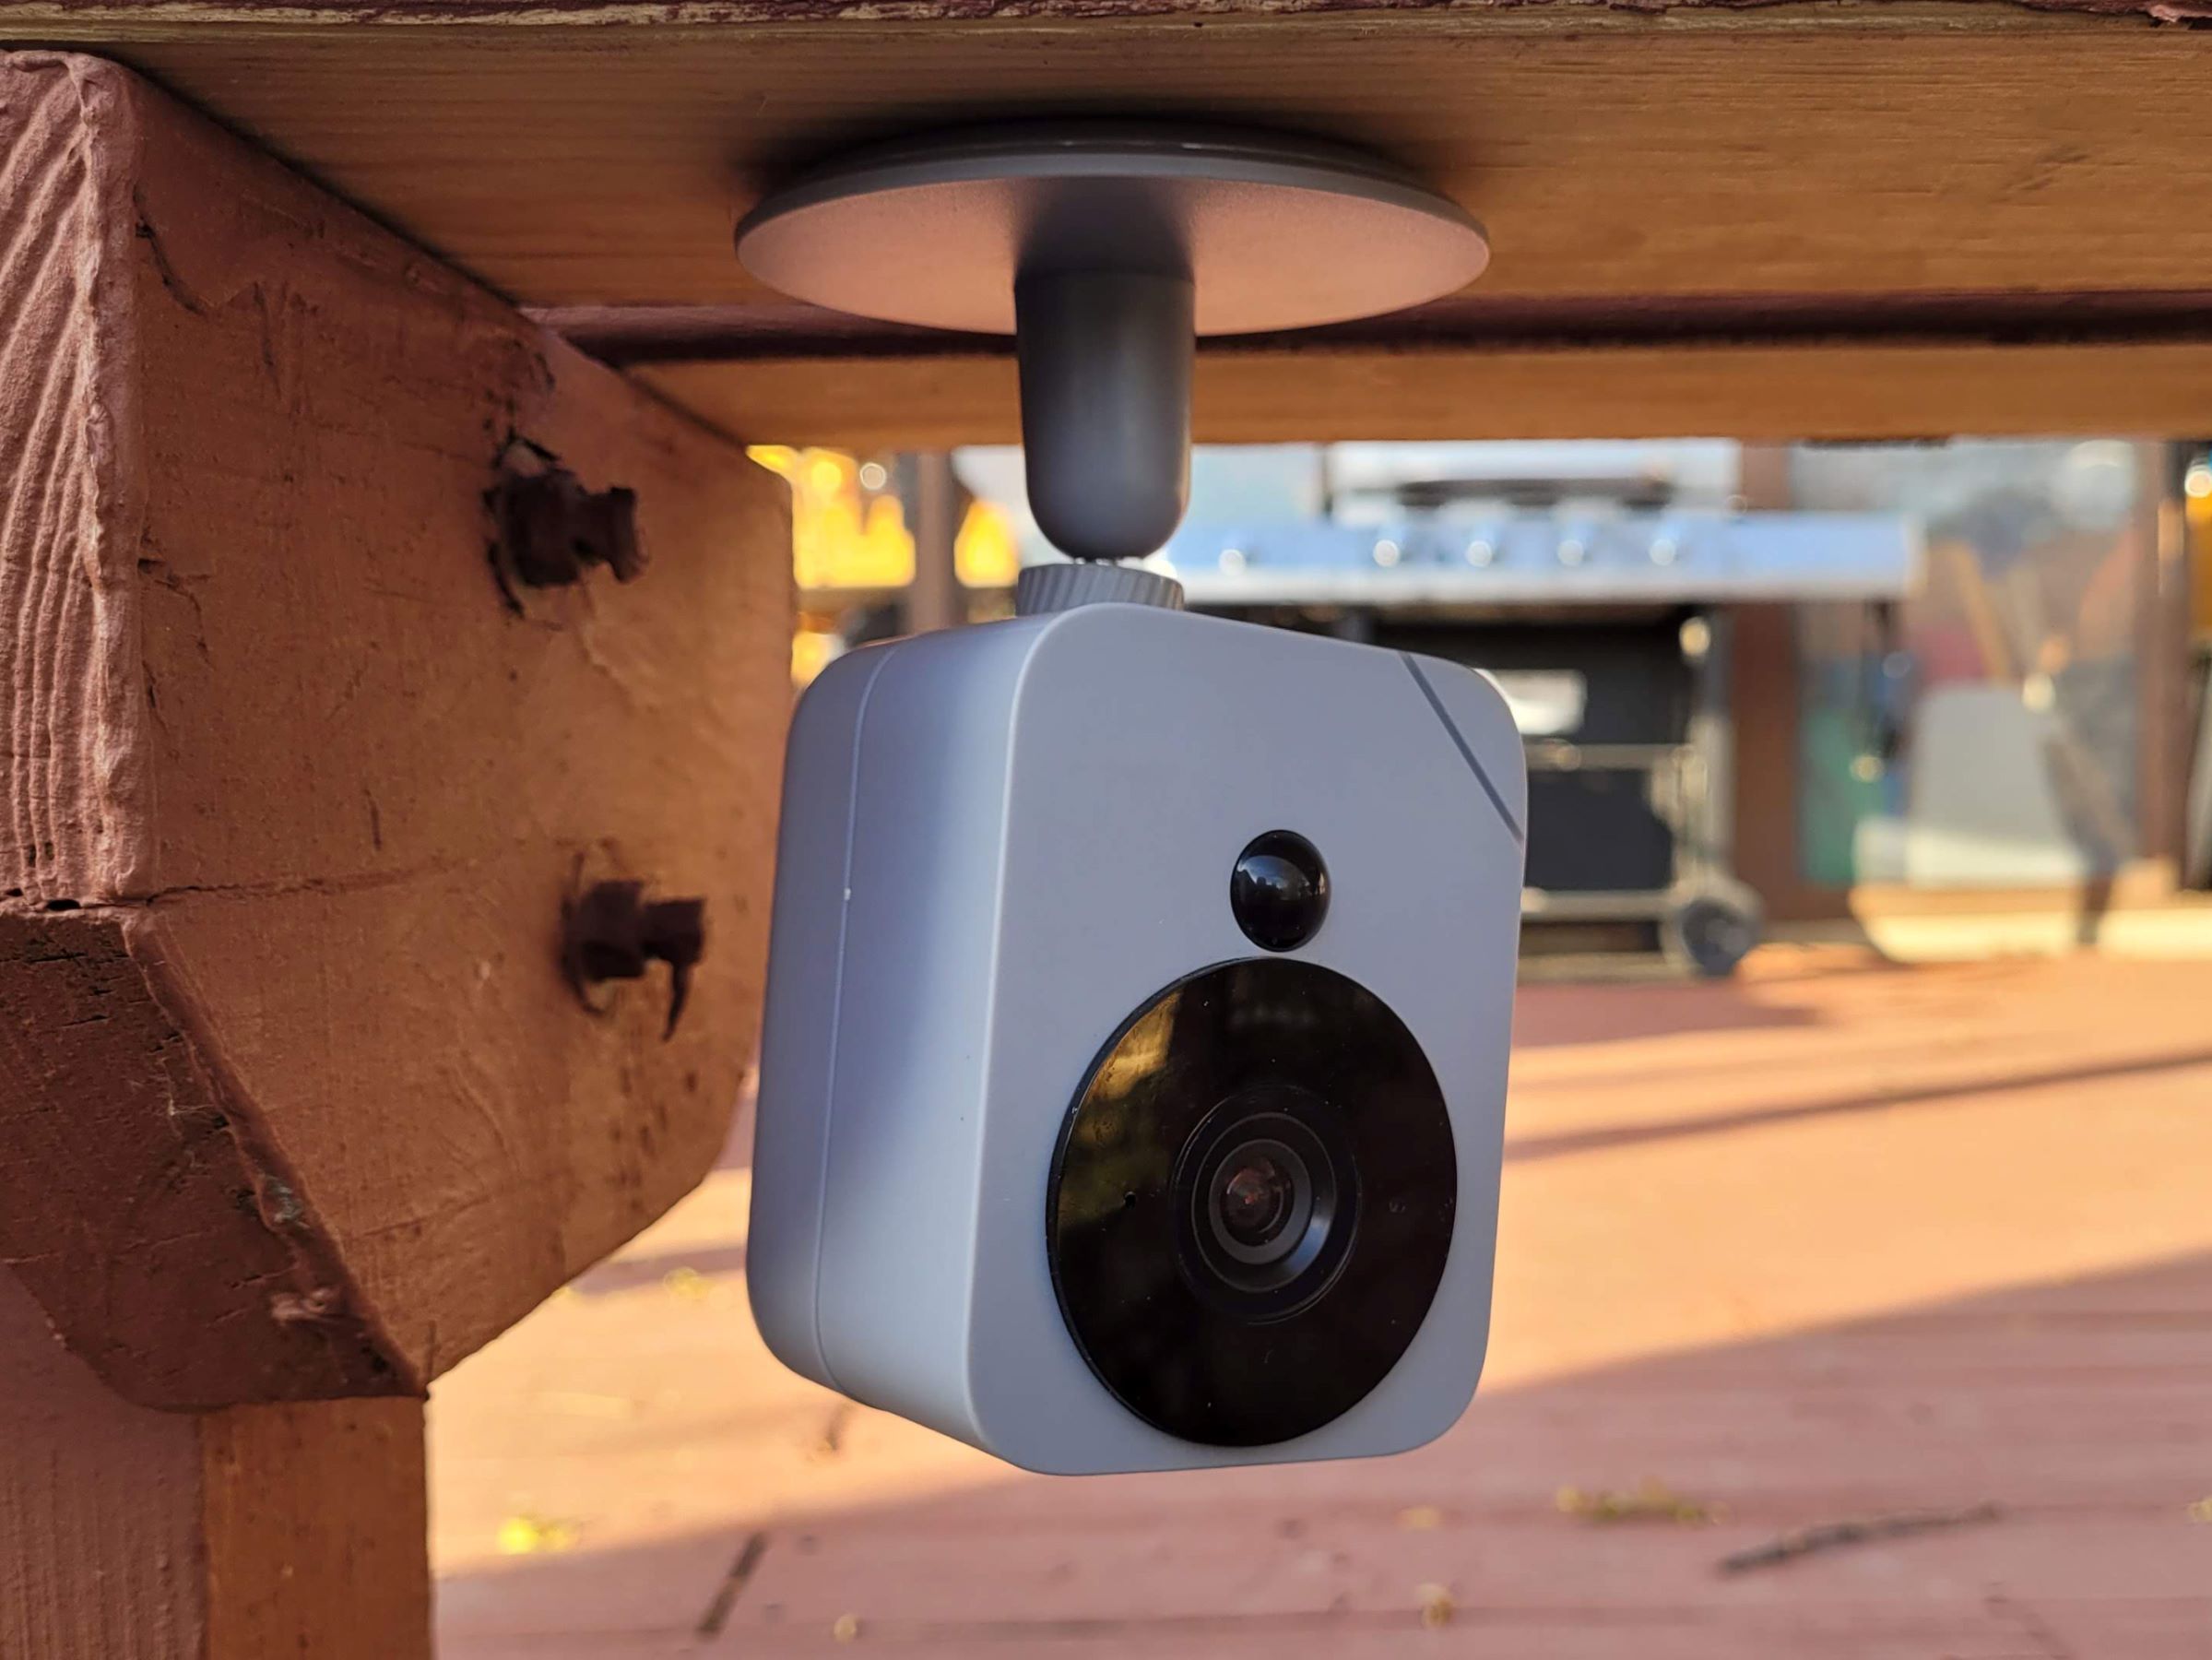
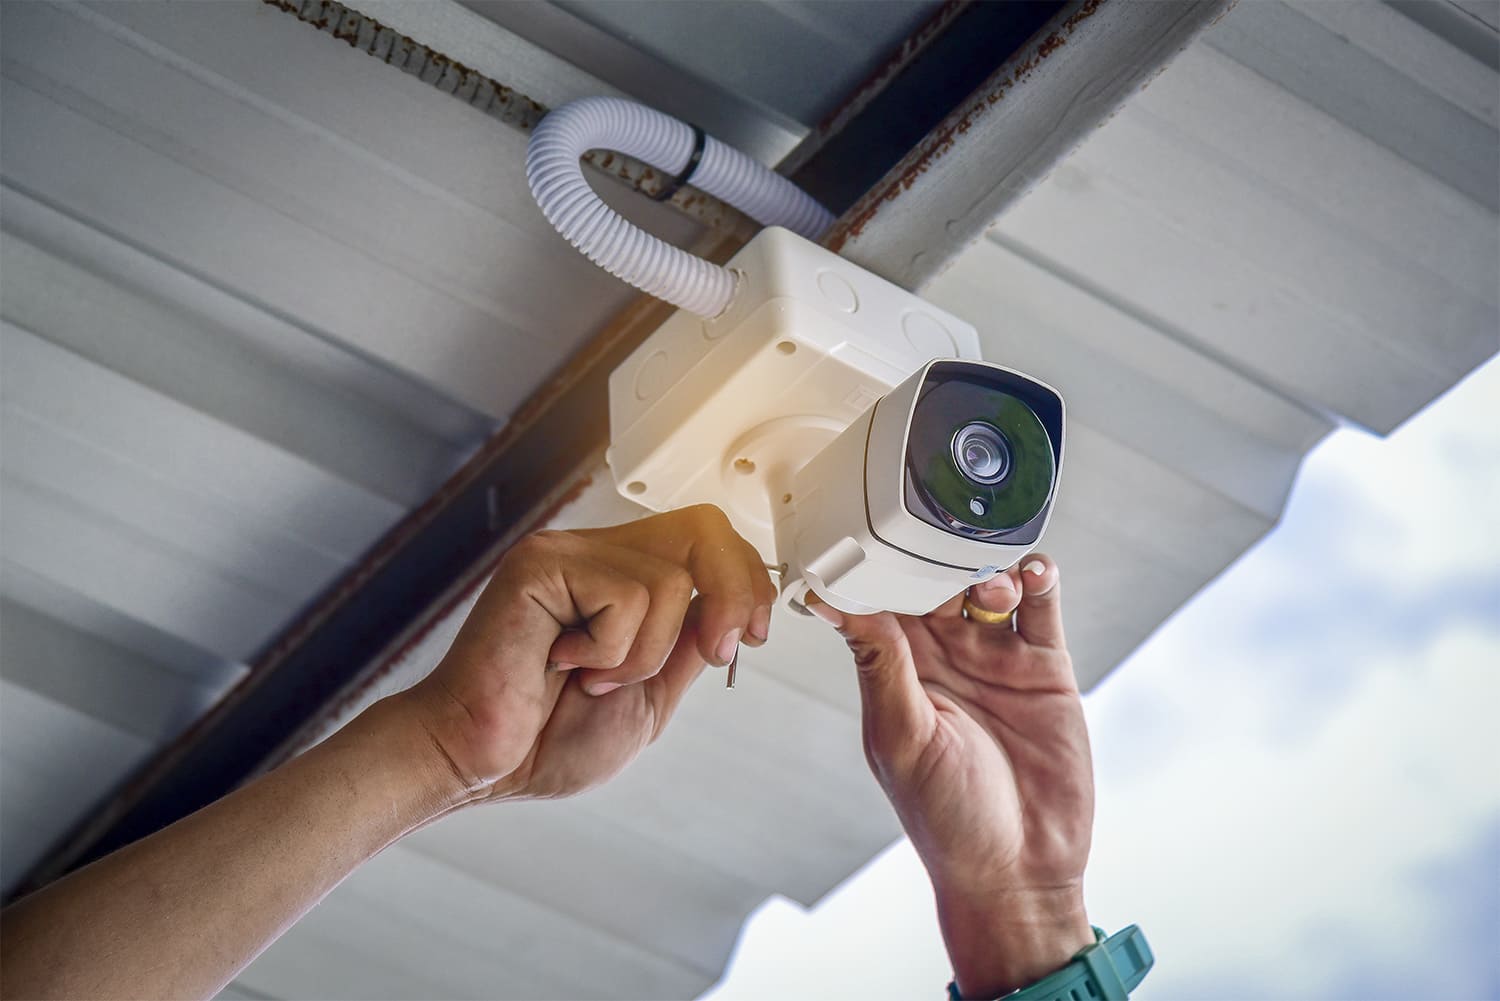
When setting up a CCTV camera at home, make sure to place it in a high and wide location for the best coverage. Also, ensure it is facing the areas you want to monitor and is protected from the weather.
Powering the CCTV Camera
Powering your CCTV cameras properly is essential for their operation and functionality. Here’s a step-by-step guide to help you power your cameras:
1. Determine the Power Requirements: Check the power requirements of your CCTV cameras. They typically operate on either 12V DC or 24V AC power. Ensure that you have the appropriate power supply for your cameras.
2. Locate Power Outlets: Identify the power outlets near the installation locations of your cameras. It’s preferable to have a dedicated power outlet for each camera to avoid overloading circuits and ensure consistent power supply.
3. Position Power Supply Source: If your cameras require a separate power supply unit (PSU), position it in a secure and accessible location. This could be a central power hub or an area close to your DVR/NVR.
4. Connect the Power Cable: Connect the power cable to the power input jack on the camera. Make sure the connection is secure and the cable is not twisted or strained. If necessary, use a weatherproof connector or protective covering for outdoor installations.
5. Connect the Power Supply: Plug the other end of the power cable into the corresponding power supply outlet. Ensure that the power supply is switched off before making any connections to prevent any electrical mishaps.
6. Secure Power Connections: Use cable clips or cable ties to secure the power cable along with other camera cables. This will help keep the cables organized, prevent accidental disconnections, and avoid any safety hazards.
7. Turn on the Power Supply: Once all the connections are secure, turn on the power supply for your CCTV cameras. Verify that the cameras are receiving power and that the LEDs on the cameras indicate proper operation.
8. Check Camera Functionality: Access the live feed on your DVR/NVR to confirm that the cameras are functioning correctly after being powered. Ensure that the footage is stable, clear, and without any flickering or distortion.
9. Consider Backup Power: In case of power outages or temporary interruptions, consider having a backup power supply or Uninterruptible Power Supply (UPS) for your CCTV camera system. This will provide continuous power to your cameras, ensuring uninterrupted surveillance.
10. Regular Maintenance: Periodically inspect the power connections and cables to ensure they remain secure and undamaged. Clean the camera and power connections to prevent any buildup of dirt or debris that may affect performance.
Always prioritize safety when dealing with electrical connections. If you are uncertain about power requirements or concerned about electrical work, consult a professional electrician or installer to ensure proper power supply and minimize any risks during the installation process.
Setting Up the DVR/NVR
The DVR/NVR (Digital Video Recorder/Network Video Recorder) is a crucial component of your CCTV camera system. Follow these steps to set up your DVR/NVR:
1. Choose the Ideal Location: Select a suitable location for your DVR/NVR. Ensure that it is placed in a secure area with adequate ventilation to prevent overheating. Also, make sure it is close to a power outlet and your network equipment, if applicable.
2. Connect Power: Plug the power cable into the DVR/NVR and connect it to a power outlet. Make sure the power cable is properly secured and that the power supply is switched off before making any connections.
3. Connect the Monitor: Use the appropriate cable (HDMI, VGA, or BNC) to connect the DVR/NVR to your monitor or display. Make sure the cable is securely attached at both ends.
4. Connect to the Network (if applicable): If you plan to access your CCTV camera system remotely or want to connect your cameras to your network, use an Ethernet cable to connect the DVR/NVR to your router or network switch.
5. Configure the DVR/NVR Settings: Turn on the DVR/NVR and access its setup menu using the provided login details or default credentials. Follow the on-screen instructions to configure basic settings such as date, time, language, and recording preferences.
6. Set Up Users and Permissions: Create user accounts and assign appropriate permissions to control access to the DVR/NVR. This helps ensure that only authorized users can view, modify, or administer the system.
7. Set Recording Parameters: Configure the recording settings according to your preferences. This includes choosing between continuous or motion-based recording, setting the resolution and frame rate, and defining the storage parameters such as video compression and retention time.
8. Configure Network Settings (if applicable): If you want to access your CCTV camera system remotely, configure the network settings of the DVR/NVR. Set up port forwarding on your router or enable UPnP (Universal Plug and Play) to allow remote access. Note any necessary IP addresses or domain names for remote access.
9. Enable Security Features: Ensure your DVR/NVR has appropriate security measures in place. Change the default password and enable additional security features such as two-factor authentication or IP-filtering to protect against unauthorized access.
10. Test System Functionality: Verify that the DVR/NVR is functioning correctly by accessing the live feed from your connected cameras. Check if the footage is displayed properly on the monitor and ensure that the recording function is working as intended.
11. Regular Maintenance: Perform regular maintenance tasks to keep your DVR/NVR operating smoothly. This includes ensuring that firmware updates are installed, performing system backups, and regularly checking the system logs for any issues or errors.
Remember to consult the user manual provided with your specific DVR/NVR model for detailed instructions on the setup process. If you encounter any difficulties or are unsure about any configuration steps, consider seeking assistance from the manufacturer’s support or a professional installer.
Connecting the Camera to the DVR/NVR
Connecting your CCTV cameras to the DVR/NVR is an essential step in the setup process. Follow these steps to ensure a proper connection:
1. Check Compatibility: Ensure that your CCTV cameras and DVR/NVR are compatible in terms of video format and connectivity. Most cameras use either analog (BNC) or IP (Ethernet) connections. Verify that your DVR/NVR supports the type of cameras you have.
2. Gather the Necessary Cables: Depending on the camera type and your chosen connectivity, you’ll need the appropriate cables for connection. This may include BNC cables for analog cameras or Ethernet cables for IP cameras.
3. Determine the Camera Channels: Determine the number of available channels on your DVR/NVR. Each camera will require a separate channel for connection. Make sure you have enough channels to accommodate all your cameras.
4. Identify Camera Outputs: Locate the video output ports on your cameras. Analog cameras typically have BNC outputs, while IP cameras have Ethernet ports.
5. Identify DVR/NVR Inputs: Locate the video input ports on your DVR/NVR. These may be labeled as BNC or IP, corresponding to the camera type. Ensure that you have enough available inputs for all your cameras.
6. Connect Analog Cameras: For analog cameras, connect the BNC end of the cable to the camera’s video output port. Then, connect the other end to the corresponding BNC input on the DVR/NVR. Make sure the connections are secure and properly tightened.
7. Connect IP Cameras: For IP cameras, connect one end of the Ethernet cable to the camera’s Ethernet port. Connect the other end to an available Ethernet port on your router or network switch. Then, connect an additional Ethernet cable from another available port on the router or switch to the corresponding Ethernet input on the DVR/NVR. This will establish a network connection between the camera and the DVR/NVR.
8. Confirm Signal Connectivity: Once the cameras are connected, check the DVR/NVR menu or interface to ensure that the cameras are recognized and the signals are properly received. Verify that the cameras are displaying a stable live feed on the monitor connected to the DVR/NVR.
9. Adjust Camera Display Order (if applicable): If you want to change the order in which the cameras are displayed on the monitor, access the DVR/NVR settings and rearrange the camera display order according to your preference.
10. Test Camera Functionality: Perform a test to ensure that all cameras are functioning correctly and capturing clear footage. Verify that the live feed from each camera is displayed accurately on the monitor.
11. Make Additional Connections (if applicable): If your cameras have additional features or functionality, such as audio input/output or PTZ controls, refer to the camera’s user manual for the specific instructions to connect and configure those additional connections.
Remember to refer to the user manuals provided with your cameras and DVR/NVR for detailed instructions on connectivity and configuration. If you encounter any difficulties or are unsure about any technical aspects, seek assistance from the manufacturer’s support or a professional installer.
Adjusting Camera Settings
After connecting your CCTV cameras to the DVR/NVR, it’s important to adjust the camera settings to optimize their performance and meet your specific surveillance needs. Here are the key settings to consider:
1. Image Quality and Resolution: Access the camera settings menu on your DVR/NVR and adjust the image quality and resolution settings according to your preferences. Higher resolution settings will provide clearer and more detailed footage, but may require more storage space.
2. Frame Rate: Set the desired frame rate for your cameras. A higher frame rate can capture smoother motion but may result in increased storage requirements. Consider balancing frame rate with storage limitations to optimize performance.
3. White Balance: Adjust the white balance setting to ensure accurate color representation in different lighting conditions. It helps eliminate color casts and ensures that objects appear true to their colors.
4. Exposure and Brightness: Fine-tune the exposure and brightness settings to achieve optimal visibility in different lighting environments. Adjust these settings to prevent underexposed or overexposed footage.
5. Backlight Compensation: Enable backlight compensation if your cameras are positioned in areas where bright light sources may cause subjects to appear dark. This setting helps balance the exposure and improves visibility in high-contrast situations.
6. Motion Detection: If your DVR/NVR supports motion detection, configure the sensitivity and detection areas. This feature triggers recording or notifications when motion is detected within the specified areas. Adjust the settings to minimize false alarms while capturing relevant events.
7. Privacy Masking: Use privacy masking settings to block out specific areas from being recorded or displayed. This is useful for protecting sensitive areas or respecting privacy concerns.
8. PTZ (Pan-Tilt-Zoom) Controls: If you have PTZ cameras, configure the PTZ settings. Adjust the pan, tilt, zoom speeds, and preset positions to customize camera movements and focus.
9. Audio Settings: If your cameras support audio capabilities, enable and configure the audio settings. Adjust the input and output levels and ensure that the audio recordings are synchronized with the video footage.
10. Recording Schedule: Set up a recording schedule that suits your surveillance needs. Define specific days and time slots for continuous recording or motion-based recording. This helps optimize storage usage and ensures that critical events are captured.
11. Network Configuration: If you plan to access your CCTV camera system remotely, configure the necessary network settings on your DVR/NVR. This includes setting up port forwarding, enabling DNS services, and securing remote access with appropriate login credentials.
Remember to refer to the user manuals provided with your cameras and DVR/NVR for detailed instructions on adjusting specific settings. Regularly review and update these settings as needed to ensure optimal camera performance and meet your evolving surveillance requirements.
Testing and Troubleshooting
After setting up your CCTV camera system, it’s crucial to perform thorough testing to ensure everything is working as expected. Here’s a guide to testing and troubleshooting your system:
1. Camera Functionality: Check that all cameras are properly connected, receiving power, and displaying a live feed on the monitor connected to your DVR/NVR. Verify that the cameras are capturing clear and stable footage without any flickering or distortion.
2. Recording Verification: Initiate a test recording to ensure that the cameras are recording as intended. Verify that the recorded footage is being saved to the correct storage location and that it can be accessed for later playback.
3. Motion Detection Testing: If your system has motion detection capabilities, conduct tests to confirm that the cameras are detecting and recording motion accurately. Walk through the monitored area to trigger motion detection and verify that it is captured in the recordings.
4. Remote Access Testing: If you have configured remote access, test it by accessing your CCTV camera system from a different network or through a mobile device. Ensure that you can view the live feed and playback recorded footage remotely without any connectivity issues.
5. Adjust Camera Settings: Fine-tune camera settings such as brightness, contrast, and motion detection sensitivity to optimize the quality and accuracy of the footage captured. Make any necessary adjustments to enhance the performance of your CCTV camera system.
6. Review and Playback: Regularly review the recorded footage and playback to ensure that the cameras are capturing the desired areas and events effectively. This will allow you to spot any potential blind spots or areas that need adjustment for better coverage.
7. Network Connectivity: If you experience connectivity issues, ensure that your network settings are configured correctly. Check your network cables, router settings, and port forwarding to ensure proper network connectivity to your CCTV camera system.
8. Power Supply Checks: Regularly monitor the power supply to your cameras and the DVR/NVR. Check for any loose connections or power fluctuations that may disrupt the system’s functionality. Consider using surge protectors or UPS for added protection against power surges and outages.
9. Firmware Updates: Stay up to date with firmware updates for your cameras and DVR/NVR. Regularly check the manufacturer’s website for any firmware patches or updates that can enhance performance, address security vulnerabilities, and resolve any known issues.
10. Professional Assistance: If you encounter persistent issues or face technical difficulties that you can’t resolve, consider seeking assistance from the manufacturer’s support team or consulting a professional CCTV installer. They can provide further troubleshooting and guidance to ensure optimal system functionality.
Regular testing and troubleshooting are essential to maintain the effectiveness of your CCTV camera system. By addressing any issues promptly and staying vigilant, you can ensure reliable surveillance and maintain the security of your home.
Final Thoughts and Recommendations
Setting up a CCTV camera system can significantly enhance the security and surveillance of your home. Here are some final thoughts and recommendations to consider:
1. Regular Maintenance: Regularly perform maintenance checks on your CCTV camera system. Clean the camera lenses, inspect the connections, and review the recorded footage to ensure optimal performance.
2. Back Up Your Footage: Implement a backup solution for your surveillance footage. Consider storing backups on external hard drives or cloud storage to prevent data loss in case of equipment failure or theft.
3. Follow Privacy Guidelines: Be mindful of privacy regulations and respect the privacy of individuals within and around your property. Position cameras in public areas and avoid capturing footage of private spaces.
4. Update Security Measures: Keep your CCTV camera system secure by regularly updating firmware and software. Change default passwords, enable encryption, and employ other security measures recommended by the manufacturer.
5. Expand Coverage as Needed: Assess your surveillance needs periodically and expand your camera system accordingly. As your security requirements change, consider adding additional cameras or upgrading to more advanced models.
6. Train Users: If multiple individuals will be accessing the CCTV camera system, provide proper training on how to use the system, review footage, and access remote monitoring. This will ensure that everyone can effectively utilize the system’s features.
7. Consider Professional Installation: While setting up a CCTV camera system can be a DIY project, engaging the services of a professional installer can ensure proper placement, optimal camera settings, and seamless integration with other security systems in your home.
8. Test and Update Regularly: Perform routine tests and maintenance, including checking camera feeds, reviewing recordings, and updating settings, to keep your CCTV camera system functioning optimally.
Remember that a CCTV camera system is just one component of a comprehensive home security plan. Consider other security measures such as secure entrances, alarm systems, and proper lighting to ensure a well-rounded and effective security setup for your home.
By carefully planning, correctly installing, and regularly maintaining your CCTV camera system, you can enhance the security and protection of your home, providing peace of mind for you and your loved ones.
Frequently Asked Questions about How To Set Up A CCTV Camera At Home
Was this page helpful?
At Storables.com, we guarantee accurate and reliable information. Our content, validated by Expert Board Contributors, is crafted following stringent Editorial Policies. We're committed to providing you with well-researched, expert-backed insights for all your informational needs.