Home>Home Security and Surveillance>How To Place Arlo Outdoor Camera
Home Security and Surveillance
How To Place Arlo Outdoor Camera
Modified: October 19, 2024
Learn how to effectively place the Arlo outdoor camera for optimum home security and surveillance, ensuring your property stays protected.
(Many of the links in this article redirect to a specific reviewed product. Your purchase of these products through affiliate links helps to generate commission for Storables.com, at no extra cost. Learn more)
Introduction
Welcome to the world of home security and surveillance! Protecting your home and loved ones is of utmost importance, and having a reliable outdoor camera system is a crucial part of your overall security strategy. In this guide, we will walk you through the process of placing an Arlo outdoor camera, ensuring that you optimize its position and functionality.
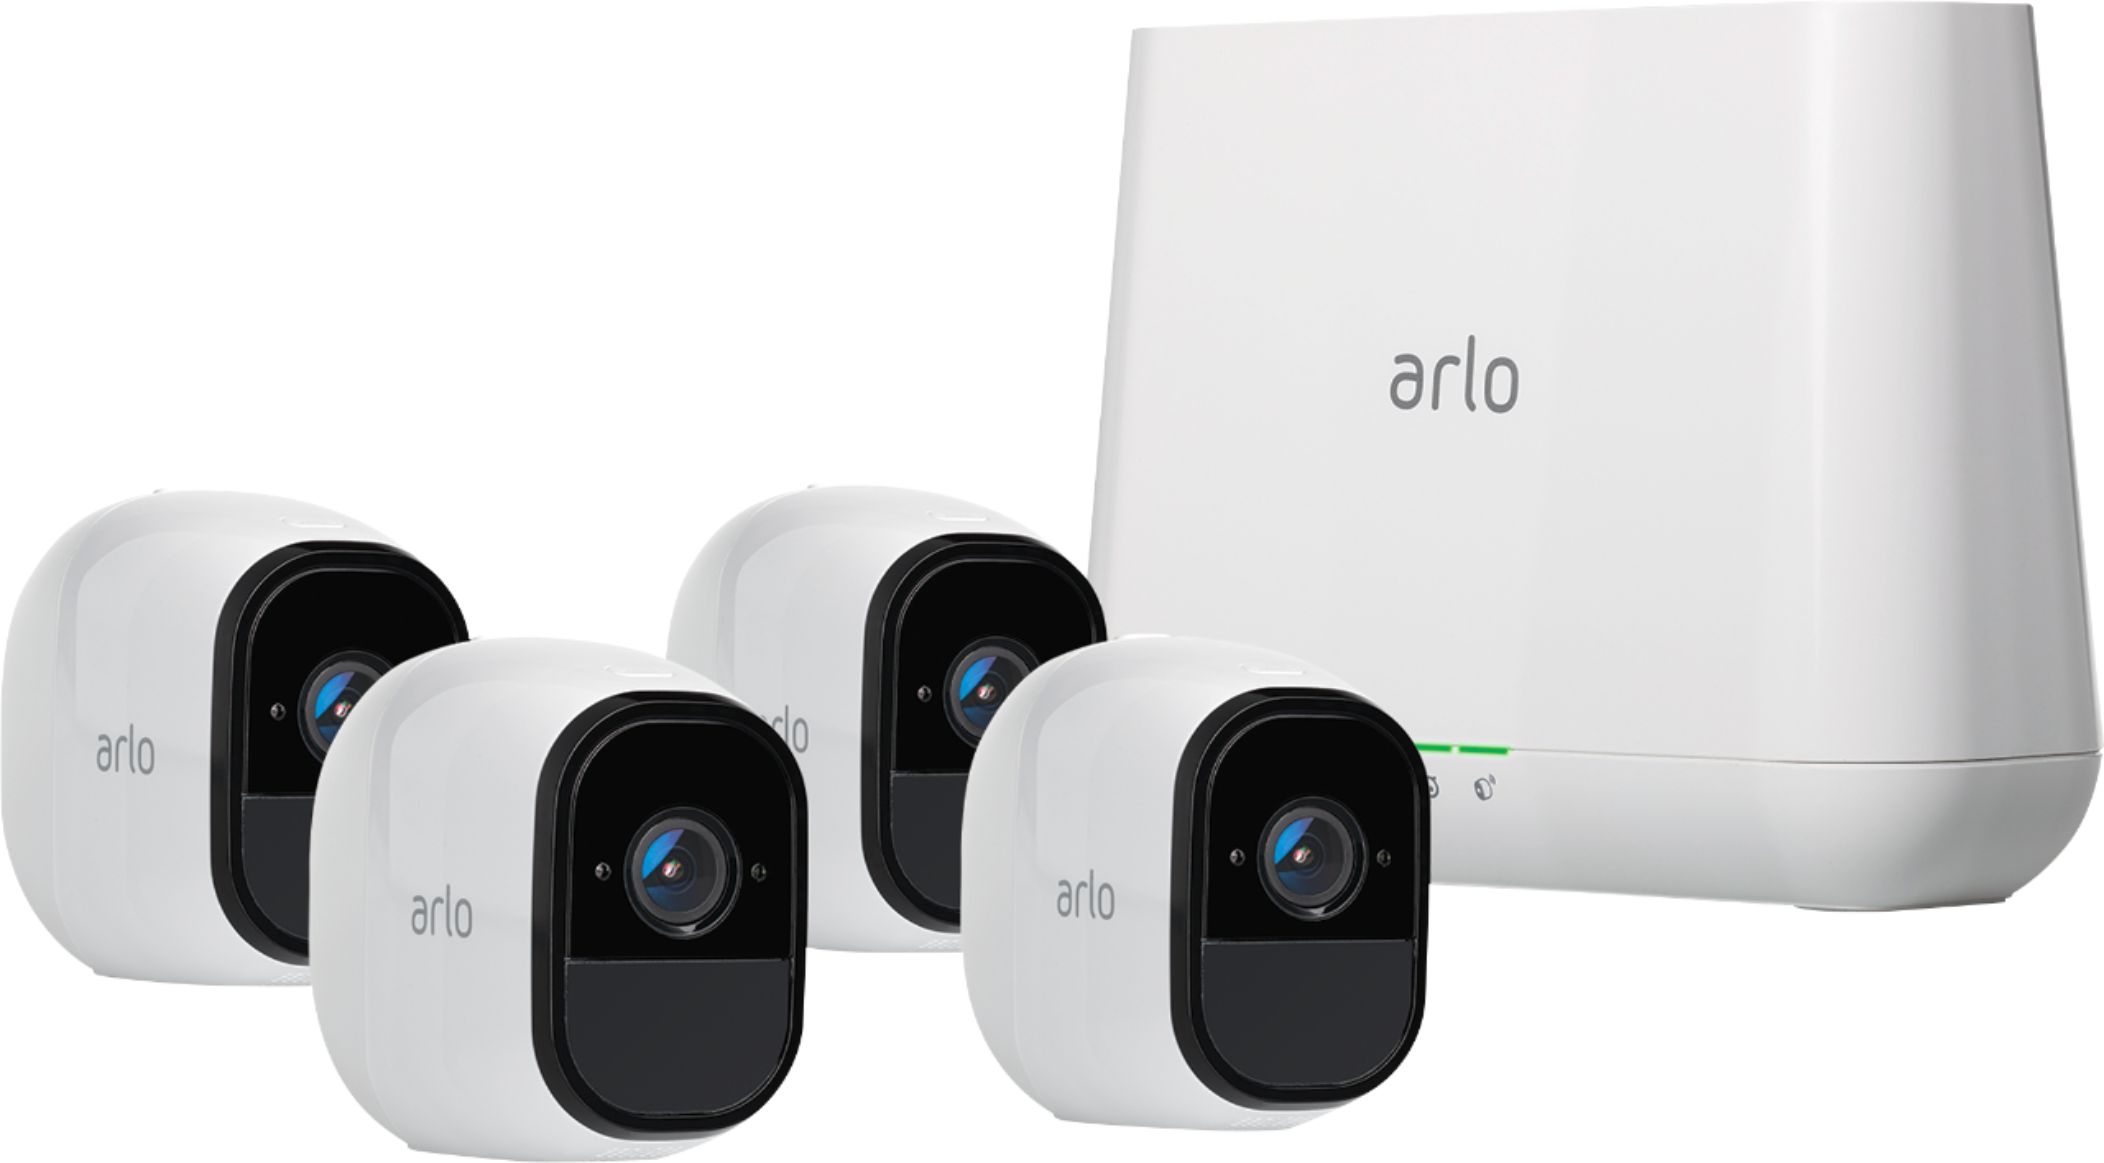
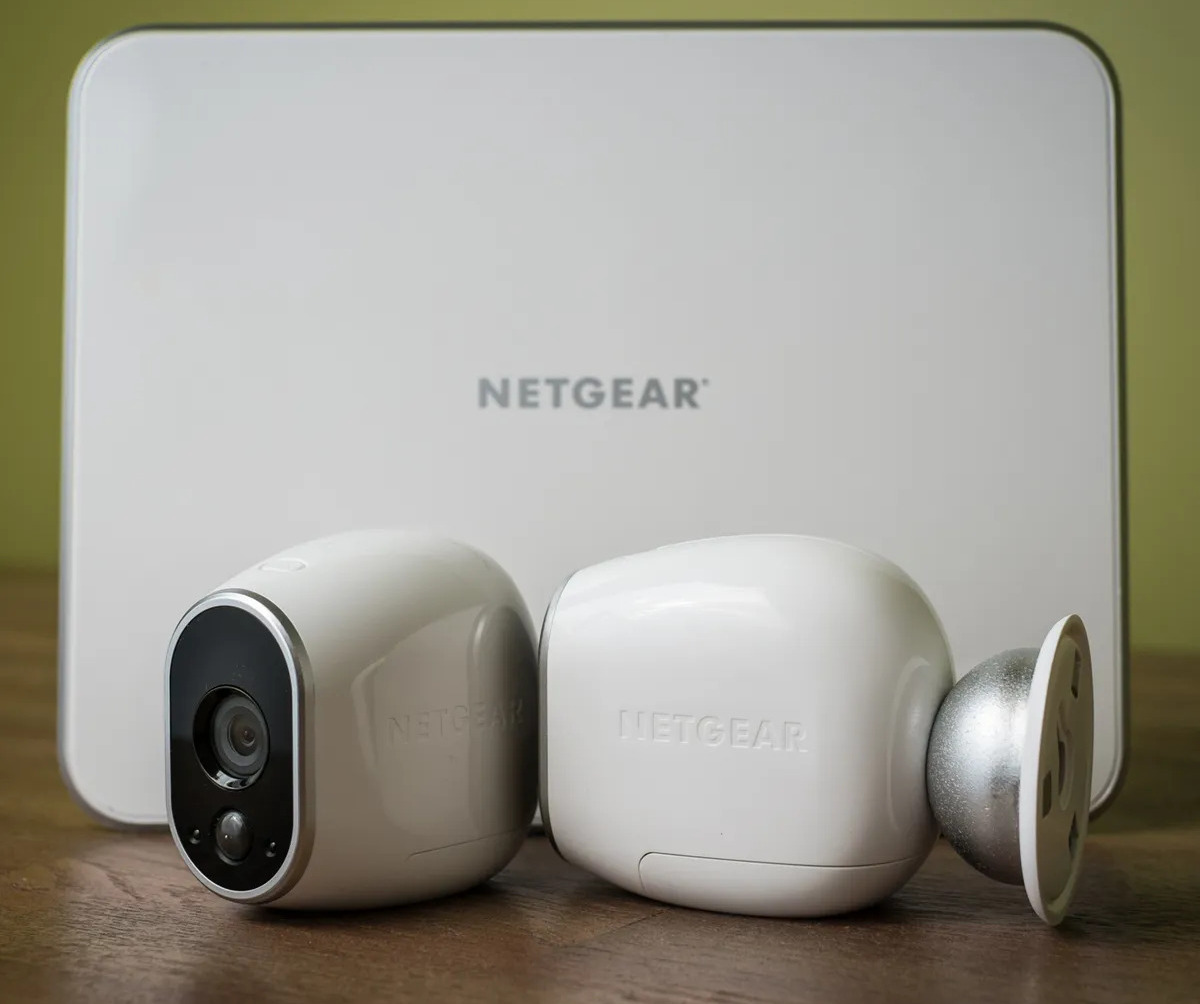
The Arlo outdoor camera is a top-notch device that offers high-resolution video quality, advanced motion detection, and convenient wireless connectivity. By strategically placing the camera, you can effectively monitor your property, deter potential intruders, and have peace of mind knowing that you have a watchful eye on your surroundings.
Before we delve into the steps, it’s important to consider a few factors when choosing the ideal location for your Arlo outdoor camera:
- Area Coverage: Determine the areas you want to monitor and ensure that the camera’s field of view aligns with them.
- Weather Resistance: Arlo outdoor cameras are designed to withstand all weather conditions, but it’s essential to choose a location that offers some protection from extreme weather elements.
- Accessibility: Consider the accessibility of the camera for maintenance and battery changes, ensuring it is easily reachable.
- Wi-Fi Signal: Ensure that the camera’s placement allows for a strong and stable Wi-Fi connection.
- Deterrence: Strategically place the camera in a visible location to act as a deterrent to potential intruders.
Now that we’ve covered the key factors to consider let’s move on to the step-by-step process of placing your Arlo outdoor camera.
Key Takeaways:
- Choose the right location for your Arlo outdoor camera by considering coverage, elevation, lighting, obstructions, and power source to maximize its effectiveness in monitoring your property.
- Securely mount and adjust your Arlo outdoor camera to ensure optimal surveillance coverage, connect it to your Wi-Fi network, and set up the Arlo app for seamless remote access and control. Regularly test and adjust the camera placement for continued effectiveness in home security.
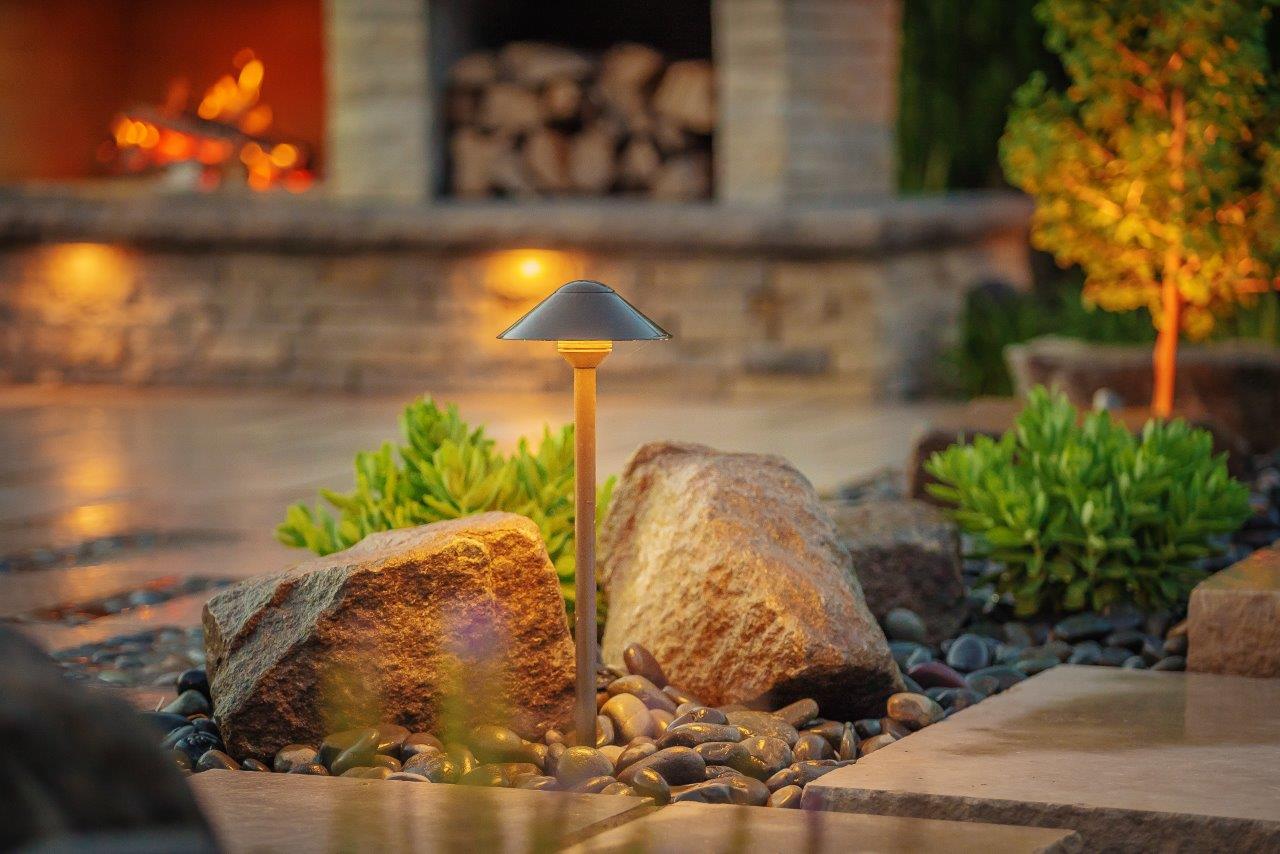
Read more: How To Place Lighting For Outdoor Cameras
Step 1: Choosing the Right Location
The first step in placing your Arlo outdoor camera is selecting the optimal location for installation. This is crucial to ensure that you capture the desired areas and maximize the camera’s effectiveness. Here are some tips to help you choose the right location:
- Survey Your Property: Take a walk around your property to identify vulnerable areas, such as entry points, driveways, and backyard points of access. These are the areas that require monitoring, and your camera placement should prioritize coverage in these areas.
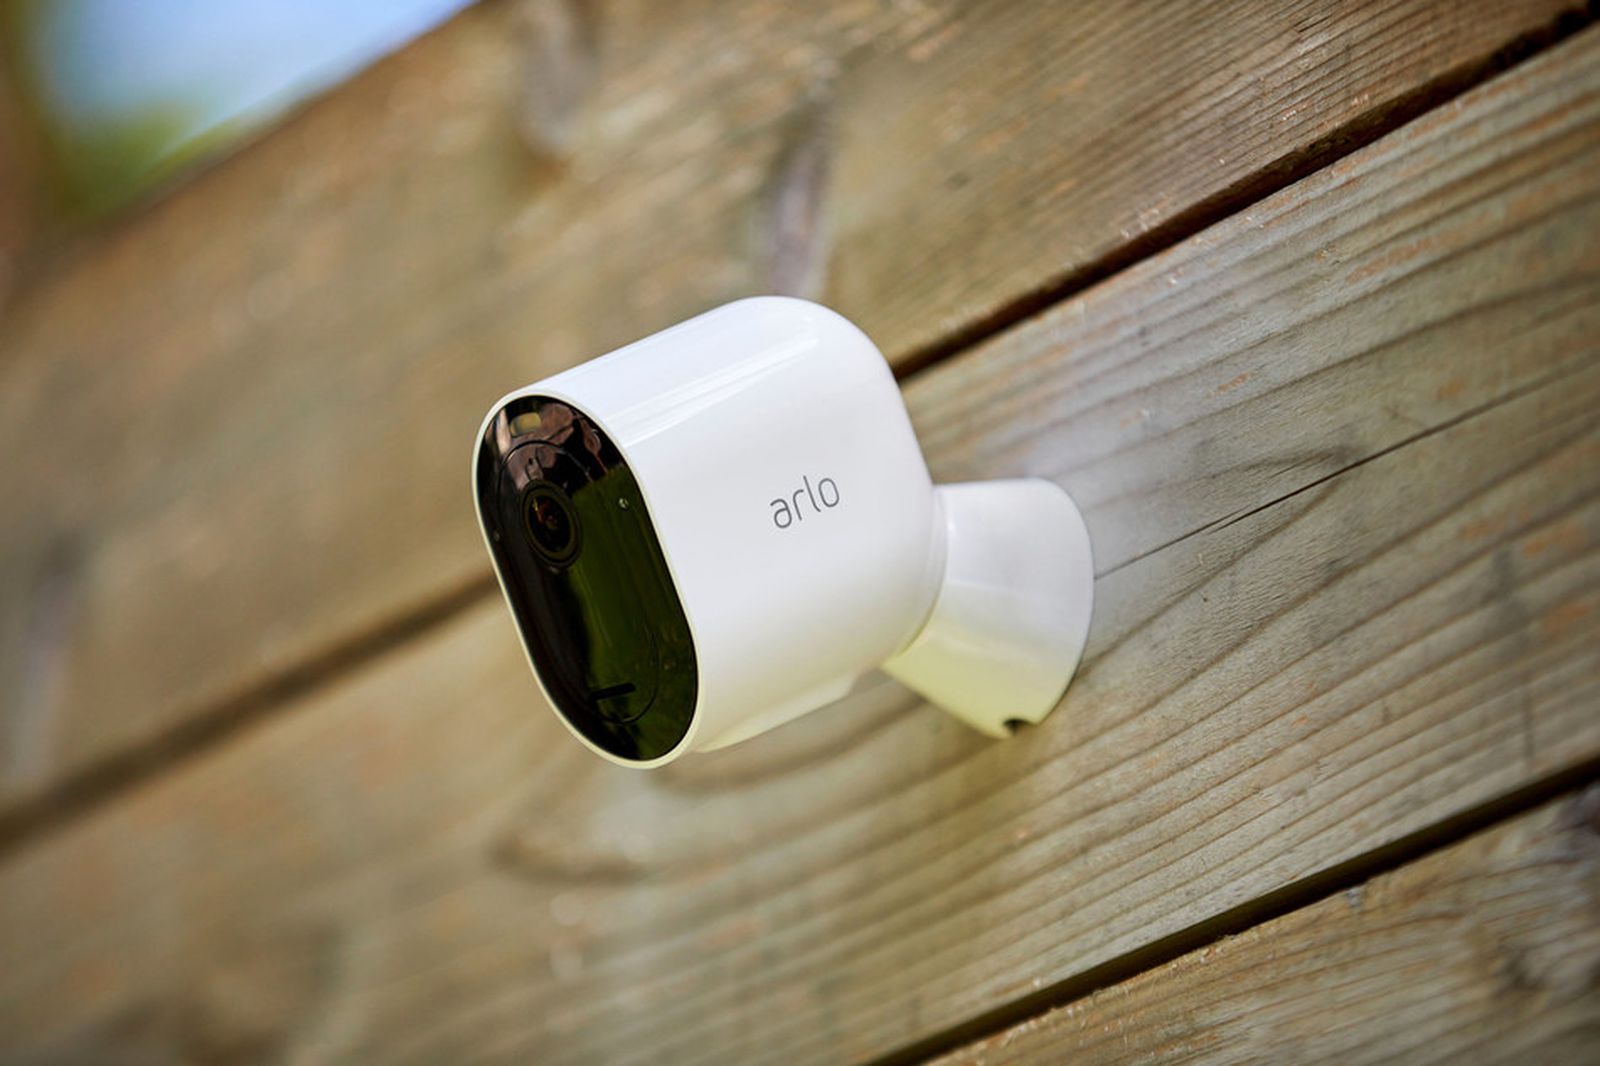
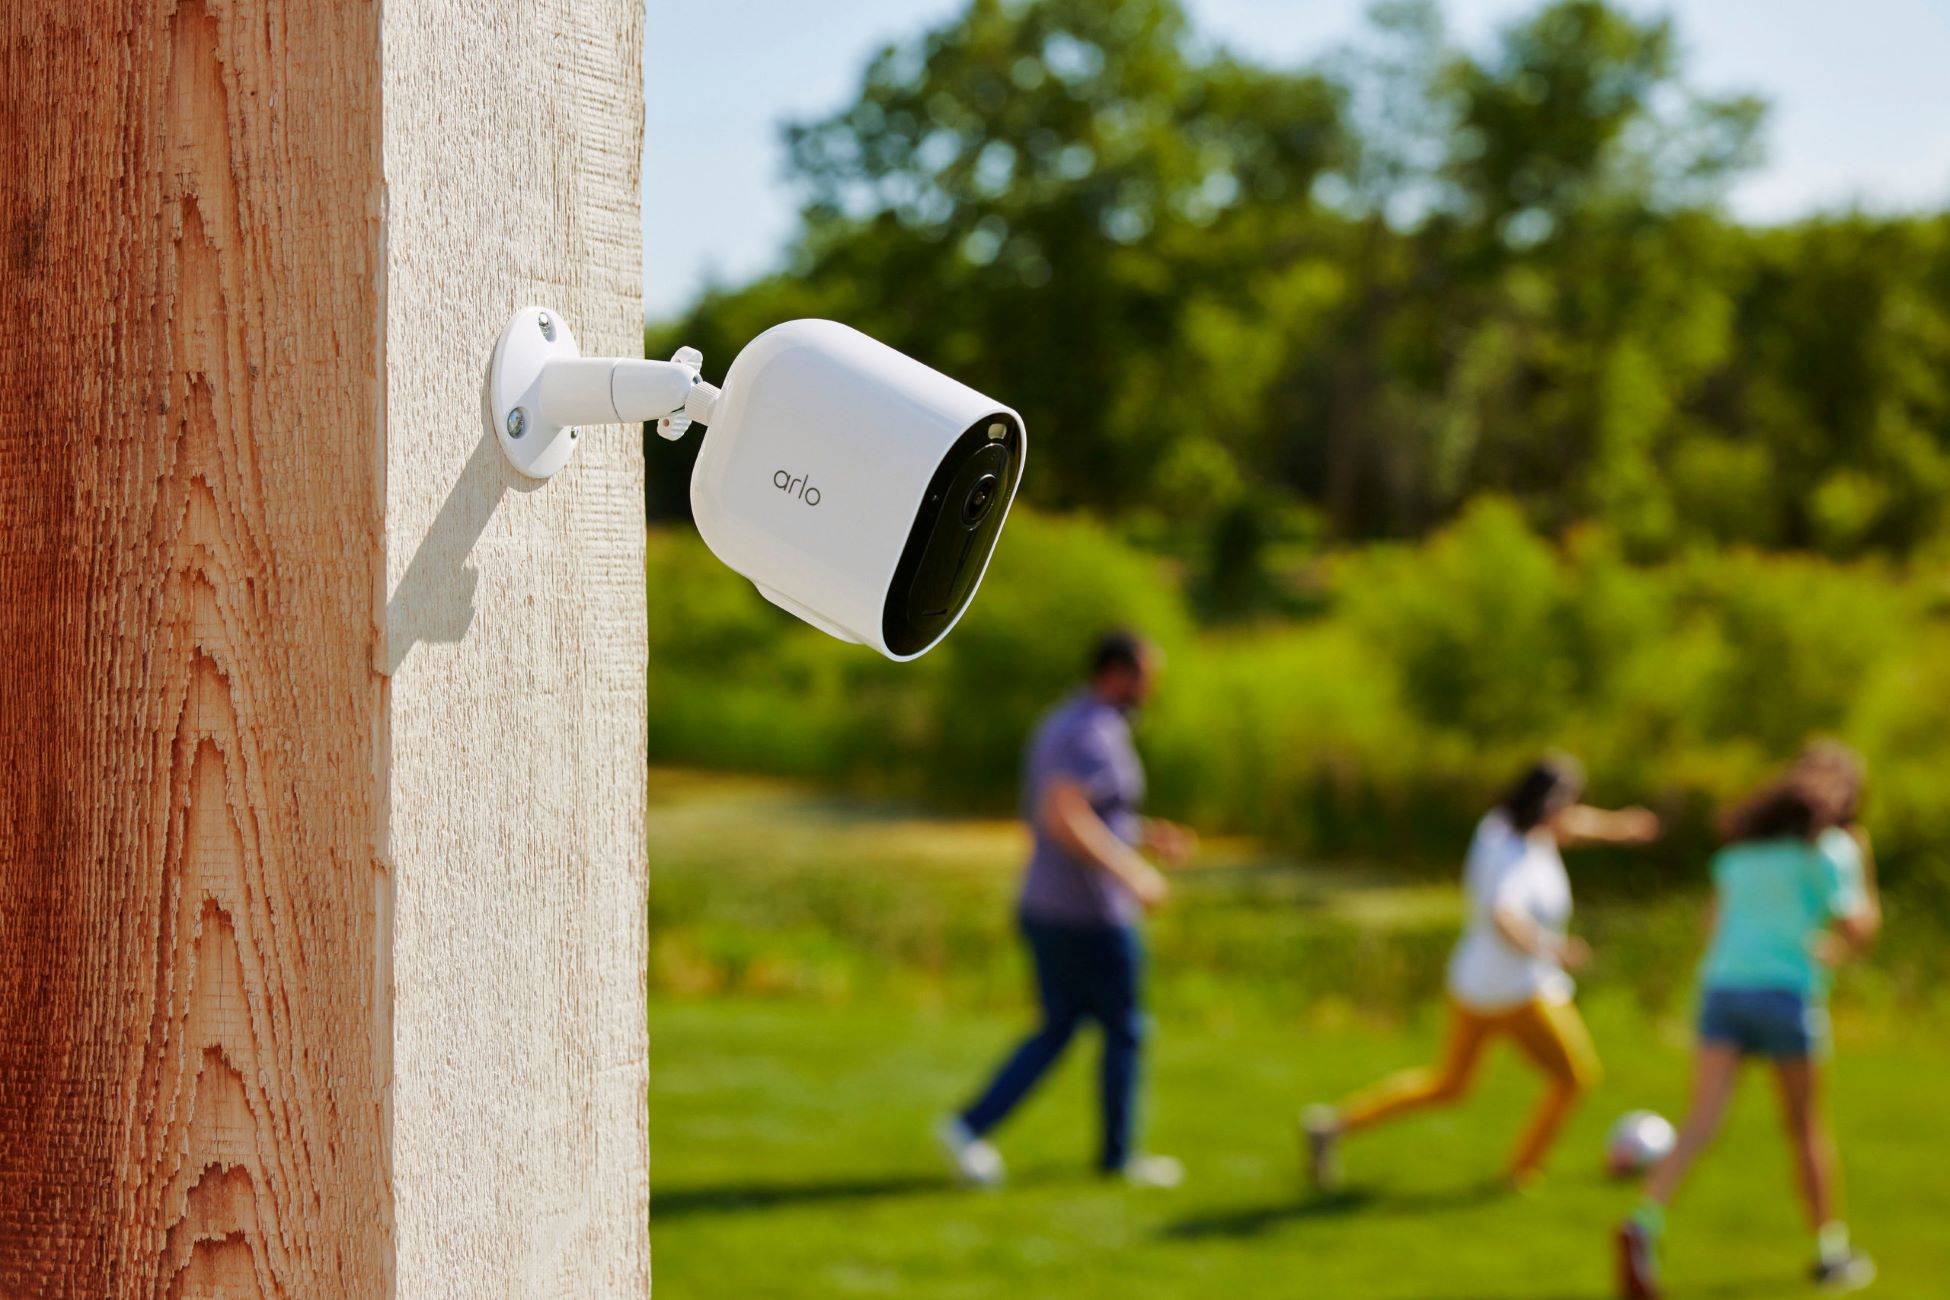
- Consider Elevation: Placing your Arlo outdoor camera at an elevated position offers a wider field of view and reduces the risk of tampering. Consider mounting the camera on the outer walls of your house or on pillars to achieve optimal coverage.
- Observe Lighting Conditions: Take note of the lighting conditions in the area you plan to install the camera. While Arlo outdoor cameras are equipped with night vision capabilities, it’s still important to ensure that there is adequate lighting to capture clear footage.
- Mind Obstructions: Avoid obstructing objects such as trees, fences, or walls that may limit the camera’s field of view. Clear any potential obstacles that could hinder the camera’s ability to monitor the desired areas.
- Consider Power Source: If you choose to install your Arlo outdoor camera near a power outlet, it will eliminate the need to replace batteries regularly. However, if you opt for a wire-free installation, ensure that the chosen location allows for easy access to the camera for battery changes.
By taking these factors into account, you can select a location that provides optimal coverage and maximizes the effectiveness of your Arlo outdoor camera. Once you have identified the ideal location, it’s time to move on to the next step: mounting the camera bracket.
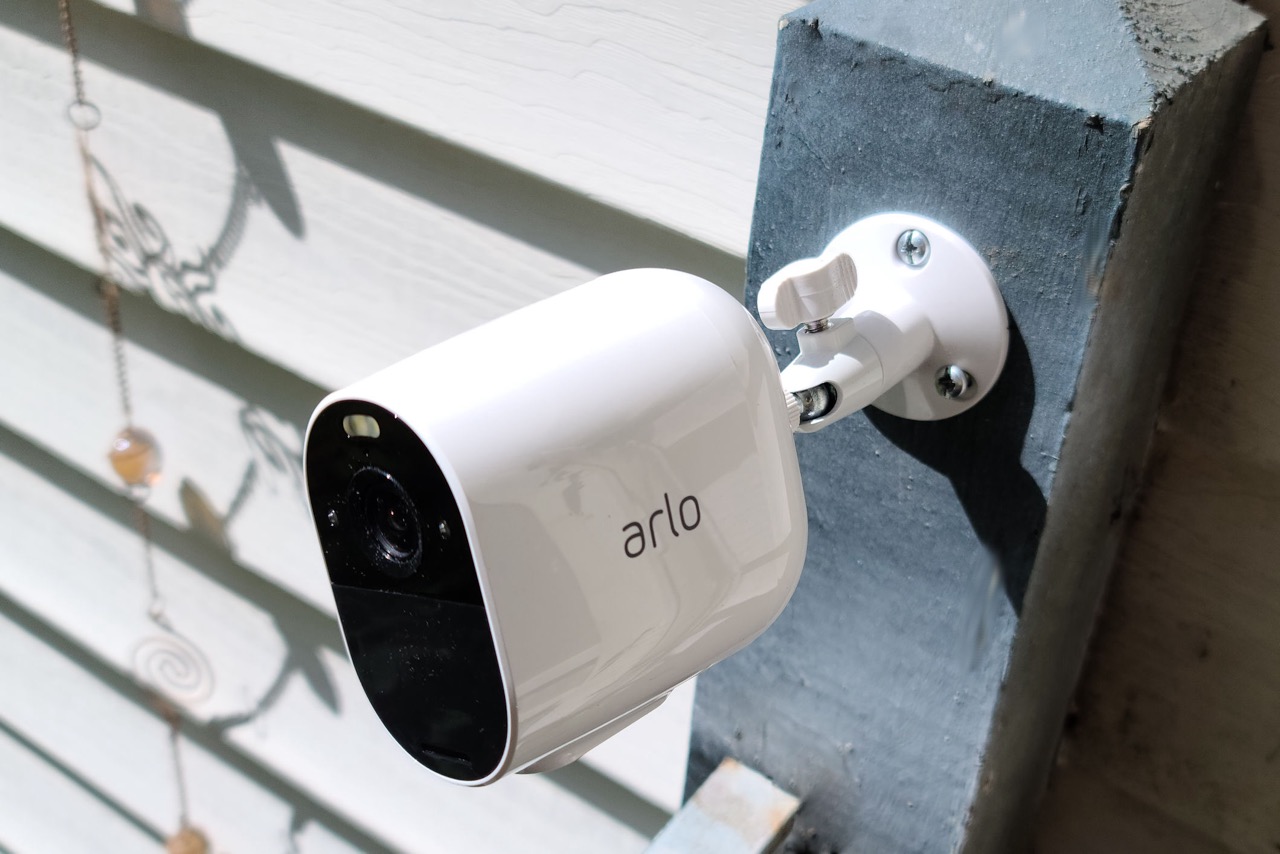
Step 2: Mounting the Camera Bracket
Now that you have chosen the right location for your Arlo outdoor camera, it’s time to mount the camera bracket. The camera bracket serves as the base on which the camera will be securely attached. Follow these steps to mount the camera bracket:
- Gather the Necessary Tools: Before you begin, make sure you have all the required tools handy. You will need a drill, screws, wall anchors (if necessary), and a screwdriver.
- Position the Bracket: Hold the camera bracket against the wall or surface where you plan to install it. Ensure that it is level and aligned with your desired camera angle.
- Mark the Screw Holes: Use a pencil or marker to mark the screw holes on the wall through the mounting holes on the camera bracket.
- Drill Pilot Holes: Using an appropriate drill bit size for your screws, drill pilot holes at the marked locations. Be cautious of any internal wiring or pipes that may be hidden behind the wall.
- Insert Wall Anchors (If Required): If you are mounting the camera bracket on a surface that requires additional support, such as stucco or brick, insert wall anchors into the pilot holes.
- Secure the Bracket: Align the camera bracket with the drilled pilot holes and use screws to secure it in place. Ensure that the bracket is tightly attached to the wall or surface and can withstand any external forces or weather conditions.
Once you have successfully mounted the camera bracket, you’re ready to move on to the next step: installing the camera on the bracket.
Step 3: Installing the Camera on the Bracket
With the camera bracket securely mounted, it’s time to install your Arlo outdoor camera onto the bracket. Follow these steps to ensure a proper and stable installation:
- Remove the Battery Compartment: If your Arlo outdoor camera is battery-powered, remove the battery compartment by sliding the latch and opening the compartment. If your camera is wired, skip this step.
- Align the Camera: Align the camera’s mounting bracket with the installed camera bracket. Ensure that the screw holes on both brackets are perfectly aligned.
- Secure the Camera: Use the provided screws to attach the camera’s mounting bracket to the camera bracket on the wall. Make sure the screws are tightened securely but avoid overtightening to prevent damage to the camera.
- Reinsert the Battery (If Applicable): If you removed the battery compartment in the first step, reinsert the batteries into the camera and close the compartment. Ensure that the batteries are properly inserted and the latch is securely closed.
Once you have completed these steps, your Arlo outdoor camera should be securely installed on the camera bracket. Now, it’s time to adjust the camera angle and position for optimal surveillance coverage.
Step 4: Adjusting Camera Angle and Position
After installing the Arlo outdoor camera on the bracket, it’s crucial to properly adjust its angle and position to ensure optimal surveillance coverage. Follow these steps to adjust the camera angle:
- Access the Camera Settings: Use the Arlo app or web portal to access the camera settings. This will allow you to view the live feed and adjust the camera’s angle remotely.
- Tilt and Pan Adjustment: Use the app controls to tilt and pan the camera, ensuring that the field of view covers the desired areas. Experiment with different angles to find the optimal position.
- Field of View: Check the camera’s field of view on the app and make sure it aligns with your surveillance goals. Adjust the angle accordingly to capture the necessary areas.
- Test the Angle: Once you have adjusted the camera angle, test its view by walking around the monitored areas. Verify that there are no blind spots and that the camera captures the necessary details.
- Make Fine Adjustments: If needed, make fine adjustments to the camera angle based on your observations during the testing phase. Keep in mind factors such as lighting conditions and potential obstructions.
By carefully adjusting the camera angle and position, you can ensure proper surveillance coverage and maximize the effectiveness of your Arlo outdoor camera. Once you are satisfied with the camera’s placement, it’s time to move on to the next step: connecting the camera to your Wi-Fi network.
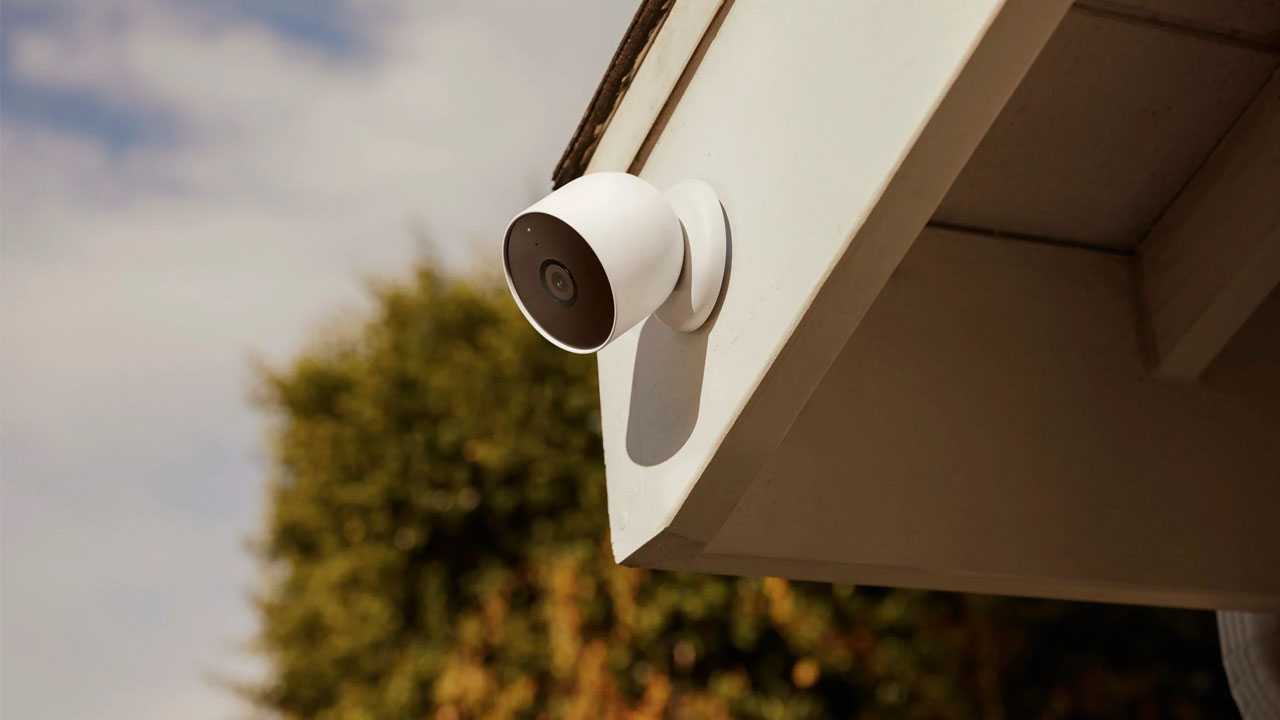
When placing your Arlo outdoor camera, make sure to mount it at a height of 7-10 feet for the best angle and coverage. Also, avoid pointing it directly at lights or reflective surfaces to prevent glare.
Step 5: Connecting the Camera to Your Wi-Fi Network
To enable remote access and control of your Arlo outdoor camera, you need to connect it to your Wi-Fi network. Follow these steps to connect your camera:
- Ensure Proper Wi-Fi Signal: Make sure that your camera is within range of your Wi-Fi network and that the signal strength is sufficient for a stable connection. Weak signals may result in intermittent or unreliable performance.
- Open the Arlo App: Launch the Arlo app on your smartphone or tablet and sign in to your account. If you don’t have the app, you can download it from the App Store or Google Play Store.
- Add a Device: Navigate to the app’s settings and select the option to add a new device. Follow the on-screen prompts to initiate the camera setup process.
- Scan the QR Code: Using the app, scan the QR code located on the back or bottom of your Arlo outdoor camera. This will automatically detect the camera and add it to your account.
- Connect to Wi-Fi: Follow the instructions on the app to connect your camera to your Wi-Fi network. You will need to enter the network name (SSID) and password to establish the connection.
- Wait for the Connection: Once you have entered the necessary Wi-Fi information, wait for the app to establish the connection between the camera and your network. This may take a few moments.
- Verify the Connection: After the connection is established, the app will confirm the successful connection between the camera and your Wi-Fi network. You can now proceed to customize the camera settings.
Once you have successfully connected your Arlo outdoor camera to your Wi-Fi network, you can enjoy the convenience of remote access, live streaming, and control of your camera through the Arlo app. Now, let’s move on to the next step: setting up the Arlo app.
Step 6: Setting Up the Arlo App
After connecting your Arlo outdoor camera to your Wi-Fi network, it’s time to set up the Arlo app on your smartphone or tablet. The Arlo app allows you to control your camera, view live feeds, and access additional features. Follow these steps to set up the app:
- Download and Install the App: If you haven’t already, download the Arlo app from the App Store for iOS devices or Google Play Store for Android devices. Install the app on your device.
- Launch the Arlo App: Open the app on your device and sign in to your Arlo account. If you don’t have an account, create one by following the on-screen instructions.
- Add Your Camera: Once you are signed in, tap the option to add a new device. Select your Arlo outdoor camera from the list of available devices and follow the prompts to add it to your account.
- Customize Camera Settings: After adding your camera, you can customize its settings within the Arlo app. This includes adjusting motion detection sensitivity, setting up activity zones, and enabling notifications.
- Explore Additional Features: Take some time to explore the various features offered by the Arlo app. This may include scheduling recording times, setting up alerts, and accessing cloud storage options.
- Test the App: Once you have customized your camera settings, take a moment to test the app’s functionality. Check if you can view the live feed, control camera movements (if applicable), and receive notifications on your device.
By properly setting up the Arlo app, you can have complete control and access to your Arlo outdoor camera, ensuring a seamless monitoring experience. Now that everything is set up, let’s move on to the final step: testing the camera placement.
Step 7: Testing the Camera Placement
Once you have completed all the previous steps and have set up your Arlo outdoor camera, it’s essential to test the camera placement to ensure optimal functionality and coverage. Testing the camera placement will help identify any blind spots, fine-tune the camera angle, and ensure that your camera is capturing the necessary areas. Follow these steps to test the camera placement:
- Walk around your property: Take a walk around your property, focusing on the areas you want to monitor. Pay attention to the camera’s field of view and check if it captures all the desired areas.
- Check for blind spots: Look for any blind spots where the camera’s view may be obstructed. Adjust the camera angle or position to eliminate these blind spots and ensure full coverage.
- Verify image quality: Assess the image quality and clarity of the footage captured by the camera. Ensure that the resolution and focus are sufficient to identify any potential threats or incidents.
- Test motion detection: Walk within the camera’s field of view and evaluate the motion detection capabilities. Make sure the camera triggers recording or sends notifications when motion is detected.
- Consider lighting conditions: Test the camera’s performance in various lighting conditions, both during the day and at night. Ensure that the camera’s night vision feature functions effectively in low-light situations.
- Make necessary adjustments: Based on your observations during testing, make any necessary adjustments to the camera’s angle, position, or settings. Fine-tune the placement to achieve optimal surveillance coverage.
By thoroughly testing the camera placement, you can ensure that your Arlo outdoor camera is capturing the desired areas and performing as expected. Remember, regular testing and adjustment of camera placement may be necessary over time due to changes in surroundings or security needs.
With the completion of this final step, you have successfully placed and tested your Arlo outdoor camera for optimal surveillance coverage. Enjoy the added peace of mind and security that comes with knowing your property is well protected. Stay vigilant and regularly engage with the Arlo app to monitor any potential security events.
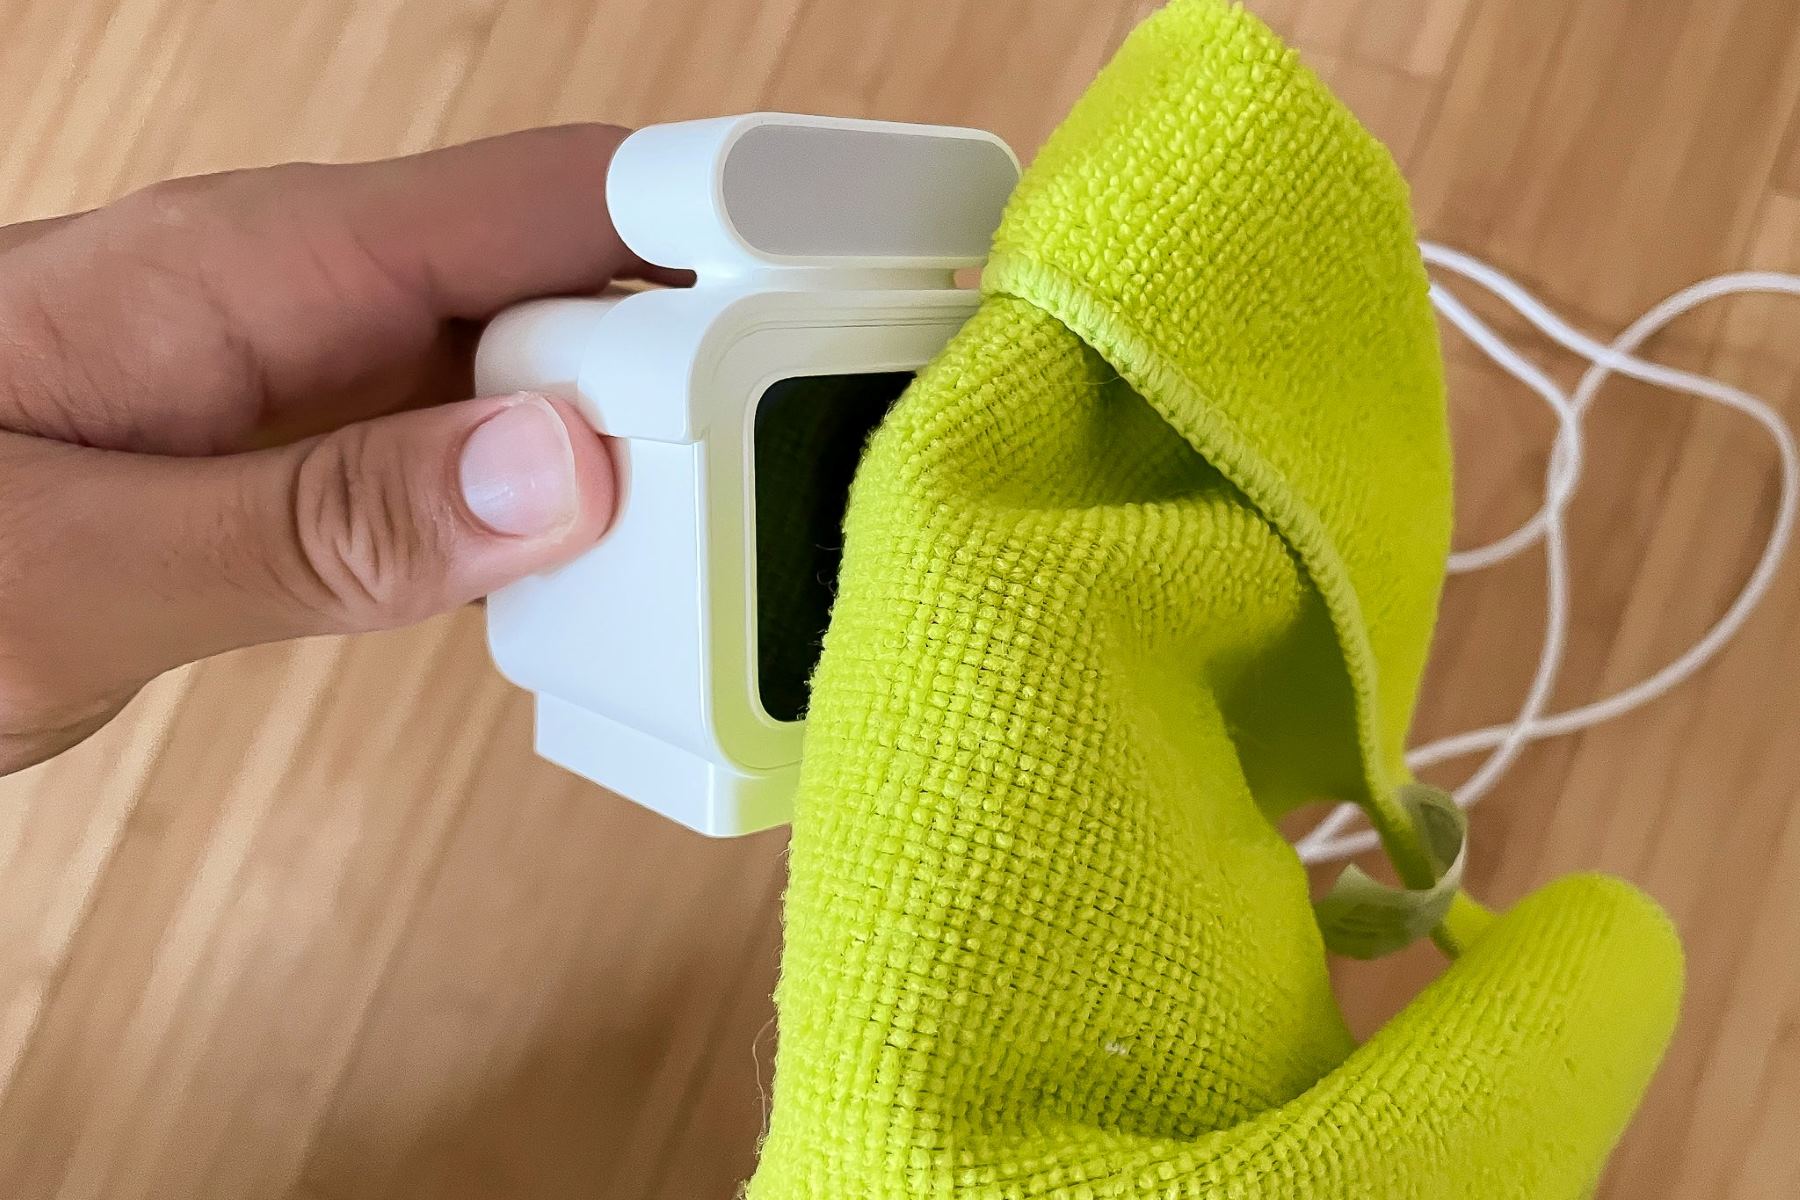
Remember, maintaining the camera’s battery or power source, keeping it clean, and regularly updating the Arlo app will contribute to optimal performance. Now sit back, relax, and enjoy the enhanced security offered by your Arlo outdoor camera.
Conclusion
Ensuring the safety and security of your home and loved ones is of utmost importance, and placing an Arlo outdoor camera is a critical step towards achieving that goal. By following the steps outlined in this guide, you can successfully position and optimize your camera’s placement for effective surveillance coverage.
In Step 1, we discussed the importance of choosing the right location for your camera, considering factors such as area coverage, weather resistance, accessibility, and deterrence. In Step 2, we covered the process of mounting the camera bracket securely, using the right tools and techniques.
Step 3 focused on installing the camera onto the bracket, ensuring a stable and secure attachment. Step 4 emphasized the significance of adjusting the camera’s angle and position to capture the desired areas and eliminate blind spots.
In Step 5, we explored the essential task of connecting the camera to your Wi-Fi network, enabling remote access and control. Step 6 guided you through the setup process of the Arlo app, allowing you to customize settings and access additional features.
Finally, in Step 7, we highlighted the importance of testing the camera’s placement, checking for coverage, image quality, motion detection, and lighting conditions. Regular testing and adjustments will ensure that your Arlo outdoor camera remains effective over time.
Remember to maintain your camera’s battery or power source, periodically clean the camera, and stay updated with the latest features and firmware updates from Arlo. This will contribute to the longevity and optimal performance of your home security system.
With your Arlo outdoor camera properly placed and optimized, you can experience enhanced security, peace of mind, and the ability to monitor your property remotely. Remember to always prioritize the safety and security of your home and loved ones. Stay vigilant and proactive in your approach to home security.
Thank you for choosing Arlo for your security needs. Stay safe and secure!
Frequently Asked Questions about How To Place Arlo Outdoor Camera
Was this page helpful?
At Storables.com, we guarantee accurate and reliable information. Our content, validated by Expert Board Contributors, is crafted following stringent Editorial Policies. We're committed to providing you with well-researched, expert-backed insights for all your informational needs.