Home>Furniture & Design>Outdoor Furniture>How To Place Outdoor Security Cameras
Outdoor Furniture
How To Place Outdoor Security Cameras
Modified: February 17, 2024
Learn how to strategically place outdoor security cameras to protect your outdoor furniture and design. Discover effective tips and best practices for outdoor surveillance.
(Many of the links in this article redirect to a specific reviewed product. Your purchase of these products through affiliate links helps to generate commission for Storables.com, at no extra cost. Learn more)
Introduction
When it comes to safeguarding your home, outdoor security cameras stand as vigilant sentinels, providing a watchful eye over your property. In an age where technology intertwines seamlessly with daily life, these cameras offer a modern solution to bolstering the safety and security of your outdoor spaces. Whether you're aiming to deter potential intruders, monitor outdoor activities, or simply keep an eye on your property while you're away, the strategic placement and installation of outdoor security cameras can provide invaluable peace of mind.
In this comprehensive guide, we will delve into the essential steps for effectively placing and setting up outdoor security cameras. From selecting the optimal locations for installation to connecting the cameras to power and Wi-Fi, we'll cover everything you need to know to ensure that your outdoor security cameras are positioned for maximum effectiveness. Additionally, we'll explore the process of adjusting camera settings and conducting thorough tests to guarantee seamless functionality.
By the end of this guide, you'll be equipped with the knowledge and insights to expertly install and optimize outdoor security cameras, empowering you to fortify the security of your outdoor living spaces with confidence. Let's embark on this journey to enhance the safety of your home and enjoy the peace of mind that comes with knowing your outdoor areas are under the vigilant gaze of advanced technology.
Key Takeaways:
- Choose strategic locations for outdoor security cameras near entry points and unobstructed views, ensuring comprehensive coverage and weather protection for effective surveillance.
- Install and connect outdoor security cameras with precision, optimizing settings for clear image quality, reliable motion detection, and seamless remote access, ensuring robust surveillance functionality.
Read more: Where To Place Security Cameras
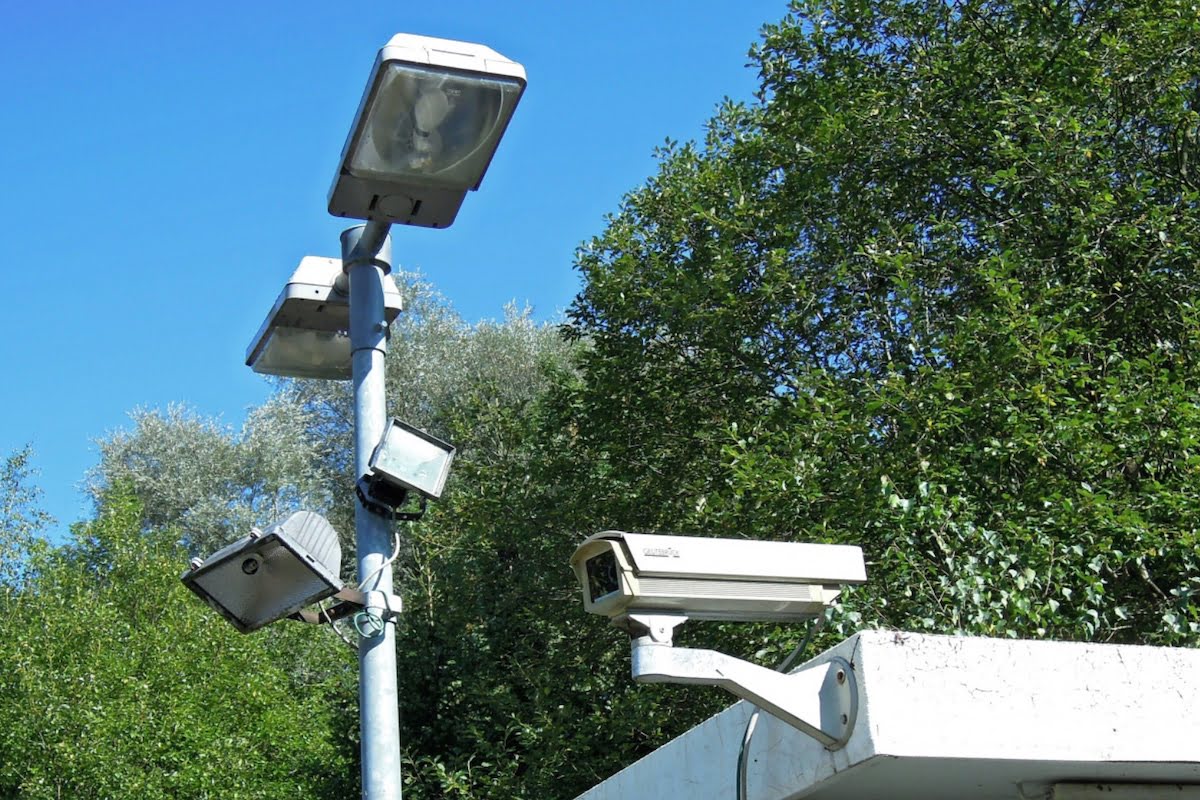
Choosing the Right Location
Before delving into the installation process, it’s crucial to carefully select the optimal locations for your outdoor security cameras. The effectiveness of these devices hinges on their placement, as strategic positioning can significantly enhance their surveillance capabilities. Here are key considerations to keep in mind when choosing the right locations:
- Entry Points: Start by identifying the primary entry points to your property, including doors, windows, and any other potential access points. Placing cameras near these entryways can act as a deterrent to potential intruders and provide crucial footage in the event of a security breach.
- Perimeter Coverage: Assess the layout of your outdoor space and determine the areas that require comprehensive coverage. This may include pathways, driveways, and other outdoor areas where unauthorized access could occur.
- Obstruction-Free Views: Ensure that the selected locations offer unobstructed views of the targeted areas. Avoid placement near overhanging branches, dense foliage, or any other obstructions that could impede the camera’s field of vision.
- Weather Protection: Opt for weather-resistant cameras and consider the impact of environmental factors such as rain, snow, and direct sunlight. Position the cameras in a way that minimizes exposure to harsh weather conditions while maintaining optimal visibility.
- Height and Angle: Aim to install the cameras at an elevated position to capture a wide field of view. Additionally, consider the angle at which the cameras will be mounted to ensure comprehensive coverage without any blind spots.
By meticulously assessing these factors, you can pinpoint the most strategic locations for your outdoor security cameras, laying the groundwork for robust surveillance capabilities. The next step involves the precise installation of the cameras in these carefully chosen positions, setting the stage for a seamless and effective security system.
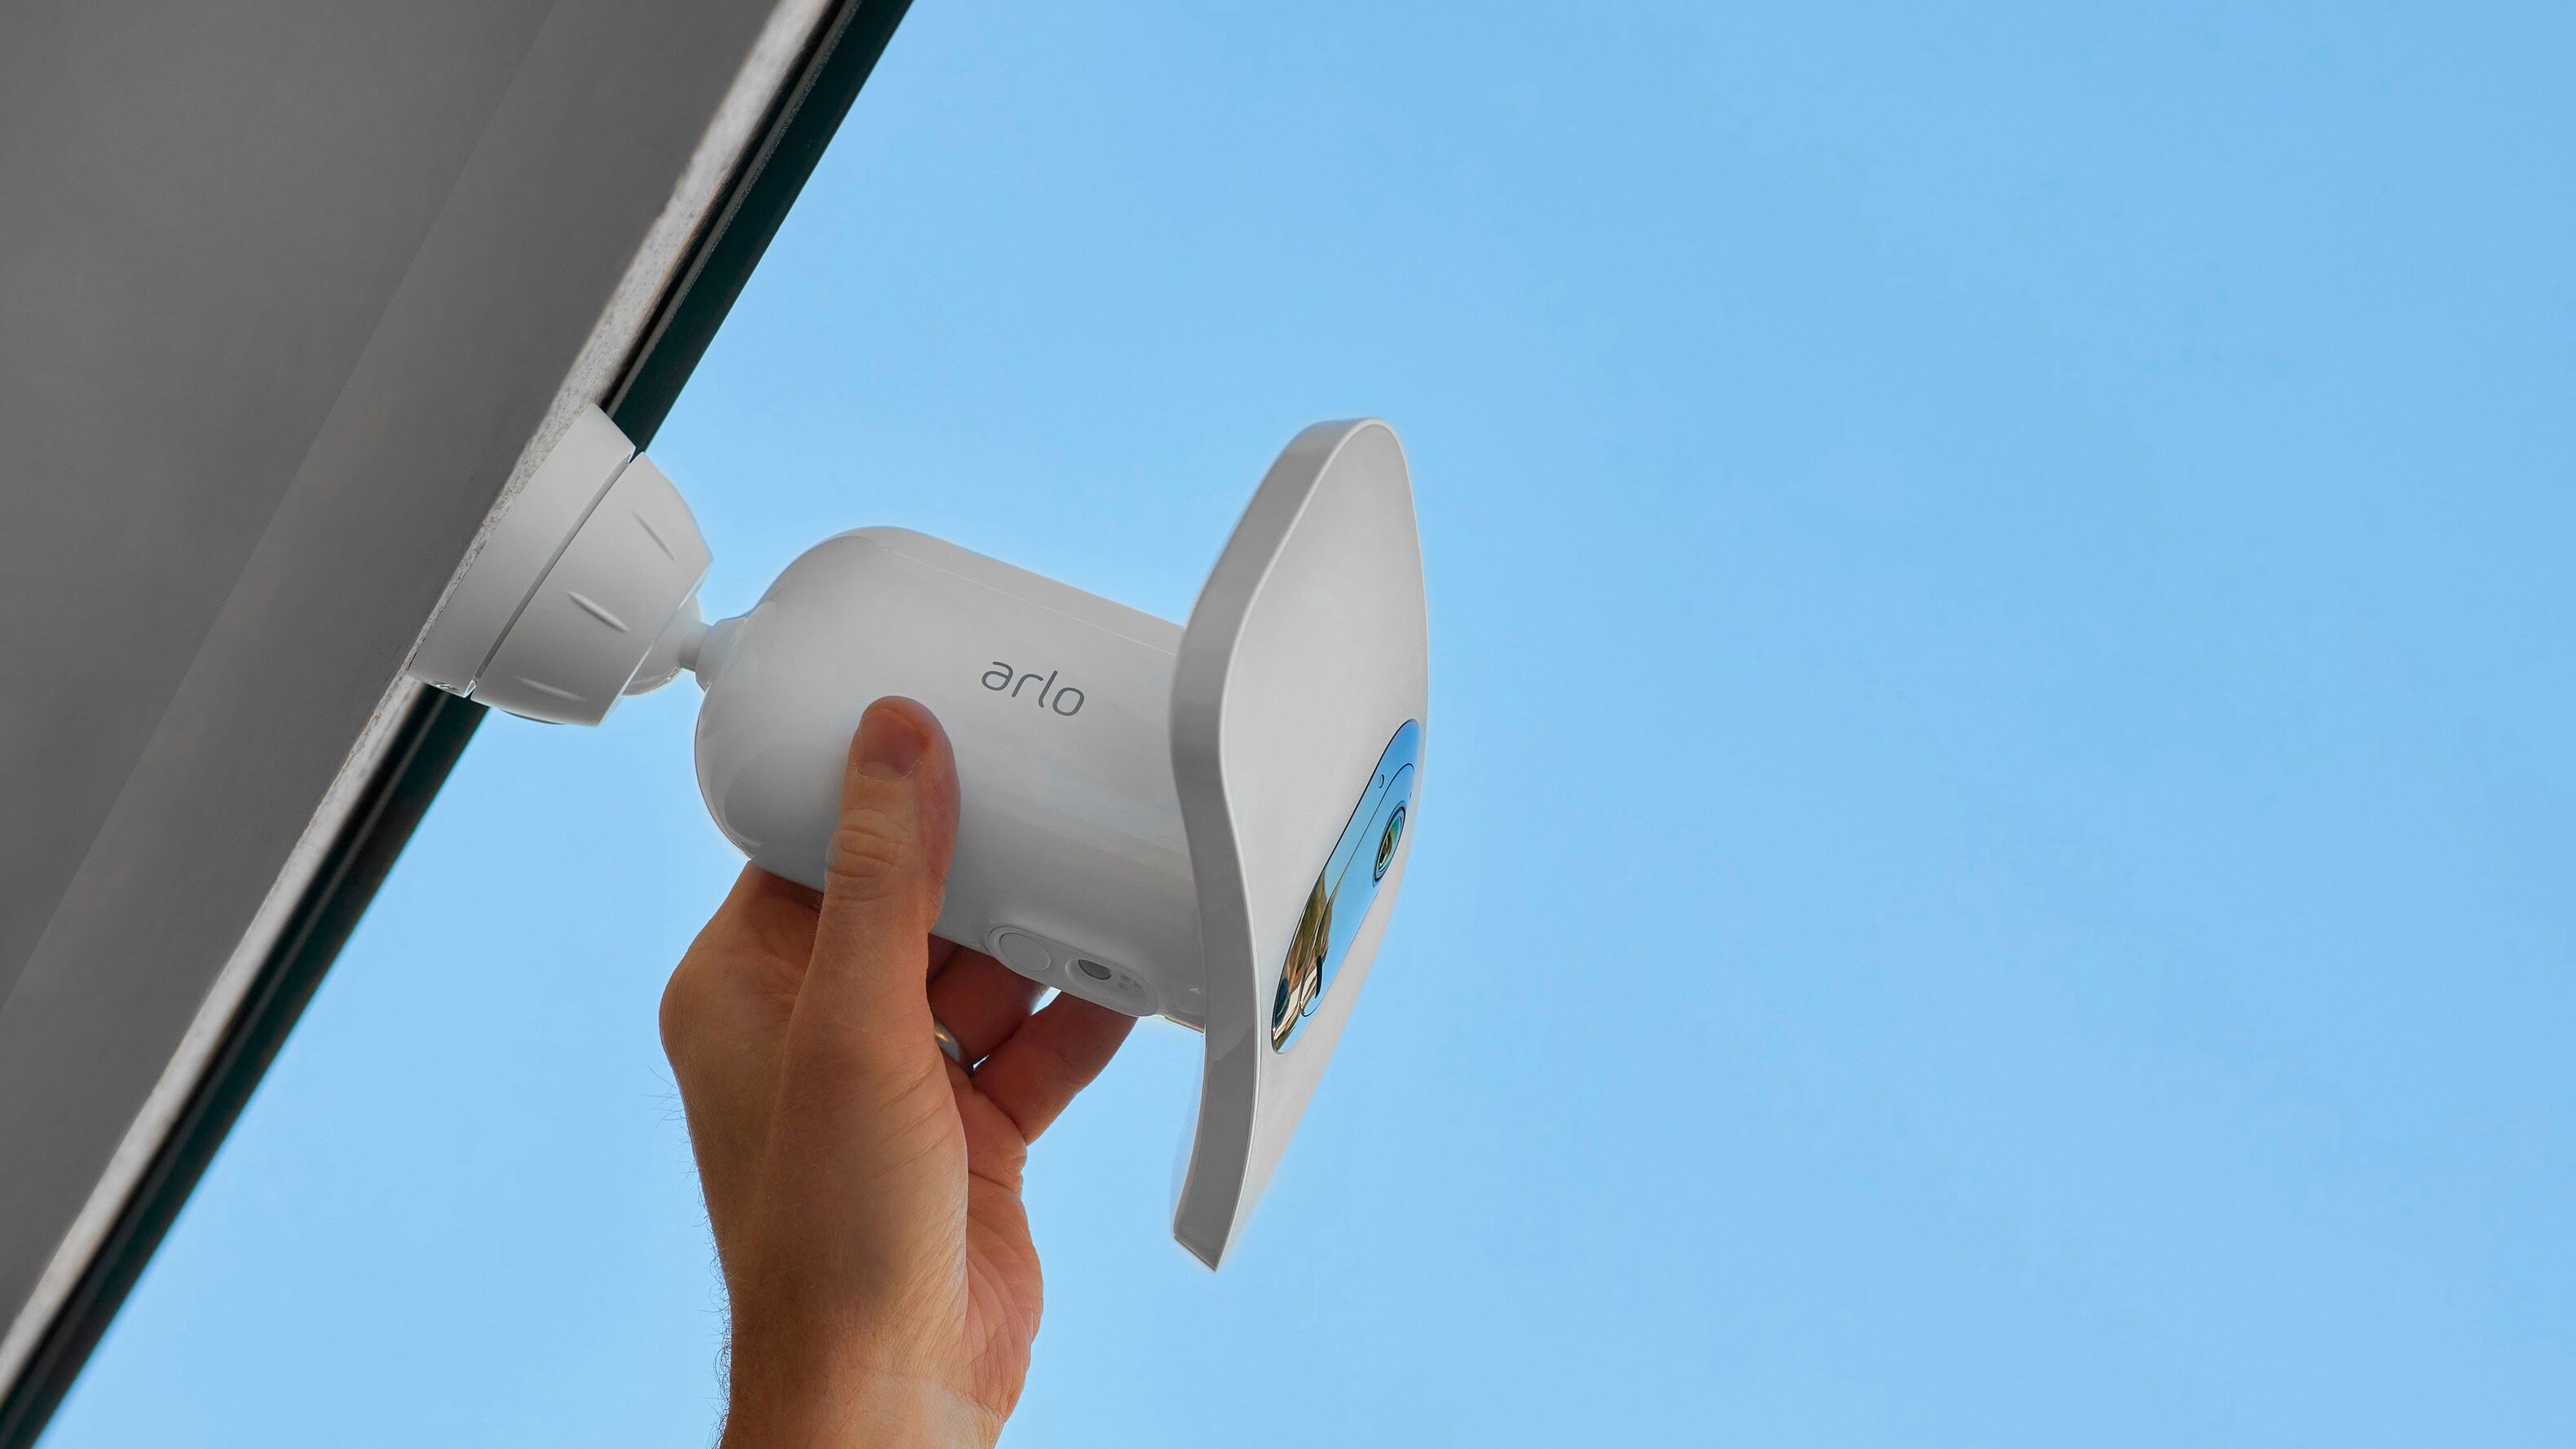
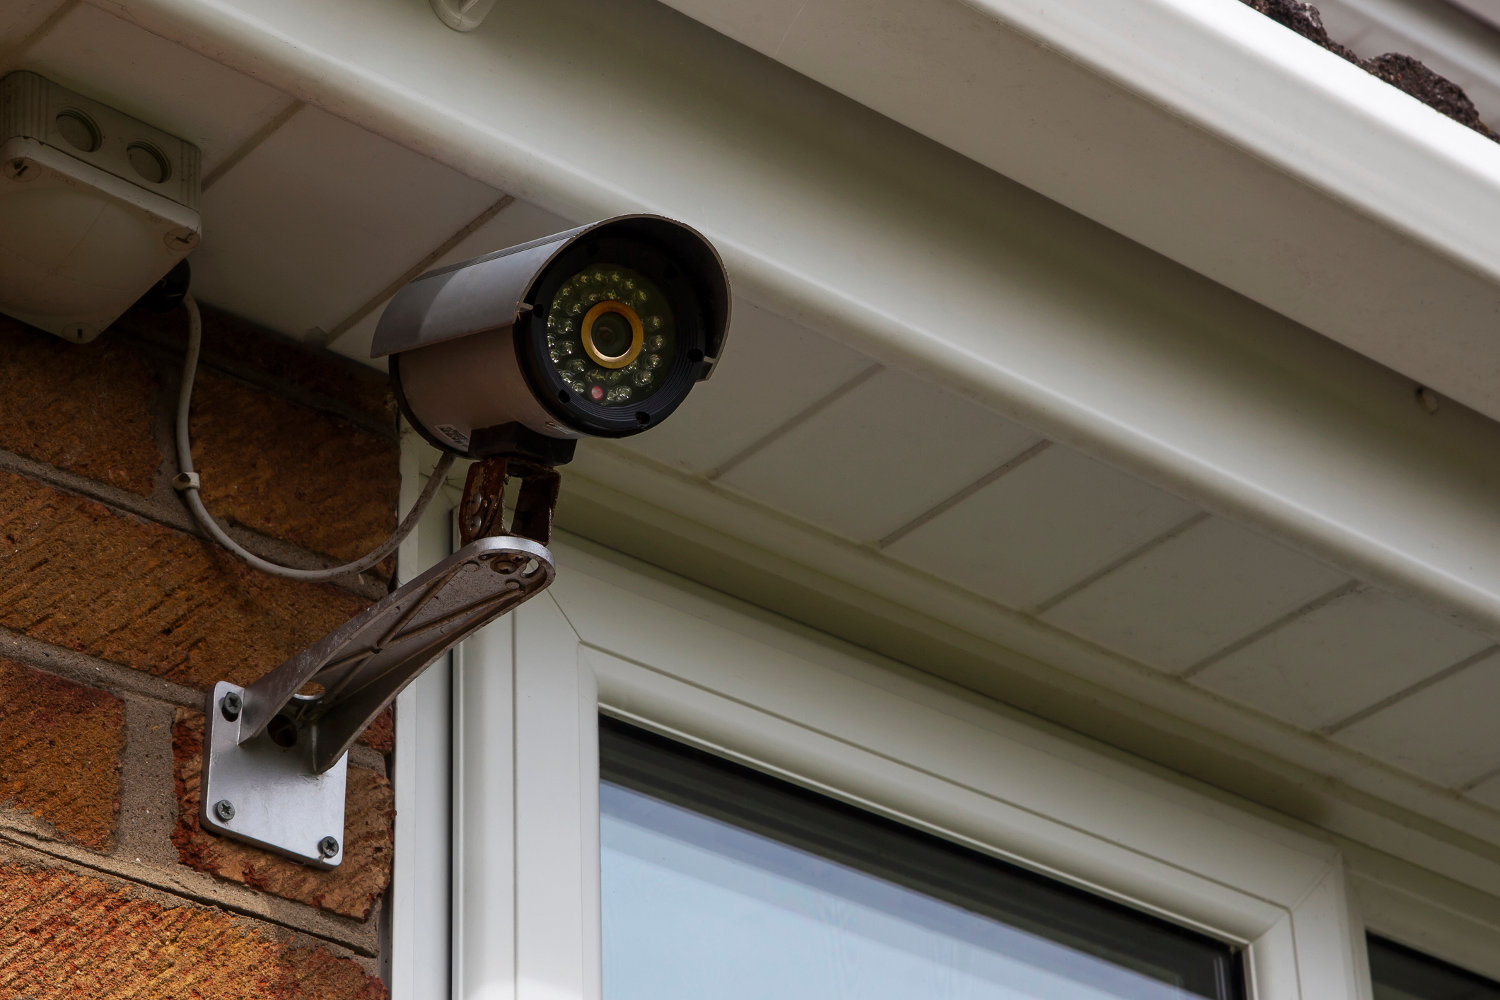
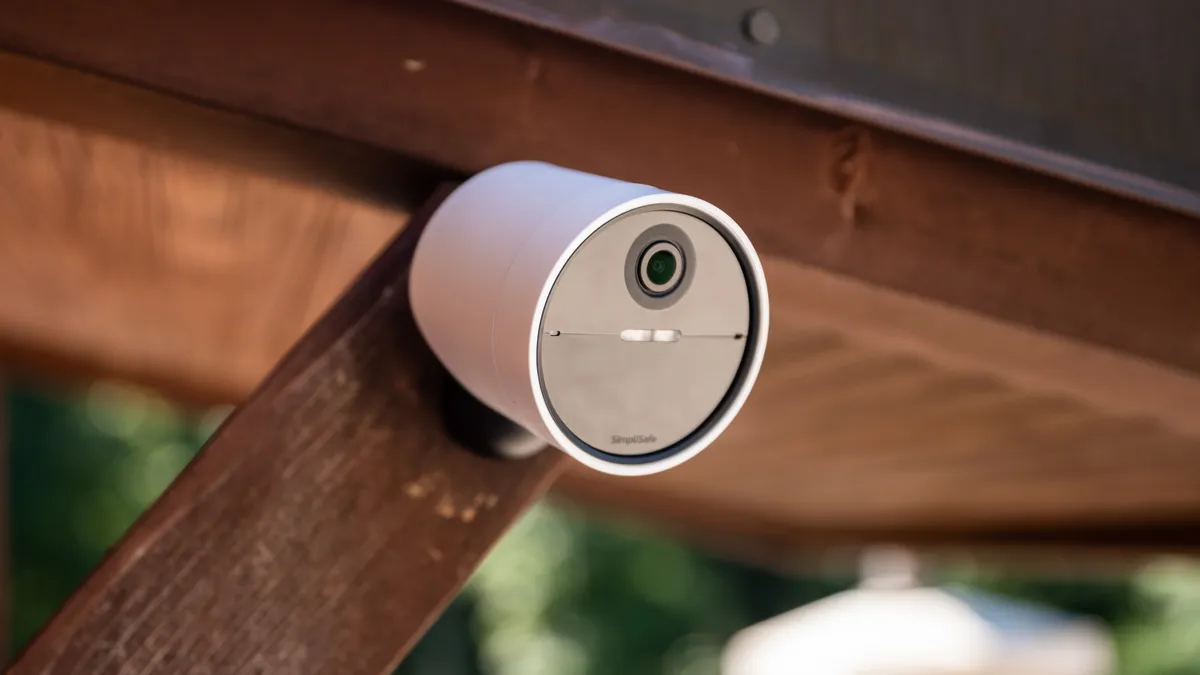
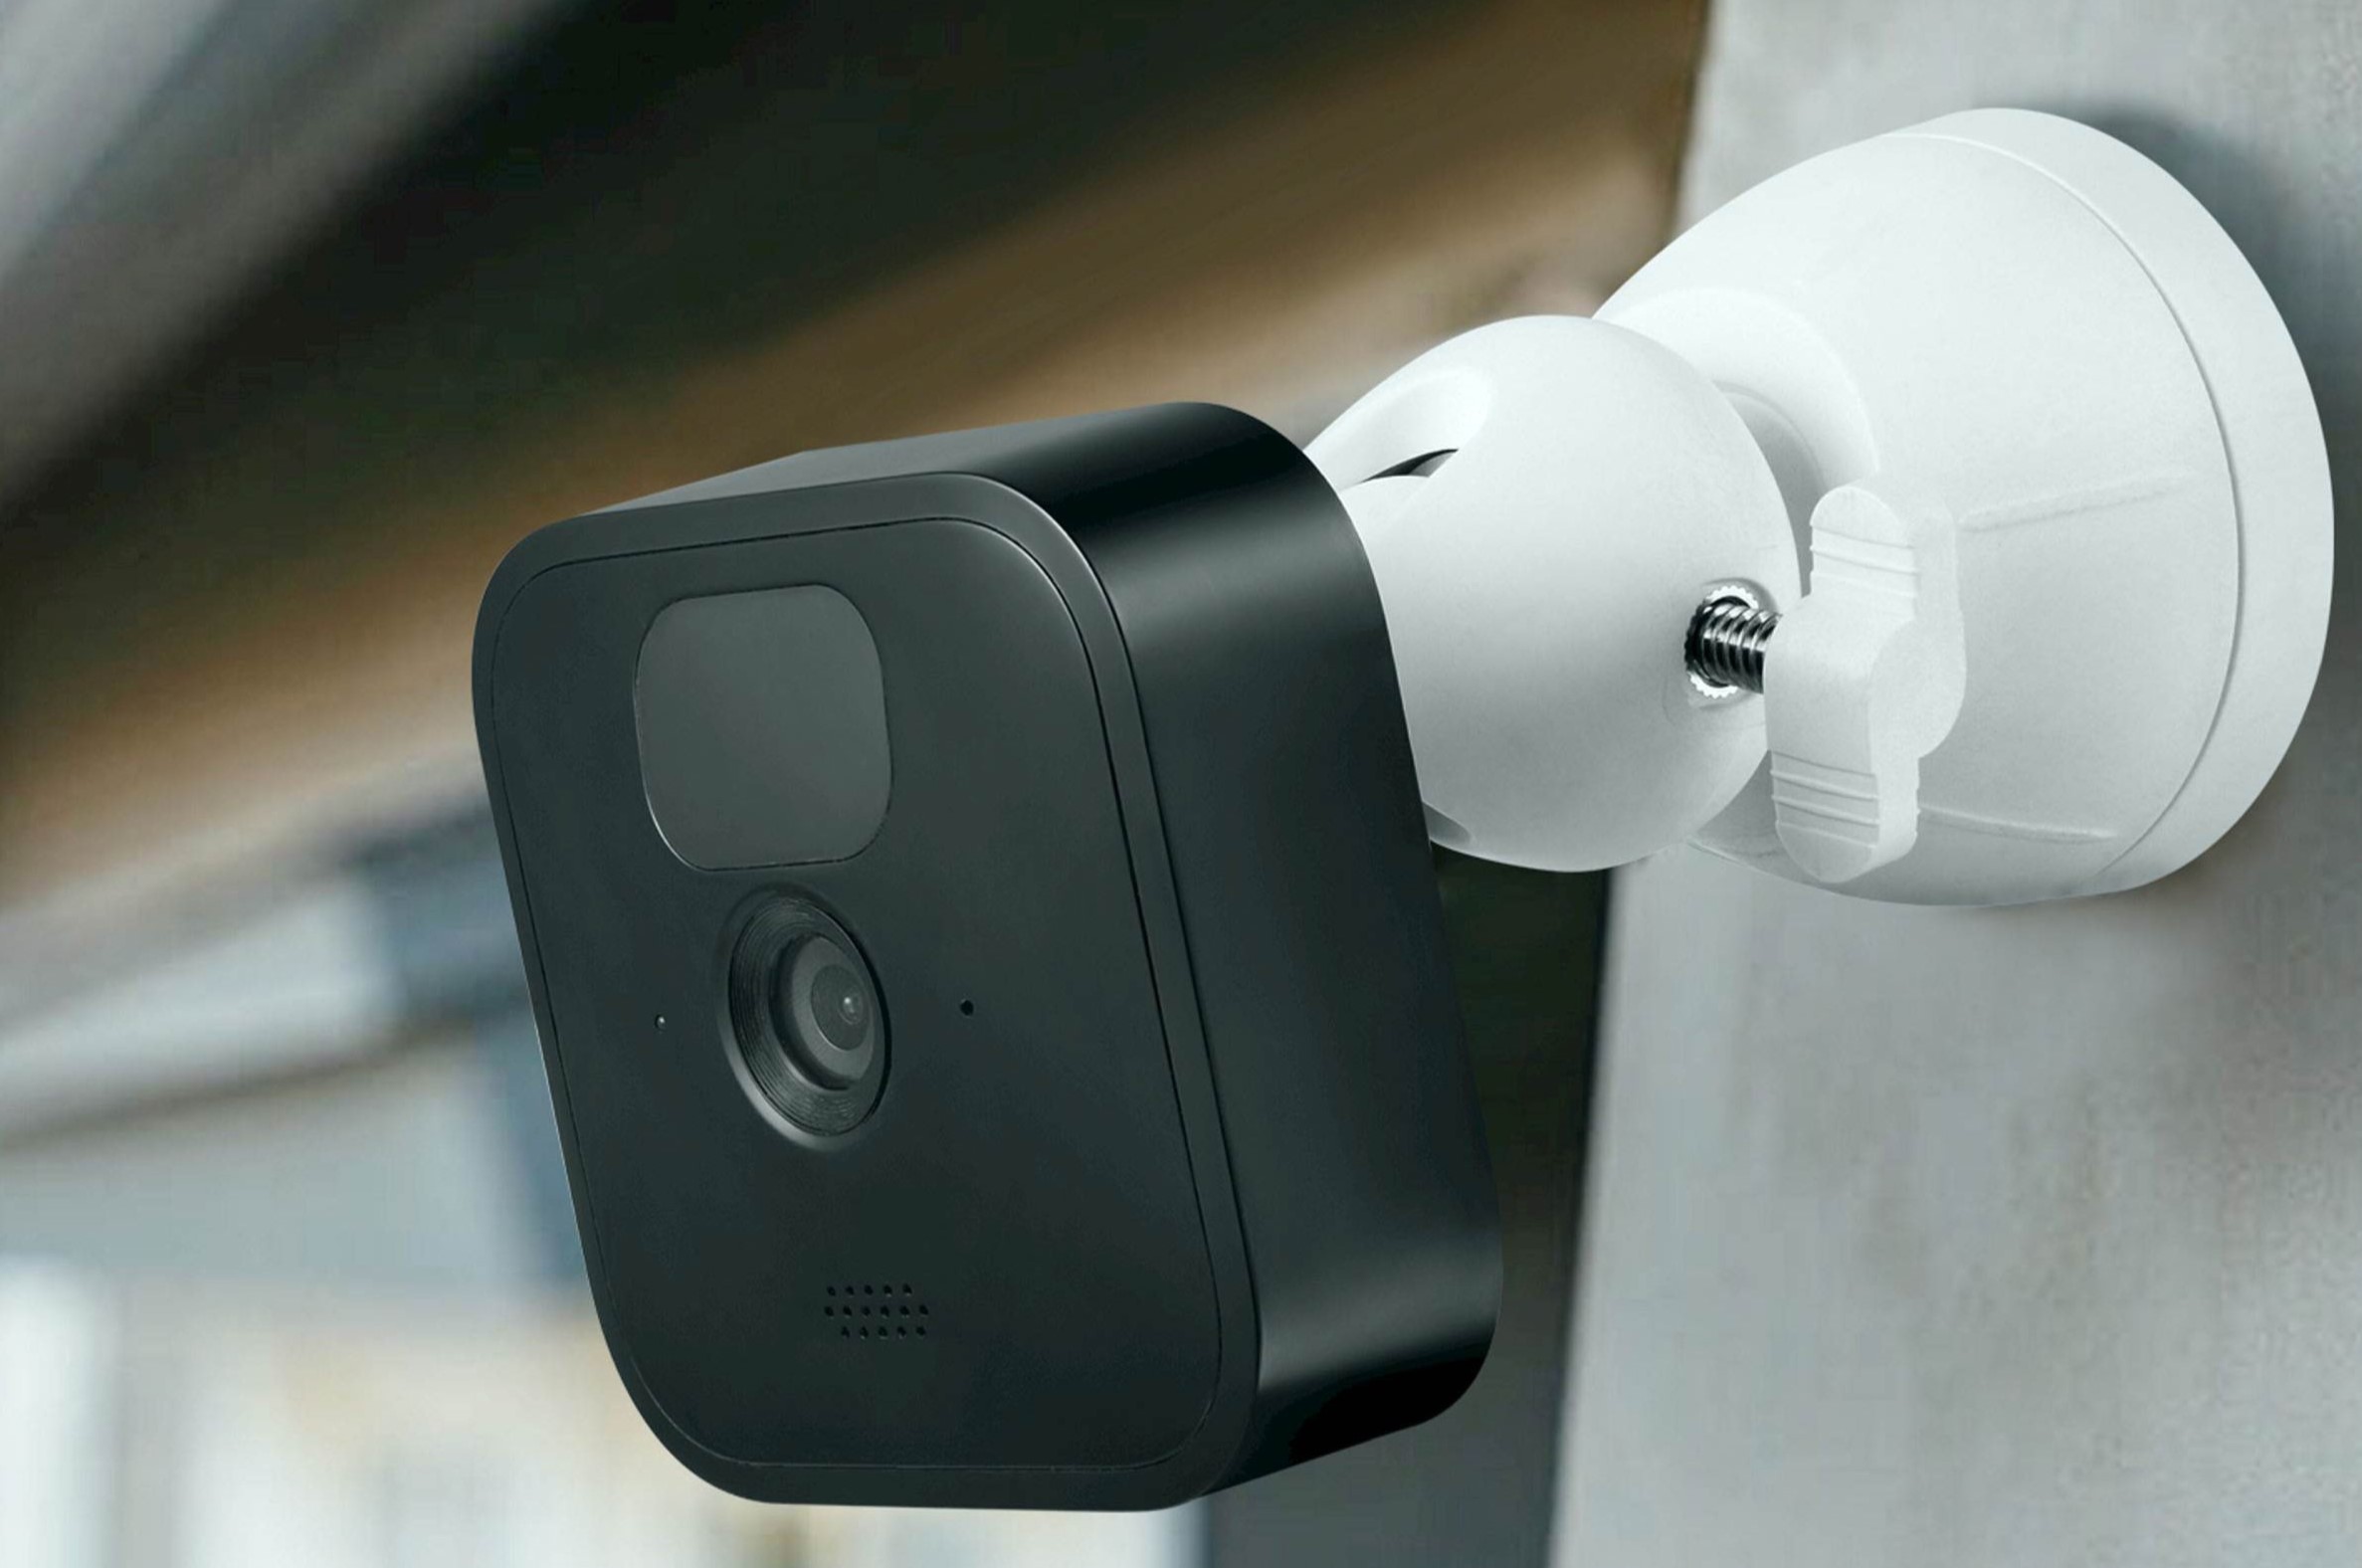
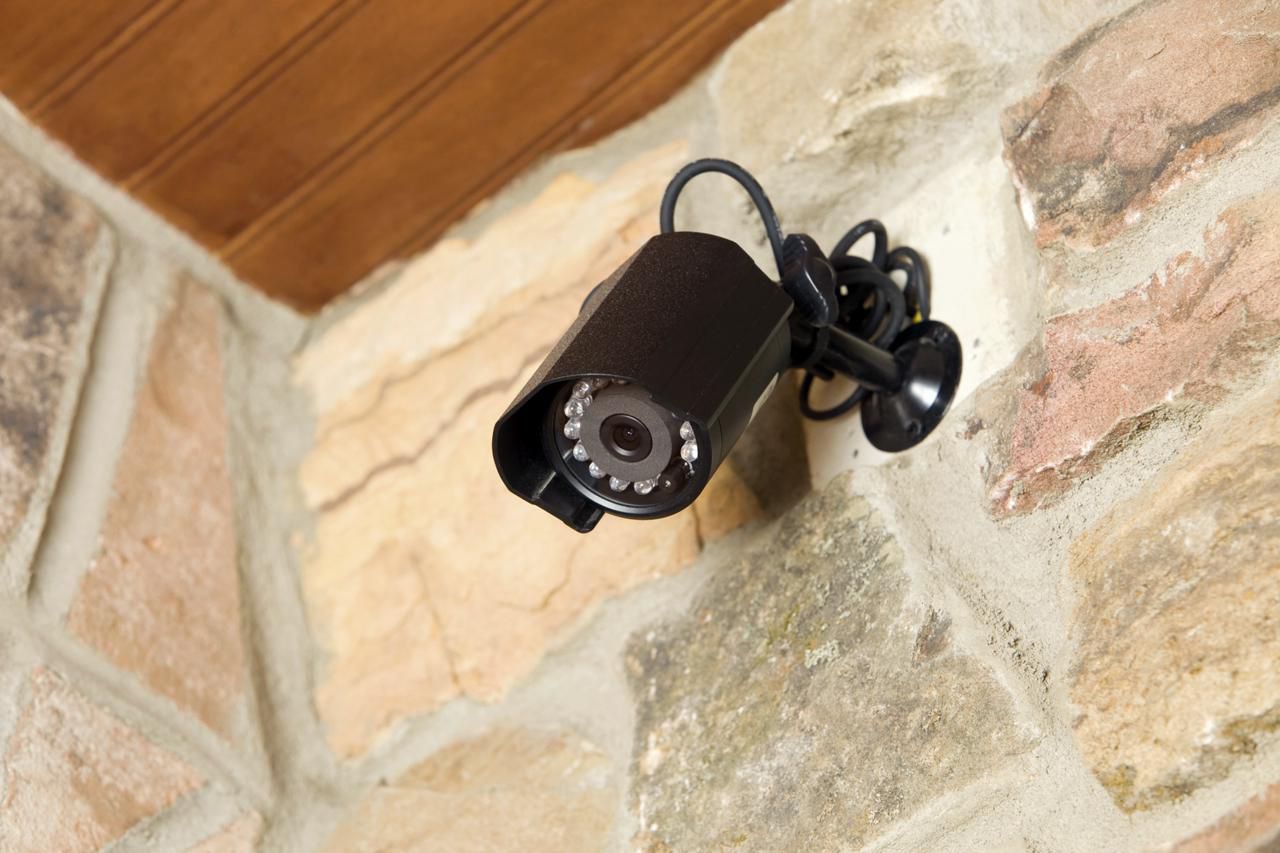
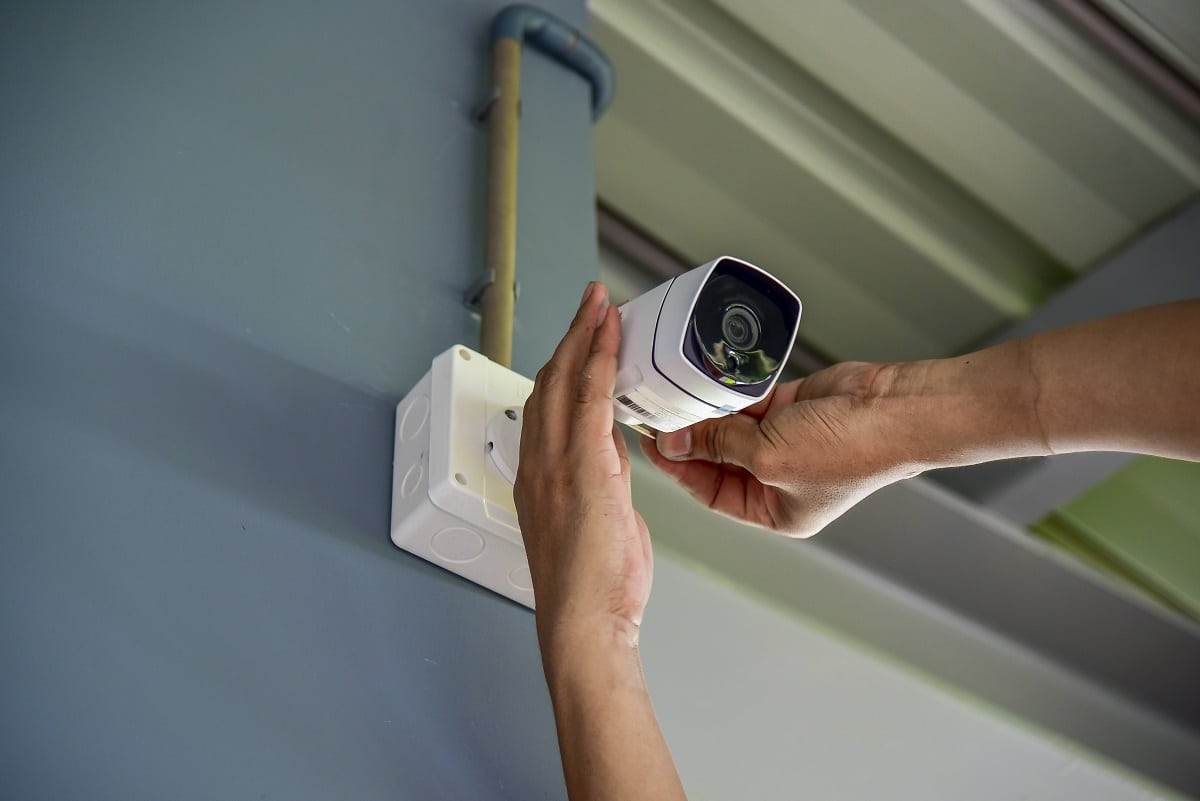
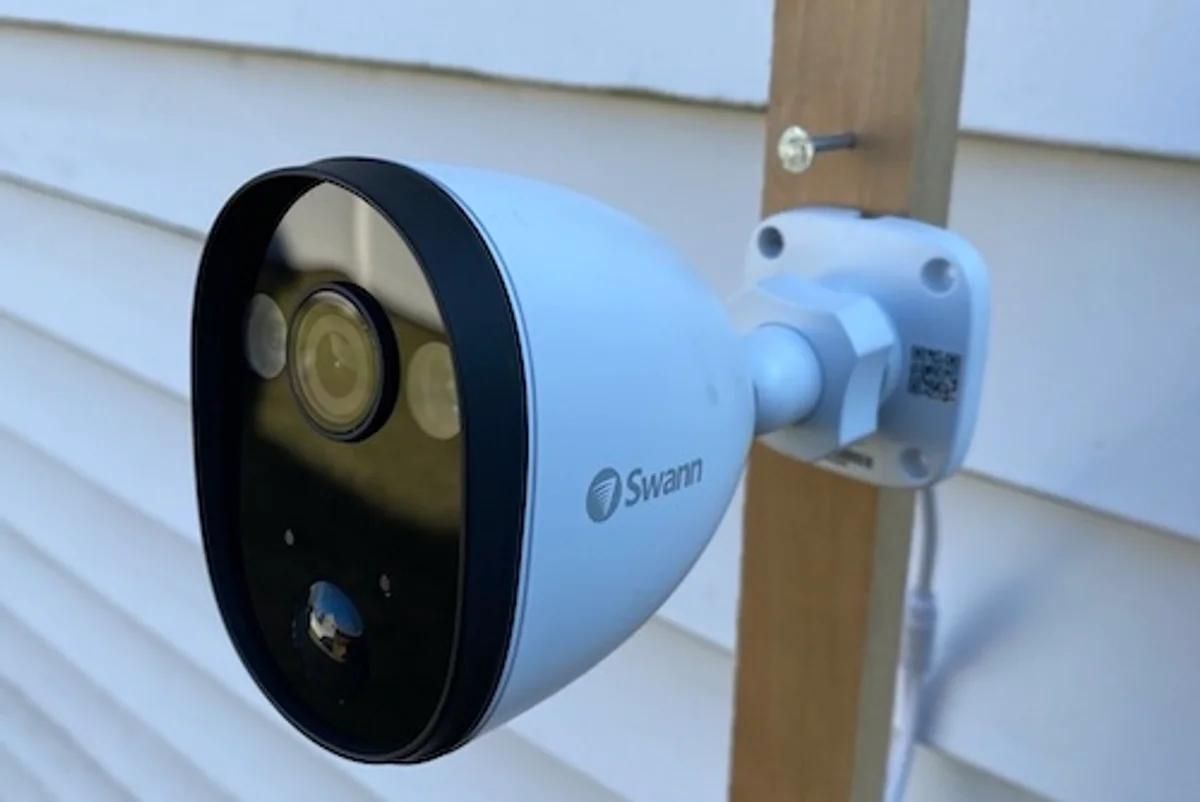
Installing the Camera
With the optimal locations identified, the next step in fortifying your outdoor security system is the installation of the cameras. This process requires attention to detail and precision to ensure that the cameras are securely positioned for maximum effectiveness. Here’s a step-by-step guide to installing outdoor security cameras:
- Gather Essential Tools: Before commencing the installation, gather the necessary tools, including a power drill, screws, anchors, and a ladder. These tools will facilitate the mounting process and ensure the cameras are securely affixed to the chosen locations.
- Mounting the Cameras: Using the appropriate mounting brackets or hardware, carefully affix the cameras to the designated locations. Ensure that the mounting is secure and stable, providing a steady platform for the cameras to capture outdoor activities.
- Adjusting the Angle: Fine-tune the angle and orientation of the cameras to optimize their field of view. This step is crucial for eliminating blind spots and maximizing the coverage area, enhancing the overall effectiveness of the surveillance system.
- Securing Cables and Wires: Conceal and secure the cables and wires to prevent tampering and safeguard them from environmental elements. Utilize cable clips or conduits to neatly organize and protect the wiring, maintaining a tidy and professional installation.
- Testing Stability: Once the cameras are mounted, perform a thorough stability test to ensure that they are firmly in place. Apply gentle pressure to confirm that the mounts are secure and capable of withstanding outdoor conditions.
By meticulously following these installation steps, you can position the outdoor security cameras with precision and confidence, setting the stage for seamless integration into your outdoor spaces. With the cameras securely in place, the next crucial phase involves connecting them to power sources and establishing a reliable Wi-Fi connection to enable remote monitoring and surveillance.
Connecting to Power and Wi-Fi
Once the outdoor security cameras are securely installed, the next vital step is to establish their connection to power sources and Wi-Fi networks. This pivotal phase enables the cameras to function autonomously and facilitates remote access for monitoring and surveillance. Here’s a comprehensive guide to connecting your outdoor security cameras to power and Wi-Fi:
- Power Source: Identify the most practical and accessible power source for each camera. This may involve utilizing outdoor power outlets, employing weatherproof power cables, or opting for battery-powered cameras for enhanced flexibility.
- Weatherproofing Power Cables: If using wired cameras, ensure that the power cables are adequately protected from the elements. Employ weatherproof cable connectors and conduits to safeguard the cables from moisture, UV exposure, and other environmental factors.
- Wi-Fi Connectivity: Configure the cameras to connect to your home Wi-Fi network. Follow the manufacturer’s instructions to link the cameras to the designated network, providing seamless access to live feeds and recorded footage via your connected devices.
- Signal Strength Optimization: Position the cameras within the optimal range of your Wi-Fi network to ensure strong and consistent signal reception. This may involve repositioning the cameras or employing Wi-Fi range extenders to enhance connectivity in outdoor areas with limited signal coverage.
- Remote Access Setup: Install the manufacturer’s designated mobile app or software to enable remote access to the cameras. Follow the app’s setup instructions to link the cameras to your account, granting you the ability to monitor your outdoor spaces from anywhere with an internet connection.
By diligently establishing the power supply and Wi-Fi connectivity for your outdoor security cameras, you pave the way for seamless integration into your home security system. The next crucial phase involves fine-tuning the camera settings to optimize their performance and tailoring them to your specific surveillance needs.
When placing outdoor security cameras, make sure to position them at entry points like doors and windows, and at areas with good lighting. Also, consider the camera’s field of view and potential blind spots.
Adjusting Camera Settings
With the physical installation and connectivity aspects in place, the next critical step in optimizing your outdoor security cameras involves adjusting their settings to align with your surveillance requirements. Fine-tuning the camera settings empowers you to customize their functionality, enhance image quality, and tailor their performance to suit your specific outdoor monitoring needs. Here’s a comprehensive guide to adjusting the settings of your outdoor security cameras:
- Image Quality and Resolution: Access the camera’s settings interface to adjust the image quality and resolution settings. Opt for higher resolutions to capture finer details, especially in areas requiring meticulous surveillance.
- Night Vision and Motion Detection: Configure the night vision mode and motion detection sensitivity to ensure optimal performance during low-light conditions and to minimize false alerts triggered by ambient movement.
- Recording and Storage Preferences: Set the recording preferences, including continuous recording, scheduled recording, or event-triggered recording based on motion or sound detection. Additionally, determine the preferred storage options, such as cloud storage or local storage devices.
- Privacy Zones and Notifications: Define privacy zones within the camera’s field of view to exclude sensitive areas from surveillance. Customize notification settings to receive alerts for specific events or activities detected by the cameras.
- Remote Access and Sharing: Configure remote access permissions and sharing settings to grant selective access to live feeds and recorded footage to trusted individuals or family members, enhancing collaborative monitoring capabilities.
By meticulously adjusting these settings, you can tailor the functionality of your outdoor security cameras to align with your unique surveillance requirements, ensuring comprehensive coverage and precise monitoring of your outdoor spaces. With the settings optimized, the final crucial phase involves conducting thorough tests to validate the cameras’ performance and functionality.
Read more: How To Place Arlo Outdoor Camera
Testing the Camera
As you near the completion of the outdoor security camera installation and setup process, it’s imperative to conduct comprehensive tests to validate the cameras’ performance and ensure seamless functionality. Thorough testing not only serves to identify and rectify any potential issues but also instills confidence in the reliability of your surveillance system. Here’s a step-by-step approach to testing your outdoor security cameras:
- Live Feed Monitoring: Access the live feed from each camera via the designated mobile app or software to verify real-time video streaming. Confirm that the cameras provide clear and consistent live footage of the monitored outdoor areas.
- Motion Detection Trials: Trigger motion events within the camera’s field of view to assess the responsiveness and accuracy of the motion detection feature. Ensure that the cameras promptly detect and record motion-triggered events without false alarms.
- Night Vision Assessment: Test the night vision capabilities of the cameras by conducting surveillance in low-light conditions or darkness. Verify that the night vision mode delivers clear and detailed footage, enabling effective monitoring during nighttime hours.
- Remote Access Evaluation: Access the camera feeds from remote locations using different devices to evaluate the reliability and accessibility of remote monitoring. Confirm that the cameras seamlessly connect to the mobile app or software, enabling convenient surveillance from anywhere with an internet connection.
- Storage and Playback Verification: Record sample footage and review the playback to ensure that the cameras accurately capture and store video recordings. Verify the accessibility of recorded footage and assess the playback quality to confirm the effectiveness of the storage and retrieval capabilities.
By meticulously conducting these tests, you can ascertain the operational integrity of your outdoor security cameras, identifying any potential issues and fine-tuning their performance to deliver reliable surveillance. Once the cameras successfully pass these tests, you can rest assured that your outdoor spaces are under the vigilant gaze of a robust and effective security system, providing invaluable peace of mind.
Conclusion
Embarking on the journey to fortify the security of your outdoor living spaces through the installation of outdoor security cameras is a testament to your commitment to safeguarding your home and loved ones. By meticulously navigating the essential steps outlined in this comprehensive guide, you have gained the knowledge and insights to expertly position, install, and optimize outdoor security cameras, transforming your outdoor areas into well-protected domains.
From the strategic selection of optimal camera locations to the meticulous adjustment of settings and the rigorous testing of camera performance, every phase of this process has been geared toward ensuring the seamless integration and effective functionality of your surveillance system. As a result, you now possess a vigilant sentinel that stands guard over your outdoor spaces, providing unwavering surveillance and peace of mind.
As you bask in the assurance of enhanced security, remember that the effectiveness of your outdoor security cameras hinges not only on their technological prowess but also on your ongoing vigilance. Regular maintenance, periodic checks, and staying abreast of technological advancements in the realm of outdoor security are essential to preserving the optimal functionality of your surveillance system.
With your outdoor security cameras in place, you can revel in the freedom to relish your outdoor spaces with the added assurance that they are under the watchful eye of advanced technology. Whether you’re away on a vacation, enjoying a peaceful evening on your patio, or simply monitoring outdoor activities, the presence of these cameras serves as a steadfast guardian, deterring potential intruders and providing invaluable insights into the happenings in your outdoor realms.
As you continue to enrich your home with modern security solutions, remember that the knowledge and expertise you’ve acquired in this journey empower you to adapt and expand your security measures in alignment with evolving needs and technological advancements. Your commitment to safeguarding your home and outdoor spaces is a testament to your dedication to creating a secure and tranquil haven for yourself and your loved ones.
With the installation and optimization of your outdoor security cameras, you’ve not only fortified the physical security of your home but also nurtured a profound sense of peace and assurance that resonates within the walls and extends to the outdoor expanses. Embrace the freedom to revel in the serenity of your outdoor spaces, knowing that they are under the vigilant gaze of advanced technology and your unwavering commitment to safeguarding what matters most.
Frequently Asked Questions about How To Place Outdoor Security Cameras
Was this page helpful?
At Storables.com, we guarantee accurate and reliable information. Our content, validated by Expert Board Contributors, is crafted following stringent Editorial Policies. We're committed to providing you with well-researched, expert-backed insights for all your informational needs.


0 thoughts on “How To Place Outdoor Security Cameras”