Home>Home Security and Surveillance>How To Install Arlo Home Security Cameras
Home Security and Surveillance
How To Install Arlo Home Security Cameras
Modified: March 6, 2024
Learn how to install Arlo home security cameras and enhance your home security and surveillance. Follow our step-by-step guide for a seamless setup process.
(Many of the links in this article redirect to a specific reviewed product. Your purchase of these products through affiliate links helps to generate commission for Storables.com, at no extra cost. Learn more)
Introduction
Welcome to our comprehensive guide on how to install Arlo Home Security Cameras. Ensuring the safety of your home and loved ones is of paramount importance, and having a reliable home security system is an essential part of achieving that peace of mind. Arlo Home Security Cameras offer a high-quality surveillance solution that is both user-friendly and effective.
In this article, we will walk you through the step-by-step process of unboxing, installing, and setting up your Arlo Home Security Cameras, guaranteeing a seamless experience from start to finish. By following these instructions, you will be able to monitor your property and keep an eye on any potential threats with ease.
Before we dive into the installation process, it is essential to note that the success of your home security system relies heavily on proper planning and strategic camera placement. By carefully considering the layout of your home and identifying key areas that require surveillance, you can maximize the effectiveness of your Arlo cameras.
Now, let’s get started on this exciting journey of securing your home and ensuring the safety of your loved ones.
Key Takeaways:
- Setting up Arlo Home Security Cameras involves unboxing, choosing optimal locations, securely mounting the cameras, connecting the base station, and syncing with the Arlo app. This ensures a reliable and effective surveillance system for your home.
- Arming and disarming your Arlo cameras allows you to control when they monitor and record, conserving battery life and capturing relevant footage. Regular maintenance and app updates ensure ongoing security.
Read more: How To Use Arlo Security Cameras
Before You Begin
Before you embark on the installation process, there are a few key things to keep in mind to ensure a smooth and hassle-free experience. Taking the time to prepare and plan will save you headaches down the road.
First and foremost, make sure you have all the necessary tools and equipment handy. Here’s a list of items you will need:
- Arlo Home Security Camera system (which includes the cameras, base station, and necessary cables)
- Mounting brackets and screws
- A power drill or screwdriver
- A mobile device (phone or tablet) with the Arlo mobile app installed
- A stable internet connection
Additionally, consider the following factors:
- Identify the optimal locations for camera placement based on the layout of your home and your specific security needs. This may include entrances, windows, driveways, and other vulnerable areas.
- Determine whether you will need additional accessories for specific installation scenarios, such as outdoor mounts or magnetic mounts for metal surfaces.
- Ensure that your Wi-Fi signal is strong and reaches all areas where the cameras will be installed. A weak Wi-Fi connection can lead to connectivity issues and poor camera performance.
- Prepare the necessary power sources for the cameras. Depending on the model, you may need to use batteries, a power adapter, or a combination of both.
By considering these factors and gathering all the necessary tools and equipment, you will be ready to begin the installation process smoothly and efficiently. Now let’s move on to the step-by-step guide on how to install your Arlo Home Security Cameras.
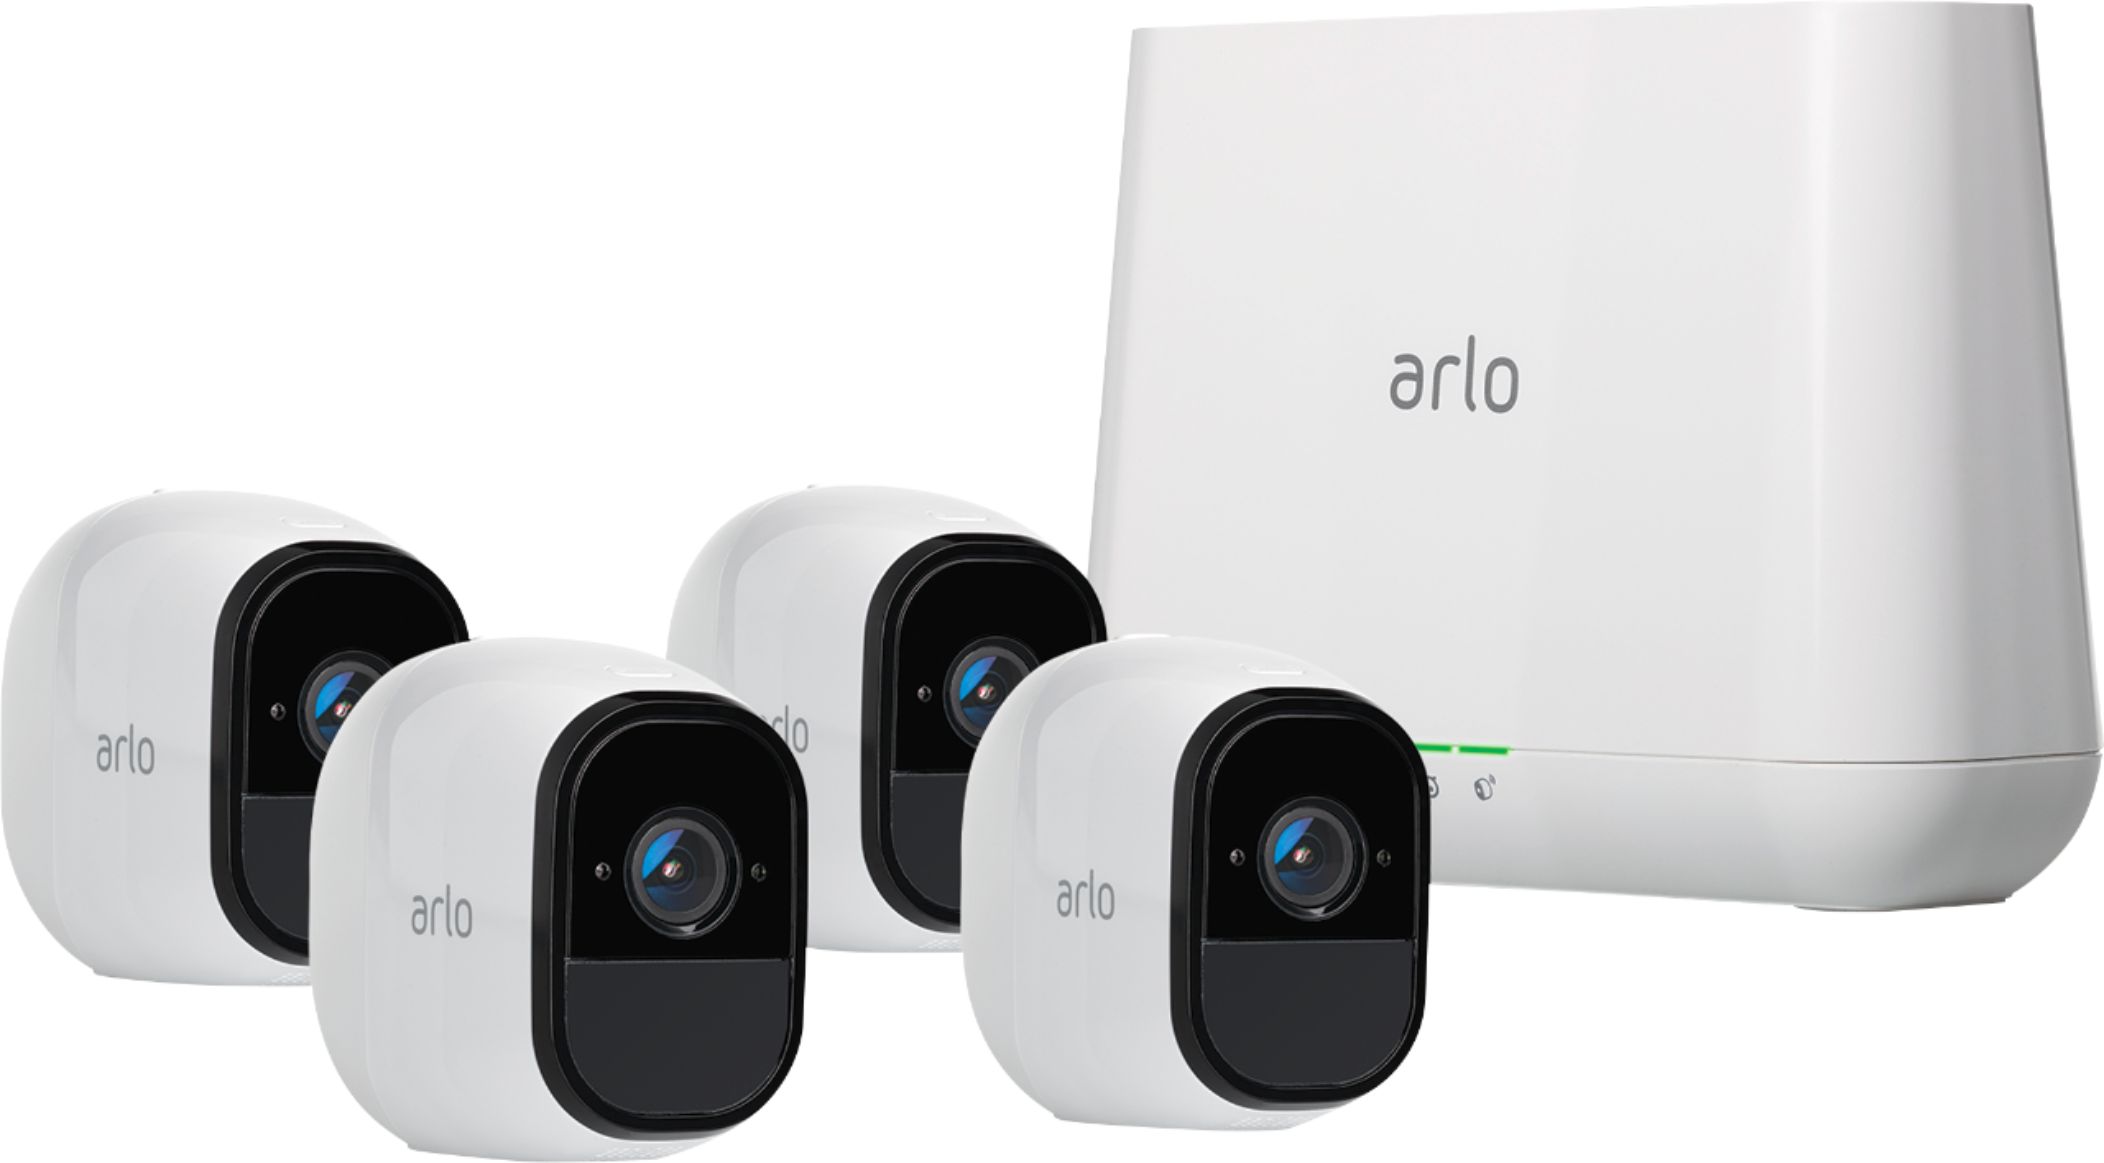
Step 1: Unboxing the Arlo Home Security Cameras
The first step in setting up your Arlo Home Security cameras is unboxing the package and familiarizing yourself with the contents. Take a few minutes to inspect and organize the components before proceeding.
When you open the box, you will find:
- Arlo cameras (the number of cameras will vary depending on the package you purchased)
- The base station
- Power adapters and cables
- Mounting brackets and screws
- Quick start guide and documentation
Take the time to carefully unwrap each component and ensure that nothing is missing or damaged. If you encounter any issues during the unboxing process, contact Arlo support for assistance.
Once you have verified that all components are intact, it’s beneficial to read the quick start guide thoroughly. Familiarize yourself with the camera features, the base station setup process, and any important instructions specific to your Arlo system model.
By taking these steps, you will have an understanding of the components included in the package and a solid foundation to proceed with the installation process. In the next step, we will discuss selecting the perfect installation location for your Arlo Home Security Cameras.
Step 2: Choosing the Perfect Installation Location
Choosing the right installation location for your Arlo Home Security Cameras is crucial for maximizing their effectiveness. This step requires careful consideration of your home’s layout, potential entry points, and areas that require surveillance. Here are some factors to keep in mind when selecting the perfect installation location:
- Entrances and Exits: Identify the main entrances and exits of your home, such as front doors, back doors, and garage doors. These are key areas where you want to have clear surveillance coverage.
- Vulnerable Areas: Take note of any vulnerable areas that may be attractive to potential intruders, such as ground floor windows, balconies, or side gates. These areas should be closely monitored to enhance home security.
- Visibility: Ensure that the camera placement provides a clear and unobstructed view of the target area. Avoid placing cameras behind objects or in areas with poor lighting that could compromise the quality of the footage.
- Height and Angle: Position the cameras at an optimal height and angle to capture the desired field of view. Consider mounting the cameras at a height where they are not easily reachable or tampered with.
- Accessibility: Make sure the installation location allows for easy access to the camera for maintenance and adjustments, if needed.
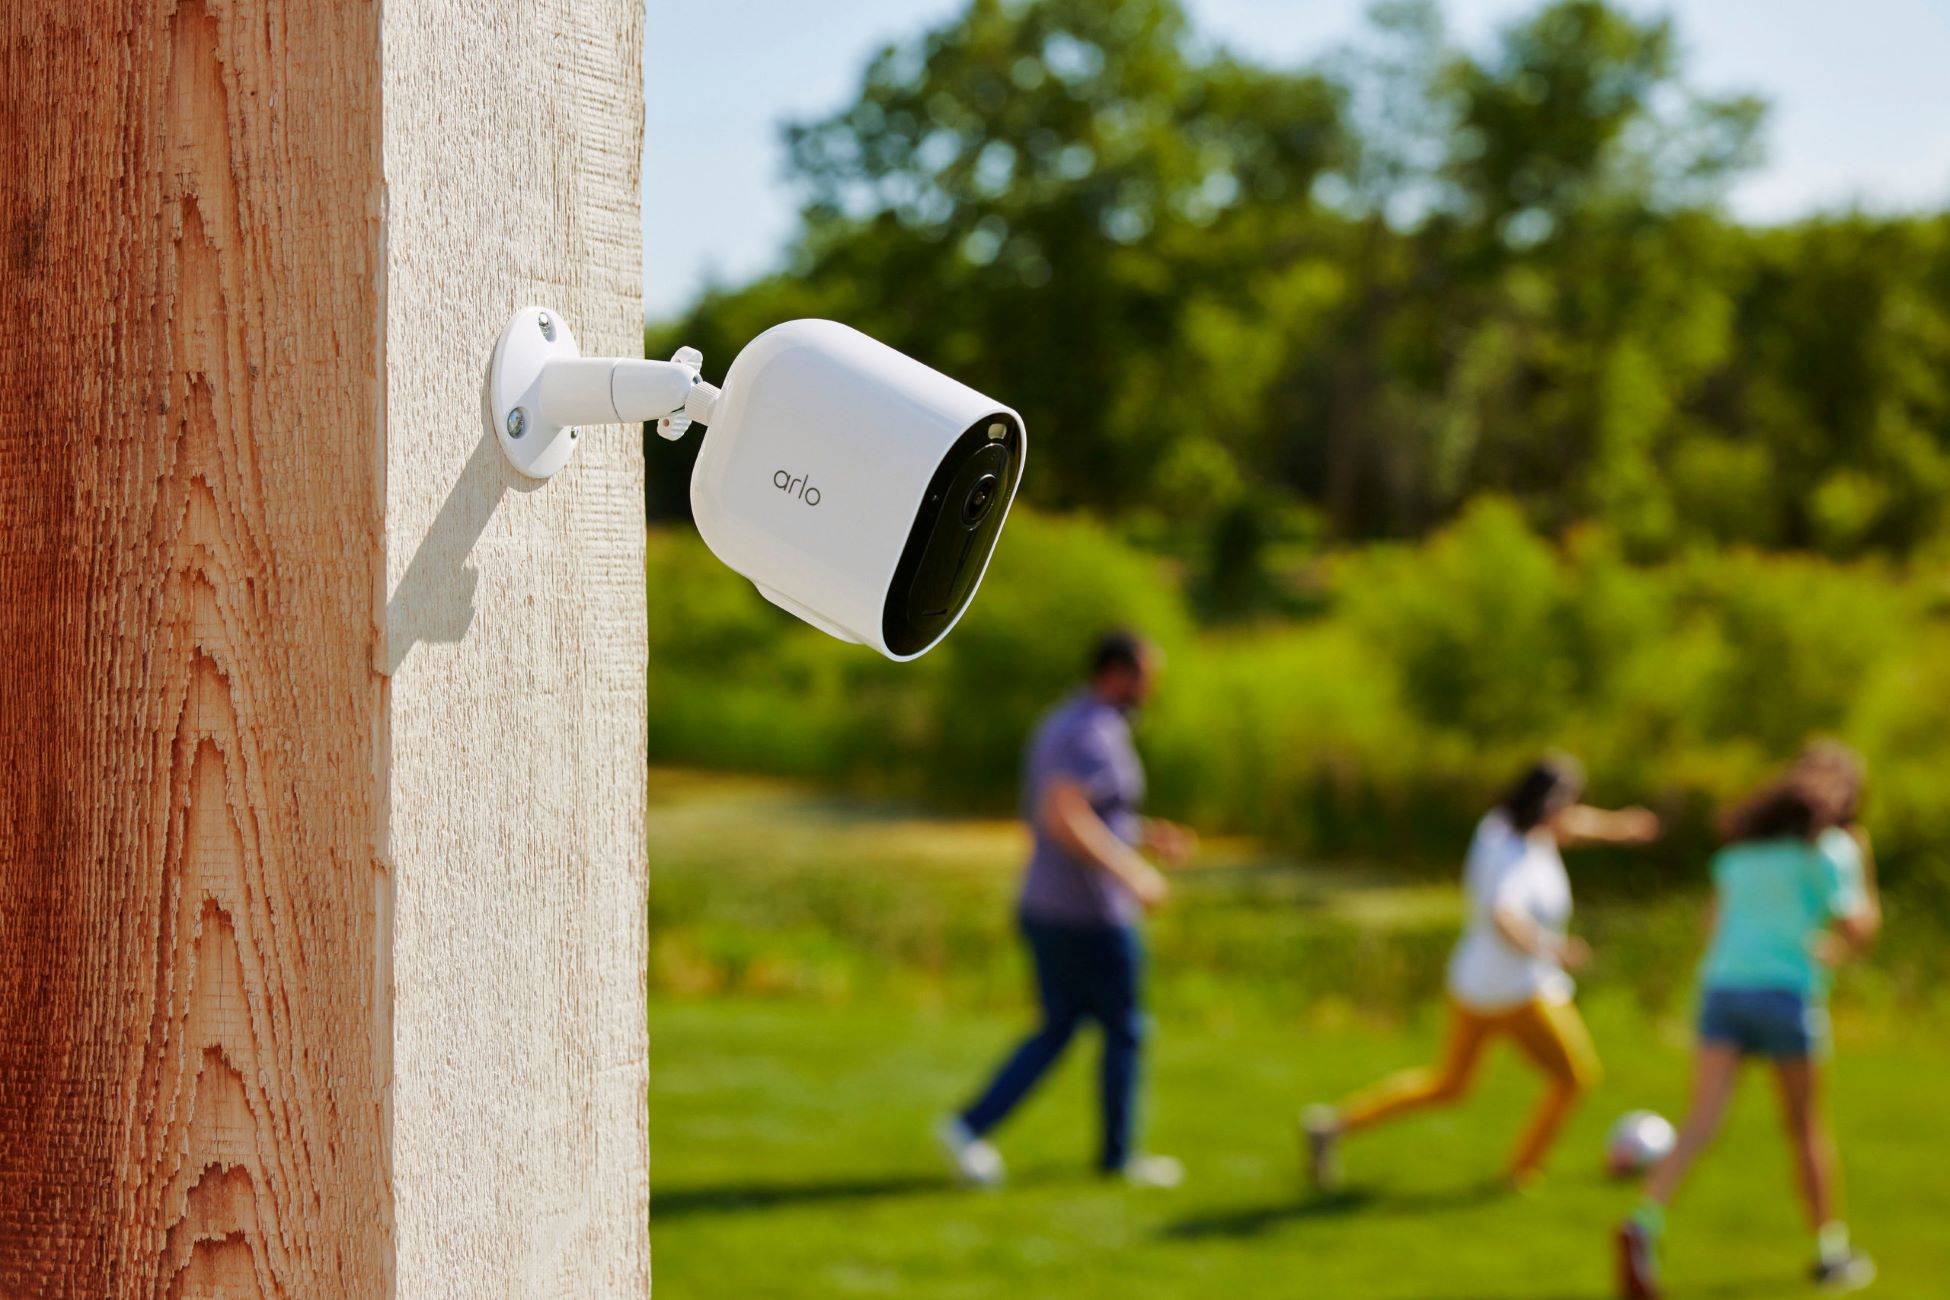
- Weather Resistance: If you’re installing outdoor cameras, ensure that they are designed to withstand various weather conditions and have the necessary weatherproof rating.
It’s also worth mentioning that Arlo cameras come with versatile mounting options, including magnetic mounts, outdoor mounts, and adjustable mounts. Choose the appropriate mounting method based on the installation location and surface type.
By carefully considering these factors and choosing the perfect installation locations for your Arlo Home Security Cameras, you’ll be on your way to creating a robust and effective surveillance system. In the next step, we will cover the process of mounting the cameras securely.
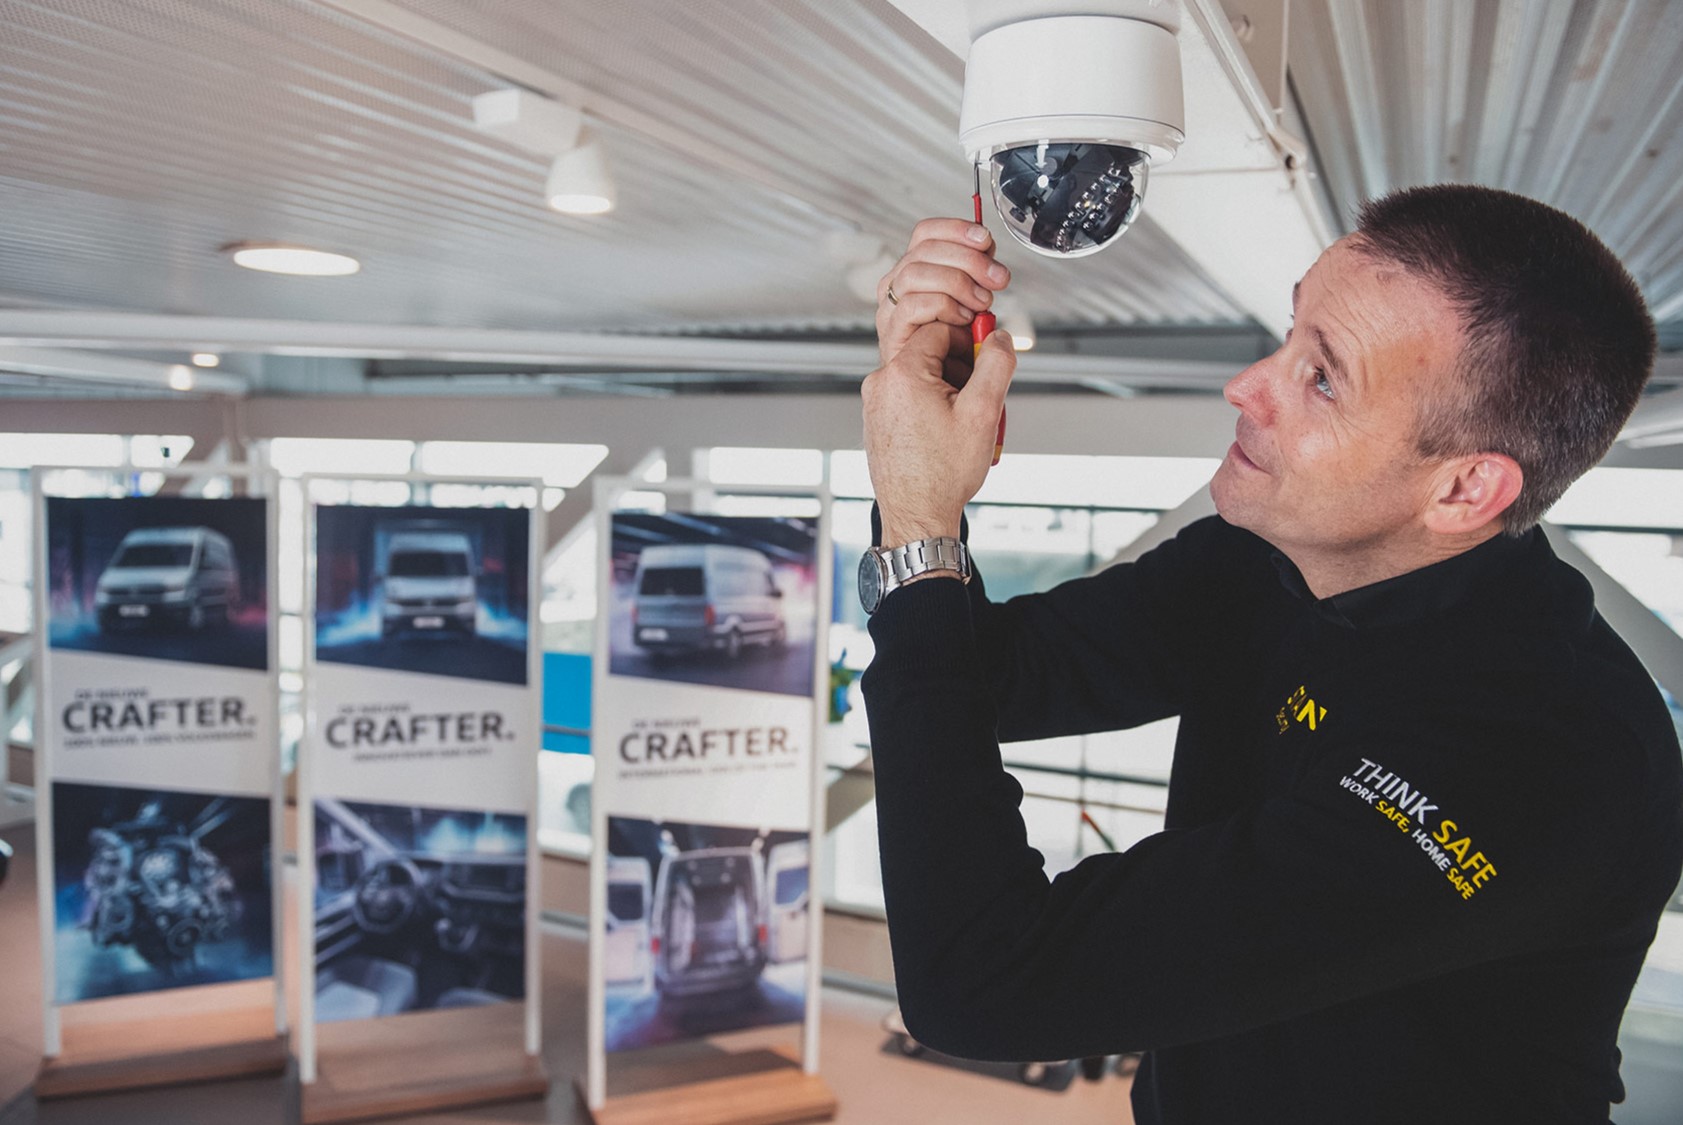
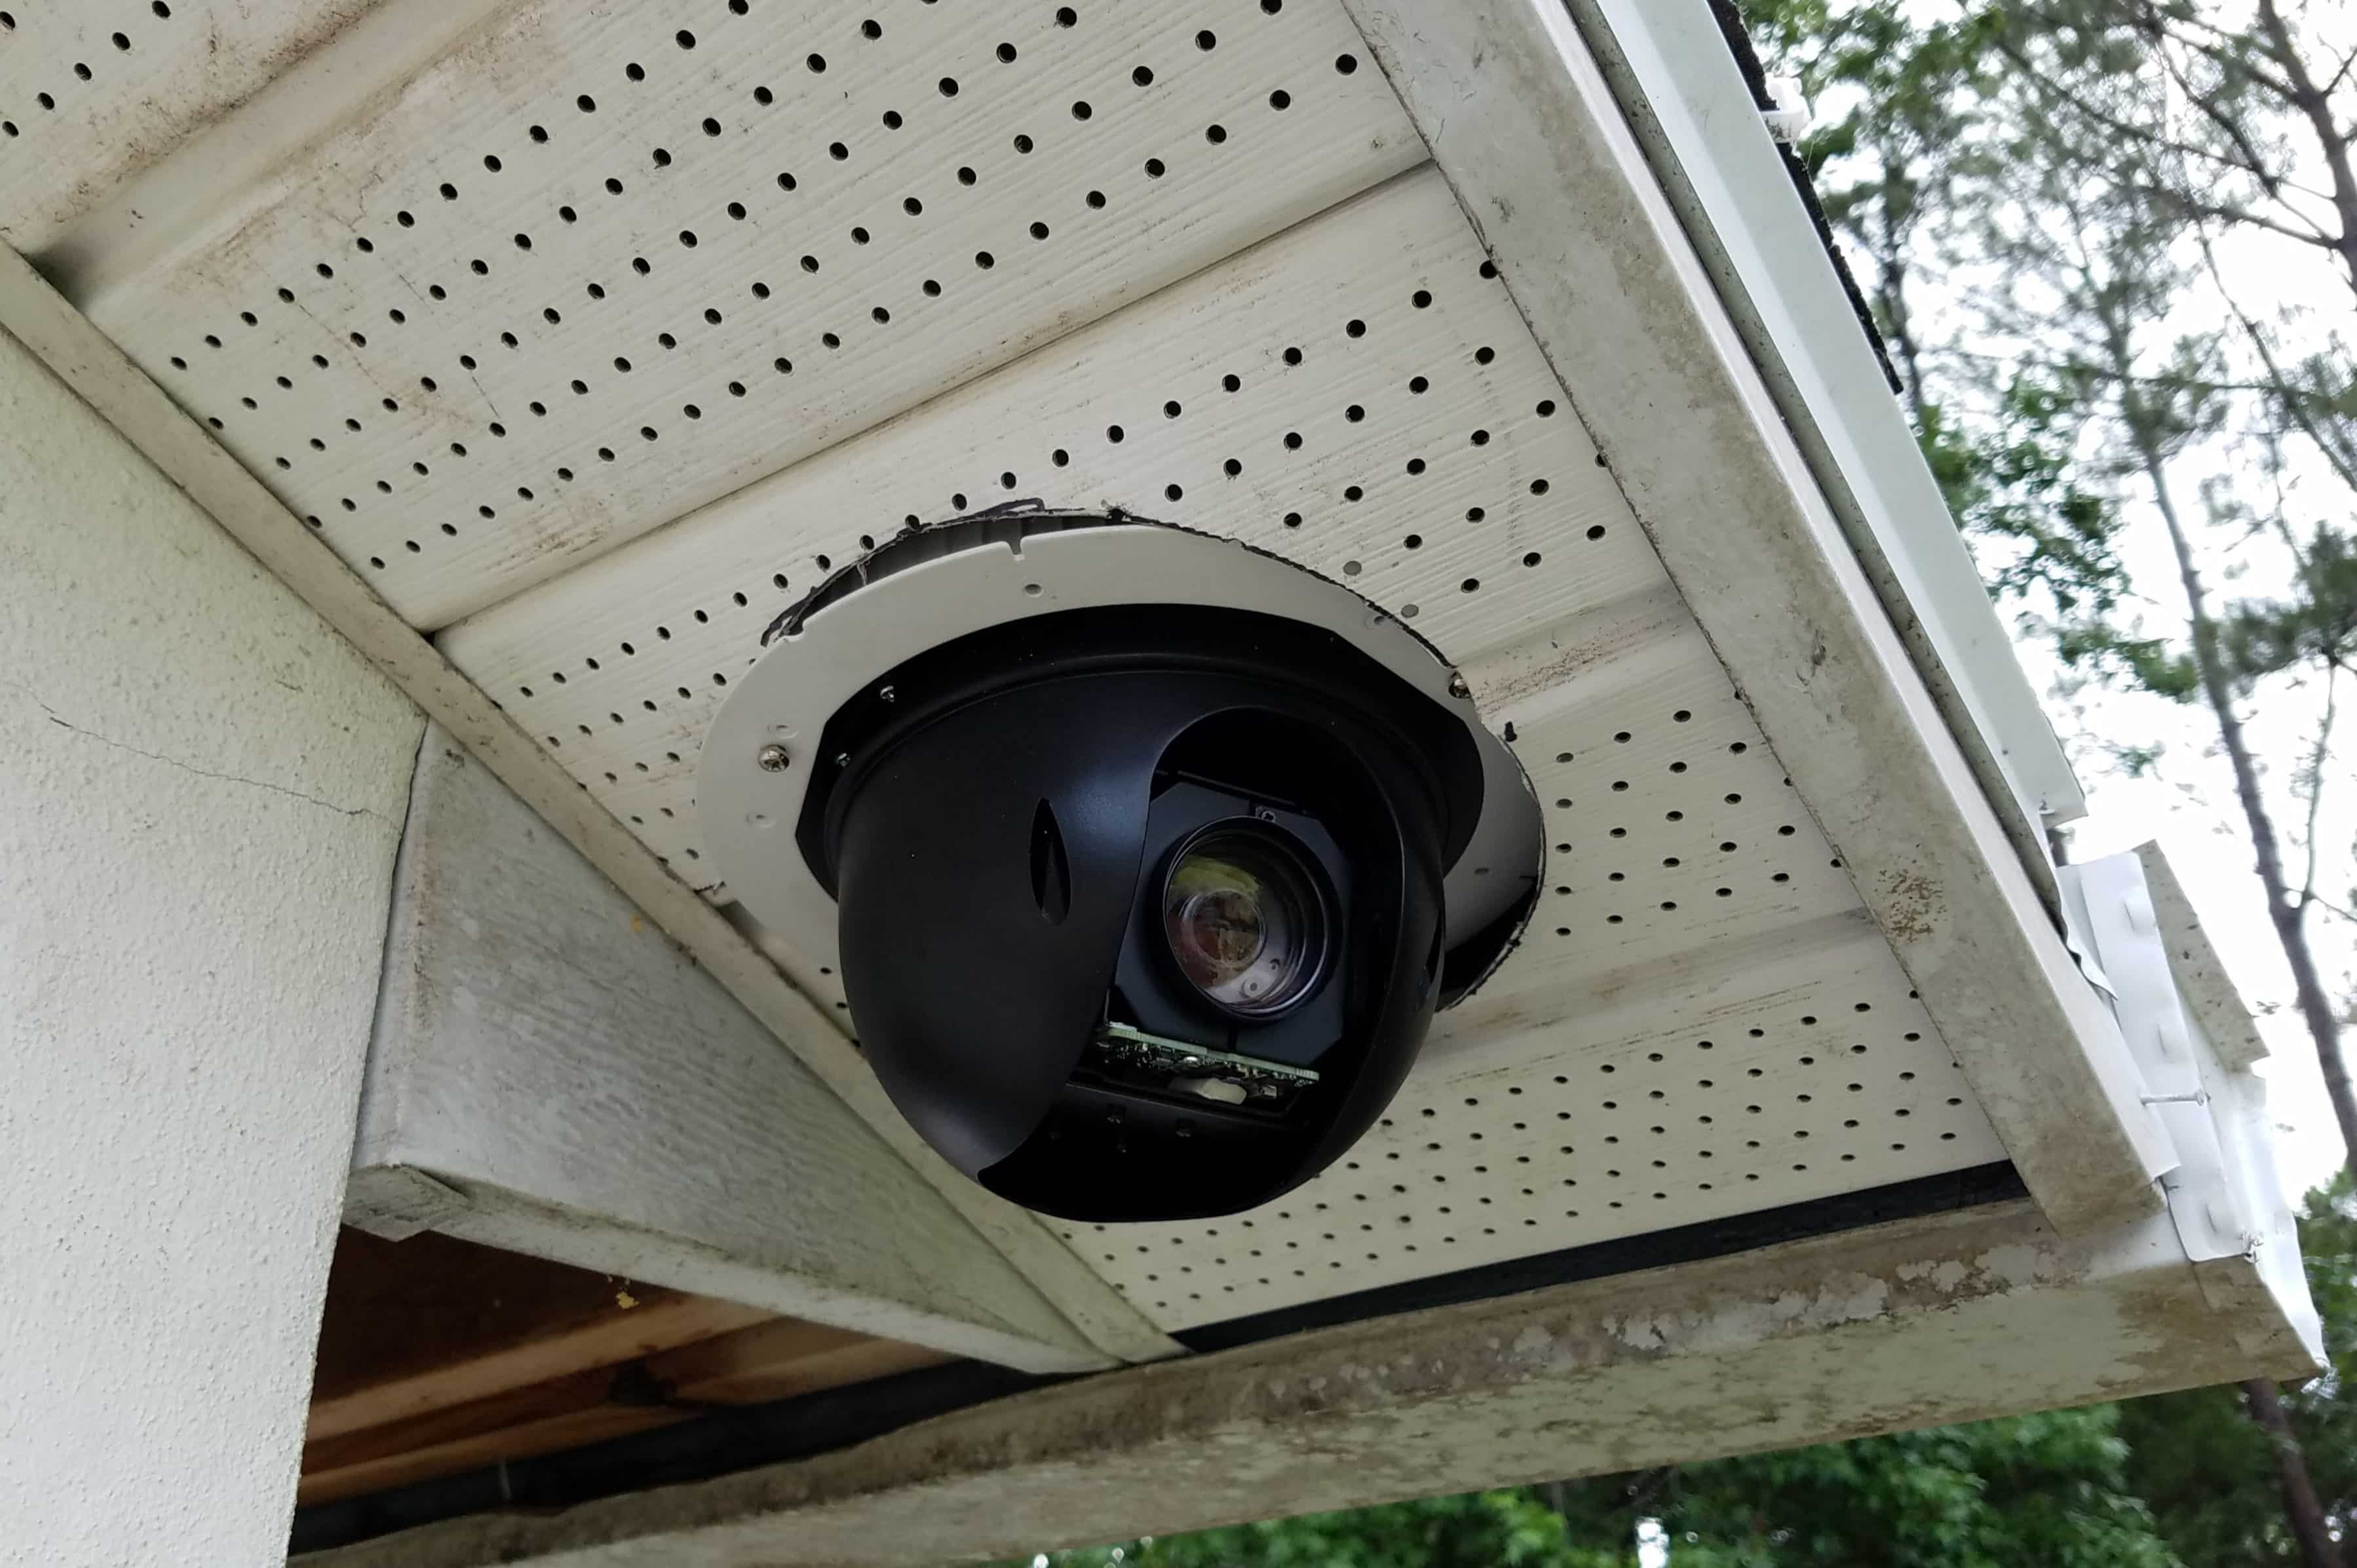
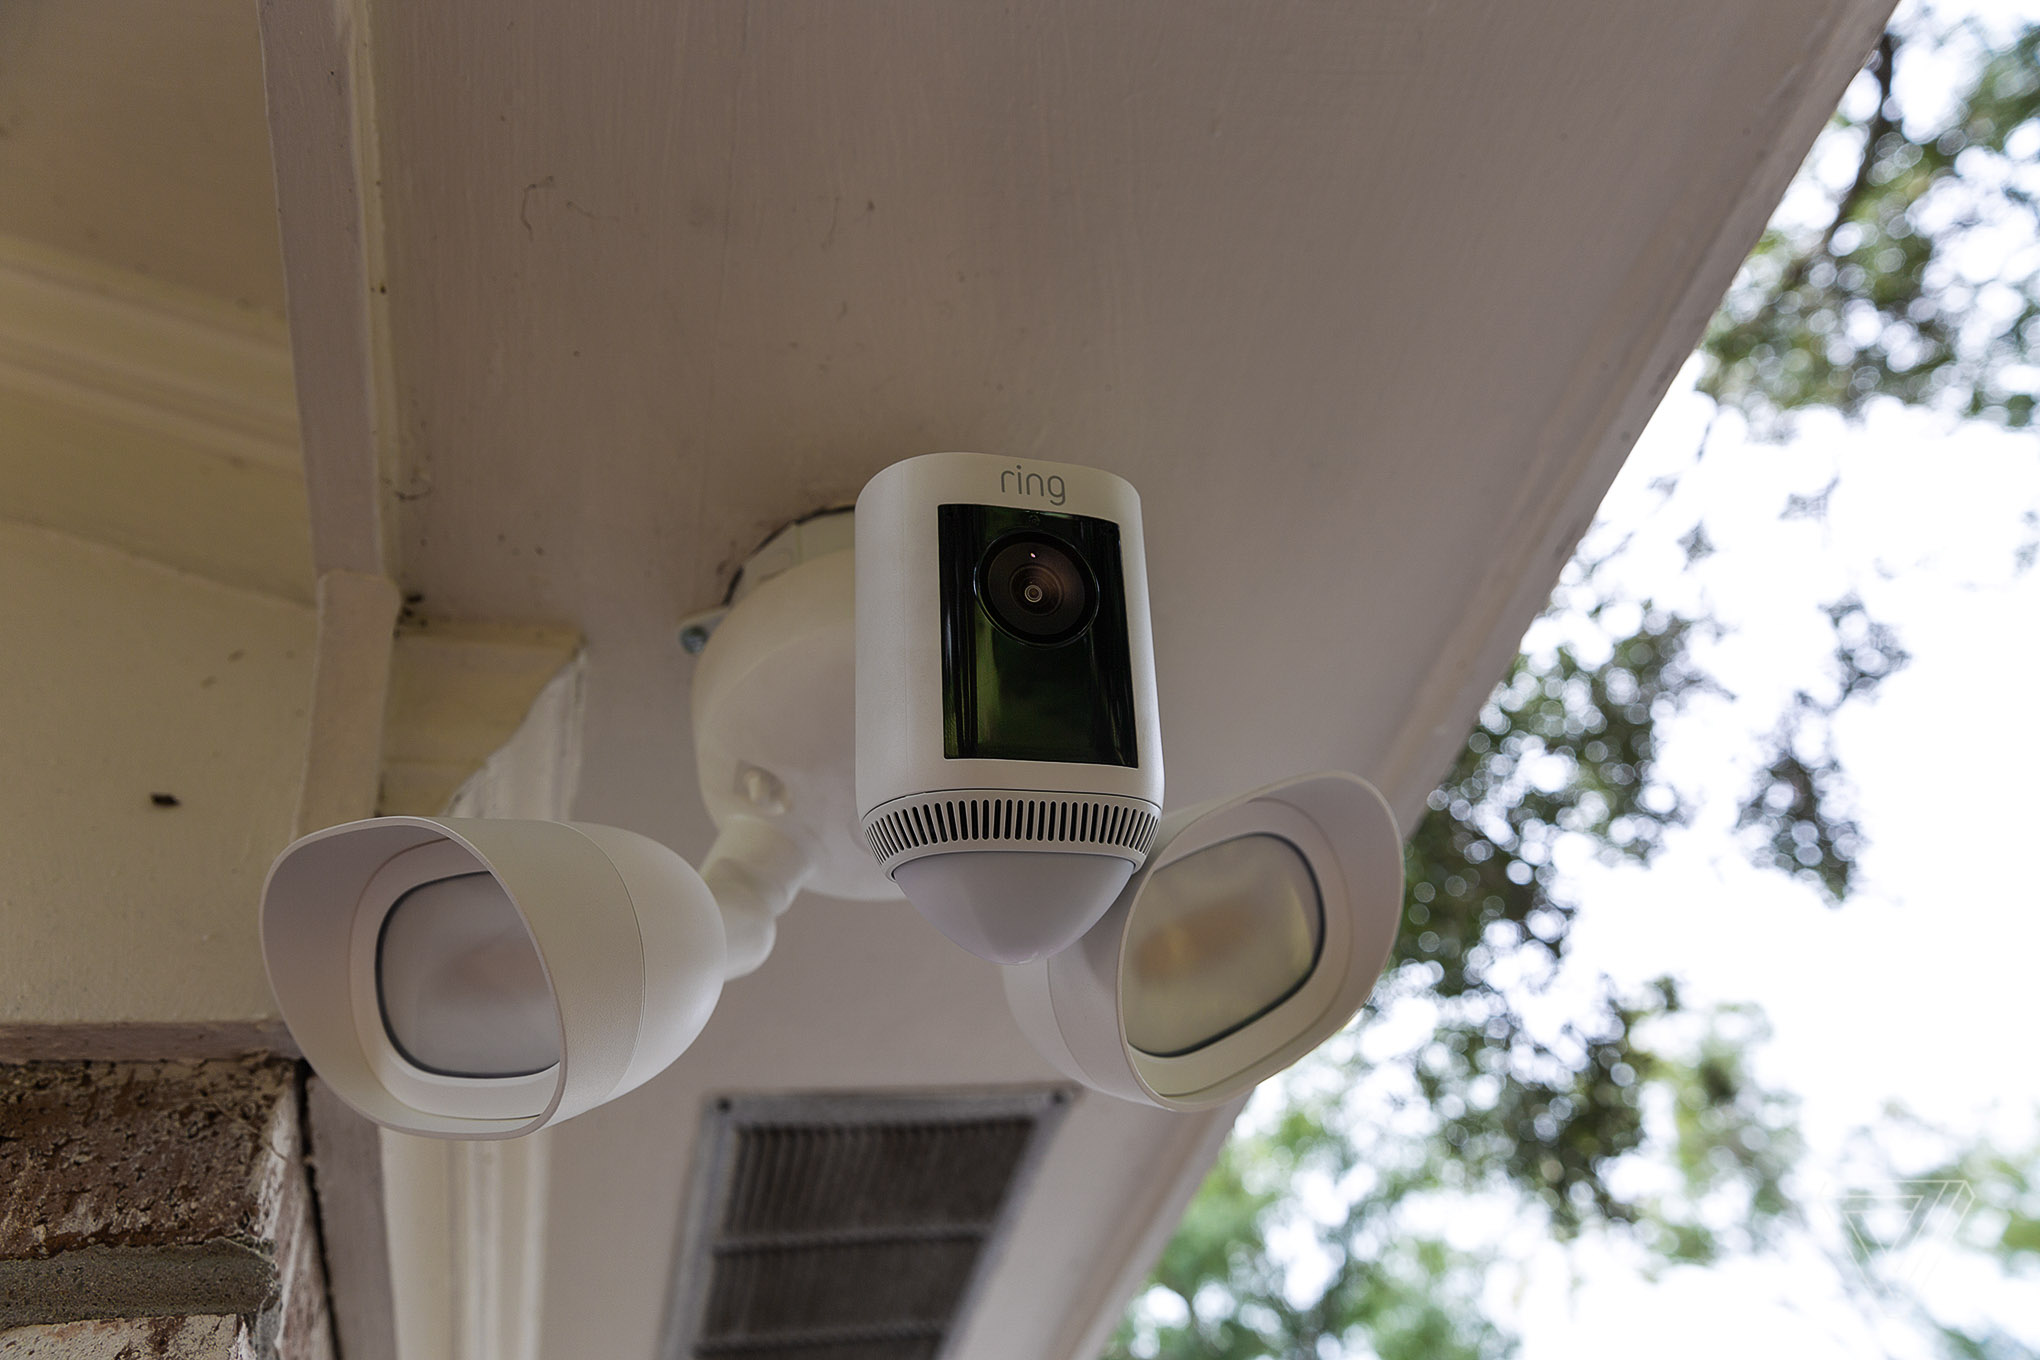
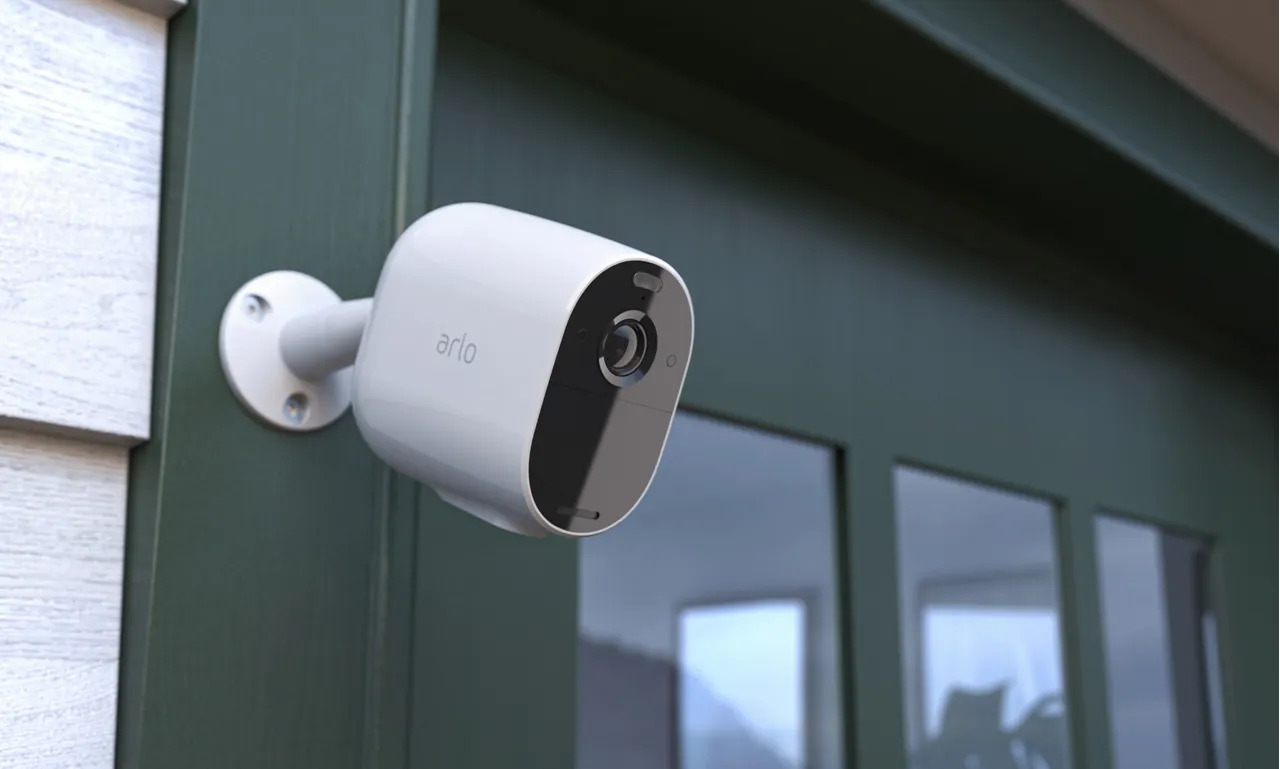
Step 3: Mounting the Cameras
Now that you have selected the perfect installation locations for your Arlo Home Security Cameras, it’s time to mount them securely. Proper mounting ensures that the cameras are stable, positioned correctly, and able to capture the desired field of view. Follow these steps to mount your cameras:
- Gather the necessary tools: Before you begin, gather the mounting brackets, screws, and any additional accessories provided with your Arlo cameras.
- Prepare the mounting surface: Clean the area where you plan to mount the camera to ensure a firm and secure attachment. If you’re using an outdoor mount, verify that the surface is suitable for installation.
- Position the mounting bracket: Attach the mounting bracket to the desired location using the provided screws. Make sure it is positioned correctly and aligned with the desired field of view.
- Attach the camera: Depending on the camera model, you may need to attach it directly to the mounting bracket or use a magnetic mount. Follow the instructions provided with your Arlo camera for proper attachment.
- Adjust the camera angle: Once the camera is mounted, adjust the angle to ensure it captures the desired area. Ensure that the camera is level, and the field of view is optimized for surveillance.
- Secure the camera: Double-check that the camera is securely fastened to the mounting bracket. Ensure there are no loose connections or wobbling that could potentially affect the camera’s performance.
Repeat this process for each camera you are installing. Take your time to ensure that each camera is properly mounted and positioned correctly before moving on to the next one. If you encounter any difficulties or have questions, refer to the Arlo installation guide or contact customer support for assistance.
With the cameras securely mounted, you have taken a significant step towards enhancing the security of your home. In the next step, we will cover the process of connecting the base station to your Arlo cameras.
Read more: Who Installs Security Cameras
Step 4: Connecting the Base Station
Now that you have successfully mounted your Arlo Home Security Cameras, it’s time to connect the base station. The base station serves as the central hub that communicates with your cameras, allowing you to access live video feeds and recordings. Follow these steps to connect the base station:
- Choose a central location: Select a central location in your home for the base station. It should be within range of your Wi-Fi router and easily accessible.
- Connect the power adapter: Plug one end of the power adapter into the base station and the other end into a power outlet. Ensure that the power adapter is securely connected and that the base station’s power LED is lit.
- Connect the Ethernet cable: Use the provided Ethernet cable to connect the base station to your router or modem. Insert one end into the base station’s Ethernet port and the other end into an available Ethernet port on your router.
- Power on the base station: Press the power button on the base station to turn it on. Wait for the base station to fully power up and establish a connection with your network.
- Check the LED indicators: Pay attention to the LED indicators on the base station. The power LED should be solid green, and the internet LED should be solid or blinking green to indicate a successful connection.
- Position the base station: Once the base station is connected, position it in a secure spot, ideally near your Wi-Fi router. Make sure it is stable, has proper ventilation, and is not obstructed by any objects or walls that could interfere with signal reception.
By following these steps, you will have successfully connected your Arlo base station to your home network. The base station acts as the central control hub for your Arlo cameras and facilitates seamless communication between the cameras and the Arlo mobile app. In the next step, we will cover the process of powering on the cameras.
When installing Arlo Home Security Cameras, make sure to place them in a high, strategic location to get the best view of the area you want to monitor. Also, ensure that the cameras are within range of your Wi-Fi network for a strong connection.
Step 5: Powering On the Cameras
With the base station connected, it’s time to power on your Arlo Home Security Cameras. Depending on the model you have, the power source options may vary. Follow these steps to power on your cameras:
- Battery-powered cameras: If you have Arlo cameras that run on batteries, open the battery compartment on each camera and insert the appropriate batteries. Make sure to follow the polarity markings and close the battery compartment securely.
- Power adapter: If your Arlo cameras come with a power adapter option, connect the power adapter to each camera’s power port and plug it into a power outlet. Ensure that the connection is secure.
- Hybrid cameras: Some Arlo cameras offer a hybrid power option, allowing you to use both batteries and a power adapter. Follow the respective instructions for your specific camera model to set up the hybrid power configuration.
- Verify power status: Once the cameras are powered on, check the LED indicators on each camera. Depending on the model, the LED may flash or change colors to indicate that the cameras are on and functioning properly.
It’s important to note that battery life varies depending on usage and other factors. Regularly monitor the battery status of your Arlo cameras and replace or recharge the batteries as needed to ensure continuous monitoring.
With your Arlo cameras powered on, you are one step closer to enjoying the benefits of your home security system. In the next step, we will guide you through the process of setting up the Arlo mobile app on your mobile device.
Step 6: Setting Up the Arlo Mobile App
Setting up the Arlo mobile app is a crucial step in managing and accessing your Arlo Home Security Cameras. The app provides you with a convenient way to view live video feeds, receive notifications, and control various settings. Follow these steps to set up the Arlo mobile app:
- Download and install the app: Go to the App Store or Google Play Store on your mobile device. Search for the “Arlo” app and download it onto your device. Install the app and wait for it to complete.
- Create an Arlo account: Open the Arlo app and tap on the option to create a new account. Follow the prompts to enter your email address and create a password. Make sure to choose a strong and unique password for added security.
- Log in to your Arlo account: Once you have created an account, log in using your email address and password. You may be prompted to verify your email address. Follow the instructions provided to complete the verification process.
- Add the base station to the app: In the Arlo app, tap on the option to add a device or base station. Follow the prompts to select your specific Arlo model and enter the necessary information to connect to your base station. This usually involves scanning a QR code or entering a unique serial number.
- Connect the app to your base station: Wait for the app to establish a connection with your base station. Once connected, you should see a confirmation message indicating successful pairing.
- Complete the app setup: Follow any additional setup prompts or instructions provided by the app to customize your preferences, such as notifications, motion detection settings, and video quality.
By following these steps, you will have successfully set up the Arlo mobile app, allowing you to access and control your Arlo Home Security Cameras from your mobile device. In the next step, we will cover the process of syncing the cameras with the base station.
Step 7: Syncing the Cameras with the Base Station
Syncing your Arlo Home Security Cameras with the base station is a critical step in ensuring that the cameras communicate effectively and function properly. Follow these steps to sync your cameras with the base station:
- Ensure the base station is powered on: Make sure that the base station is powered on and connected to your network. The LED indicators on the base station should confirm its status.
- Launch the Arlo app: Open the Arlo mobile app on your mobile device and log in to your Arlo account.
- Access the sync mode: Navigate to the settings menu in the Arlo app and locate the sync mode option. This mode allows you to pair your cameras with the base station.
- Press the sync button on the base station: On the base station, locate the sync button. Press and release this button to initiate the sync mode.
- Add each camera: Within a short time after activating the sync mode on the base station, press the sync button on each camera. This typically involves pressing a small button located on the camera or its mounting bracket.
- Confirm successful syncing: Watch for the LED indicators on the cameras. They should briefly flash to indicate successful pairing with the base station. The Arlo app will also provide a confirmation message for each successfully synced camera.
- Name the cameras: Once all the cameras have been successfully synced, the app will prompt you to name each camera for easy identification. Take note of their respective locations or positions to assign appropriate names.
By following these steps, you will have successfully synced your Arlo Home Security Cameras with the base station, enabling seamless communication and functionality. In the next step, we will discuss testing and adjusting camera angles to ensure optimal coverage.
Read more: How To Install Lorex Security Camera
Step 8: Testing and Adjusting Camera Angles
After syncing your Arlo Home Security Cameras with the base station, it’s time to test and adjust the camera angles to ensure optimal coverage. This step is crucial for capturing clear and relevant footage. Follow these steps to test and adjust your camera angles:
- Access the Arlo app: Open the Arlo mobile app on your mobile device and log in to your Arlo account.
- Select a camera: Choose one of the synced cameras from the app’s home screen. Tap on the camera’s thumbnail to access the live video feed.
- Review the camera’s field of view: Pay close attention to what the camera captures in its current position. Are there any blind spots? Is the angle too wide or narrow? Take note of any areas that are not adequately covered or areas that may not be relevant for surveillance.
- Adjust the camera angle: If necessary, physically adjust the camera’s position or use the app’s pan-and-tilt features to modify the angle remotely. Make sure to aim the camera at the desired target area, ensuring that it captures the necessary details.
- Test the camera’s motion detection: Trigger the camera’s motion detection by moving in its field of view. Verify that the camera detects motion properly and sends you the expected notifications.
- Repeat the process for other cameras: Test and adjust the angles for all of your synced cameras, ensuring each camera covers its intended area effectively.
- Consider camera positioning accessories: If you find it challenging to achieve the desired angle or coverage, explore additional camera positioning accessories, such as mounts or brackets. These accessories can provide additional flexibility in adjusting the camera’s position.
By thoroughly testing and adjusting the camera angles, you can ensure that your Arlo Home Security Cameras capture the necessary footage and provide effective surveillance coverage. In the next step, we will cover the process of arming and disarming your cameras.
Step 9: Arming and Disarming the Cameras
Arming and disarming your Arlo Home Security Cameras allows you to control when the cameras actively monitor and record. This step is essential for optimizing your system’s functionality and conserving battery life. Follow these steps to arm and disarm your cameras:
- Access the Arlo app: Open the Arlo mobile app on your mobile device and log in to your Arlo account.
- Choose a mode: Navigate to the settings menu in the app and locate the “Modes” or “Arming” section. The modes represent different scenarios or situations for camera functionality, such as “Home,” “Away,” or “Schedule.”
- Select a mode to modify: Choose the relevant mode that you want to adjust, such as the “Away” mode for when you’re not at home.
- Configure camera behavior: Once in the mode settings, you can customize the behavior of each camera. Decide whether you want the cameras to record, send notifications, or take specific actions, such as enabling motion detection or audio detection.
- Arm the cameras: Once you have configured the desired camera behavior, toggle the arm button in the selected mode to activate the cameras. This will enable them to monitor, record, and notify you according to the settings you defined.
- Disarm the cameras: When you want to deactivate the cameras, simply toggle the disarm button in the selected mode. This will temporarily disable camera monitoring and recording, conserving battery life and reducing notifications.
- Set up a schedule (optional): If you prefer to automate the arming and disarming process, you can set up a schedule within the mode settings. This allows you to specify days and times when the cameras should automatically arm and disarm based on your routine.
By arming and disarming your cameras according to your specific needs and preferences, you can maintain control over when they actively monitor and record. This ensures that you only capture relevant footage and extend the battery life of your Arlo Home Security Cameras.
Congratulations! You have successfully completed the installation and setup process for your Arlo Home Security Cameras. With your cameras in place, connected to the base station, and configured within the Arlo app, you can now enjoy the peace of mind that comes with a reliable and effective home security system.
Remember to regularly check your cameras, change batteries when necessary, and stay up-to-date with app notifications to ensure ongoing security and surveillance. Additionally, refer to the Arlo documentation and support resources for further assistance and guidance as needed.
Thank you for choosing Arlo and investing in the safety of your home and loved ones. Happy monitoring!
Conclusion
Congratulations! You have reached the end of our comprehensive guide on how to install Arlo Home Security Cameras. By following the step-by-step instructions provided, you have successfully set up a reliable and effective surveillance system to protect your home and loved ones.
Throughout this guide, we walked you through the process of unboxing the cameras, selecting the perfect installation locations, mounting the cameras securely, connecting the base station, powering on the cameras, setting up the Arlo mobile app, syncing the cameras with the base station, testing and adjusting camera angles, and arming and disarming the cameras.
By completing each step diligently and with care, you have ensured that your Arlo Home Security Cameras are optimally positioned, connected, and configured to provide the level of security and peace of mind you desire.
Remember to regularly check the cameras for any maintenance needs, such as battery replacement or cleaning, and keep the Arlo mobile app up to date for the latest features and enhancements. Additionally, refer to the Arlo support resources for any questions or troubleshooting assistance you may require.
Your Arlo Home Security Cameras provide you with the ability to monitor your property, receive notifications of any suspicious activities, and maintain a secure environment for your family and belongings. Enjoy the benefits that come with having a reliable and effective home security system in place.
Thank you for choosing Arlo and taking the important step of securing your home. With these cameras installed, you can now have peace of mind and focus on what matters most—ensuring the safety and well-being of your loved ones.
Frequently Asked Questions about How To Install Arlo Home Security Cameras
Was this page helpful?
At Storables.com, we guarantee accurate and reliable information. Our content, validated by Expert Board Contributors, is crafted following stringent Editorial Policies. We're committed to providing you with well-researched, expert-backed insights for all your informational needs.