Home>Home Security and Surveillance>How To Place Lighting For Outdoor Cameras
Home Security and Surveillance
How To Place Lighting For Outdoor Cameras
Modified: August 20, 2024
Learn how to strategically position outdoor cameras with proper lighting for effective home security and surveillance. Follow these expert tips and enhance your property's safety.
(Many of the links in this article redirect to a specific reviewed product. Your purchase of these products through affiliate links helps to generate commission for Storables.com, at no extra cost. Learn more)
Introduction
Welcome to our comprehensive guide on how to place lighting for outdoor cameras. When it comes to home security and surveillance, proper lighting plays a crucial role in ensuring your cameras can capture clear footage and provide effective monitoring. Whether you are looking to protect your property from intruders or monitor your surroundings for peace of mind, strategic placement of outdoor camera lighting is essential.
In this guide, we will explore the factors to consider when placing outdoor cameras, the different types of outdoor lighting available for cameras, best practices for positioning the lighting, and common mistakes to avoid. By following these guidelines, you can maximize the effectiveness of your outdoor cameras and enhance the overall security of your home.
Properly placed lighting not only improves the visibility of your cameras but also acts as a deterrent to potential intruders. With the right lighting setup, you can ensure that your cameras capture high-quality video footage, even in low-light conditions. Let’s dive in and learn how to optimize the lighting for your outdoor cameras.
Key Takeaways:
- Properly placed outdoor camera lighting enhances home security by deterring intruders and capturing clear footage. Consider factors like entry points, lighting type, and camera positioning for optimal effectiveness.
- Avoid common mistakes like insufficient lighting and misalignment with camera angles to ensure outdoor camera lighting works effectively. Regular maintenance and strategic positioning are key for enhanced home security.
Read more: How To Place Arlo Outdoor Camera
Factors to consider when placing outdoor cameras
When it comes to placing outdoor cameras, there are several important factors to consider. These factors will help you determine the most optimal locations for your cameras, ensuring maximum coverage and effectiveness. Let’s explore these factors in detail:
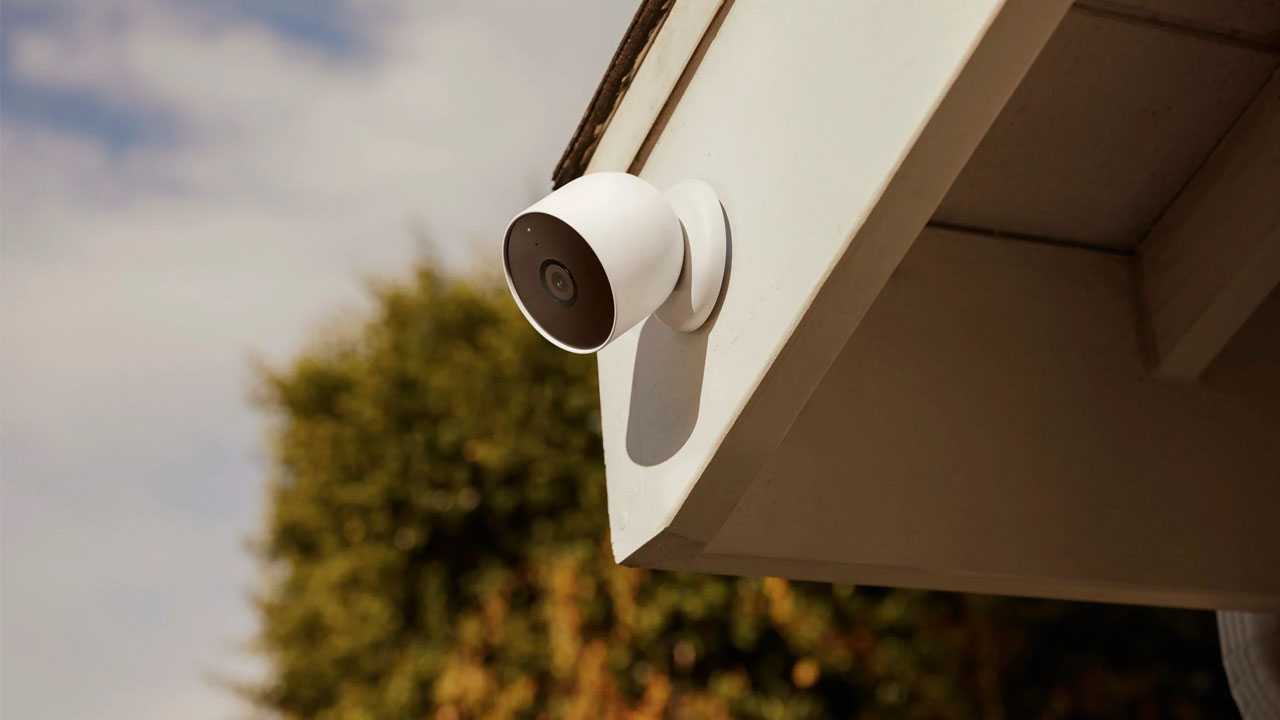
- Entry points: Identify the main entry points of your property, such as doors, windows, and gates. These areas are crucial to monitor, as they are the most common targets for intruders. Place cameras at strategic angles to capture any suspicious activity around these entry points.
- Line of sight: Consider the line of sight from the camera’s perspective. Ensure there are no obstacles that could obstruct the view, such as trees, shrubs, or walls. Clear sightlines are essential to capture accurate and useful footage.
- Height: Determine the optimal height to install your cameras. Mounting them too high may result in a wide-angle view but compromised facial recognition. Mounting them too low could make it easier for potential intruders to tamper with or disable the cameras. Find a balance that offers a good vantage point while keeping the cameras out of reach.
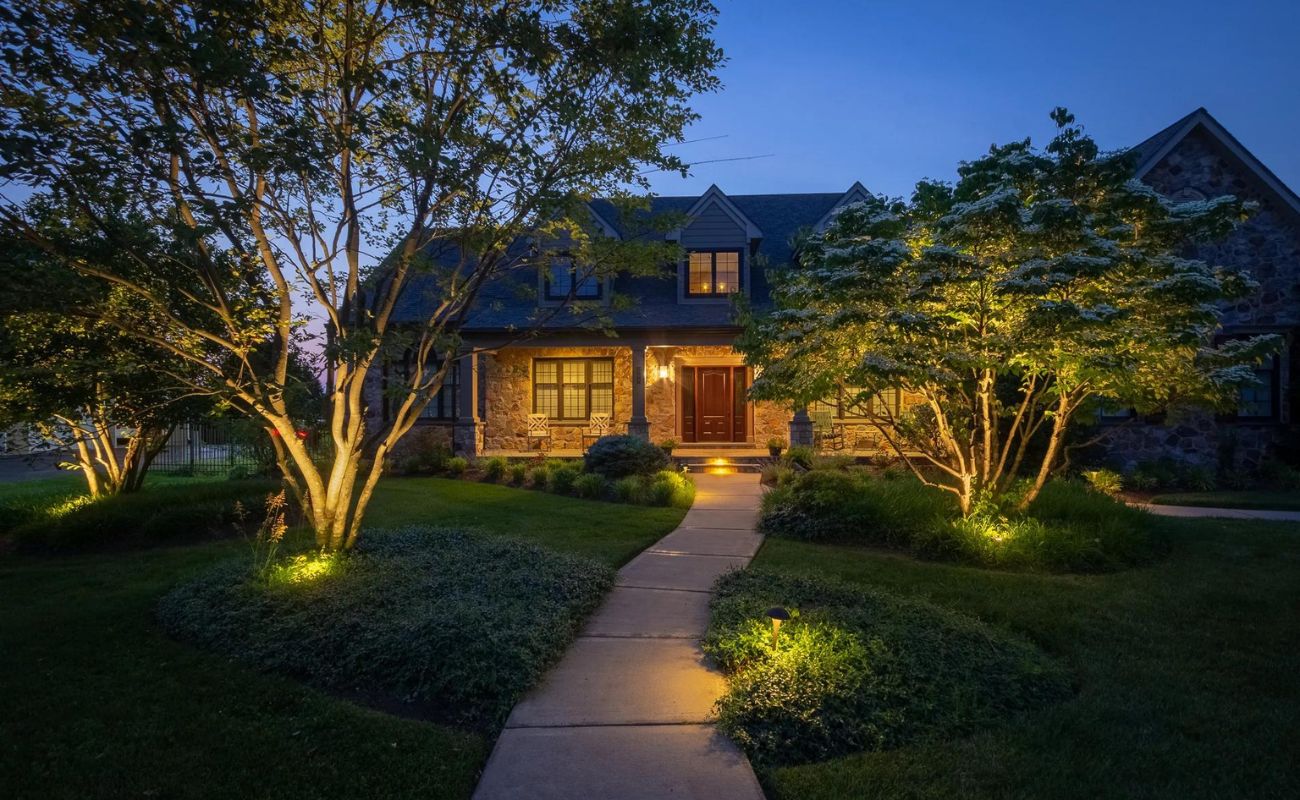
- Lighting conditions: Assess the lighting conditions in the areas you plan to monitor. Places with low light or areas that are completely dark at night may require additional outdoor lighting to ensure clear visibility. Consider the positioning of nearby street lights or install motion-activated lights to improve the quality of your camera footage.
- Weatherproofing: Ensure that your outdoor cameras are weatherproof and built to withstand harsh conditions. Look for cameras with an IP rating, indicating their resistance to dust and water. This will ensure the longevity and reliability of your cameras, regardless of the weather conditions in your area.
- Power source: Determine how your outdoor cameras will be powered. If you opt for wired cameras, ensure that the camera locations have access to power outlets or plan accordingly for discreet wiring. Alternatively, wireless cameras offer more flexibility in terms of placement but require battery maintenance or solar-powered options.
Considering these factors will help you determine the most suitable locations for your outdoor cameras, allowing you to monitor your property effectively and enhance your home security measures.
Types of outdoor lighting for cameras
When it comes to lighting your outdoor cameras, there are several options available, each with its own advantages and considerations. Let’s explore the different types of outdoor lighting that you can use to enhance the effectiveness of your cameras:
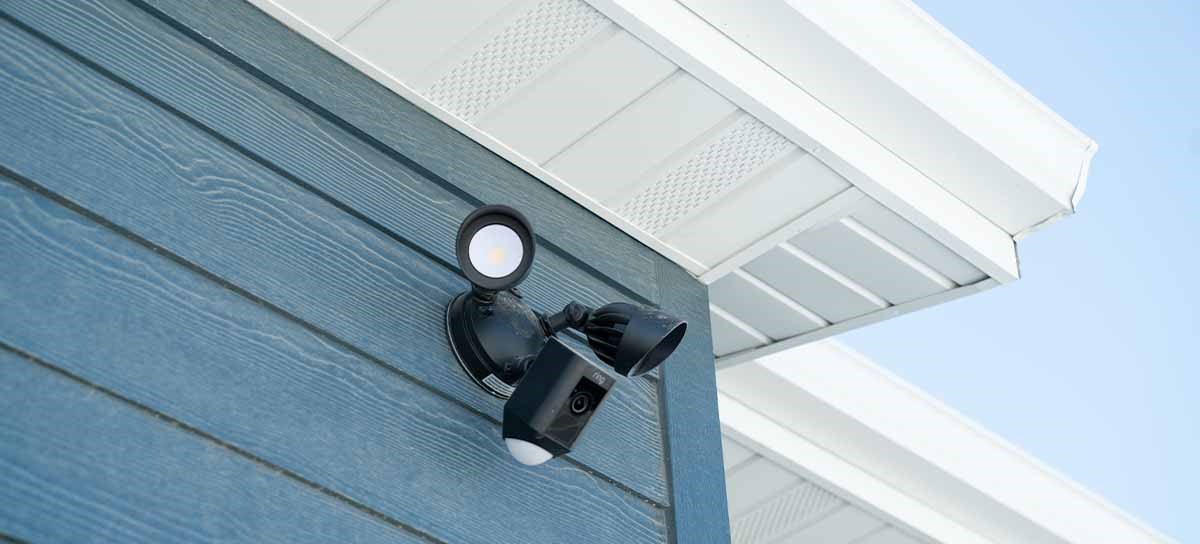
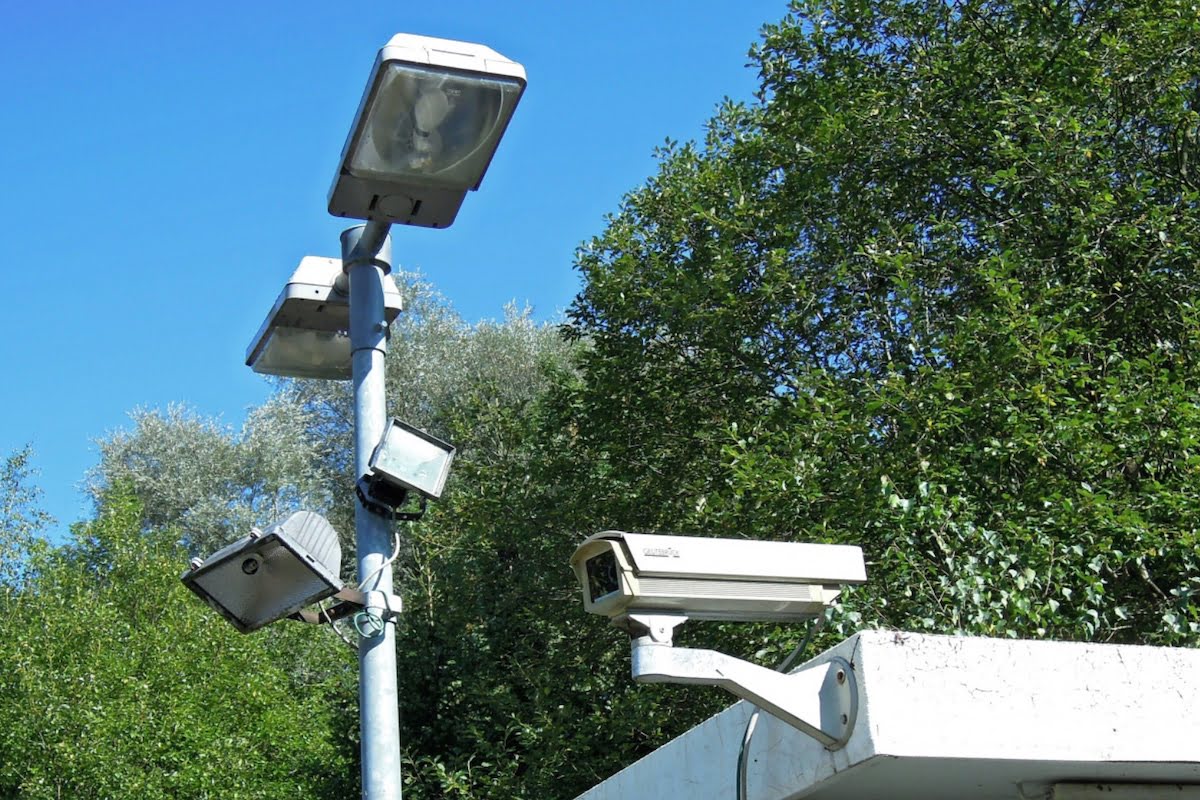
- Floodlights: Floodlights are a popular choice for outdoor camera lighting. These powerful lights provide broad, intense illumination over a large area, making them ideal for illuminating wide outdoor spaces. Floodlights can be either motion-activated or manually controlled, allowing you to customize your lighting preferences.
- Solar-powered lights: Solar-powered lights are an eco-friendly and cost-effective option for outdoor camera lighting. They harness energy from the sun during the day, storing it in built-in batteries to power the lights at night. Solar-powered lights are easy to install and eliminate the need for wiring or reliance on electrical outlets.
- Spotlights: Spotlights are focused, directional lights that emit a bright beam of light. These lights are ideal for highlighting specific areas that require enhanced visibility, such as entrances, driveways, or key points of interest in your camera’s field of view. Spotlights can be mounted on walls or poles and provide a targeted lighting solution.
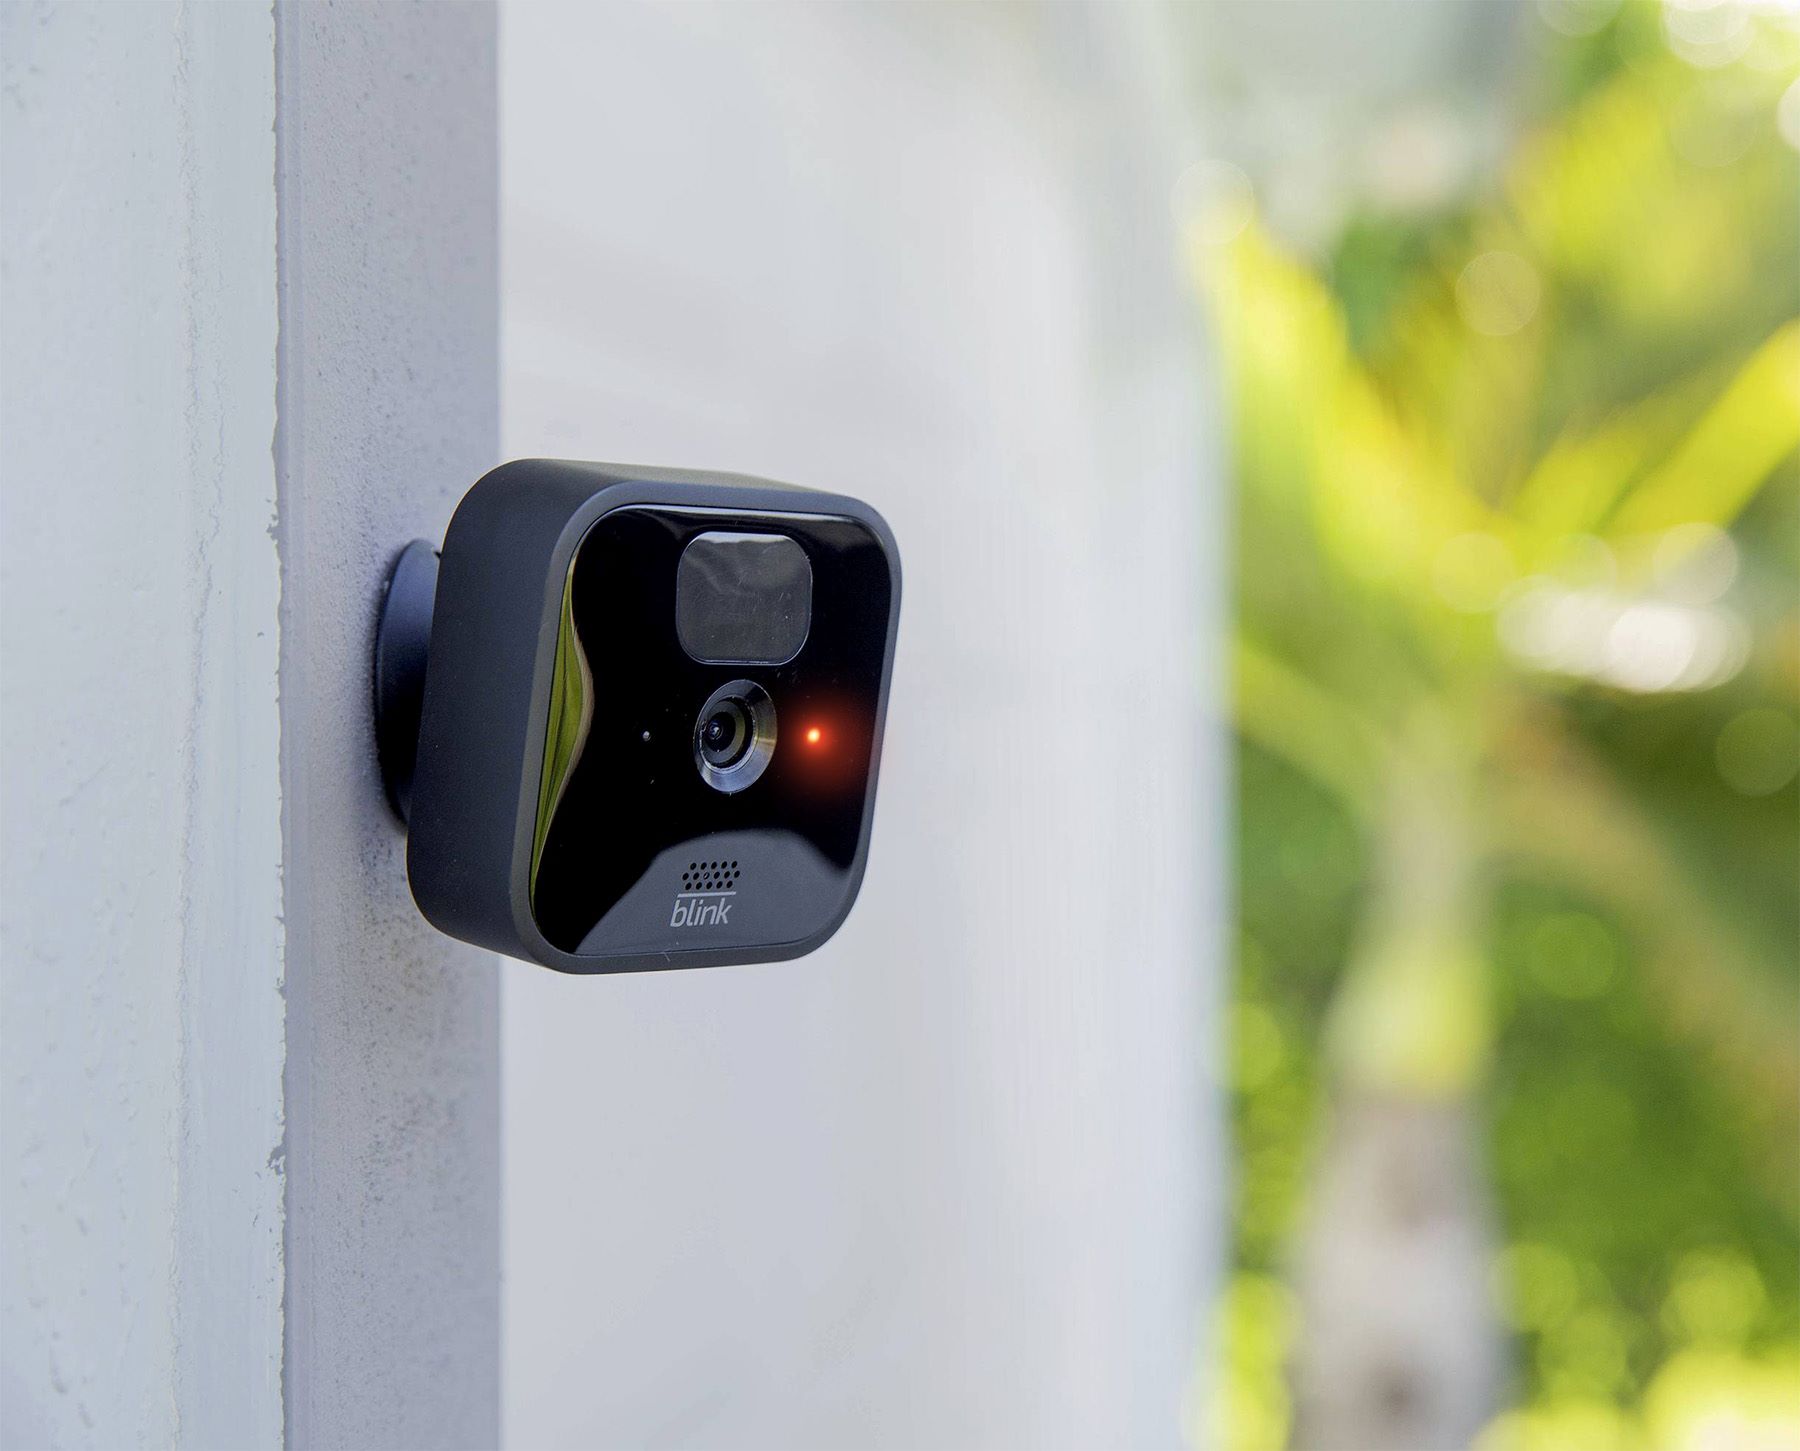
- Motion-activated lights: Motion-activated lights automatically turn on when they detect motion within their range. These lights are beneficial for cameras as they can startle potential intruders and draw attention to their presence. Motion-activated lights are energy-efficient and can serve as a powerful deterrent while conserving electricity.
- Smart lights: Smart lights are a convenient and versatile option for outdoor camera lighting. These lights can be controlled remotely via a smartphone app, allowing you to adjust the timing, brightness, and even change colors. Smart lights can integrate with other smart home devices and be programmed to synchronize with your camera system, enhancing overall security and convenience.
Choosing the right type of outdoor lighting for your cameras depends on your specific needs and preferences. Consider factors such as the size of the area you want to illuminate, the level of brightness required, and the ease of installation. By selecting the appropriate lighting type, you can enhance the visibility of your cameras and ensure accurate video footage even in low-light conditions.
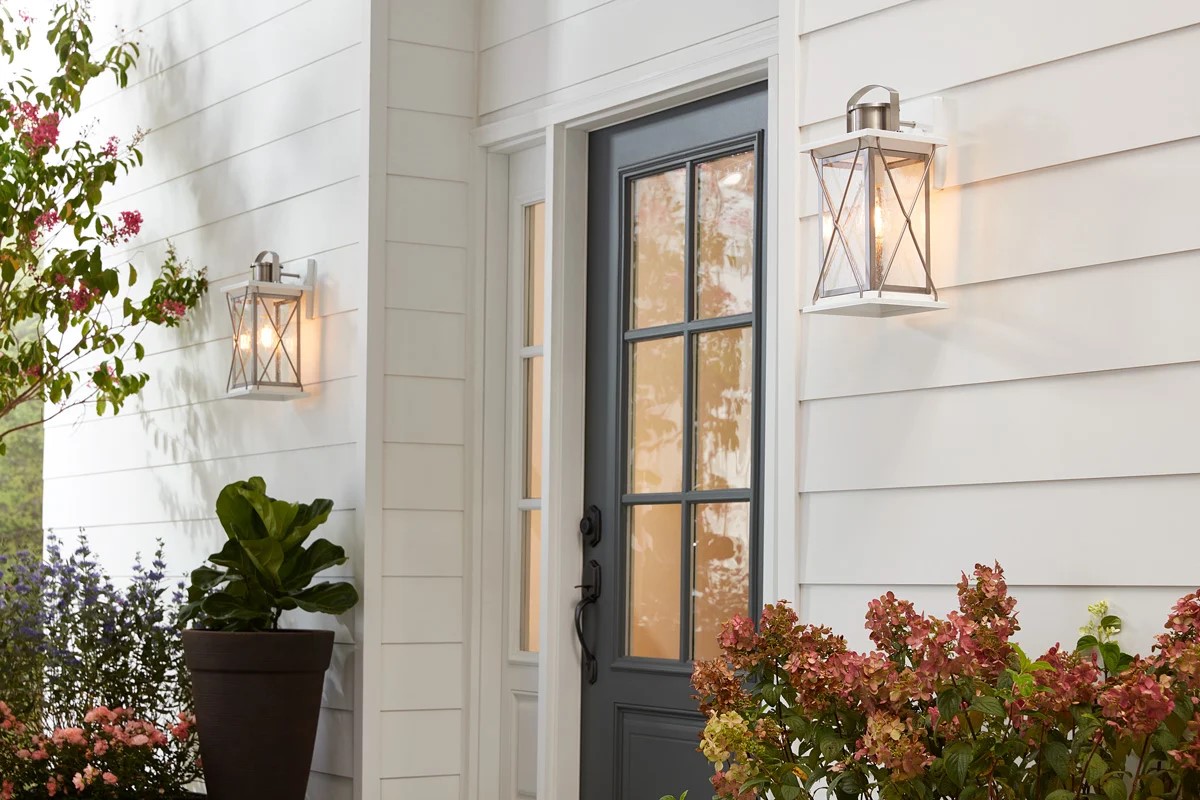
Position outdoor lighting to eliminate shadows and glare, ensuring clear footage for your camera. Place lights above and to the side of the camera for best results.
Best practices for positioning outdoor cameras
Proper positioning of your outdoor cameras is essential to optimize their effectiveness and ensure maximum coverage of your property. Consider the following best practices when positioning your outdoor cameras:
- Cover key entry points: Position your cameras to cover the main entry points of your property, such as doors, windows, and gates. These areas are the most vulnerable and require close monitoring. Place cameras at strategic angles to capture any activity around these entry points.
- Avoid obstructions: Ensure there are no obstructions, such as trees, shrubs, or walls, blocking the camera’s line of sight. Clear sightlines are crucial for capturing accurate and useful footage. Trim any overgrown foliage that may interfere with the camera’s view.
- Use a wide-angle lens: A wide-angle lens will allow your camera to capture a broader field of view. This is particularly useful when monitoring large outdoor areas. It helps minimize blind spots and provides comprehensive coverage.
- Consider camera height: Mount your cameras at a height that provides a suitable view without compromising their accessibility or tamper resistance. This can vary based on the specific area you are monitoring, but a general guideline is to position cameras at a height of 9-10 feet. This height allows for proper facial recognition while keeping the cameras out of easy reach.
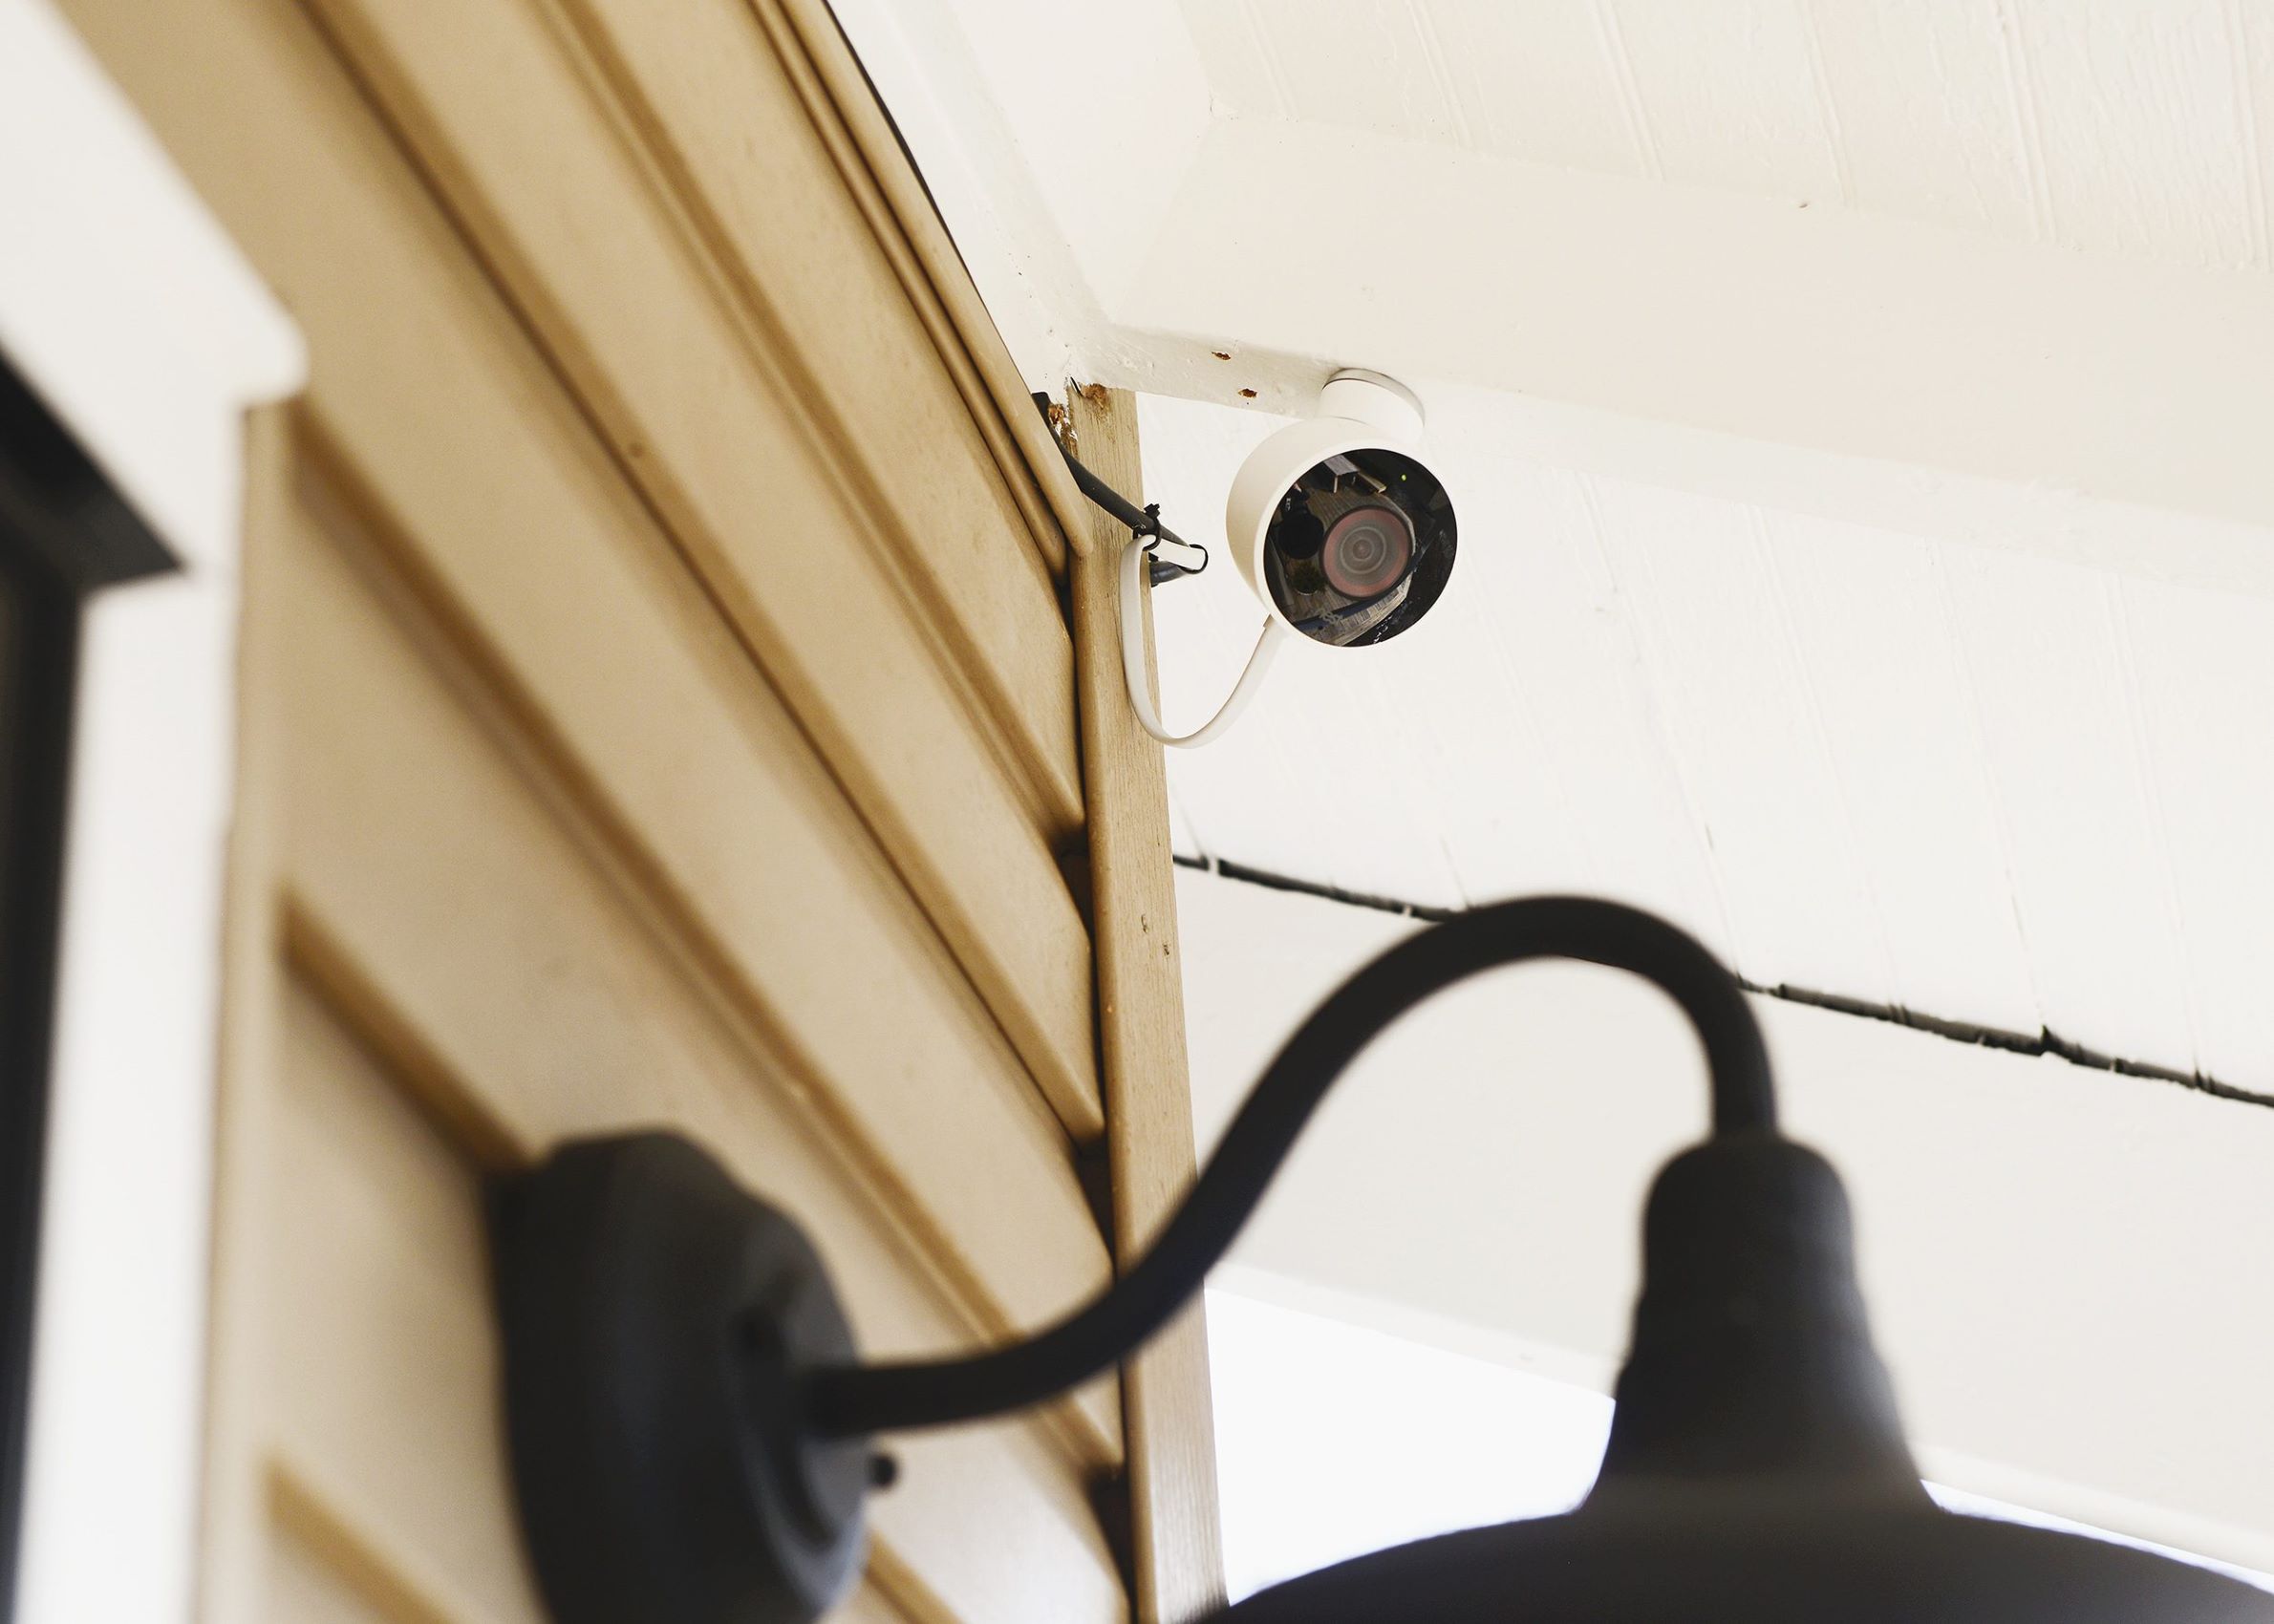
- Secure camera wiring: If you are using wired cameras, make sure to secure the wiring to protect it from tampering or damage. Conceal the wiring as much as possible to prevent intruders from easily identifying and disabling the cameras.
- Consider camera angles: Experiment with different camera angles to find the most optimal view. Tilt the cameras slightly downward to focus more on the ground and entryways, rather than the sky or distant objects. This will improve the camera’s ability to capture details and crucial moments.
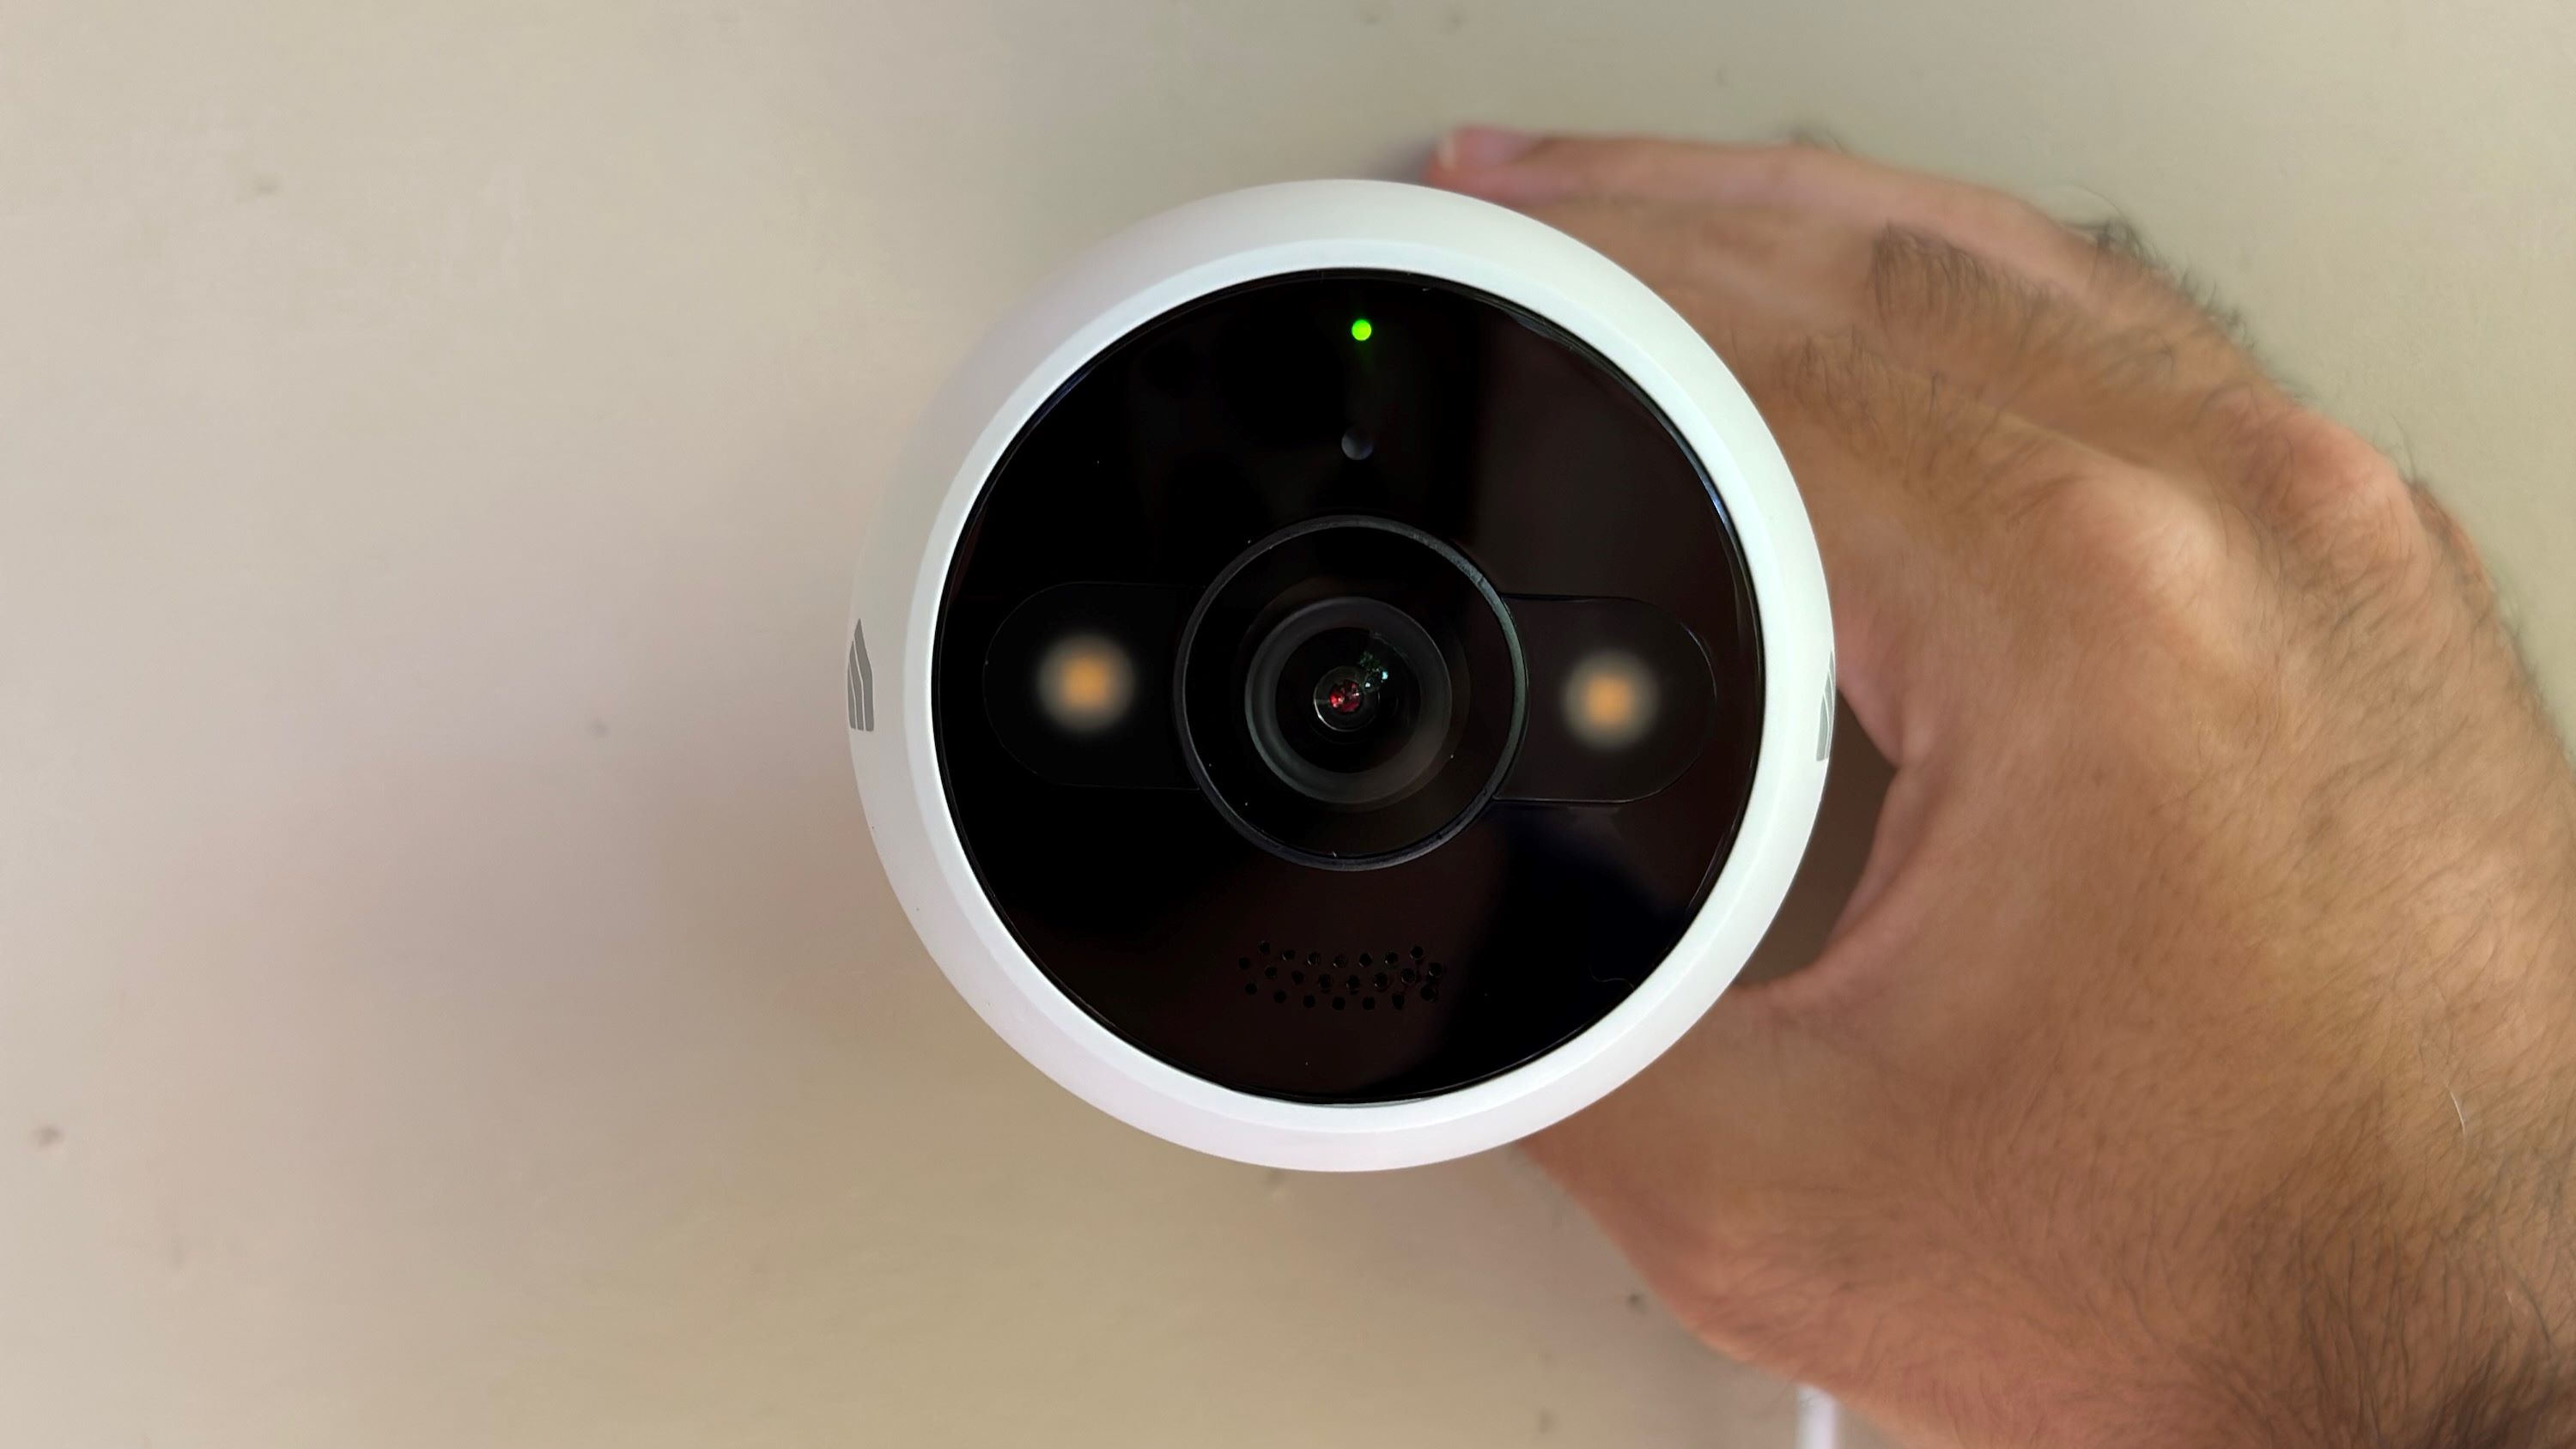
- Utilize night vision capabilities: If your cameras have night vision capabilities, position them where they can take full advantage of this feature. Avoid placing the cameras directly facing bright lights, as it may compromise the night vision quality. Test the night vision mode under various lighting conditions to ensure optimal performance.
By adhering to these best practices, you can position your outdoor cameras strategically to maximize their effectiveness. Keep in mind that each property is unique, so it’s important to assess your specific surroundings and make adjustments accordingly. Regularly evaluate the camera positioning to adapt to any changes in your outdoor environment or security needs.
Common mistakes to avoid when placing outdoor camera lighting
While proper lighting is essential for outdoor cameras, it’s crucial to avoid common mistakes that can compromise their effectiveness. By steering clear of these mistakes, you can ensure optimal performance and functionality of your outdoor camera lighting. Let’s explore some common mistakes to avoid:
- Insufficient lighting: One of the most common mistakes is not providing enough lighting for your outdoor cameras. Inadequate lighting can affect the quality of the captured footage, making it difficult to recognize faces or identify key details. Ensure your outdoor lighting is sufficient to cover the areas you want to monitor.
- Misalignment with camera angles: It’s important to align the lighting with the angles of your outdoor cameras. Improper alignment can create shadows or glare, impeding the camera’s ability to capture clear footage. Consider the position and angle of the light source in relation to the camera to optimize visibility.
- Over-reliance on ambient lighting: Depending solely on ambient lighting, such as street lights or neighboring properties, may not provide adequate illumination for your outdoor cameras. Supplementing with dedicated camera lighting ensures better visibility and reduces the risk of dark areas where potential intruders can go undetected.
- Unprotected lighting fixtures: Weatherproofing is crucial for outdoor lighting fixtures. Failing to choose weather-resistant materials or neglecting proper installation can lead to damage from rain, snow, or extreme temperatures. Make sure your lighting fixtures are designed to withstand outdoor conditions to ensure longevity and reliability.
- Ignoring lighting control options: Many outdoor lighting options come with adjustable settings, such as brightness controls or motion sensors. Ignoring these control options can result in excessive power consumption or inadequate lighting. Take advantage of these features to customize the lighting settings based on your specific requirements.
- Not considering energy efficiency: Outdoor lighting can consume a significant amount of energy, especially if left on continuously. Neglecting energy efficiency measures, such as using LED lights or motion-activated sensors, can lead to higher electricity bills and unnecessary environmental impact. Opt for energy-efficient lighting solutions to minimize energy consumption.
- Failure to regularly maintain lighting: Proper maintenance is essential for outdoor camera lighting. Ignoring routine cleaning, bulb replacements, or addressing wiring issues can lead to diminished lighting performance and compromise the functionality of your cameras. Establish a maintenance schedule and promptly address any issues to ensure consistent lighting quality.
By avoiding these common mistakes, you can ensure effective placement and functionality of your outdoor camera lighting. Regularly assess and update your lighting setup to maintain optimal visibility and enhance the security of your property.
Read more: Where To Place Outdoor Lights
Conclusion
Proper placement of outdoor camera lighting is crucial for enhancing the effectiveness of your home security and surveillance system. By considering factors such as entry points, line of sight, lighting conditions, and weatherproofing, you can strategically position your outdoor cameras for maximum coverage and visibility. Additionally, choosing the right type of outdoor lighting, such as floodlights, solar-powered lights, spotlights, motion-activated lights, or smart lights, can further enhance the functionality of your cameras.
When positioning your outdoor cameras, it is best to cover key entry points, avoid obstructions, use a wide-angle lens, consider camera height and angles, and secure camera wiring. Taking these best practices into account will ensure optimal performance and minimize blind spots in your camera coverage. Additionally, don’t forget to utilize night vision capabilities and regularly maintain your camera lighting to ensure consistent functionality.
On the other hand, it’s important to avoid common mistakes such as insufficient lighting, misalignment with camera angles, over-reliance on ambient lighting, unprotected lighting fixtures, ignoring lighting control options, not considering energy efficiency, and failing to regularly maintain lighting. By avoiding these pitfalls, you can ensure that your outdoor camera lighting works effectively and consistently to enhance your home security.
In conclusion, properly placed and well-lit outdoor cameras provide an additional layer of security for your home. By following the guidelines and best practices mentioned in this guide, you can optimize the positioning and lighting of your outdoor cameras, increasing their effectiveness in deterring potential intruders and capturing clear, actionable footage. Remember to periodically assess and update your camera lighting setup to adapt to any changes in your surroundings or security needs. By doing so, you can have peace of mind knowing that you have taken the necessary steps to protect your property and loved ones.
Frequently Asked Questions about How To Place Lighting For Outdoor Cameras
Was this page helpful?
At Storables.com, we guarantee accurate and reliable information. Our content, validated by Expert Board Contributors, is crafted following stringent Editorial Policies. We're committed to providing you with well-researched, expert-backed insights for all your informational needs.