Home>Home Security and Surveillance>How To Use Arlo Security Cameras
Home Security and Surveillance
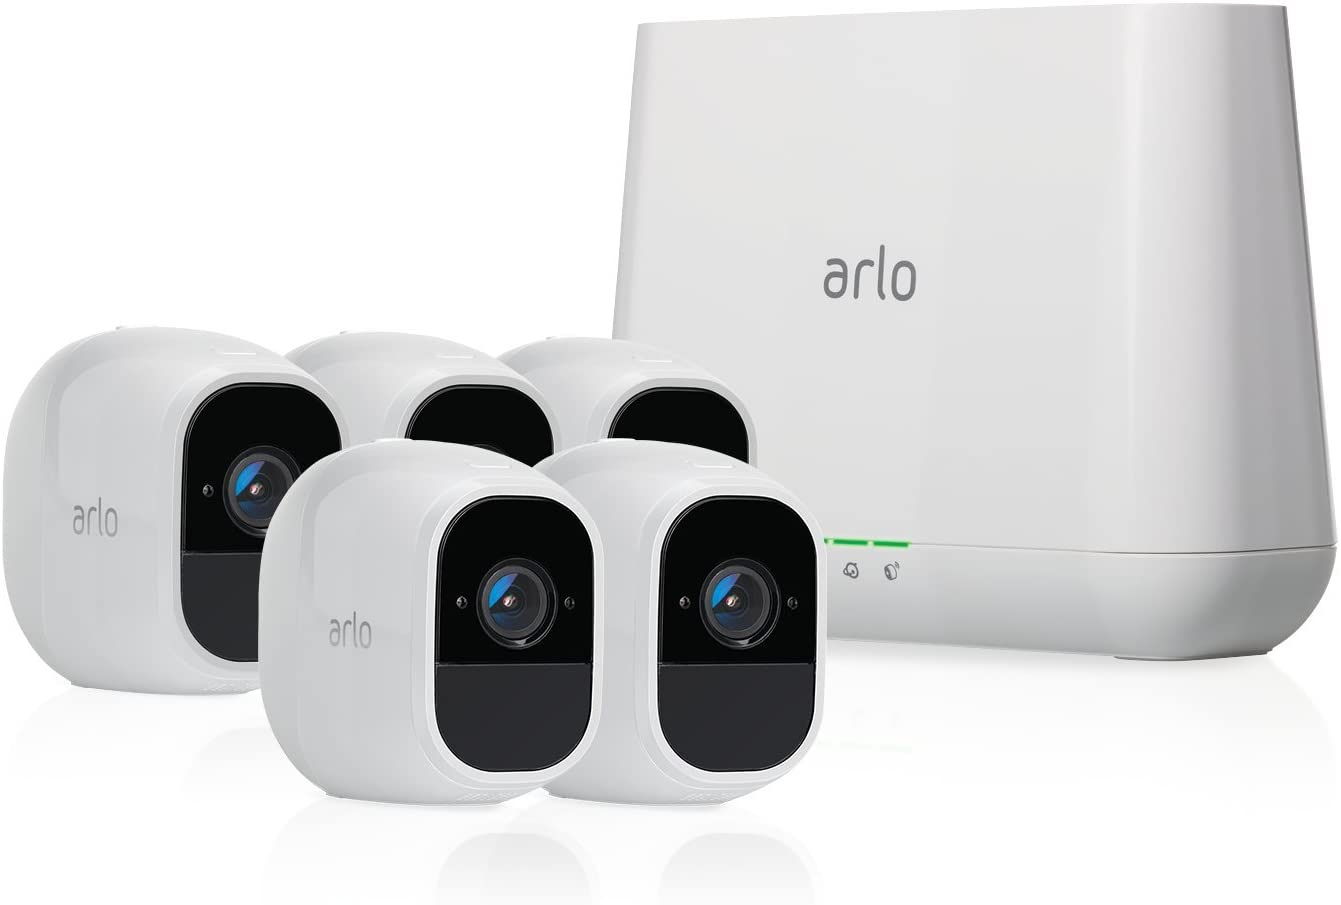
How To Use Arlo Security Cameras
Modified: October 21, 2024
Learn how to effectively use Arlo security cameras for home security and surveillance. Get expert tips and tricks to enhance your home protection.
(Many of the links in this article redirect to a specific reviewed product. Your purchase of these products through affiliate links helps to generate commission for Storables.com, at no extra cost. Learn more)
Introduction
Welcome to the world of home security and surveillance with Arlo cameras! With the advancements in technology, protecting your home and loved ones has never been easier. Arlo offers a range of cutting-edge security cameras that provide you with peace of mind and the ability to monitor your property from anywhere.
Whether you are new to the world of home security or looking to upgrade your existing system, this comprehensive guide will walk you through the process of setting up, configuring, and maximizing the benefits of Arlo security cameras. From the initial setup to accessing footage and understanding additional features, we have you covered.
Arlo cameras are designed to be user-friendly, offering both indoor and outdoor options, high-resolution video capabilities, and advanced features such as motion detection, two-way audio, and night vision. With the ability to connect your Arlo cameras to your Wi-Fi network, you can access and monitor your home remotely through the Arlo app on your smartphone or tablet.
In this guide, we will cover everything you need to know to get started with your Arlo security cameras. From the initial setup process to adjusting camera settings, managing notifications, and reviewing recorded footage, you will have a clear understanding of how to use your Arlo cameras effectively to enhance the security of your home.
So, let’s dive in and discover the world of Arlo security cameras, how to set them up, and how to make the most of their advanced features and capabilities. By the end of this guide, you will be well-equipped to ensure the safety and security of your home, both inside and out.
Key Takeaways:
- Setting up Arlo security cameras is easy! Just choose the right location, sync with the app, and test the cameras for optimal coverage. With Arlo, home security has never been simpler.
- Customize your Arlo camera settings to fit your needs. Adjust video quality, motion detection, and notifications to ensure efficient monitoring and effective security for your home.
Read more: How To Install Arlo Home Security Cameras
Step 1: Setting up your Arlo security cameras
Before you can start enjoying the benefits of Arlo security cameras, you’ll need to set them up properly. Follow these steps to get your cameras up and running:
- Choose the optimal location: Assess your home’s layout and identify areas that require monitoring, such as entrances, driveways, and backyard. Ensure that your chosen location provides a clear view without obstructions.
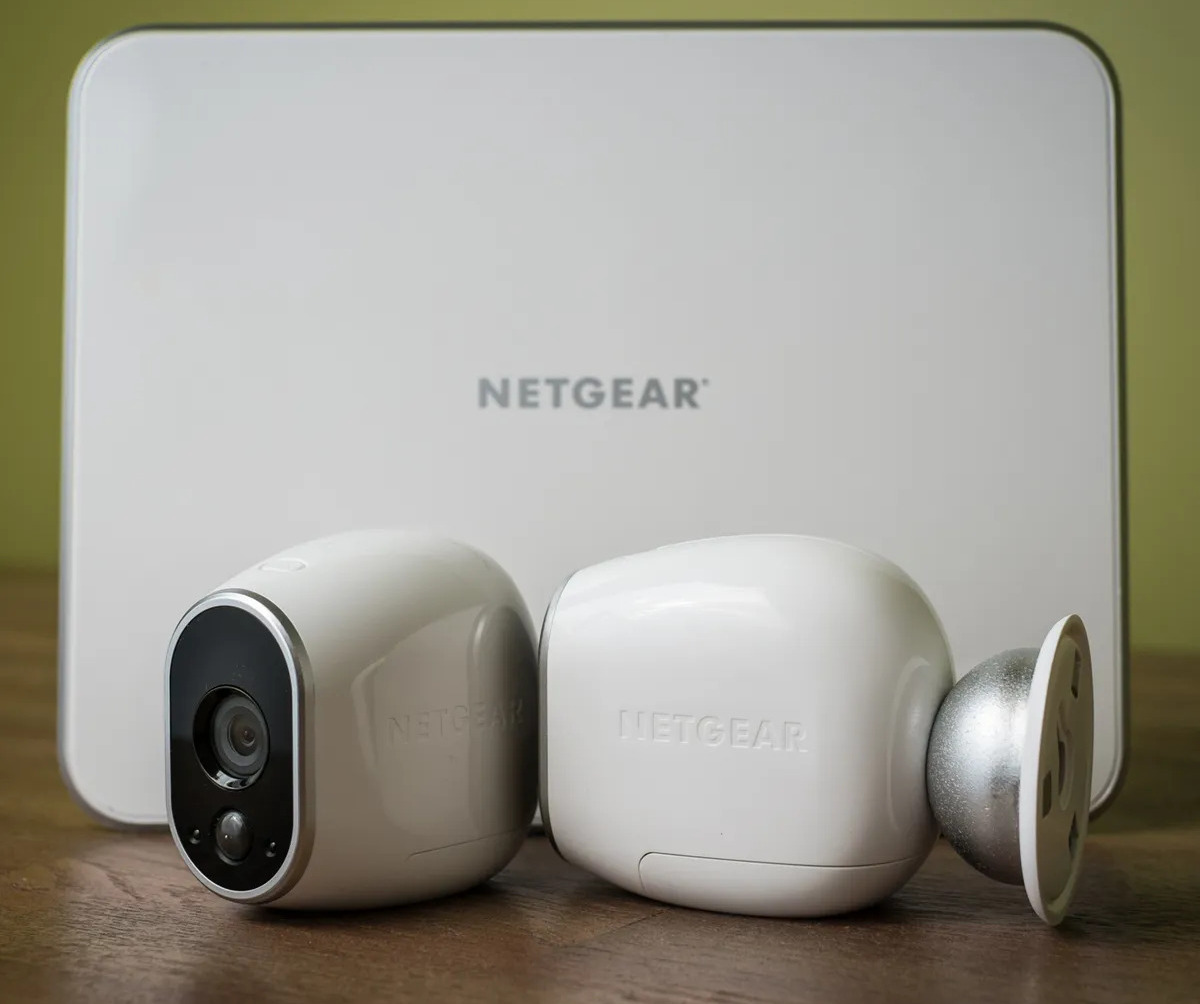
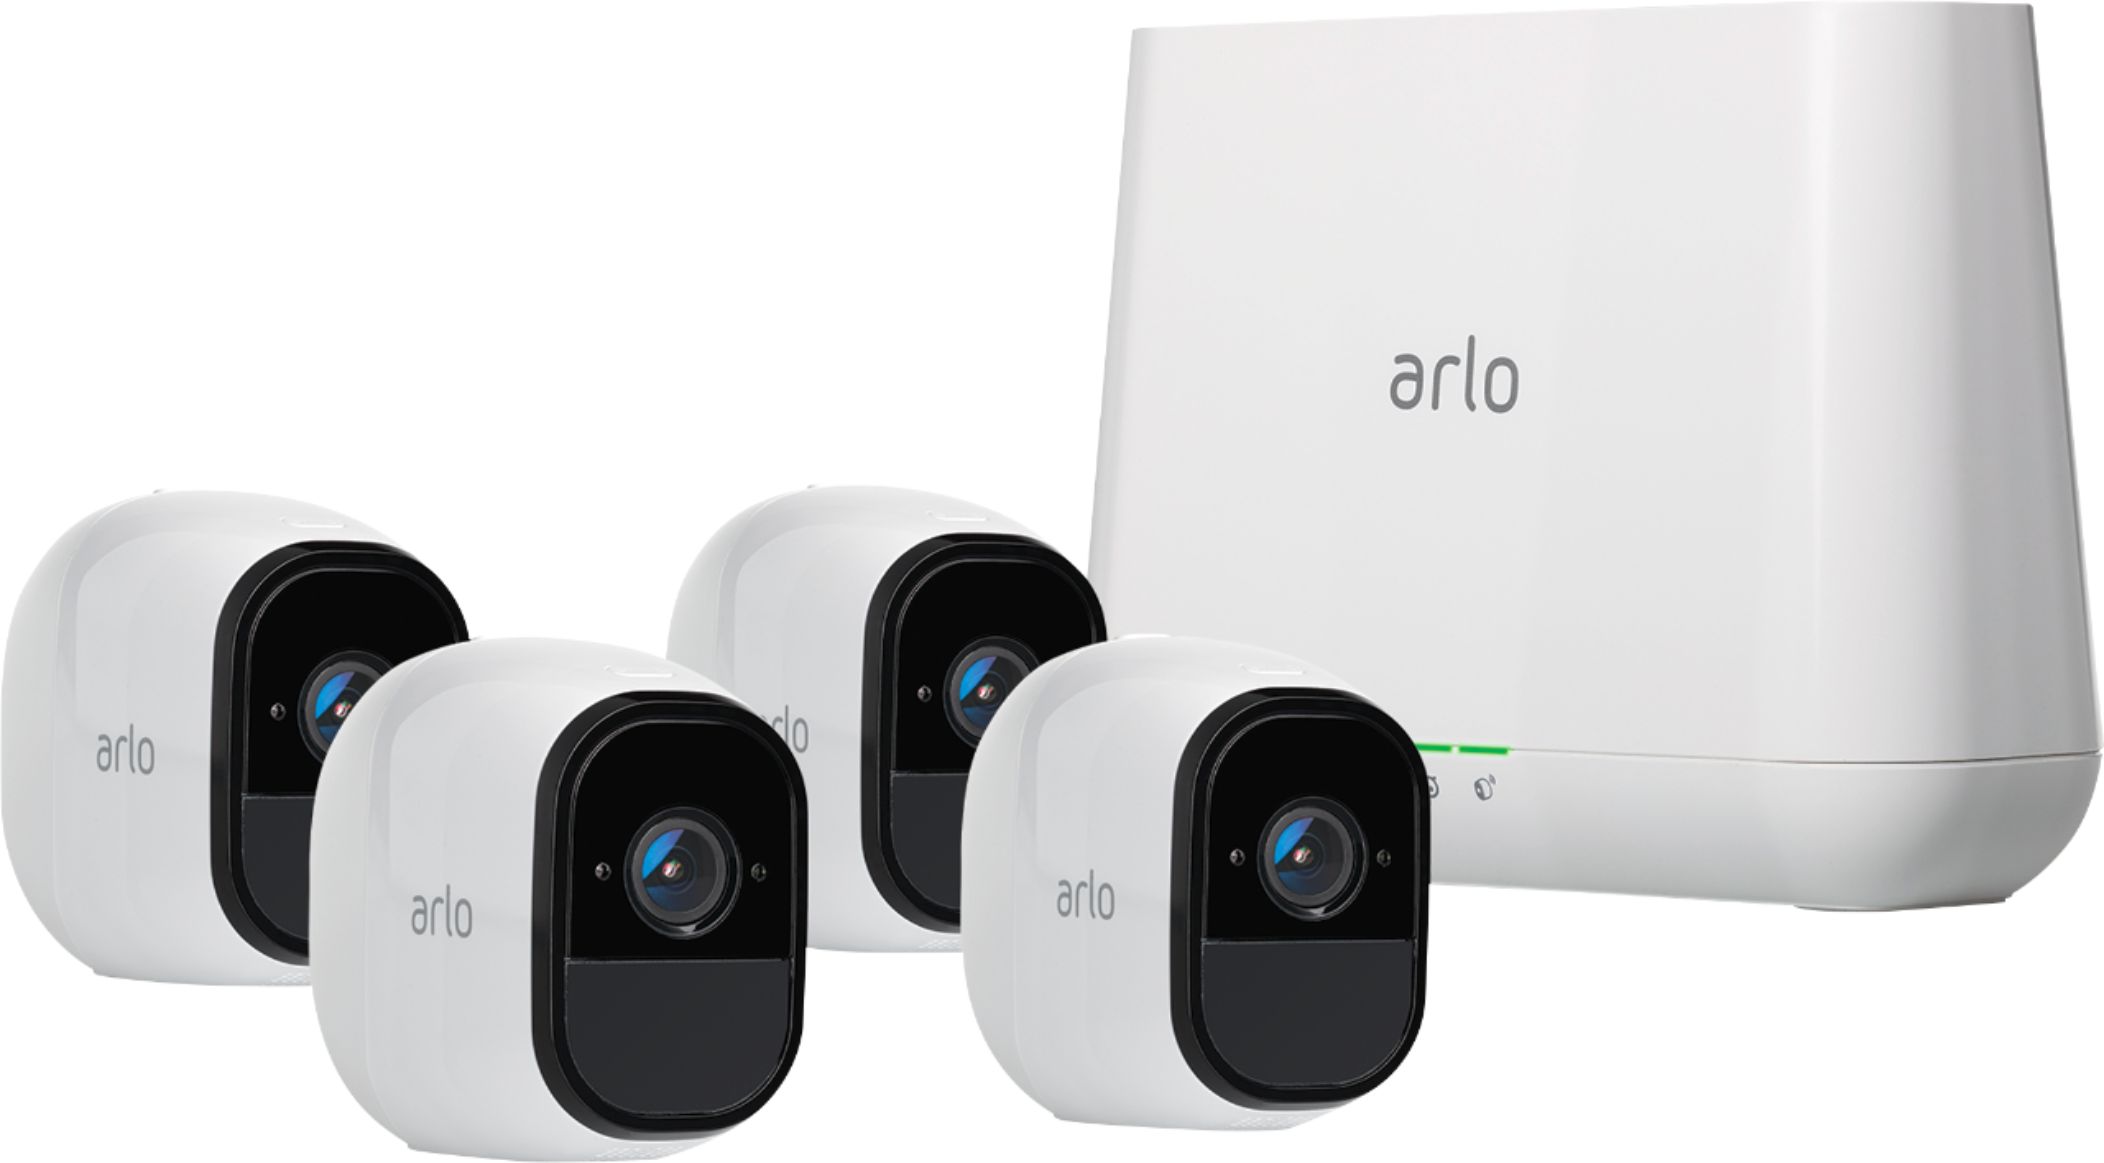
- Unbox your Arlo cameras: Open the package and take out the Arlo cameras, mounting brackets, and other accessories included in the kit.
- Install the battery or connect to power: Depending on the model of your Arlo camera, you’ll either need to insert batteries or connect it to a power source. Follow the instructions provided to ensure the camera has sufficient power.
- Download the Arlo app: On your smartphone or tablet, download the Arlo app from the App Store or Google Play Store. This app will be your central hub for controlling and accessing your Arlo cameras.
- Create an Arlo account: Open the Arlo app and follow the instructions to create a new account. If you already have an account, sign in with your existing credentials.
- Add your cameras to the Arlo app: In the app, tap the “Add Device” option and select “Camera”. Follow the on-screen instructions to sync your camera with the app using either the QR code or serial number provided.
- Connect the Arlo base station: If you have an Arlo base station, connect it to your Wi-Fi router using the included Ethernet cable. Ensure that the base station is powered on and connected to the internet.
- Sync your cameras with the base station: Press the sync button on the base station and then press the sync button on your Arlo camera. The LED lights on both devices should blink, indicating that the sync process is in progress. Once synced, the LED lights will turn solid.
- Test your cameras: With the setup complete, walk around your home to test the camera’s view, motion detection, and range. Adjust the camera position if necessary to ensure optimal coverage.
Setting up your Arlo security cameras is the first step in securing your home. Take the time to choose the right locations for your cameras and ensure they are properly synced with the Arlo app and base station. With everything set up, you are now ready to move on to the next step: connecting your Arlo cameras to your Wi-Fi network.
Step 2: Connecting your Arlo cameras to Wi-Fi
Once you have set up your Arlo cameras, the next important step is to connect them to your Wi-Fi network. Follow these instructions to ensure a seamless connection:
- Launch the Arlo app: Open the Arlo app on your smartphone or tablet and sign in to your Arlo account.
- Go to the Devices section: Navigate to the “Devices” section within the app to view all the camera devices you have set up.
- Select a camera: Choose the camera you want to connect to Wi-Fi from the list of devices.
- Access the camera settings: In the camera settings, select the “Device Settings” option.
- Choose your Wi-Fi network: In the device settings, select the “Wi-Fi Network” option. This will display a list of available Wi-Fi networks in your vicinity.
- Select the correct Wi-Fi network: Locate your home Wi-Fi network from the list and select it.
- Enter your Wi-Fi password: Enter the password for your Wi-Fi network when prompted. Double-check to ensure accuracy.
- Wait for the connection: The Arlo camera will now attempt to connect to your Wi-Fi network. It may take a minute or two for the connection to establish.
- Verify the connection: Once connected, the LED light on your Arlo camera will turn solid green. This indicates a successful connection to your Wi-Fi network.
- Repeat for other cameras: If you have multiple Arlo cameras, repeat the above steps for each camera to connect them to your Wi-Fi network.
Connecting your Arlo cameras to your Wi-Fi network is crucial for remote access and monitoring. Once connected, you can view live video feeds, receive motion alerts, and review recorded footage from anywhere using the Arlo app on your mobile device.
Note: If you experience any issues during the Wi-Fi connection process, ensure that you are within range of your Wi-Fi router and that the Wi-Fi signal is strong. Additionally, double-check that you are entering the correct Wi-Fi password.
With your Arlo cameras successfully connected to your Wi-Fi network, it’s now time to proceed to the next step: mounting your cameras in the desired locations for optimal surveillance coverage.
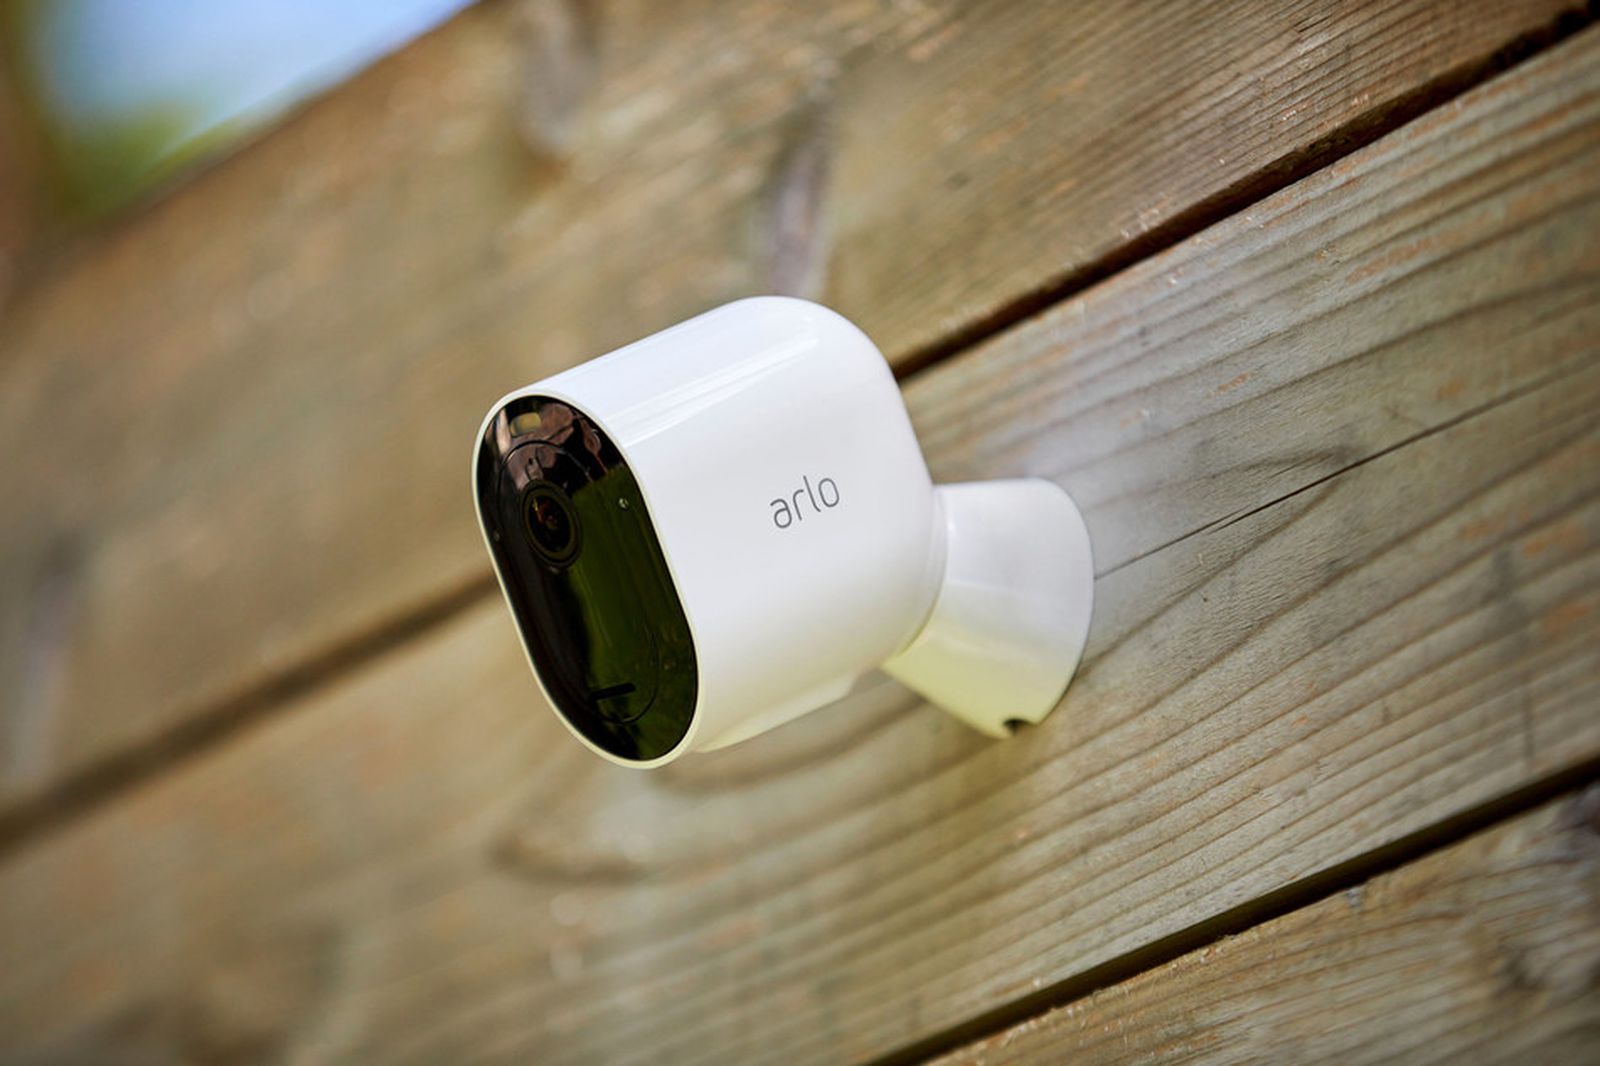
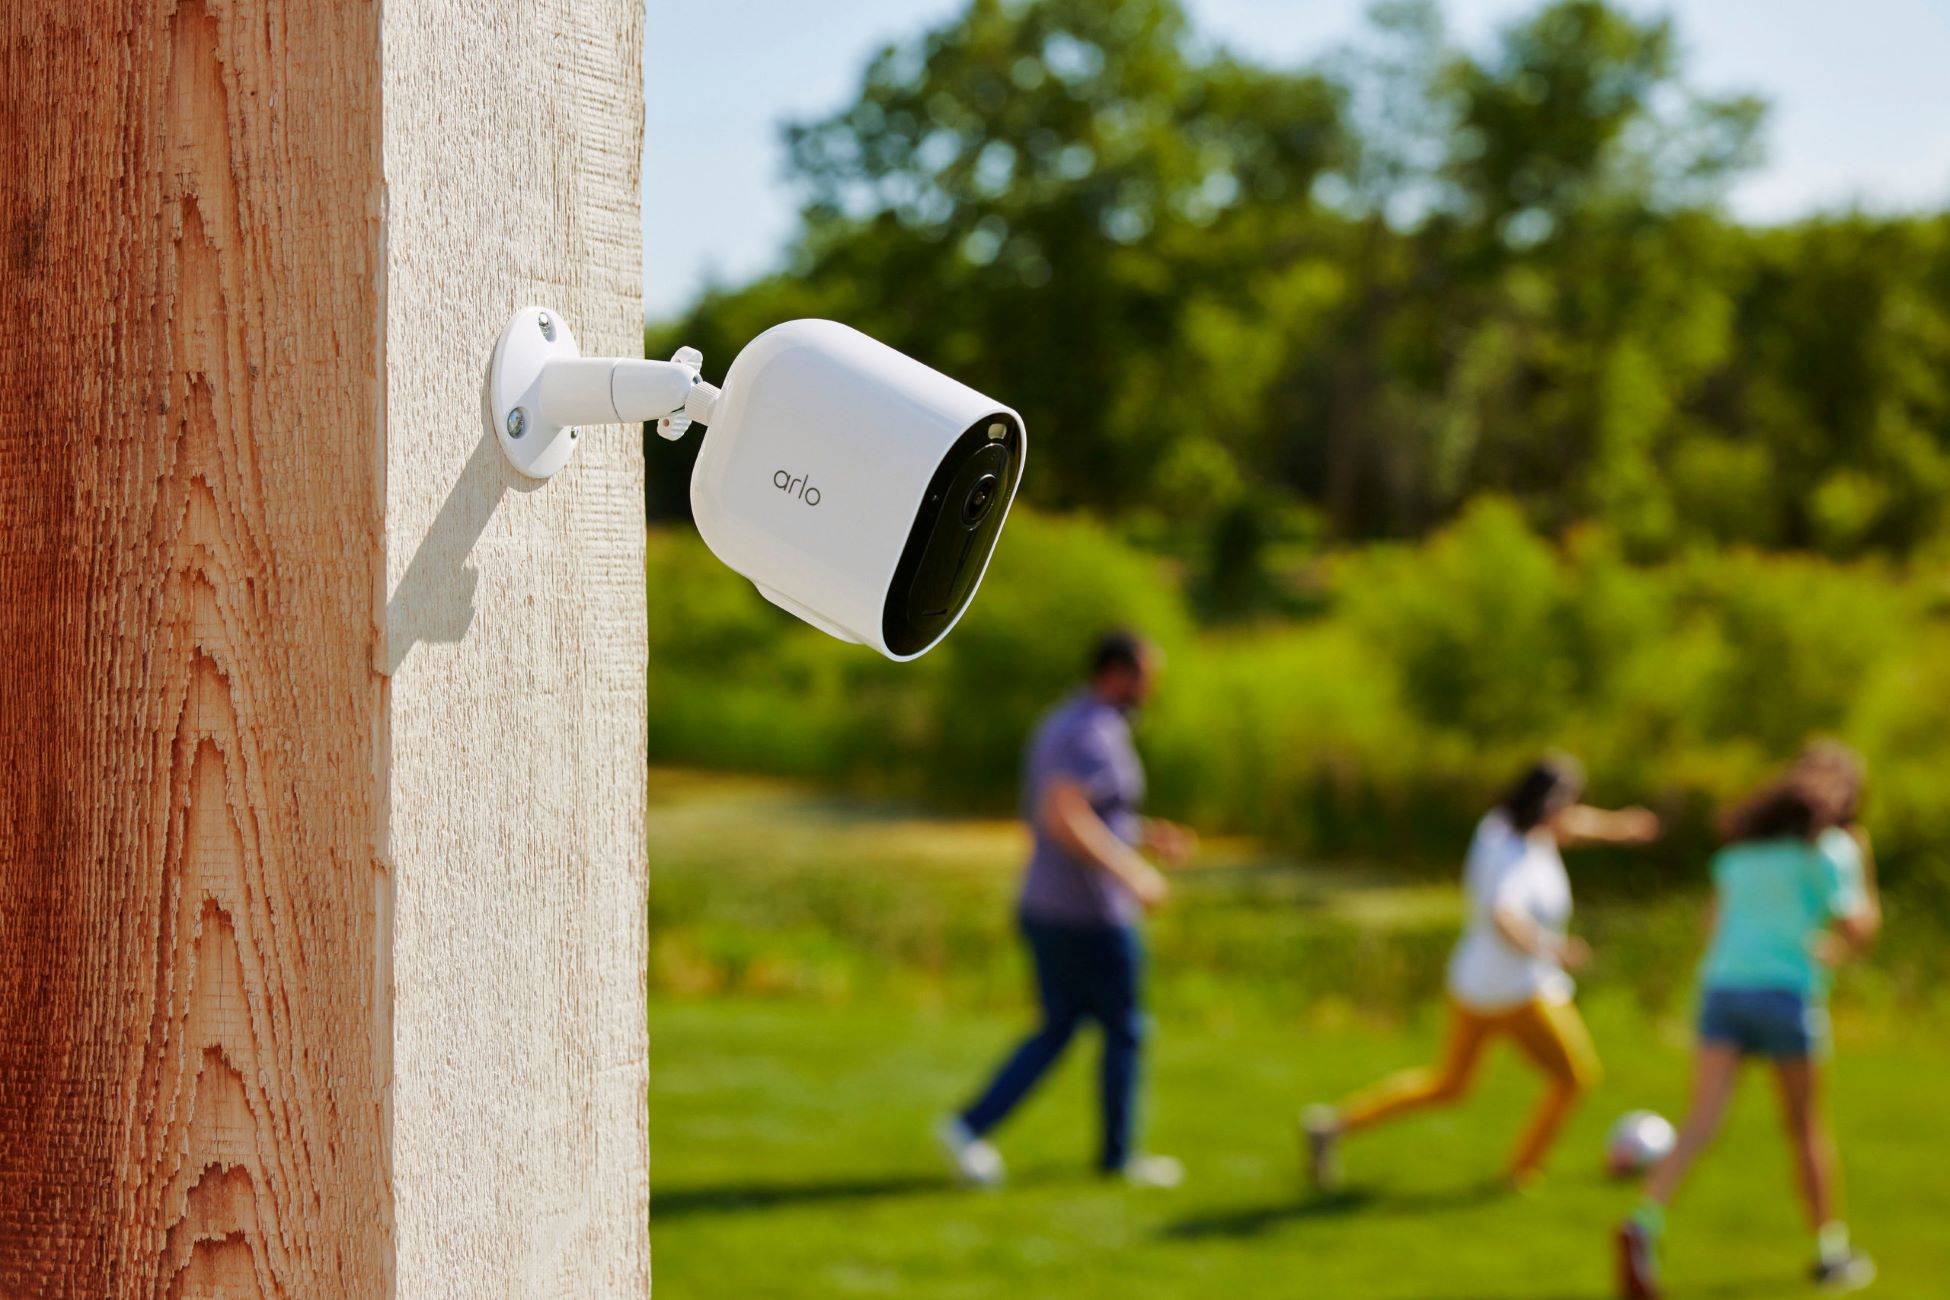
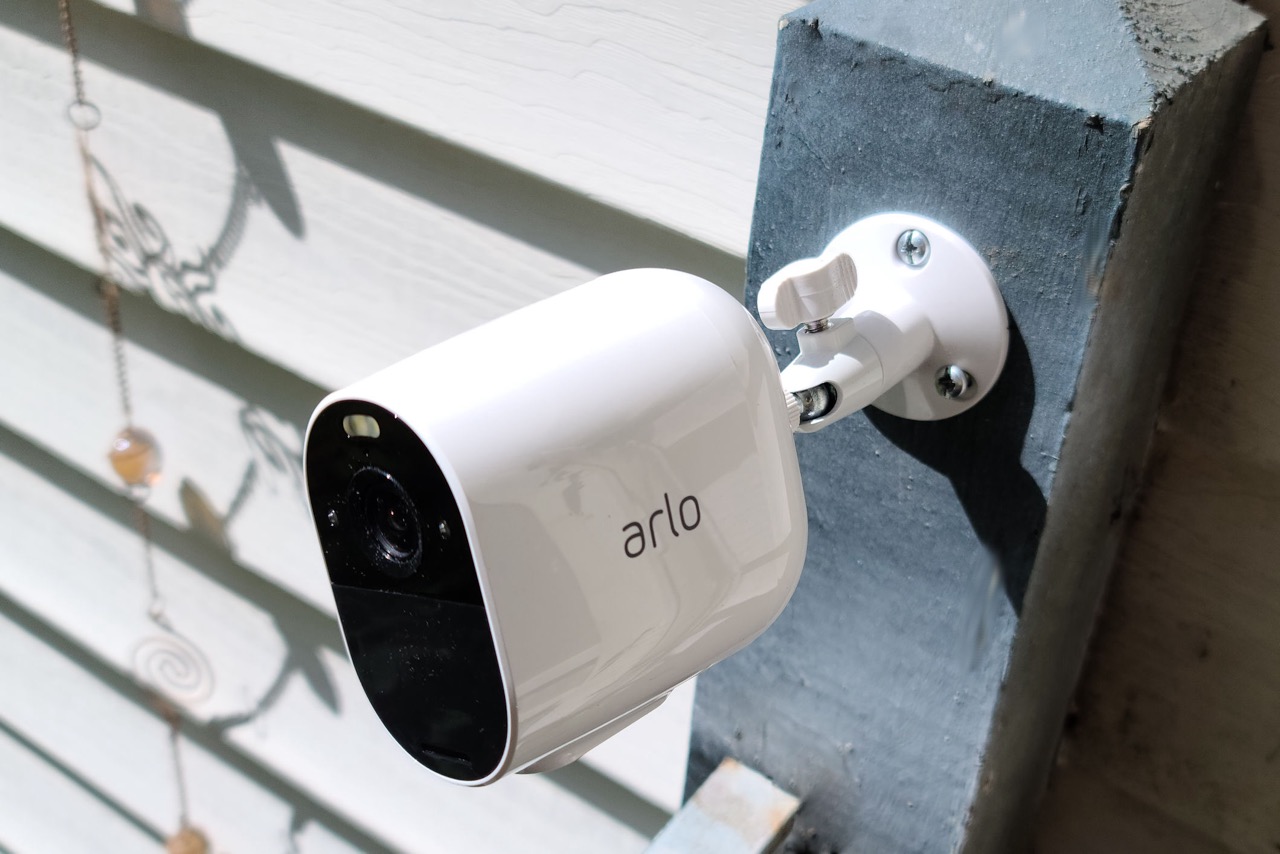
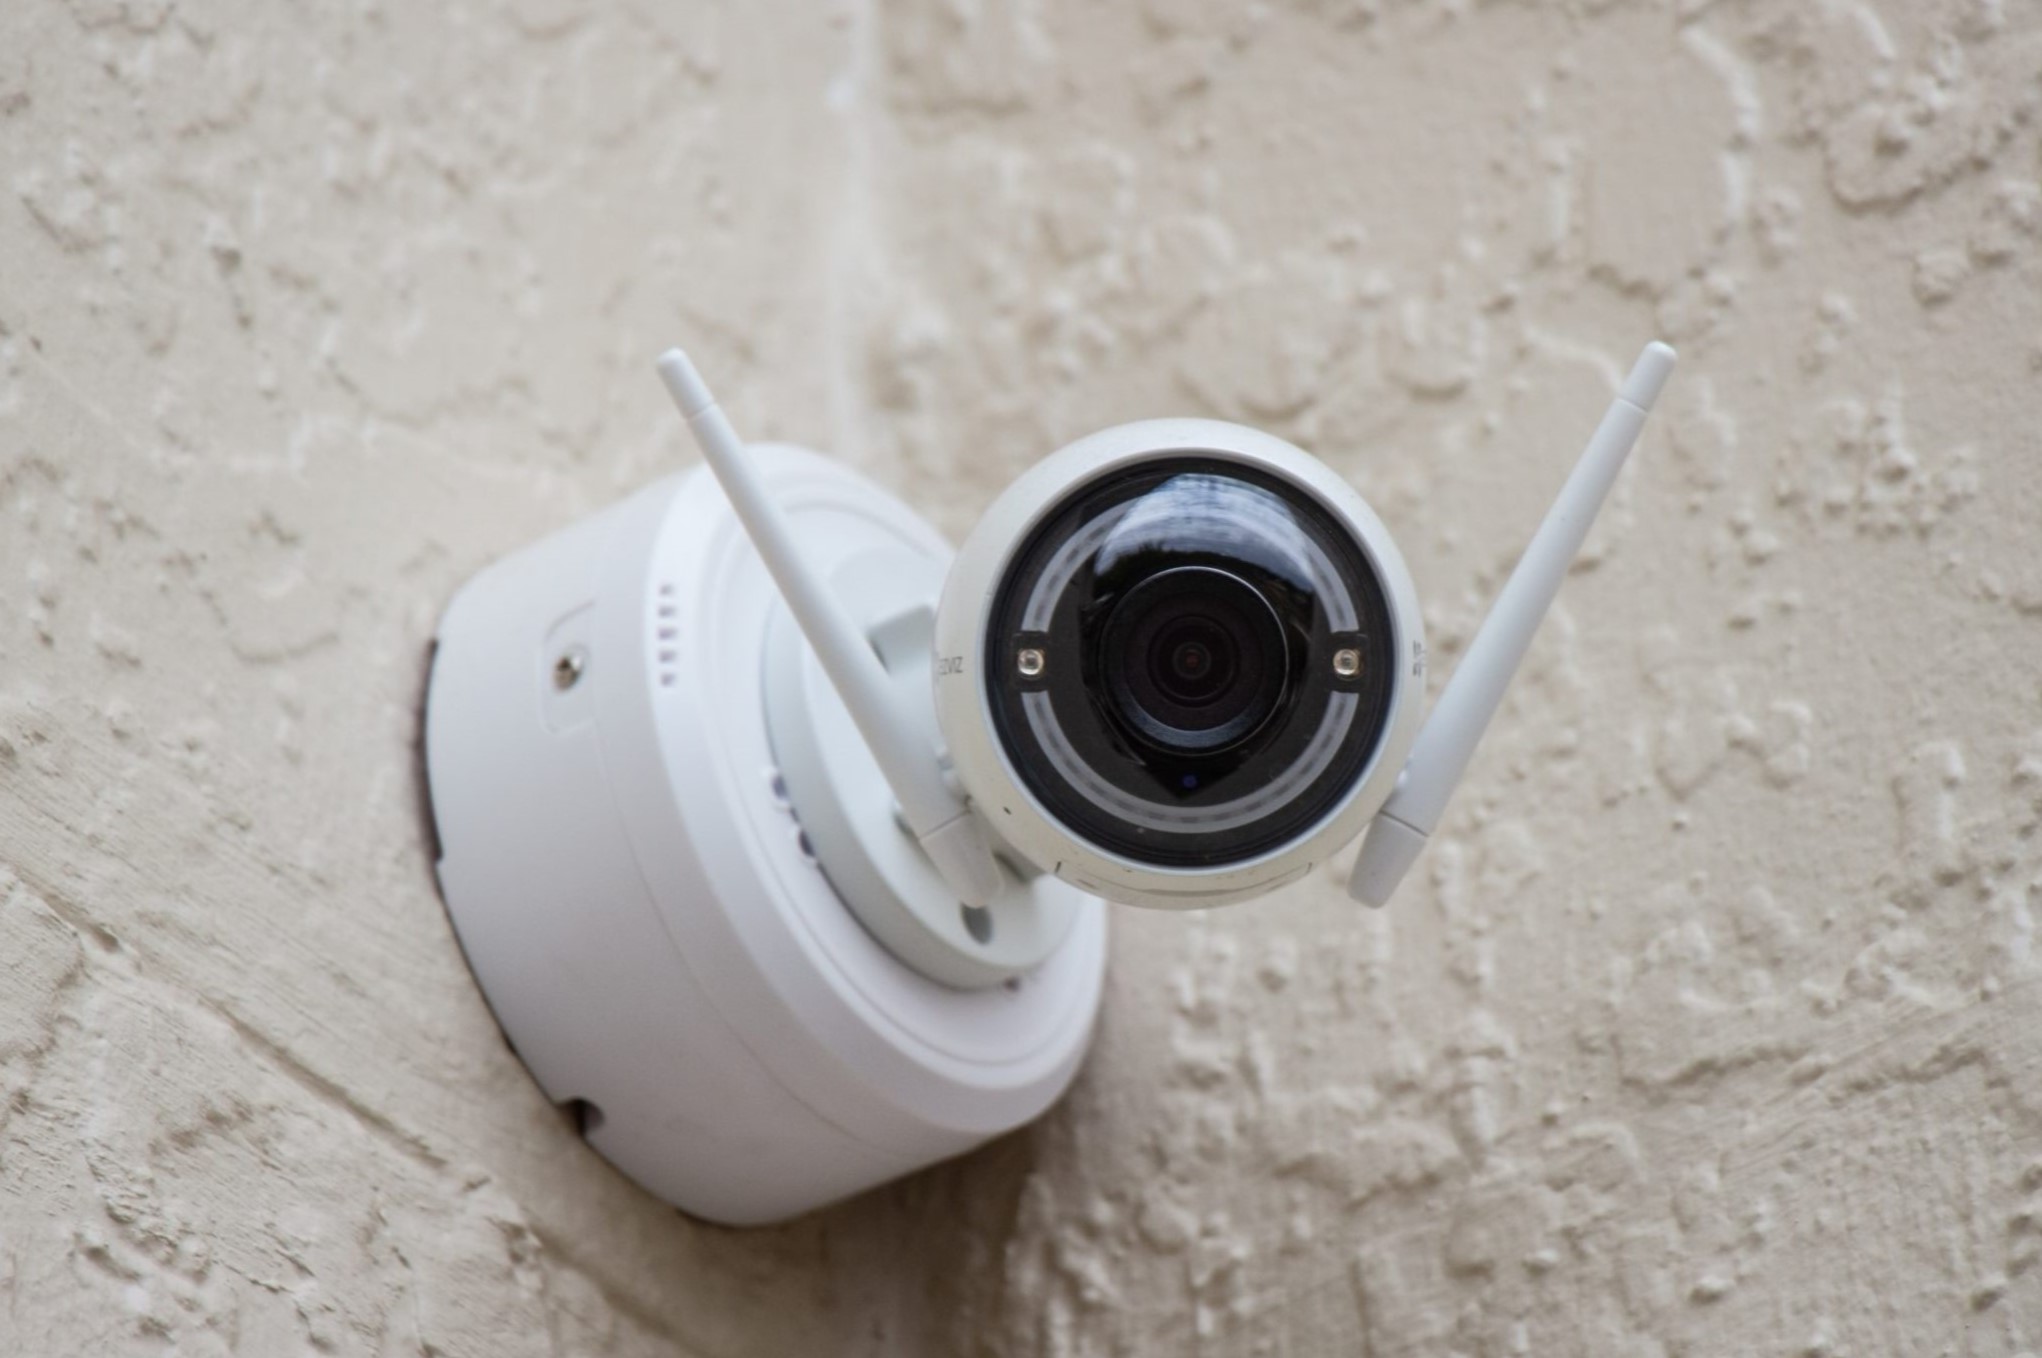
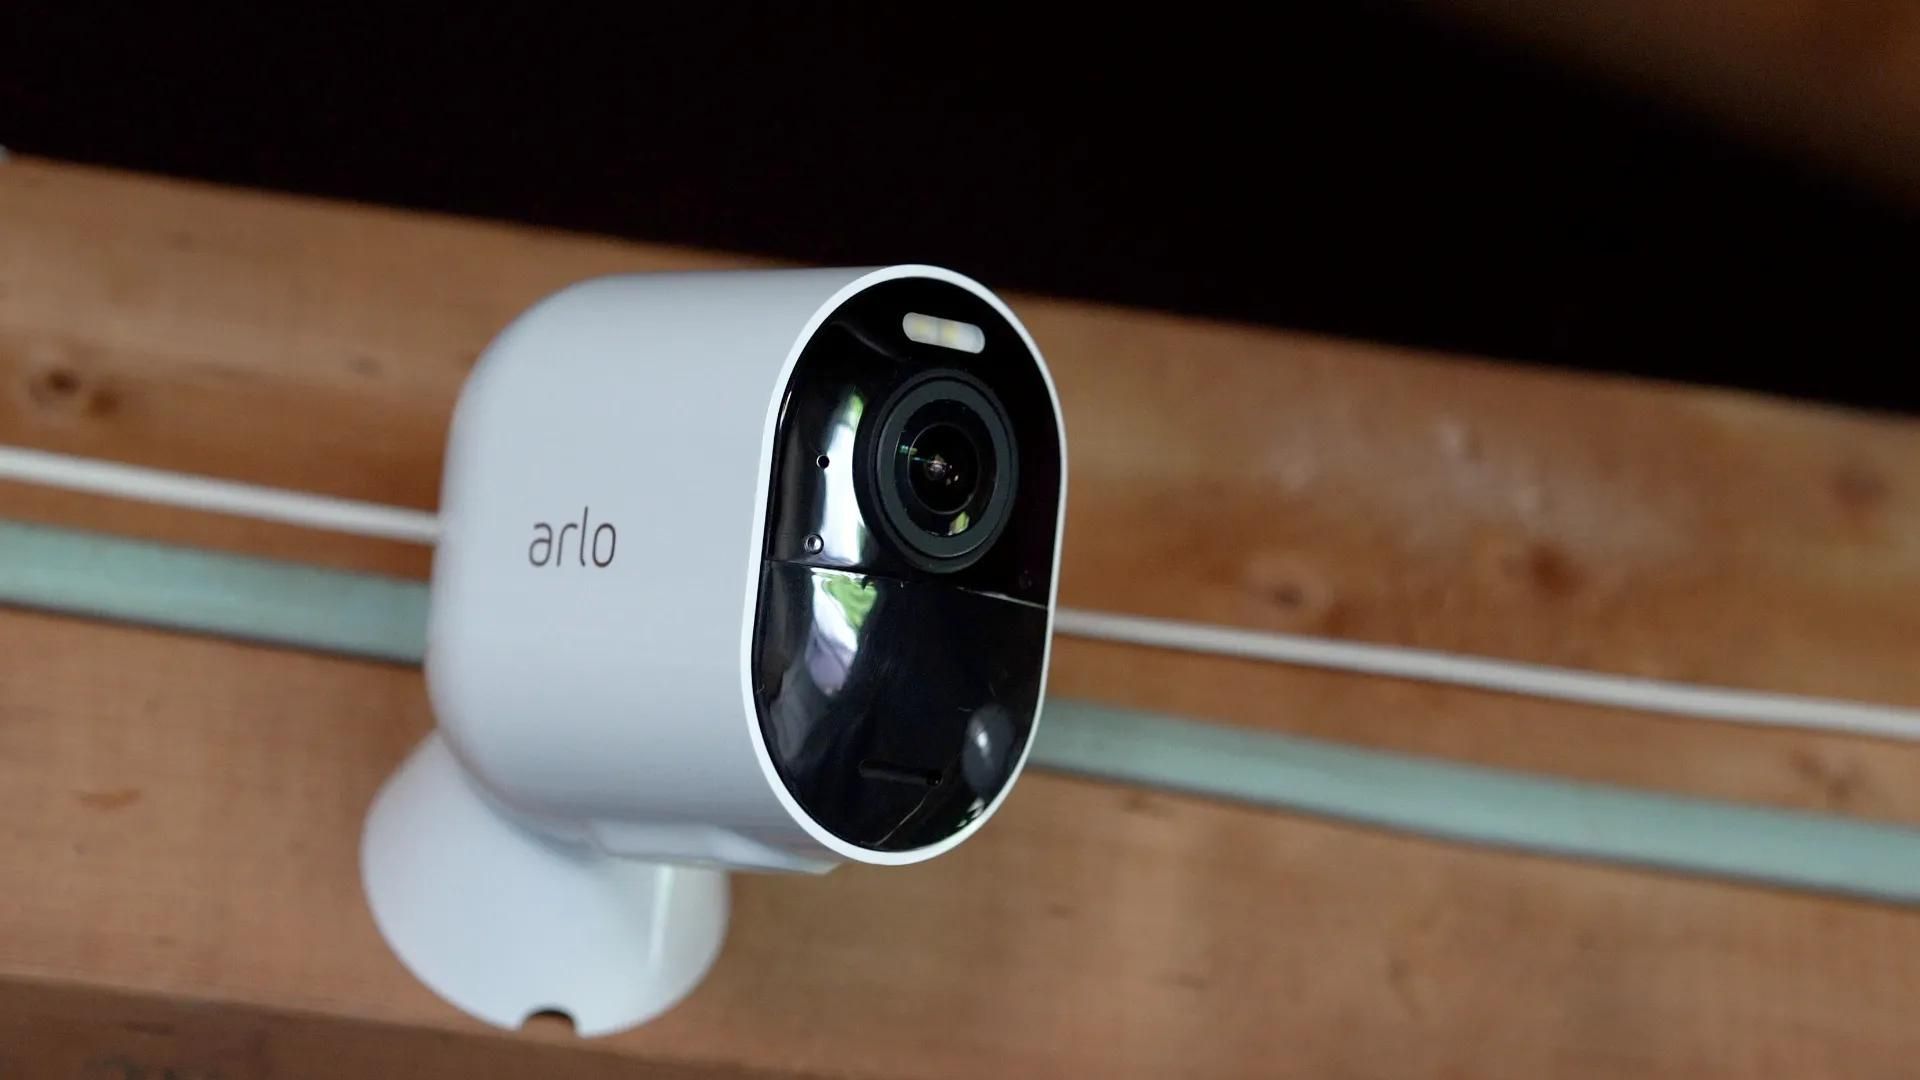
Step 3: Mounting your Arlo cameras
Mounting your Arlo cameras properly is essential to ensure optimal surveillance coverage and maximize their effectiveness. Follow these steps to mount your Arlo cameras securely:
- Select the mounting location: Choose the locations where you want to mount your Arlo cameras. Consider areas that provide a clear view of the desired areas and are within the range of your Wi-Fi network.
- Attach the mounting bracket: Use the provided mounting bracket and screws to attach the bracket to the selected location. Ensure that the bracket is securely fastened to prevent any wobbling or movement.
- Position the Arlo camera: Align the mounting slots on the back of your Arlo camera with the bracket and gently slide the camera onto the bracket. Make sure the camera is securely attached to the mounting bracket.
- Adjust the camera angle: Once the camera is mounted, adjust the angle to ensure the desired perspective. Most Arlo cameras come with a swivel and tilt mechanism, allowing you to position the camera precisely.
- Tighten the camera lock: After adjusting the camera angle, tighten the camera lock to secure the camera in place and prevent any unwanted movement.
- Check the camera’s view: Step back and verify that the camera’s view covers the desired area. Make any additional adjustments if necessary.
- Repeat for other cameras: If you have multiple Arlo cameras, repeat the above steps for each camera, ensuring they are securely mounted in their respective locations.
Properly mounting your Arlo cameras is crucial for capturing clear and accurate footage. Ensure that your cameras are mounted at a suitable height and away from any obstructions that may interfere with the camera’s view.
Additionally, consider weather conditions if you plan to install outdoor cameras. Many Arlo cameras are weather-resistant, but it’s essential to protect them from direct exposure to harsh elements for prolonged periods. Position the cameras in a way that provides a clear view while minimizing potential damage.
Once your Arlo cameras are securely mounted, you are ready to move on to the next step: adjusting camera settings to suit your preferences and specific monitoring needs.
Step 4: Adjusting camera settings
After mounting your Arlo cameras, it’s time to adjust the camera settings to customize their behavior and optimize their performance. Follow these steps to adjust the camera settings to suit your specific needs:
- Open the Arlo app: Launch the Arlo app on your smartphone or tablet and sign in to your Arlo account.
- Go to the Devices section: Navigate to the “Devices” section within the app and select the camera you want to adjust the settings for.
- Access the camera settings: In the camera settings, you will find various options to customize the camera’s behavior and performance.
- Adjust video quality: Choose the desired video quality under the “Video Settings” option. Higher video quality will result in clearer footage but may consume more bandwidth and storage space.
- Configure motion detection: Fine-tune the motion detection settings to suit your preferences. You can adjust the sensitivity level, define motion detection zones, and set up custom alerts and notifications.
- Set up activity zones: If you want to focus the camera’s attention on specific areas, such as windows or doorways, you can create activity zones within the camera’s field of view. This will enhance the accuracy of motion detection and reduce false alerts.
- Enable two-way audio: If your Arlo camera supports two-way audio, you can enable this feature in the camera settings. This allows you to listen to audio from the camera’s location and communicate with anyone near the camera using the Arlo app.
- Configure night vision: If your camera has night vision capabilities, you can adjust the night vision mode and range in the camera settings. This ensures optimal visibility in low-light conditions.
- Set up schedules: If you prefer to have specific camera modes or settings active at certain times of the day, you can create schedules in the camera settings. This allows you to automate camera behavior based on your daily routine.
- Save the settings: After adjusting the camera settings to your liking, save the changes to apply them to the camera.
By adjusting the camera settings, you can tailor the performance of your Arlo cameras to meet your specific requirements. Whether you want to enhance motion detection, customize video quality, or enable two-way audio, these settings allow you to optimize your surveillance experience.
Remember to experiment and fine-tune the settings based on your preferences, monitoring needs, and the layout of your home. By getting the camera settings just right, you can ensure accurate detection, efficient monitoring, and effective security for your property.
With the camera settings adjusted, you are now ready to move on to the next step: managing notifications and alerts to stay informed about any detected activity.
When setting up your Arlo security cameras, make sure to position them at a height of 7-9 feet for the best angle and coverage. This will help capture clear footage and minimize blind spots.
Read also: 13 Best Arlo Security Cameras For 2025
Step 5: Managing notifications and alerts
Managing notifications and alerts is an essential aspect of using Arlo security cameras effectively. By configuring these settings, you can stay informed about any detected activity and respond promptly. Follow these steps to manage notifications and alerts:
- Open the Arlo app: Launch the Arlo app on your smartphone or tablet and sign in to your Arlo account.
- Go to the Devices section: Navigate to the “Devices” section within the app and select the camera for which you want to manage notifications and alerts.
- Access the camera settings: In the camera settings, find the “Alerts” or “Notifications” option.
- Enable push notifications: To receive push notifications on your device, enable the push notification option. This will alert you whenever motion is detected or any other specified event occurs.
- Adjust notification settings: Customize the notification settings to suit your preferences. You can choose to receive notifications for all motion events, specific zones, or specific types of events.
- Set up email notifications: If you prefer to receive alerts via email, configure the email notification settings in the camera settings. Enter your email address and choose the types of events you want to be notified about via email.
- Configure additional alert options: Arlo cameras offer additional alert options, such as sound alerts or siren activation. Depending on the camera model, you may be able to customize these settings to suit your preferences.
- Save the settings: After managing the notification and alert settings, save the changes to apply them to the camera.
- Test the notifications and alerts: After saving the settings, perform a test by triggering motion in the camera’s field of view. Ensure that you receive the desired notifications or alerts through the app or email.
By managing notifications and alerts, you can stay updated about any activity detected by your Arlo cameras. Whether you’re at home or away, these notifications ensure that you can take appropriate action if any security concerns arise.
Remember to customize the notification settings based on your preferences and the areas you want to monitor closely. This way, you can filter out unnecessary notifications and focus on the events or zones that matter most to you.
With your notifications and alerts configured, you are now ready to move on to the next step: reviewing and accessing footage captured by your Arlo cameras.
Step 6: Reviewing and accessing footage
One of the key advantages of using Arlo security cameras is the ability to review and access recorded footage. Whether you want to check for any suspicious activity or simply review past events, follow these steps to easily access and review the footage captured by your Arlo cameras:
- Open the Arlo app: Launch the Arlo app on your smartphone or tablet and sign in to your Arlo account.
- Go to the Library: Navigate to the “Library” section within the app. This is where all the recorded footage is stored.
- Select the desired camera: Choose the camera for which you want to review the recorded footage. The app will display a timeline or list of recorded events for that specific camera.
- Browse through the recordings: Use the timeline or list view to browse through the recorded events. You can scroll through the timeline or swipe up and down to view different dates and times.
- Play the footage: Tap on a specific event to play the recorded footage. The app will display the video playback controls, allowing you to pause, rewind, and fast-forward the footage.
- Zoom in and enhance: If needed, you can zoom in on the video playback and enhance the image to get a closer look at details or faces captured in the footage.
- Save or share the footage: If you come across an important recording, you can save it to your device’s storage or share it with others via the app or other communication channels.
- Delete unwanted recordings: To free up storage space, you can delete any unwanted or unimportant recordings from your Arlo library. Be mindful not to delete any critical footage by mistake.
With the ability to review and access recorded footage, you can have peace of mind knowing that you have a detailed record of any events captured by your Arlo cameras. Whether it’s checking for package deliveries, monitoring suspicious activity, or reviewing any incidents, the recorded footage provides valuable evidence.
Remember to regularly review the recorded footage and manage your storage space. If you have multiple Arlo cameras, you can easily switch between them within the Arlo app to access the recorded footage for each camera.
With the knowledge of reviewing and accessing footage, you have reached the final step of maximizing the benefits of Arlo security cameras. The next step briefly covers additional features that you can explore and utilize to enhance your home security setup.
Step 7: Understanding additional features
Arlo security cameras offer a range of additional features that can further enhance your home security setup. Familiarize yourself with these features to make the most of your Arlo cameras:
- Geofencing: Arlo cameras support geofencing, which allows you to automate camera behavior based on your location. You can set up geofencing to automatically arm or disarm your cameras when you leave or return home.
- Smart Home Integrations: Arlo cameras integrate with popular smart home platforms, such as Amazon Alexa, Google Assistant, and Apple HomeKit. This enables you to control your cameras using voice commands and integrate them into your existing smart home ecosystem.
- Continuous Video Recording (CVR): Some Arlo cameras offer the option of Continuous Video Recording, which allows for non-stop recording and saves footage to the cloud 24/7. This is particularly useful if you require uninterrupted monitoring or want to review longer time periods.
- Scheduling: Customize the behavior of your Arlo cameras by creating schedules. You can specify when the cameras should be armed or disarmed based on your daily routine. This helps conserve battery life and reduces unnecessary notifications.
- Third-Party Integrations: Arlo cameras support integration with other third-party services and devices. You can link them with home security systems, smart locks, and more to create a comprehensive home security solution tailored to your needs.
- Activity Zones: Define specific areas within the camera’s field of view as activity zones. By setting up activity zones, you can ensure that the camera focuses on specific areas and captures motion events more accurately, reducing false alerts.
- Cloud Storage: Arlo cameras offer cloud storage for recorded footage. Depending on the subscription plan you choose, you can store and access your recorded footage for a certain period, giving you peace of mind knowing that the footage is securely stored off-site.
Take the time to explore and understand these additional features offered by Arlo security cameras. By utilizing them effectively, you can create a comprehensive and personalized home security setup that meets your specific requirements.
Remember to check the compatibility and availability of these features based on the Arlo camera models and subscription plans you have. Stay updated with firmware updates and new feature releases to make the most of your Arlo cameras.
Congratulations! You have completed all the steps to maximize the benefits of Arlo security cameras. With your cameras properly set up, configured, and equipped with additional features, you can enjoy enhanced home security and peace of mind knowing that your property is well-monitored and protected.
Conclusion
Congratulations on successfully navigating the world of Arlo security cameras! By following the steps outlined in this comprehensive guide, you have learned how to set up, connect, mount, adjust settings, manage notifications, review footage, and explore additional features of your Arlo cameras.
Arlo cameras provide a powerful and versatile solution for home security and surveillance. With their user-friendly features, high-quality video capabilities, and advanced functionality, Arlo cameras empower you to protect your property and loved ones with ease.
Remember to keep the following key points in mind as you continue to use your Arlo cameras:
- Regular maintenance: Ensure that your cameras are clean, and software updates are installed to keep them functioning optimally.
- Privacy and security: Take appropriate steps to safeguard your Arlo cameras and the footage they capture by using unique, strong passwords and enabling two-factor authentication.
- Maximizing coverage: Continuously evaluate the positioning and coverage of your cameras to ensure optimal surveillance of critical areas.
- Stay informed: Regularly review recorded footage, manage notifications, and make adjustments to settings as needed to address any changing security needs.
By utilizing the knowledge and skills gained from this guide, you can confidently monitor and protect your home. Whether you are away for work, on vacation, or simply ensuring the safety of your family, Arlo cameras provide you with the peace of mind you deserve.
Remember, maintaining home security is an ongoing process. Stay informed about the latest updates, features, and best practices related to your Arlo cameras to ensure that you are leveraging the full potential of this innovative home security solution.
Thank you for choosing Arlo security cameras and taking the initiative to understand and utilize their capabilities to their fullest extent. Rest easy knowing that your home and loved ones are well-protected with Arlo by your side.
Frequently Asked Questions about How To Use Arlo Security Cameras
Was this page helpful?
At Storables.com, we guarantee accurate and reliable information. Our content, validated by Expert Board Contributors, is crafted following stringent Editorial Policies. We're committed to providing you with well-researched, expert-backed insights for all your informational needs.