Articles
How To Install Wireless Doorbell
Modified: August 31, 2024
Learn how to install a wireless doorbell with these informative articles. Find step-by-step instructions and expert tips for a successful installation.
(Many of the links in this article redirect to a specific reviewed product. Your purchase of these products through affiliate links helps to generate commission for Storables.com, at no extra cost. Learn more)
Introduction
Welcome to a step-by-step guide on how to install a wireless doorbell! Gone are the days of complicated wiring and cumbersome installations. With wireless doorbells, you can easily add a convenient and efficient way to be notified when someone is at your door. Whether you’re a DIY enthusiast or a novice, this guide will walk you through the process, making it a breeze to install your own wireless doorbell system.
With a wireless doorbell, you’ll enjoy the flexibility of placing the doorbell button anywhere you want, without the need to drill holes or run wires through your walls. The doorbell receiver, which produces the sound or visual alert, can be easily positioned indoors, providing you with the convenience of knowing when guests or deliveries have arrived. So, let’s dive into the installation process and turn your home into a more digitally connected and secure space.
Before we get started, let’s go over the things you’ll need for this installation:
Key Takeaways:
- Say goodbye to complicated wiring and hello to convenience! Installing a wireless doorbell is a breeze, offering flexibility in placement and eliminating the need for drilling and running wires.
- Enjoy peace of mind and enhanced security with a wireless doorbell. Easily install and customize your system to ensure you never miss a visitor, adding convenience and accessibility to your home.
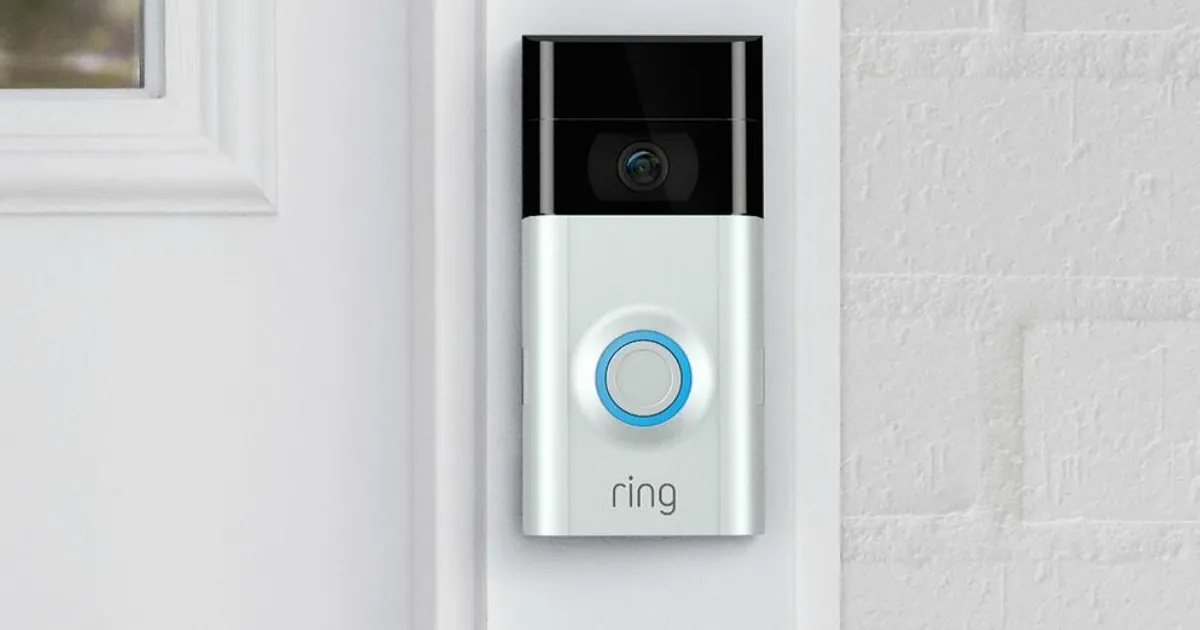
Read more: How To Install A Wireless Ring Doorbell
Things You’ll Need
Before you begin installing your wireless doorbell, it’s important to gather all the necessary tools and materials to ensure a smooth installation process. Here’s a list of what you’ll need:
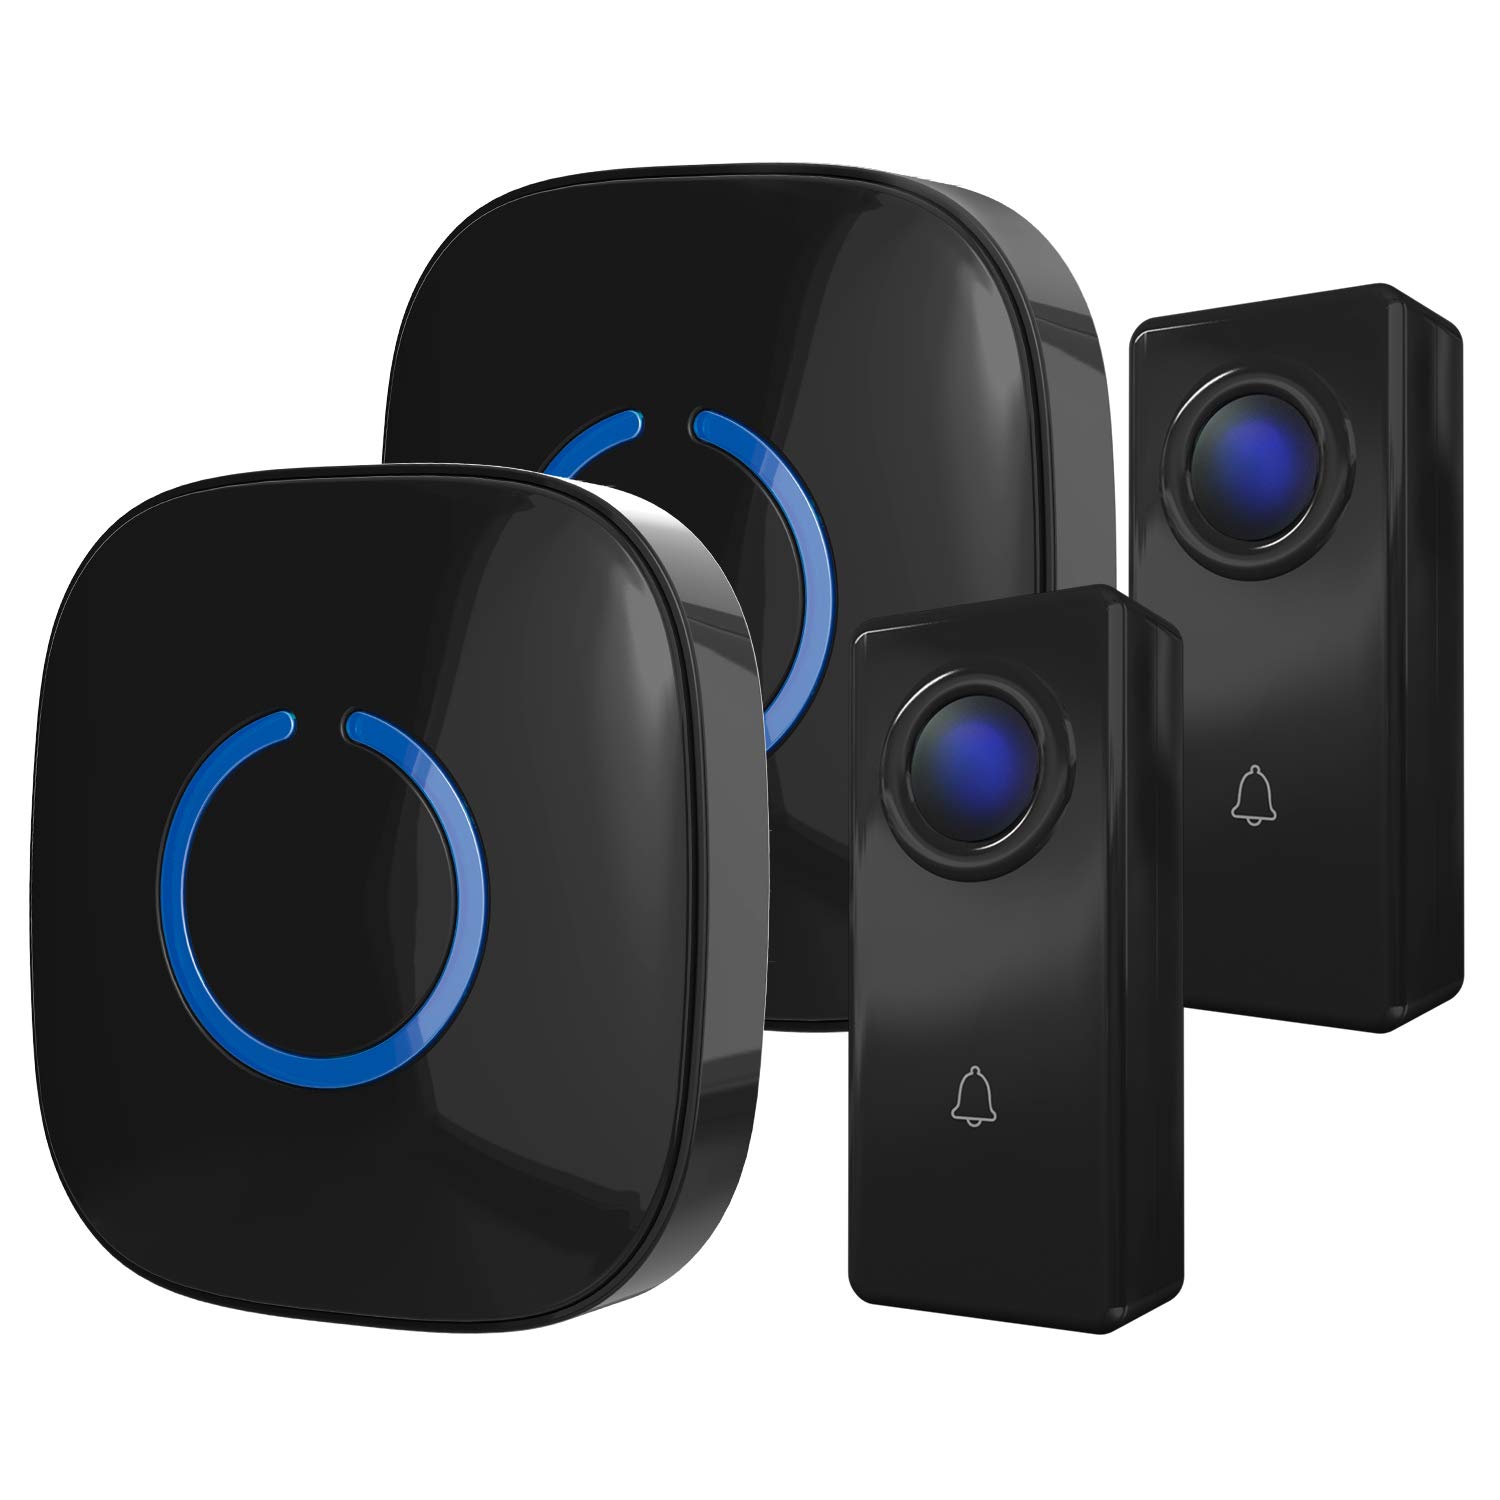
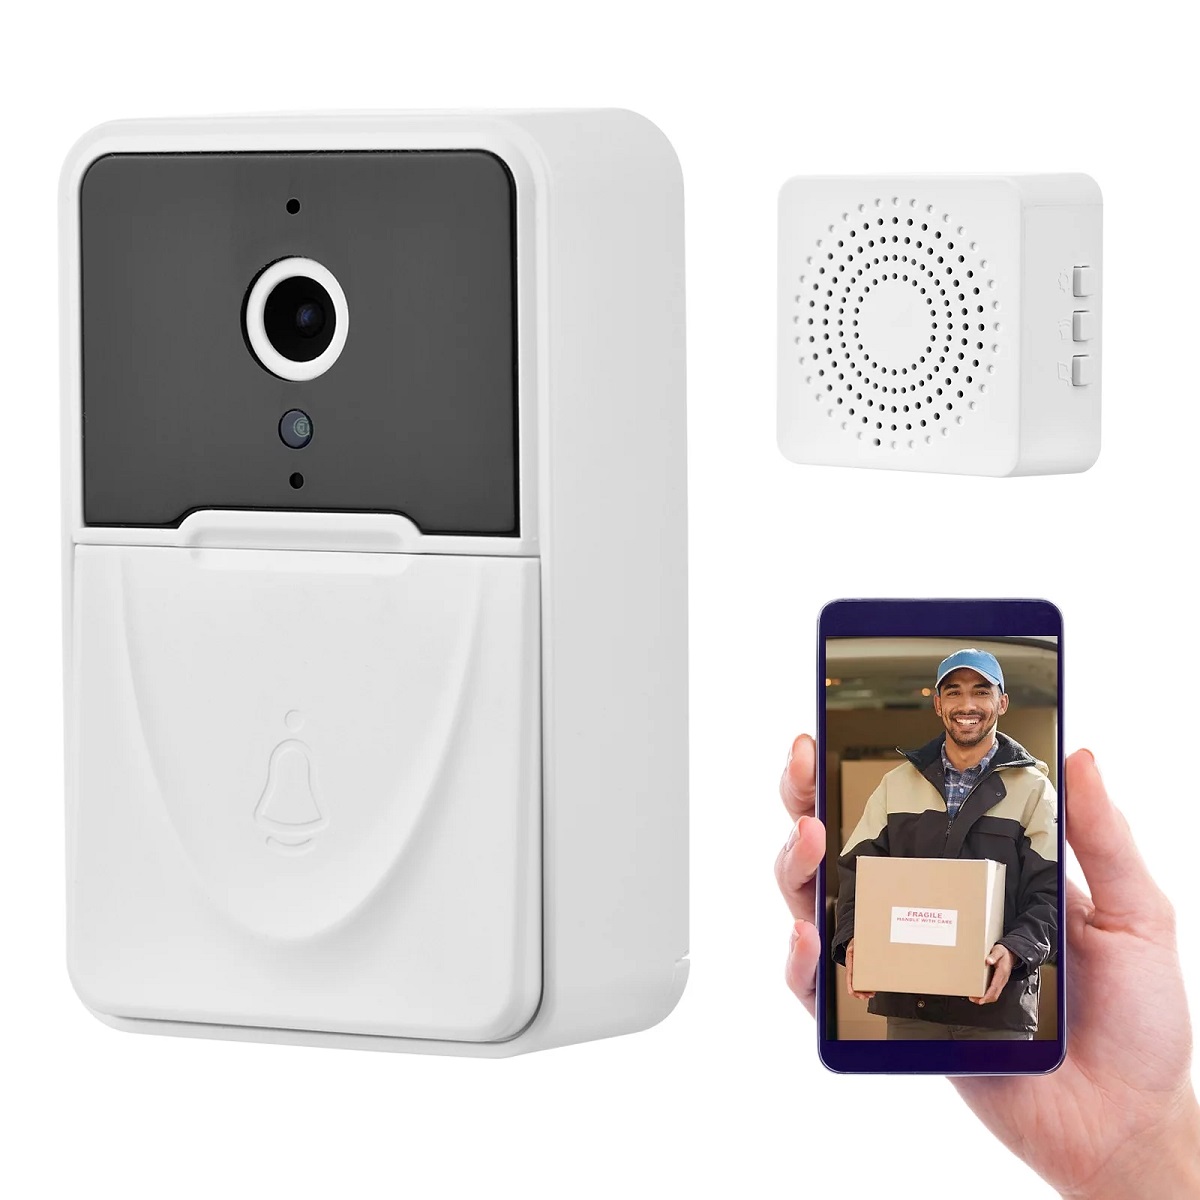
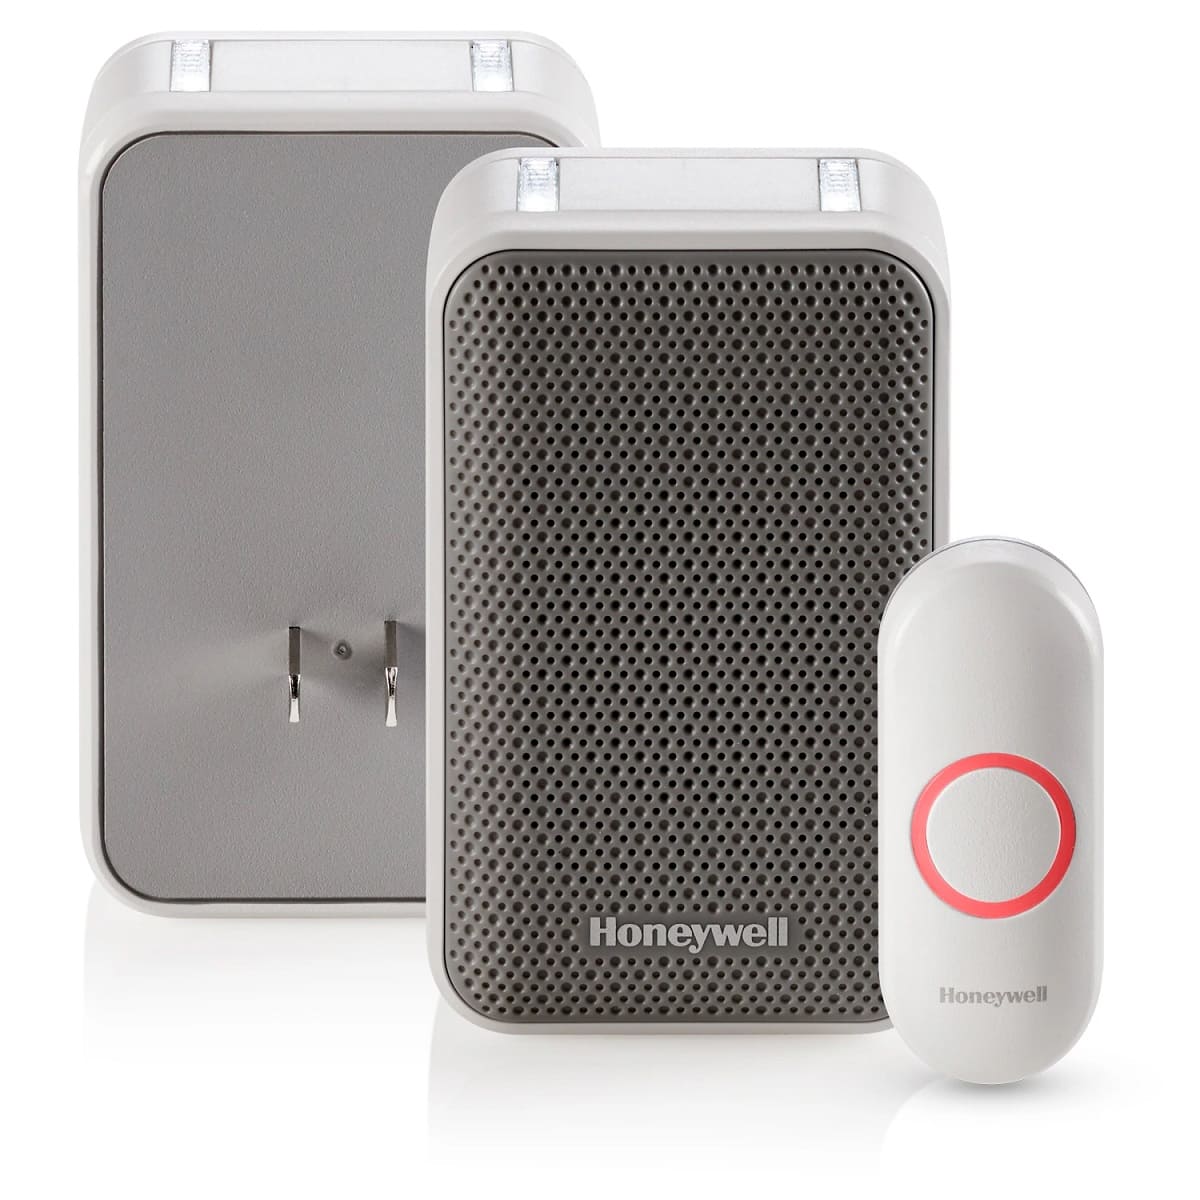
- Wireless Doorbell Kit: Make sure you have a wireless doorbell kit that includes both the doorbell button and receiver. There are various options available in the market, so choose one that suits your preferences and needs.
- Batteries: Check the specifications of your wireless doorbell kit to determine which type and how many batteries are required for the doorbell button and receiver. Typically, they use standard alkaline batteries.
- Tape Measure: You’ll need a tape measure to determine the optimal location for mounting the doorbell button and receiver.
- Pencil or Marker: Use a pencil or marker to mark the mounting holes on the wall or surface where you’ll be placing the doorbell button and receiver.
- Screwdriver: Depending on your specific wireless doorbell kit, you may need a screwdriver to secure the mounting plate and screws.
- Level: A level will come in handy to ensure the doorbell button and receiver are mounted straight and evenly.
- Optional Accessories: Depending on your preference, you may choose to use additional accessories such as double-sided adhesive tape or mounting brackets for a more secure installation.
Once you have gathered all of the above items, you’re ready to proceed with the installation process. Take your time to familiarize yourself with the instructions provided by the manufacturer of your wireless doorbell kit to ensure a successful installation. Now, let’s move on to the step-by-step process of installing your wireless doorbell.
Step 1: Choose a Location for Your Doorbell
Choosing the right location for your wireless doorbell is crucial as it determines the effectiveness and functionality of the system. Here are a few factors to consider when selecting the perfect spot:
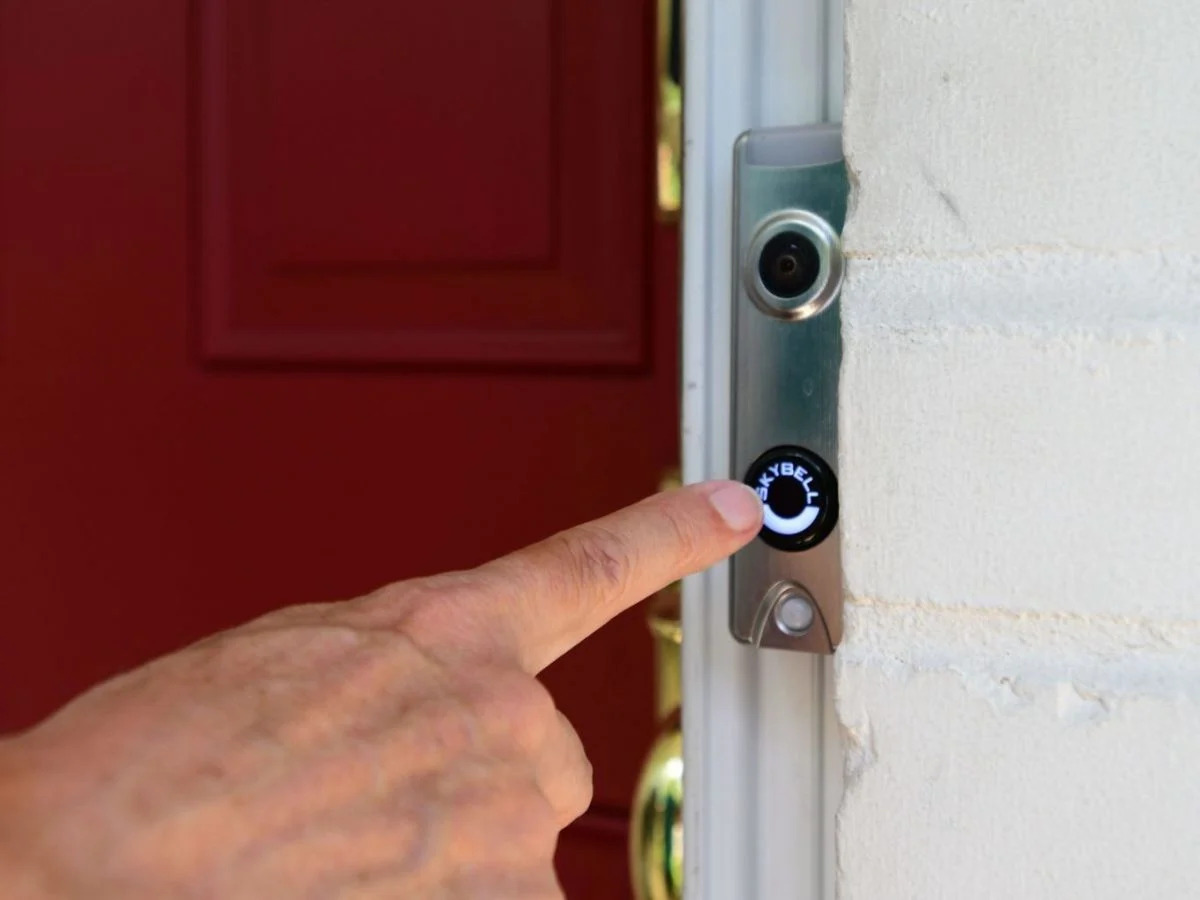
- Accessibility: Ensure that the doorbell button is easily accessible to visitors. It should be placed at a height that is comfortable for people of varying heights to reach.
- Visibility: Look for a location where the doorbell button is clearly visible to anyone approaching your front door. This will make it easier for guests to find and use.
- Protection from the Elements: Choose a location that offers some protection from rain, snow, and direct sunlight. This will help prolong the lifespan of your wireless doorbell and prevent damage.
- Range: Keep in mind the range of your wireless doorbell system. Check the manufacturer’s specifications to ensure the doorbell button is within the range of the receiver.
Once you have considered these factors, use a tape measure to determine the exact spot where you’ll be mounting the doorbell button. Take into account the height, visibility, and accessibility mentioned earlier. Use a pencil or marker to mark the desired location on the wall or surface.
Remember, it’s a good idea to avoid mounting the doorbell button too close to metal surfaces or large appliances that may interfere with the wireless signal. Likewise, try to avoid mounting it near sources of electrical interference, such as power lines or electrical panels, which can impact the performance of your wireless doorbell.
Now that you’ve chosen the location for your doorbell button, you’re ready to move on to the next step: mounting the doorbell button.
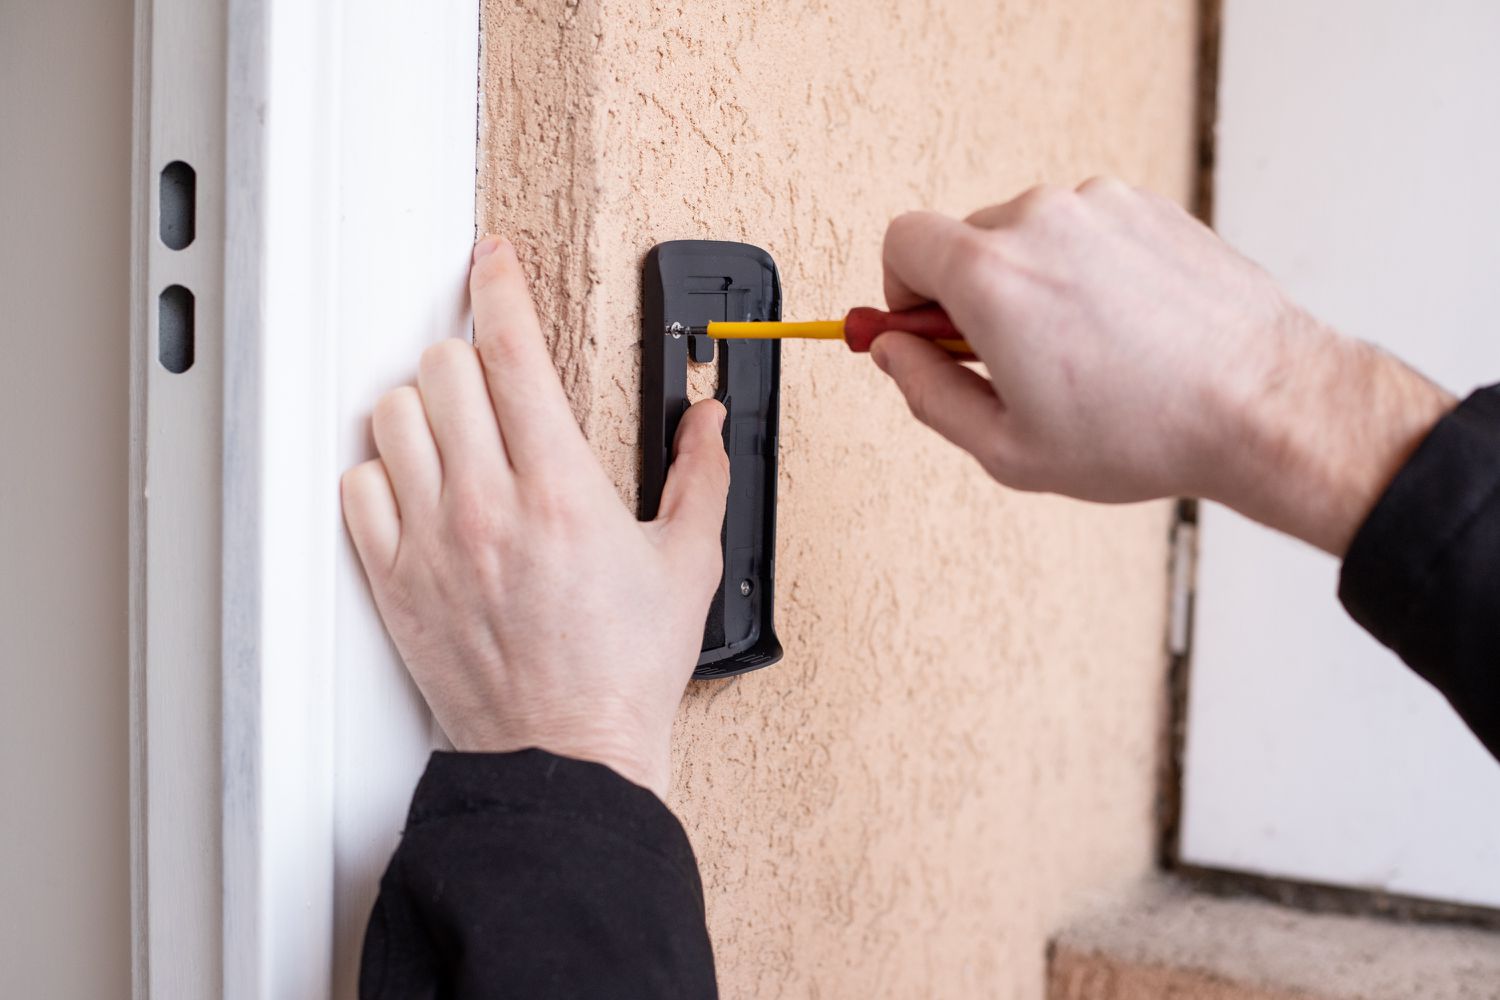
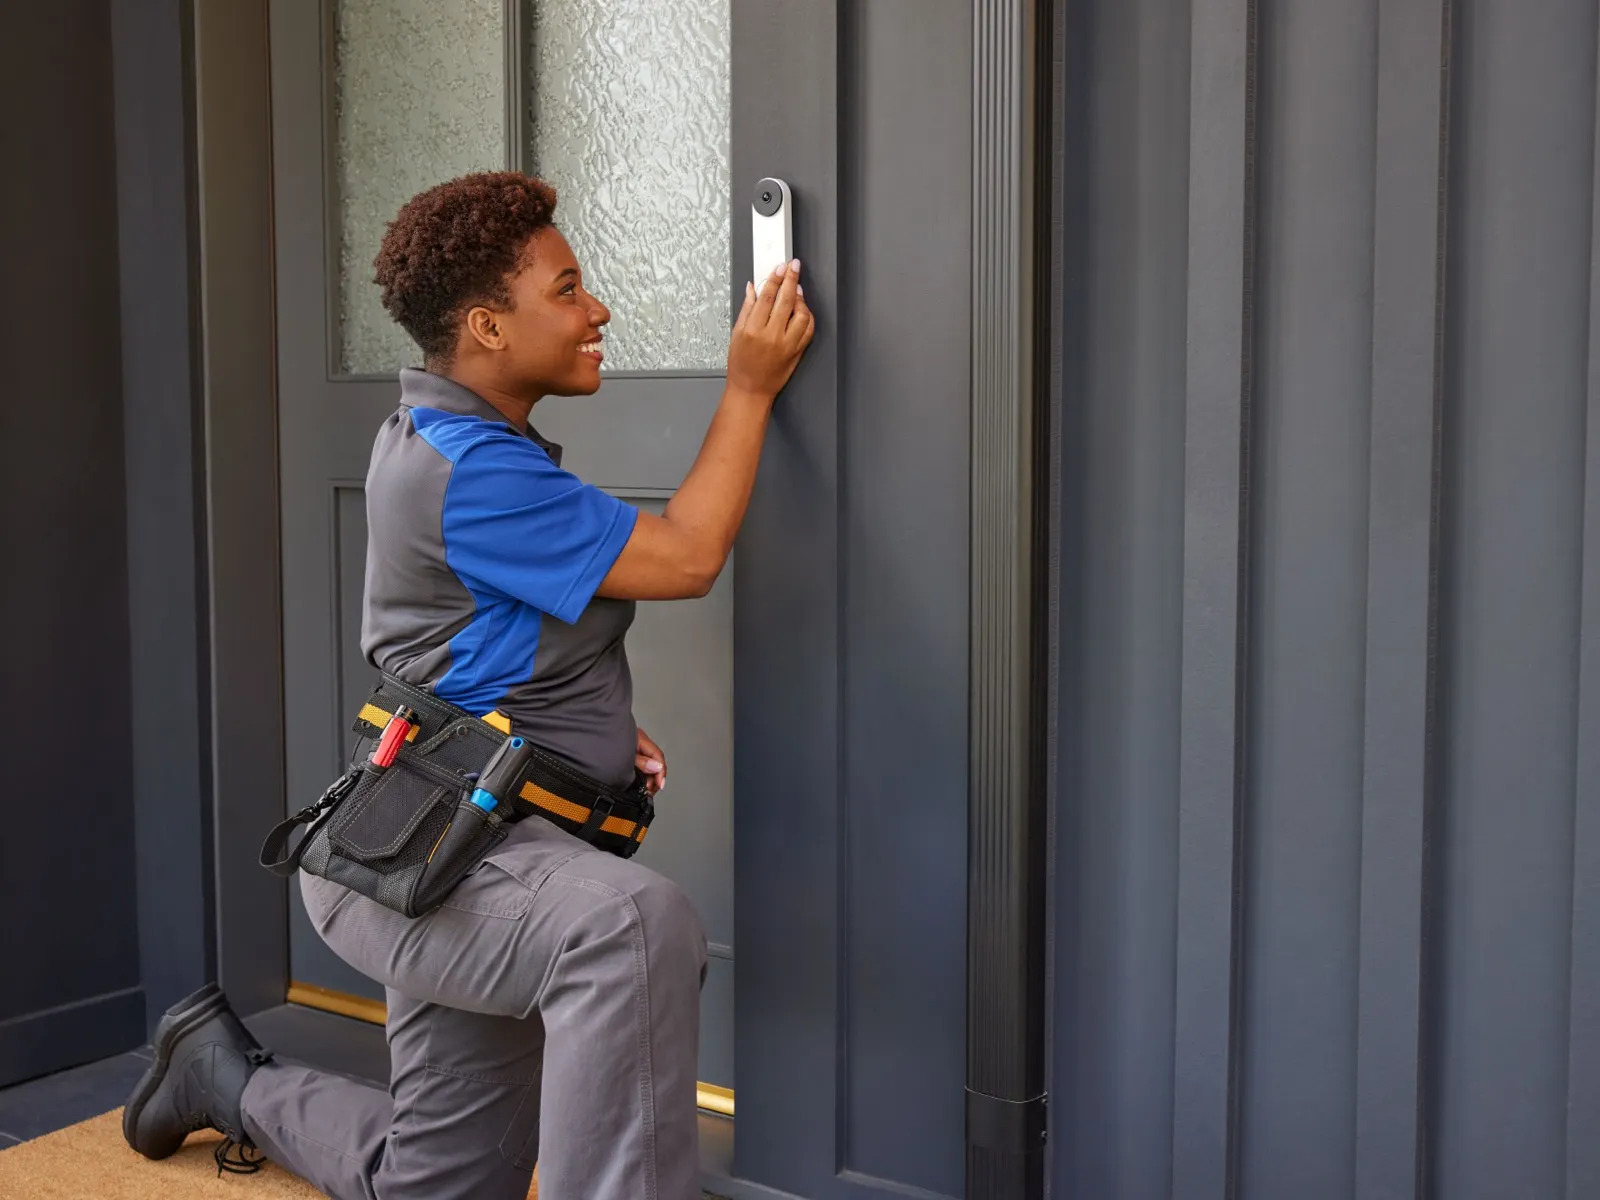
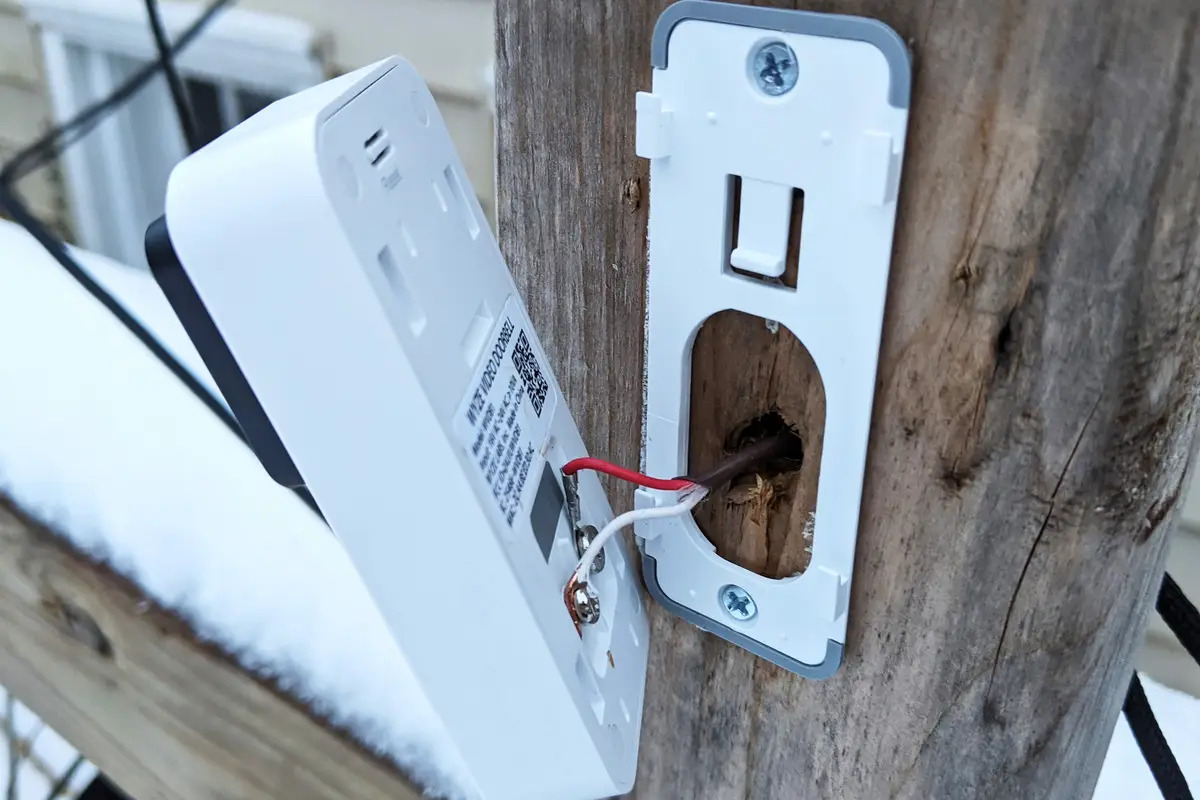
Step 2: Mount the Doorbell Button
Now that you’ve chosen the perfect location for your doorbell button, it’s time to mount it. Follow these steps:
- Start by removing the mounting plate from the wireless doorbell kit. This plate is typically a small rectangular or circular piece that acts as a base for the doorbell button.
- Hold the mounting plate against the wall or surface where you marked the location. Ensure it is level by using a level or by visually aligning it with the surroundings.
- Once the mounting plate is level, use a pencil or marker to mark the position of the screw holes on the wall or surface.
- Next, grab your screwdriver and attach the mounting plate to the wall or surface using the screws provided in the wireless doorbell kit. Make sure the screws are securely tightened.
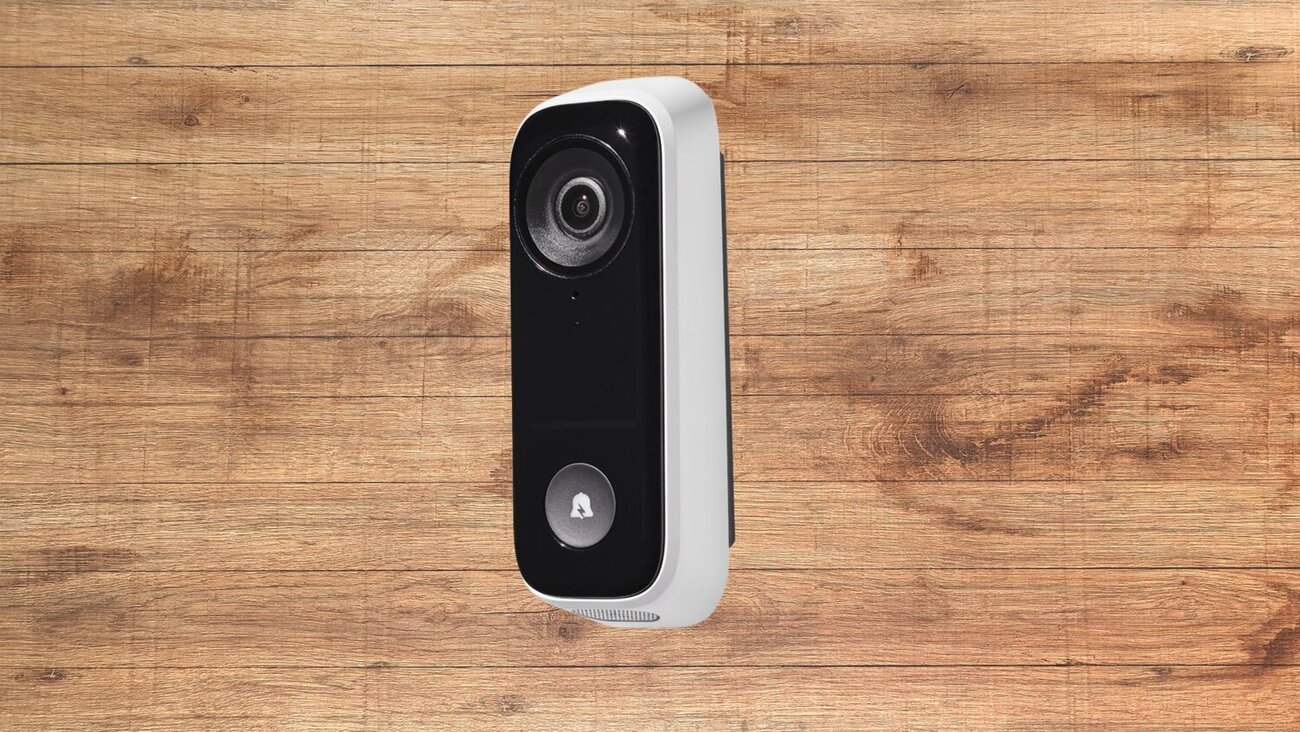
- With the mounting plate in place, it’s time to attach the doorbell button. Align the back of the doorbell button with the corresponding slots or holes on the mounting plate.
- Press the doorbell button firmly onto the mounting plate until it clicks into place. Give it a gentle tug to ensure it is securely fastened.
That’s it! You’ve successfully mounted the doorbell button. Take a step back and admire your handy work. Next, we’ll move on to the next step: installing batteries in the doorbell button.
When installing a wireless doorbell, make sure to choose a location for the receiver that is within the recommended range of the transmitter. This will ensure a strong and reliable signal between the two components.
Step 3: Install Batteries in the Doorbell Button
Now that the doorbell button is securely mounted, it’s time to install the batteries. Follow these steps:
- Locate the back panel or compartment of the doorbell button. This is usually a small section that can be easily opened or removed.
- Open the back panel or remove the compartment to reveal the battery slots.
- Check the manufacturer’s instructions to determine the type and number of batteries required for your specific doorbell model.
- Insert the batteries into the appropriate slots, ensuring they are aligned correctly with the positive (+) and negative (-) terminals.
- Close the back panel or reattach the compartment, making sure it is secured properly.
It’s important to note that some wireless doorbell models may come with pre-installed batteries or rechargeable battery packs. In such cases, you may not need to install separate batteries. Refer to the manufacturer’s instructions to determine the necessary steps for your specific model.
Once the batteries are installed, your doorbell button should be ready to use. Press the button to test if it activates the doorbell receiver or produces any sounds or visual alerts. If everything is working properly, you’re ready to move on to the next step: mounting the doorbell receiver.
Read more: How To Install Doorbell Transformer
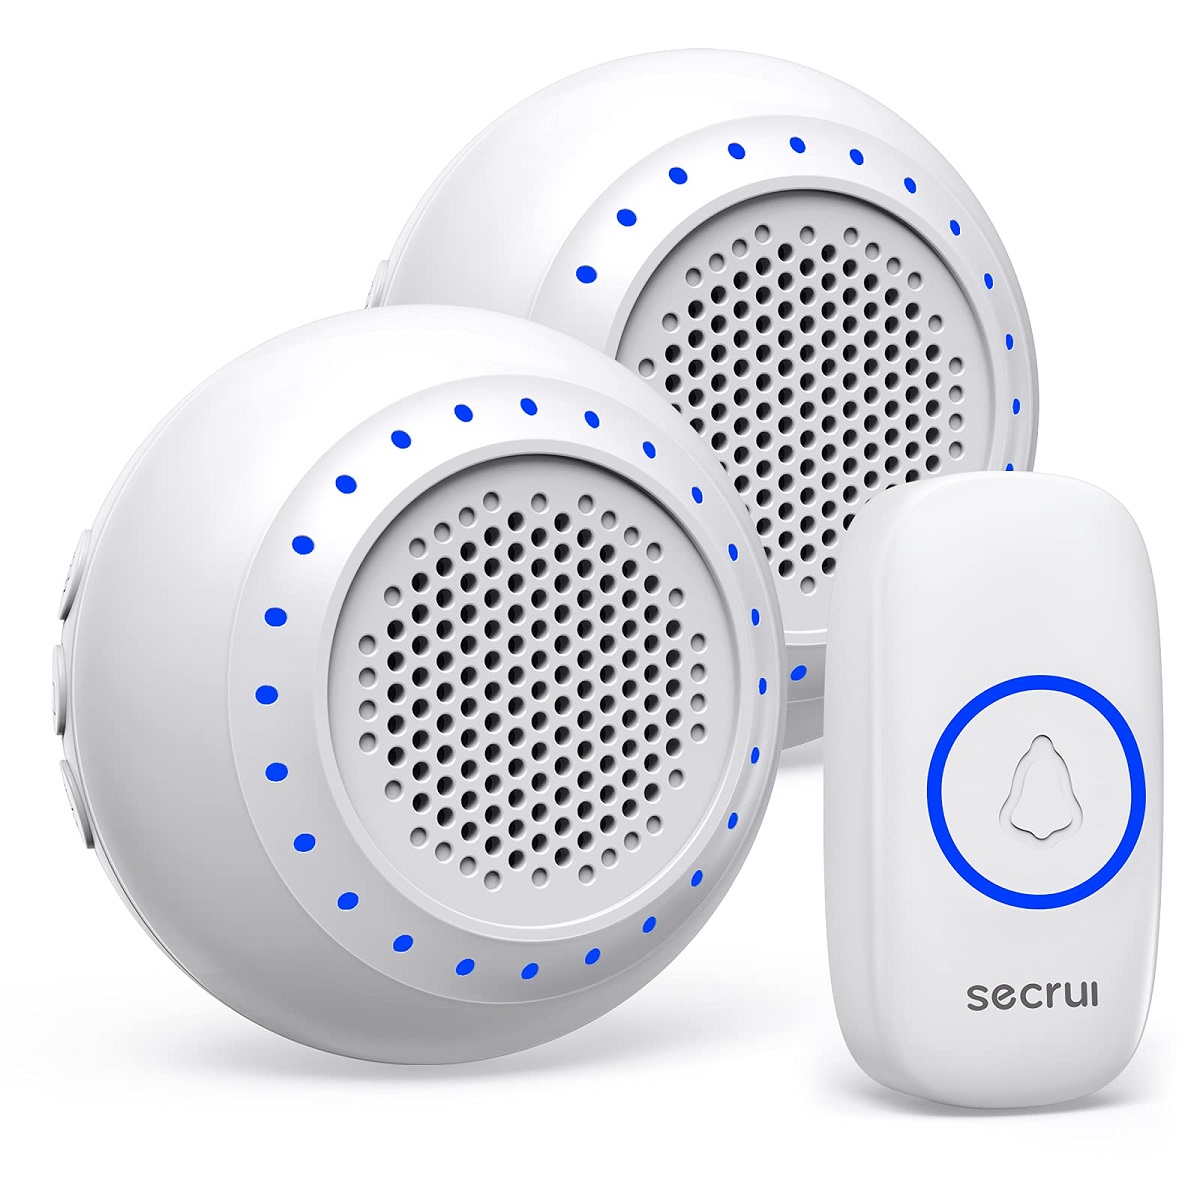
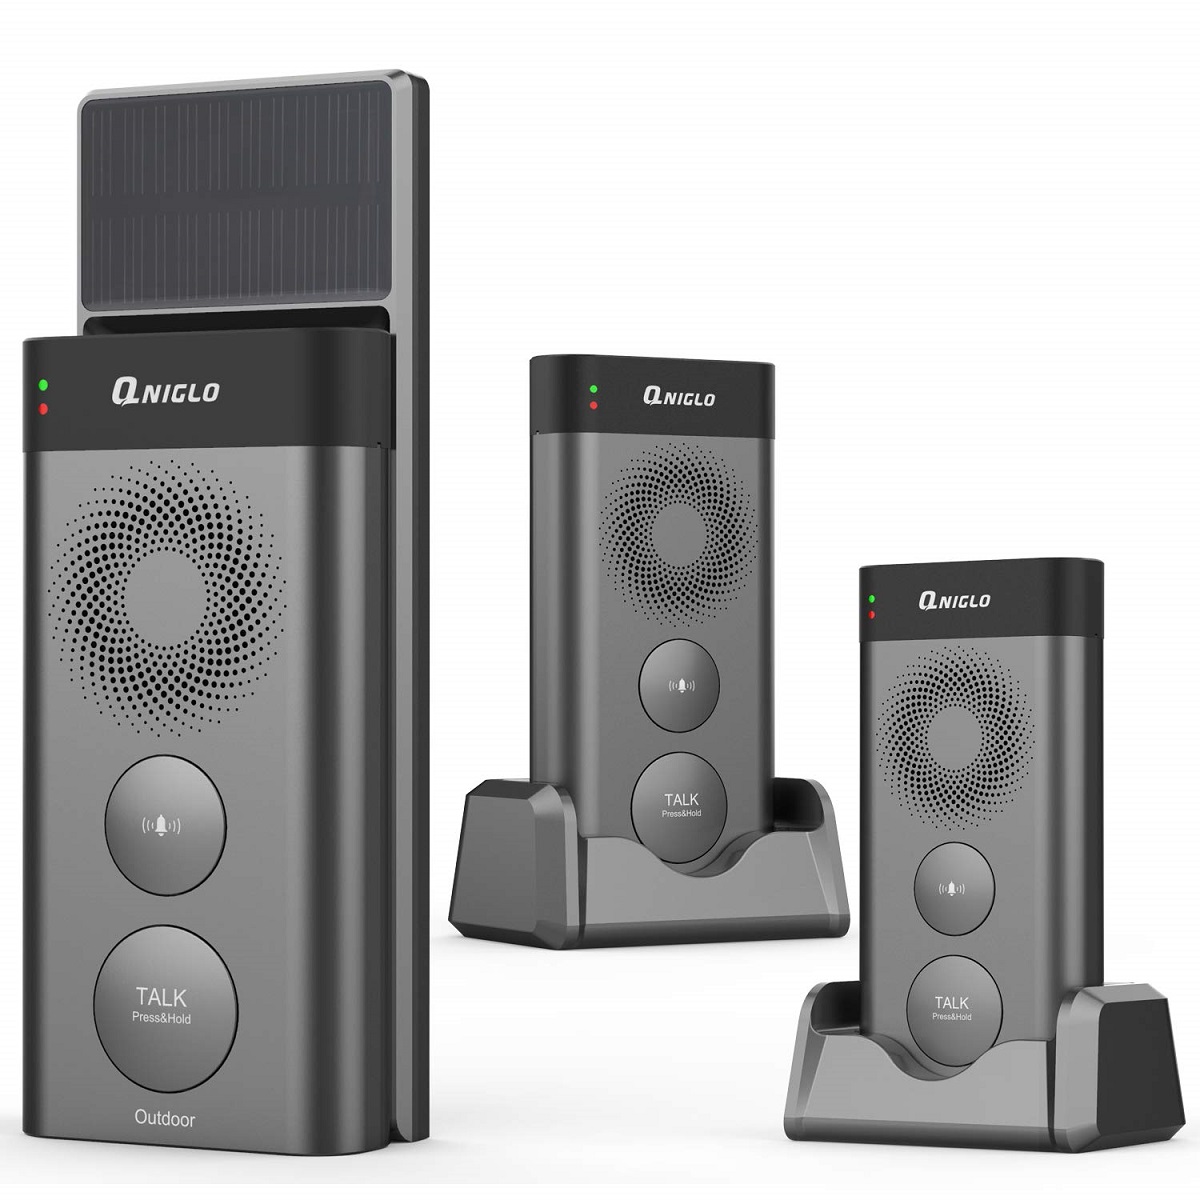
Step 4: Mount the Doorbell Receiver
With the doorbell button installed and batteries in place, it’s time to mount the doorbell receiver. The receiver is the device that alerts you when someone presses the doorbell button. Follow these steps:
- Select a suitable location indoors for the doorbell receiver. It should be easily accessible so that you can hear or see the alerts when someone rings the doorbell.
- Ensure the location you choose is within the range of the doorbell button. Refer to the manufacturer’s instructions for the recommended range.
- If the doorbell receiver comes with a wall-mount bracket, attach it to the chosen location using screws or adhesive tape.
- Align the receiver with the wall-mount bracket or directly against the chosen location, making sure it is level.
- If there are any slots or holes on the receiver and the wall-mount bracket, insert and secure the receiver using the provided locking mechanism.
- If you’re using adhesive tape to mount the receiver, remove the protective backing and press the receiver firmly against the chosen location.
Once you’ve mounted the doorbell receiver, double-check that it is securely in place and won’t easily fall or get knocked off. It’s a good idea to give it a gentle tug to ensure it’s properly attached.
Now that both the doorbell button and receiver are mounted, it’s time to move on to the next step: testing the wireless doorbell system.
Step 5: Test the Wireless Doorbell
After completing the installation of your wireless doorbell, it’s essential to test the system to ensure it’s functioning correctly. Here’s how to test your wireless doorbell:
- Stand near the doorbell button and press it to simulate someone ringing your doorbell.
- Move to the location of the doorbell receiver and listen for any sounds or check for visual alerts, depending on the type of wireless doorbell you have installed.
- If you hear the doorbell chime or see a visual alert, congratulations! Your wireless doorbell is working properly.
- If you don’t hear anything or see any alerts, first check the batteries in both the doorbell button and receiver. Make sure they are inserted correctly and have enough power.
- If the batteries are fine and you still don’t receive any alerts, refer to the troubleshooting section of the manufacturer’s instructions for further assistance. It’s possible there may be an issue with the wireless connection or a faulty component.
Once you have confirmed that your wireless doorbell is working as intended, you can consider personalizing the settings, such as the volume level or the type of chime, if your doorbell system allows for it.
Remember, it’s important to regularly check and replace the batteries in the doorbell button and receiver to ensure continued functionality. This will help avoid any interruptions in receiving alerts when someone rings your doorbell.
Congratulations on successfully installing and testing your wireless doorbell! Enjoy the convenience and peace of mind it brings.
Conclusion
Installing a wireless doorbell is a straightforward process that can enhance the convenience and security of your home. With the ability to place the doorbell button anywhere and eliminate the need for complicated wiring, a wireless doorbell offers flexibility and simplicity.
In this guide, we’ve walked through the step-by-step installation process, starting from choosing the ideal location for the doorbell button and mounting it securely. We then discussed installing batteries in the doorbell button and mounting the doorbell receiver indoors. Finally, we emphasized the importance of testing the wireless doorbell to ensure it functions properly.
By following these steps and considering the factors mentioned along the way, you can successfully install and enjoy the benefits of a wireless doorbell system. The convenience of knowing when someone is at your door, whether it’s a guest or a delivery, adds an extra layer of security and peace of mind to your home.
Remember to regularly check and replace the batteries in both the doorbell button and receiver, as this ensures optimal performance and avoids any interruptions in alert notifications.
Enjoy the convenience and accessibility that a wireless doorbell brings to your home, and welcome your guests with ease while staying aware of any visitors.
Frequently Asked Questions about How To Install Wireless Doorbell
Was this page helpful?
At Storables.com, we guarantee accurate and reliable information. Our content, validated by Expert Board Contributors, is crafted following stringent Editorial Policies. We're committed to providing you with well-researched, expert-backed insights for all your informational needs.

0 thoughts on “How To Install Wireless Doorbell”