Home>Furniture & Design>Outdoor Furniture>How To Install Adt Blue Outdoor Camera
Outdoor Furniture
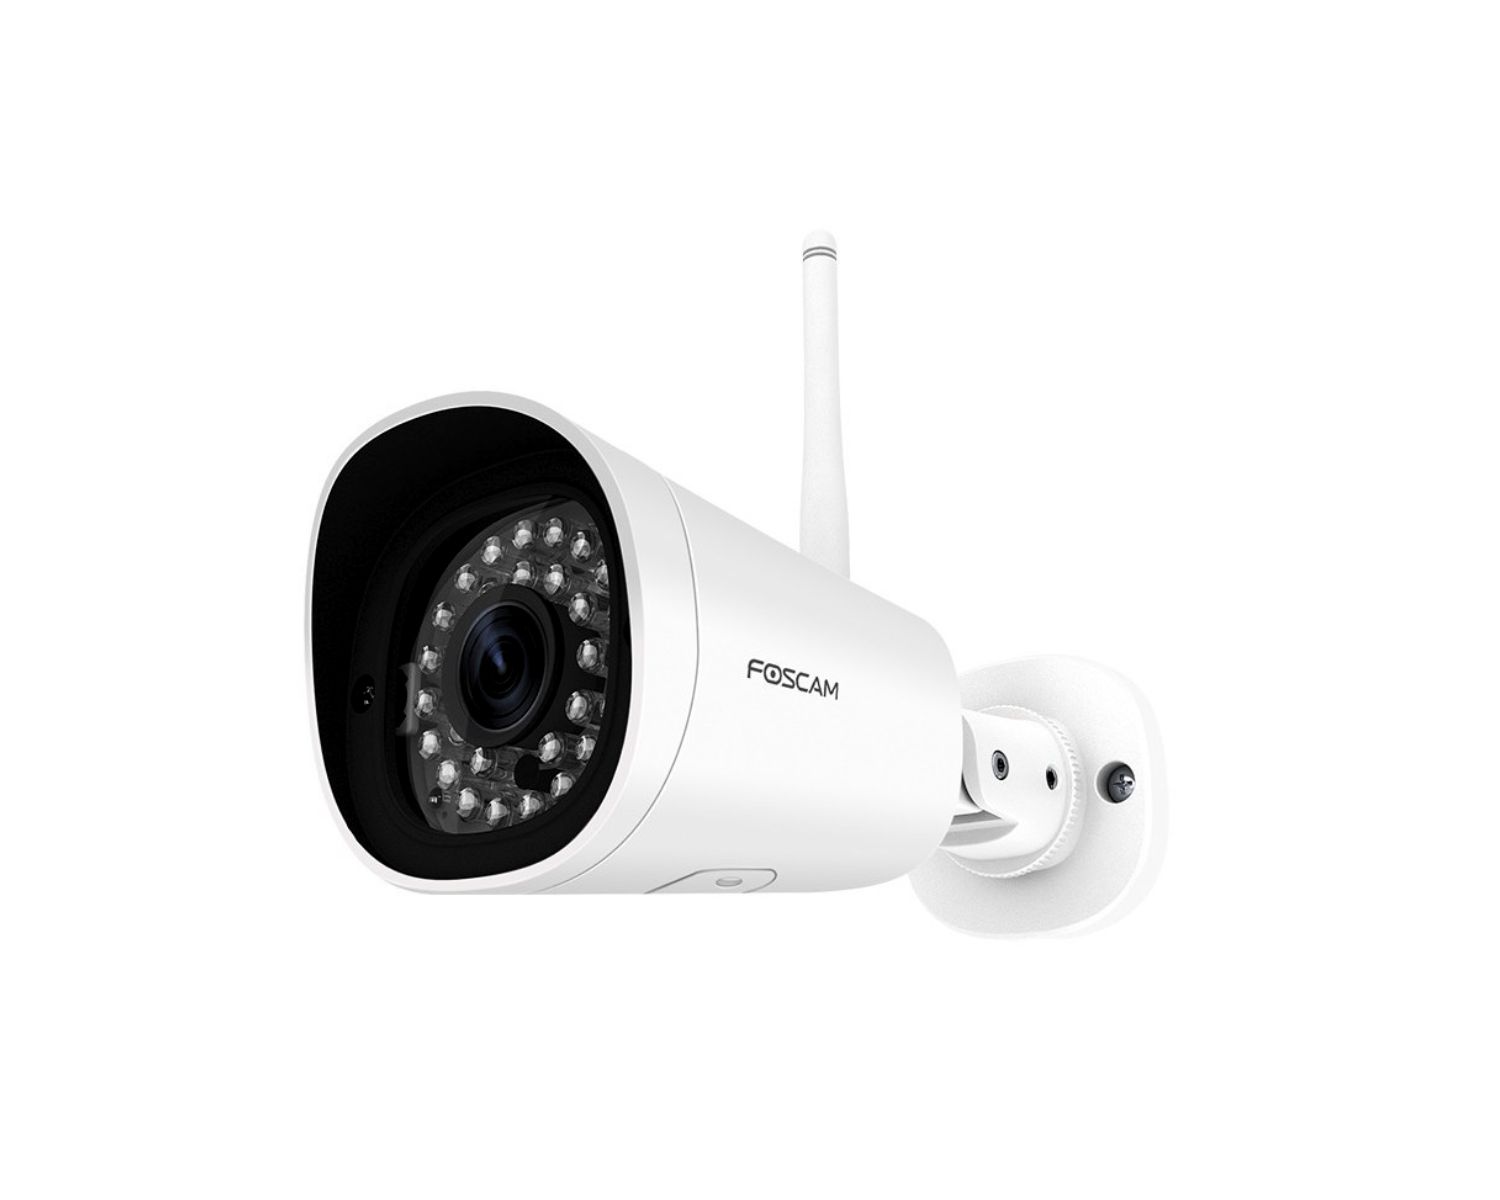
How To Install Adt Blue Outdoor Camera
Modified: February 25, 2024
Learn how to install ADT Blue outdoor camera for your outdoor furniture and design. Follow our step-by-step guide for easy setup and optimal security.
(Many of the links in this article redirect to a specific reviewed product. Your purchase of these products through affiliate links helps to generate commission for Storables.com, at no extra cost. Learn more)
Introduction
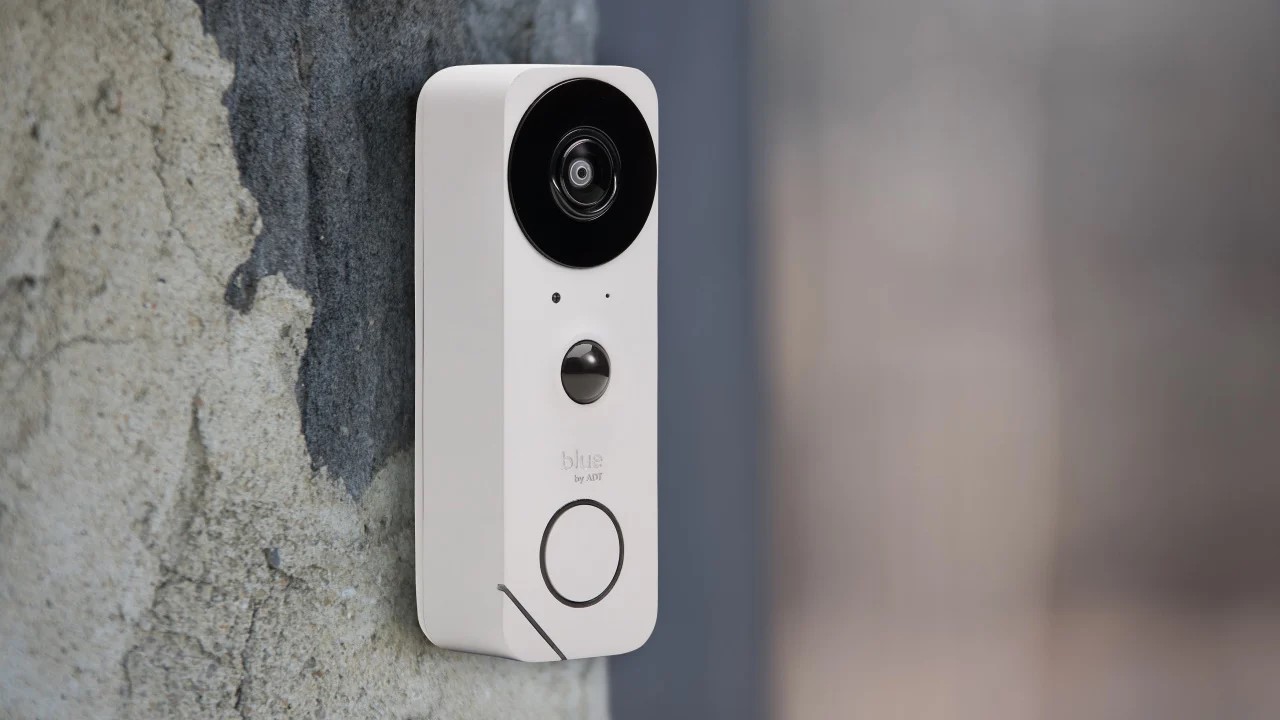
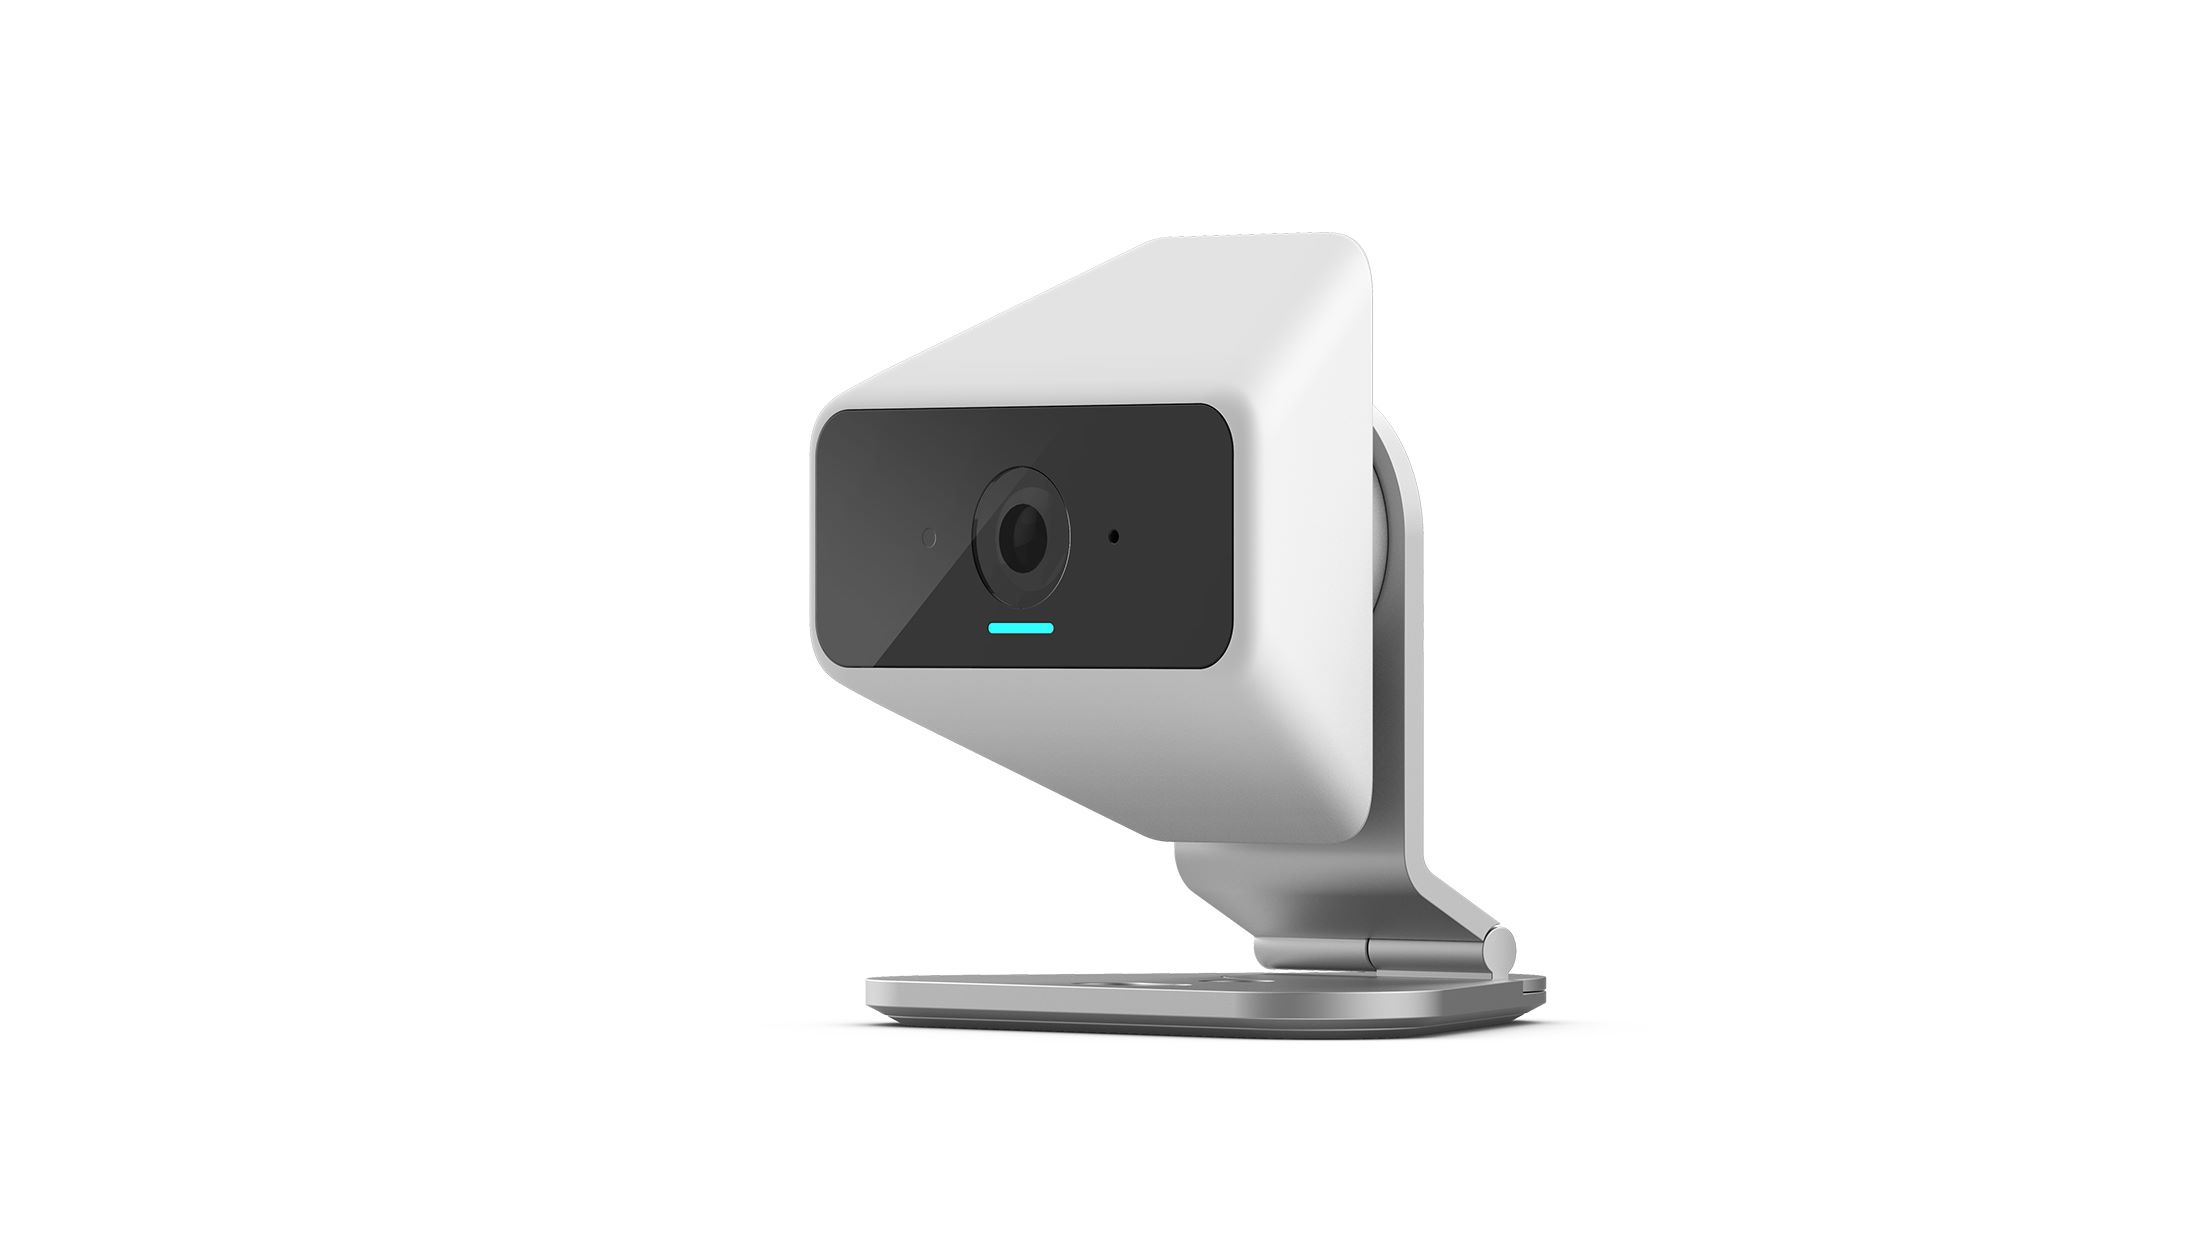
Welcome to the world of advanced home security technology with the ADT Blue Outdoor Camera. As outdoor security becomes increasingly crucial, this innovative camera offers a robust solution to safeguard your property. Whether you're a tech enthusiast or a DIY aficionado, installing the ADT Blue Outdoor Camera is a seamless process that ensures the protection of your home and loved ones.
In this comprehensive guide, we will walk you through the step-by-step process of unboxing, mounting, and setting up the ADT Blue Outdoor Camera. By the end of this tutorial, you will have a clear understanding of how to install this cutting-edge outdoor security device, empowering you to fortify your home with state-of-the-art surveillance capabilities.
So, grab your tools and let's embark on this journey to enhance your home security with the installation of the ADT Blue Outdoor Camera.
Key Takeaways:
- Installing the ADT Blue Outdoor Camera is a seamless process that involves unboxing, mounting, connecting to power, and setting up the camera. It empowers you to proactively monitor and safeguard your property with advanced outdoor surveillance capabilities.
- The successful installation and setup of the ADT Blue Outdoor Camera mark the beginning of a comprehensive approach to home security. Regularly review and adjust the camera’s settings to align with your evolving security needs and stay proactive in safeguarding your home and loved ones.
Read more: How To Reset ADT Outdoor Camera
Step 1: Unboxing the ADT Blue Outdoor Camera
Before diving into the installation process, it’s essential to unbox the ADT Blue Outdoor Camera and familiarize yourself with its components. The packaging of the camera is designed to ensure that all the necessary elements for installation are neatly organized and easily accessible. As you unbox the ADT Blue Outdoor Camera, you will find the following components:
- ADT Blue Outdoor Camera
- Mounting bracket and hardware
- Power adapter
- Quick start guide
The ADT Blue Outdoor Camera boasts a sleek and robust design, exuding durability and reliability. The mounting bracket and hardware are thoughtfully included to facilitate the seamless installation of the camera in your desired outdoor location. Additionally, the power adapter ensures that the camera receives a stable power supply for uninterrupted functionality.
As you unbox the camera, take a moment to review the quick start guide, which provides concise and clear instructions for the subsequent installation steps. Familiarizing yourself with the components and the provided documentation sets the stage for a smooth and efficient installation process.
With the ADT Blue Outdoor Camera unboxed and its components at your disposal, you are ready to embark on the next step: mounting the camera in your desired outdoor location.
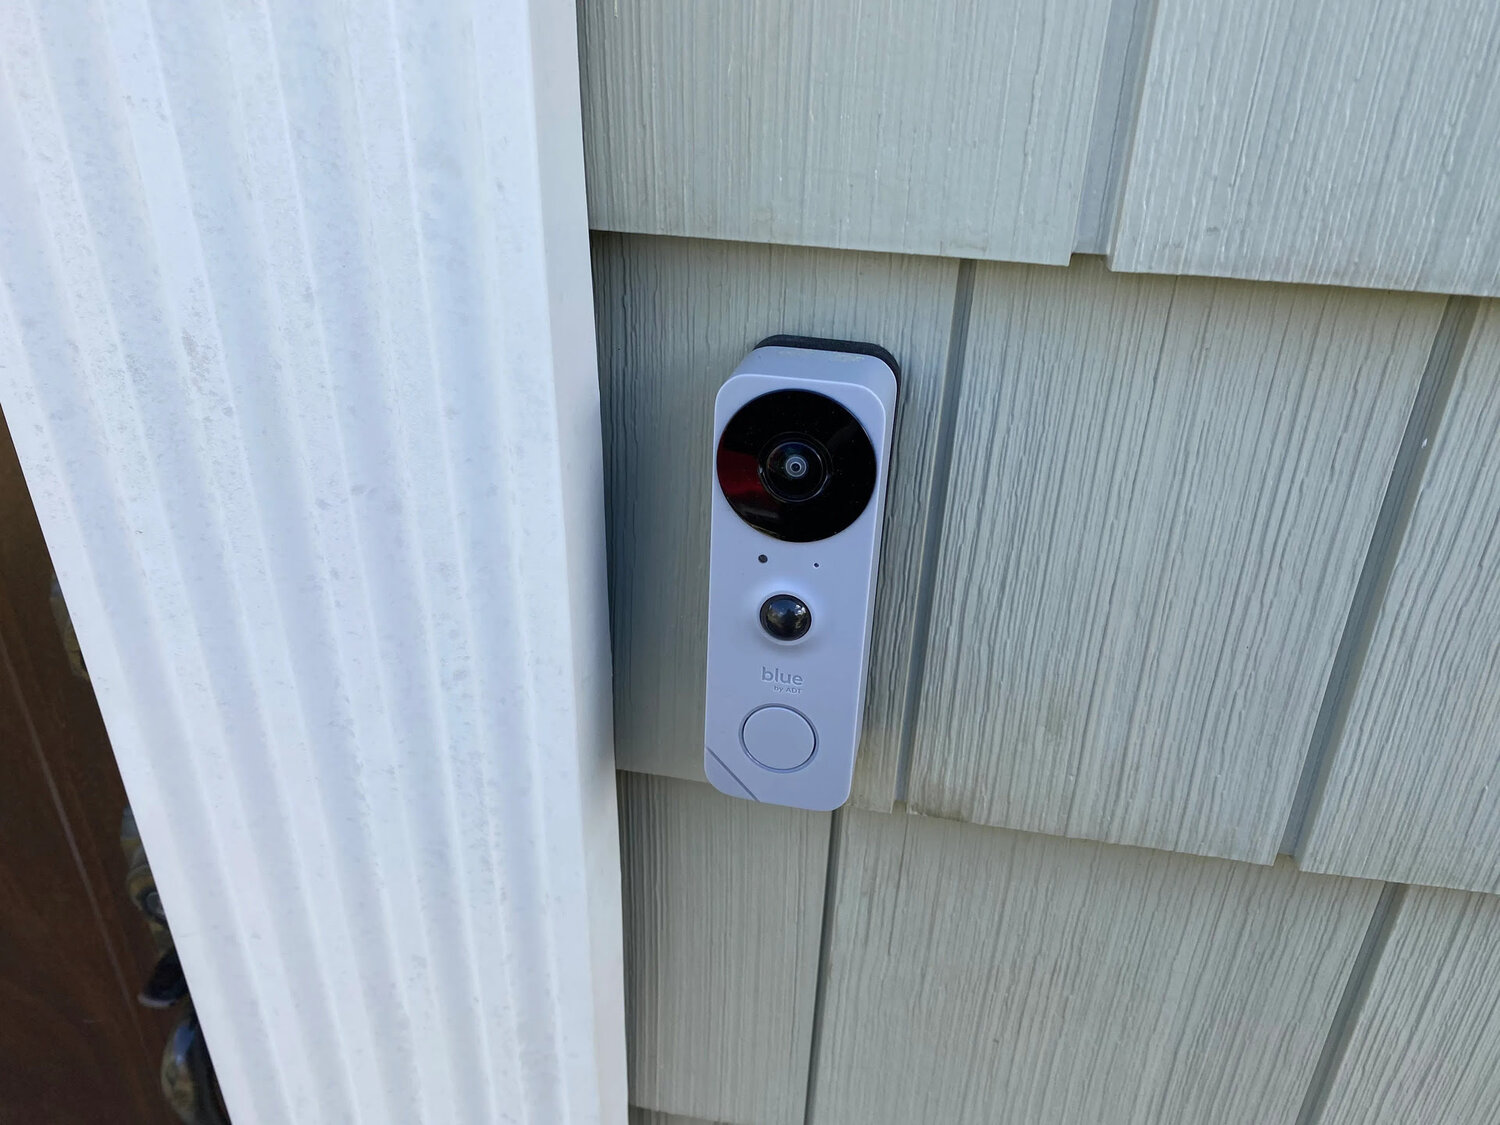
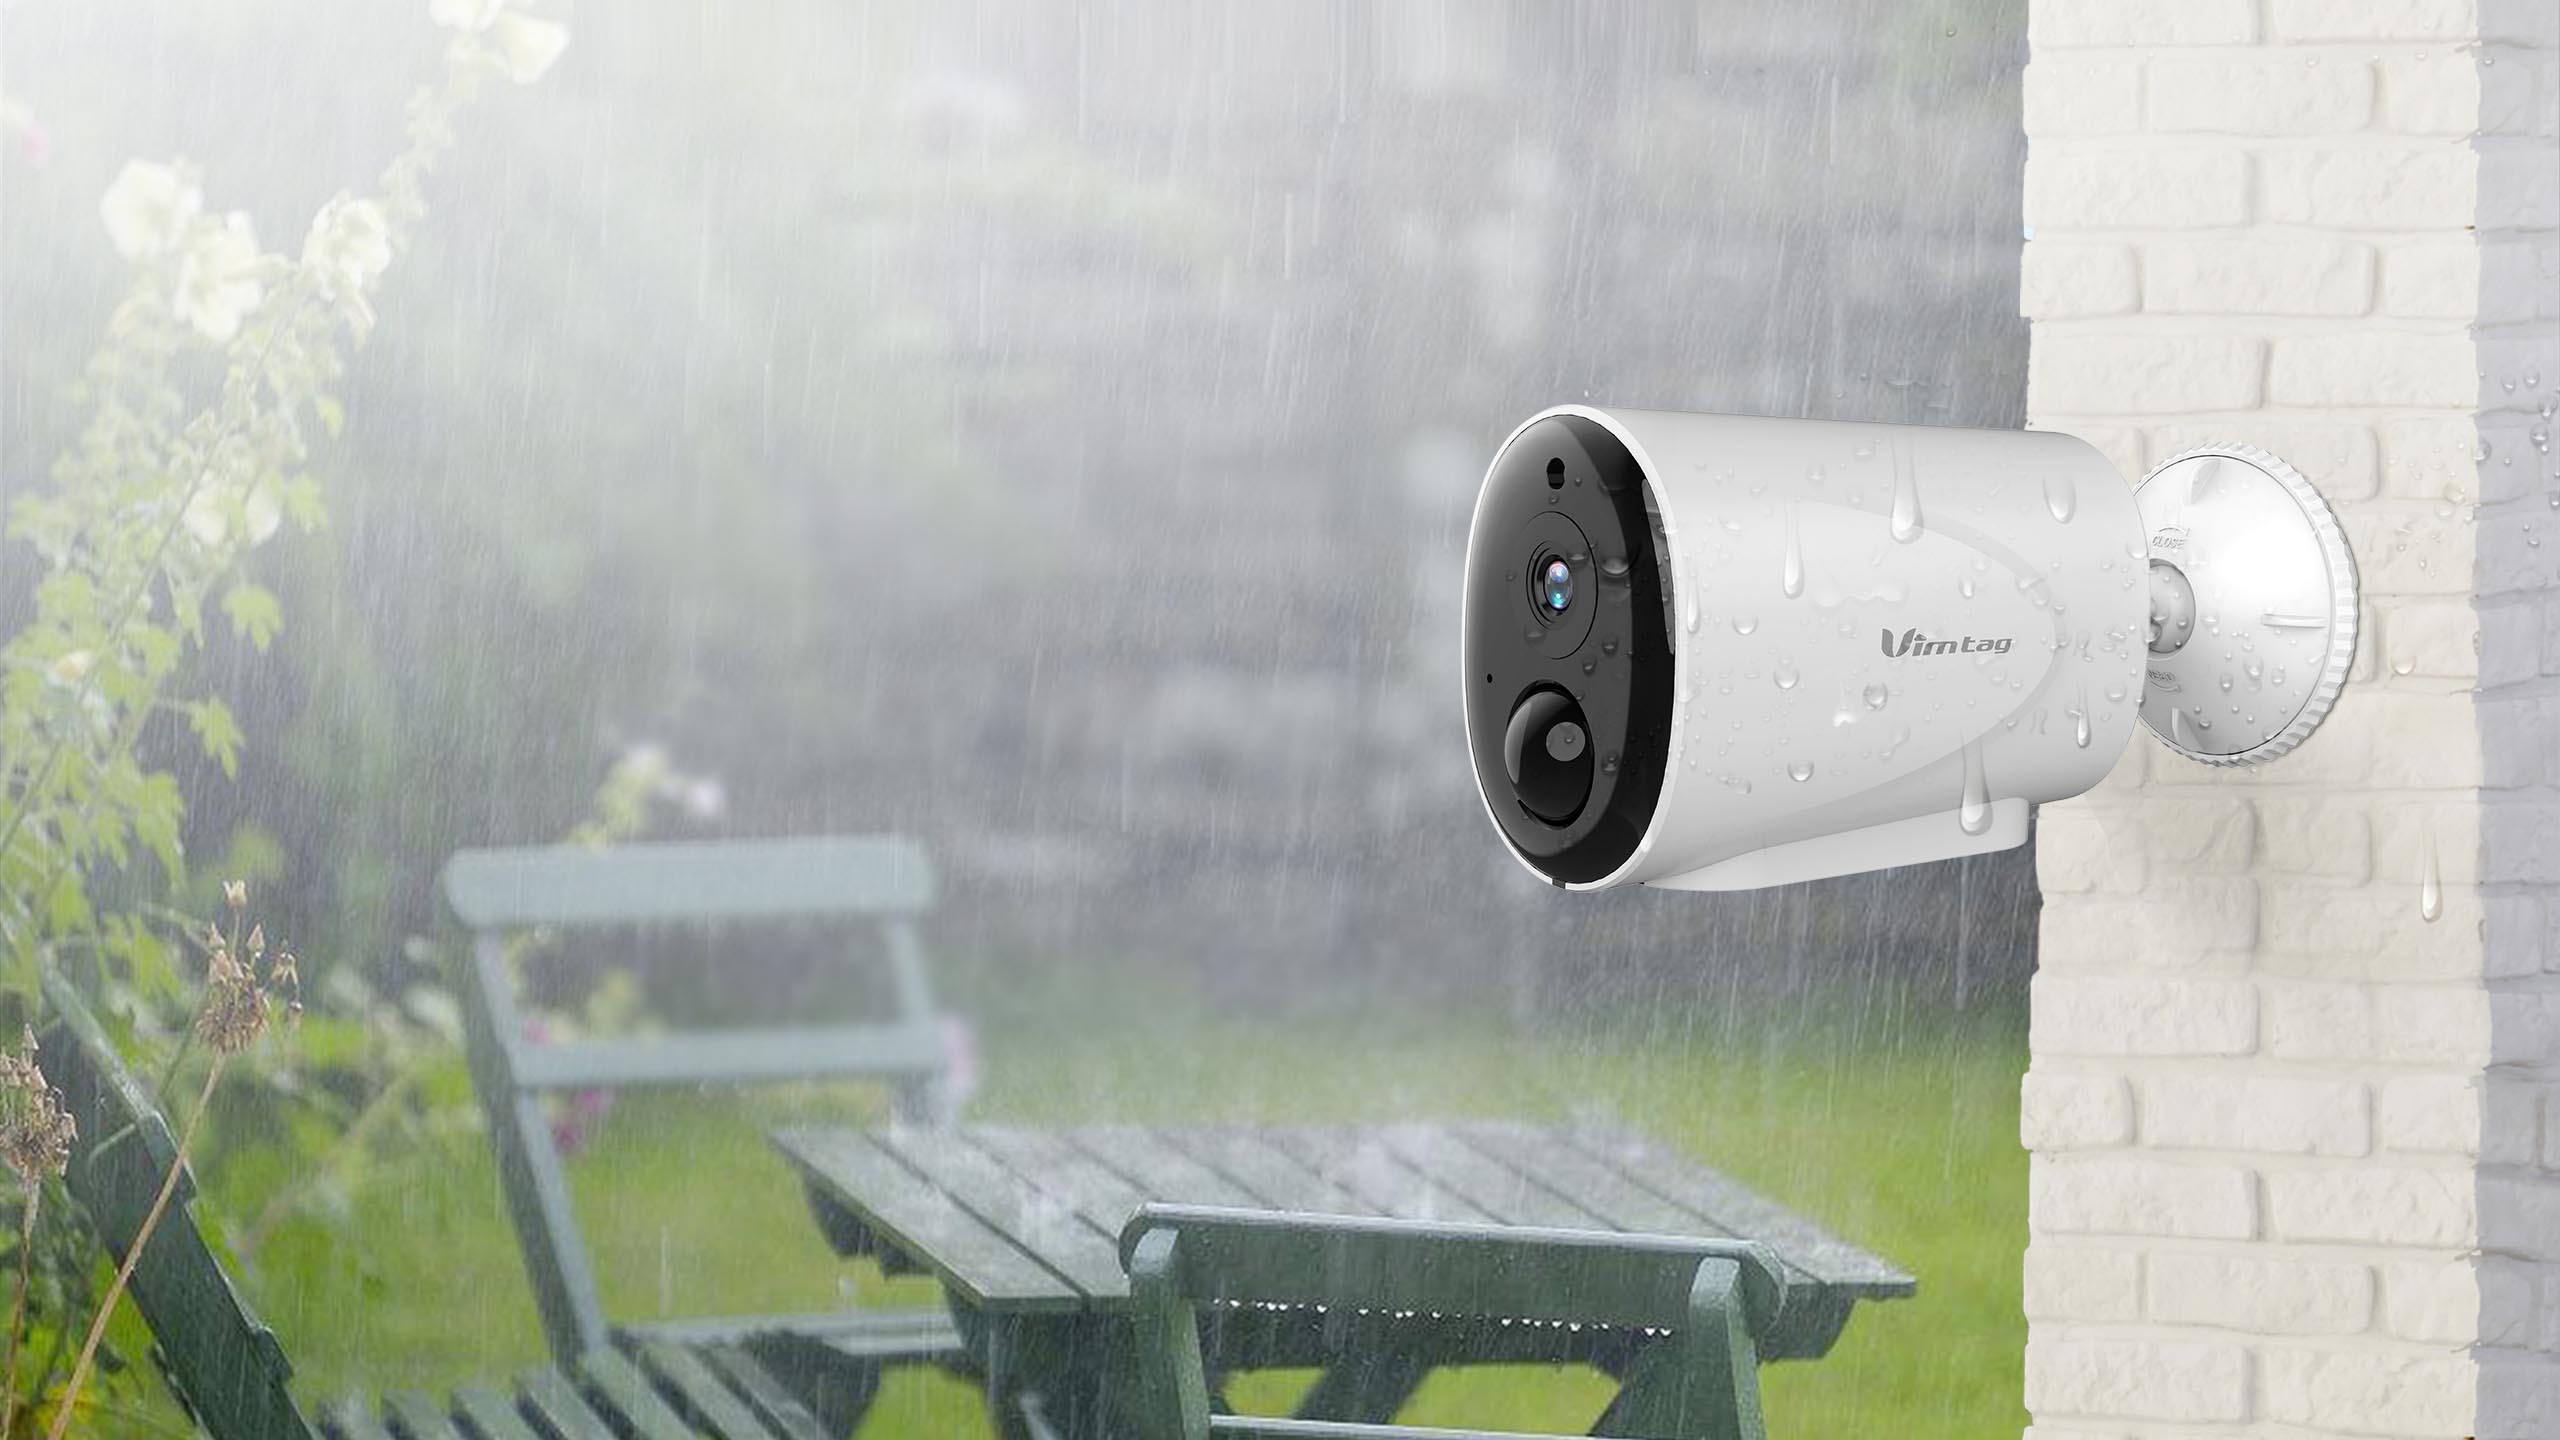
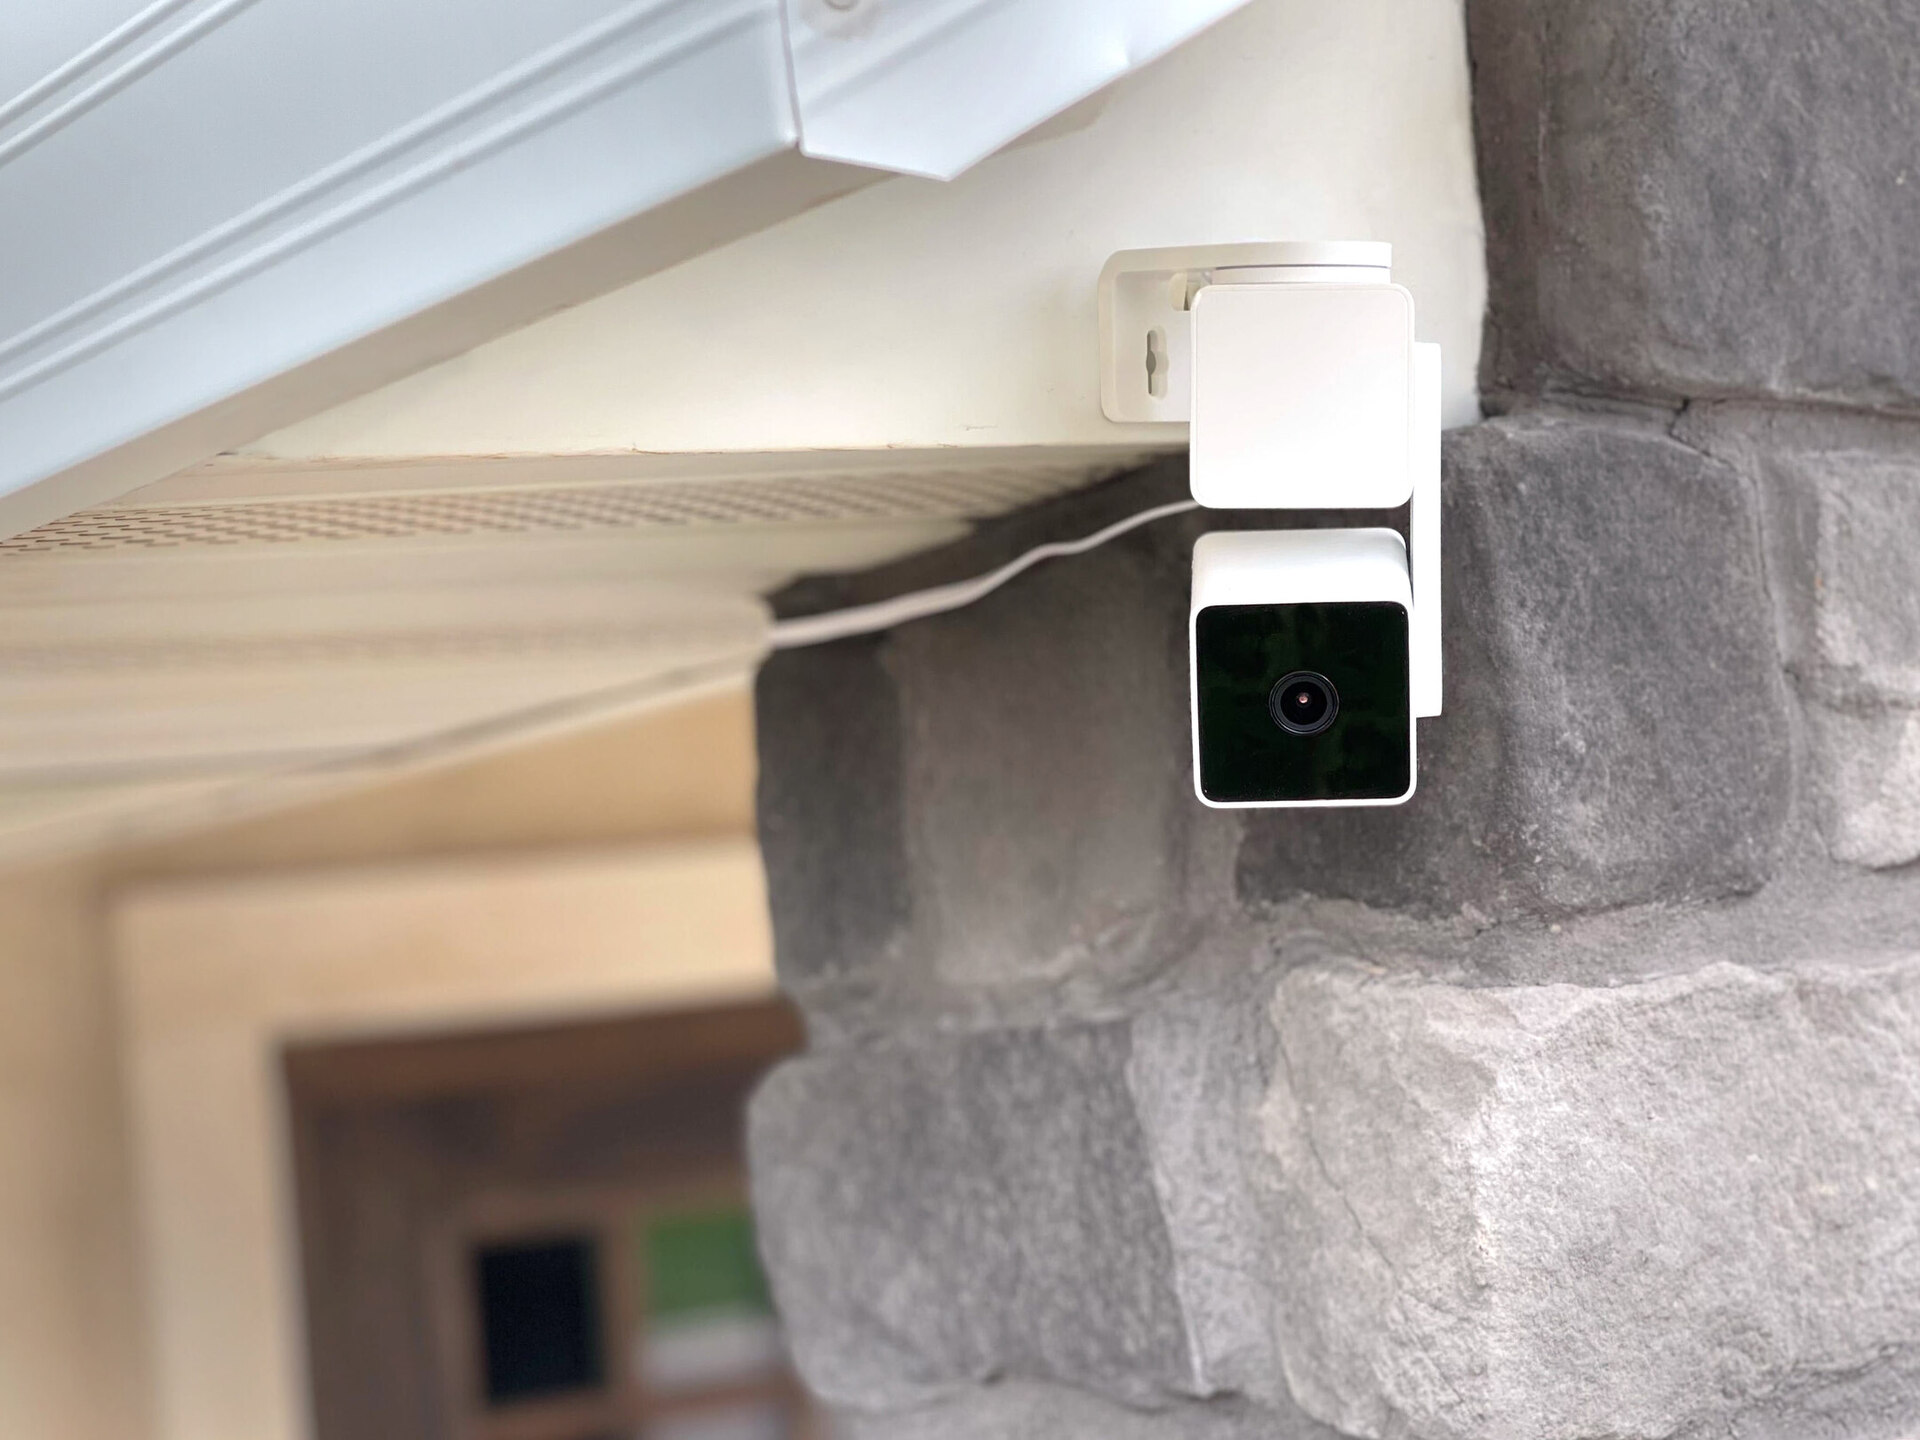
Step 2: Mounting the Camera
Mounting the ADT Blue Outdoor Camera is a pivotal aspect of the installation process, as it determines the camera’s field of view and overall effectiveness in monitoring your outdoor space. The mounting bracket and hardware provided with the camera are designed to facilitate a secure and adjustable installation, ensuring optimal positioning for surveillance.
Before mounting the camera, carefully select the location that offers the best vantage point for monitoring your outdoor area. Whether it’s overlooking the front yard, driveway, or backyard, choose a spot that provides a comprehensive view while remaining discreet to potential intruders. Once you’ve identified the ideal location, follow these steps to mount the camera:
- Positioning the Mounting Bracket: Using the provided hardware, securely attach the mounting bracket to the chosen surface. Whether it’s a wall, eave, or any other suitable structure, ensure that the bracket is firmly affixed to support the weight of the camera.
- Attaching the Camera: With the mounting bracket in place, carefully affix the ADT Blue Outdoor Camera to the bracket, ensuring a snug and stable connection. The camera’s adjustable design allows you to orient it for the optimal viewing angle.
- Securing the Camera: Double-check the stability of the mounted camera, ensuring that it is firmly secured and positioned to capture the desired outdoor area. Tighten any adjustable components to prevent the camera from shifting due to environmental factors.
By meticulously following these steps, you can effectively mount the ADT Blue Outdoor Camera in your preferred outdoor location, setting the stage for the subsequent steps of connecting the camera to power and initiating the setup process.
With the camera securely mounted and poised to surveil your outdoor space, you’re now ready to proceed to the next crucial step: connecting the camera to power.
Before installing your ADT Blue Outdoor Camera, make sure to carefully read the installation instructions provided with the camera. It’s important to choose a location with a strong Wi-Fi signal and to securely mount the camera to ensure optimal performance.
Step 3: Connecting the Camera to Power
Ensuring a stable and reliable power supply is essential for the seamless functionality of the ADT Blue Outdoor Camera. By connecting the camera to power, you guarantee uninterrupted surveillance capabilities, allowing it to remain vigilant against potential security threats in your outdoor environment.
To connect the camera to power, follow these straightforward steps:
- Locate a Power Source: Identify a nearby power outlet or an alternative power source that can accommodate the camera’s power adapter. The proximity of the power source to the mounted camera is crucial to facilitate a tidy and concealed power connection.
- Connect the Power Adapter: Plug the power adapter into the designated port on the ADT Blue Outdoor Camera, ensuring a secure and snug fit. The robust design of the power port ensures a reliable connection, safeguarding the camera’s power supply.
- Plug into Power Outlet: With the power adapter securely connected to the camera, plug the adapter into the selected power source. Ensure that the power connection is stable and free from any potential obstructions.
By following these steps, you establish a dependable power supply for the ADT Blue Outdoor Camera, empowering it to fulfill its role as a vigilant guardian of your outdoor space. The seamless connection to power sets the stage for the subsequent step: setting up the ADT Blue Outdoor Camera to commence its surveillance duties.
With the camera now connected to a stable power source, you’re ready to embark on the next phase: the setup process that brings the ADT Blue Outdoor Camera to life as a robust component of your home security infrastructure.
Step 4: Setting Up the ADT Blue Outdoor Camera
With the ADT Blue Outdoor Camera mounted and connected to power, it’s time to initiate the setup process, enabling the camera to seamlessly integrate into your home security ecosystem. The setup entails configuring the camera’s settings, connecting it to your network, and exploring the comprehensive features that empower you to monitor and safeguard your outdoor space effectively.
Follow these steps to set up the ADT Blue Outdoor Camera:
- Download the ADT Blue App: Begin by downloading the ADT Blue app on your smartphone or tablet. The app serves as the central hub for managing and accessing your ADT Blue Outdoor Camera, offering intuitive controls and real-time monitoring capabilities.
- Create an Account: Upon launching the ADT Blue app, create an account or log in to your existing ADT Blue account. This step is pivotal for seamlessly integrating the camera into your personalized security infrastructure.
- Add the Camera: Within the app, follow the on-screen instructions to add the ADT Blue Outdoor Camera to your account. This process typically involves scanning a QR code on the camera or following the app’s prompts to detect and connect to the camera.
- Configure Camera Settings: Customize the camera’s settings to align with your specific surveillance preferences. This may include adjusting motion detection sensitivity, defining activity zones, and exploring additional features offered by the camera to enhance its monitoring capabilities.
- Connect to Wi-Fi: Ensure that the camera is seamlessly connected to your home Wi-Fi network, providing it with the necessary connectivity to transmit real-time footage and alerts to your connected devices.
- Explore Monitoring Capabilities: Familiarize yourself with the ADT Blue app’s interface and the camera’s monitoring capabilities. Take a moment to explore live viewing, playback functionality, and the array of features designed to empower you with comprehensive surveillance control.
By diligently following these steps, you can seamlessly set up the ADT Blue Outdoor Camera, harnessing its advanced capabilities to fortify your home security infrastructure. The successful completion of the setup process signifies the integration of the camera as a vigilant guardian of your outdoor space, ready to deter potential security threats and provide you with peace of mind.
With the ADT Blue Outdoor Camera fully set up and integrated into your security ecosystem, you’ve taken a significant stride towards bolstering the protection of your home and loved ones. The successful installation and setup of the camera empower you to embrace the benefits of advanced outdoor surveillance, ensuring a proactive approach to safeguarding your property.
Read more: How Much Are ADT Outdoor Cameras
Conclusion
Congratulations on successfully navigating the installation and setup process of the ADT Blue Outdoor Camera. By unboxing, mounting, connecting to power, and setting up the camera, you’ve fortified your home with advanced outdoor surveillance capabilities, empowering you to proactively monitor and safeguard your property.
The ADT Blue Outdoor Camera stands as a stalwart sentinel, diligently overseeing your outdoor space and providing you with real-time insights into potential security events. With its robust design, seamless integration with the ADT Blue app, and customizable features, the camera serves as a formidable component of your home security infrastructure.
As you embark on this journey to enhance your home security, it’s essential to leverage the capabilities of the ADT Blue Outdoor Camera to their fullest extent. Regularly review and adjust the camera’s settings to align with your evolving security needs, explore its monitoring capabilities to stay informed, and leverage its proactive features to preempt potential security threats.
With the ADT Blue Outdoor Camera in place, you can embrace the peace of mind that comes with knowing that your outdoor space is under the vigilant watch of advanced surveillance technology. Whether it’s monitoring deliveries, deterring trespassers, or simply keeping an eye on your property, the camera empowers you to stay connected and proactive in safeguarding your home and loved ones.
Remember, the successful installation and setup of the ADT Blue Outdoor Camera are just the beginning of a comprehensive approach to home security. Stay informed about the camera’s updates and enhancements, integrate it with other elements of your security infrastructure, and embrace the proactive mindset of leveraging technology to fortify your home against potential security risks.
With the ADT Blue Outdoor Camera as a stalwart guardian of your outdoor space, you’ve taken a significant step towards embracing a proactive and vigilant approach to home security. As technology continues to evolve, so too will your ability to stay ahead of potential security threats, ensuring that your home remains a safe and secure haven for you and your loved ones.
Frequently Asked Questions about How To Install Adt Blue Outdoor Camera
Was this page helpful?
At Storables.com, we guarantee accurate and reliable information. Our content, validated by Expert Board Contributors, is crafted following stringent Editorial Policies. We're committed to providing you with well-researched, expert-backed insights for all your informational needs.


0 thoughts on “How To Install Adt Blue Outdoor Camera”