Home>Furniture & Design>Outdoor Furniture>How To Set Up Adt Outdoor Camera
Outdoor Furniture
How To Set Up Adt Outdoor Camera
Modified: February 18, 2024
Learn how to set up your ADT outdoor camera for maximum security and peace of mind. Discover expert tips and best practices for outdoor furniture, design, and installation.
(Many of the links in this article redirect to a specific reviewed product. Your purchase of these products through affiliate links helps to generate commission for Storables.com, at no extra cost. Learn more)
Introduction
Setting up an ADT outdoor camera is a fantastic way to enhance the security of your home. With the ability to monitor your property remotely, you can gain peace of mind and keep an eye on your surroundings even when you're away. In this comprehensive guide, we will walk you through the step-by-step process of setting up your ADT outdoor camera, ensuring that you can make the most of this invaluable security tool.
Whether you're a tech-savvy individual or someone who's just beginning to explore the world of home security systems, this guide is designed to provide clear and concise instructions. By the end, you'll feel confident in your ability to install and configure your ADT outdoor camera, empowering you to safeguard your home and loved ones effectively. Let's get started!
Key Takeaways:
- Choose the right location for your ADT outdoor camera to maximize coverage and ensure it’s safe from weather and tampering. This sets the stage for a successful installation and reliable performance.
- Connect your ADT outdoor camera to a stable power source and Wi-Fi network to ensure continuous surveillance and remote access. Prioritize safety and follow the recommended guidelines for seamless connectivity.
Read more: How To Set Up An ADT Outdoor Camera
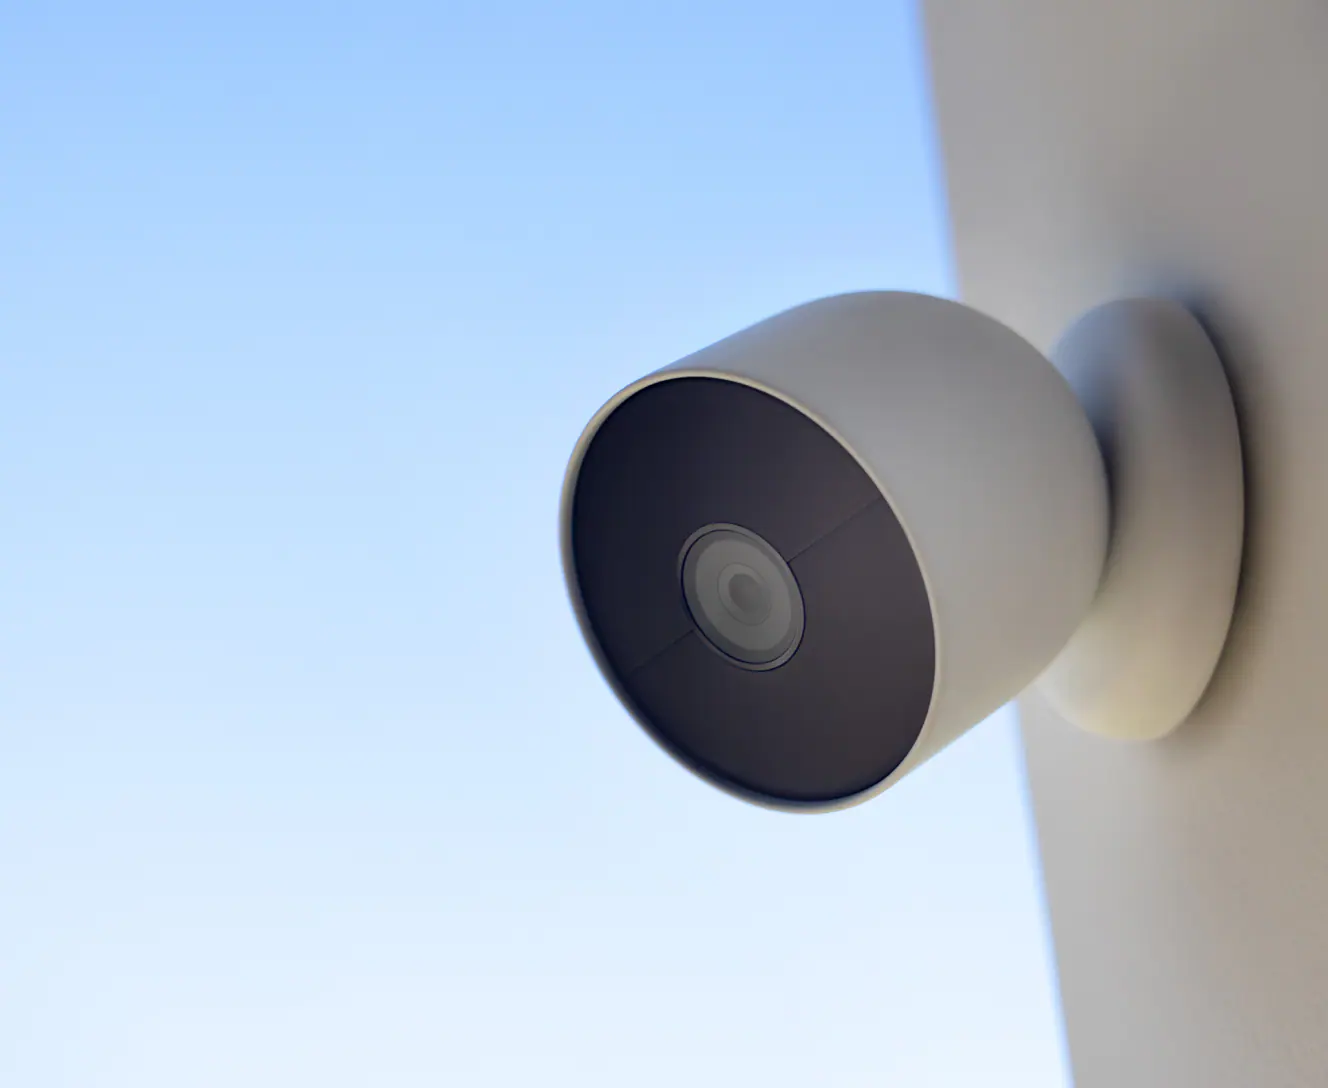
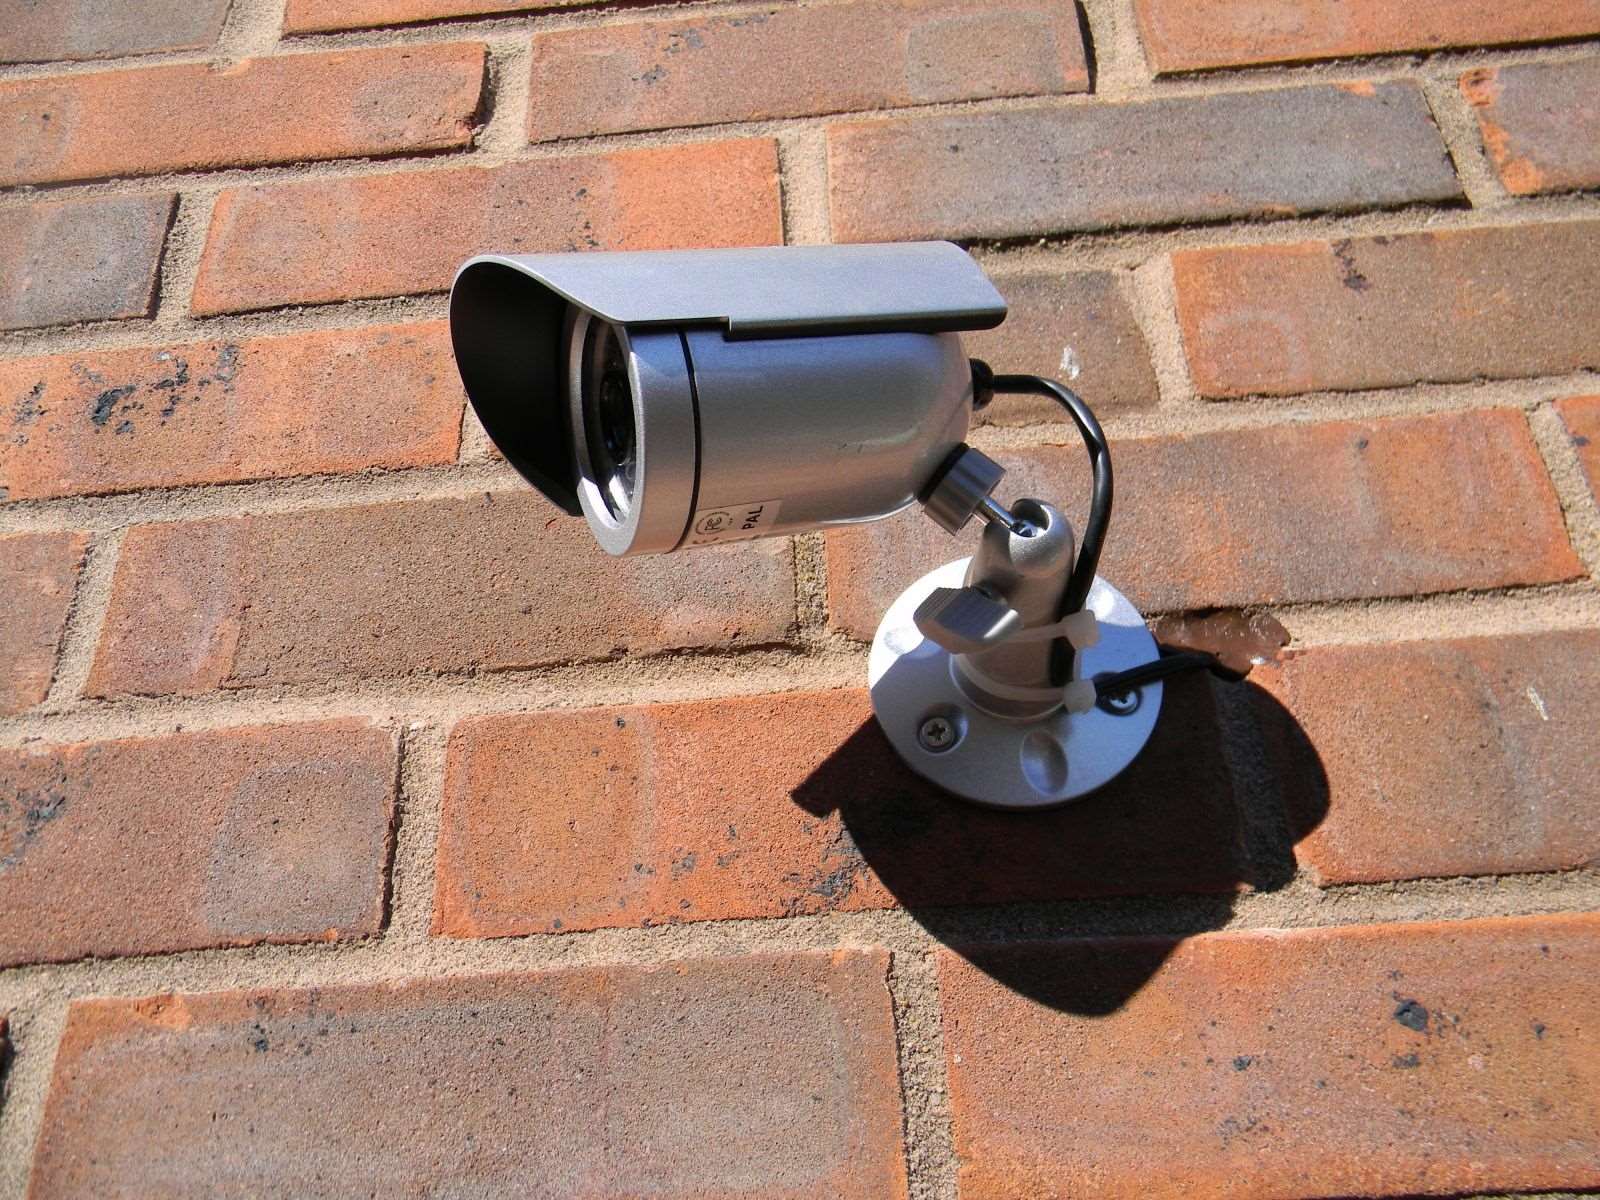
Choosing the Right Location
Before you begin the installation process, it’s crucial to identify the optimal location for your ADT outdoor camera. This step is essential for maximizing the camera’s coverage and ensuring that it captures the most relevant footage. Here are some key considerations to keep in mind:
- Visibility: Select a location that provides a clear view of the area you want to monitor. Avoid obstructions such as trees, shrubs, or large objects that could obstruct the camera’s line of sight.
- Weather Resistance: Since the camera will be exposed to the elements, choose a spot that offers some protection from harsh weather conditions. Look for areas with minimal exposure to direct sunlight, heavy rain, or strong winds.
- Accessibility: Ensure that the chosen location allows for easy access during installation and maintenance. It should also be within reach of a power source and Wi-Fi connectivity.
- Security: Opt for a location that is not easily accessible to intruders. Mount the camera high enough to prevent tampering or vandalism.
By carefully evaluating these factors, you can pinpoint the ideal spot for your ADT outdoor camera, setting the stage for a successful installation and reliable performance.
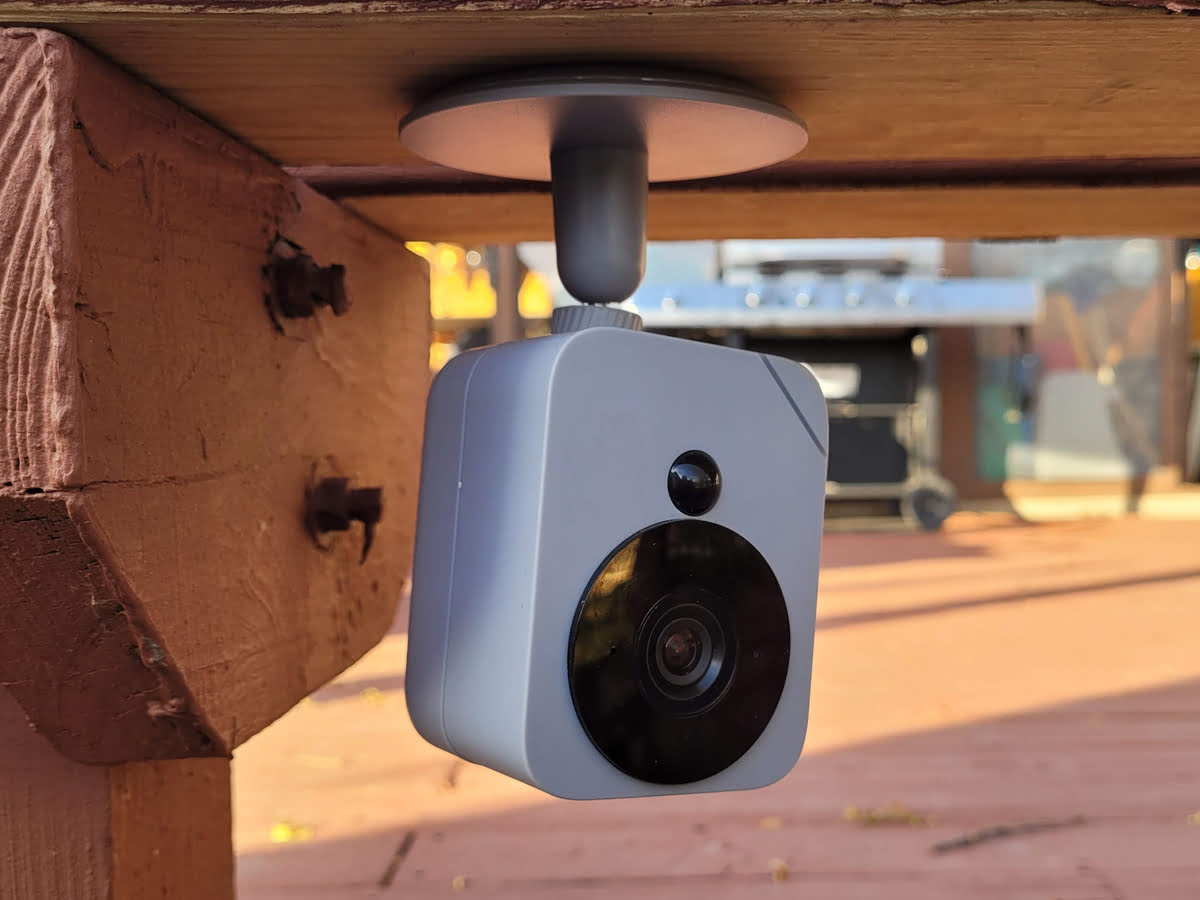
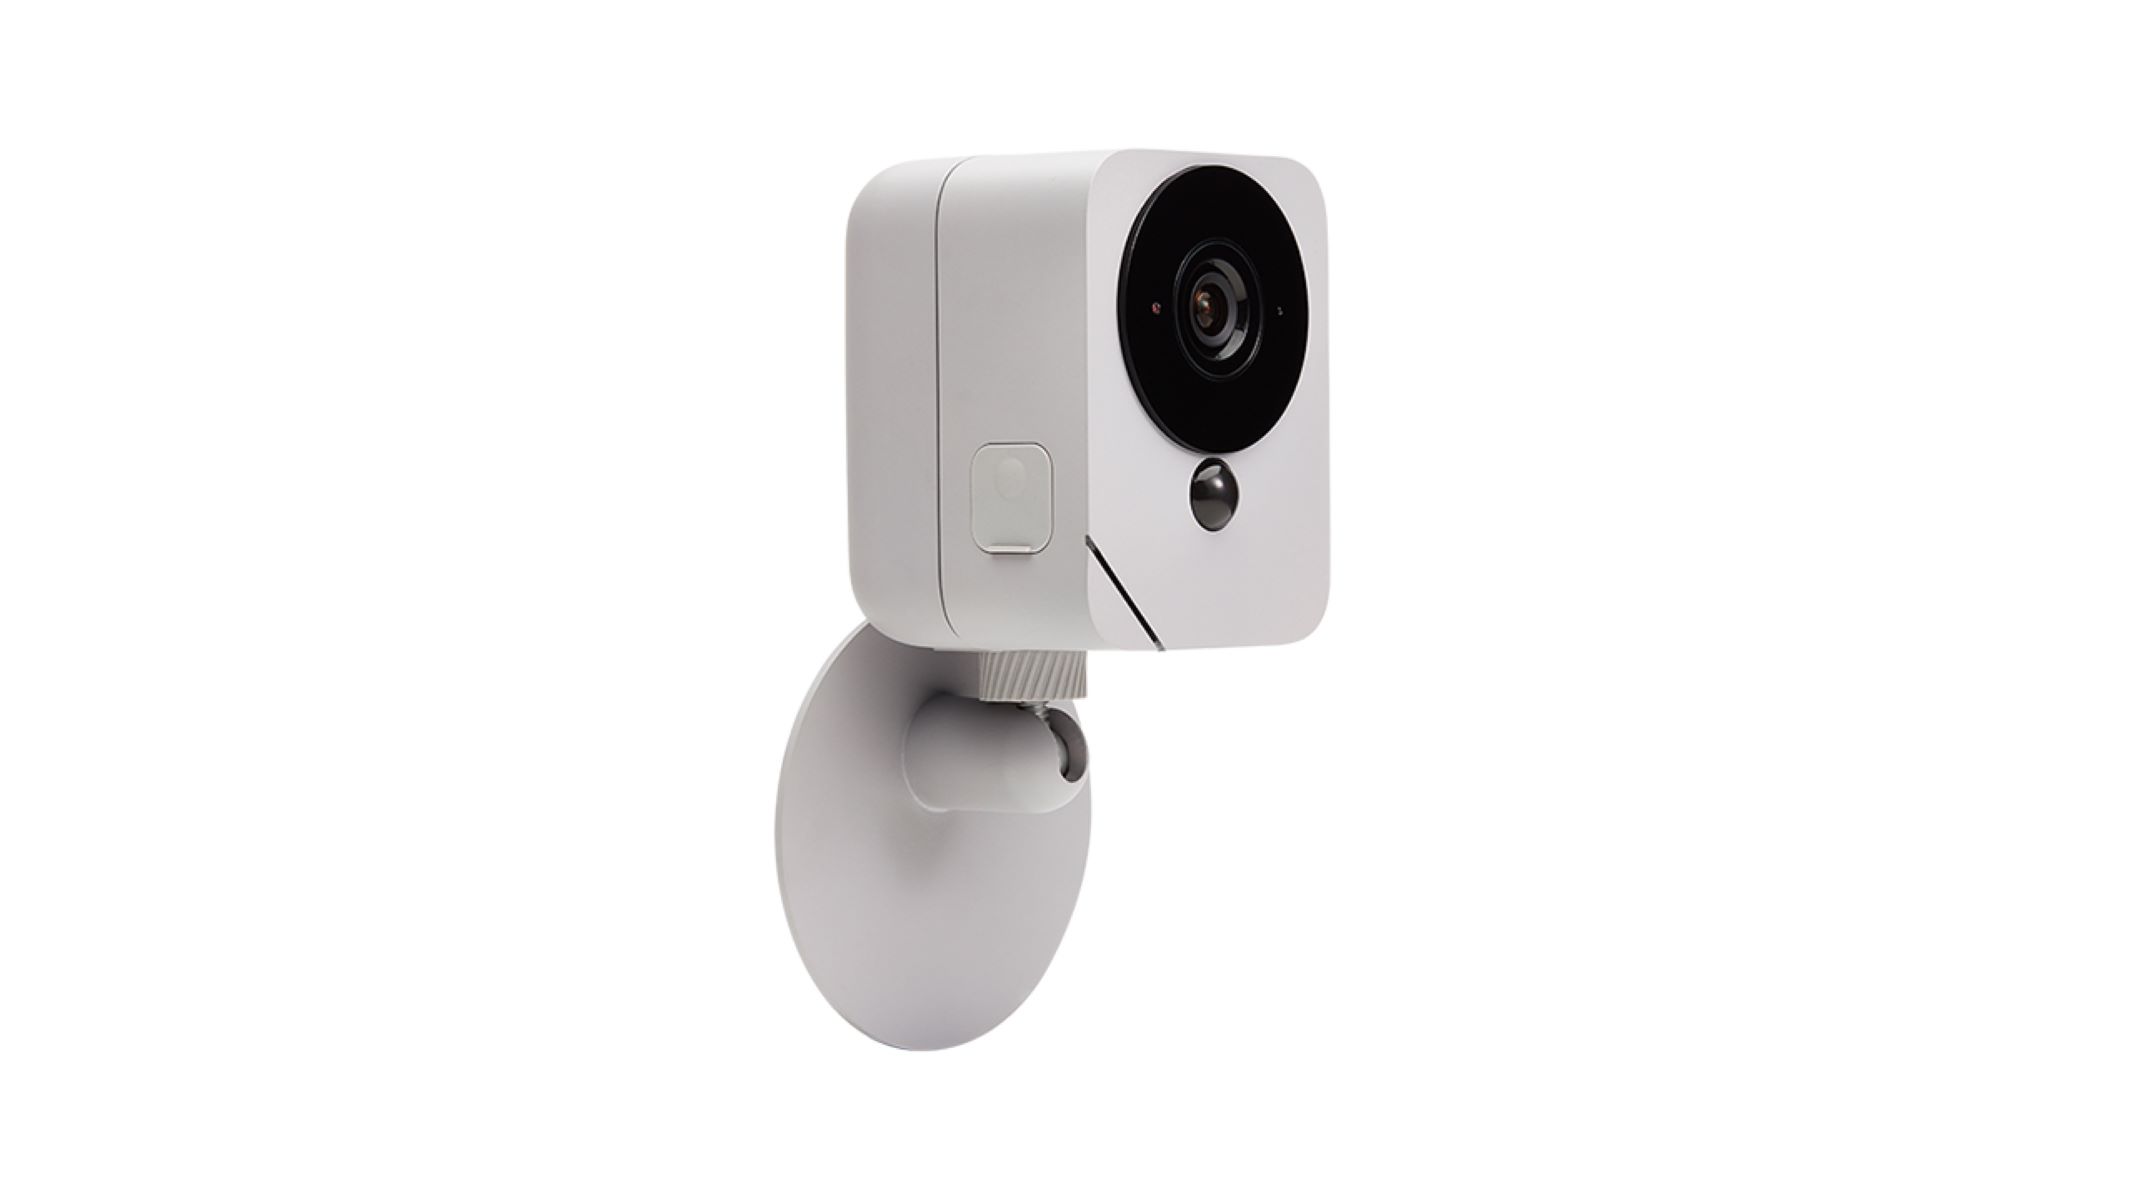
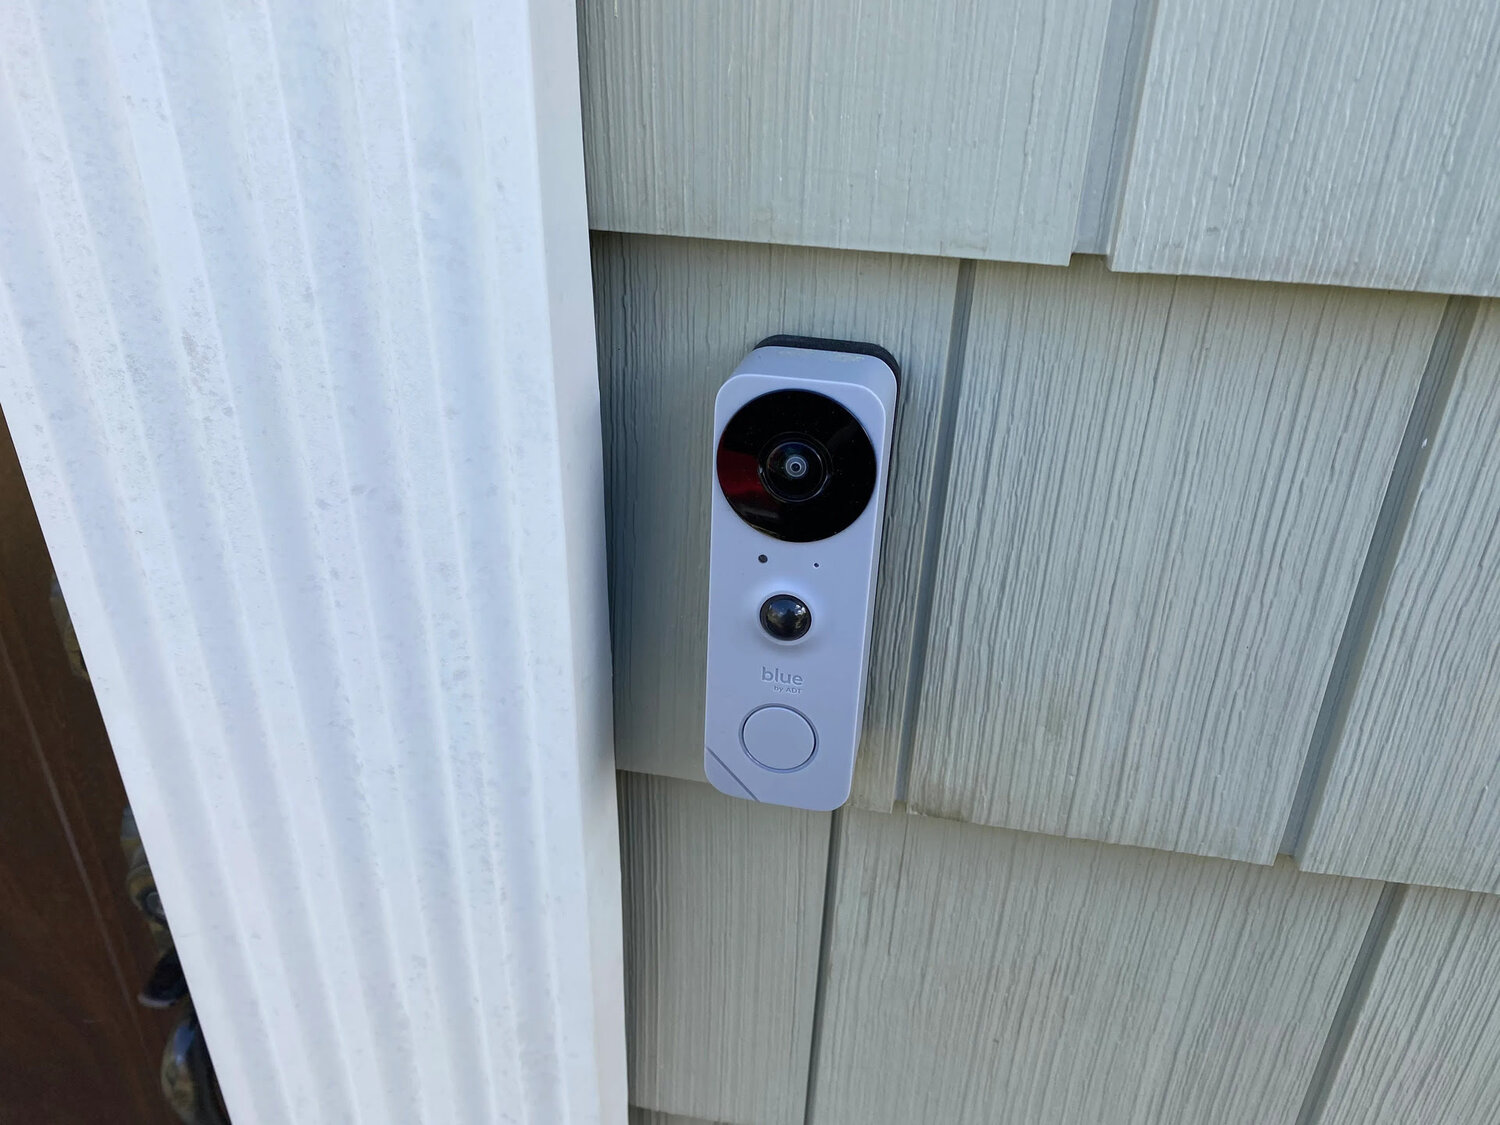
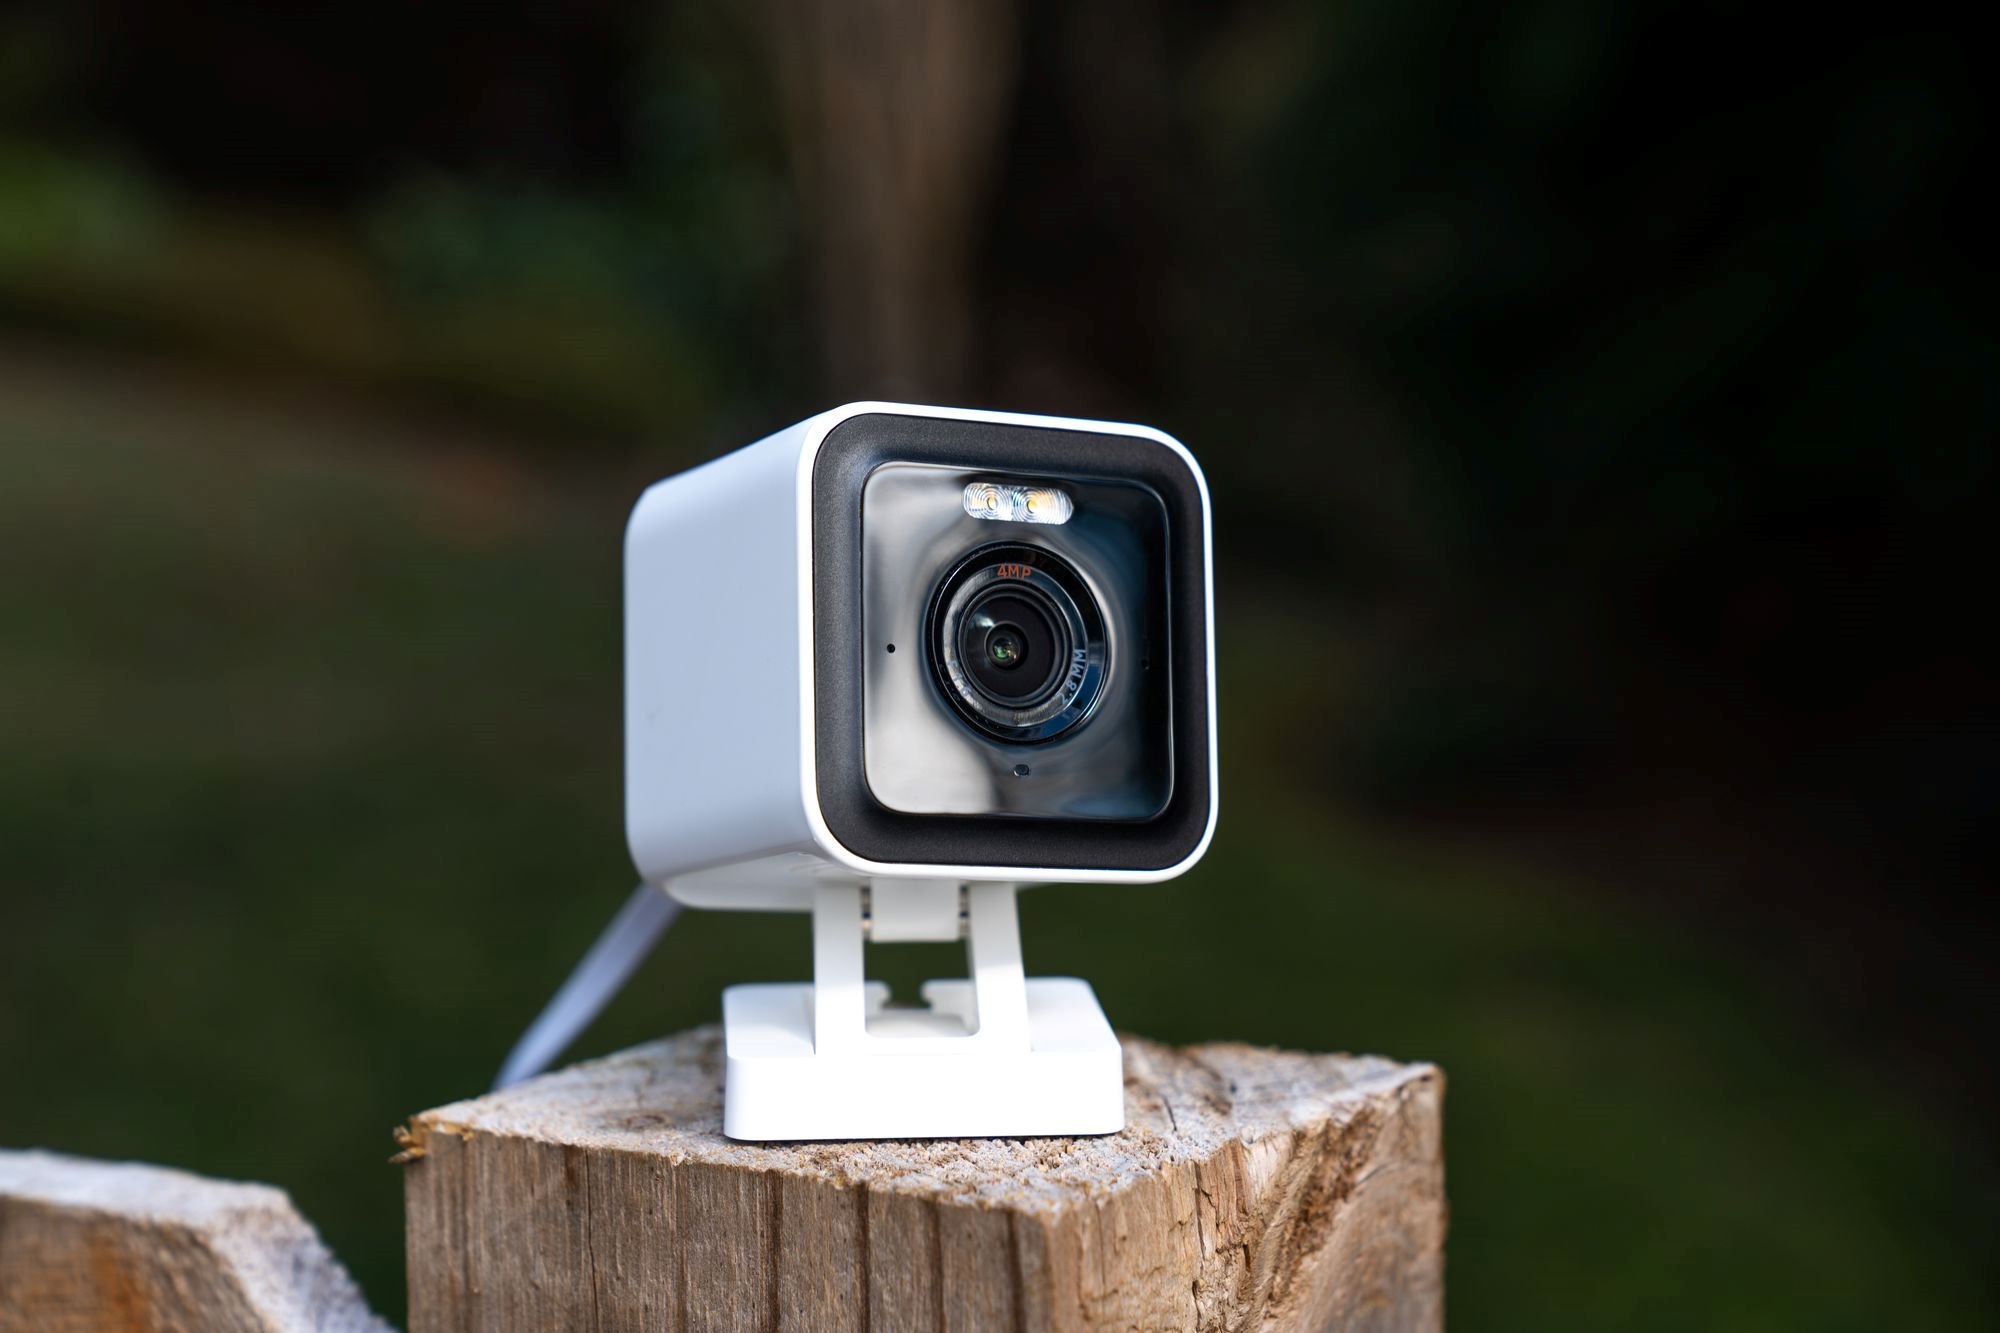
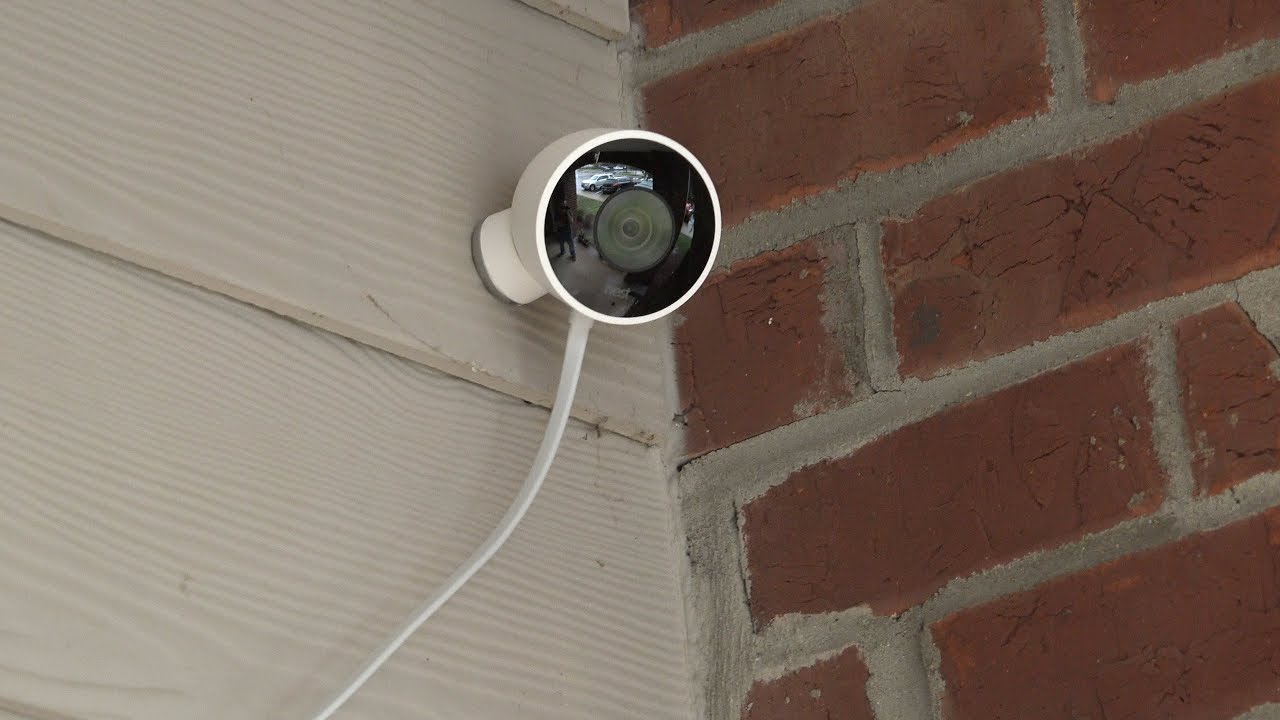
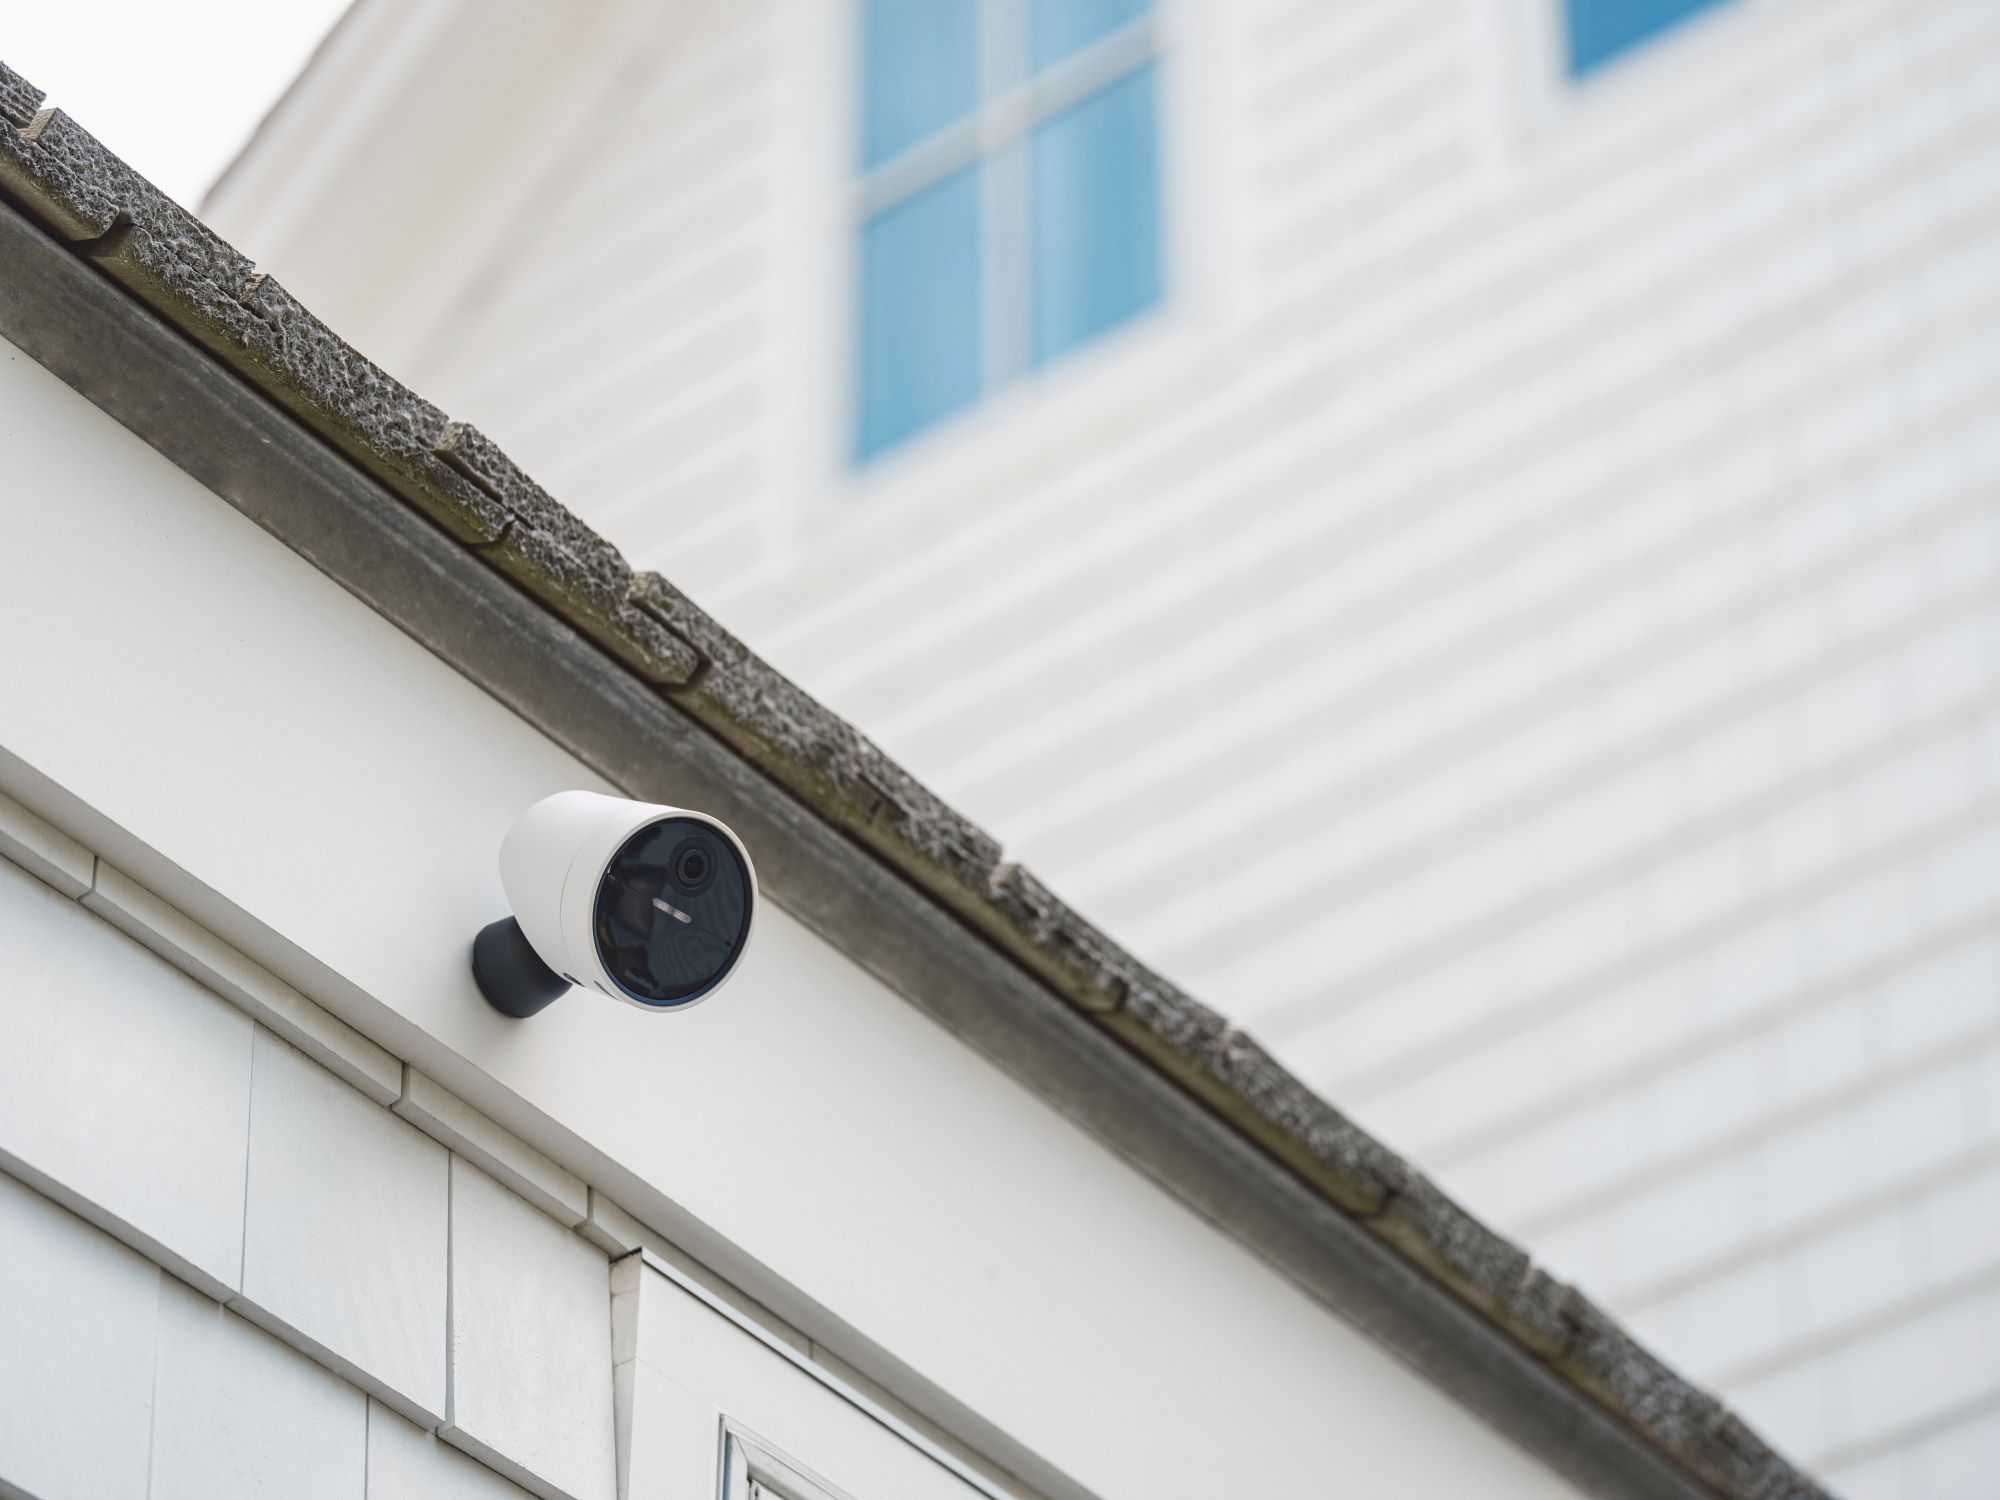
Mounting the Camera
Once you’ve determined the perfect location for your ADT outdoor camera, it’s time to proceed with the mounting process. Follow these steps to securely install the camera:
- Prepare the Mounting Surface: Use a stud finder to locate a solid surface, such as a wall or eave, for mounting the camera. Ensure that the surface is stable and can support the weight of the camera.
- Mark the Drill Points: Using a pencil, mark the positions for the mounting screws based on the camera’s mounting bracket. Double-check the alignment and levelness of the marks before drilling.
- Drill Pilot Holes: Carefully drill pilot holes at the marked positions to facilitate the insertion of the mounting screws. Be mindful of any electrical wiring or plumbing behind the mounting surface.
- Secure the Mounting Bracket: Attach the mounting bracket to the surface using suitable screws and anchors. Ensure that the bracket is firmly affixed and level.
- Attach the Camera: With the mounting bracket in place, securely attach the ADT outdoor camera to the bracket according to the manufacturer’s instructions. Double-check the stability of the camera’s mount.
By following these steps diligently, you can ensure that your ADT outdoor camera is securely mounted, providing a stable and reliable vantage point for monitoring your property.
Connecting to Power
Powering your ADT outdoor camera is a crucial step in the installation process. Depending on the model of your camera, you may have several options for supplying power. Here’s how to connect your camera to a reliable power source:
- Wired Power Connection: If your camera requires a wired power connection, locate a nearby power outlet or consider hiring a professional electrician to install an outdoor power source. Ensure that the power cable is weatherproof and securely routed to the camera.
- Battery Power: Some ADT outdoor cameras are equipped with rechargeable batteries. If this is the case, follow the manufacturer’s guidelines for charging the battery before installing it in the camera. Regularly monitor the battery level and recharge as needed to maintain uninterrupted operation.
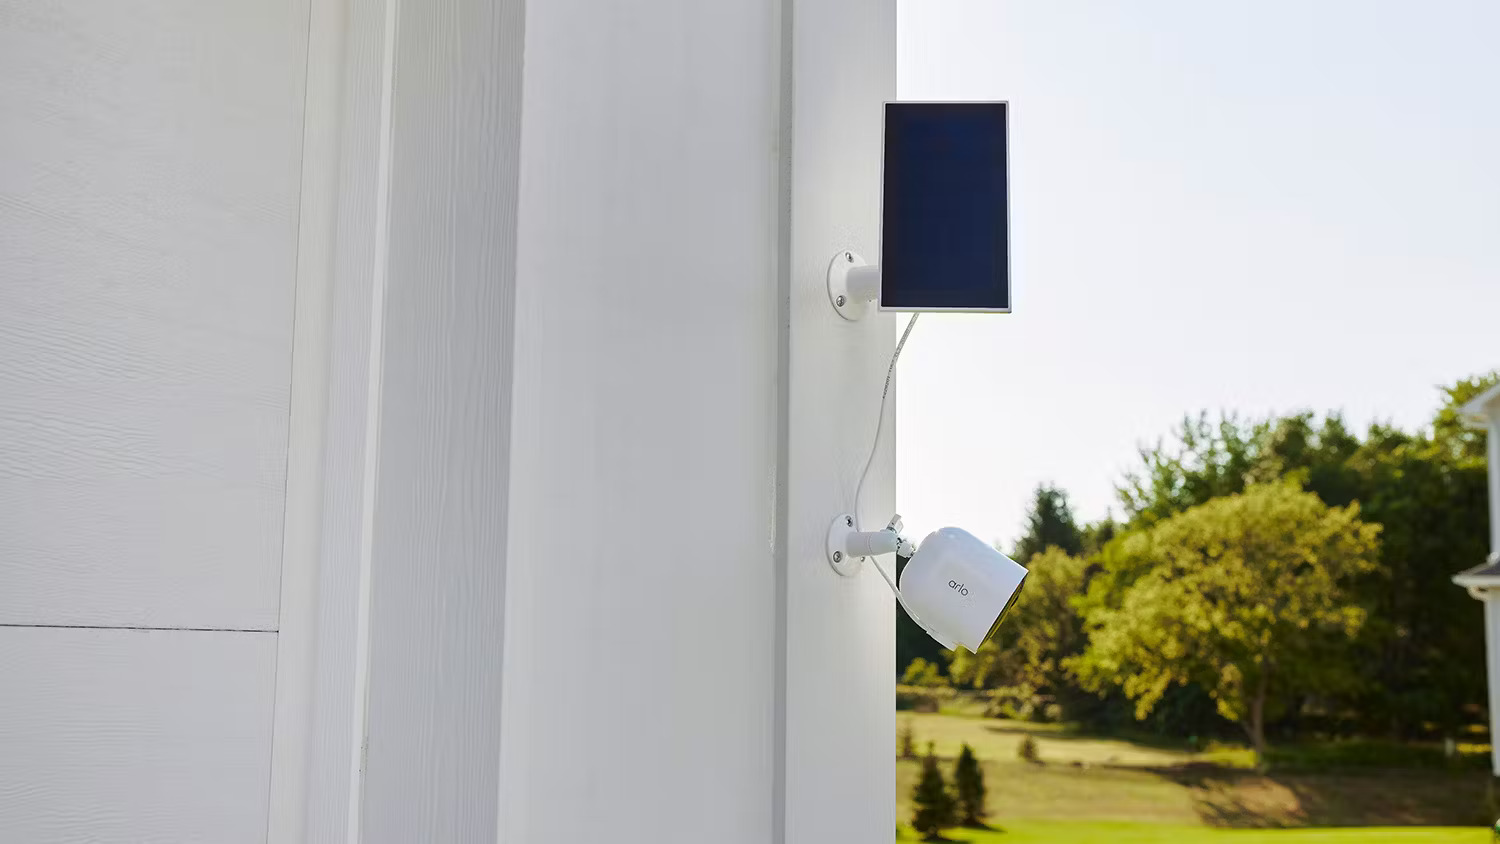
- Solar Power: For eco-friendly and cost-effective power, consider a solar-powered ADT outdoor camera. Install the solar panel in a location that receives ample sunlight and connect it to the camera following the provided instructions. Regularly clean the solar panel to ensure optimal performance.
Regardless of the power source you choose, prioritize safety and weather resistance when connecting your ADT outdoor camera to power. It’s essential to protect the power supply from moisture, extreme temperatures, and physical damage to maintain the camera’s functionality over time.
By carefully considering your power options and following the recommended guidelines, you can ensure that your ADT outdoor camera remains powered and operational, providing continuous surveillance for your property.
When setting up an ADT outdoor camera, make sure to choose a location with a clear view and good Wi-Fi signal. Follow the manufacturer’s instructions for installation and connect the camera to the ADT app for remote access.
Connecting to Wi-Fi
Establishing a stable and secure Wi-Fi connection is essential for enabling remote access and real-time monitoring of your ADT outdoor camera. Follow these steps to seamlessly connect your camera to your home network:
- Camera Placement: Position your camera within the range of your Wi-Fi network, ensuring that the signal strength is sufficient for reliable connectivity.
- Power On the Camera: Ensure that the camera is powered on and ready to initiate the Wi-Fi setup process. Refer to the camera’s user manual for specific instructions on how to activate the Wi-Fi pairing mode.
- Access the App: Open the ADT mobile app on your smartphone or tablet and navigate to the camera setup section. Follow the on-screen prompts to begin the Wi-Fi configuration process.
- Network Selection: Choose your home Wi-Fi network from the list of available networks displayed on the app. Enter the network password when prompted, ensuring that it is accurate and up to date.
- Pairing Process: Allow the app to establish a secure connection between the camera and your Wi-Fi network. This may involve scanning a QR code or following specific pairing instructions provided by the app.
- Confirmation and Testing: Once the Wi-Fi setup is complete, confirm that the camera is successfully connected to your network. Test the camera’s live feed and remote access features to ensure seamless connectivity.
By following these steps, you can ensure that your ADT outdoor camera is effectively connected to your home Wi-Fi network, enabling you to monitor your property remotely and receive real-time alerts when activity is detected.
Read more: How To Reset ADT Outdoor Camera
Setting Up the App
Configuring the ADT mobile app is a crucial aspect of maximizing the functionality and convenience of your outdoor camera. By following these steps, you can seamlessly set up the app and gain access to a range of features that enhance your home security experience:
- Download and Installation: Visit the app store on your smartphone or tablet and search for the ADT mobile app. Download and install the app, then launch it to begin the setup process.
- Account Creation: If you’re a new user, follow the prompts to create a secure ADT account. If you already have an account, simply log in using your existing credentials.
- Camera Integration: Navigate to the camera setup section within the app and follow the on-screen instructions to add your ADT outdoor camera to your account. This typically involves scanning a QR code or entering the camera’s unique identification details.
- Customization Options: Explore the app’s settings to customize notifications, motion detection sensitivity, recording preferences, and other relevant features based on your specific security needs and preferences.
- Remote Access: Once your camera is successfully integrated into the app, test the remote access functionality by viewing the live feed, adjusting camera angles (if applicable), and familiarizing yourself with the app’s interface.
- Additional Devices: If you have other ADT security devices, such as indoor cameras or smart sensors, consider integrating them into the app to create a comprehensive home security ecosystem.
By following these steps, you can effectively set up the ADT mobile app, allowing you to harness the full potential of your outdoor camera and manage your home security system with ease and efficiency.
Adjusting Camera Settings
Customizing the settings of your ADT outdoor camera is essential for tailoring its functionality to meet your specific security requirements. By adjusting the camera settings, you can optimize its performance and ensure that it effectively serves its surveillance purpose. Here are the key settings to consider:
- Motion Detection: Fine-tune the motion detection sensitivity to minimize false alerts while capturing relevant activity around your property. Adjust the detection range and sensitivity levels based on your surroundings and potential sources of motion.
- Night Vision: If your camera is equipped with night vision capabilities, explore the night vision settings to enhance visibility in low-light conditions. Adjust the infrared sensitivity and range to achieve optimal night vision performance.
- Recording Preferences: Configure the camera’s recording settings, such as continuous recording, event-triggered recording, or scheduled recording, to align with your monitoring needs and storage capacity.
- Camera Angles and Views: If your camera offers pan, tilt, and zoom features, adjust the camera angles and views to cover specific areas of interest and maximize surveillance coverage.
- Audio Settings: If the camera supports two-way audio communication, customize the audio settings to enable clear and reliable communication through the camera’s built-in microphone and speaker.
- Storage and Cloud Services: Explore the options for local storage and cloud backup services, if available, and configure the camera’s storage settings to ensure seamless recording and access to captured footage.
By carefully adjusting these camera settings, you can tailor the functionality of your ADT outdoor camera to suit your unique security requirements, providing comprehensive surveillance and peace of mind.
Conclusion
Setting up your ADT outdoor camera is a significant step towards enhancing the security and protection of your home. By carefully choosing the installation location, mounting the camera securely, and configuring its essential settings, you’ve taken proactive measures to safeguard your property and loved ones. As you conclude the installation process, it’s important to consider the following key points:
- Regular Maintenance: Keep your outdoor camera in optimal condition by performing routine maintenance, such as cleaning the lens, checking the power source, and ensuring that the Wi-Fi connection remains stable.
- Testing and Monitoring: Regularly test the camera’s functionality and review its captured footage to ensure that it effectively captures relevant activity and provides reliable surveillance coverage.
- Integration with Security System: If you have other ADT security devices or a comprehensive home security system, consider integrating your outdoor camera with these components to create a cohesive and interconnected security ecosystem.
- User Education: Familiarize yourself and other household members with the camera’s features, the ADT mobile app, and the procedures for accessing and managing the camera’s settings and recordings.
- Professional Support: If you encounter any technical challenges or require additional assistance, don’t hesitate to reach out to ADT’s customer support or seek guidance from qualified professionals to address any concerns.
By following the steps outlined in this guide and considering the key points highlighted in the conclusion, you can ensure that your ADT outdoor camera serves as a reliable and effective tool for bolstering the security of your home. With remote access, motion detection, and advanced surveillance capabilities, your outdoor camera empowers you to stay informed and vigilant, providing essential peace of mind in today’s dynamic world.
As you embrace the benefits of your newly installed ADT outdoor camera, remember that proactive security measures and ongoing vigilance are essential for maintaining a safe and secure living environment. By leveraging the capabilities of your outdoor camera and staying attuned to your home’s security needs, you can enjoy enhanced protection and confidence in the resilience of your home security system.
Frequently Asked Questions about How To Set Up Adt Outdoor Camera
Was this page helpful?
At Storables.com, we guarantee accurate and reliable information. Our content, validated by Expert Board Contributors, is crafted following stringent Editorial Policies. We're committed to providing you with well-researched, expert-backed insights for all your informational needs.

0 thoughts on “How To Set Up Adt Outdoor Camera”