Home>Home Security and Surveillance>How To Set Up CCTV DVR On Home Comcast Network
Home Security and Surveillance
How To Set Up CCTV DVR On Home Comcast Network
Modified: March 6, 2024
Learn how to set up a CCTV DVR on your home Comcast network for enhanced home security and surveillance. Step-by-step guide to ensure seamless integration and peace of mind.
(Many of the links in this article redirect to a specific reviewed product. Your purchase of these products through affiliate links helps to generate commission for Storables.com, at no extra cost. Learn more)
Introduction
Welcome to the world of home security and surveillance! With the increasing need for peace of mind and protection, installing a CCTV DVR (Digital Video Recorder) system in your home has become a popular choice. By setting up a CCTV DVR on your home Comcast network, you can monitor and record activity in and around your premises, giving you the ability to keep an eye on your home even when you’re away.
In this article, we will guide you through the step-by-step process of setting up a CCTV DVR on your home Comcast network. Whether you’re a tech-savvy individual or just getting started, we’ll break down the process into simple and easy-to-follow steps.
Before we dive into the setup, let’s first understand what a CCTV DVR system is and how it works. A CCTV DVR is a device that records video footage from connected surveillance cameras. It acts as a hub, allowing you to view and manage the footage captured by the cameras. The Comcast router, on the other hand, is the device that provides internet connectivity to your home network.
Setting up a CCTV DVR on your Comcast network involves connecting the DVR to the router and configuring the necessary network settings. Additionally, you’ll need to set up port forwarding on the router to enable remote access to the DVR. Don’t worry if these terms sound unfamiliar – we’ll guide you through each step.
Keep in mind that the specific steps may vary depending on the make and model of your DVR and Comcast router. However, the general principles we’ll cover in this article should apply to most setups.
Now that we have a basic understanding, let’s get started on setting up your CCTV DVR on your home Comcast network. By the end of this guide, you’ll be able to access your DVR remotely, giving you peace of mind and control over your home security system.
Key Takeaways:
- Setting up a CCTV DVR on your home Comcast network allows you to monitor and record activity, providing peace of mind and control over your home security even when you’re away.
- By following the step-by-step guide, you can access your CCTV DVR remotely, view live footage, and ensure the ongoing security of your home surveillance system.
Read more: How To Set Up A CCTV Camera At Home
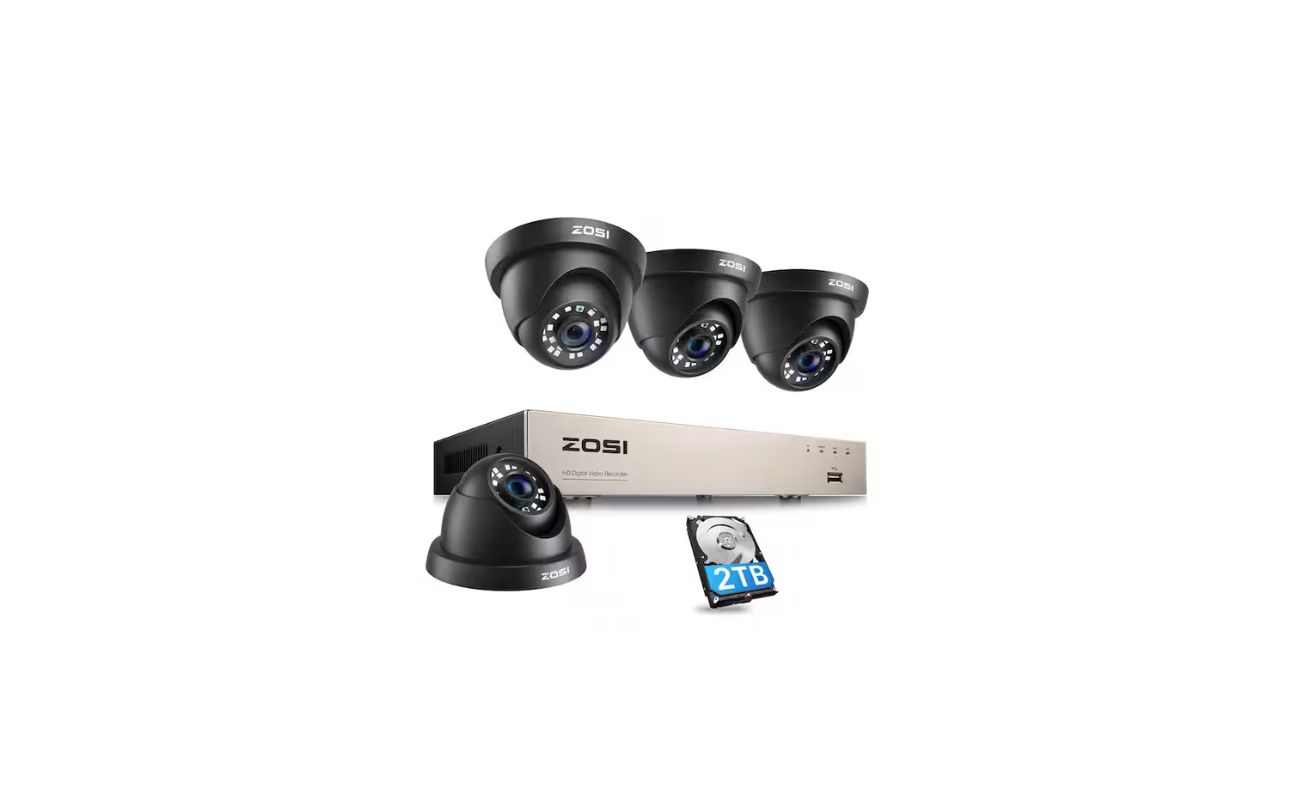
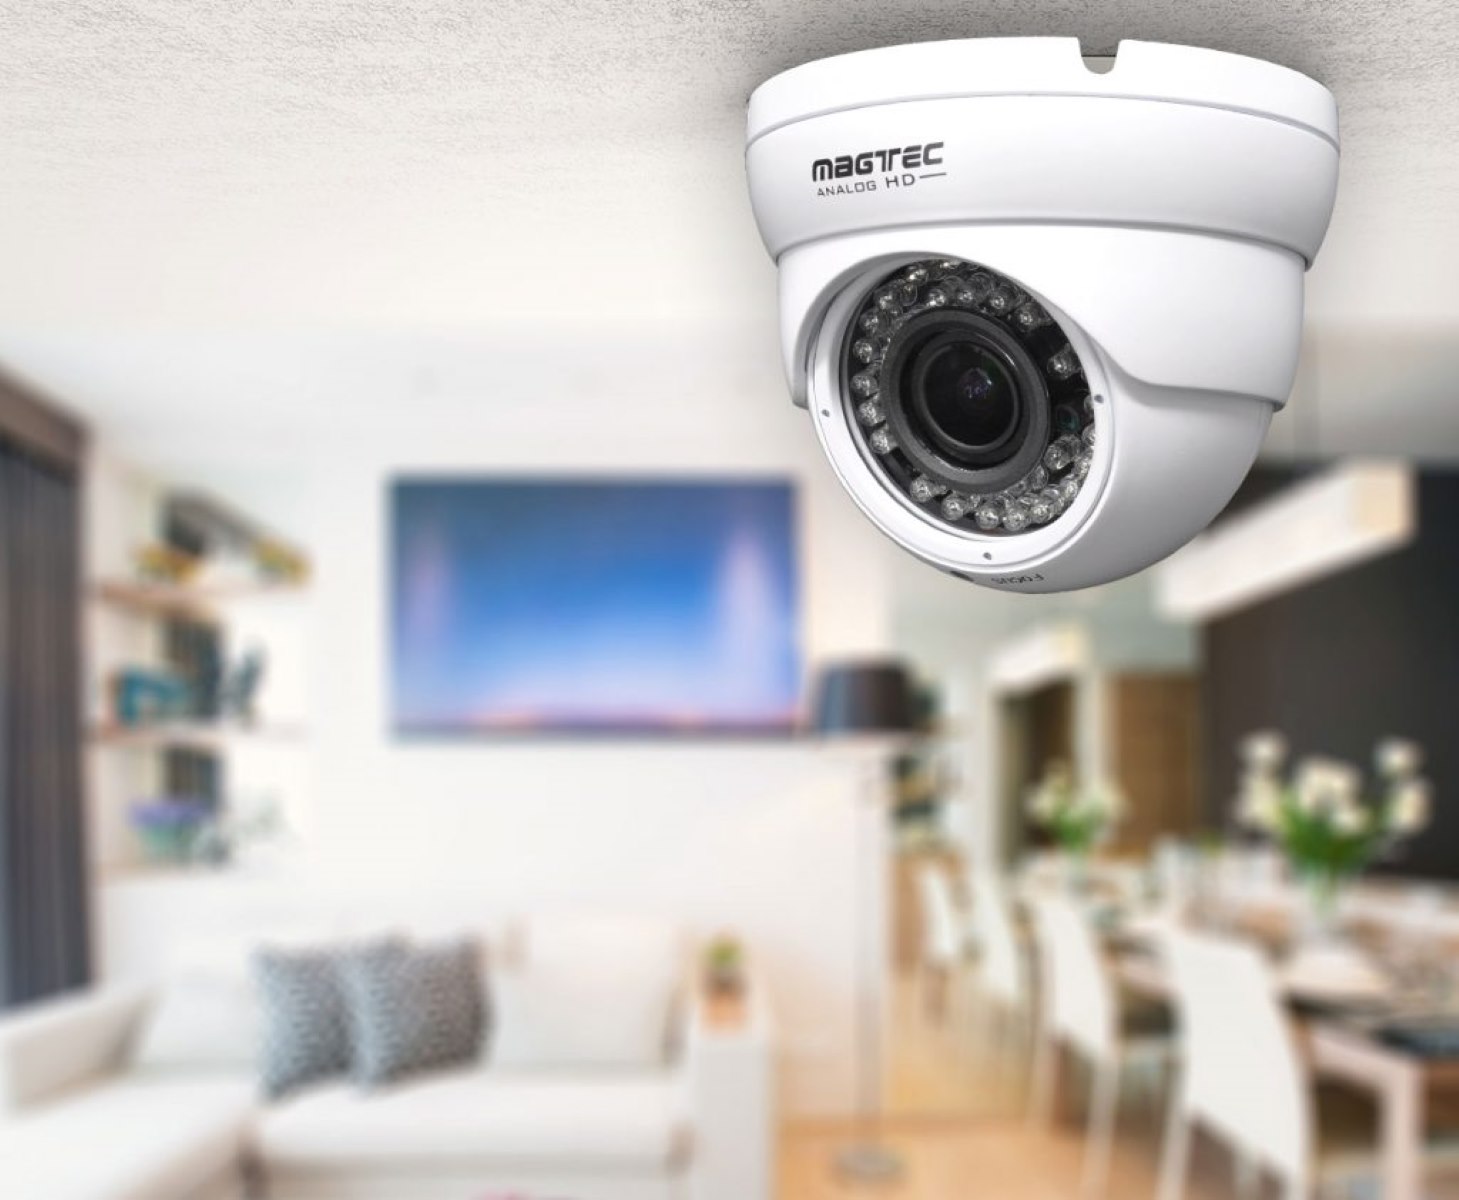
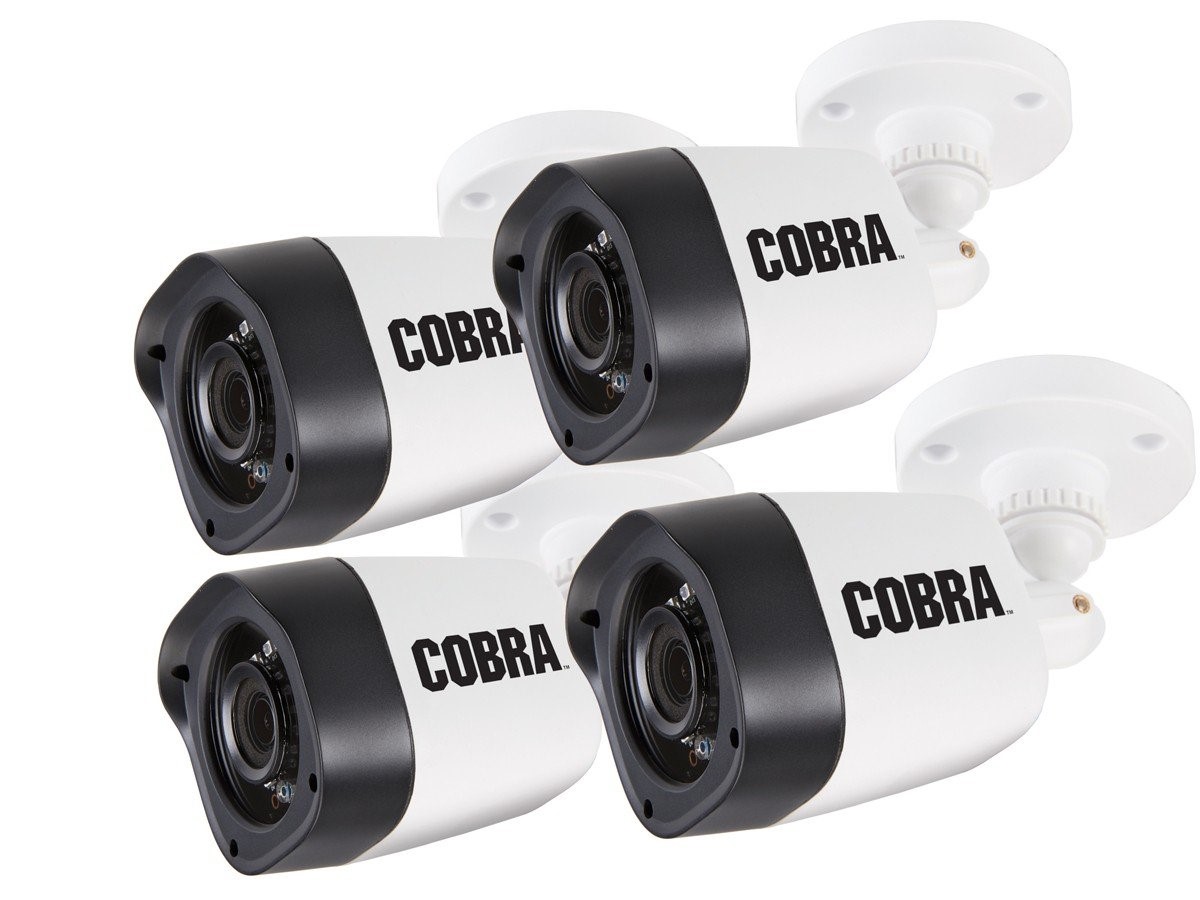
Step 1: Setting up the DVR
The first step in setting up your CCTV DVR on your home Comcast network is to physically install the DVR and connect it to the power source. Ensure that you choose a suitable and secure location for the DVR.
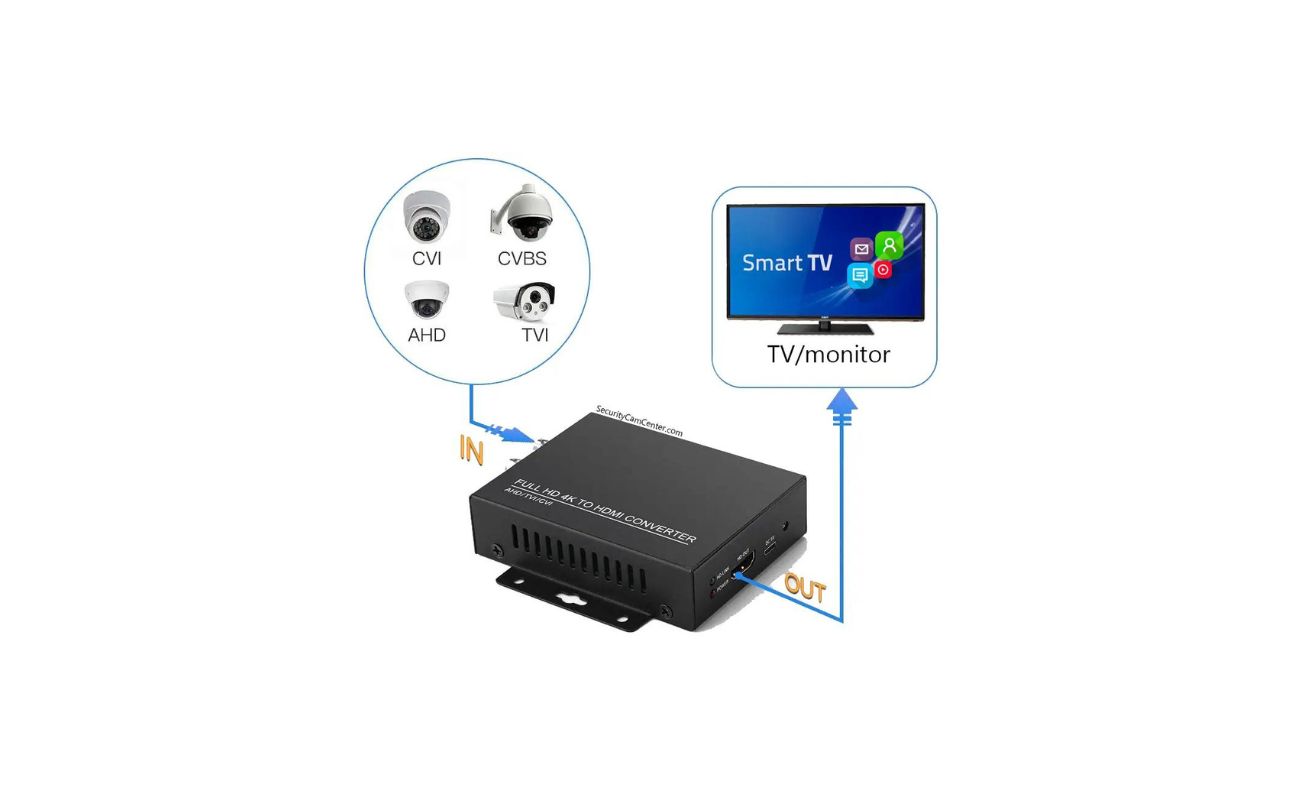
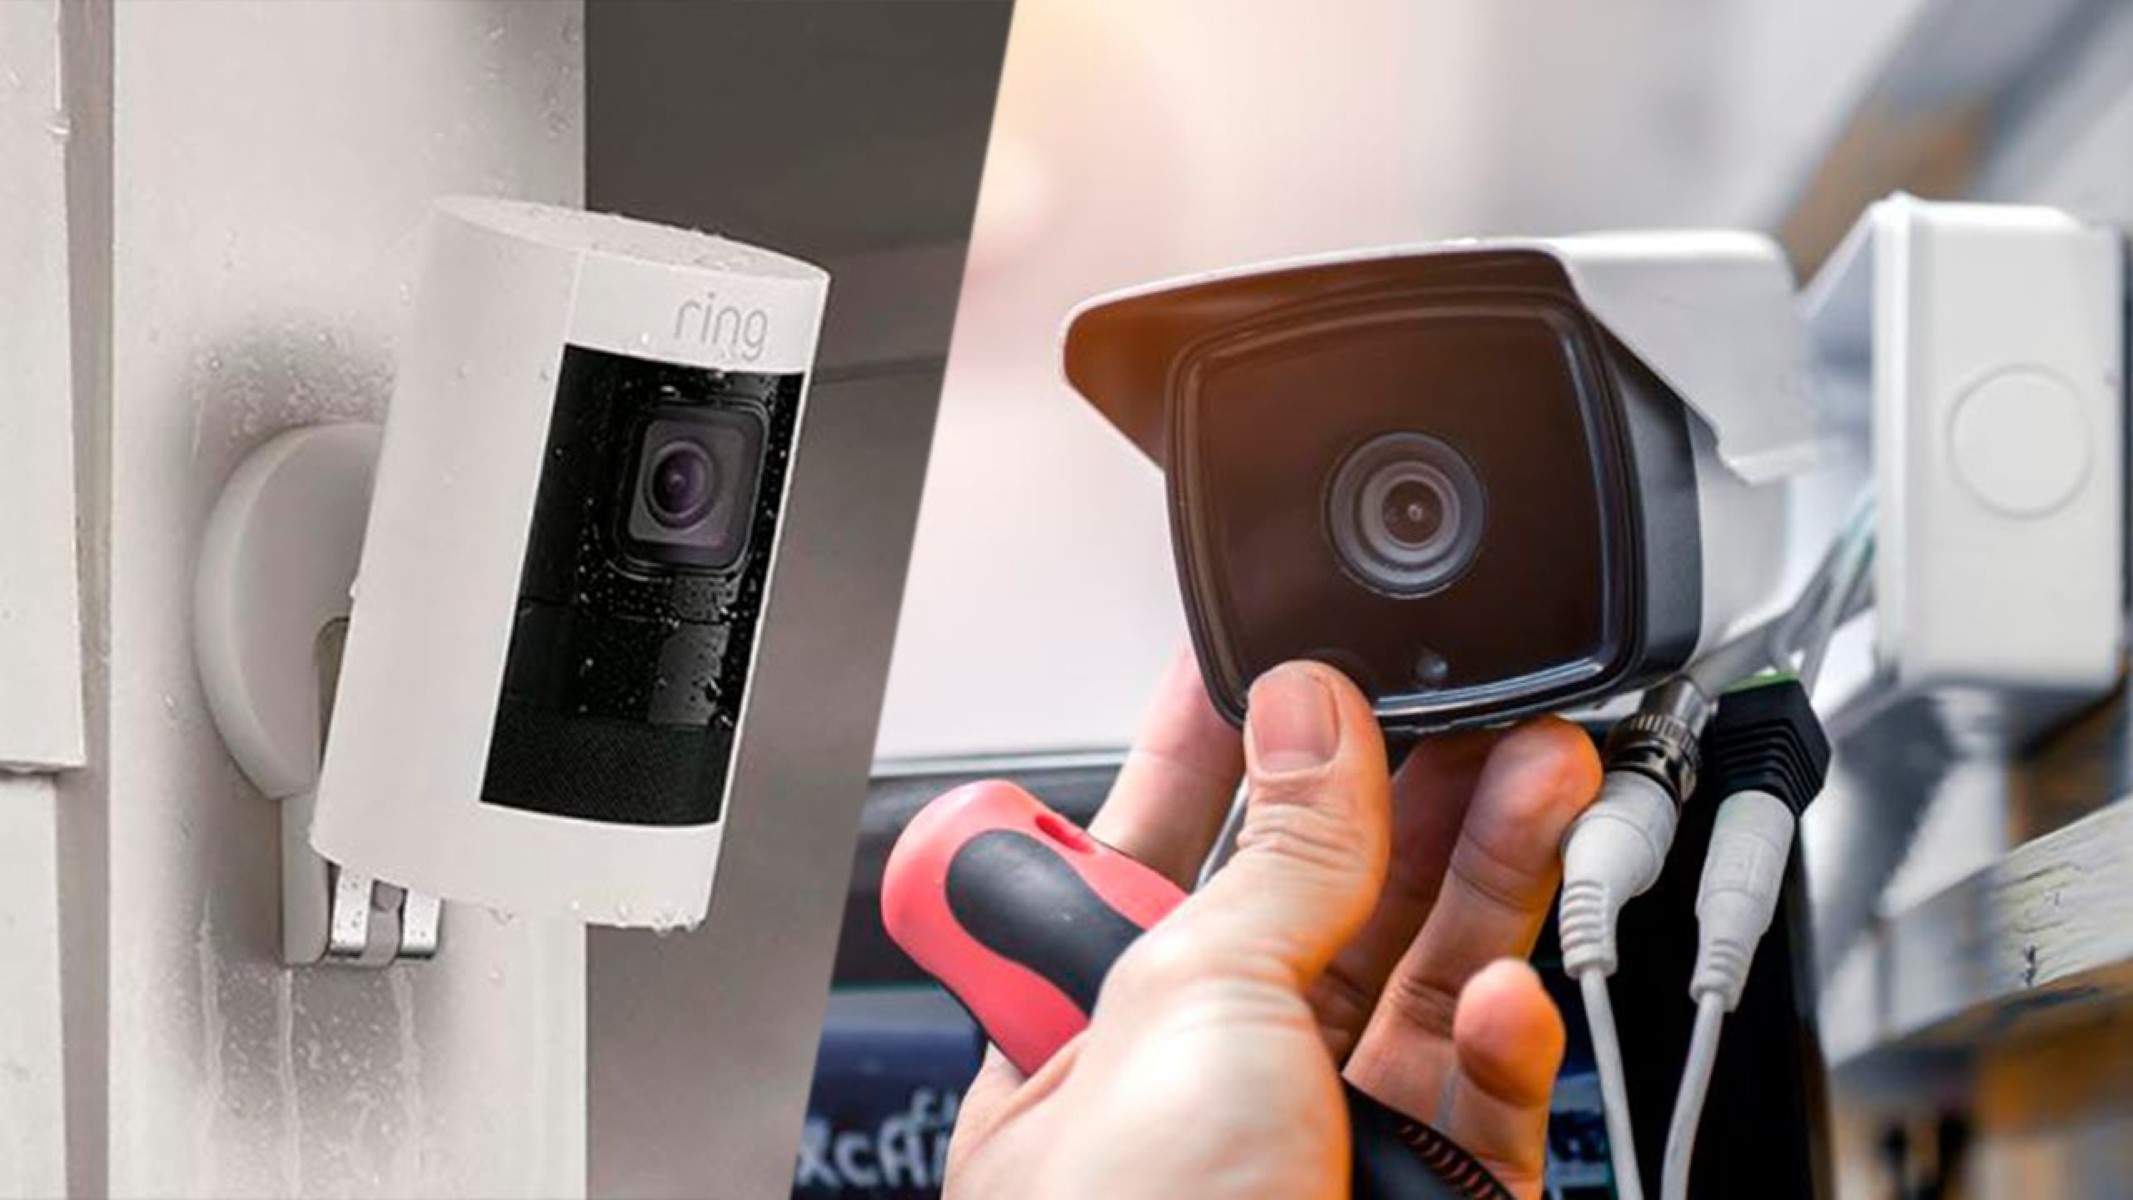
Once the DVR is properly positioned, you’ll need to connect it to your surveillance cameras using the provided cables. Depending on the type of cameras you have, you may need to use coaxial cables or Ethernet cables. Consult the manufacturer’s instructions for guidance on how to connect your specific cameras to the DVR.
After connecting the cameras, power on the DVR and follow the on-screen instructions to complete the initial setup. This may involve setting the language, date, and time, as well as configuring other basic settings.
It is important to ensure that the DVR is correctly connected and powered on before proceeding to the next step.
In addition, it’s worth noting that some DVR systems come with built-in hard drives for storing video footage. If your system has this feature, you may need to install and format the hard drive as per the manufacturer’s instructions. This step is essential for recording and storing the surveillance footage.
With the physical setup of the DVR complete, you’re now ready to connect it to your Comcast router.
Be sure to follow the next steps carefully for a successful setup!
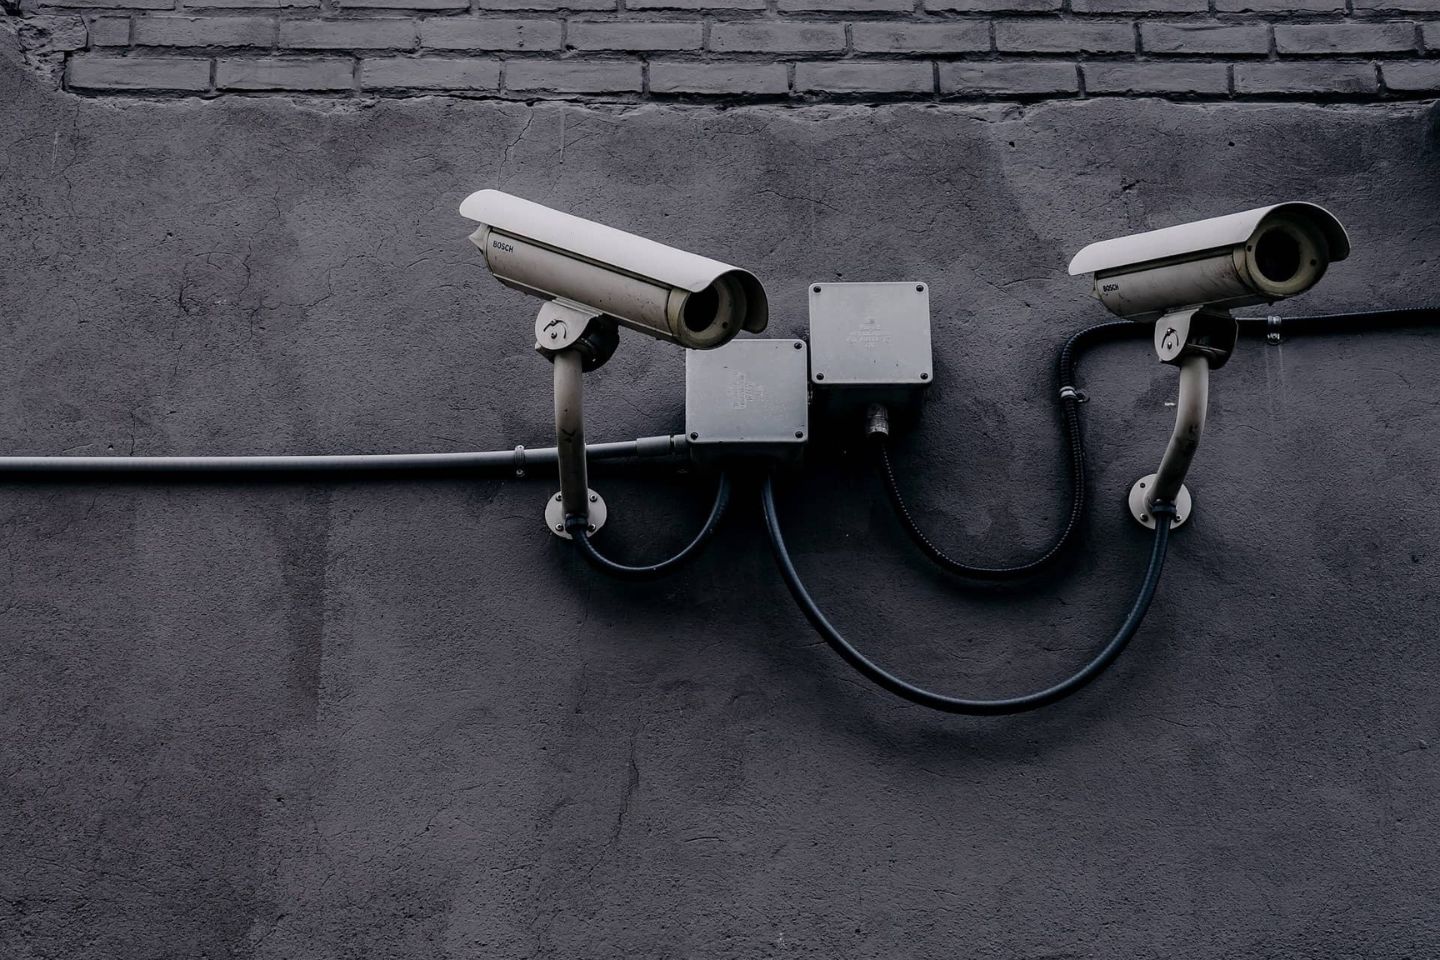
Step 2: Connecting the DVR to the Comcast router
Now that you have your CCTV DVR set up and cameras connected, it’s time to establish a connection between the DVR and your Comcast router. This step will ensure that the DVR can communicate with your home network and the internet.
To begin, locate the Ethernet port on the back of your DVR. This port allows you to connect the DVR to the router using an Ethernet cable. Insert one end of the Ethernet cable into the port on the DVR and the other end into an available Ethernet port on the back of the Comcast router.
Once the Ethernet cable is securely connected, power on both the DVR and the Comcast router. Give them a moment to boot up and establish a network connection.
To confirm that the DVR is successfully connected to the router, check the network status on your DVR’s display or interface. It should indicate that the DVR has obtained an IP address from the router.
In some cases, you may need to manually configure the network settings on the DVR. To do this, access the DVR’s configuration menu using the provided remote or interface. Navigate to the network settings section and choose the option to obtain an IP address automatically (DHCP) if available. This will allow the DVR to automatically acquire the necessary network settings from the Comcast router.
If your DVR requires manual network configuration, you’ll need to enter the correct IP address, subnet mask, gateway, and DNS settings. Consult the DVR’s user manual or the manufacturer’s support documentation for guidance on how to properly configure the network settings.
Once the network connection is established and the correct settings are configured, the DVR is ready to communicate with the Comcast router. Now, let’s move on to the next step, where we’ll configure the network settings on the DVR.
Step 3: Configuring the network settings on the DVR
With the CCTV DVR connected to your Comcast router, it’s time to configure the network settings on the DVR. This step ensures that the DVR is properly integrated into your home network and can communicate with other devices.
To begin, access the DVR’s configuration menu using the remote control or interface provided by the manufacturer. Look for the network settings section, which may be labeled as “Network,” “Network Setup,” or something similar.
Within the network settings section, you’ll find several options to configure. The most important settings to configure are the IP address, subnet mask, gateway, and DNS server.
For the IP address, you have two options: dynamic or static. If you choose dynamic (also known as DHCP), the Comcast router will automatically assign an IP address to the DVR. This is the recommended option for most users, as it simplifies the setup process. Select the dynamic option and save the settings. The DVR will then obtain an IP address from the Comcast router.
If you prefer to assign a static IP address to the DVR, choose the static option and enter the IP address, subnet mask, gateway, and DNS server information manually. It’s important to ensure that the static IP address you choose is within the same range as the IP addresses used by your Comcast router. This information can typically be found in your router’s configuration settings.
Once you have configured the network settings on the DVR, save the changes and exit the configuration menu. The DVR will now use the assigned IP address to communicate with other devices on the network.
Keep in mind that making changes to the network settings may require the DVR to restart. Allow the DVR a few moments to reboot and establish the network connection before proceeding to the next step.
Congratulations! The network settings on your DVR are now configured, allowing it to communicate with your Comcast router and other devices on the network. In the next step, we’ll set up port forwarding on the router to enable remote access to the DVR.
When setting up a CCTV DVR on a home Comcast network, make sure to connect the DVR to the router using an Ethernet cable, and then configure the network settings on the DVR to match your home network. This will allow the DVR to communicate with the router and be accessible on the network.
Step 4: Setting up port forwarding on the Comcast router
In order to access your CCTV DVR remotely from outside your home network, you’ll need to set up port forwarding on your Comcast router. Port forwarding allows incoming connections to be directed to specific devices on your network, in this case, your DVR.
To begin, you’ll need to access your Comcast router’s administration interface. Open a web browser on a computer connected to the same network as the router and enter the router’s IP address in the address bar. The default IP address for Comcast routers is often “192.168.1.1”, but it may vary depending on your specific model.
Once you’ve entered the IP address, you’ll be prompted to enter the router’s username and password. If you haven’t changed these from the default values, you can usually find them on a sticker on the router itself or in the documentation provided by Comcast.
After successfully logging in, navigate to the port forwarding section of the router’s administration interface. This may be labeled as “Port Forwarding,” “Virtual Server,” or something similar.
In the port forwarding settings, you’ll need to create a new port forwarding rule for your CCTV DVR. Specify the following information:
- Service Name: Give the rule a descriptive name, such as “CCTV DVR.”
- Start Port and End Port: Enter the port numbers used by the DVR for network communication. These are typically preset by the manufacturer and can be found in the DVR’s user manual or configuration settings.
- Server IP Address: Enter the static IP address you assigned to the DVR. If you’re using dynamic IP addressing, you’ll need to set up a static DHCP reservation to ensure that the DVR always receives the same IP address from the Comcast router.
- Protocol: Select the protocol used by the DVR, which is usually TCP or UDP. If you’re unsure, consult the DVR’s documentation.
Once you’ve entered all the necessary information, save the port forwarding rule and apply the changes. The Comcast router will now direct incoming connections on the specified ports to your CCTV DVR.
It’s important to note that setting up port forwarding may expose your DVR to the internet, potentially making it vulnerable to unauthorized access. To mitigate security risks, consider enabling additional security measures, such as enabling strong passwords and enabling encryption.
Now that port forwarding is set up, you’re almost there! In the next step, we’ll explore how to access the DVR remotely from outside your home network.
Step 5: Accessing the DVR remotely
Now that you have your CCTV DVR set up, connected to your Comcast router, and port forwarding enabled, you can remotely access the DVR from outside your home network. This allows you to monitor your surveillance cameras and view recorded footage from anywhere in the world.
To access the DVR remotely, you’ll need to obtain the public IP address of your Comcast router. The public IP address is the address that is visible to the internet and is assigned by your Internet Service Provider (ISP). You can find your public IP address by doing a quick search on the internet using a search engine like Google. Simply type in “What is my IP address?” and your public IP address will be displayed.
Once you have the public IP address, open a web browser on any device outside your home network and enter the IP address followed by the port number you configured for the DVR during the port forwarding setup. For example, if your public IP address is 123.45.678.90 and the port number is 8080, you would enter “123.45.678.90:8080” in the address bar.
If all the settings and configurations were done correctly, you should be directed to the login page of your CCTV DVR. Enter the login credentials provided by the manufacturer to access the DVR’s interface remotely.
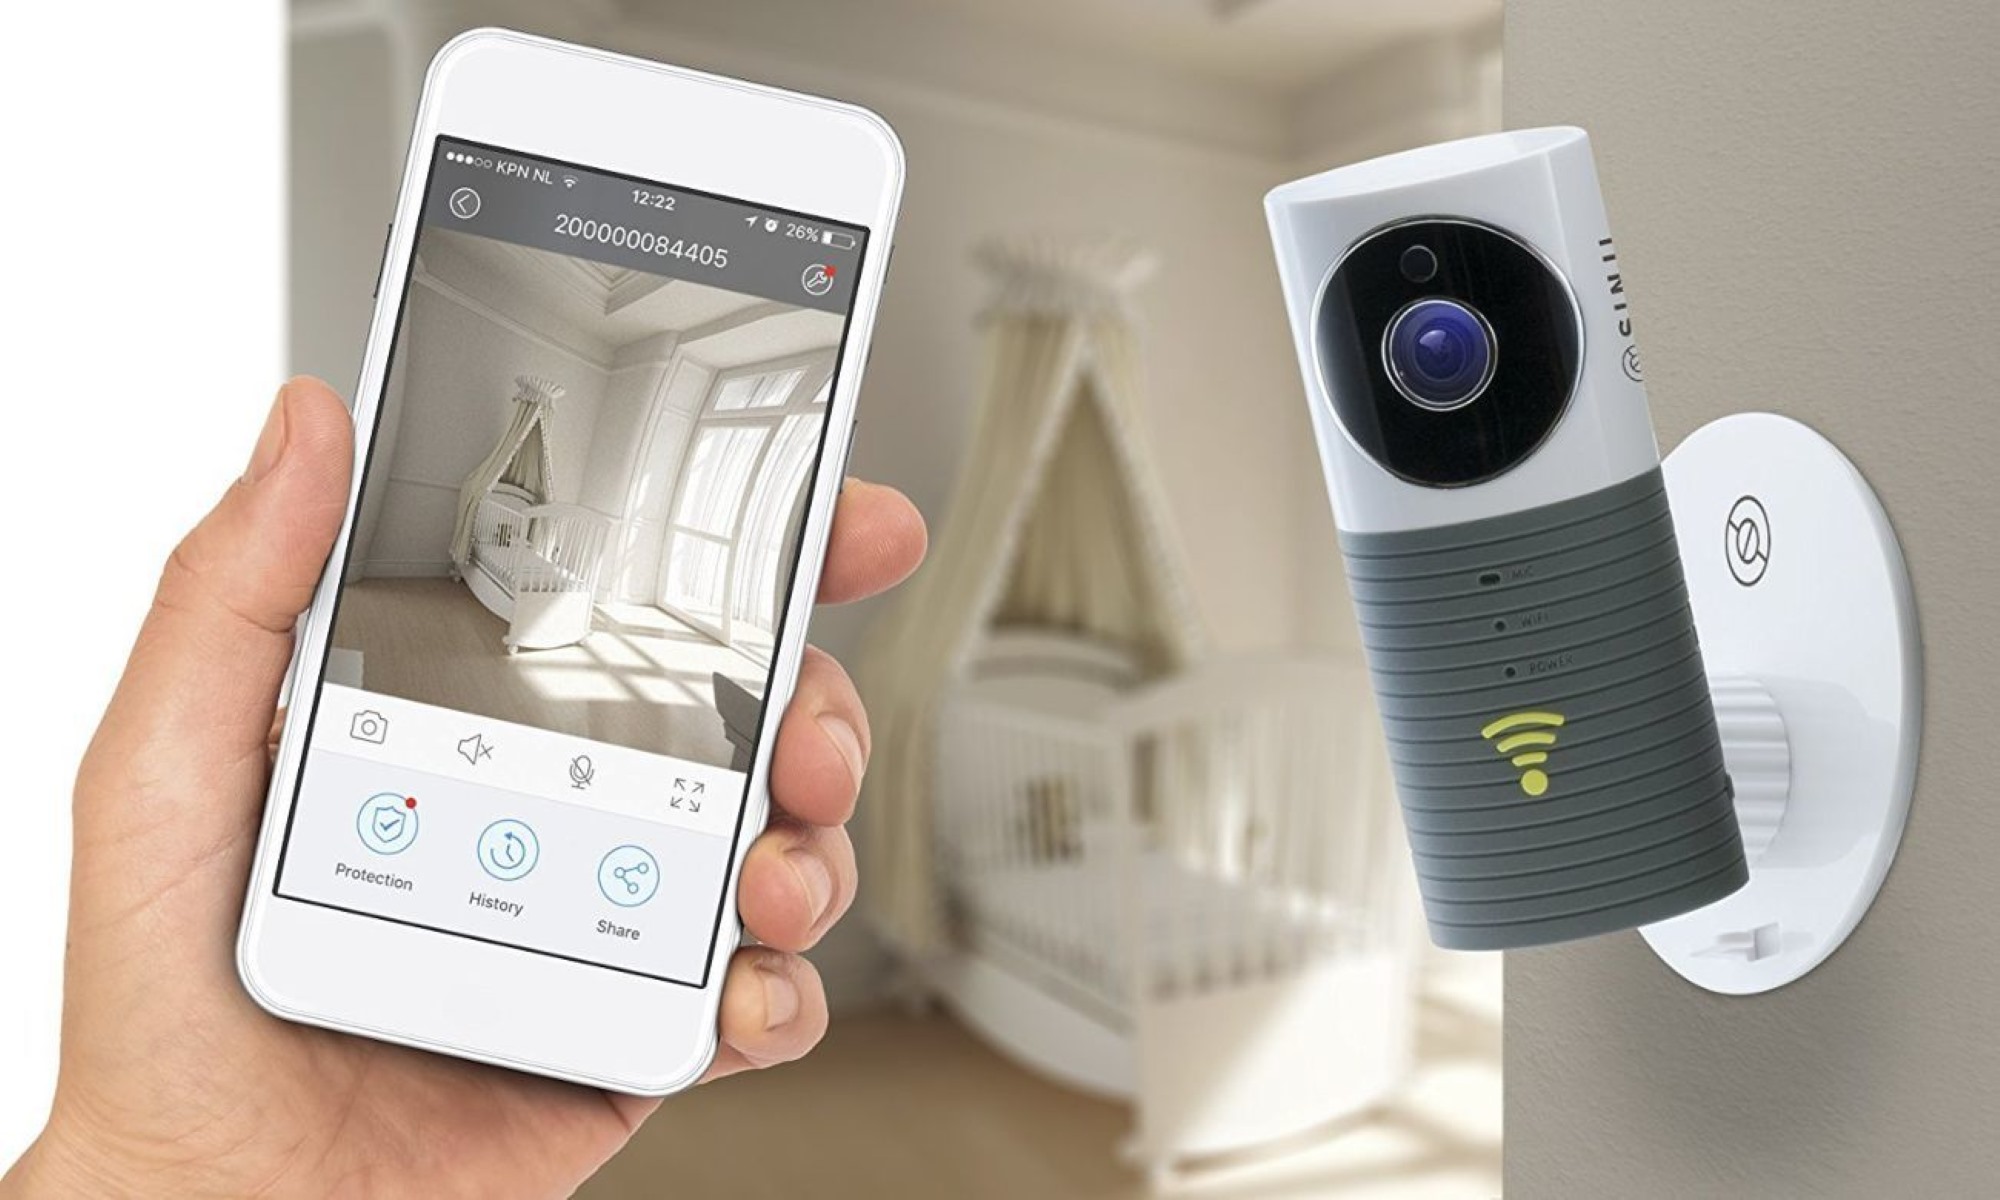
From the remote interface, you can view live footage from your surveillance cameras, playback recorded videos, and configure various settings on the DVR. Depending on the DVR model and software, you may also have the option to receive motion detection alerts or access your DVR through a mobile app on your smartphone or tablet.
It’s worth noting that accessing the DVR remotely may require additional configuration or setup, such as creating a user account or enabling DDNS (Dynamic DNS) if you have a dynamic public IP address. Consult your DVR’s user manual or the manufacturer’s support documentation for detailed instructions on remote access setup specific to your device.
Furthermore, for enhanced security, make sure to set up strong and unique passwords for remote access, and consider using a Virtual Private Network (VPN) for an added layer of encryption and privacy.
Congratulations! You have successfully set up and accessed your CCTV DVR remotely on your Comcast network. Now you can keep a watchful eye on your home and loved ones no matter where you are.
Remember to regularly check and update your DVR’s firmware for the latest security patches and features, and periodically review your network and device settings to ensure the ongoing security of your home surveillance system.
Thank you for following this guide, and we hope it has been helpful!
Conclusion
Setting up a CCTV DVR on your home Comcast network can provide you with peace of mind and enhanced security for your property. By following the steps outlined in this guide, you can successfully configure and access your DVR remotely, allowing you to monitor your surveillance cameras and view recorded footage from anywhere in the world.
Throughout the setup process, it’s important to ensure that you carefully follow the manufacturer’s instructions and consult any provided documentation. While the general principles outlined in this guide should apply to most setups, there may be slight variations depending on your specific DVR and Comcast router models.
Remember to prioritize security during the setup process. Set strong and unique passwords for your DVR and router, enable encryption whenever possible, and regularly update the firmware of your devices to protect against vulnerabilities.
Keep in mind that while a CCTV DVR system can be a valuable asset for home security, it is just one piece of the larger security puzzle. Consider complementing your surveillance system with other security measures such as motion sensor lights, secure door locks, and an alarm system to create a comprehensive home security solution.
Lastly, regular maintenance and monitoring of your system are crucial for its optimal performance. Periodically check your surveillance cameras for any signs of damage or tampering, and ensure that your DVR’s storage capacity is sufficient for your needs. Regularly review and back up your recorded footage to avoid any potential data loss.
We hope that this guide has equipped you with the knowledge and confidence to set up and utilize your CCTV DVR system on your home Comcast network. By combining technology with vigilance, you can create a secure environment and enjoy the peace of mind that comes with knowing your home is protected.
Thank you for reading, and stay safe!
Frequently Asked Questions about How To Set Up CCTV DVR On Home Comcast Network
Was this page helpful?
At Storables.com, we guarantee accurate and reliable information. Our content, validated by Expert Board Contributors, is crafted following stringent Editorial Policies. We're committed to providing you with well-researched, expert-backed insights for all your informational needs.