Home>Technology>Smart Home Devices>How To Set Up Konica Minolta Network Printer On Windows 10
Smart Home Devices
How To Set Up Konica Minolta Network Printer On Windows 10
Modified: October 20, 2024
Learn how to easily set up your Konica Minolta network printer on Windows 10 and start printing from your smart home devices. Follow our step-by-step guide for seamless installation.
(Many of the links in this article redirect to a specific reviewed product. Your purchase of these products through affiliate links helps to generate commission for Storables.com, at no extra cost. Learn more)
Introduction
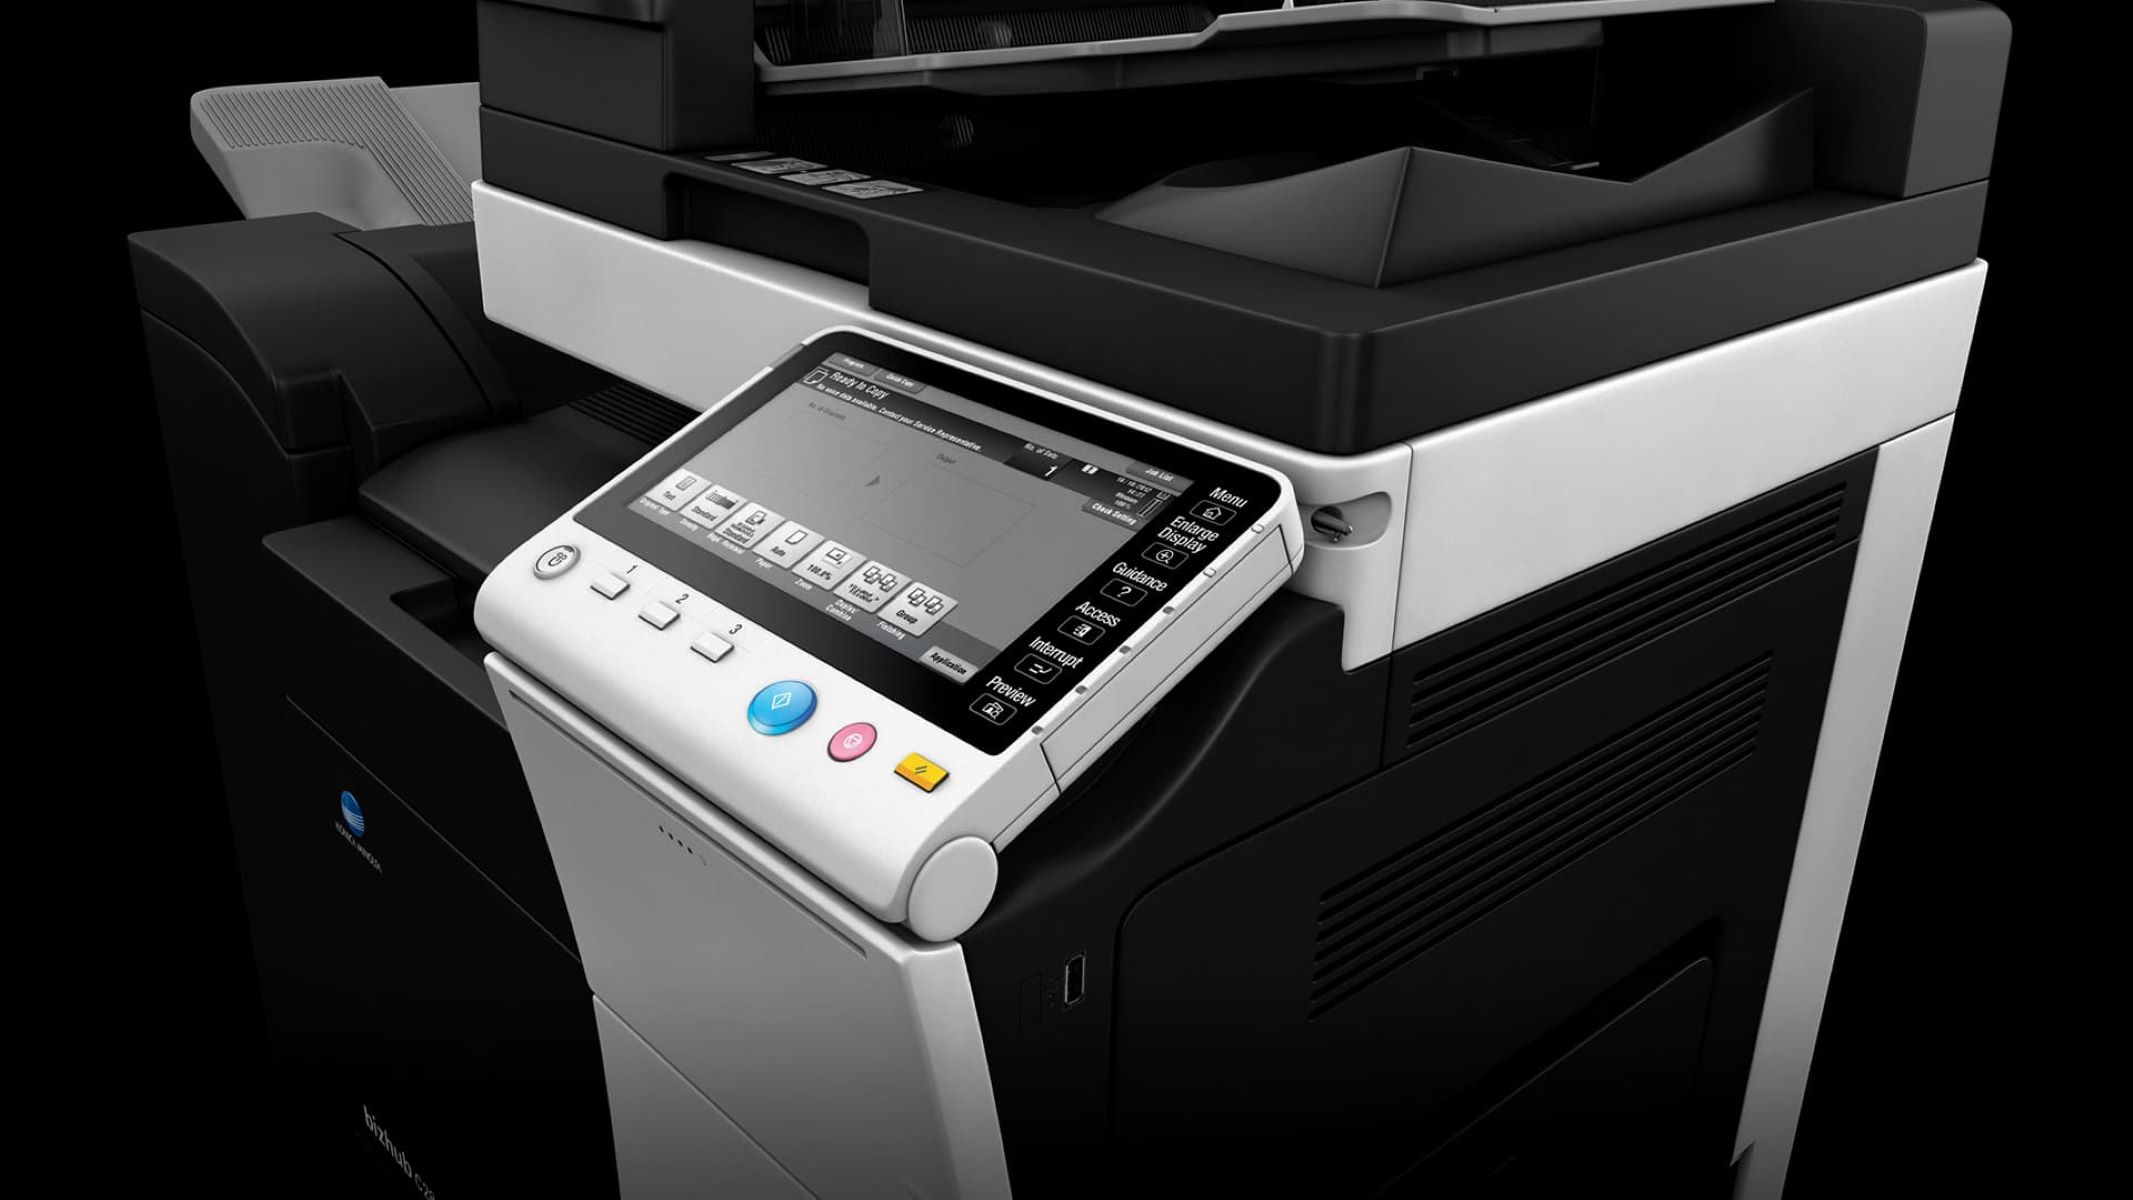
Setting up a Konica Minolta network printer on a Windows 10 system is a seamless process that allows for efficient printing within a network environment. Konica Minolta printers are renowned for their reliability, advanced features, and user-friendly interfaces, making them a popular choice for businesses and home offices alike. This guide will walk you through the step-by-step process of setting up a Konica Minolta network printer on a Windows 10 computer, ensuring that you can start printing in no time.
Whether you are a tech-savvy individual or a novice in the realm of network printer setup, this comprehensive guide will provide you with the necessary information and instructions to successfully connect your Konica Minolta printer to your Windows 10 device. From gathering the essential details to testing the printer connection, each step is designed to be clear, concise, and accessible to users of all levels of expertise.
By following the instructions outlined in this guide, you will be able to seamlessly integrate your Konica Minolta network printer into your Windows 10 environment, enabling hassle-free printing and enhancing your overall productivity. Let's embark on this journey to streamline your printing experience and harness the full potential of your Konica Minolta network printer.
Key Takeaways:
- Setting up a Konica Minolta network printer on Windows 10 is easy! Just gather info, connect the printer, install the driver, add it to your system, and test the connection for hassle-free printing.
- With your Konica Minolta network printer set up on Windows 10, enjoy seamless printing of documents, images, and files. Stay updated for optimal performance and elevate your productivity with advanced printing capabilities.
Step 1: Gather Necessary Information
Before embarking on the setup process, it is essential to gather the necessary information to ensure a smooth and successful configuration of your Konica Minolta network printer. The following details are crucial for the setup process:
- Printer Model: Identify the specific model of your Konica Minolta network printer. This information is usually located on the front or top panel of the printer and is essential for downloading the correct printer driver.
- Network Configuration: Obtain the network configuration details, including the IP address, subnet mask, and gateway address of your network. This information can typically be found in the network settings or configuration page of the printer. If you are unsure how to access this information, refer to the printer’s user manual or contact your network administrator for assistance.
- Wireless Network Credentials (if applicable): If you are connecting the printer to a wireless network, ensure that you have the SSID (network name) and the wireless security key (password) at hand. These credentials are necessary for establishing a wireless connection between the printer and your network.
- Administrator Credentials: If you are setting up the printer on a network with user authentication or access restrictions, ensure that you have the administrator credentials required to add a new printer to the network. This may include a username and password with administrative privileges.
Gathering these essential details beforehand will streamline the setup process and minimize any potential hurdles along the way. With this information readily available, you will be well-prepared to proceed to the next steps of connecting and configuring your Konica Minolta network printer on your Windows 10 system.
Step 2: Connect the Printer to the Network
Once you have gathered the necessary information, the next step is to connect your Konica Minolta network printer to the local network. This process may vary depending on whether you are setting up a wired or wireless connection. Follow the appropriate steps below to establish the connection:
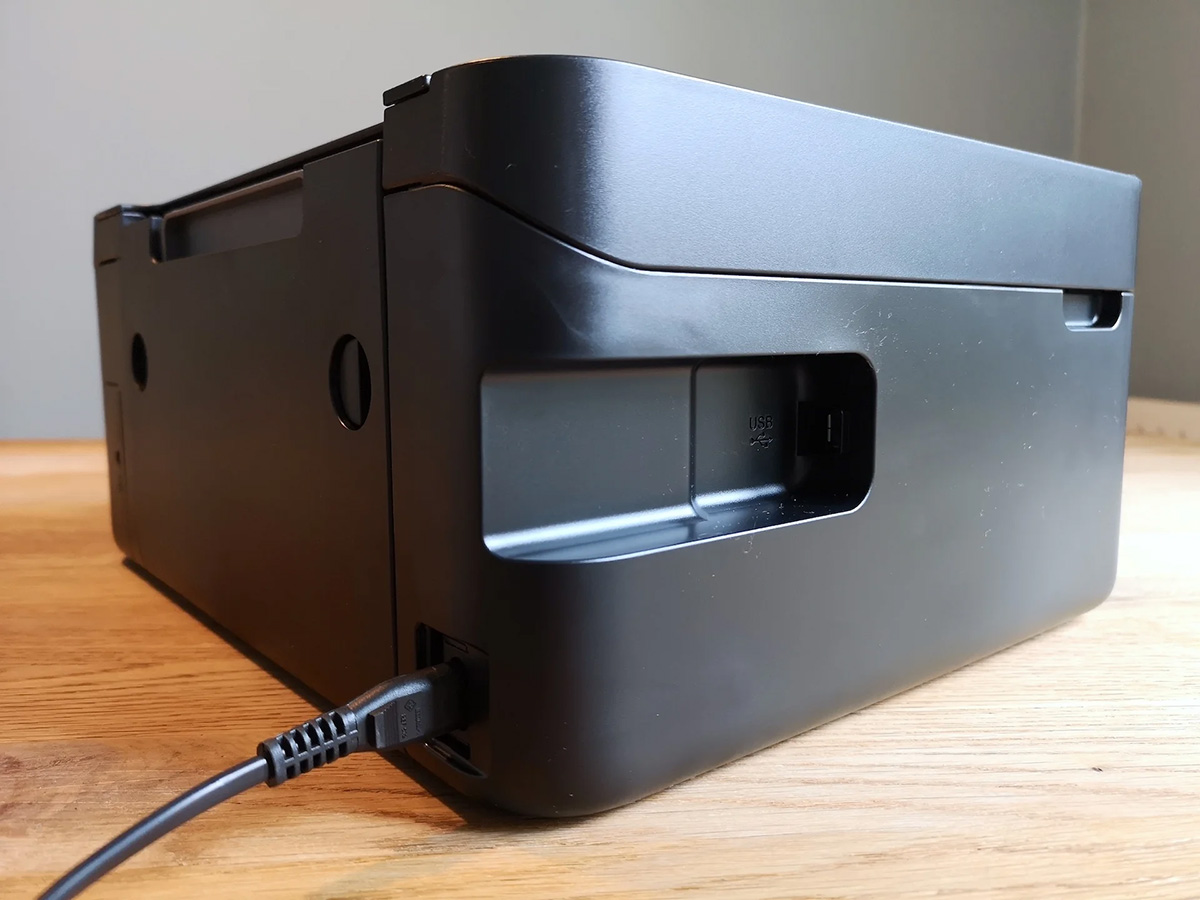
Wired Connection:
If you are connecting the printer directly to the network using an Ethernet cable, follow these steps:
- Locate an Ethernet Port: Identify an available Ethernet port on your network router, switch, or hub.
- Connect the Printer: Using an Ethernet cable, connect one end to the printer’s Ethernet port and the other end to an available port on the network router, switch, or hub.
- Power On the Printer: Turn on the Konica Minolta printer and allow it to initialize. The printer should now be connected to the network.
Wireless Connection:
If you prefer a wireless connection for your Konica Minolta network printer, follow these steps to connect it to your wireless network:
- Access the Printer’s Control Panel: Navigate to the printer’s control panel and locate the wireless or network settings menu.
- Select Wireless Setup: Choose the option to set up a wireless connection and select your wireless network from the available list of SSIDs (network names).
- Enter Wireless Credentials: Enter the wireless network security key (password) when prompted. This will authenticate the printer and establish a secure connection to your wireless network.
- Complete the Setup: Follow the on-screen instructions to complete the wireless setup process. Once connected, the printer will be accessible on the network.
By following these steps, you will successfully connect your Konica Minolta network printer to the local network, paving the way for the subsequent installation and configuration steps on your Windows 10 system.
Read more: What Is A Network Printer
Step 3: Install Konica Minolta Printer Driver
With your Konica Minolta network printer connected to the local network, the next crucial step is to install the appropriate printer driver on your Windows 10 computer. The printer driver serves as the communication bridge between your computer and the printer, enabling seamless printing functionality. Follow these steps to install the Konica Minolta printer driver:
- Download the Driver: Visit the official Konica Minolta website or the support page dedicated to printer drivers. Locate the driver download section and search for the driver compatible with your specific printer model and Windows 10 operating system.
- Run the Driver Installer: Once the driver file is downloaded, double-click on it to initiate the installation process. Follow the on-screen prompts to proceed with the installation.
- Accept License Agreement: Review the license agreement and, if acceptable, proceed to accept the terms and conditions to continue with the installation.
- Select Installation Options: Choose the installation type based on your preferences. This may include selecting the installation location, components to be installed, and any additional software or utilities offered during the installation process.
- Complete the Installation: Once the installation is complete, restart your computer to ensure that the new printer driver is fully integrated into the system.
After successfully installing the Konica Minolta printer driver, your Windows 10 computer will be equipped to communicate with the network printer, enabling seamless printing functionality across various applications and software programs.
By following these steps, you will ensure that your Konica Minolta network printer is fully supported by the appropriate driver software, laying the groundwork for the final steps of adding the printer to your Windows 10 system and testing the printer connection.
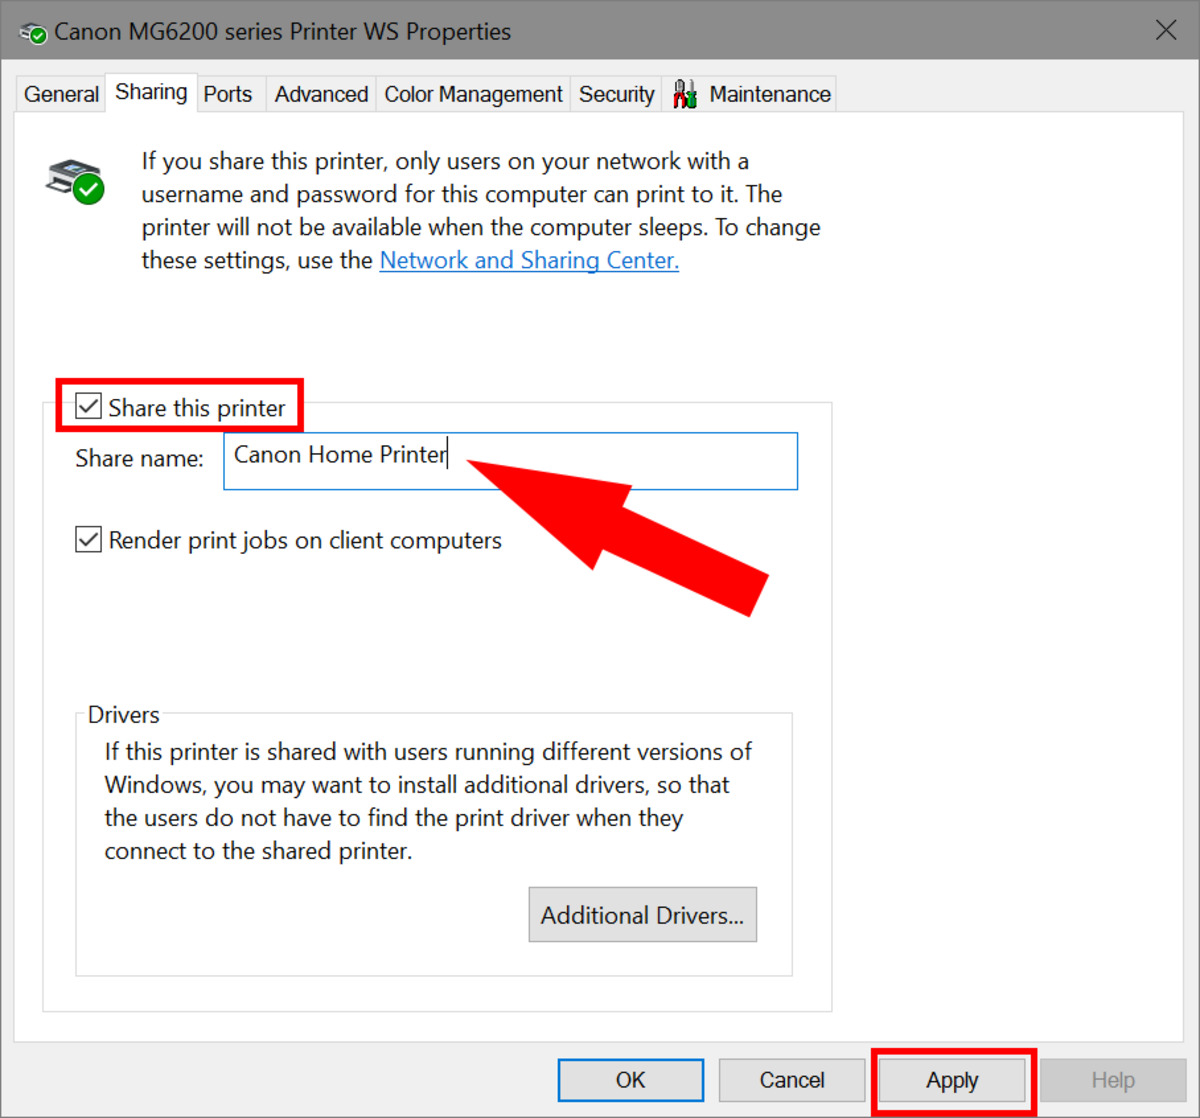
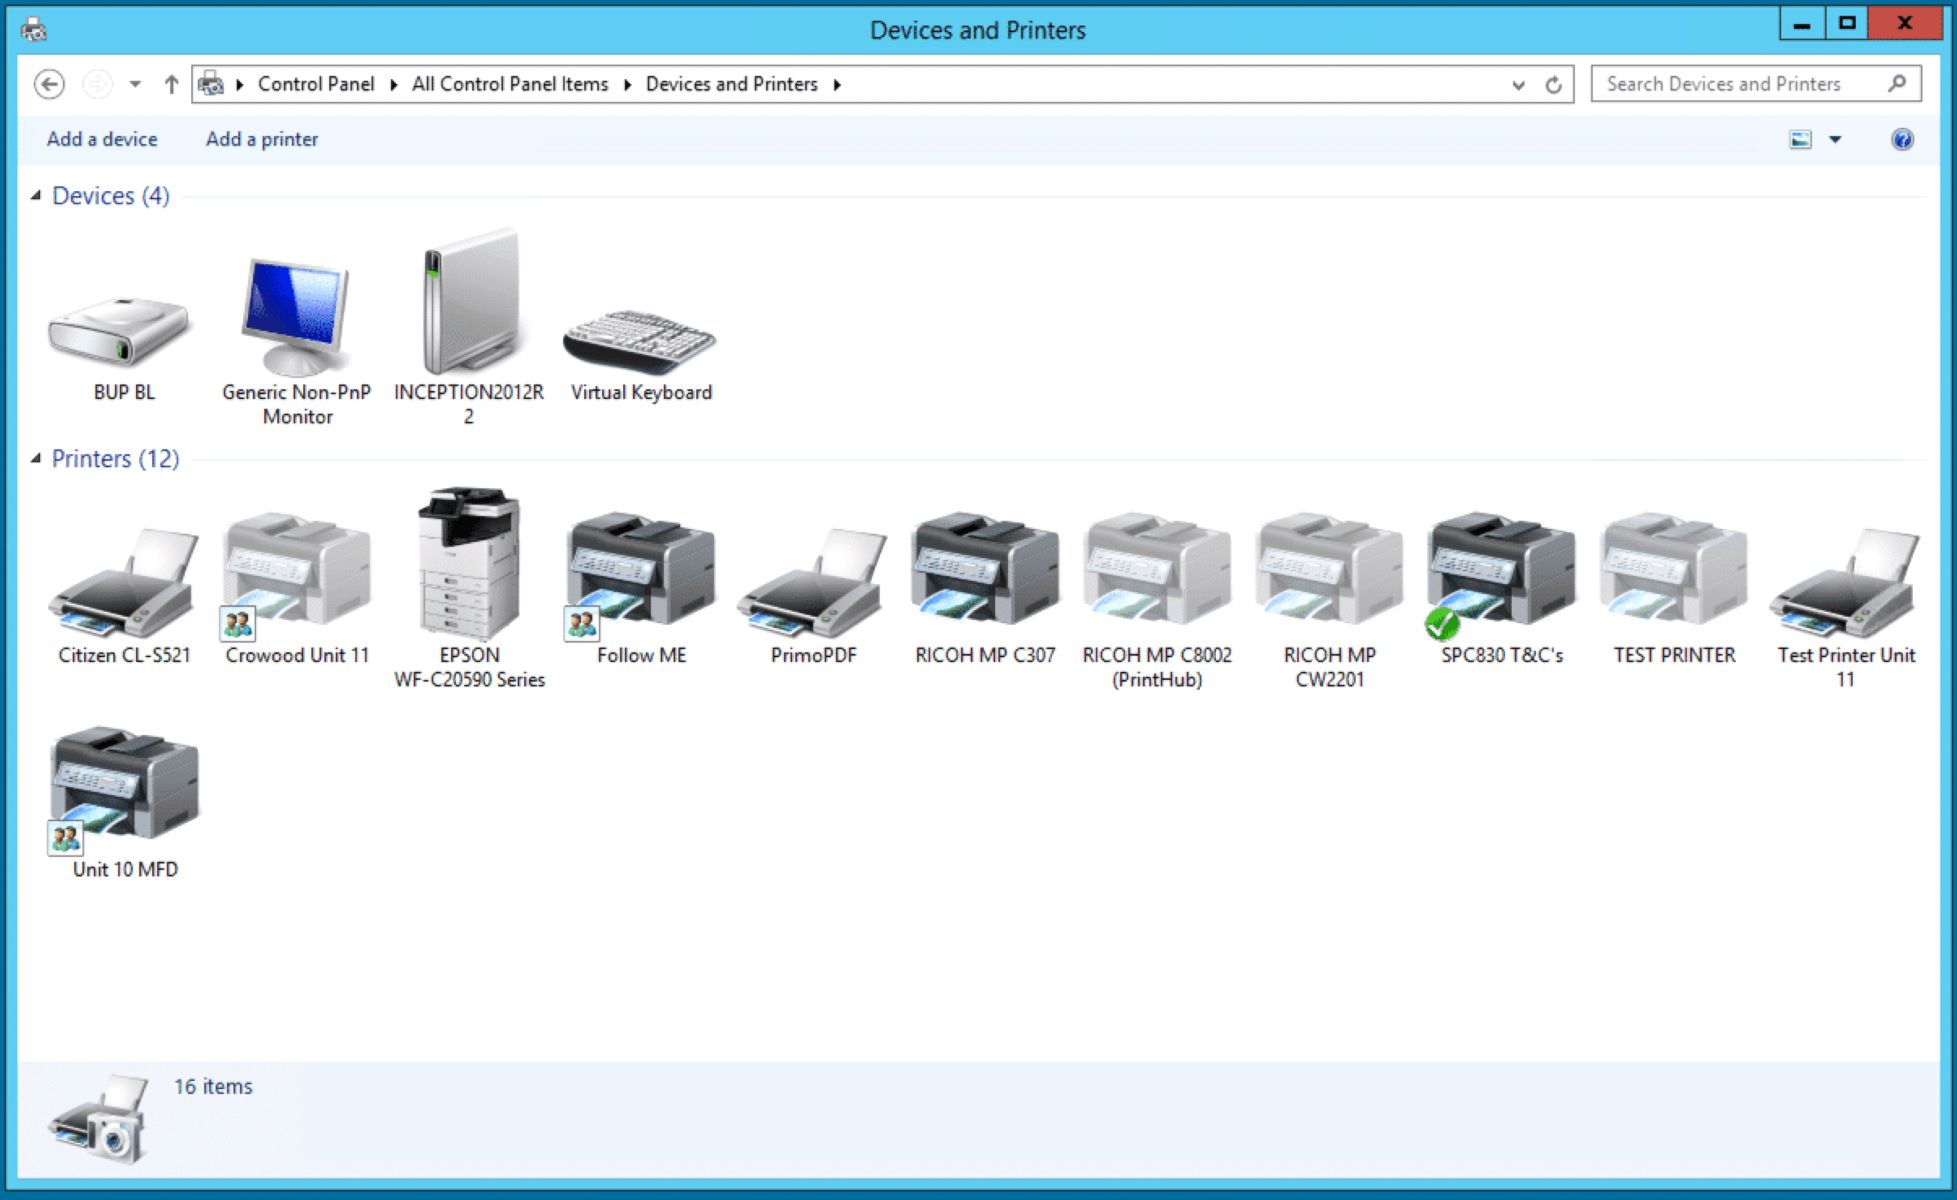
Step 4: Add Printer on Windows 10
After installing the Konica Minolta printer driver on your Windows 10 computer, the next step is to add the network printer to your system. By adding the printer, you will establish a direct connection between your computer and the Konica Minolta network printer, enabling seamless printing from your Windows 10 applications. Follow these steps to add the printer:
- Open Settings: Click on the “Start” menu, followed by the “Settings” gear icon to open the Windows Settings menu.
- Select Devices: In the Windows Settings menu, click on “Devices,” which will open the Devices settings window.
- Add a Printer or Scanner: Within the Devices settings window, click on the “Printers & scanners” tab on the left-hand side. Then, click on the “Add a printer or scanner” option.
- Locate the Printer: Windows will begin searching for available printers on the network. Once the Konica Minolta network printer is detected, it will be displayed in the list of available devices.
- Select the Printer: Click on the Konica Minolta printer from the list of available devices to initiate the setup process.
- Install Printer Software (if prompted): If prompted to install additional software or drivers, follow the on-screen instructions to proceed with the installation. This step may vary depending on the printer model and driver compatibility.
- Complete the Setup: Once the installation process is complete, the Konica Minolta network printer will be added to your Windows 10 system, ready for seamless printing.
By following these steps, you will successfully add the Konica Minolta network printer to your Windows 10 computer, enabling convenient access to printing capabilities across a wide range of applications and documents.
With the printer now added to your Windows 10 system, you are ready to proceed to the final step of testing the printer connection to ensure that it is fully operational and ready for use.
When setting up a Konica Minolta network printer on Windows 10, make sure to download the latest printer driver from the manufacturer’s website and follow the step-by-step installation instructions provided. This will ensure compatibility and smooth operation.
Step 5: Test the Printer Connection
After adding the Konica Minolta network printer to your Windows 10 system, it is essential to test the printer connection to verify its functionality and ensure seamless printing capabilities. By conducting a test print, you can confirm that the printer is properly configured and ready for use. Follow these steps to test the printer connection:
- Select a Test Document: Open a document, image, or file that you intend to print as a test document. This could be a simple text document, a PDF file, or an image from your computer.
- Print the Document: With the test document open, click on the “Print” option within the application. This will open the print dialog, allowing you to select the Konica Minolta network printer as the printing device.
- Verify Print Settings: Ensure that the print settings, such as paper size, orientation, and quality, are configured according to your preferences. Review and adjust the settings as needed before proceeding with the print job.
- Initiate the Print Job: Click on the “Print” button within the print dialog to initiate the print job. The document will be sent to the Konica Minolta network printer for printing.
- Confirm Successful Printing: Once the print job is initiated, proceed to the printer to verify that the document is successfully printed. Ensure that the printed output matches the content of the test document without any issues or errors.
By following these steps, you will be able to conduct a comprehensive test of the printer connection, confirming that the Konica Minolta network printer is fully operational and capable of producing high-quality prints from your Windows 10 computer. This verification process will provide you with the confidence that the printer setup is successful and ready for regular use.
With the printer connection successfully tested, you can now enjoy the convenience of seamless printing from your Windows 10 system, leveraging the advanced features and capabilities of your Konica Minolta network printer to enhance your productivity and workflow.
Conclusion
Congratulations! By following the comprehensive steps outlined in this guide, you have successfully set up your Konica Minolta network printer on your Windows 10 computer, enabling seamless printing capabilities within your network environment. Throughout the setup process, you have gathered essential information, connected the printer to the network, installed the necessary printer driver, added the printer to your Windows 10 system, and conducted a thorough test of the printer connection. As a result, you are now equipped to leverage the advanced printing features and functionalities offered by your Konica Minolta network printer.
With your Konica Minolta printer seamlessly integrated into your Windows 10 environment, you can enjoy the convenience of printing a wide range of documents, images, and files with ease. Whether you are printing business documents, creative projects, or everyday paperwork, your Konica Minolta network printer is poised to deliver reliable and high-quality prints, contributing to your overall productivity and efficiency.
Furthermore, the successful setup of your Konica Minolta network printer reflects your commitment to harnessing advanced printing technologies and optimizing your printing experience. The seamless connectivity and robust capabilities of your Konica Minolta printer will undoubtedly streamline your printing workflows and enhance your overall user experience.
As you embark on your printing journey with your newly set up Konica Minolta network printer, remember that ongoing maintenance, software updates, and periodic checks will further ensure the optimal performance and longevity of your printer. Stay informed about the latest firmware updates and maintenance best practices to maximize the potential of your printing equipment.
Thank you for entrusting this guide to facilitate the setup of your Konica Minolta network printer on your Windows 10 system. Embrace the power of efficient printing and elevate your productivity with the advanced capabilities of your Konica Minolta printer.
Happy printing!
Now that you've mastered setting up your Konica Minolta network printer, perhaps it's time to delve deeper into understanding more about these powerful devices. Curious about the broader context and advantages of network printers in modern setups? Our comprehensive article on network printers details their functionality, benefits, and why they are an essential part of efficient workplaces and homes. Read on to equip yourself with knowledge that can streamline your printing solutions further.
Frequently Asked Questions about How To Set Up Konica Minolta Network Printer On Windows 10
Was this page helpful?
At Storables.com, we guarantee accurate and reliable information. Our content, validated by Expert Board Contributors, is crafted following stringent Editorial Policies. We're committed to providing you with well-researched, expert-backed insights for all your informational needs.


0 thoughts on “How To Set Up Konica Minolta Network Printer On Windows 10”