Home>Technology>Smart Home Devices>How To Set Up A Printer On A Network
Smart Home Devices
How To Set Up A Printer On A Network
Modified: March 14, 2024
Learn how to easily set up a printer on your smart home network with our step-by-step guide. Connect your smart home devices to the printer in no time!
(Many of the links in this article redirect to a specific reviewed product. Your purchase of these products through affiliate links helps to generate commission for Storables.com, at no extra cost. Learn more)
Introduction
Setting up a printer on a network can greatly enhance the efficiency and convenience of printing, allowing multiple users to access the same printer from different devices. Whether you're in a home environment with several computers or in an office with a network of devices, connecting a printer to the network can streamline printing tasks and make the process more accessible to everyone. In this comprehensive guide, we will walk through the step-by-step process of setting up a printer on a network, ensuring that you can seamlessly print from any device connected to the network.
By following these steps, you can eliminate the need for multiple printers and reduce the clutter of cables and wires associated with traditional printing setups. Additionally, network printing enables quick and easy access to the printer, promoting a more collaborative and efficient work environment. Whether you're a tech-savvy individual or a novice in the realm of networking, this guide will provide you with the necessary information to successfully set up a printer on your network.
Now, let's dive into the step-by-step process of setting up a printer on a network, starting with checking the printer's compatibility with your network infrastructure.
Key Takeaways:
- Setting up a printer on a network allows multiple users to print from different devices, reducing clutter and promoting a collaborative work environment.
- Checking compatibility, connecting to the network, installing drivers, enabling printer sharing, and testing the connection are crucial steps for successful network printer setup.
Read more: What Is A Network Printer
Step 1: Check the Printer Compatibility
Before embarking on the process of setting up your printer on a network, it’s crucial to ensure that the printer is compatible with your network infrastructure. This involves verifying whether the printer has built-in networking capabilities or can be connected to a network via a wired or wireless connection.
If your printer has built-in networking features, such as Wi-Fi or Ethernet connectivity, it can seamlessly integrate into your network without the need for additional hardware. On the other hand, if your printer lacks built-in networking capabilities, you may need to use a print server or a network-enabled computer to facilitate its connection to the network.
To determine the compatibility of your printer with the network, consider the following factors:
- Networking Options: Check if the printer supports Wi-Fi, Ethernet, or Bluetooth connectivity. This will dictate how the printer can be integrated into your network.
- Network Configuration: Assess your network infrastructure to ensure it can accommodate the type of connectivity required by the printer. For example, if you plan to use a wireless connection, ensure that your network has adequate Wi-Fi coverage in the printer’s vicinity.
- Printer Specifications: Review the printer’s specifications and documentation to confirm its compatibility with network printing and any specific requirements for network setup.
By thoroughly examining these aspects, you can determine the most suitable method for integrating your printer into the network. Once you have confirmed the printer’s compatibility, you can proceed to the next step of connecting the printer to the network.
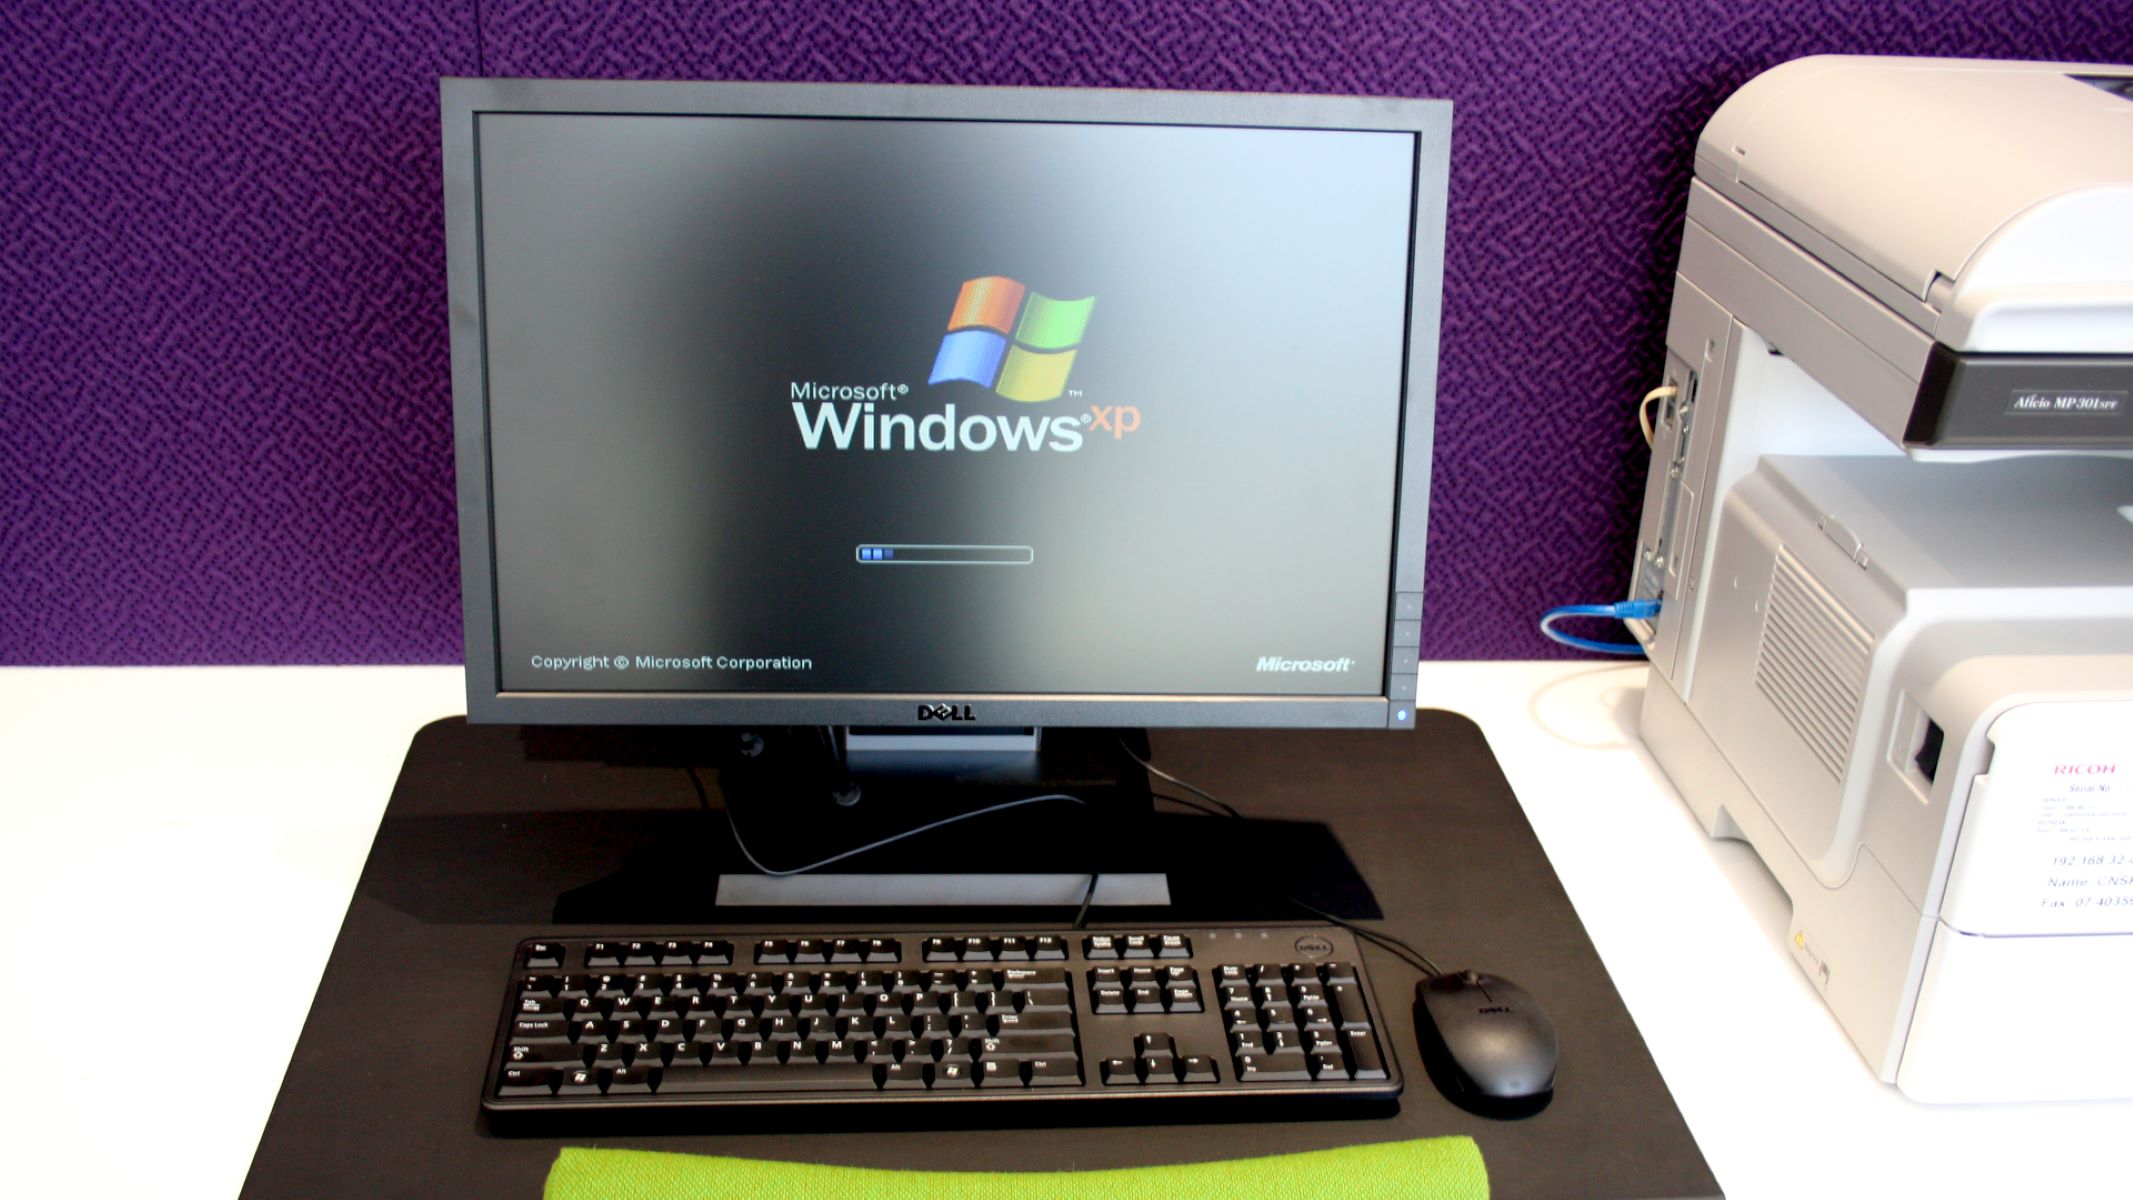
Step 2: Connect the Printer to the Network
Once you have verified the compatibility of your printer with the network, the next step involves establishing a connection between the printer and the network. The method of connecting the printer to the network will depend on its networking capabilities and the infrastructure of your network.
If your printer supports wireless connectivity, you can typically connect it to your Wi-Fi network by following these general steps:
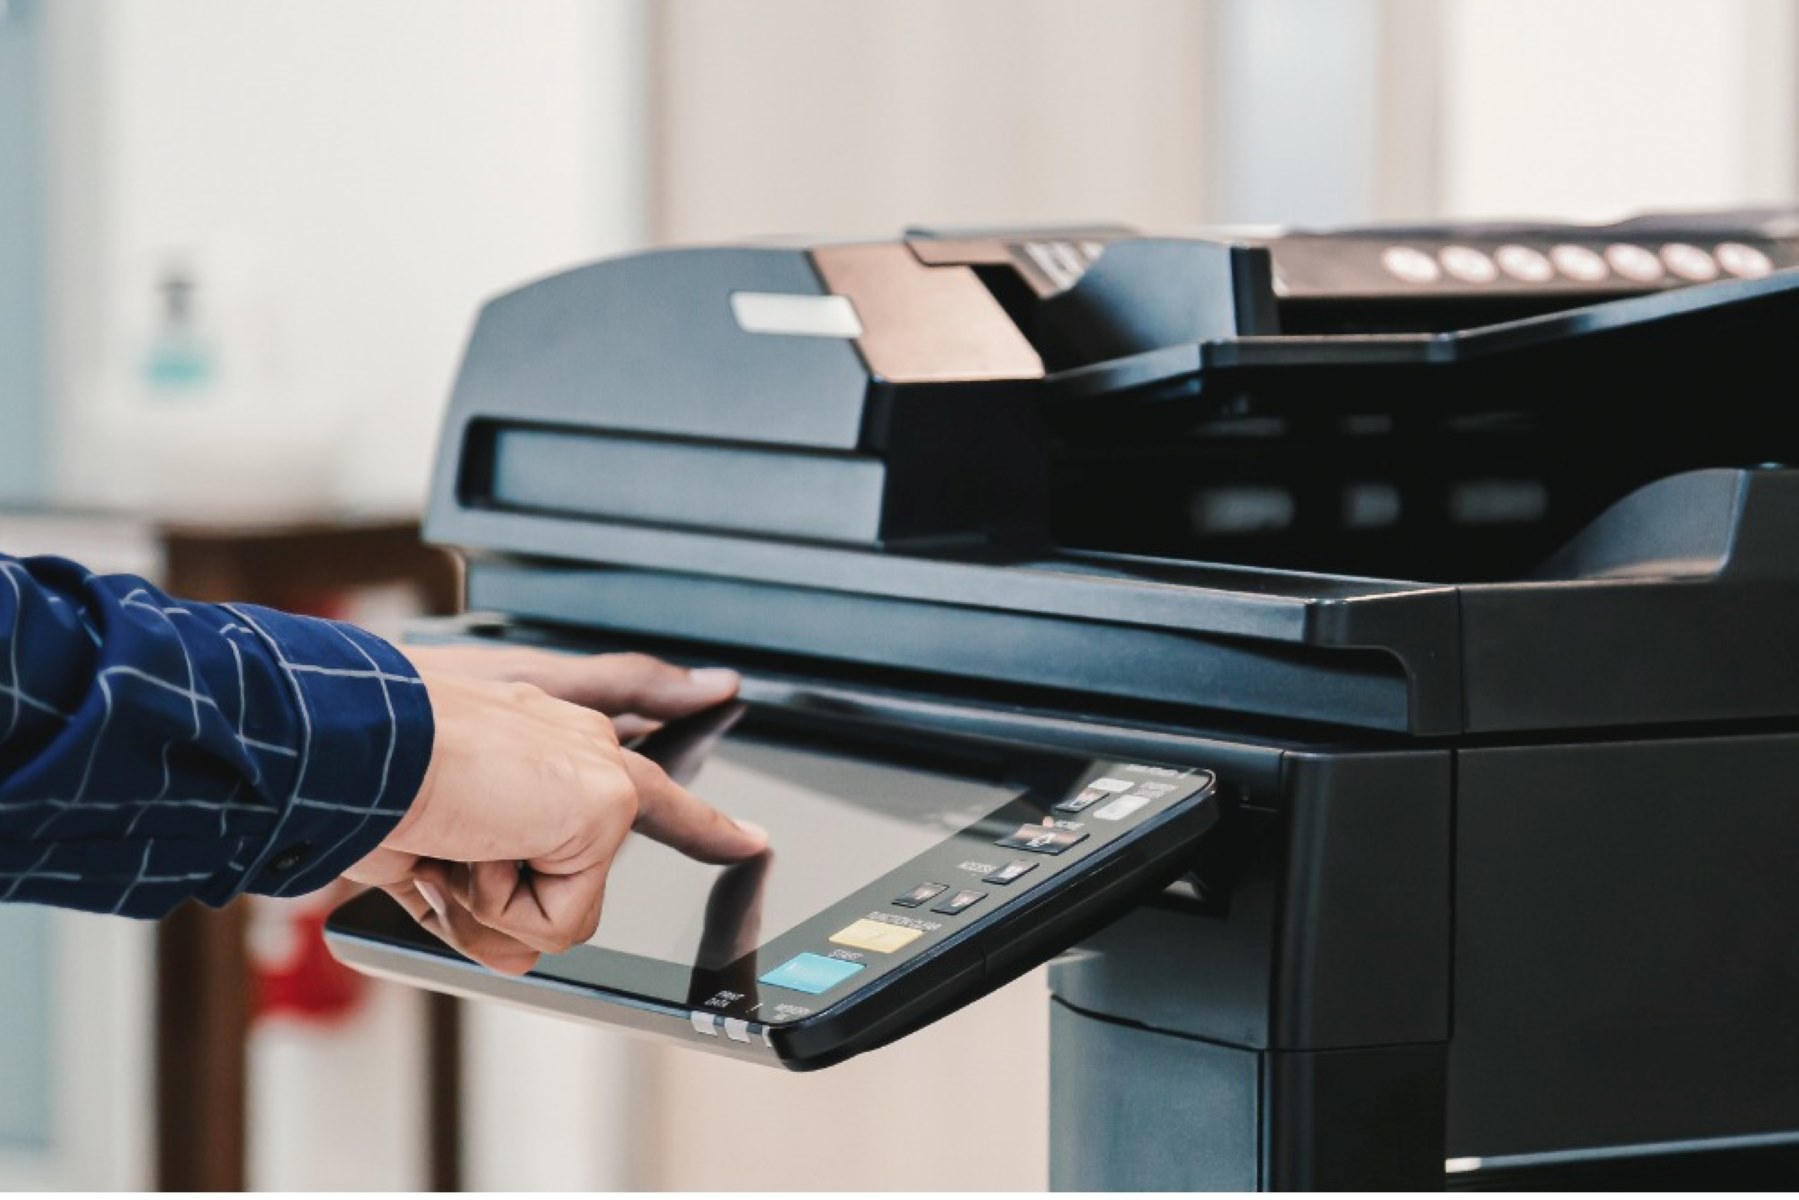
- Access the Printer’s Settings: Navigate to the printer’s control panel or display to access its settings menu. Look for an option related to network or wireless setup.
- Select the Wi-Fi Network: Choose your Wi-Fi network from the available list of networks displayed on the printer’s screen. You may need to enter the network password if prompted.
- Complete the Setup: Follow the on-screen instructions to complete the wireless setup process. Once the printer is successfully connected to the Wi-Fi network, it will obtain an IP address and become accessible to devices on the network.
If your printer utilizes an Ethernet connection, you can connect it directly to your network router or a network switch using an Ethernet cable. This method offers a reliable and stable connection, especially in environments where consistent network access is essential.
For printers without built-in networking capabilities, you can utilize a print server to enable network connectivity. A print server acts as an intermediary device, allowing non-network printers to be accessed by multiple users over the network. Alternatively, you can designate a computer within the network as a shared printer host, enabling other devices to print through that computer.
By establishing the appropriate connection between your printer and the network, you pave the way for seamless printing from any device connected to the network. Once the printer is successfully connected, the next step involves installing the necessary printer drivers to enable communication between the printer and the devices on the network.
Step 3: Install Printer Drivers
After connecting the printer to the network, the next crucial step is to install the appropriate printer drivers on the devices that will be used for printing. Printer drivers are essential software components that facilitate communication between the printer and the operating system of a computer or other devices. Without the necessary drivers, devices on the network will be unable to send print jobs to the printer.
When it comes to installing printer drivers, there are several options to consider based on the operating systems of the devices that will be used for printing:
- Windows Operating System: If you have Windows-based devices on the network, you can typically install the printer drivers by following these steps:
- Access the “Devices and Printers” or “Printers & Scanners” section in the Control Panel or Settings.
- Click on “Add a printer” or “Add a device” and follow the on-screen instructions to locate and install the printer drivers.
- Mac Operating System: For Mac users, installing printer drivers involves the following steps:
- Navigate to “System Preferences” and select “Printers & Scanners.”
- Click on the “+” symbol to add a new printer, and the Mac will automatically search for and install the necessary drivers.
- Mobile Devices: If you intend to print from mobile devices such as smartphones or tablets, you can typically install the printer’s companion app, which includes the required drivers for seamless printing.
In some cases, the printer drivers may be available for download from the manufacturer’s website. This can be particularly useful if the drivers are not automatically detected or installed by the operating system.
It’s important to ensure that the installed printer drivers are compatible with the specific model of the printer and the operating systems of the devices on the network. Once the printer drivers are successfully installed, the devices will be ready to send print jobs to the printer, thereby enabling efficient and convenient printing across the network.
With the printer drivers in place, the next step involves setting up printer sharing to allow multiple users to access the printer from their respective devices.
When setting up a printer on a network, make sure to connect the printer to the same network as your computer. Then, install the printer drivers on your computer and follow the instructions to add the printer to your network.
Step 4: Set Up Printer Sharing
Setting up printer sharing is a pivotal aspect of network printing, as it allows multiple users to access the same printer from different devices. By enabling printer sharing, you can streamline printing tasks and promote collaborative use of the printer within the network environment. The process of setting up printer sharing may vary depending on the operating systems and network configuration, but the following general guidelines can help you establish printer sharing effectively:
- Windows: If you have Windows-based devices on the network, you can share the printer by following these steps:
- Access the “Devices and Printers” section in the Control Panel.
- Right-click on the printer you want to share and select “Printer properties.”
- Navigate to the “Sharing” tab and click on “Share this printer.” You can also assign a distinctive share name to the printer for easy identification.
- Click “Apply” and “OK” to save the changes, thereby enabling printer sharing on the network.
- Mac: For Mac users, sharing a printer involves the following steps:
- Open “System Preferences” and select “Printers & Scanners.”
- Click on the “Sharing Preferences” button and check the box next to “Share this printer on the network.”
- Optionally, you can set access permissions for the shared printer to control who can use it.
After enabling printer sharing on the network, other devices within the network can search for and add the shared printer to their list of available printers. This allows users to send print jobs to the shared printer from their respective devices, promoting a seamless and collaborative printing experience.
It’s important to ensure that the shared printer is easily discoverable within the network, especially in larger environments where multiple printers may be available. Providing a distinct and recognizable name for the shared printer can simplify the process of adding it to devices and differentiating it from other printers on the network.
By implementing printer sharing, you can maximize the utility of the printer within the network, eliminate the need for individual printers for each device, and facilitate efficient printing across multiple devices. With printer sharing in place, the final step involves testing the printer connection to ensure seamless functionality across the network.
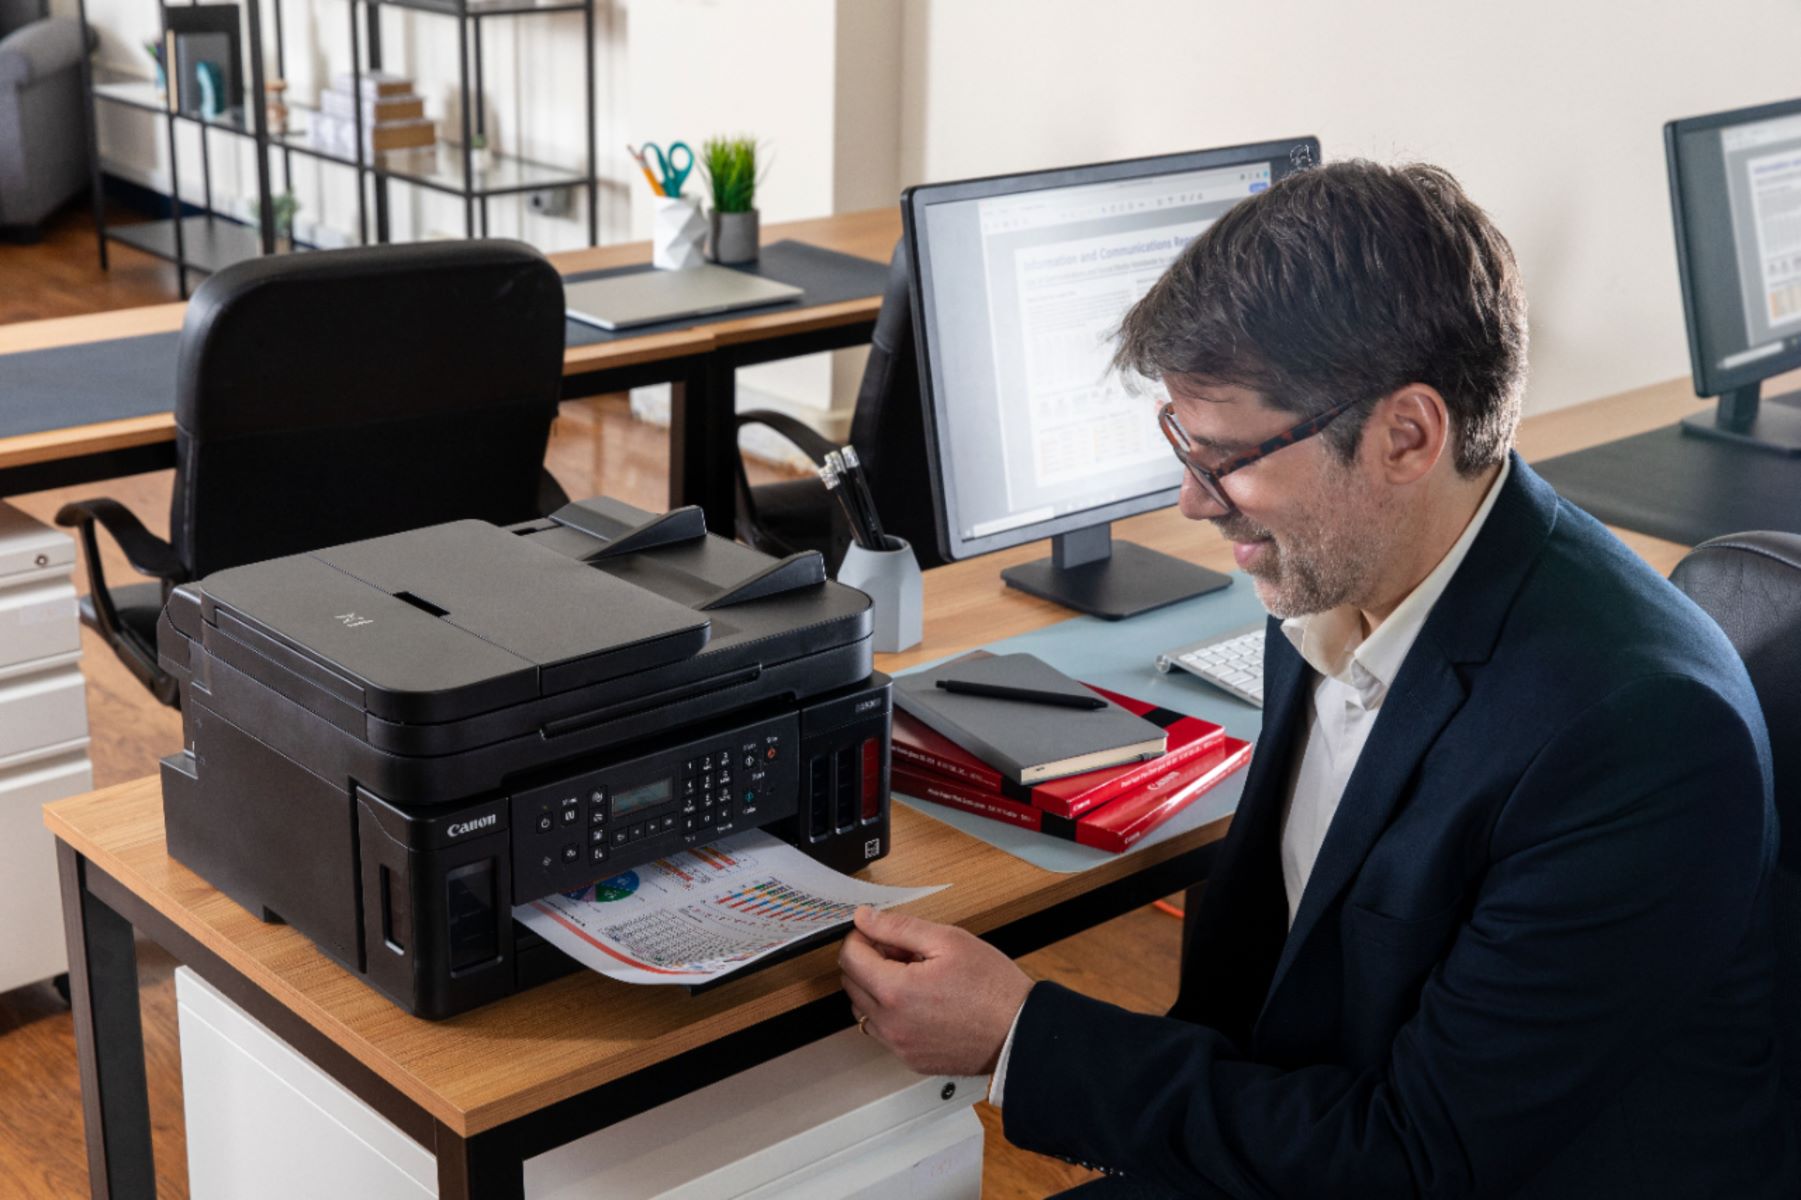
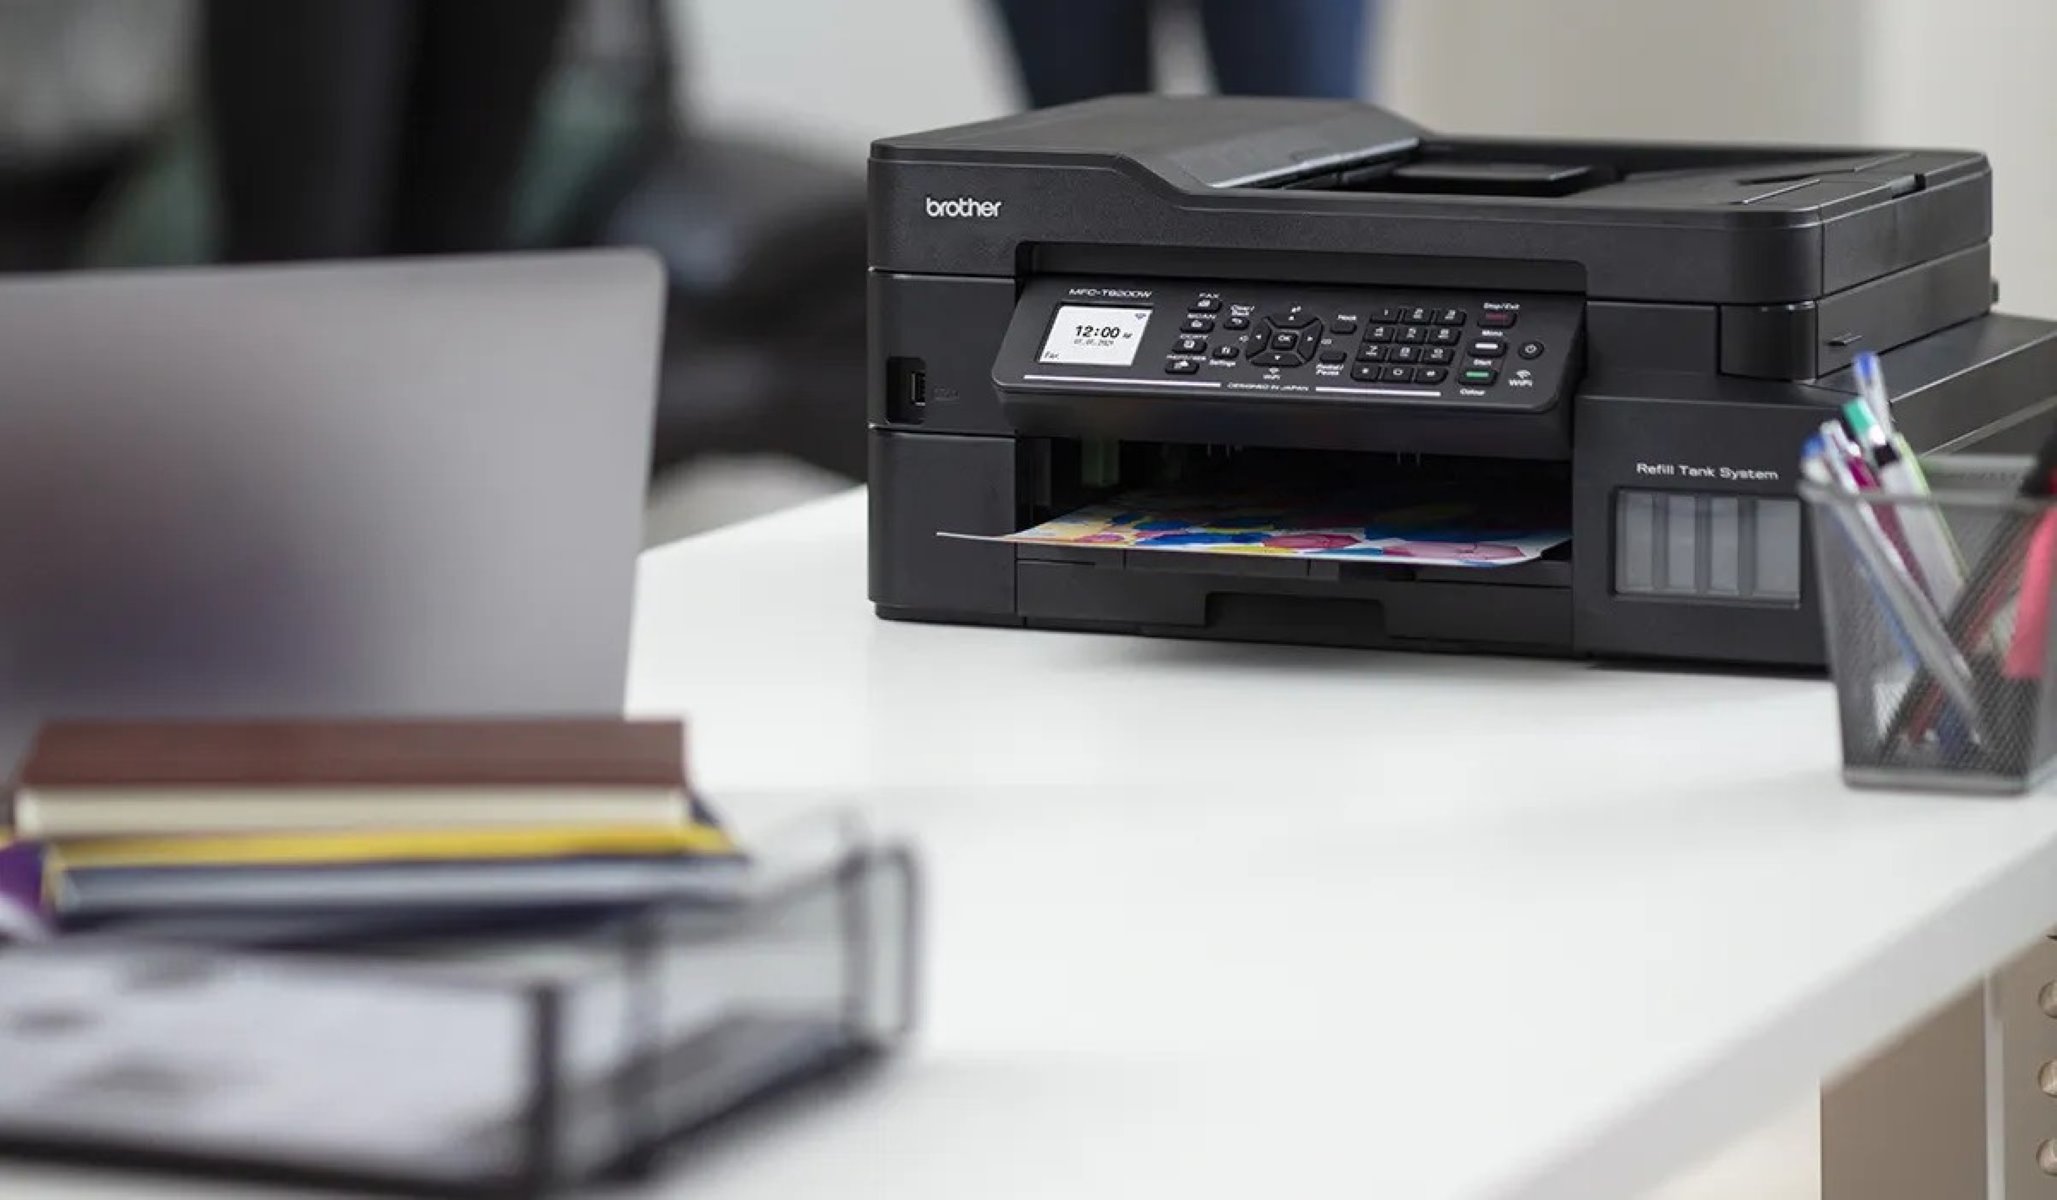
Step 5: Test the Printer Connection
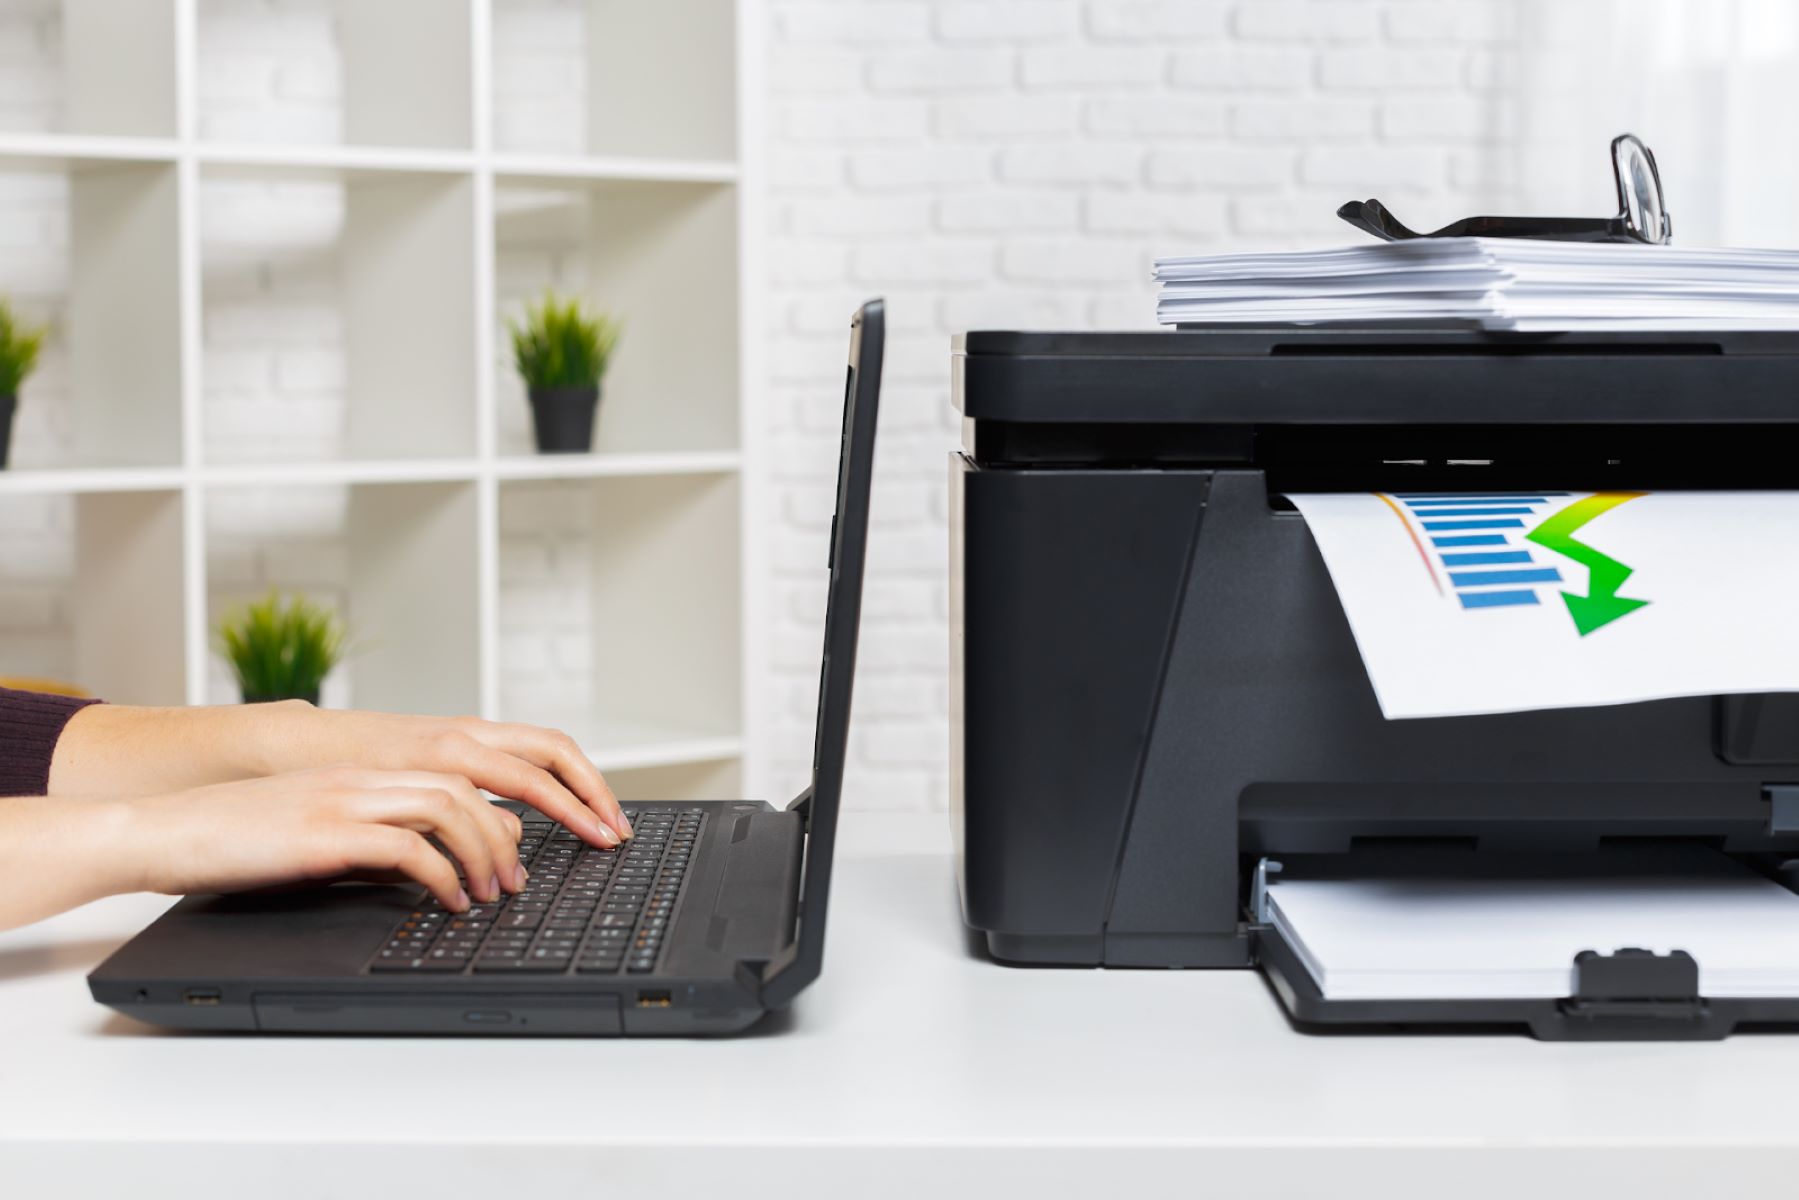
After completing the setup process for connecting the printer to the network and enabling printer sharing, it’s crucial to test the printer connection to ensure that it functions seamlessly across the network. Testing the printer connection involves sending a print job from a device on the network to the shared printer and verifying that the printed output is produced accurately and without any issues.
To test the printer connection, follow these general steps:
- Select the Printer: From a device on the network, such as a computer or mobile device, select the shared printer as the designated printing device. Ensure that the device is connected to the same network as the printer.
- Send a Test Print: Open a document, image, or any printable file on the device and initiate the printing process. Select the shared printer as the destination for the print job and proceed to print the document.
- Verify the Output: Once the print job is sent, monitor the shared printer to ensure that it receives the print job and produces the printed output correctly. Check for any errors or issues during the printing process.
By sending a test print to the shared printer, you can confirm that the printer is accessible from devices on the network and that the print jobs are processed efficiently. This step is crucial in identifying and addressing any potential connectivity or configuration issues that may affect the printing experience for users within the network.
If the test print is successful and the printed output meets the expected quality and accuracy, it indicates that the printer is effectively integrated into the network and ready for regular use. However, if any issues or errors arise during the test print, it may be necessary to troubleshoot the printer connection, verify the network settings, or address any potential driver-related issues on the devices.
By thoroughly testing the printer connection, you can ensure that the printer is fully operational and capable of meeting the printing needs of users across the network. With a successfully tested printer connection, you can confidently utilize the shared printer for a wide range of printing tasks, promoting efficiency and collaboration within the network environment.
Conclusion
Setting up a printer on a network offers a myriad of benefits, ranging from enhanced accessibility and convenience to streamlined printing processes. By following the comprehensive steps outlined in this guide, you can successfully integrate a printer into your network, allowing multiple users to print from various devices with ease.
Starting with the crucial step of checking the printer’s compatibility with the network, you can ensure that the printer seamlessly integrates into your existing infrastructure. Whether the printer supports wireless, Ethernet, or other connectivity options, verifying compatibility is essential for a smooth setup process.
Connecting the printer to the network, whether through wireless, wired, or intermediary devices, lays the foundation for network-wide printing capabilities. Installing the necessary printer drivers on the devices that will be used for printing ensures seamless communication between the devices and the printer, enabling efficient print job processing.
Enabling printer sharing further enhances the collaborative nature of network printing, allowing multiple users to access and utilize the shared printer. By following the specific steps for printer sharing based on the operating systems of the devices, you can create a unified printing environment across the network.
Finally, testing the printer connection validates the successful integration of the printer into the network, ensuring that print jobs are processed accurately and without any issues. This step serves as the final confirmation that the printer is fully operational and ready for use by all network users.
By embracing network printing and following the steps outlined in this guide, you can optimize the printing experience within your home or office environment. The seamless accessibility and collaborative nature of network printing contribute to a more efficient and productive workspace, minimizing the complexities associated with traditional printing setups.
With the printer set up on your network, you can look forward to streamlined printing processes, improved accessibility, and a more collaborative approach to utilizing printing resources. Embracing network printing not only simplifies the printing experience but also fosters a more connected and efficient work environment.
Frequently Asked Questions about How To Set Up A Printer On A Network
Was this page helpful?
At Storables.com, we guarantee accurate and reliable information. Our content, validated by Expert Board Contributors, is crafted following stringent Editorial Policies. We're committed to providing you with well-researched, expert-backed insights for all your informational needs.


0 thoughts on “How To Set Up A Printer On A Network”