Home>Home Security and Surveillance>How To Set Up Wireless Security In A Linksys Wireless G Router
Home Security and Surveillance
How To Set Up Wireless Security In A Linksys Wireless G Router
Modified: March 6, 2024
Secure your home network with our step-by-step guide on setting up wireless security in a Linksys Wireless G Router. Ensure peace of mind with robust home security and surveillance measures.
(Many of the links in this article redirect to a specific reviewed product. Your purchase of these products through affiliate links helps to generate commission for Storables.com, at no extra cost. Learn more)
Introduction
Welcome to our guide on how to set up wireless security in a Linksys Wireless G router. In today’s digital age, ensuring the security of our home networks is more important than ever. With the rise of smart devices and the ever-increasing reliance on the internet, protecting our personal data and network from unauthorized access is crucial.
A wireless G router, like the one from Linksys, offers a convenient and reliable way to connect multiple devices to your home network without the need for messy cables. However, leaving your network unprotected can leave you vulnerable to cyber threats, such as unauthorized access, data breaches, and even identity theft. This is why it is essential to set up wireless security, to safeguard your network and protect your personal information.
In this guide, we will walk you through the step-by-step process of establishing wireless security in your Linksys Wireless G router. By following these instructions, you’ll be able to establish a secure connection, preventing unauthorized access and ensuring the privacy of your network.
Before we dive into the steps, let’s take a moment to understand why wireless security is important. Without proper security measures in place, your wireless network can be easily accessed by nearby devices or malicious individuals, compromising the confidentiality and integrity of your data.
Setting up wireless security not only helps protect your network but also ensures that only authorized devices can connect to it. This prevents neighbors or strangers from using your internet connection without your knowledge, which can slow down your network and potentially expose you to security risks.
Furthermore, wireless security safeguards your personal information from being intercepted by hackers. By encrypting the data sent between your devices and your router, wireless security ensures that your online activities and sensitive information remain confidential.
In the following steps, we will guide you on how to change the router’s admin password, configure the wireless network, enable wireless security, and connect devices to the secured wireless network. By the end of this guide, you’ll have a strong and secure wireless network, providing you with peace of mind and protecting your digital life.
Key Takeaways:
- Protect Your Network
Setting up wireless security in your Linksys Wireless G router is crucial to protect your network from unauthorized access and keep your personal information safe from cyber threats. - Secure Your Devices
By enabling wireless security and connecting your devices to the secured network, you can enjoy a safe and private internet connection, ensuring peace of mind and enhanced security for your personal data and online activities.
Read more: Which Wireless Security For Linksys
Step 1: Accessing the Router’s Web-Based Setup Page
The first step in setting up wireless security on your Linksys Wireless G router is accessing the router’s web-based setup page. This page allows you to make changes and configure various settings for your router.
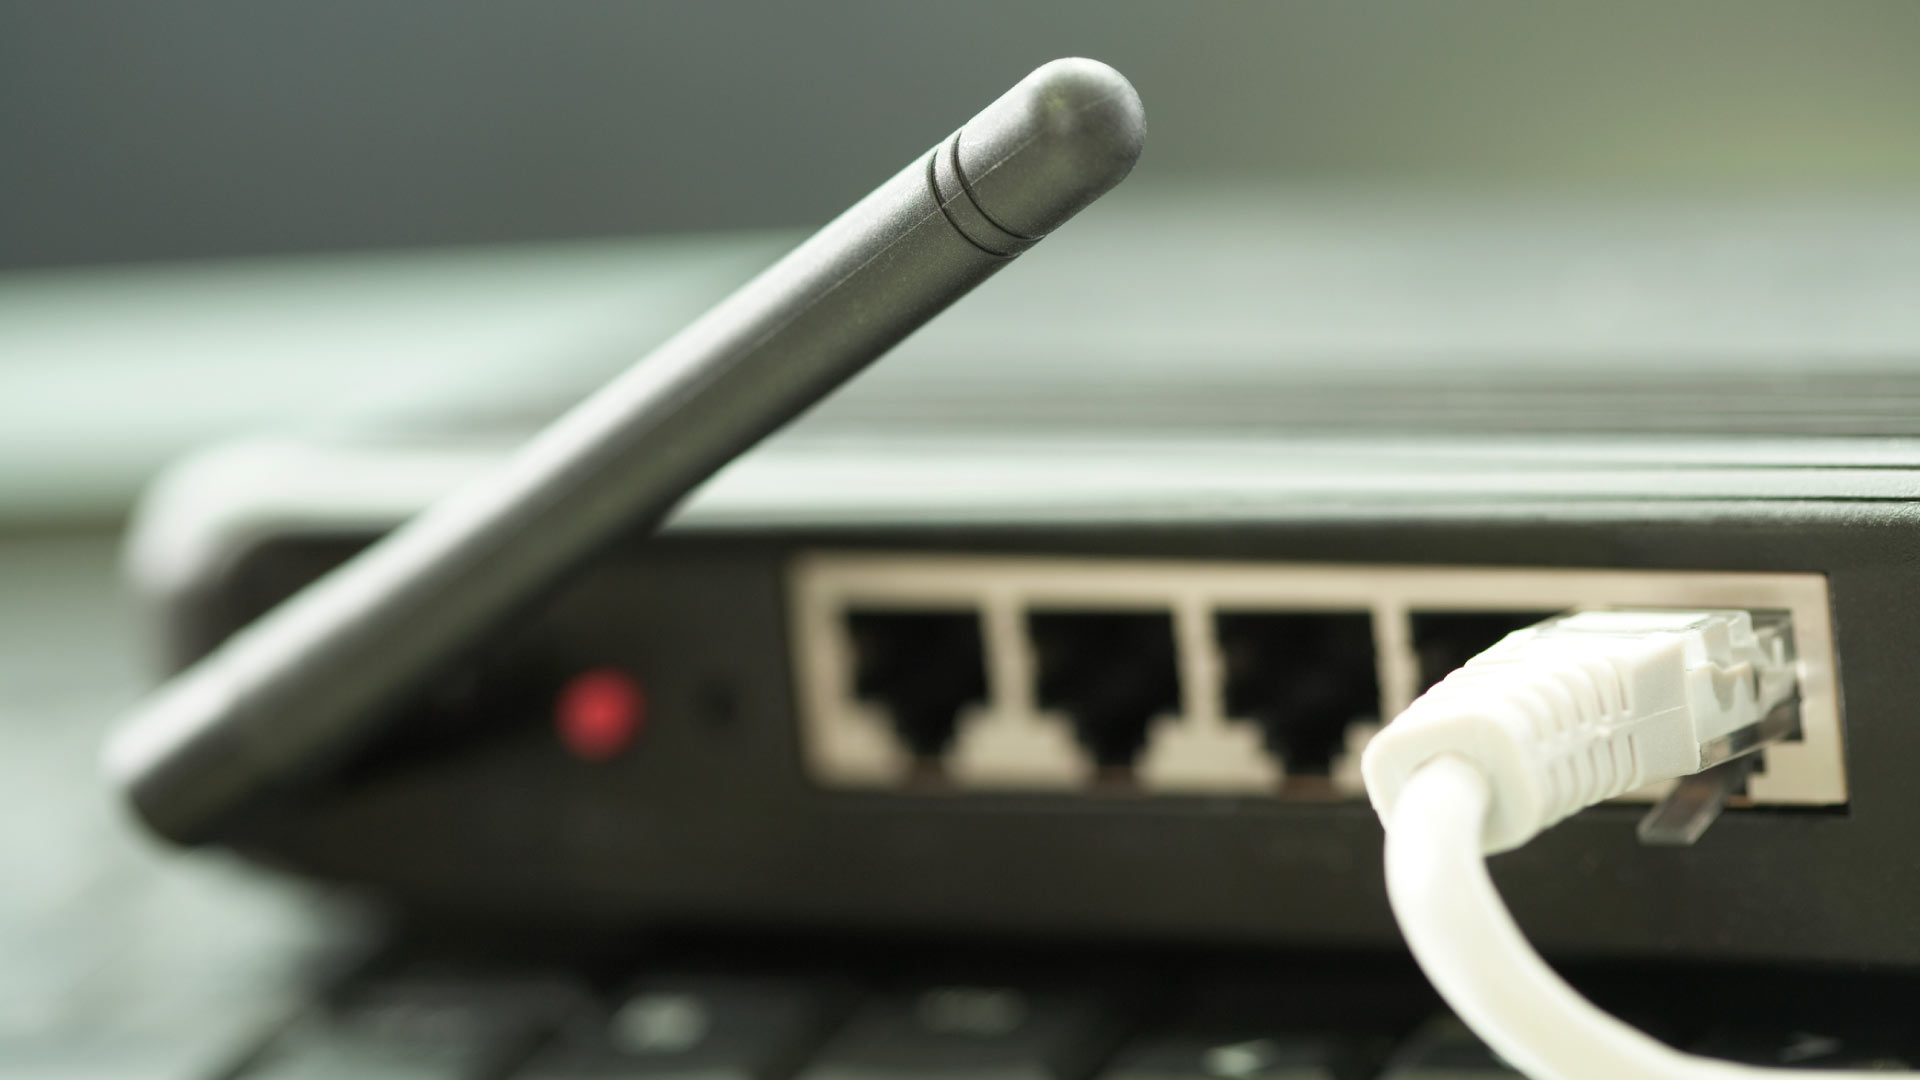
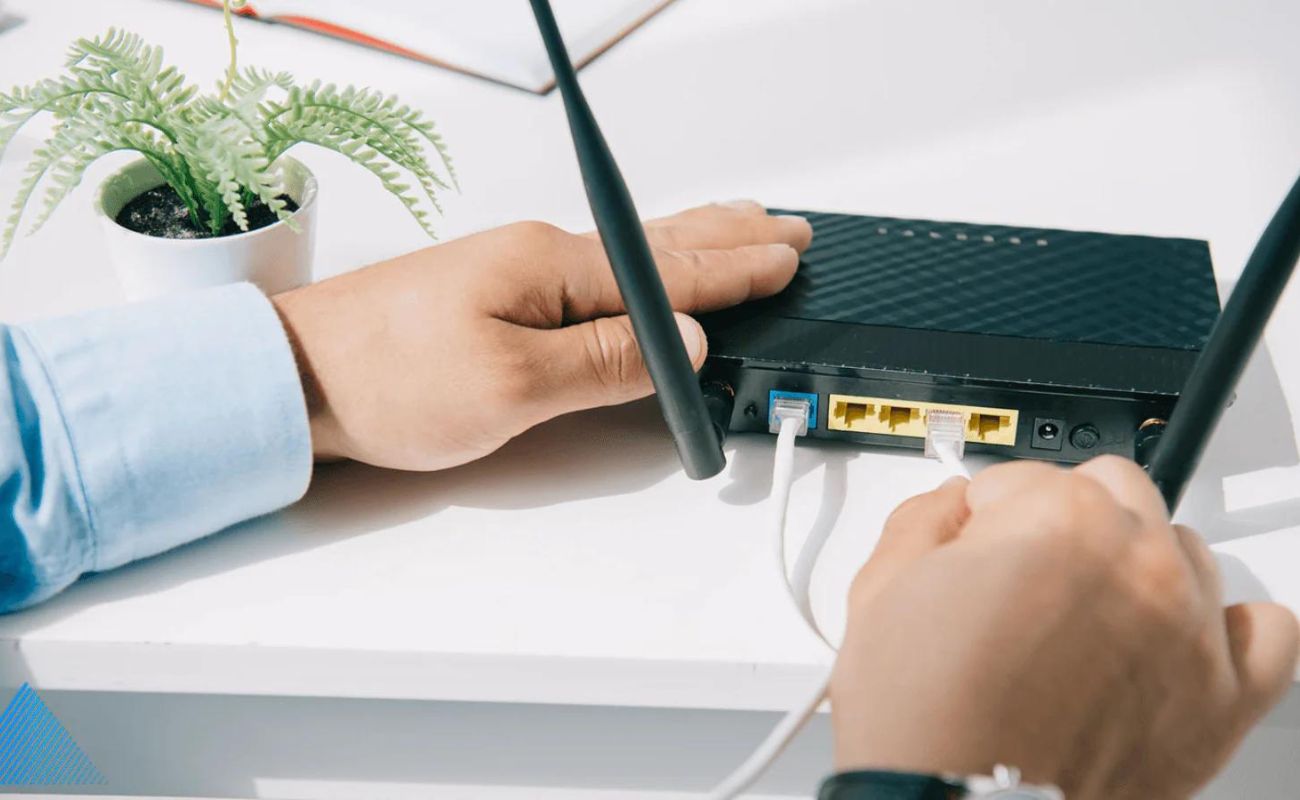
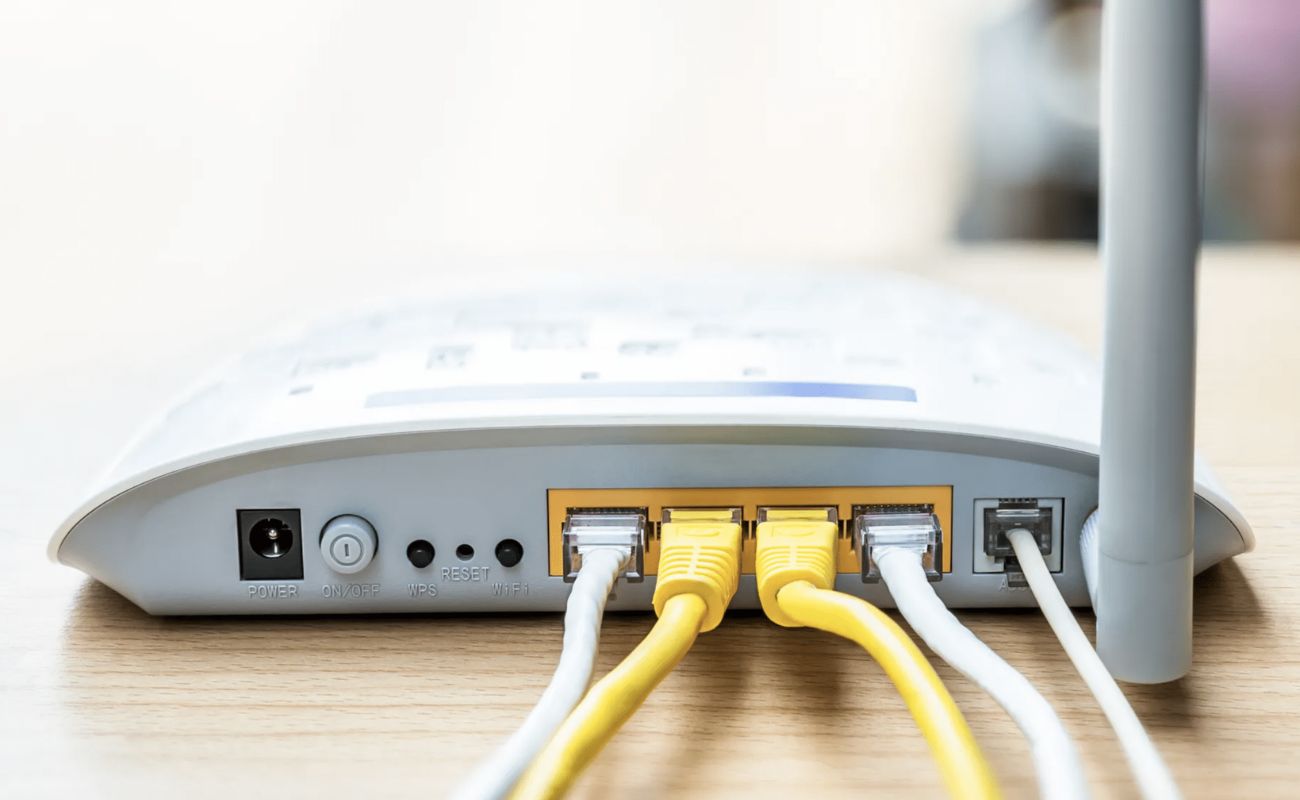
- Connect your computer to the router. Using an Ethernet cable, plug one end into your computer’s Ethernet port, and the other end into one of the LAN ports on the back of the router. This will establish a direct connection between your computer and the router.
- Launch a web browser. Open your preferred web browser, such as Google Chrome, Mozilla Firefox, or Microsoft Edge.
- Enter the router’s IP address. In the address bar of your web browser, type the router’s IP address. The default IP address for Linksys routers is usually “192.168.1.1.” Press Enter to proceed.
- Enter the router’s admin credentials. On the login page, you will be prompted to enter the administrator username and password. By default, the username is often set to “admin,” and the password field is usually left blank. However, if you previously changed these credentials and cannot remember them, you may need to perform a factory reset on your router.
Once you have entered the correct admin credentials, you will be logged into the router’s web-based setup page. This is where you can configure various settings, including wireless security, to enhance the protection of your network.
Note: It is crucial to change the default admin password for your router to prevent unauthorized access. Leaving the default password in place leaves your network vulnerable to attacks.
Now that you’ve successfully accessed the router’s web-based setup page, you’re ready to move on to the next step: changing the router’s admin password.
Step 2: Changing the Router’s Admin Password
Changing the router’s admin password is an essential step in securing your Linksys Wireless G router. Using a strong and unique password ensures that only authorized individuals can access and make changes to your router’s settings. Follow these steps to change the admin password:
- On the router’s web-based setup page, navigate to the Administration or Management section. The exact location may vary depending on your router model, but it is usually found under the main settings menu.
- Look for the option to change the administrator password. It may be labeled as “Admin password” or “Password.” Click on the provided link or button to proceed.
- Enter the current admin password. Since you’ve just accessed the web-based setup page, enter the default or current admin password in the designated field. If you previously changed the password, enter the updated one.
- Set a new admin password. In the next field, enter a strong and unique password. Make sure to use a combination of uppercase and lowercase letters, numbers, and special characters. Avoid using easily guessable information such as birthdates or sequential numbers. Aim for a password that is at least 8-12 characters long.
- Confirm the new admin password. Re-enter the new password in the confirmation field to ensure it matches the one you entered previously.
- Save your changes. Once you’ve entered the new password and confirmed it, save your changes by clicking on the “Apply” or “Save” button.
- Logout of the web-based setup page. After successfully changing the admin password, it is important to log out of the router’s web-based setup page to prevent unauthorized access. Look for the “Logout” or “Sign Out” option, usually located at the top-right corner of the page.
Congratulations! You have successfully changed the router’s admin password. This step enhances the security of your router by ensuring that only individuals with the updated admin password can access and make changes to its settings. Now that your admin password is secure, it’s time to move on to configuring the wireless network.
Step 3: Configuring the Wireless Network
Configuring the wireless network settings is the next important step in setting up wireless security on your Linksys Wireless G router. This step involves customizing the network name (SSID) and choosing the appropriate wireless channel. Follow these steps to configure the wireless network:
- On the router’s web-based setup page, navigate to the Wireless or Wi-Fi section. This section is where you can manage the wireless settings of your router.
- Locate the field for the Network Name (SSID). The SSID is the name that will be broadcasted by your router, allowing devices to identify and connect to your wireless network. Enter a unique and easily recognizable name for your network. Avoid using personal information or any sensitive data in the SSID.
- Choose the appropriate wireless channel. By default, the router is set to automatically select the best channel. However, in some cases, manually selecting a specific channel can help improve network performance and reduce interference from nearby networks. Refer to your router’s user manual or check the manufacturer’s website for recommendations on choosing the best wireless channel.
- Enable or disable the Wireless SSID Broadcast. By default, your router will broadcast the SSID, allowing nearby devices to see and connect to your network. If you want to enhance security, you can choose to disable the SSID broadcast. This means that users will need to manually enter the network name to connect to your wireless network. Disabling SSID broadcast can add an extra layer of security but may require manual configuration on each device that wants to connect to your network.
- Save your changes. Once you’ve entered and configured the desired wireless network settings, save your changes by clicking on the “Apply” or “Save” button.
- Restart the router. After saving the wireless network settings, it’s a good practice to restart your router. This ensures that the changes take effect and your wireless network operates smoothly with the updated settings. Simply power off the router, wait for a few seconds, and power it back on.
By configuring the wireless network settings, you have customized the network name and channel to suit your preferences. The next step is to enable wireless security to protect your network from unauthorized access. Continue reading to learn how to enable wireless security in Step 4.
Step 4: Enabling Wireless Security
Enabling wireless security is a crucial step in securing your Linksys Wireless G router and protecting your network from unauthorized access. By enabling wireless security, you ensure that only authorized devices can connect to your network and that all data transmitted is encrypted. Follow these steps to enable wireless security:
- On the router’s web-based setup page, navigate to the Wireless Security or Security section. This is where you can configure the wireless security settings for your router.
- Choose the type of wireless security to enable. The most commonly used security protocols are WEP (Wired Equivalent Privacy), WPA (Wi-Fi Protected Access), and WPA2 (Wi-Fi Protected Access 2). WPA2 is the recommended option as it provides the highest level of security. If your devices support it, select WPA2 as the security mode.
- Set the security encryption type and key. Within the security settings, you will find options for encryption types such as AES or TKIP. Choose AES as it is more secure. Then, create a strong security key or passphrase. Similar to the admin password, your security key should be a combination of uppercase and lowercase letters, numbers, and special characters. It should be at least 8-12 characters long.
- Save your changes. Once you’ve selected the appropriate security mode, encryption type, and set a strong security key, save your changes by clicking on the “Apply” or “Save” button.
- Restart the router. After saving the wireless security settings, it’s recommended to restart your router. This ensures that the changes take effect and your wireless network operates securely with the updated security settings. Simply power off the router, wait for a few seconds, and power it back on.
By enabling wireless security, you have taken an important step in protecting your network from unauthorized access. However, keep in mind that wireless security is not foolproof, and it’s essential to stay vigilant by regularly updating your router’s firmware and periodically reviewing and strengthening your wireless security settings.
Now that you have enabled wireless security, it’s time to proceed to Step 5, where we will guide you through choosing the appropriate security mode for your network.
To set up wireless security on a Linksys Wireless G Router, log into the router’s web interface, go to the Wireless Security section, and choose WPA2 as the security mode. Then, create a strong password and save the settings.
Step 5: Choosing a Security Mode
Choosing the right security mode is a critical step in ensuring the protection and integrity of your network. The security mode determines the level of encryption and authentication used to secure your wireless connection. Follow these steps to choose the appropriate security mode for your network:
- On the router’s web-based setup page, navigate to the Wireless Security or Security section. This is where you can configure the security mode for your wireless network.
- Review the available security modes. The most common security modes include WEP (Wired Equivalent Privacy), WPA (Wi-Fi Protected Access), and WPA2 (Wi-Fi Protected Access 2). Each mode offers different levels of security, with WPA2 being the most secure option.
- Consider the compatibility of your devices. Before selecting a security mode, consider the devices that will connect to your network. WPA2 is the preferred and most secure option if your devices support it. However, if you have older devices that do not support WPA2, you may need to select WPA or WEP as the security mode. Keep in mind that these older security modes are less secure and may leave your network vulnerable to attacks.
- Balance security and convenience. While WPA2 is the most secure option, it may require a more complex password and additional configuration steps. If convenience is a priority and your network does not contain sensitive data, you may opt for WPA. However, keep in mind that WPA2 is strongly recommended for maximum security.
- Save your changes. Once you have selected the appropriate security mode for your network, save your changes by clicking on the “Apply” or “Save” button.
- Restart the router. After saving the security mode settings, it is recommended to restart your router. This ensures that the changes take effect and your wireless network operates securely with the updated security mode. Simply power off the router, wait for a few seconds, and power it back on.
Choosing the right security mode is crucial in guarding your network against unauthorized access and protecting your data. By considering the compatibility of your devices and balancing security with convenience, you can select the appropriate security mode that best suits your needs.
In the next step, Step 6, we will guide you through configuring the specific wireless security settings for your selected security mode.
Step 6: Configuring Wireless Security Settings
Configuring the wireless security settings is an important step in enhancing the overall security of your network. This step involves customizing the specific security settings based on the security mode you have chosen. Follow these steps to configure the wireless security settings:
- On the router’s web-based setup page, navigate to the Wireless Security or Security section. This is where you can configure the wireless security settings for your network.
- Choose the wireless security mode you previously selected, such as WPA2, WPA, or WEP. Selecting the appropriate security mode ensures that the encryption and authentication methods align with your desired level of security.
- Configure the authentication method. For WPA2 and WPA security modes, you will have the option to choose between “Personal” and “Enterprise” authentication. Personal authentication is suitable for home networks, while Enterprise authentication is typically used in business or enterprise environments. Select “Personal” authentication for most home users.
- Set the encryption method. Encryption is used to protect your wireless network from unauthorized access. For WPA2 and WPA security modes, the recommended encryption method is AES (Advanced Encryption Standard). Select AES as the encryption method to ensure a high level of security.
- Set the security passphrase or key. In the security settings, you will need to enter a passphrase or key. This is the password that devices will need to provide to connect to your network. Create a strong and unique passphrase using a combination of uppercase and lowercase letters, numbers, and special characters. It should be at least 8-12 characters long.
- Save your changes. Once you have configured the desired wireless security settings, save your changes by clicking on the “Apply” or “Save” button.
- Restart the router. After saving the wireless security settings, it is recommended to restart your router. This ensures that the changes take effect and your wireless network operates securely with the updated security settings. Simply power off the router, wait for a few seconds, and power it back on.
By configuring the wireless security settings, you have taken an important step in securing your network and protecting your data. By selecting the appropriate authentication and encryption methods, along with a strong passphrase or key, you can ensure that only authorized devices can connect to your network and that data transmitted over the wireless connection remains confidential.
In the next step, Step 7, we will guide you on saving and applying the wireless security settings.
Step 7: Saving and Applying Settings
After configuring the wireless security settings for your Linksys Wireless G router, it’s important to save and apply the changes to ensure they take effect. Follow these steps to save and apply the settings:
- On the router’s web-based setup page, locate the “Apply” or “Save” button. This button is typically located at the bottom or top of the page.
- Click on the “Apply” or “Save” button to save and apply the configured settings. This will initiate the process of saving the changes you made to the router’s configuration.
- Wait for the changes to be saved and applied. The time it takes to save and apply the settings will vary depending on your router model and the complexity of the changes made. Usually, it only takes a few seconds.
- Do not interrupt the process. It’s important to allow the router enough time to save and apply the settings without interruption. Interrupting the process could result in incomplete or incorrect configurations.
- Observe the confirmation message. Once the settings have been successfully applied, you may receive a confirmation message on the web-based setup page. This message will indicate that the changes have been saved and applied successfully.
- Restart the router. Although not always necessary, it is recommended to restart your router after saving and applying the settings. This restart ensures that the updated configurations take effect and your network operates with the new settings. Simply power off the router, wait for a few seconds, and power it back on.
By saving and applying the settings, you have successfully implemented the configured wireless security settings on your Linksys Wireless G router. This ensures that your network is now protected and secured against unauthorized access and data breaches.
In the final step, Step 8, we will guide you through the process of connecting devices to the secured wireless network.
Step 8: Connecting Devices to the Secured Wireless Network
Now that you have successfully set up wireless security on your Linksys Wireless G router, it’s time to connect your devices to the secured wireless network. Follow these steps to connect your devices:
- Ensure that your device has Wi-Fi capabilities. Make sure that the device you want to connect, such as a laptop, smartphone, or tablet, has built-in Wi-Fi capabilities or is compatible with a Wi-Fi adapter.
- Turn on Wi-Fi on your device. Go to the settings of your device and locate the Wi-Fi settings. Enable Wi-Fi to start scanning for available networks.
- Select your network. In the list of available networks, you will see the network name (SSID) you configured earlier. Select your network from the list. If you disabled the SSID broadcast, you will need to manually enter the network name.
- Enter the network passphrase or key. When prompted, enter the network passphrase or key that you set during the wireless security configuration. Make sure to enter it correctly, as it is case-sensitive.
- Connect to the network. After entering the correct passphrase or key, your device will connect to the secured wireless network. Wait for a few moments as the device establishes a connection.
- Verify the connection. Once connected, you should see the Wi-Fi symbol or indicator on your device’s screen, indicating a successful connection to the network. You can also open a web browser or any internet-connected app to confirm that you have internet access.
Repeat these steps for each additional device you want to connect to the secured wireless network. Remember to enter the correct network passphrase or key for each device.
By connecting your devices to the secured wireless network, you can now enjoy a safe and private internet connection. Your network is protected against unauthorized access, providing you with peace of mind and enhanced security for your personal data and online activities.
Congratulations! You have successfully completed the process of setting up wireless security in your Linksys Wireless G router and connecting your devices to the secured network. Remember to periodically review and update your wireless security settings to stay protected against emerging threats.
If you have any questions or encounter any issues during the process, consult the user manual of your router or reach out to the manufacturer’s support for further assistance.
Conclusion
Securing your home network is of utmost importance in today’s digital age, and setting up wireless security in your Linksys Wireless G router is a crucial step in safeguarding your network and personal information. By following the steps outlined in this guide, you have successfully established a strong and secure wireless network.
Throughout the process, you learned how to access the router’s web-based setup page, change the admin password, configure the wireless network settings, enable wireless security, choose the appropriate security mode, configure wireless security settings, and connect your devices to the secured wireless network.
By taking these steps, you have significantly reduced the risk of unauthorized access to your network, protected your data from interception and theft, and ensured a safe and private internet connection for all your devices.
Remember to regularly review and update your wireless security settings, as well as keep your router’s firmware up to date to stay protected against emerging threats and security vulnerabilities. Additionally, consider implementing other security measures such as enabling a firewall and using strong passwords for all your devices and online accounts.
If you have any further questions, consult the user manual of your router or reach out to the manufacturer’s support for guidance and assistance. They can provide you with specific information and troubleshooting steps tailored to your Linksys Wireless G router model.
With your network now secured, you can enjoy the convenience and benefits of a wireless connection while having peace of mind that your information is protected. Stay vigilant, stay informed, and stay secure in the ever-evolving digital landscape.
Frequently Asked Questions about How To Set Up Wireless Security In A Linksys Wireless G Router
Was this page helpful?
At Storables.com, we guarantee accurate and reliable information. Our content, validated by Expert Board Contributors, is crafted following stringent Editorial Policies. We're committed to providing you with well-researched, expert-backed insights for all your informational needs.