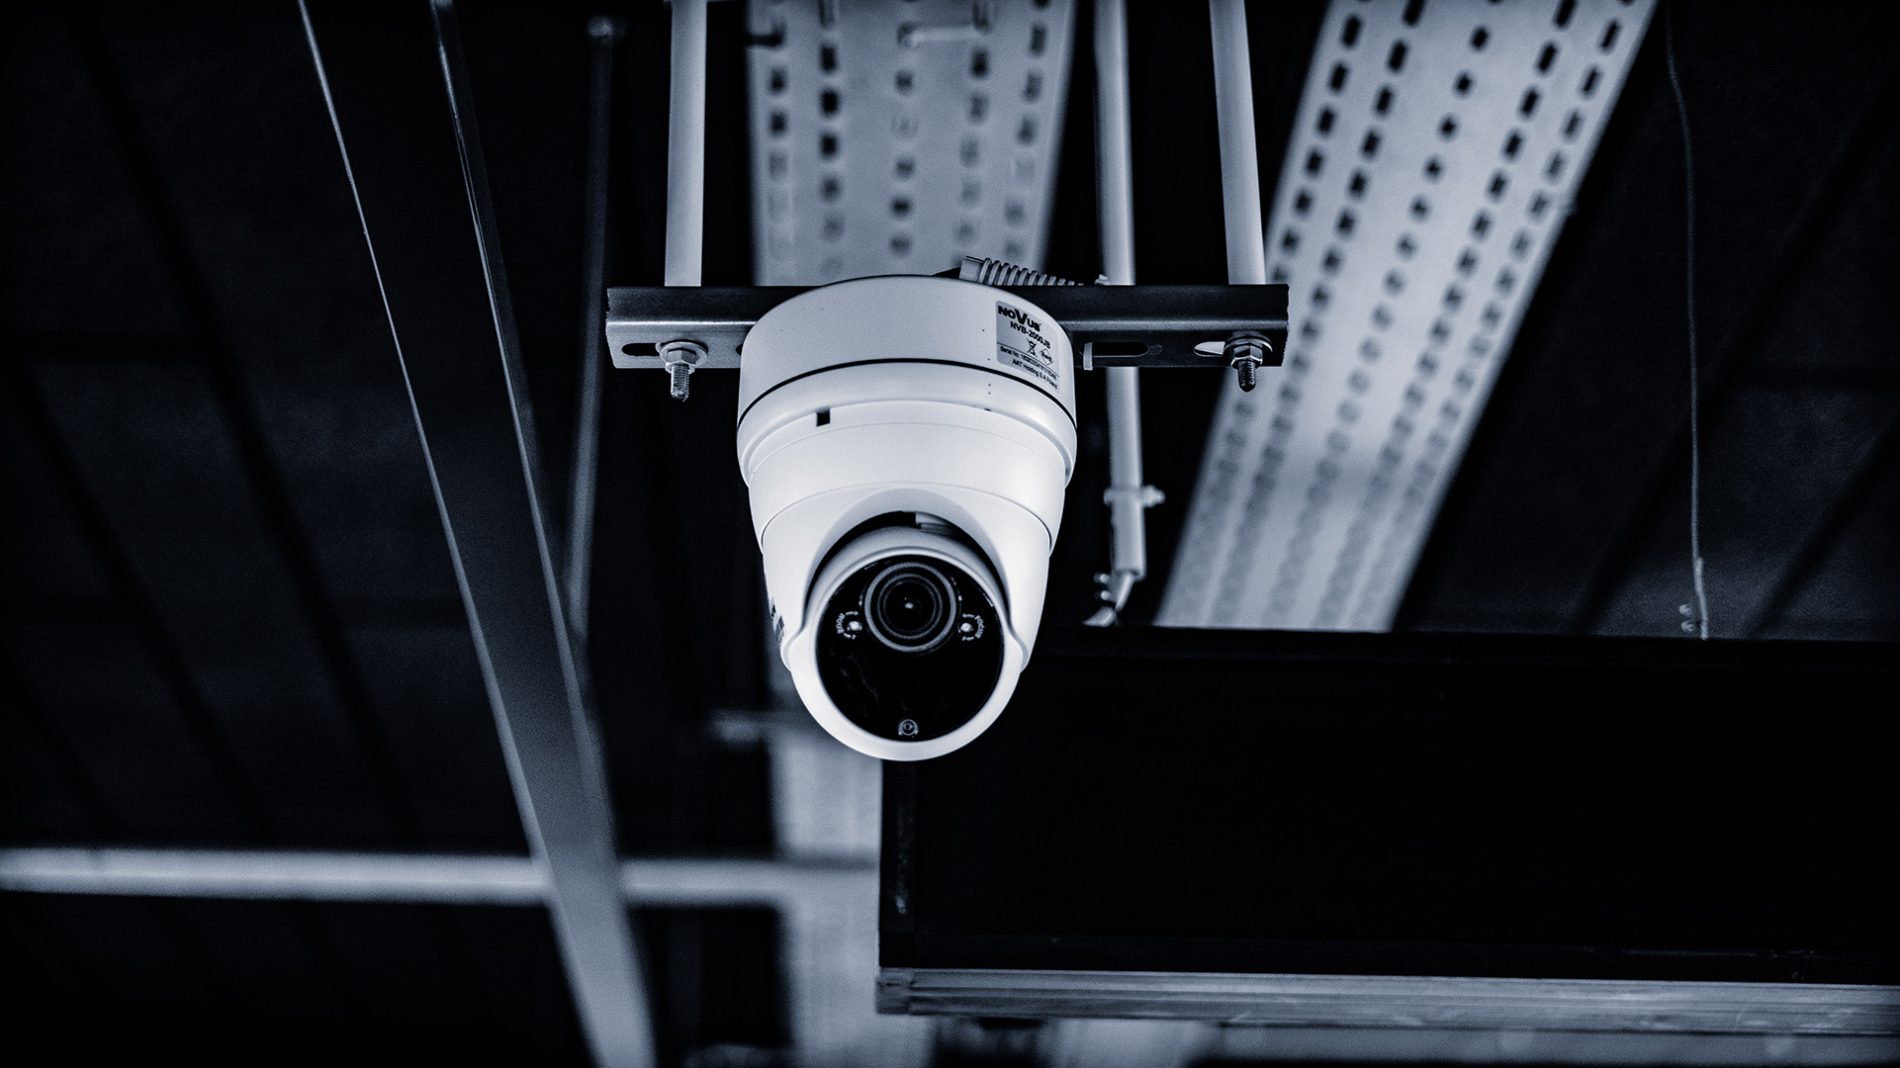
Home>Home Security and Surveillance>How To Set Up Night Owl Wireless Security Cameras
Home Security and Surveillance
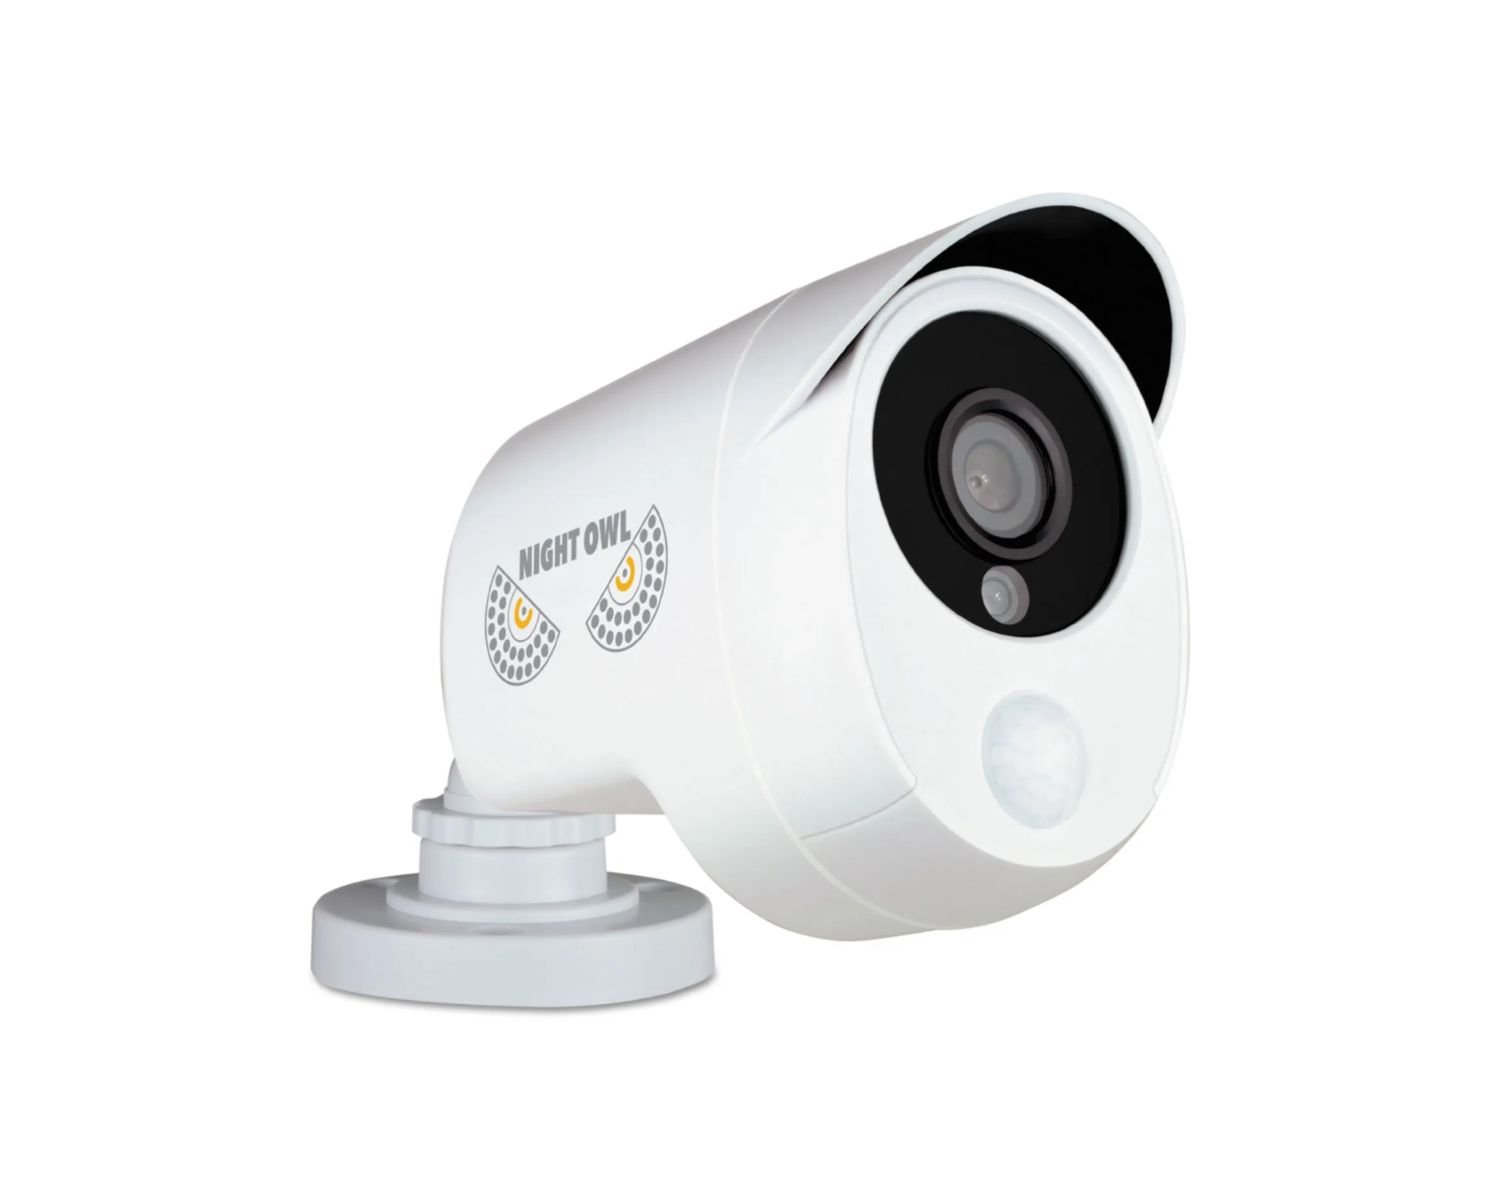
How To Set Up Night Owl Wireless Security Cameras
Modified: September 1, 2024
Learn how to set up Night Owl wireless security cameras for your home security and surveillance needs. Ensure peace of mind with easy installation and monitoring.
(Many of the links in this article redirect to a specific reviewed product. Your purchase of these products through affiliate links helps to generate commission for Storables.com, at no extra cost. Learn more)
Introduction
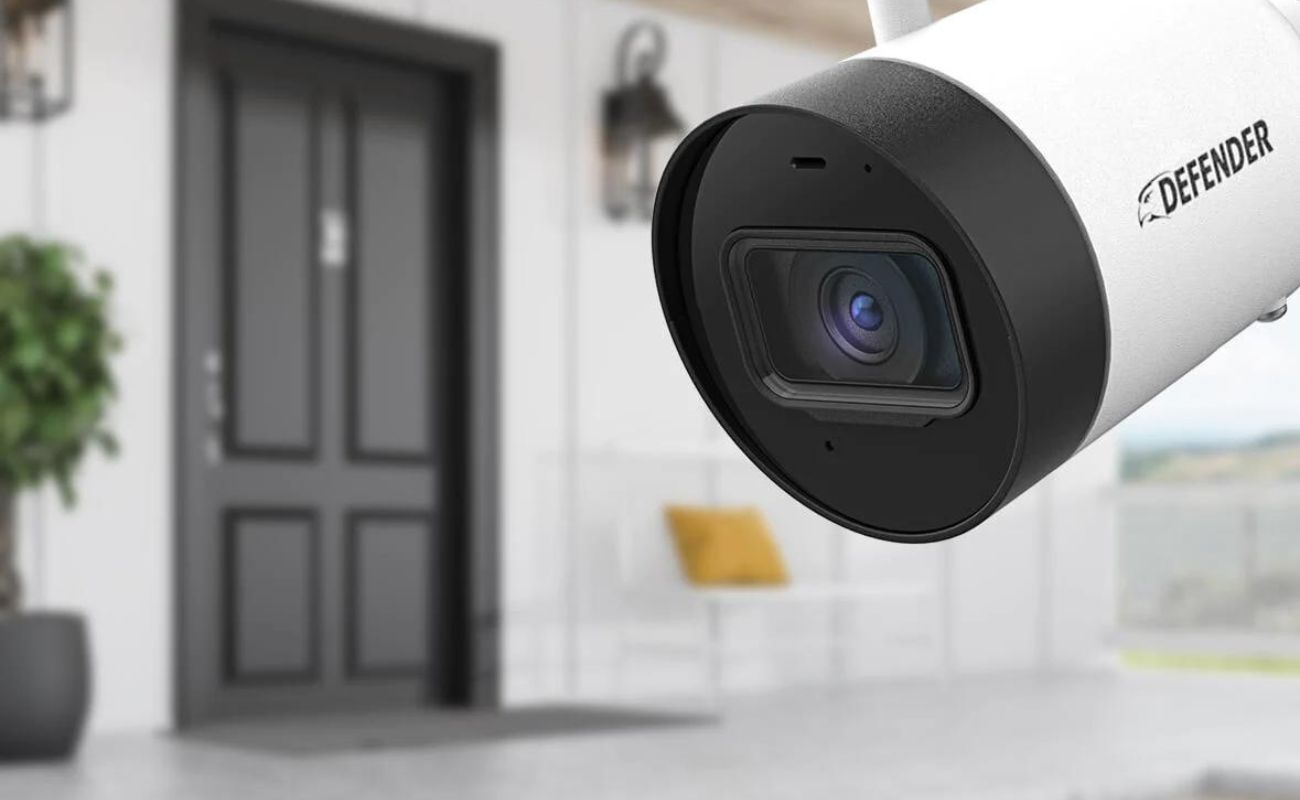
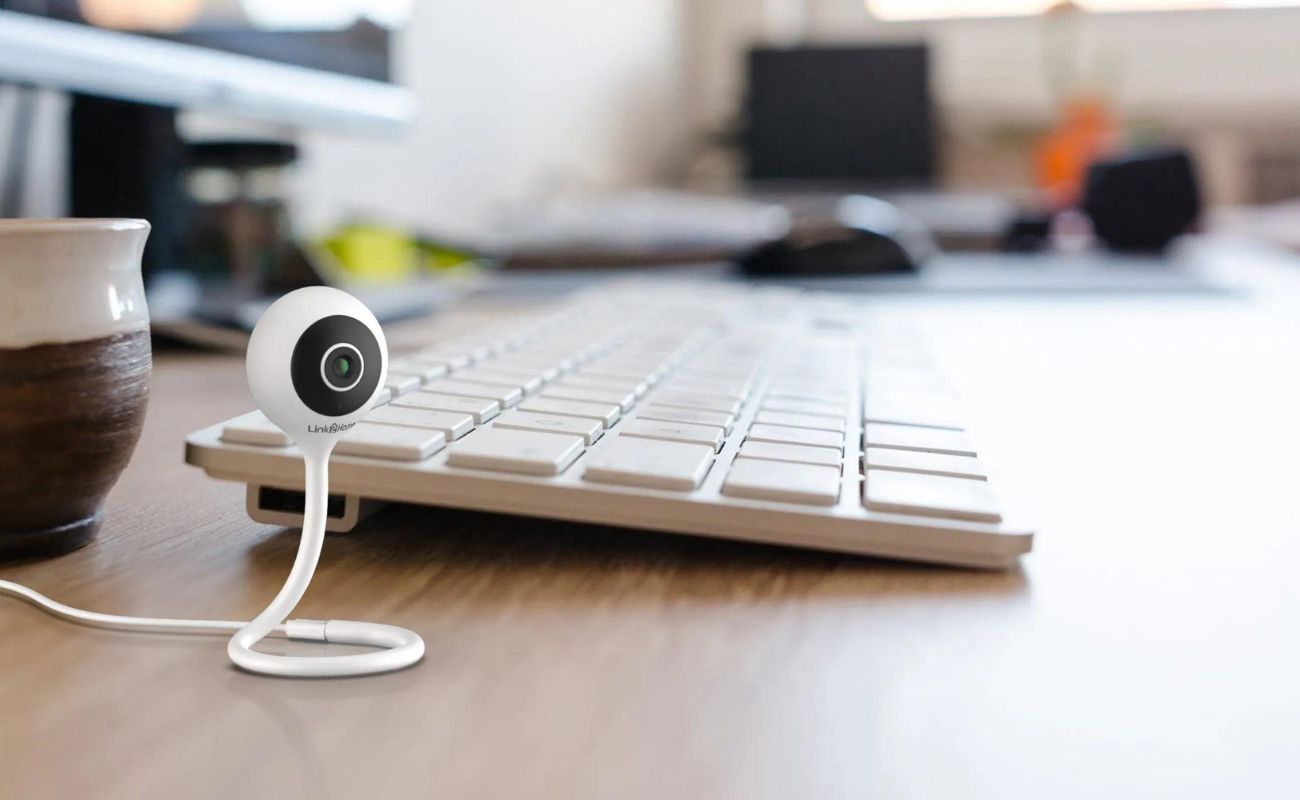
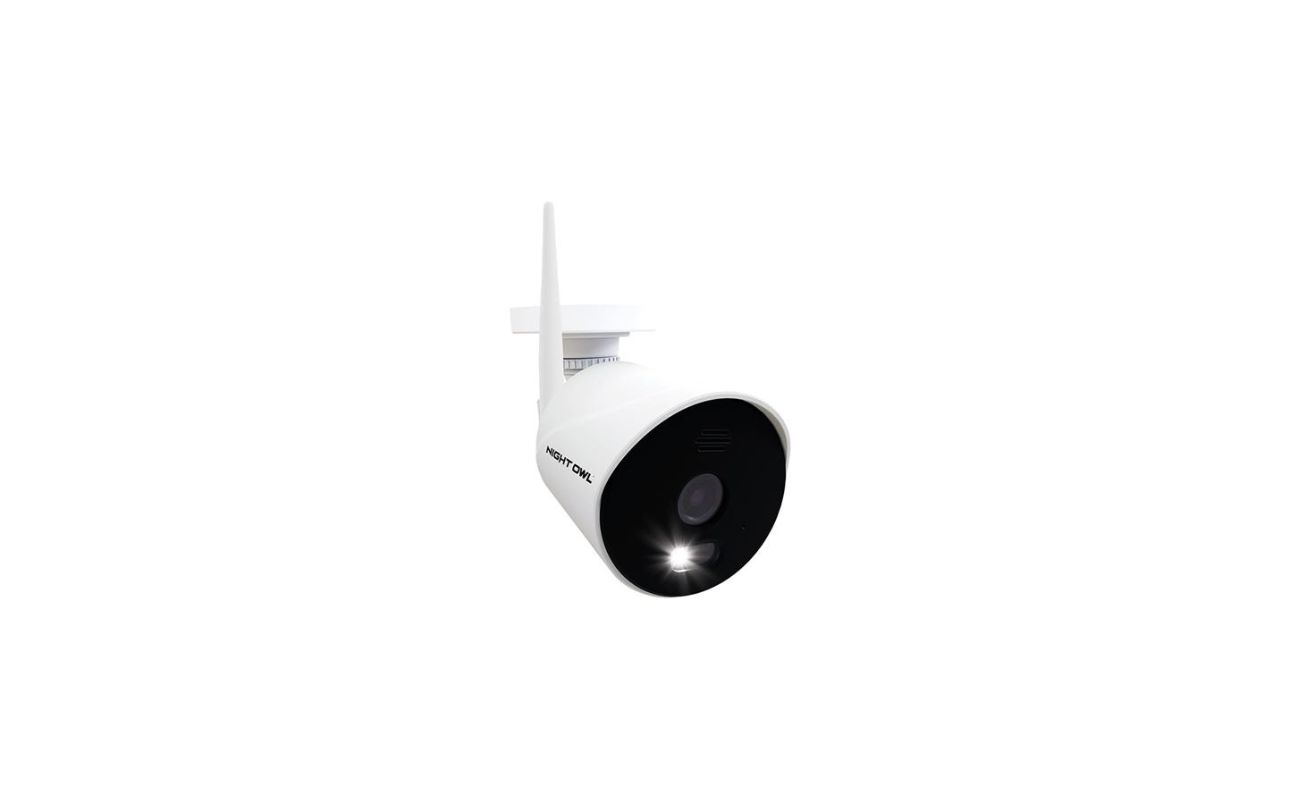
Welcome to our guide on how to set up Night Owl wireless security cameras. With the increasing need for home security and surveillance, wireless cameras are becoming a popular choice for homeowners. They provide flexibility, ease of installation, and the ability to monitor your property from anywhere at any time.
Night Owl is a trusted brand in the home security industry, offering a range of wireless security camera systems with advanced features to enhance your peace of mind. In this article, we will walk you through the step-by-step process of setting up your Night Owl wireless security cameras, ensuring that you can protect your home and loved ones effectively.
Before we dive into the setup process, let’s take a moment to go over some benefits of using Night Owl wireless security cameras:
- Flexibility: Wireless cameras provide the flexibility to place them anywhere within range of your Wi-Fi network, ensuring optimal coverage of your property.
- Easy installation: Unlike traditional wired cameras, Night Owl wireless cameras require minimal wiring and can be installed by homeowners without professional assistance.
- Remote monitoring: With Night Owl’s mobile app, you can easily monitor the live feed from your cameras, receive notifications for any motion detection, and even playback recorded footage.
- Advanced features: Night Owl offers a variety of advanced features such as night vision, two-way audio, and motion detection to enhance the security and surveillance capabilities of their cameras.
- Expandability: Night Owl camera systems are expandable, allowing you to add more cameras as needed to cover additional areas of your property.
Now that we understand the benefits of using Night Owl wireless security cameras, let’s move on to the step-by-step process of setting them up to ensure your home is protected.
Key Takeaways:
- Setting up Night Owl wireless security cameras is easy and flexible, allowing you to monitor your property from anywhere. With simple steps like mounting, connecting, and testing, you can enhance your home security effortlessly.
- Night Owl wireless security cameras offer advanced features like motion detection and remote monitoring, providing peace of mind for homeowners. The setup process involves gathering equipment, mounting cameras, and configuring settings for optimal performance.
Step 1: Gathering the necessary equipment
Before you begin setting up your Night Owl wireless security cameras, it’s essential to gather all the necessary equipment. This will ensure a smooth and efficient installation process. Here are the items you will need:
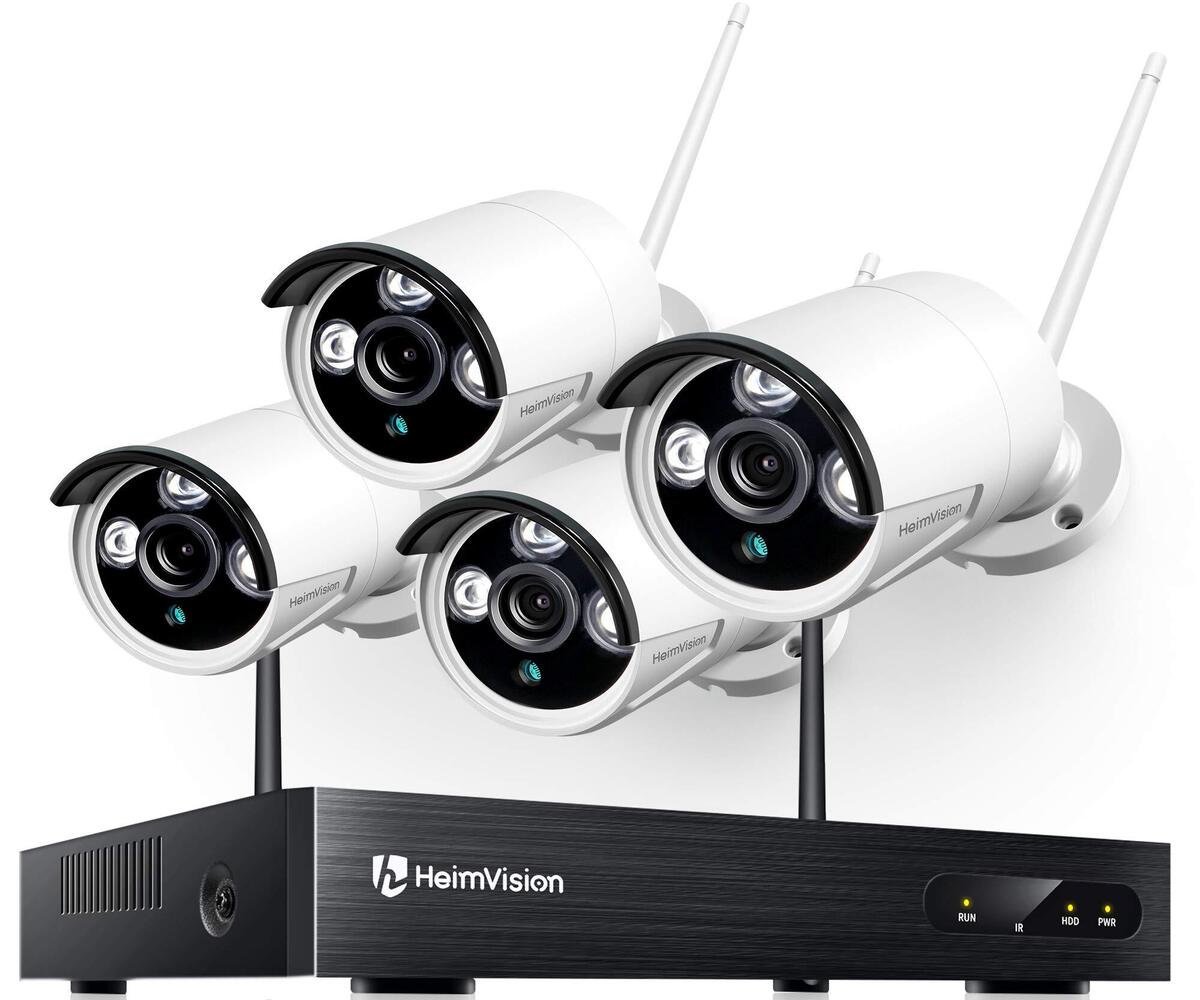
- Night Owl wireless security cameras: Depending on your needs, select the appropriate number of wireless cameras for your home. Night Owl offers various camera models, each with its own features and specifications.
- Wireless receiver: This is the central hub that connects to your Wi-Fi network and receives the live feed from the wireless cameras.
- Power adapters: Night Owl cameras require power to operate. Make sure you have enough power adapters to supply each camera with electricity.
- Ethernet cable: You will need an Ethernet cable to connect the wireless receiver to your router during the setup process.
- Smartphone or computer: You will use either a smartphone or a computer to access the Night Owl mobile app or software for camera configuration and monitoring.
- Drill and screws: Depending on where you plan to mount the cameras, you may need a drill and screws to secure them in place.
- Optional: External hard drive or cloud storage: If you want to store and access recorded footage, you can consider investing in an external hard drive or subscribing to a cloud storage service.
Once you have gathered all the necessary equipment, ensure that each item is in working order and that you have the correct quantity for your installation. This will help prevent any delays or difficulties during the setup process.
With the equipment ready, you’re now prepared to move on to the next step: mounting the cameras.
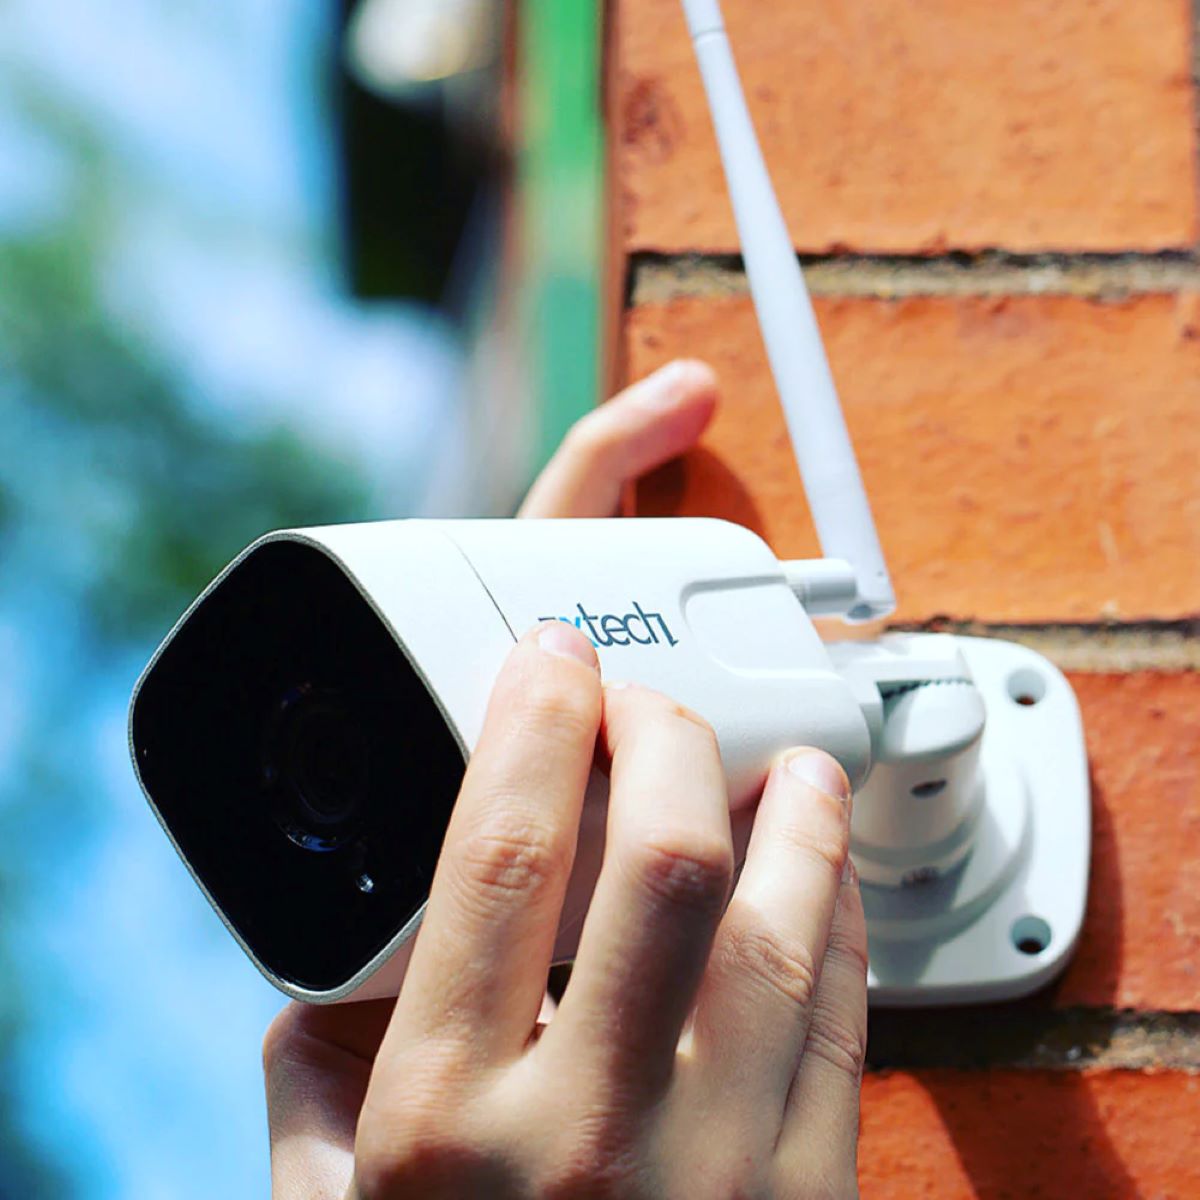
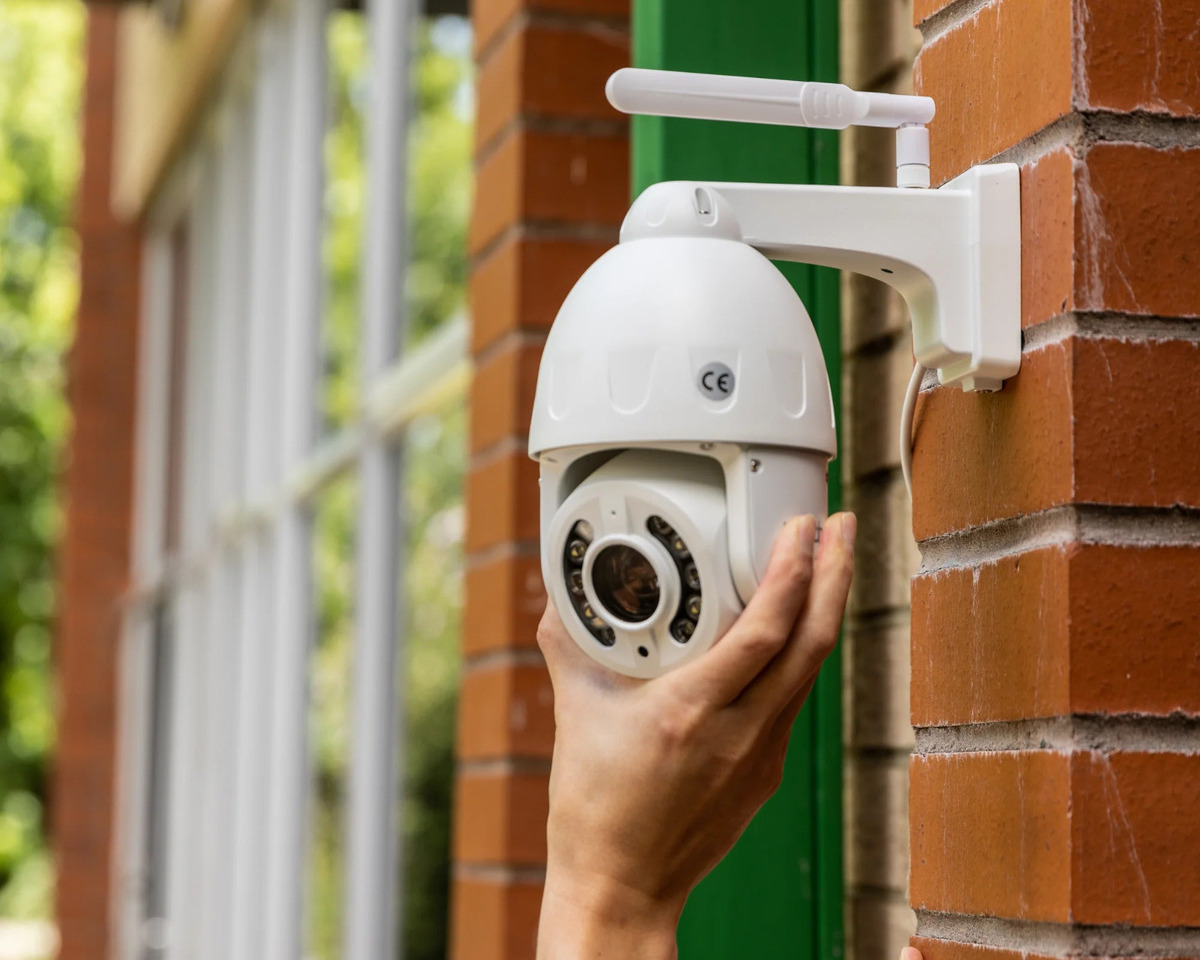
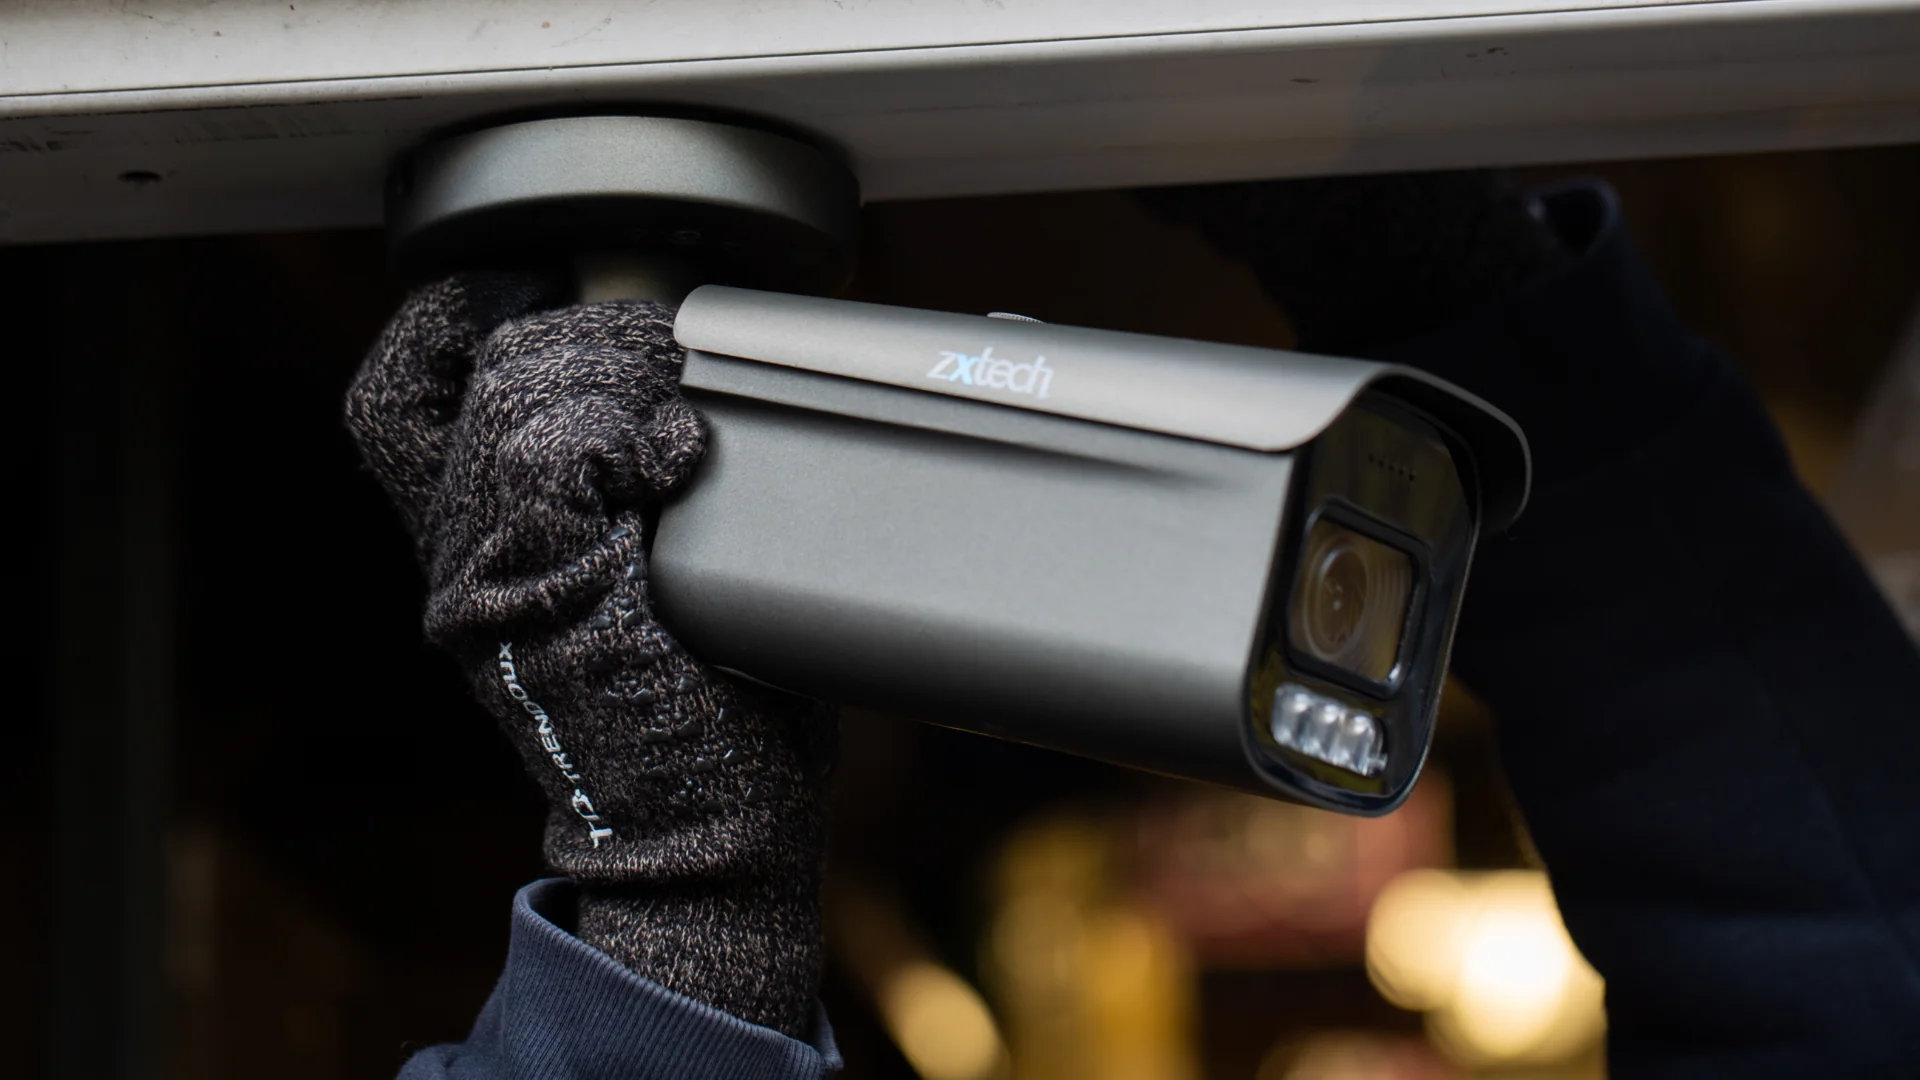
Step 2: Mounting the cameras
Mounting your Night Owl wireless security cameras is a crucial step in the setup process. Proper placement of the cameras ensures optimal coverage of your property and enhances their effectiveness as a deterrent against intruders. Here’s how to mount the cameras:
- Survey your property: Take a walk around your property to determine the best locations for the cameras. Consider areas such as entrances, driveways, backyard, and any other vulnerable points.
- Choose mounting positions: Once you’ve identified the areas, select suitable mounting positions for each camera. It’s essential to choose spots that offer a clear view of the intended coverage area.
- Place the mounting brackets: Using the drill and screws, attach the mounting brackets to the selected spots. Ensure that they are securely fastened and can support the weight of the cameras.
- Attach the cameras: Depending on the camera model, either attach the cameras directly to the mounting brackets or use any additional attachments provided. Follow the manufacturer’s instructions for proper installation.
- Adjust camera angles: Once the cameras are attached, adjust their angles to ensure they are capturing the desired view. Tilt and pan the cameras as needed to cover the intended areas.
Remember, the goal is to achieve maximum coverage of your property while minimizing any blind spots. It’s recommended to test the camera angles before finalizing the mounting positions to ensure you’re capturing the desired areas.
It’s important to mention that while mounting the cameras, be mindful of any local regulations or restrictions regarding camera placement. Respect your neighbors’ privacy and ensure that the cameras are not pointing towards their properties.
Once you have successfully mounted all the cameras, you can proceed to the next step: connecting the cameras to the power source.
Step 3: Connecting the cameras to the power source
Now that your Night Owl wireless security cameras are securely mounted, it’s time to connect them to a power source. The cameras require electricity to function properly. Here’s how to connect the cameras to the power source:
- Locate the power input: On each camera, locate the power input port. It is typically located on the back or bottom of the camera.
- Connect the power adapter: Take one end of the power adapter provided and plug it into the power input port of the camera. Ensure it is securely connected.
- Plug in the power adapter: Take the other end of the power adapter and plug it into a power outlet or a surge protector. Make sure the outlet is easily accessible and not obstructed.
- Repeat for all cameras: Repeat the above steps for each camera you have mounted, ensuring that each camera is connected to its respective power source.
It’s important to note that Night Owl wireless cameras do require a constant power source to operate. Therefore, it’s crucial to choose a reliable power outlet or opt for a surge protector to protect the cameras from power surges.
If you’re using extension cords to connect the cameras to power sources, make sure they are of high quality and certified for outdoor use. Avoid running long cords across walkways or areas where they could pose tripping hazards.
Once all the cameras are connected to a power source, move on to the next step: setting up the Night Owl wireless security system.
When setting up Night Owl wireless security cameras, make sure to place them in areas with good Wi-Fi signal strength to ensure a reliable connection. Avoid obstructions and interference from other electronic devices for optimal performance.
Step 4: Setting up the Night Owl wireless security system
With the cameras mounted and connected to the power source, it’s time to set up the Night Owl wireless security system. This involves connecting the wireless receiver to your Wi-Fi network and configuring the system for remote access and monitoring. Follow these steps to set up the Night Owl system:
- Connect the wireless receiver: Using the provided Ethernet cable, connect one end of the cable to the Ethernet port on the back of the wireless receiver. Connect the other end to an available port on your Wi-Fi router.
- Power on the wireless receiver: Plug in the power adapter for the wireless receiver and turn it on. Allow the device to boot up and establish a connection with your Wi-Fi network.
- Download the Night Owl mobile app or software: Depending on your preference and device compatibility, download the Night Owl mobile app on your smartphone or the Night Owl software on your computer. The app and software can be found on the Night Owl website or in your device’s app store.
- Create a Night Owl account: Launch the Night Owl mobile app or software and create a new account if you don’t already have one. This account will be used to access your cameras remotely.
- Add the cameras to your account: Follow the prompts in the app or software to add the Night Owl cameras to your account. This typically involves scanning QR codes or entering unique device identification numbers (IDs) for each camera.
- Configure network settings: In the app or software, navigate to the network settings section and select your Wi-Fi network from the available options. Enter your Wi-Fi network password when prompted to establish a connection between the wireless receiver and your network.
- Complete the setup: Once the network connection is established, the app or software will guide you through the remaining setup steps, which may include firmware updates, camera naming, and additional configuration options.
By following these steps, you will complete the initial setup of your Night Owl wireless security system. The system will now be connected to your Wi-Fi network and ready for monitoring and configuration.
Now that the Night Owl wireless security system is set up, you can move on to the next step: configuring camera settings.
Read more: How To Set Up Wireless Security Camera
Step 5: Configuring camera settings
After setting up the Night Owl wireless security system, it’s important to configure the camera settings to ensure optimal performance and customize the features based on your preferences. Here’s how to configure the camera settings:
- Launch the Night Owl mobile app or software: Open the Night Owl mobile app on your smartphone or launch the Night Owl software on your computer.
- Log in to your Night Owl account: Sign in to your Night Owl account using the credentials you created during the setup process.
- Access the camera settings: Navigate to the camera settings section in the app or software. Here, you will have access to various options and configurations for each camera.
- Adjust video quality: Depending on your preferences and network capabilities, you can adjust the video quality settings for each camera. Higher video quality may result in increased bandwidth usage.
- Enable motion detection: Night Owl cameras offer motion detection functionality, allowing you to receive notifications when movement is detected. Enable and customize motion detection settings according to your needs.
- Set up recording schedules: You can set up specific recording schedules for each camera. This allows you to specify when you want the cameras to record footage, ensuring coverage during specific times of the day or week.
- Configure night vision settings: If your Night Owl cameras have night vision capabilities, you can adjust the night vision settings to enhance the visibility and clarity of footage captured in low-light conditions.
- Enable two-way audio (if available): Some Night Owl cameras offer two-way audio functionality, allowing you to communicate with individuals near the camera. Enable and configure this feature if desired.
- Explore additional settings: Night Owl cameras may have additional settings and features, such as privacy masking, digital zoom, or scheduled recording. Take the time to explore these options and customize them according to your needs.
Remember to save any changes or configurations you make in the app or software to apply them to your Night Owl cameras. By configuring the camera settings, you can optimize the performance and functionality of your security system.
Once you have completed configuring the camera settings, you’re ready for the final step: testing the cameras and monitoring the footage.
Step 6: Testing the cameras and monitoring the footage
With your Night Owl wireless security cameras set up and the camera settings configured, it’s time to test the cameras and start monitoring the footage. This step ensures that everything is functioning correctly and allows you to familiarize yourself with the monitoring process. Follow these steps to test the cameras and monitor the footage:
- Verify the camera feeds: Open the Night Owl mobile app or software and verify that you can see the live feeds from each camera. Ensure that the camera views are clear and aligned with the intended coverage areas.
- Trigger motion detection: Test the motion detection by walking in front of each camera or using an object to create movement within the camera’s field of view. Check if you receive motion detection notifications and if the cameras start recording footage as expected.
- Review recorded footage: Access the recorded footage in the app or software and review the clips. Verify the clarity and quality of the recorded footage, especially during different lighting conditions.
- Adjust camera positions if necessary: If you notice any blind spots or areas not sufficiently covered, consider adjusting the camera angles or mounting positions. Repeat the previous steps to ensure the changes are effective.
- Test remote access: If you plan to monitor your cameras remotely, such as when you’re away from home, test the remote access feature. Ensure that you can access the live feeds and recorded footage using the Night Owl mobile app or software on your smartphone or computer.
- Set up notifications (optional): If you want to receive notifications for specific events, such as motion detection or camera offline status, configure the notification settings in the Night Owl app or software.
- Perform periodic checks: As part of your ongoing security routine, periodically check the camera feeds and review recorded footage to ensure that the system is functioning properly. This will help you stay updated on any security incidents or events.
Testing the cameras and monitoring the footage reassures you that your Night Owl wireless security system is operational and provides you with the confidence that your property is protected. If you encounter any issues or notice areas that need improvement, don’t hesitate to troubleshoot or make necessary adjustments.
With the cameras tested and footage monitoring in place, you have successfully completed the setup of your Night Owl wireless security system. Enjoy the added security and peace of mind that comes with having a reliable surveillance system in your home.
Remember to refer to the Night Owl user manual or reach out to their support team if you encounter any challenges or have specific questions about the setup or operation of your wireless security cameras.
Conclusion
Congratulations! You have successfully completed the setup of your Night Owl wireless security cameras. By following the steps outlined in this guide, you have taken a significant step towards enhancing the security and surveillance of your home. The flexibility, ease of installation, and advanced features of Night Owl wireless cameras provide you with the ability to monitor your property and have peace of mind, whether you are at home or away.
Throughout the setup process, you have learned how to gather the necessary equipment, mount the cameras in strategic locations, connect them to a power source, configure the Night Owl wireless security system, and customize the camera settings to match your specific needs. By testing the cameras and monitoring the footage, you have ensured that everything is functioning correctly, allowing you to effectively monitor your property and respond to any security events.
Remember to periodically check the camera feeds and review recorded footage to stay updated on any security incidents. Also, take advantage of the remote access capabilities offered by Night Owl cameras, as they allow you to monitor your home even when you are away.
Lastly, don’t hesitate to consult the Night Owl user manual or reach out to their support team if you have any questions or require further assistance. They are there to help you optimize your experience with their wireless security cameras.
Thank you for choosing Night Owl and taking the proactive step to protect your home and loved ones. With your Night Owl wireless security cameras in place, you can rest easy, knowing that you have a reliable system to keep your home secure.
Now that you're all set with Night Owl wireless security cameras, why not dive deeper into optimizing your home environment? For those fascinated by the latest advancements in residential technology, our guide on smart home technology unveils the 12 best home automation systems poised to redefine comfort and efficiency in 2024. Ready to transform your living space into a seamless hub of modernity and convenience? Check out our detailed review.
Frequently Asked Questions about How To Set Up Night Owl Wireless Security Cameras
Was this page helpful?
At Storables.com, we guarantee accurate and reliable information. Our content, validated by Expert Board Contributors, is crafted following stringent Editorial Policies. We're committed to providing you with well-researched, expert-backed insights for all your informational needs.