Home>Home Security and Surveillance>How To Set Up Wireless Security NVR Kits
Home Security and Surveillance
How To Set Up Wireless Security NVR Kits
Modified: October 21, 2024
Learn how to easily set up wireless security NVR kits for your home security and surveillance needs. Ensure the safety of your property with our step-by-step guide.
(Many of the links in this article redirect to a specific reviewed product. Your purchase of these products through affiliate links helps to generate commission for Storables.com, at no extra cost. Learn more)
Introduction
Welcome to the world of wireless security NVR kits! In today’s modern age, keeping our homes and loved ones safe and secure has become a top priority. With the advancements in technology, home security systems have evolved significantly, providing us with more convenience and peace of mind.
Wireless security NVR (Network Video Recorder) kits are an innovative solution that combines advanced surveillance cameras with a wireless network to offer comprehensive protection for your home. Gone are the days of complicated wiring and cumbersome installations. Now, you can enjoy the benefits of a fully-functional security system without the hassle.
In this article, we will guide you through the process of setting up your wireless security NVR kit. Whether you are a seasoned DIY enthusiast or a newcomer to the world of home security, this step-by-step guide will help you navigate the setup process with ease.
Key Takeaways:
- Setting up a wireless security NVR system is easy and offers benefits like remote monitoring, expandability, and enhanced security features. It’s a reliable and user-friendly solution for home surveillance.
- Before setting up your wireless security NVR, consider factors like camera placement, internet connection, power supply, and privacy concerns. Ensuring proper security measures is crucial for protecting your privacy and preventing unauthorized access.
Read more: How To Set Up Wireless Security Camera
Understanding Wireless Security NVR Kits
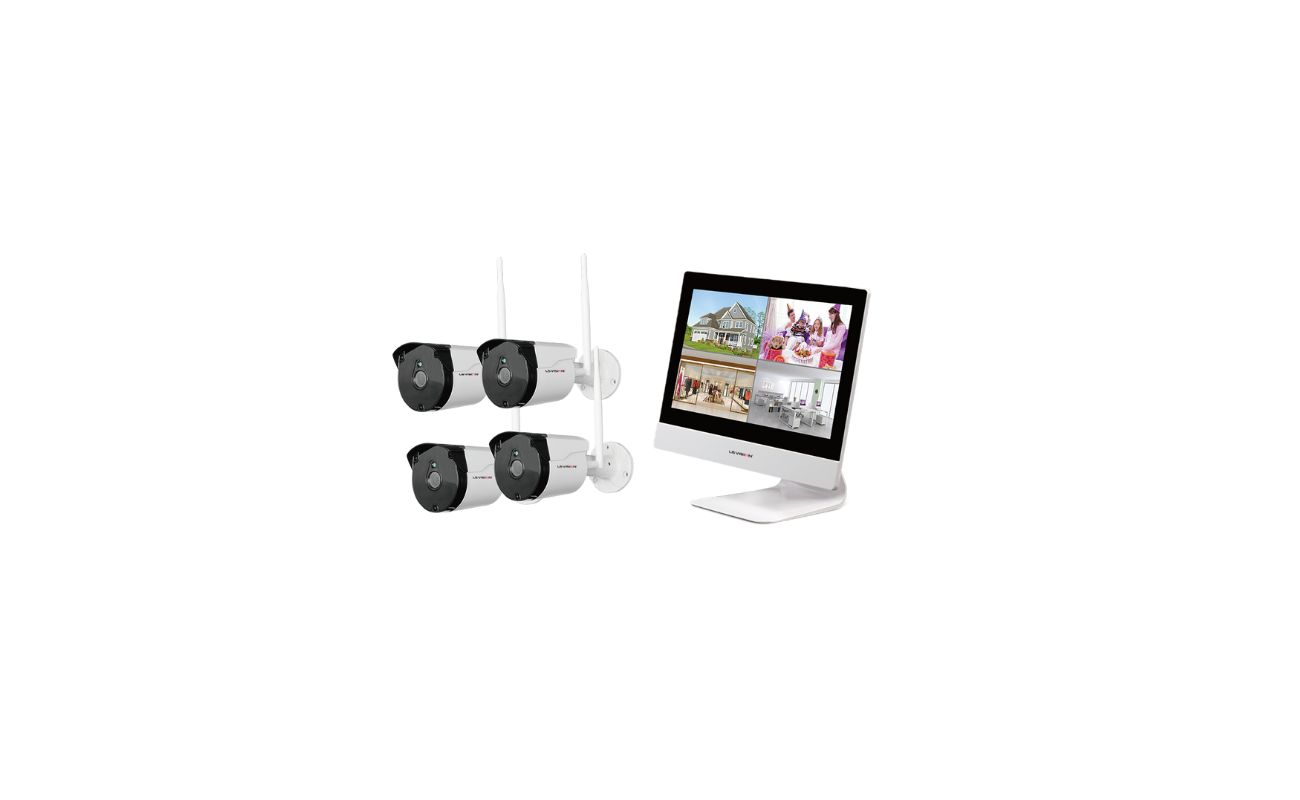
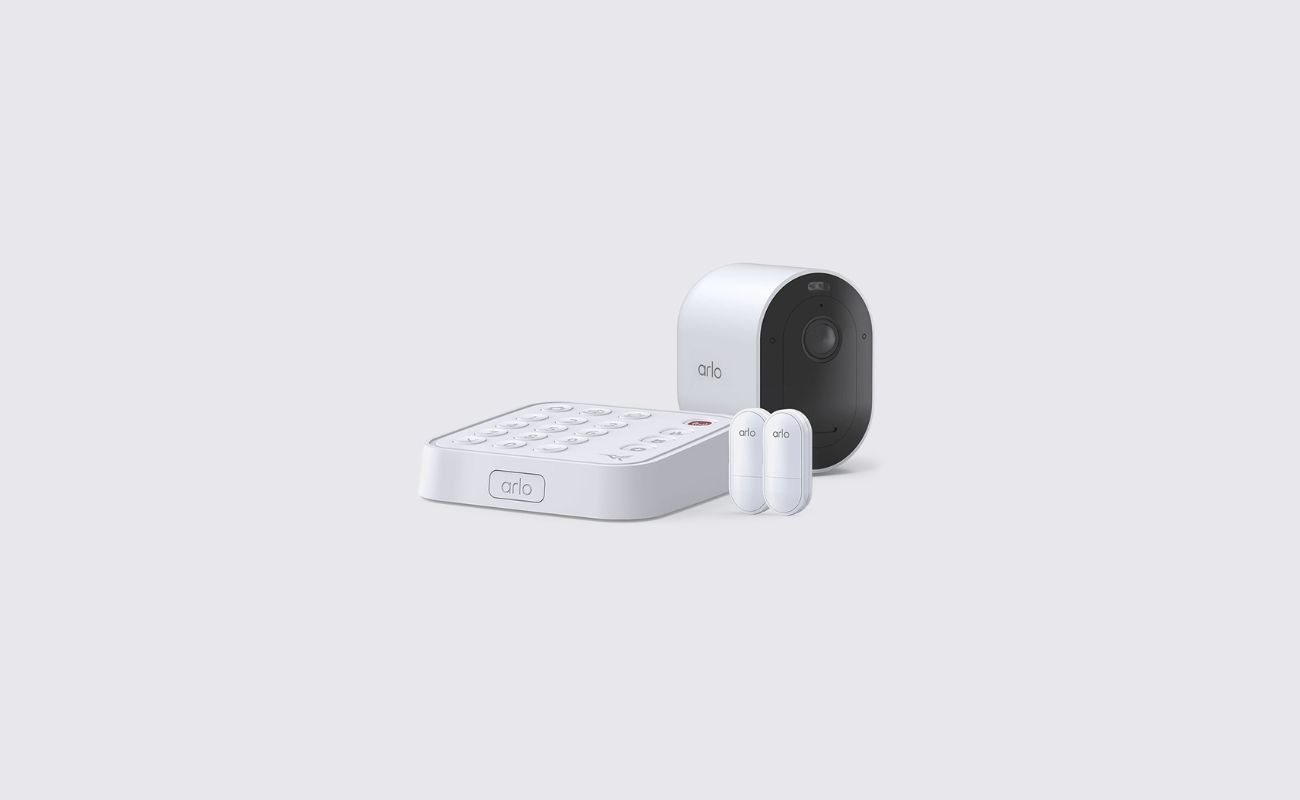
Before we dive into the setup process, let’s take a moment to understand what wireless security NVR kits are and how they work. A wireless security NVR kit consists of several components:
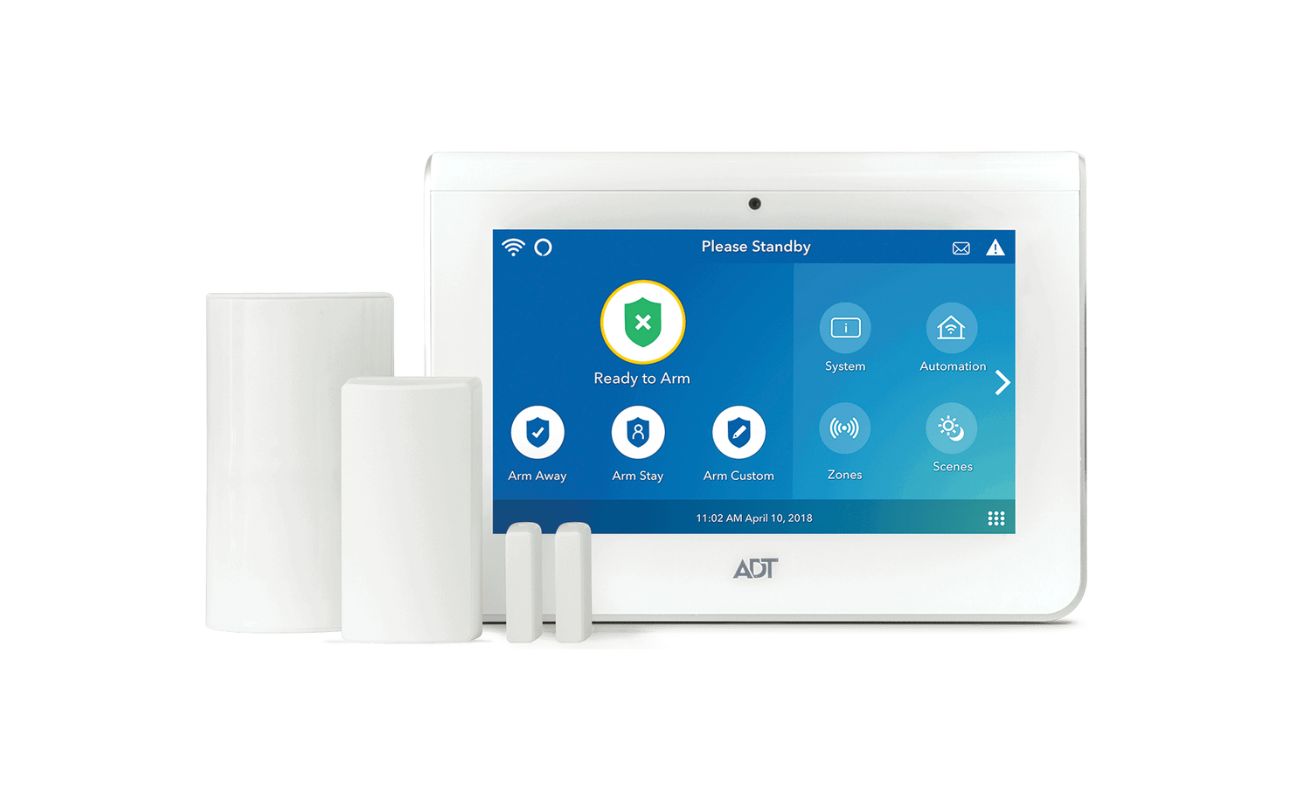
- Network Video Recorder (NVR): The central hub that receives video feeds from the cameras and records them onto a built-in hard drive.
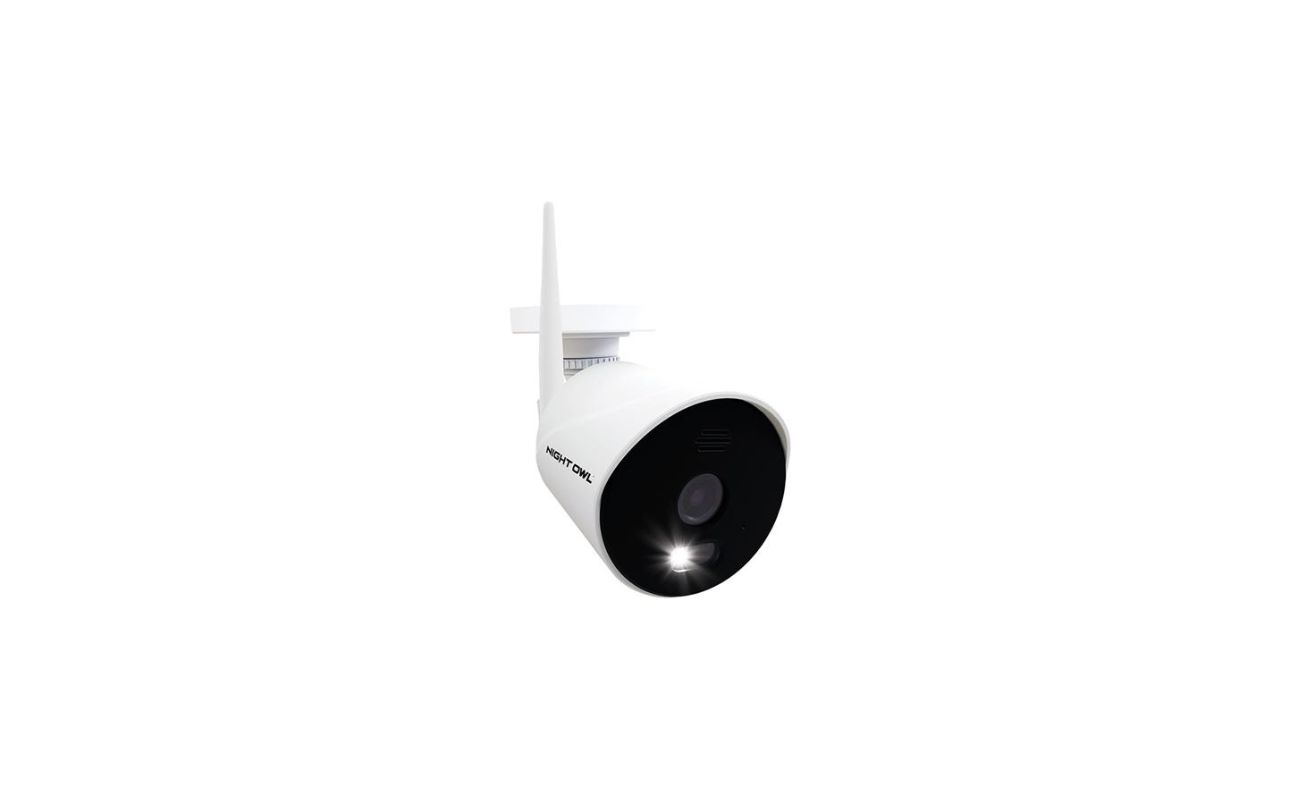
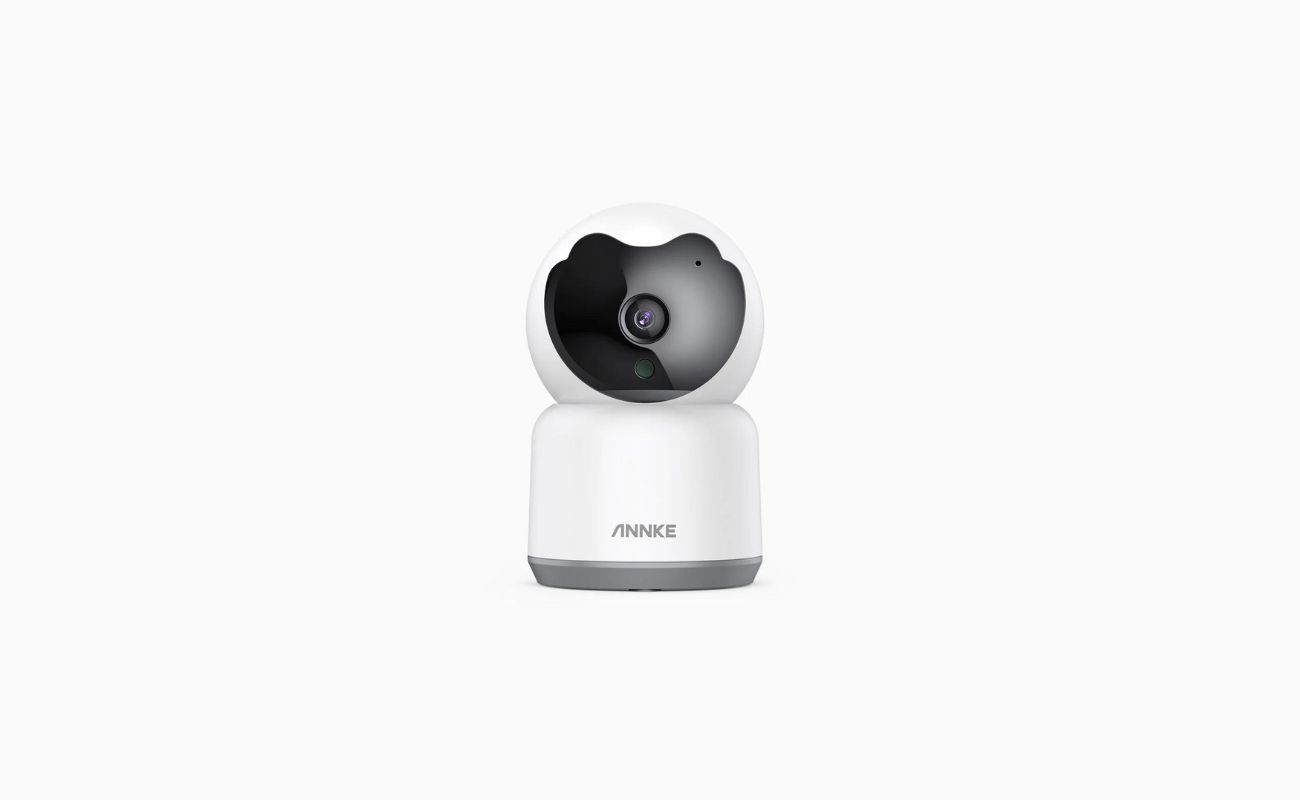
- Wireless Cameras: These cameras capture high-definition video footage and transmit it wirelessly to the NVR.
- Power Adapters: Each camera requires a power source to operate.
- Ethernet Cables: These cables may be required for initial setup and configuration purposes.
Now that you have a basic understanding of the components, let’s explore the benefits of using wireless security NVR kits for your home.
Benefits of Wireless Security NVR Kits
Wireless security NVR kits offer a range of benefits that make them an attractive choice for homeowners:
- Easy Installation: Unlike traditional wired systems, wireless NVR kits eliminate the need for extensive wiring, reducing installation time and complexity.
- Flexibility: Wireless cameras can be placed virtually anywhere within the range of the NVR. This allows you to cover all angles and areas of your property.
- Remote Monitoring: With a wireless NVR kit, you can access live camera feeds and recorded footage remotely using a smartphone, tablet, or computer. This provides you with real-time updates, no matter where you are.
- Expandability: Wireless NVR kits are scalable, meaning you can add more cameras to your system as your needs grow.
- Enhanced Security Features: Most wireless NVR kits come with advanced features such as motion detection, night vision, and two-way audio communication.
Now that you know the benefits of a wireless security NVR kit, let’s move on to the factors you should consider before setting one up for your home.
Key Takeaways:
- Setting up a wireless security NVR system is easy and offers benefits like remote monitoring, expandability, and enhanced security features. It’s a reliable and user-friendly solution for home surveillance.
- Before setting up your wireless security NVR, consider factors like camera placement, internet connection, power supply, and privacy concerns. Ensuring proper security measures is crucial for protecting your privacy and preventing unauthorized access.
Read more: How To Set Up Wireless Security Camera
Understanding Wireless Security NVR Kits
Wireless security NVR (Network Video Recorder) kits are an essential component of modern home surveillance systems. These kits utilize advanced technology to provide seamless wireless connectivity between the cameras and the central hub, allowing for convenient and effective monitoring of your property.
The heart of a wireless security NVR kit is the NVR itself. The NVR acts as the central hub, receiving video feeds from the cameras and recording them onto a built-in hard drive. It serves as the brain of the system, enabling you to access and manage the recorded footage.
Wireless security cameras in these kits are designed to capture high-definition video footage and transmit it wirelessly to the NVR. This eliminates the need for complicated wiring and allows for greater flexibility in camera placement. The cameras can be positioned anywhere within the range of the NVR, providing optimal coverage of your property.
Power adapters are an essential component of wireless security NVR kits. Each camera requires a power source to operate properly. These power adapters supply the necessary electricity to the cameras, ensuring uninterrupted surveillance.
Ethernet cables may also be included in the kit, primarily for initial setup and configuration purposes. These cables allow you to establish a wired connection between the NVR and your home router. While the kit is wireless, this wired connection may be required during the initial setup process to ensure smooth communication between the NVR and your home network.
Some wireless security NVR kits come with additional features such as built-in Wi-Fi capabilities. This allows the NVR to connect directly to your home network without the need for an Ethernet cable. However, it is important to note that the availability of this feature may vary depending on the specific NVR model.
Now that you have a better understanding of the components and functionality of wireless security NVR kits, let’s explore the benefits of using these kits for your home surveillance needs.
Benefits of Wireless Security NVR Kits
Wireless security NVR (Network Video Recorder) kits offer a range of benefits that make them an attractive choice for homeowners looking to enhance the security of their property. Here are some of the key advantages:
- Easy Installation: One of the most significant benefits of wireless security NVR kits is their easy installation process. Unlike traditional wired systems, which require extensive wiring, these kits eliminate the need for drilling holes and running cables throughout your property. With a wireless NVR kit, you can set up your system quickly and effortlessly.
- Flexibility in Camera Placement: Wireless security NVR kits provide you with the flexibility to position the cameras wherever you need them most. Since the cameras transmit video wirelessly to the NVR, you are not restricted by the length of cables. This allows you to strategically place the cameras in optimal locations, ensuring comprehensive coverage of your property.
- Remote Monitoring: Another significant advantage of wireless security NVR kits is the ability to remotely monitor your property. With these kits, you can access live camera feeds and recorded footage from anywhere using your smartphone, tablet, or computer. This feature offers convenience and peace of mind, allowing you to keep an eye on your home even when you are away.
- Expandability: Wireless NVR kits are designed with scalability in mind. Most kits allow you to add additional cameras to expand and customize your surveillance system according to your needs. This flexibility is especially beneficial if you have a larger property or want to increase the coverage of specific areas.
- Enhanced Security Features: Wireless security NVR kits often come equipped with advanced security features to enhance the protection of your home. These may include motion detection, night vision, two-way audio communication, and even integration with smart home systems. These features provide an added layer of security and allow you to respond quickly to potential threats.
- No Interruptions Due to Power Outages or Cable Disruptions: As wireless NVR kits rely on Wi-Fi connectivity and power adapters, they are not susceptible to power outages or disruptions caused by damaged cables. This ensures continuous surveillance and peace of mind, knowing that your security system remains operational even during challenging circumstances.
Wireless security NVR kits are a reliable, user-friendly, and effective solution for safeguarding your home. With their easy installation, flexibility in camera placement, remote monitoring capabilities, expandability, enhanced security features, and uninterrupted operation, these kits provide comprehensive protection for both small and large properties.
Now that you understand the benefits, let’s explore the factors you should consider before setting up your wireless security NVR kit.
Factors to Consider Before Setting Up
Before diving into the setup process of your wireless security NVR kit, there are several important factors to consider. These factors will ensure that you have a seamless and effective surveillance system in place for your home. Let’s explore them:
- Camera Placement: Take some time to assess the areas of your property that require surveillance. Determine the optimal camera placement to cover these areas effectively. Consider factors such as entrances, windows, driveways, and blind spots. Ensure that the chosen locations have a strong Wi-Fi signal and are within the range of the NVR.
- Internet Connection: A stable and reliable internet connection is crucial for wireless security NVR kits. Ensure that your home network has sufficient bandwidth to support the number of cameras and the recording and streaming capabilities of the NVR. If your Wi-Fi signal is weak in certain areas, you may need to consider using Wi-Fi signal extenders or additional access points to strengthen the signal range.
- Power Supply: As wireless security cameras require power to operate, it is essential to consider the availability of power outlets near the desired camera locations. Ensure that each camera can be easily connected to a power source using the provided power adapters. You may need to use extension cords or consult an electrician if necessary.
- Storage Capacity: Evaluate the storage capacity of the NVR to accommodate your recording needs. The larger the hard drive capacity, the more footage you can store. Consider the number of cameras, the desired recording quality, and the duration of time you want to retain the recorded footage to determine the appropriate storage capacity for your needs.
- Privacy Concerns: Keep in mind any potential privacy concerns associated with the placement of your cameras. Be respectful of your neighbors’ privacy and comply with any local regulations regarding camera placement and surveillance practices.
- Upgradability: Consider the future scalability of your wireless security NVR system. If you anticipate expanding your surveillance coverage in the future or integrating additional features, ensure that the NVR and cameras are compatible with future upgrades.
By carefully considering these factors before setting up your wireless security NVR kit, you can optimize the effectiveness and usability of your home surveillance system. Now that you are familiar with these considerations, let’s move on to the step-by-step process of setting up your kit.
Step 1: Choosing the Right Location for Your NVR
Choosing the right location for your wireless security NVR (Network Video Recorder) is crucial for ensuring optimal performance and coverage of your surveillance system. The NVR serves as the central hub that receives and records video feeds from the cameras, so its placement plays a significant role in the overall effectiveness and functionality of your system. Follow these steps to choose the ideal location for your NVR:
- Consider Centralized Placement: Select a location that is relatively close to the area you want to monitor. This will ensure that the wireless signals from the cameras reach the NVR without any significant obstructions or signal degradation. A centralized location also helps to minimize the distance between the cameras, resulting in a stronger and more reliable wireless connection.
- Choose a Secure and Accessible Space: Look for a secure area to place your NVR, such as a locked utility room or a closet. This will protect it from tampering or unauthorized access. Additionally, ensure that the chosen location is easily accessible for maintenance purposes, such as checking connections or replacing hard drives.
- Ensure Proper Ventilation: NVRs generate heat during operation, so it’s crucial to place them in a well-ventilated area to prevent overheating. Avoid enclosing the NVR in a confined space or stacking it with other electronic devices that may obstruct airflow. Good ventilation will contribute to the longevity and reliability of your NVR.
- Consider the Noise Level: Some NVRs may emit a low hum or fan noise during operation. If possible, place the NVR in a location where the noise will not be disruptive, such as a basement or a utility room, away from living areas. This will help maintain a peaceful environment while still ensuring effective surveillance.
- Connectivity to Power and Network: It is essential to place the NVR near a power outlet so that it can be easily connected to the power supply. If your NVR requires a wired connection to your home network, consider the proximity to the router or available Ethernet ports. Alternatively, if your NVR has built-in Wi-Fi capabilities, ensure that it is placed within range of your home’s wireless network signal.
By carefully considering these factors, you can choose the most suitable location for your NVR, ensuring optimal performance and functionality of your wireless security NVR kit. Once you have determined the perfect location for your NVR, you can move on to the next step in the setup process: connecting the NVR to the power supply.
When setting up a wireless security NVR kit, make sure to change the default password for the NVR and the cameras to prevent unauthorized access to your system.
Step 2: Connecting the NVR to the Power Supply
After selecting the ideal location for your wireless security NVR (Network Video Recorder), the next step is to connect it to the power supply. The NVR requires a stable and uninterrupted power source to operate effectively. Follow these steps to ensure a proper power connection:
- Check the Power Requirements: Before connecting the NVR to the power supply, carefully read the manufacturer’s instructions or specifications to determine the specific power requirements of your NVR. This includes the voltage and current rating, as well as any additional considerations.
- Prepare the Power Adapter: Your wireless security NVR kit should come with a power adapter that matches the necessary power requirements. Plug one end of the power adapter into the designated power input port on the NVR. Ensure a secure connection.
- Connect the Power Adapter to a Power Outlet: Locate a nearby power outlet and plug the other end of the power adapter into it. Ensure that the outlet can provide a stable power supply and is not overcrowded with other devices. To avoid accidental disconnection, consider using a surge protector or a power strip with a built-in surge protector.
- Power On the NVR: Once the NVR is connected to the power supply, flip the power switch or press the power button, depending on the model. The NVR should power on and start initializing. Some NVRs may have LED indicators to indicate their power status, so familiarize yourself with the specific indicators for your NVR model.
- Confirm Power Connection: Double-check that the NVR is receiving power by verifying the LED indicators or checking the display, if applicable. Make sure there are no loose or disconnected cables that may disrupt the power supply.
By following these steps, you can ensure a proper and stable power connection for your wireless security NVR. Once the NVR is successfully connected to the power supply, you can proceed with the next step: connecting the cameras to the NVR wirelessly.
Step 3: Connecting Cameras to the NVR Wirelessly
Now that your wireless security NVR (Network Video Recorder) is powered on and ready, it’s time to connect the cameras to the NVR wirelessly. This step will establish the communication between the cameras and the NVR, allowing for seamless video transmission and recording. Follow these steps to connect the cameras:
- Access Camera Setup: On the NVR’s user interface or through the provided software, locate the camera setup or configuration section. This may vary depending on the specific NVR model or software interface.
- Prepare the Cameras: Prior to connecting the cameras, ensure that they are powered on and within range of the NVR’s wireless signal. If the cameras have batteries, make sure they are fully charged. Also, remove any protective covers or films that may obstruct the camera lenses.
- Pairing Process: In the camera setup section, initiate the pairing or syncing process. This will enable the NVR to detect and establish a connection with the cameras. Follow the instructions provided by the manufacturer to put the cameras in pairing mode, typically by pressing a specific button or following a specific sequence of actions. The cameras may emit a blinking light or an audible tone during pairing.
- Camera Detection: Once the cameras are in pairing mode, the NVR should start scanning for available cameras. Allow the NVR a few moments to detect and establish a connection with the cameras. This process may vary in duration, depending on the number of cameras and the distance from the NVR.
- Confirm Connection: After the NVR successfully detects the cameras, it will display their names or identification numbers on the user interface. Verify that each camera is listed and identified correctly. This ensures that the cameras are now connected wirelessly to the NVR.
By following these steps, you can establish a wireless connection between your cameras and the NVR. This seamless connection enables the NVR to receive live video feeds from the cameras and record the footage onto its hard drive. Once the cameras are successfully connected, you can proceed to the next step: configuring the network settings for remote access.
Step 4: Configuring Network Settings
Configuring the network settings of your wireless security NVR (Network Video Recorder) is an essential step in ensuring that your system is properly connected to your home network. This step allows for remote access to the surveillance system, enabling you to view live camera feeds and recorded footage from anywhere. Follow these steps to configure the network settings:
- Access the NVR Settings: Using the NVR’s user interface or provided software, navigate to the network settings section. This is typically located in the settings or configuration menu.
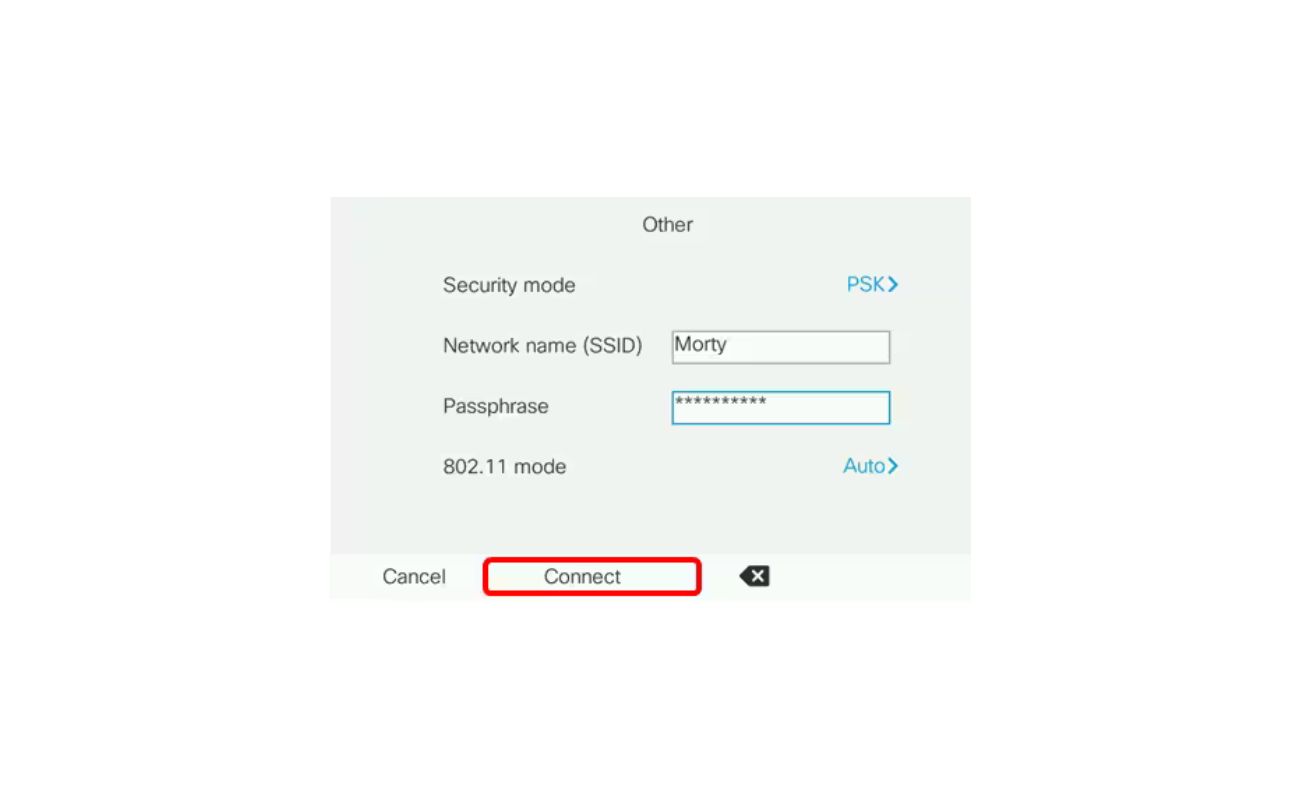
- Choose a Network Connection Method: Depending on your NVR model and network setup, you can choose between a wired or wireless network connection. If you opt for a wired connection, connect an Ethernet cable from the NVR’s Ethernet port to an available port on your home router. If you prefer a wireless connection, select your home Wi-Fi network from the list of available networks and enter the necessary credentials.
- Configure IP Address: The NVR may default to obtaining an IP address automatically via DHCP (Dynamic Host Configuration Protocol). However, if you prefer to assign a static IP address, you can configure it manually. Consult the NVR’s user manual or contact the manufacturer for specific instructions on setting a static IP address.
- Port Forwarding: To enable remote access to your surveillance system from outside your local network, you may need to set up port forwarding on your home router. Port forwarding allows incoming connections to reach the NVR through specific ports. Refer to your router’s manual or manufacturer’s website for instructions on how to configure port forwarding.
- Test the Connection: After configuring the network settings, test the connection by accessing your NVR remotely using a smartphone, tablet, or computer. Install the manufacturer’s designated app or software, enter the necessary login credentials, and verify that you can view live camera feeds and access recorded footage.
By following these steps, you can configure the network settings of your wireless security NVR, allowing for remote access to your surveillance system. This will enable you to monitor your property from anywhere, providing peace of mind and enhanced security. Now that you have successfully configured the network settings, let’s move on to the next step: setting up remote access to your surveillance system.
Step 5: Setting Up Remote Access
Setting up remote access to your wireless security NVR (Network Video Recorder) allows you to monitor your surveillance system from anywhere using a smartphone, tablet, or computer. This step ensures that you can view live camera feeds, playback recorded footage, and receive alerts remotely. Follow these steps to set up remote access:
- Install the Manufacturer’s App or Software: Check the manufacturer’s instructions or website for the dedicated app or software designed for your NVR. Download and install the app on your mobile device or the software on your computer. Ensure that you are using the latest version.
- Create an Account: Launch the app or software and create an account by providing the necessary information. This account will serve as your login credentials for remote access. Choose a strong, unique password to protect your account.
- Link the NVR to Your Account: Follow the instructions provided by the app or software to link your NVR to your newly created account. This may involve scanning a QR code or entering a unique device ID found on your NVR. Ensure that the NVR is powered on and connected to the internet.
- Configure Remote Access: Once the NVR is linked to your account, navigate to the remote access or settings section within the app or software. Enable remote access by following the provided instructions. This usually involves toggling a switch or entering a verification code.
- Test Remote Access: To ensure that remote access is working correctly, exit the app or software and connect to a different network, such as a mobile data network. Launch the app or software and log in using your account credentials. Verify that you can view live camera feeds and access recorded footage from your wireless security NVR.
By following these steps, you can easily set up remote access to your wireless security NVR, providing you with convenient access to your surveillance system from anywhere. Whether you are at work, on vacation, or simply away from home, you can stay connected and ensure the security of your property. Now that remote access is configured, let’s move on to the final step: ensuring proper security measures for your wireless security NVR system.
Step 6: Ensuring Proper Security Measures
Ensuring proper security measures for your wireless security NVR (Network Video Recorder) system is crucial to protect your privacy and prevent unauthorized access to your surveillance footage. By following these steps, you can enhance the security of your system:
- Change Default Passwords: Upon setup, change all default login credentials, including passwords, for your NVR, cameras, and any associated accounts. Choose strong and unique passwords that include a combination of letters, numbers, and special characters. Regularly update these passwords to maintain security.
- Enable Two-Factor Authentication: Two-factor authentication adds an extra layer of security to your accounts. Enable this feature if available, as it requires an additional verification step, such as entering a code sent to your mobile device, when logging in to your remote access accounts.
- Keep Firmware Updated: Regularly check for firmware updates for your NVR and cameras, and apply them promptly. Firmware updates often include bug fixes and security patches that address vulnerabilities and enhance system performance. Check the manufacturer’s website or app for updates.
- Secure Your Wi-Fi Network: Protect your home Wi-Fi network by using strong encryption, such as WPA2 or WPA3, and a unique network name (SSID). Change the default administrative credentials for your router, and consider using a guest network for your surveillance system to segregate it from your primary network.
- Enable Motion Detection: Utilize the motion detection feature available on your NVR and cameras to reduce unnecessary recordings and alerts. Adjust the sensitivity settings to minimize false alerts, ensuring that you receive notifications only when significant motion is detected.
- Encrypt Remote Access: If possible, enable encryption for remote access to your NVR system. This adds an extra layer of security by encrypting the data transmitted between your device and the NVR. Look for options such as SSL/TLS encryption in the app or software settings.
- Regularly Monitor and Review Footage: Stay vigilant by regularly monitoring and reviewing your surveillance footage. Be proactive in identifying any unusual or suspicious activities. If you notice any unauthorized access attempts or suspicious behavior, change your passwords immediately and contact customer support for assistance.
By following these steps, you can ensure proper security measures for your wireless security NVR system. Protecting your privacy and maintaining the integrity of your surveillance footage is essential for maintaining a secure and reliable home security system. With these security measures in place, you can enjoy peace of mind knowing that your property is well-protected.
Now that you have completed all the necessary steps, your wireless security NVR system is up and running. Take the time to familiarize yourself with the app or software features and customize them to suit your preferences. Enjoy the convenience of remote access and the peace of mind that comes with an effective and secure surveillance system.
If you encounter any issues or have any questions along the way, consult the user manual or reach out to the manufacturer’s support team for assistance. Happy monitoring!
Conclusion
Congratulations on successfully setting up your wireless security NVR (Network Video Recorder) system! You have taken a significant step towards enhancing the security and surveillance capabilities of your home. By following the step-by-step guide in this article, you have gained the knowledge and skills necessary to install, configure, and optimize your wireless security NVR kit.
Wireless security NVR kits offer numerous benefits, including easy installation, flexibility in camera placement, remote monitoring capabilities, expandability, enhanced security features, and uninterrupted operation. With these kits in place, you can enjoy peace of mind knowing that your property and loved ones are protected.
Remember to consider essential factors before setting up your wireless security NVR system, such as camera placement, internet connection, power supply, storage capacity, privacy concerns, and upgradability. These considerations will help customize your system to meet your specific needs and ensure its effectiveness.
During the setup process, you connected and powered up the NVR, connected the cameras wirelessly, configured network settings, set up remote access, and implemented proper security measures. These steps ensure seamless communication and accessibility to your surveillance system from anywhere, enhancing convenience and peace of mind.
To maintain the security and performance of your wireless security NVR system, remember to update firmware regularly, enable two-factor authentication, secure your Wi-Fi network, and regularly monitor and review footage. These practices will help protect your privacy, prevent unauthorized access, and maximize the capabilities of your system.
As technology continues to advance, your wireless security NVR system may evolve as well. Stay informed about new features, updates, and any additional security measures that may become available. This will help you continuously optimize your system and adapt it to changing needs and threats.
Now that you have completed the setup and optimization of your wireless security NVR system, take the time to familiarize yourself with its features and capabilities. Explore the app or software, customize settings to your preferences, and regularly check in on your live camera feeds and recorded footage.
Remember, a wireless security NVR system is just one layer of an overall comprehensive home security plan. Consider other security measures, such as motion sensor lighting, door and window sensors, and professional monitoring services, to further enhance the safety of your home and loved ones.
Thank you for investing in the security of your home and taking the time to set up your wireless security NVR system. With your newfound knowledge and an effective surveillance system in place, you can enjoy peace of mind and a greater sense of security for years to come.
Frequently Asked Questions about How To Set Up Wireless Security NVR Kits
Was this page helpful?
At Storables.com, we guarantee accurate and reliable information. Our content, validated by Expert Board Contributors, is crafted following stringent Editorial Policies. We're committed to providing you with well-researched, expert-backed insights for all your informational needs.