Home>Home Security and Surveillance>How To Set Up The Defender Or Wireless Security Cameras
Home Security and Surveillance
How To Set Up The Defender Or Wireless Security Cameras
Modified: October 27, 2024
Learn how to set up the Defender or wireless security cameras for your home surveillance needs. Enhance your home security and surveillance with step-by-step instructions and tips.
(Many of the links in this article redirect to a specific reviewed product. Your purchase of these products through affiliate links helps to generate commission for Storables.com, at no extra cost. Learn more)
Introduction
Welcome to the world of home security and surveillance! With the advancements in technology, it has become easier than ever to protect your home and loved ones. One of the most popular and effective ways to achieve this is by installing defender or wireless security cameras. These cameras provide round-the-clock surveillance, allowing you to keep an eye on your property and deter potential threats.
In this comprehensive guide, we will walk you through the steps of setting up defender or wireless security cameras in your home. Whether you are a tech-savvy individual or a newbie to the world of home security, this article will provide you with the knowledge and practical advice you need to get started.
Before we dive into the nitty-gritty details, let’s take a moment to understand what defender or wireless security cameras are.
Key Takeaways:
- Setting up defender or wireless security cameras involves understanding their features, choosing optimal locations, securely mounting them, connecting to power and network, configuring settings, testing functionality, and ongoing monitoring and management.
- Prioritize network security, keep cameras and firmware updated, and perform regular maintenance to ensure optimal performance and longevity. By following these steps, you can enhance the security of your home and gain peace of mind.
Step 1: Understanding the Defender or Wireless Security Cameras
Before you begin setting up your defender or wireless security cameras, it’s crucial to have a basic understanding of how they work and what features they offer. This knowledge will empower you to make informed decisions while setting up and configuring your cameras.
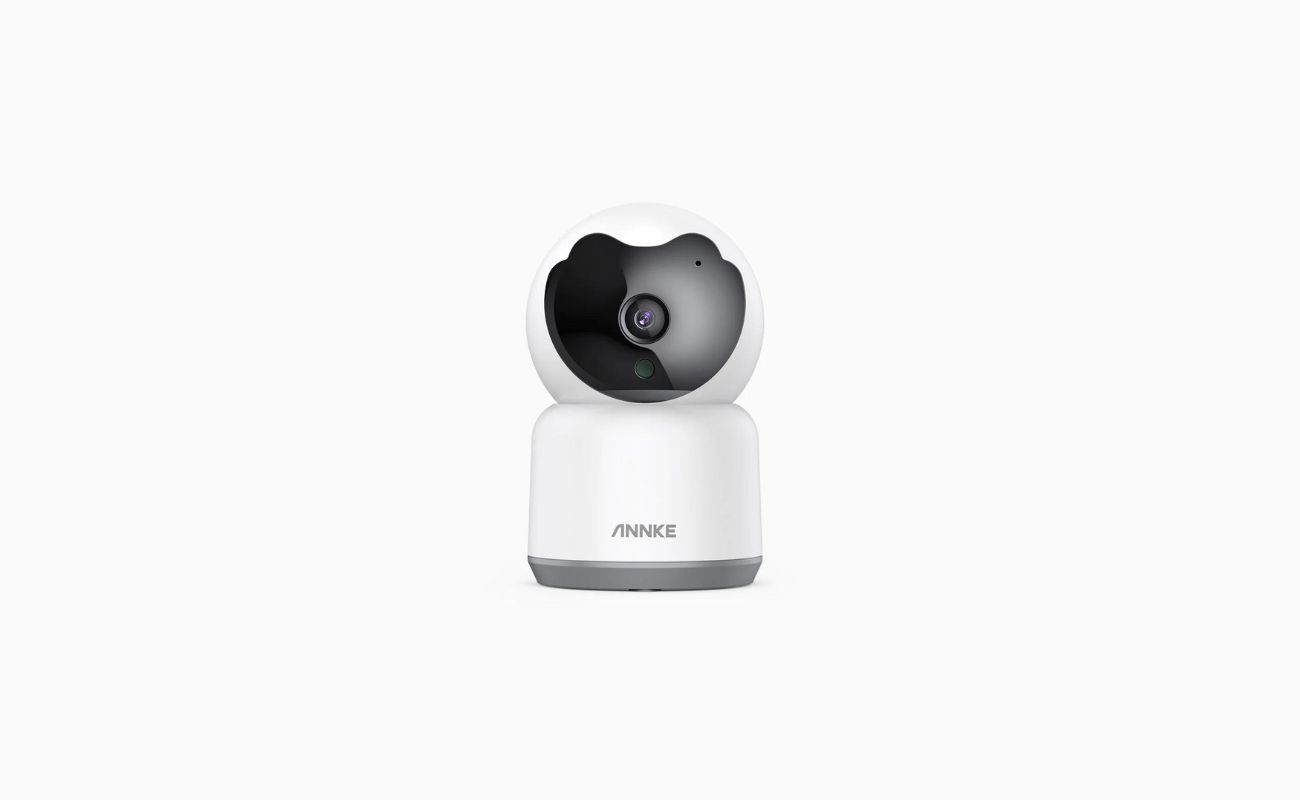
Defender or wireless security cameras are devices that capture and record video footage of your home or property. These cameras are connected wirelessly to your home network, allowing you to remotely monitor the live feed or access recorded footage from anywhere using a smartphone, tablet, or computer.
There are several key features to consider when choosing defender or wireless security cameras:
- Resolution: Look for cameras that offer high-definition (HD) video resolution, such as 1080p or higher, for clear and detailed footage.
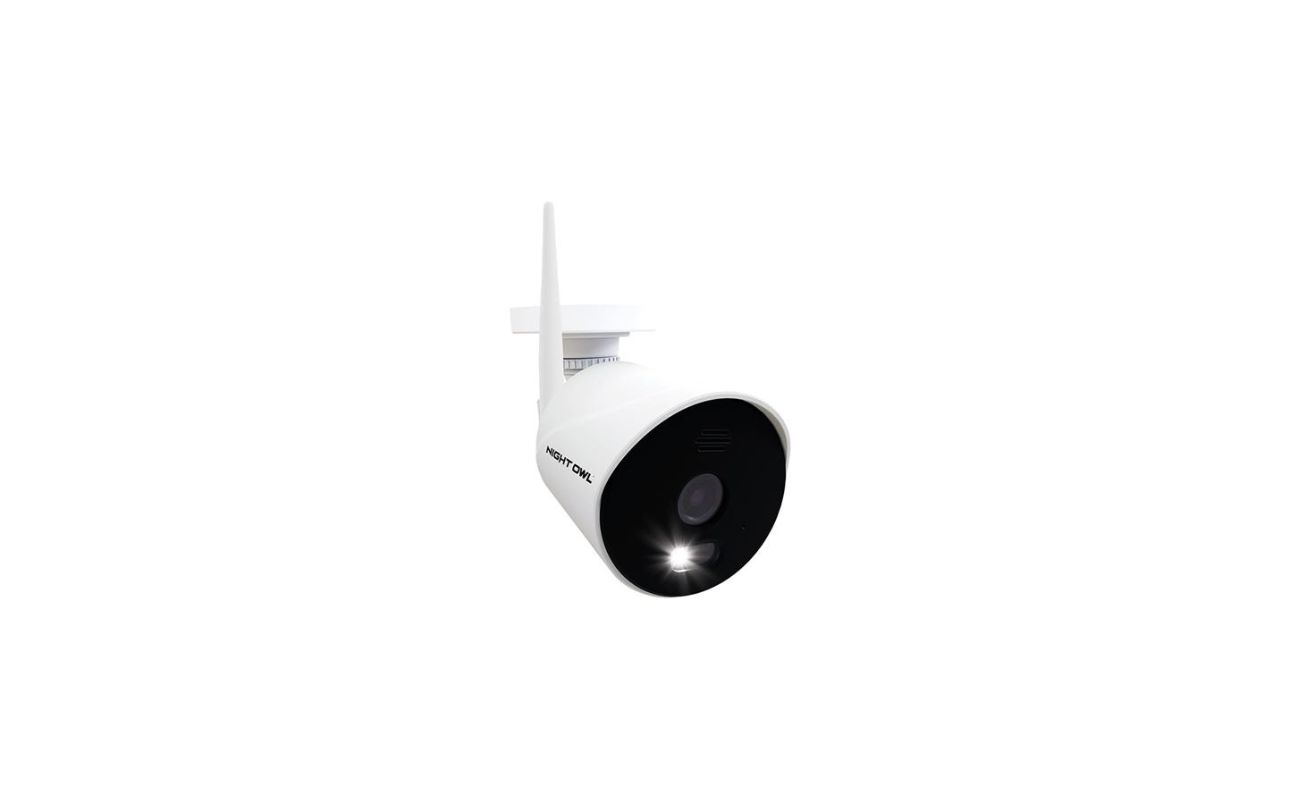
- Night Vision: Opt for cameras equipped with infrared (IR) LEDs, which enable clear video monitoring even in low-light or complete darkness.
- Field of View: Consider the camera’s field of view, which determines how much area it can cover. Wide-angle lenses or pan-tilt-zoom (PTZ) capabilities allow for greater coverage.
- Motion Detection: Look for cameras with built-in motion sensors that can detect movement and send real-time notifications to your mobile device.
- Cloud Storage: Consider cameras with cloud storage options, allowing you to save and access video footage securely in the cloud.
- Two-Way Audio: Some cameras offer the ability to communicate with people near the camera using a built-in microphone and speaker.
By understanding these features, you can choose defender or wireless security cameras that best suit your specific needs and preferences. Now that you have a basic understanding of these cameras, let’s move on to the next step: choosing the right location for your cameras.
Step 2: Choosing the Right Location for Your Cameras
Choosing the right location for your defender or wireless security cameras is crucial to ensure optimal coverage and effectiveness. Here are some factors to consider when selecting the placement for your cameras:
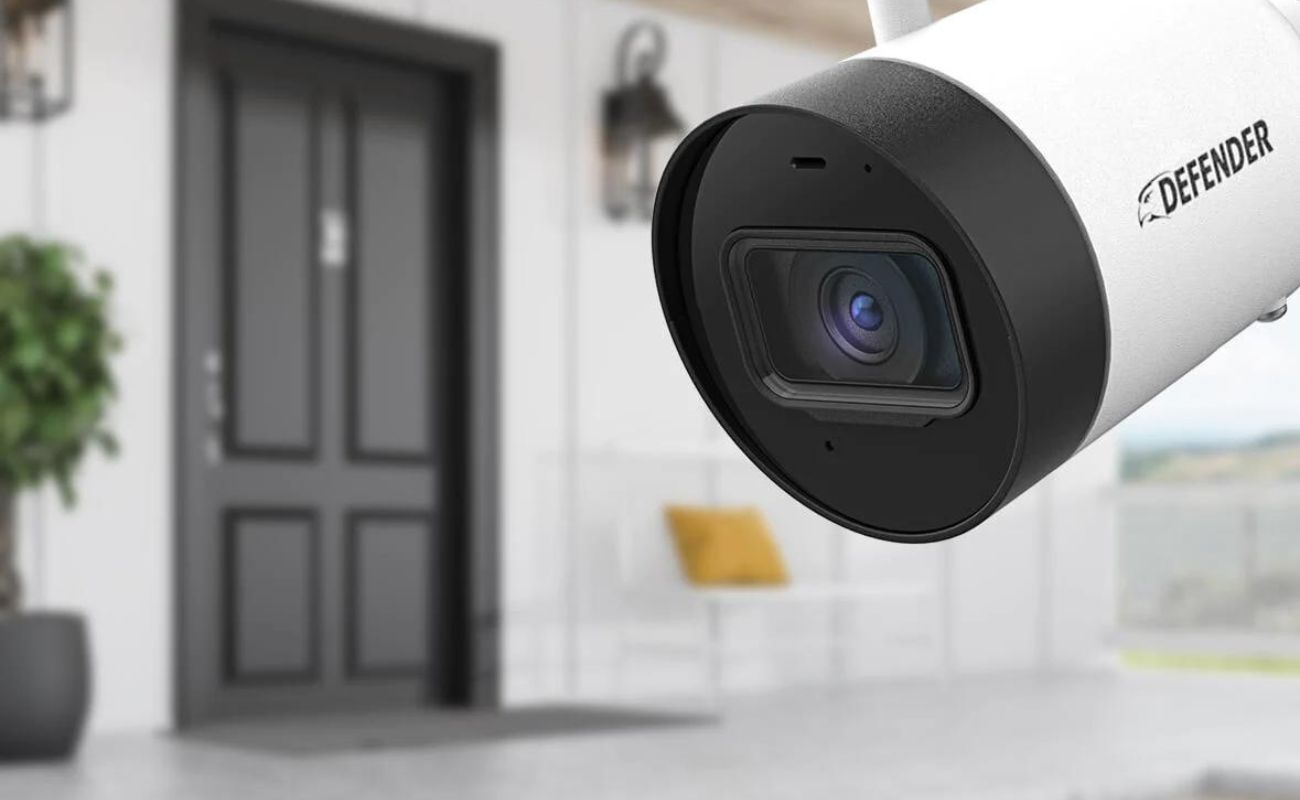
1. Entry Points: Identify the main entry points to your property, such as doors, windows, and garage doors. These areas are the most vulnerable and should be monitored closely. Consider placing cameras near these entry points to capture any suspicious activity.
2. High Traffic Areas: Look for areas with high foot or vehicle traffic, such as driveways, walkways, and common gathering spots. Placing cameras in these areas will help you monitor activities and identify any potential threats or intrusions.
3. Backyard and Outdoor Spaces: If you have a backyard or outdoor spaces, it’s essential to install cameras to cover these areas as well. Backyards are often targets for burglary or vandalism, so having cameras in these spaces adds an extra layer of security.
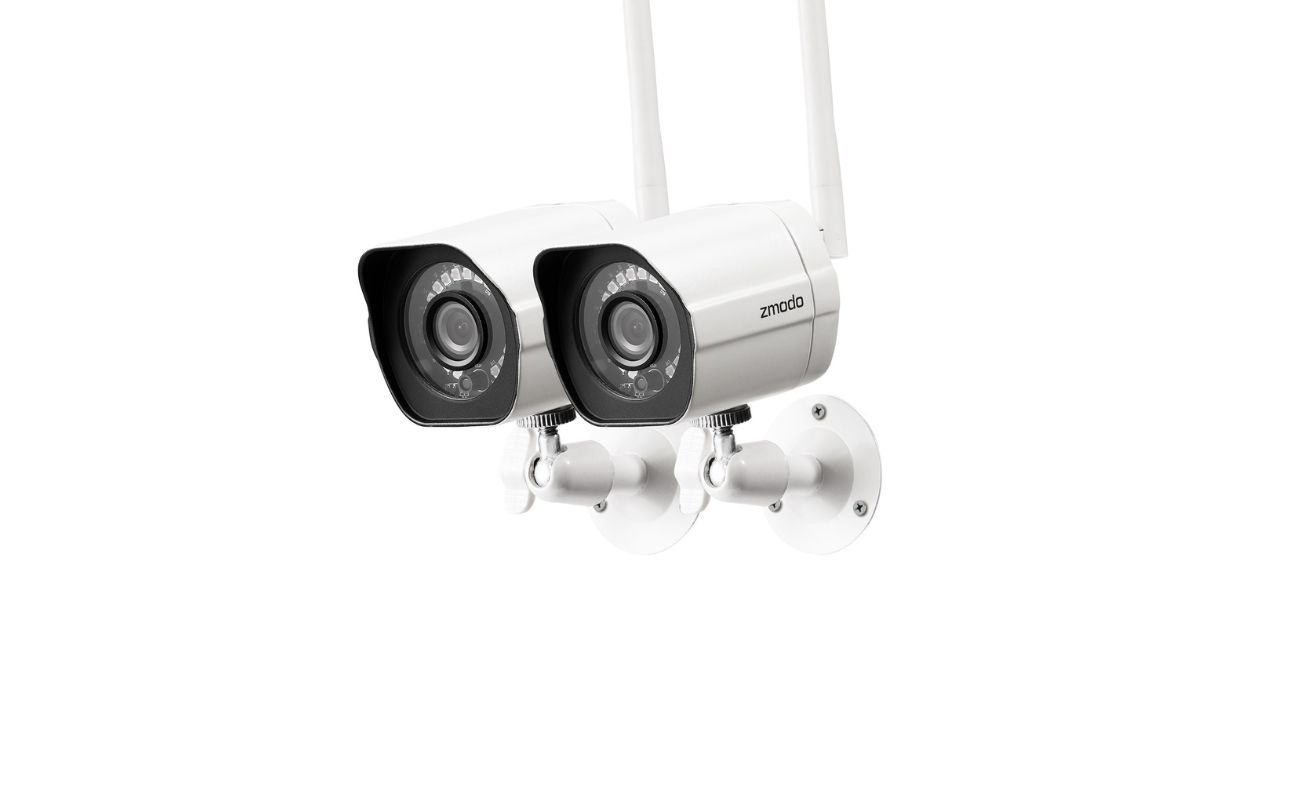
4. Exterior Walls: Consider mounting cameras on the exterior walls of your home, facing outward. This placement provides a wide view of the surroundings and acts as a deterrent to potential intruders.
5. Height and Angle: Mount the cameras at a height where they are not easily accessible or tampered with. Additionally, angle the cameras downward slightly to ensure optimal coverage and minimize blind spots.
6. Obstacles and Interference: Take note of any potential obstacles or sources of interference that might obstruct the camera’s view or affect the wireless signal. Clear away any obstructions and ensure a clear line of sight for the cameras.
7. Coverage Overlapping: Avoid leaving any areas without coverage. Make sure to position the cameras in a way that provides overlapping coverage, ensuring that all areas are monitored effectively.
Remember, the goal is to have comprehensive coverage of your home and property. Take a walk around your premises, assess the different areas, and strategically position your defender or wireless security cameras accordingly. Once you have finalized the locations, it’s time to move on to the next step: mounting the cameras.
Step 3: Mounting the Cameras
Now that you have chosen the ideal locations for your defender or wireless security cameras, it’s time to mount them. Proper mounting ensures stability and optimal positioning for effective surveillance. Here’s how you can mount your cameras:
1. Gather the necessary tools: Before you begin, make sure you have the necessary tools handy, such as a drill, screws, wall anchors, and a ladder (if needed).
2. Read the camera’s manual: Refer to the camera’s manual to understand specific instructions and recommendations for mounting. This will ensure that you follow the manufacturer’s guidelines and maintain the warranty and functionality of the camera.
3. Mark the mounting position: Use a pencil or marker to mark the exact position where the camera will be mounted. Double-check the alignment and levelness for a straight and balanced installation.
4. Drill pilot holes: Use a drill and appropriate bit size to drill pilot holes at the marked positions. Ensure that the holes are deep enough to accommodate wall anchors if needed.
5. Insert wall anchors (if required): If your mounting surface is drywall or has low load-bearing capacity, insert wall anchors into the pilot holes to provide stability and support for the screws.
6. Secure the mounting bracket: Attach the mounting bracket that came with the camera to the wall using screws or screws with wall anchors. Ensure that the bracket is securely fastened to prevent any movement or loosening over time.
7. Mount the camera: Depending on the type of camera, either attach it directly to the mounting bracket or use a separate mounting plate provided by the manufacturer. Follow the instructions in the manual to securely attach the camera to the bracket or mounting plate.
8. Adjust the camera: Once mounted, adjust the camera’s position and angle as needed to cover the desired area. Use the camera’s swivel or tilt mechanism to achieve the desired viewpoint.
9. Test the stability: Give the camera a gentle shake to ensure that it is securely mounted. It should not move or shift once properly mounted.
10. Repeat the process: Repeat the above steps for each camera you plan to install, taking care to maintain consistent heights and angles for a cohesive surveillance system.
Keep in mind that the specific mounting process may vary depending on the camera model and mounting surface. Always refer to the manufacturer’s instructions and guidelines for the most accurate and safe installation.
With the cameras securely mounted, you are one step closer to setting up a reliable and effective security system for your home. The next step is to connect the cameras to a power source.
Step 4: Connecting the Cameras to Power Source
Now that your defender or wireless security cameras are mounted, it’s time to connect them to a power source. Most security cameras require a constant power supply to function properly. Here’s how you can connect the cameras to a power source:
1. Determine the power source: Identify the nearest power outlet or electrical wiring point to each camera. It’s important to choose a power source that is convenient and accessible for the camera’s power cable.
2. Use the provided power adapter: Most defender or wireless security cameras come with a power adapter specifically designed for the camera. Connect the power adapter to the camera’s power input port.
3. Plug in the power adapter: Plug the power adapter into the power outlet or connect it to the electrical wiring. Ensure that the power supply is turned on and working properly.
4. Check for power indicator: Once the power adapter is connected, check for a power indicator light on the camera. This light indicates that the camera is receiving power and is ready for operation.
5. Manage power cables: Carefully manage the power cables to ensure they are not loose or dangling. Use cable clips or cable management solutions to secure and tidy up the cables along the mounting surface or walls.
6. Verify power supply stability: Check the stability of the power supply by observing the camera’s performance and responsiveness. If you notice any power-related issues, such as frequent disconnections or camera malfunctions, consider using a stable power source or consulting with a professional electrician.
Remember, it’s crucial to ensure a stable and constant power supply for your security cameras. Any interruptions in power can affect the camera’s functionality and compromise your home’s security. With the cameras successfully connected to a power source, you can now move on to the next step: connecting the cameras to your home network.
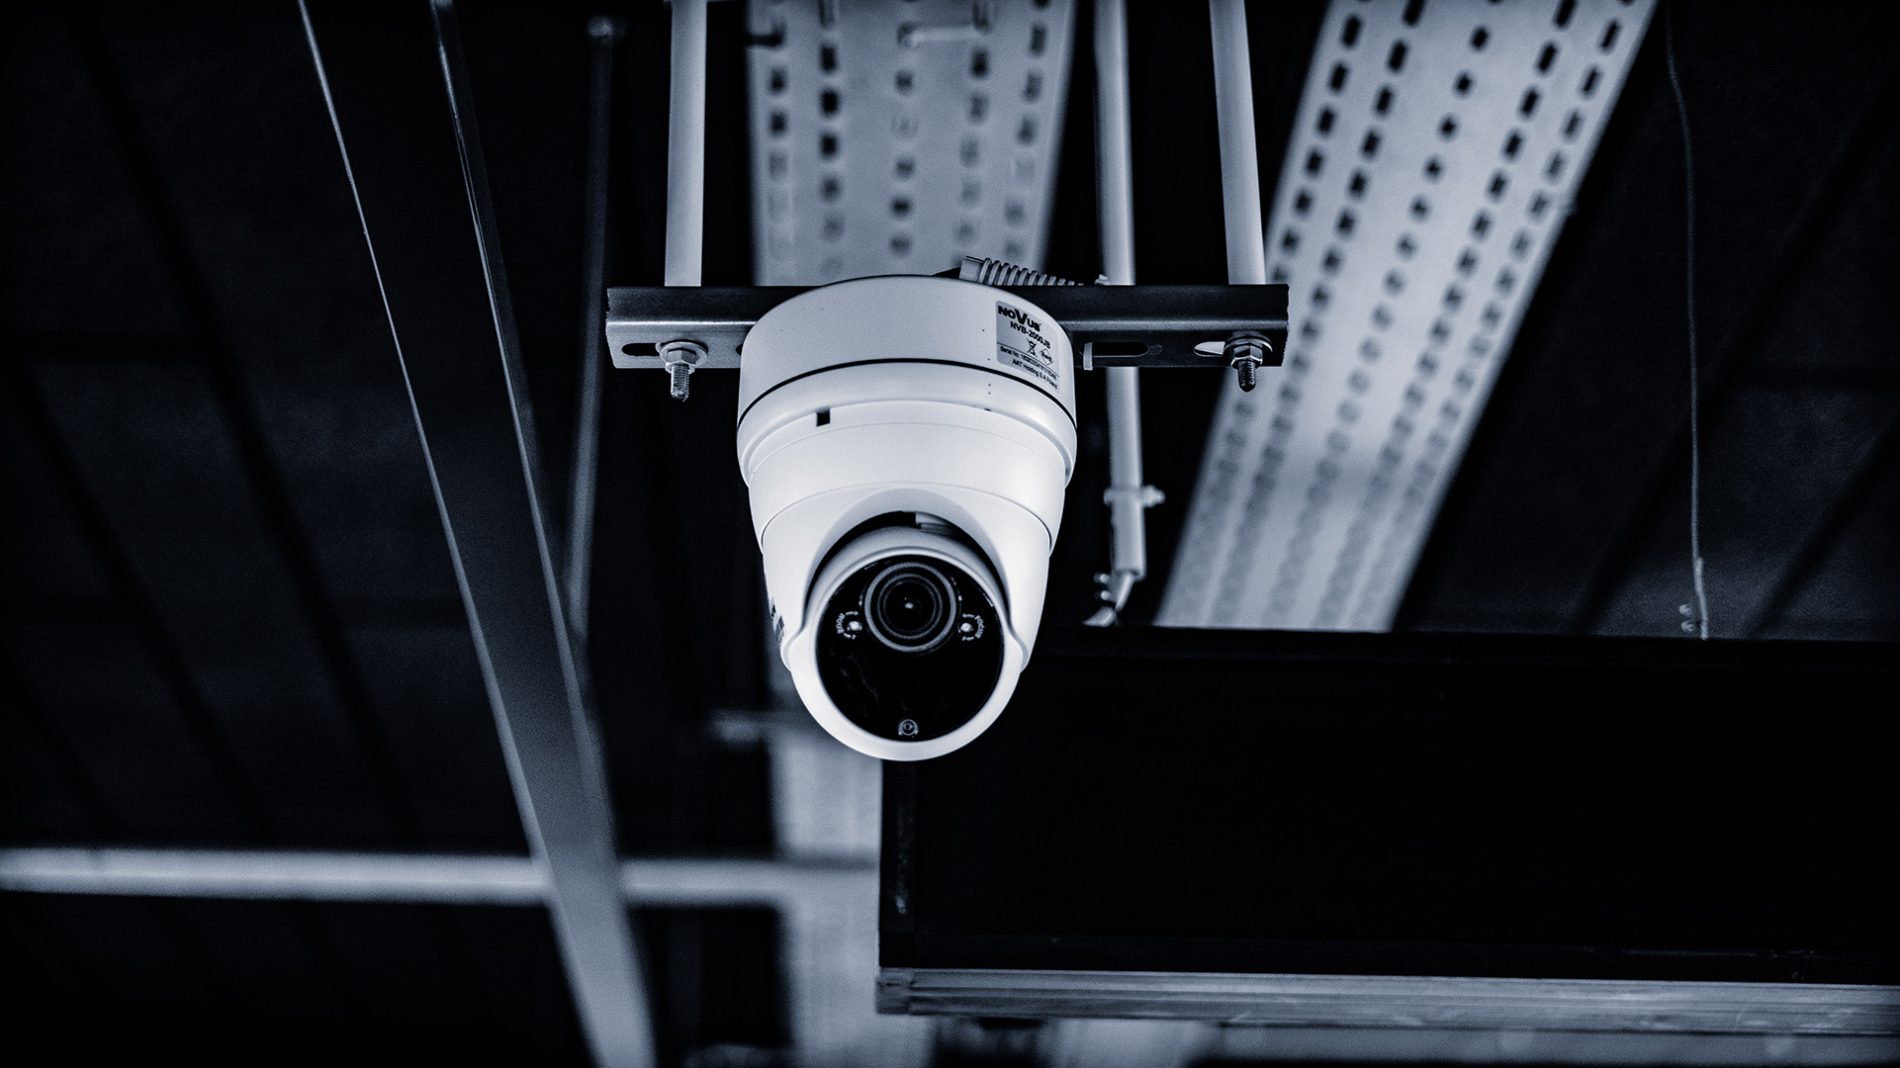
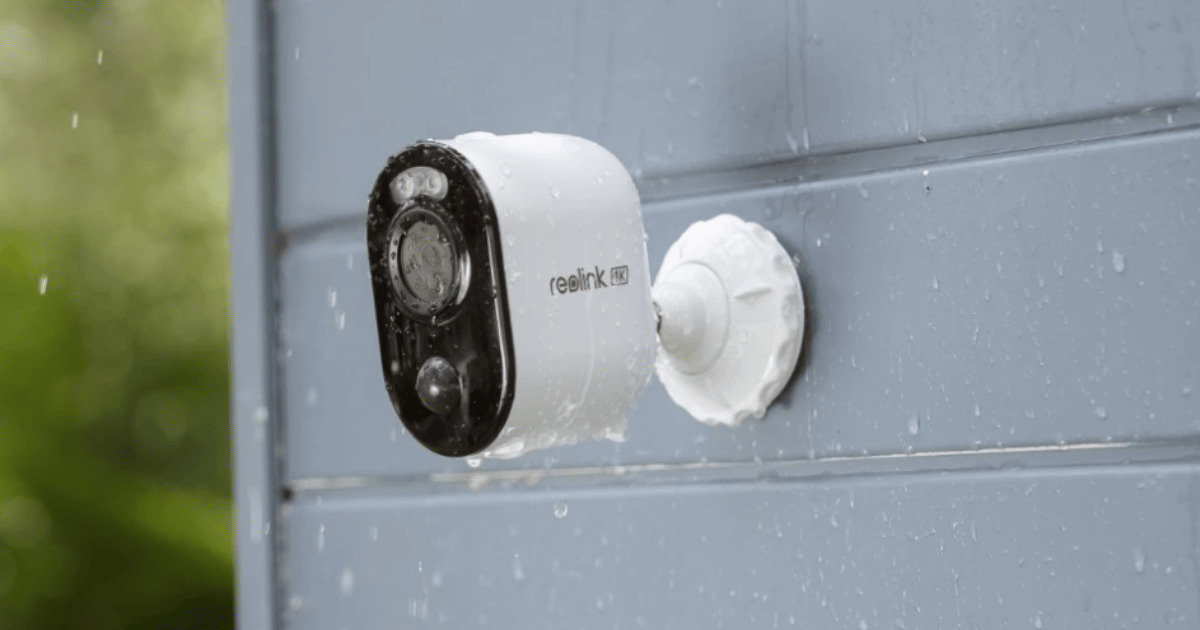
When setting up a defender or wireless security camera, make sure to position it high enough to avoid tampering, but low enough to capture faces. Also, ensure it has a clear view of entry points and important areas.
Read more: How To Set Up Wireless Security Camera
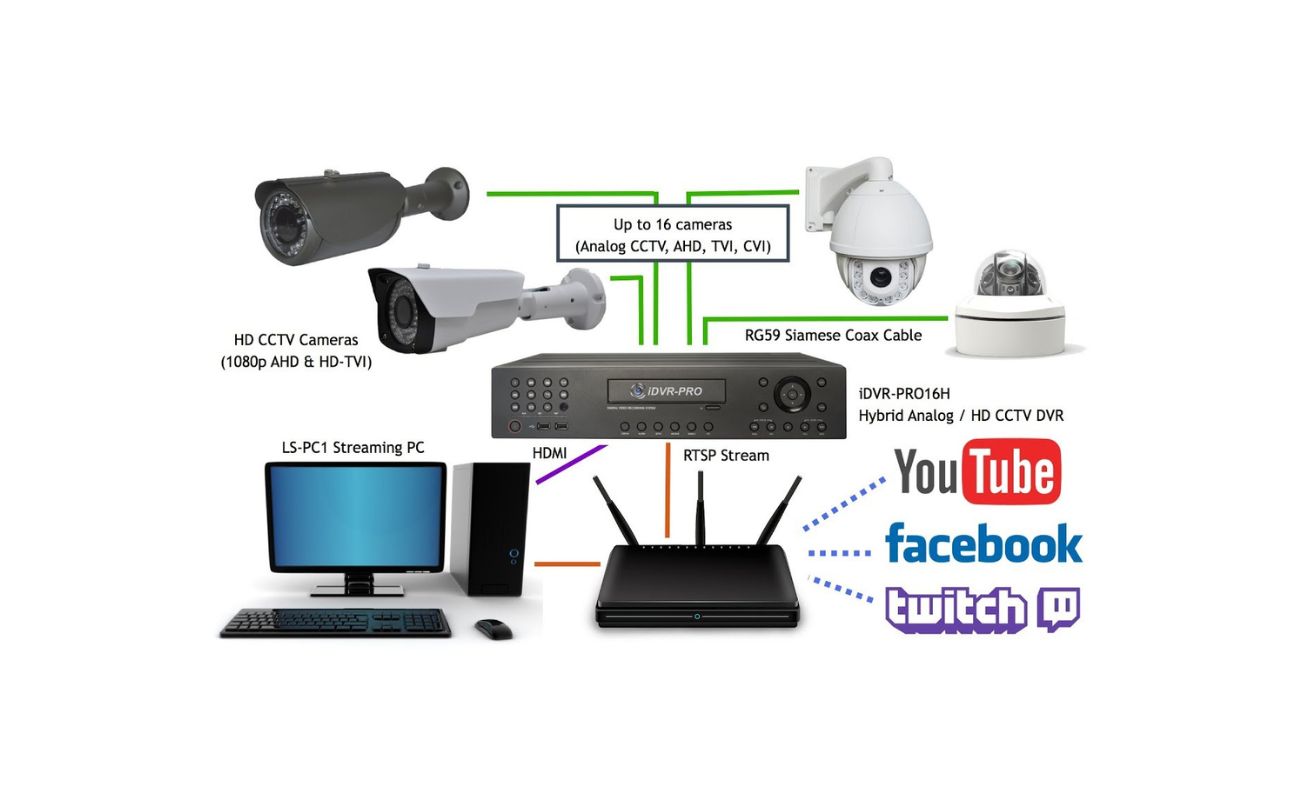
Step 5: Connecting the Cameras to Your Network
Now that your defender or wireless security cameras are mounted and powered, it’s time to connect them to your home network. Connecting the cameras to your network allows you to access the live feed and recordings remotely using your smartphone, tablet, or computer. Follow these steps to connect your cameras to your network:
1. Locate the camera’s network settings: Access the camera’s settings menu or user interface either through a computer connected to the same network or a mobile app provided by the camera manufacturer.
2. Choose a network connection method: Most defender or wireless security cameras offer two options for network connectivity: Wi-Fi or Ethernet. Select the appropriate connection method based on your preferences and network infrastructure.
3. For Wi-Fi connection: If you choose to connect via Wi-Fi, scan for available networks and select your home network from the list. Enter your network password and wait for the camera to establish a connection. Ensure that the camera and the Wi-Fi router are in close proximity for a stable connection.
4. For Ethernet connection: If you prefer a wired Ethernet connection, insert the Ethernet cable into the camera’s Ethernet port and connect the other end to an available port on your router or network switch. The camera should establish a connection automatically.
5. Check the network connection status: Once the camera is connected to the network, check the network status either through the camera’s settings or on your router’s management interface. Ensure that the camera is assigned a valid IP address and is connected to the network successfully.
6. Configure additional network settings: Depending on your requirements and the camera’s features, you may need to configure additional network settings such as DNS servers, port forwarding, or dynamic DNS. Refer to the camera’s manual or online support resources for detailed instructions on these settings.
7. Test remote access: To ensure that the camera is successfully connected to your network, test remote access from a different network or through a mobile data connection. Use the camera’s designated app or web interface to access the live feed or recorded footage. If you encounter any issues, double-check the network settings and consult the camera’s support resources for troubleshooting.
Once your defender or wireless security cameras are connected to your network, you can enjoy the convenience of remote monitoring and management. The next step is to configure the security camera settings according to your preferences and requirements.
Step 6: Configuring the Security Camera Settings
Once your defender or wireless security cameras are connected to your network, it’s important to configure the camera settings to optimize their performance and meet your specific needs. Here are the steps to configure the security camera settings:
1. Access the camera interface: Use the camera’s designated app or access the camera interface through a web browser on your computer. Enter the camera’s IP address or use the camera discovery feature on the app to locate and connect to the camera.
2. Create a camera login: Set up a unique username and password to secure your camera and prevent unauthorized access. Avoid using default credentials and choose a strong password to enhance security.
3. Set video quality and resolution: Adjust the video quality and resolution settings according to your preference and available bandwidth. Higher resolution settings may require more storage space and network bandwidth, so find a balance that suits your needs.
4. Configure motion detection: Enable and fine-tune the motion detection settings to receive alerts and notifications when the camera detects movement. Adjust the sensitivity and the areas of the frame where motion detection should be active to avoid false alarms.
5. Set up recording options: Choose your preferred recording options, such as continuous recording, scheduled recording, or motion-triggered recording. Configure the storage destination for the recorded footage, whether it’s on a local memory card or a cloud-based storage platform.
6. Enable remote access: If you want to access your camera remotely, configure the necessary settings for remote access. This may include setting up port forwarding on your router, enabling UPnP (Universal Plug and Play), or creating a DDNS (Dynamic DNS) account. Refer to your camera’s documentation for specific instructions.
7. Explore additional features: Take advantage of any additional features your camera offers, such as two-way audio, PTZ controls, or integration with smart home devices. Customize these settings to enhance the functionality and usability of your security camera system.
8. Update firmware: Check for firmware updates regularly and install them to ensure your camera’s stability, security, and access to new features. Firmware updates often provide bug fixes and security patches.
9. Test the settings: Once you have configured the camera settings, test them to ensure they are working as expected. Check the video feed, motion detection, and remote access to verify that everything is functioning properly.
Remember to keep your camera firmware and software up to date, as manufacturers often release updates to address security vulnerabilities and improve performance. Regularly review and update your camera settings to adapt to changing needs or conditions.
Now that your defender or wireless security cameras are properly configured, it’s time to move on to the next step: testing the cameras.
Step 7: Testing the Cameras
After configuring the settings of your defender or wireless security cameras, it’s crucial to test their functionality to ensure they are working properly. Testing the cameras will give you peace of mind knowing that your surveillance system is ready to monitor and protect your home. Follow these steps to test your cameras:
1. Check the live feed: Access the live feed of each camera through the designated app or web interface. Make sure that the video is clear, the colors are accurate, and there are no distortions or artifacts. Adjust the camera position if necessary to improve the viewing angle and coverage.
2. Verify motion detection: Test the motion detection feature by walking in front of the camera or creating movement within its field of view. Check if the camera accurately detects and alerts you to the motion. Adjust the sensitivity settings or specified detection areas if needed to reduce false alarms or ensure that no movement goes unnoticed.
3. Test remote access: Use a device on a different network or over a mobile data connection to access the live feed and recordings remotely. Check if you can view the camera feed smoothly and access the recorded footage without any issues. Make sure that the remote access settings are correctly configured, and consider adjusting the network settings if you experience any difficulties.
4. Review recording and playback: Trigger a recording manually or wait for the camera to record based on the configured settings. Check that the recorded footage is saved correctly and can be accessed for playback. Verify that the recording duration, quality, and storage location are according to your preferences.
5. Test additional features: If your cameras have additional features like two-way audio or PTZ controls, test them to ensure they function correctly. Check if you can communicate through the camera’s built-in microphone and speaker or control the camera’s pan, tilt, and zoom functions smoothly.
6. Monitor network bandwidth: Keep an eye on your network bandwidth usage while testing the cameras. Ensure that the cameras are not causing any significant slowdowns or disruptions to your network. If necessary, adjust the video quality settings or implement bandwidth management measures to optimize network performance.
By thoroughly testing each camera, you can identify and address any issues or limitations before relying on them for your home security. Always make sure to follow the manufacturer’s instructions and use their provided tools or software for testing purposes. Once you are satisfied with the testing phase, you can proceed to the final step: monitoring and managing your security cameras.
Step 8: Monitoring and Managing Your Security Cameras
Now that your defender or wireless security cameras are installed, configured, and tested, it’s time to focus on monitoring and managing your surveillance system. Consistent monitoring and proactive management are essential to ensure the ongoing security of your home. Follow these steps to effectively monitor and manage your security cameras:
1. Regularly check the camera feed: Make it a habit to check the live camera feed regularly to stay updated on the activities happening around your home. Keep an eye out for any suspicious or unusual behavior and take appropriate action if necessary.
2. Review recorded footage: Take the time to review recorded footage from your cameras, especially in the case of any incidents or suspected security breaches. This will provide valuable evidence and help you understand what happened.
3. Manage storage and backups: Keep track of the storage capacity of your cameras and ensure that you have sufficient space for continuous recording. Regularly back up important footage to an external storage device or cloud storage to prevent data loss in case the camera is tampered with or damaged.
4. Configure motion alerts: Monitor motion alerts from your cameras to receive real-time notifications whenever motion is detected. Set up the alerts to be sent to your mobile device or email so that you can quickly respond and assess the situation.
5. Update software and firmware: Stay up to date with the latest software or firmware releases from the camera manufacturer. Regularly check for updates and install them to benefit from improved security, bug fixes, and new features.
6. Secure your network: Protect your surveillance system by ensuring that your home network is secure. Change default router passwords, enable encryption, and implement network security measures such as a firewall to safeguard against unauthorized access.
7. Adjust camera settings as needed: Periodically review and adjust camera settings based on your changing needs or any new security concerns. Fine-tune motion detection sensitivity, adjust recording schedules, or explore new features offered by the cameras.
8. Perform regular maintenance: Regularly clean the camera lenses to maintain optimal image quality. Check the camera mounts and connections to ensure they remain secure and stable. Replace any worn-out cables or parts as needed.
9. Address any technical issues promptly: If you encounter any technical issues or notice a decline in camera performance, troubleshoot and address them promptly. Consult the camera’s user manual, reach out to technical support, or consider professional assistance if necessary.
10. Continuously assess effectiveness: Regularly evaluate the effectiveness of your security camera system. Assess if any additional cameras are required or if adjustments to camera placement and positioning would improve coverage and surveillance capabilities.
By diligently monitoring and managing your security cameras, you can maximize the effectiveness of your surveillance system and enhance the security of your home. Remaining proactive and vigilant will provide you with peace of mind, knowing that your property and loved ones are protected.
With the completion of Step 8, you have successfully set up and managed your defender or wireless security cameras. Your home security system is now capable of monitoring and protecting your property. Remember to periodically review and update your system to adapt to changes in your security needs or advancements in technology.
Stay safe and secure!
Read also: 15 Best Defender Security Cameras For 2025
Conclusion
Setting up defender or wireless security cameras in your home is a smart investment for the safety and protection of your property and loved ones. By following the step-by-step guide provided in this article, you have gained a comprehensive understanding of how to install, configure, and manage your surveillance system effectively.
Throughout the process, we covered various aspects, including understanding the features of defender or wireless security cameras, choosing optimal locations, mounting the cameras securely, connecting them to a power source, integrating them into your home network, configuring the settings, testing their functionality, and finally, monitoring and managing the cameras for ongoing security.
Remember, it’s essential to choose high-quality cameras with advanced features that meet your specific needs. Take the time to understand their capabilities and configure the settings to suit your preferences. Regularly monitor and review the camera feed and recorded footage to stay informed about any unusual or suspicious activities around your home.
Additionally, prioritize network security, keep the cameras and their firmware updated, and perform regular maintenance to ensure optimal performance and longevity of your cameras.
By implementing these steps and practicing proactive surveillance, you can enhance the security of your home and gain peace of mind. Remember, the ability to monitor your property and loved ones remotely provides an added layer of convenience and protection.
Thank you for taking the time to learn about setting up defender or wireless security cameras. With the knowledge and skills gained from this guide, you are now well-equipped to create a comprehensive home security system that meets your exact requirements.
Stay vigilant, stay safe, and enjoy the added security that defender or wireless security cameras bring to your home!
Frequently Asked Questions about How To Set Up The Defender Or Wireless Security Cameras
Was this page helpful?
At Storables.com, we guarantee accurate and reliable information. Our content, validated by Expert Board Contributors, is crafted following stringent Editorial Policies. We're committed to providing you with well-researched, expert-backed insights for all your informational needs.