Home>Home Security and Surveillance>How To Run Wireless Security Camera On Wired Router Port
Home Security and Surveillance
How To Run Wireless Security Camera On Wired Router Port
Modified: March 6, 2024
Learn how to easily set up and run a wireless security camera using a wired router port. Enhance your home security and surveillance with this step-by-step guide.
(Many of the links in this article redirect to a specific reviewed product. Your purchase of these products through affiliate links helps to generate commission for Storables.com, at no extra cost. Learn more)
Introduction
Welcome to the world of home security and surveillance! With advancements in technology, securing our homes has become easier and more convenient than ever before. One of the most popular options for home security is the wireless security camera, which allows you to monitor your property remotely.
However, there may be instances where you want to optimize the performance of your wireless security camera. This is where running it on a wired router port comes into play.
In this article, we will delve into the intricacies of wireless security cameras and explore the benefits of connecting them to a wired router port. We will also provide you with step-by-step instructions on how to set it up.
So, let’s jump right in and unravel the mysteries of running a wireless security camera on a wired router port!
Key Takeaways:
- Enhance Your Security Camera’s Performance
Connect your wireless security camera to a wired router port for a stable connection, reduced lag, improved video quality, and better security against hacking. - Easy Steps to Optimize Your Camera
Locate the router port, connect the cable, configure the camera, and monitor its performance to enjoy reliable home surveillance.
Understanding Wireless Security Cameras
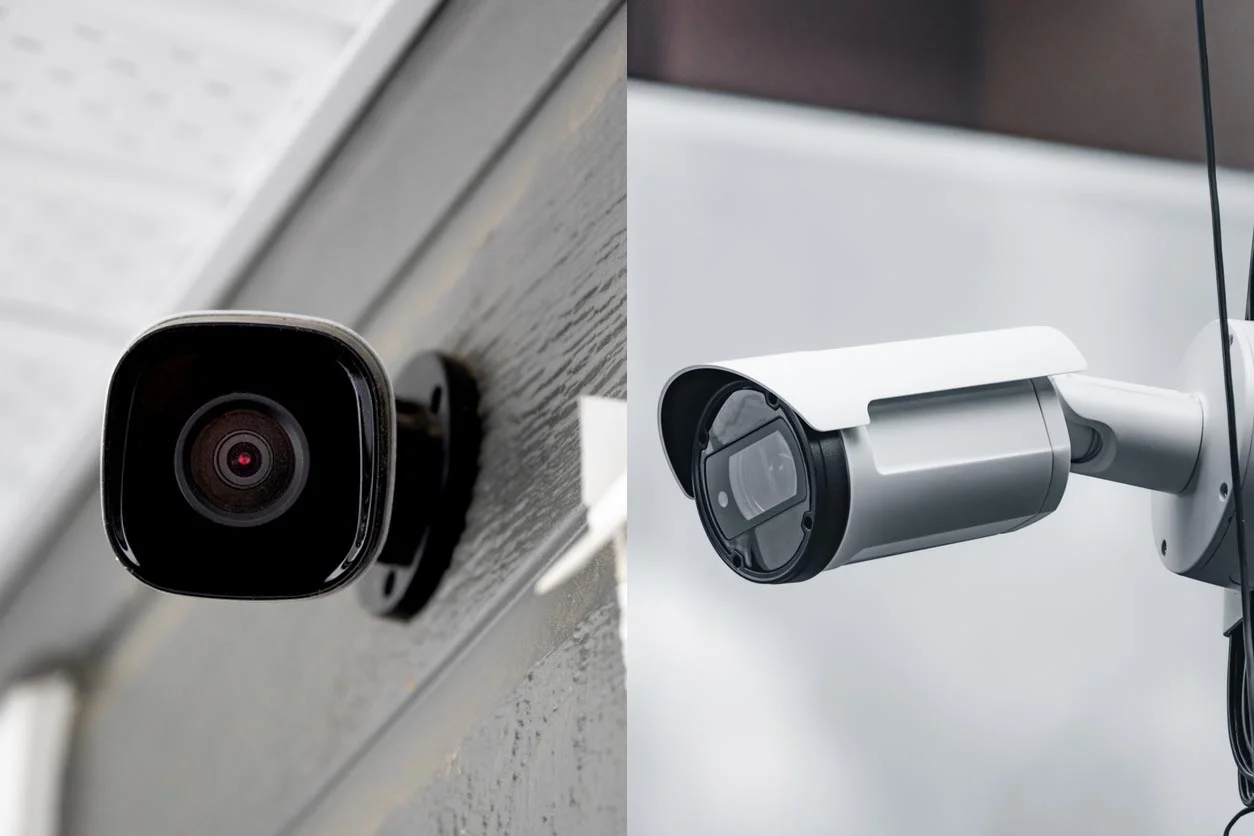
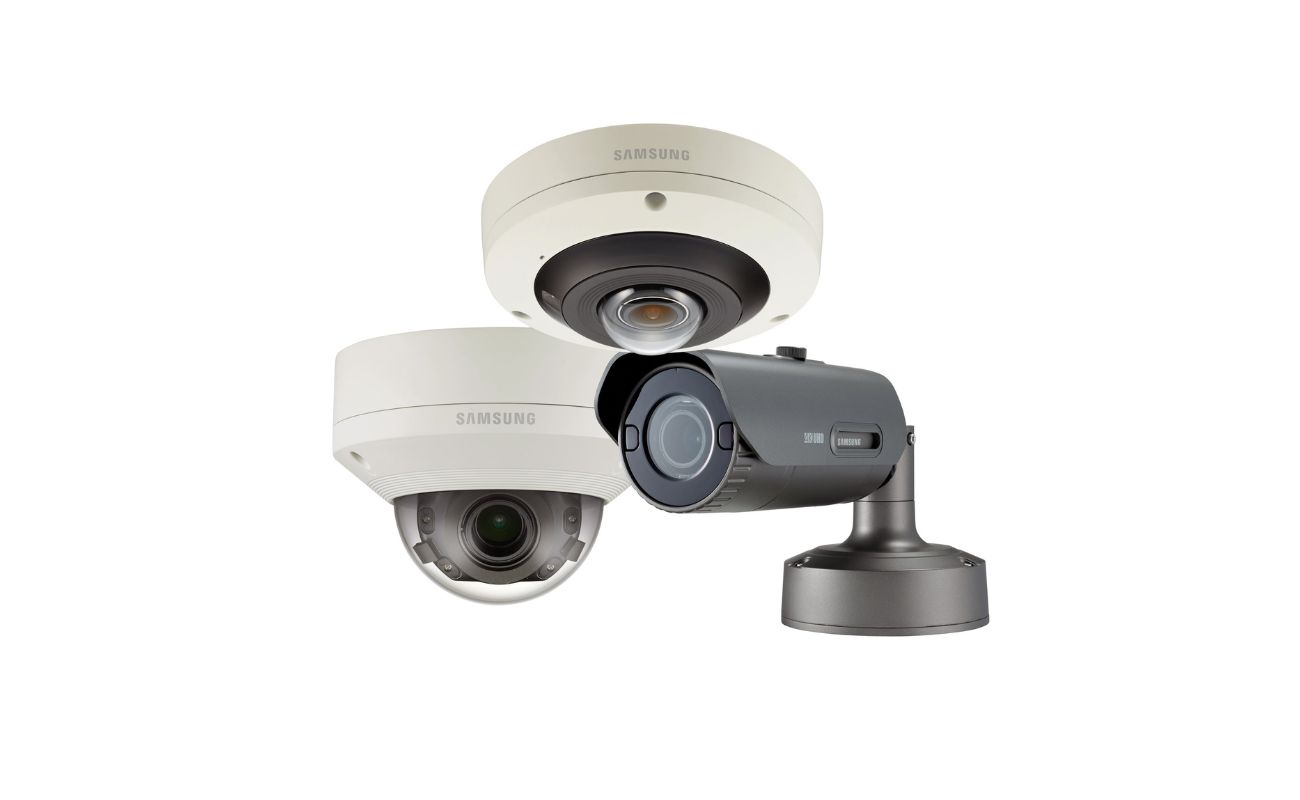
Wireless security cameras, also known as Wi-Fi cameras, are a popular choice for home surveillance. As the name suggests, these cameras operate wirelessly, eliminating the need for cumbersome cables and making installation a breeze. They connect to your home’s Wi-Fi network, allowing you to monitor your property from anywhere using a smartphone, tablet, or computer.
Wireless security cameras are equipped with advanced features such as motion detection, night vision, and two-way audio. Many models offer high-definition video resolution, providing clear and detailed footage. Some cameras even have pan and tilt capabilities, allowing you to remotely adjust the viewing angle.
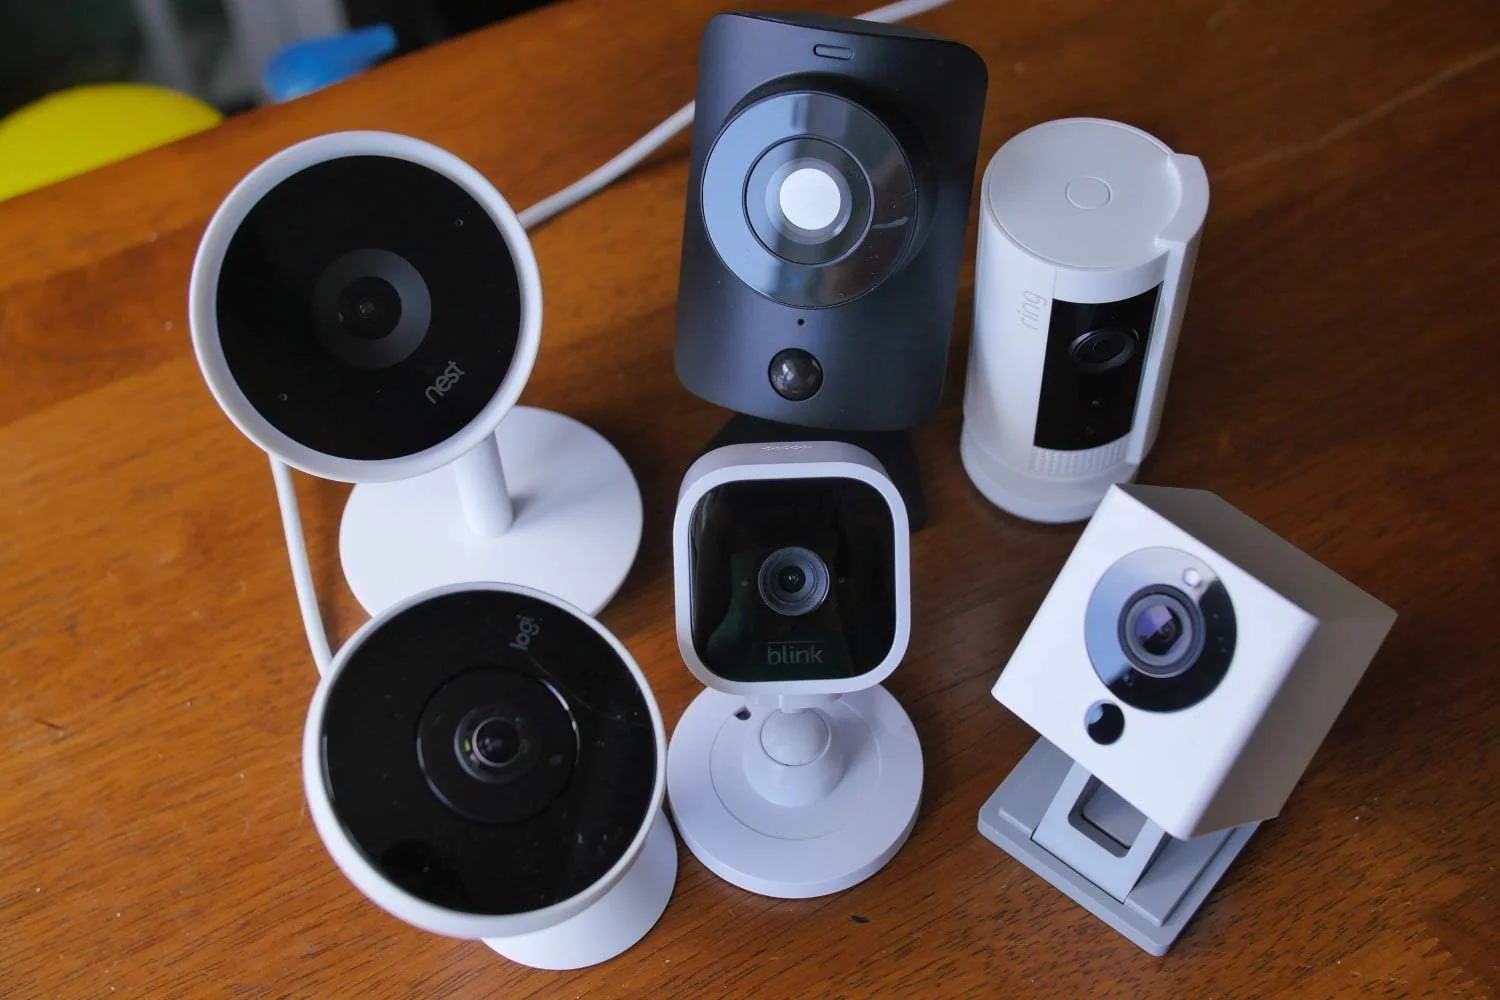
These cameras are typically powered either by batteries or by an external power source. Battery-powered cameras offer flexibility in terms of placement, as they can be installed in areas where it may be difficult to run cables. On the other hand, cameras that are powered by an external source require a power outlet nearby.
Wireless security cameras can be used for various purposes, such as monitoring indoor and outdoor areas, keeping an eye on children or pets, and deterring theft and vandalism. They provide a sense of security and peace of mind, allowing you to stay connected to your home even when you’re away.
Now that we have a basic understanding of wireless security cameras, let’s explore the benefits of running them on a wired router port.
Wired Router Ports and their Uses
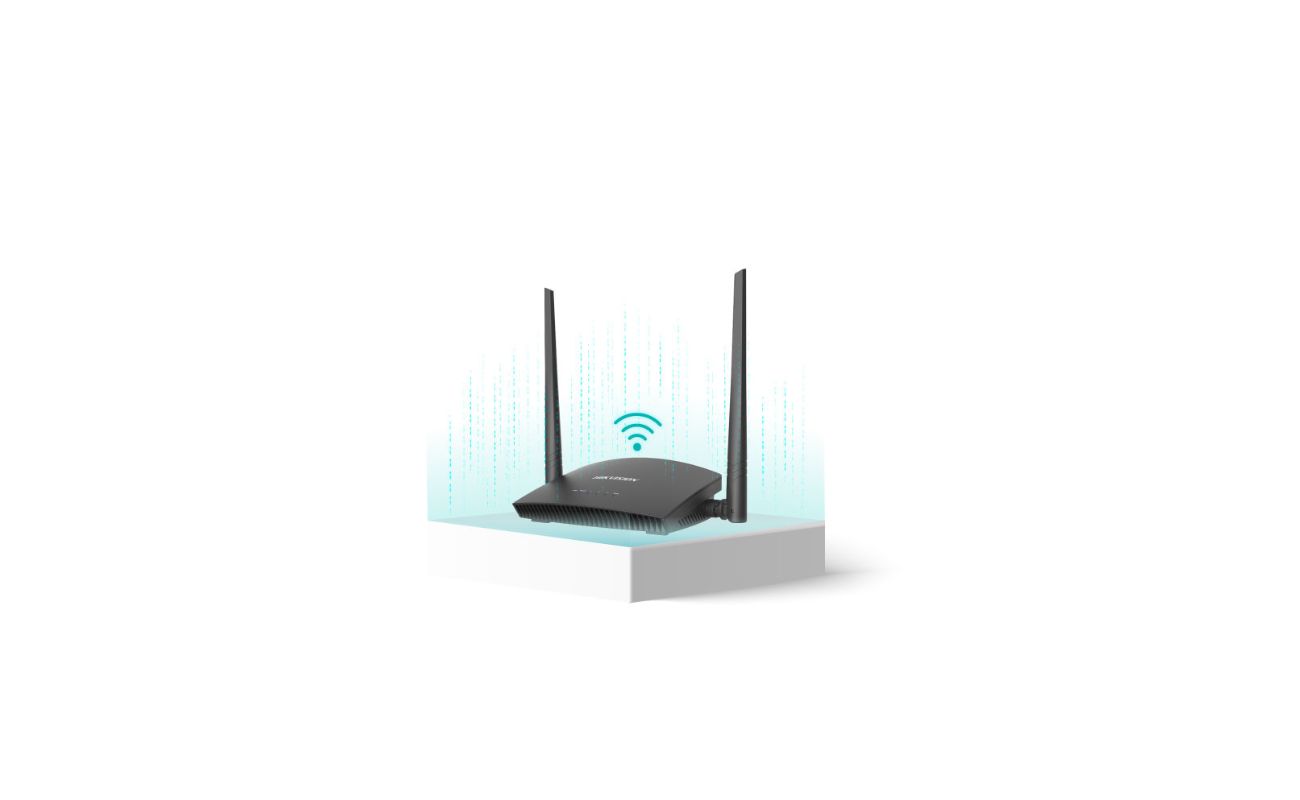
A wired router port, also known as an Ethernet port, is a physical connection on a router that allows devices to be connected via an Ethernet cable. These ports are typically found on the back or side of a router and are used to establish a wired network connection.
Wired router ports offer several advantages over Wi-Fi connections. Firstly, they provide a more stable and reliable connection compared to wireless networks. This is particularly important for devices that require a consistent and uninterrupted connection, such as security cameras.
Furthermore, wired connections can support higher data transfer speeds compared to Wi-Fi, making them ideal for activities that require substantial bandwidth, such as streaming high-definition video or transferring large files.
In the context of running a wireless security camera on a wired router port, the Ethernet port on the router acts as a bridge between the camera and the network. By connecting the camera directly to the router via an Ethernet cable, you can ensure a reliable and efficient connection.
Not only does this provide a more stable stream of video footage, but it also helps to minimize lag and latency, reducing the chance of missing important events or activities captured by the camera.
Wired router ports are also beneficial when it comes to managing network bandwidth. By connecting the camera to a specific port on the router, you can prioritize its traffic and allocate sufficient bandwidth for smooth video streaming and remote access.
Additionally, utilizing a wired connection can help overcome obstacles that may affect the wireless signal strength, such as thick walls, long distances, or interference from other devices. This ensures that your wireless security camera remains connected and functional even in challenging environments.
Now that we understand the benefits of using a wired router port, let’s explore how it can enhance the performance of your wireless security camera.
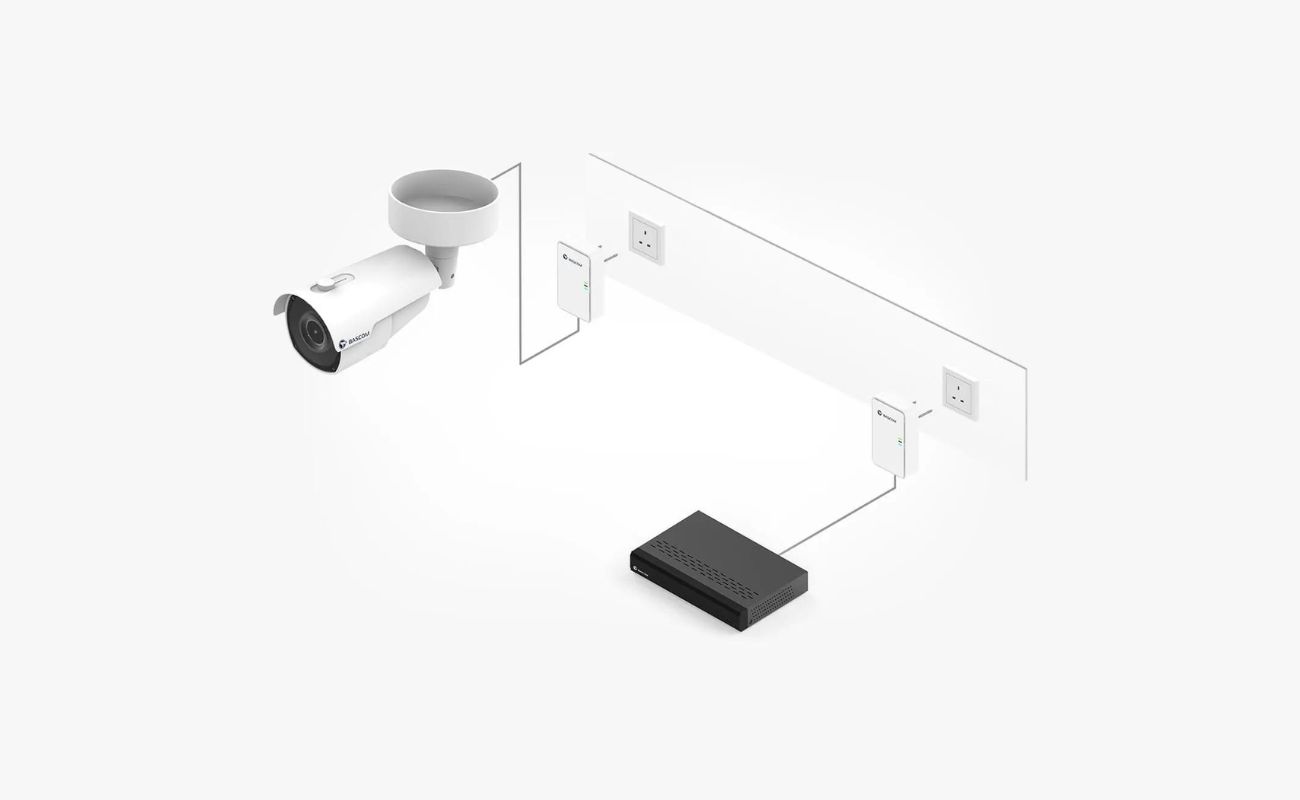
You can run a wireless security camera on a wired router port by connecting the camera to the router using an Ethernet cable. This will provide a stable and secure connection for your camera.
Benefits of Running Wireless Security Camera on a Wired Router Port
Running a wireless security camera on a wired router port offers several advantages that can greatly enhance its performance and reliability. Let’s take a look at some of the key benefits:
- Stable and Reliable Connection: By connecting your wireless security camera to a wired router port, you can ensure a stable and consistent network connection. This eliminates the potential issues of signal interference or dropouts that can occur with wireless connections, providing a reliable stream of video footage.
- Reduced Lag and Latency: A wired connection can significantly reduce lag and latency, ensuring that you receive real-time video feeds and alerts from your security camera. This is crucial for monitoring activities in and around your home, as even minor delays can impact your ability to respond effectively.
- Enhanced Video Quality: A wired connection allows for higher data transfer speeds compared to wireless connections. This means that you can potentially achieve better video quality, with smoother playback and higher resolution footage.
- Improved Security: By utilizing a wired connection, you reduce the chances of your wireless security camera being vulnerable to hacking or unauthorized access. Wireless connections can sometimes be exploited by tech-savvy individuals, but a wired connection adds an extra layer of security.
- Better Bandwidth Management: Connecting your camera to a specific wired router port allows for more efficient management of network bandwidth. This ensures that your camera’s video streaming and remote access receive the necessary priority and bandwidth allocation, providing a seamless viewing experience.
In summary, running a wireless security camera on a wired router port offers a stable and reliable connection, reduced lag and latency, enhanced video quality, improved security, and better bandwidth management. Now that we understand the benefits, let’s explore the steps to set it up.
Steps to Run Wireless Security Camera on a Wired Router Port
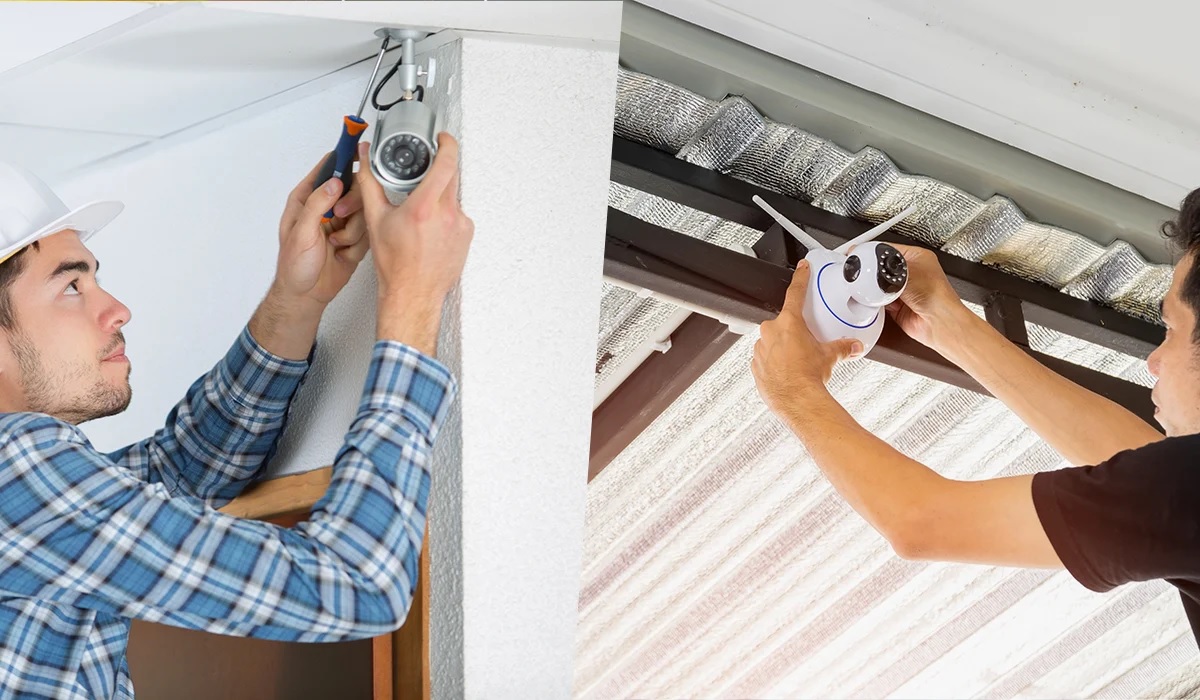
Ready to optimize your wireless security camera by running it on a wired router port? Follow these simple steps to get started:
- Locate the Router Port: First, identify an available Ethernet port on your router. This is typically labeled as “LAN” or “Ethernet” and can be found on the back or side of the router. Ensure that the port is not in use by any other devices.
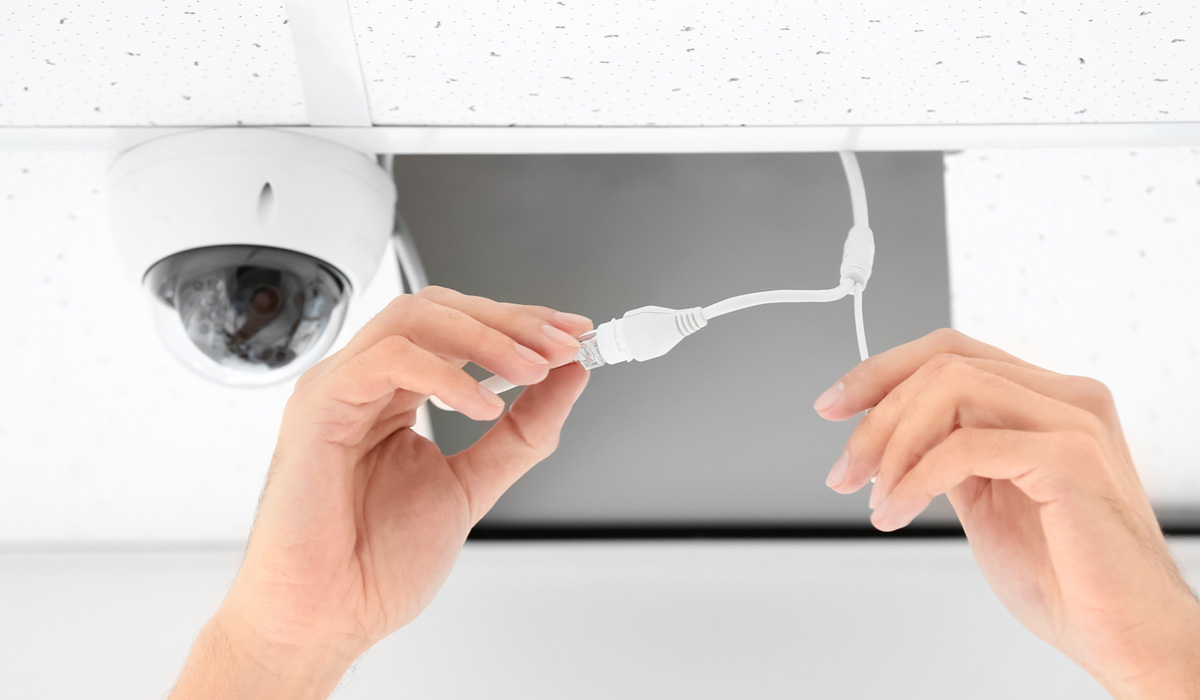
- Connect the Ethernet Cable: Take an Ethernet cable and insert one end into the available Ethernet port on the router. The other end of the cable should be inserted into the Ethernet port on the back of your wireless security camera. Make sure the connections are secure.
- Power up the Camera: Connect your wireless security camera to a power source. This can be done by plugging the camera into a nearby electrical outlet or by using a power over Ethernet (PoE) adapter if supported by your camera. Allow the camera to power up and initialize.
- Configure the Camera: Once your camera is powered up, you may need to configure it to establish a network connection. Refer to the manufacturer’s instructions to access the camera’s settings and locate the network configuration options. Follow the prompts to connect the camera to your home’s wired network.
- Ensure Proper Network Configuration: Check that your router’s settings are configured to assign an IP address to your wireless security camera. This can typically be done through the router’s web interface. Consult your router’s manual or the manufacturer’s website for specific instructions.
- Verify Connection: Once the camera is connected to the wired router port, verify the network connection. Ensure that the camera’s status indicates a successful connection to the network. You may also test the camera’s functionality by accessing the live video stream on your smartphone, tablet, or computer.
- Monitor and Adjust: Regularly check the performance of your wireless security camera running on the wired router port. Monitor the video feed, check for any lag or interruptions, and make any necessary adjustments to optimize performance. Remember to periodically check for firmware updates for your camera to ensure the latest features and security enhancements are in place.
By following these steps, you can successfully run your wireless security camera on a wired router port, enjoying the benefits of a stable and reliable connection for your home surveillance needs.
Conclusion
Running a wireless security camera on a wired router port can greatly enhance its performance and reliability. By utilizing the stability and speed of a wired connection, you can ensure a consistent and seamless monitoring experience for your home security needs.
In this article, we discussed the benefits of connecting your wireless security camera to a wired router port. We explored how a wired connection offers a stable and reliable network connection, reduced lag and latency, improved video quality, enhanced security, and better bandwidth management.
We also provided you with a step-by-step guide on how to run your wireless security camera on a wired router port. Following these instructions will enable you to optimize your camera’s performance and take full advantage of its capabilities.
Remember to periodically monitor the performance of your camera and make any necessary adjustments. Stay vigilant and ensure that your camera remains connected and functional at all times.
With a wireless security camera running on a wired router port, you can enjoy peace of mind knowing that your home is protected and that you have a reliable and efficient surveillance system in place.
So go ahead, set up your wireless security camera on a wired router port, and take control of your home security like never before!
Frequently Asked Questions about How To Run Wireless Security Camera On Wired Router Port
Was this page helpful?
At Storables.com, we guarantee accurate and reliable information. Our content, validated by Expert Board Contributors, is crafted following stringent Editorial Policies. We're committed to providing you with well-researched, expert-backed insights for all your informational needs.