Home>Home Security and Surveillance>How To Setup Trendnet Wi-Fi Wireless Security
Home Security and Surveillance
How To Setup Trendnet Wi-Fi Wireless Security
Modified: September 1, 2024
Protect your home with Trendnet Wi-Fi Wireless Security. Learn how to easily set up and enhance your home security and surveillance with our step-by-step guide.
(Many of the links in this article redirect to a specific reviewed product. Your purchase of these products through affiliate links helps to generate commission for Storables.com, at no extra cost. Learn more)
Introduction
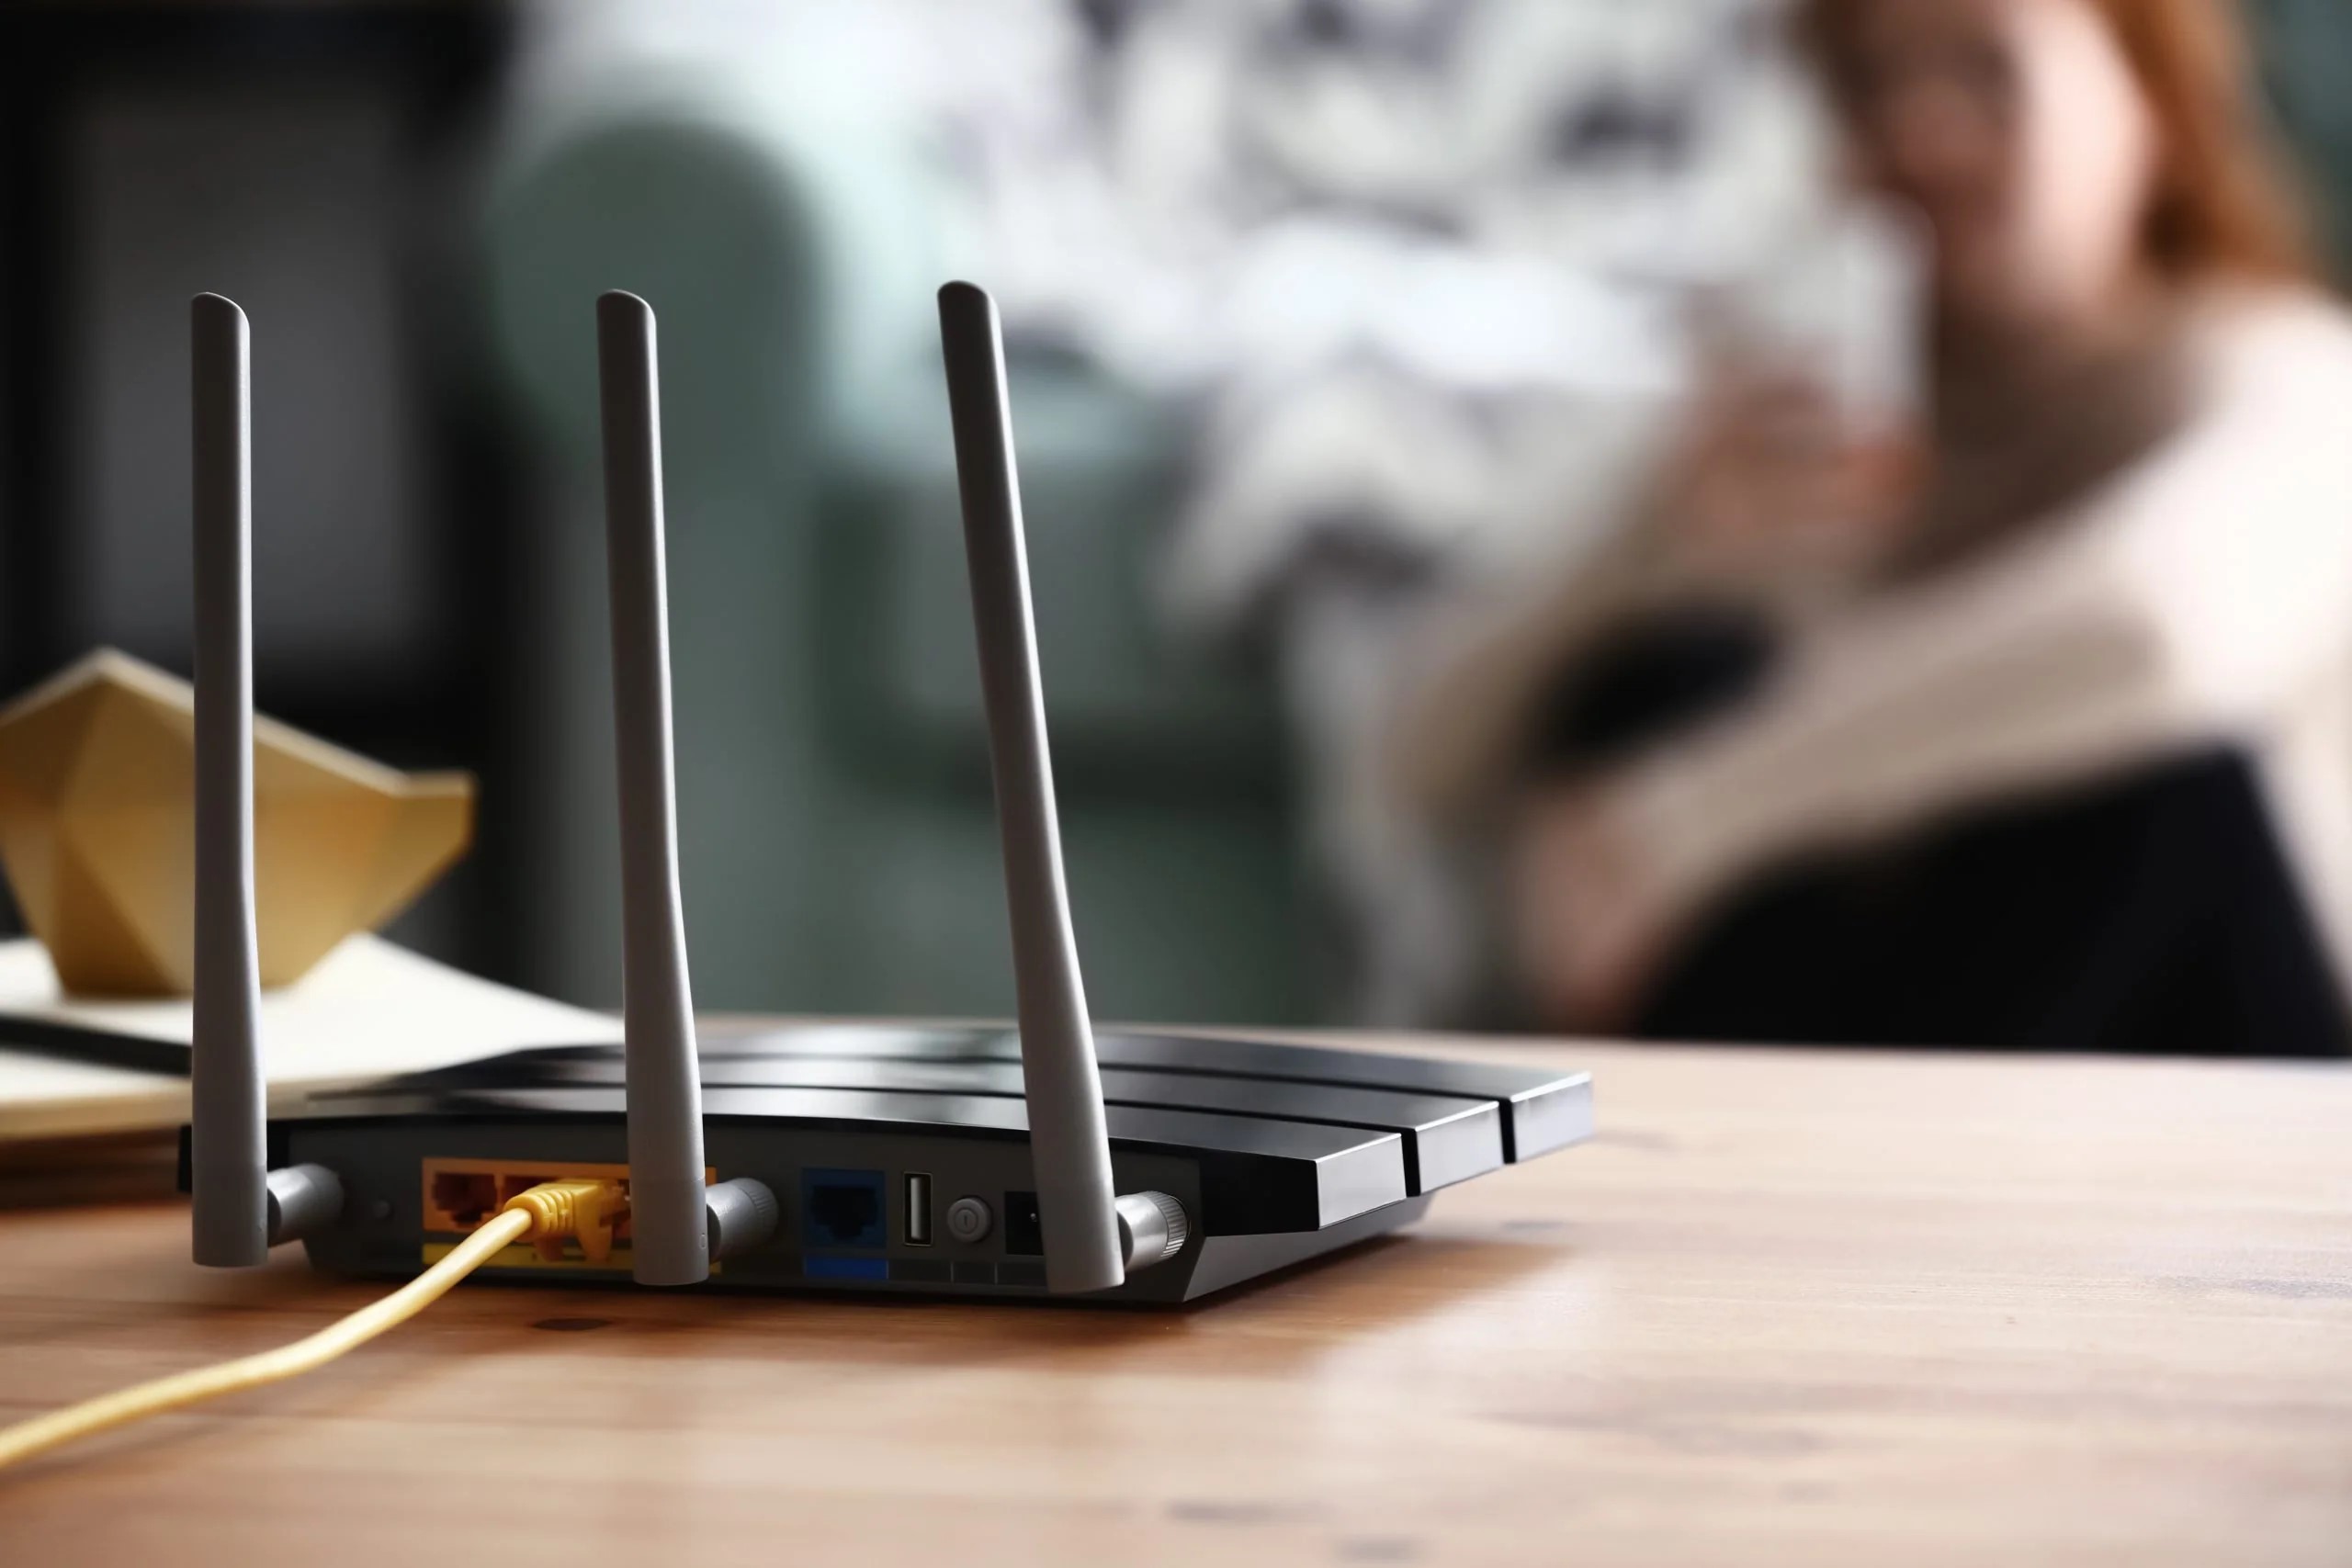
In today’s digital age, having a reliable and secure home network is essential. With the rise of smart devices and the increasing dependence on internet connectivity, it is crucial to safeguard your Wi-Fi network from unauthorized access and potential security threats. One effective way to protect your network is by setting up Trendnet Wi-Fi wireless security.
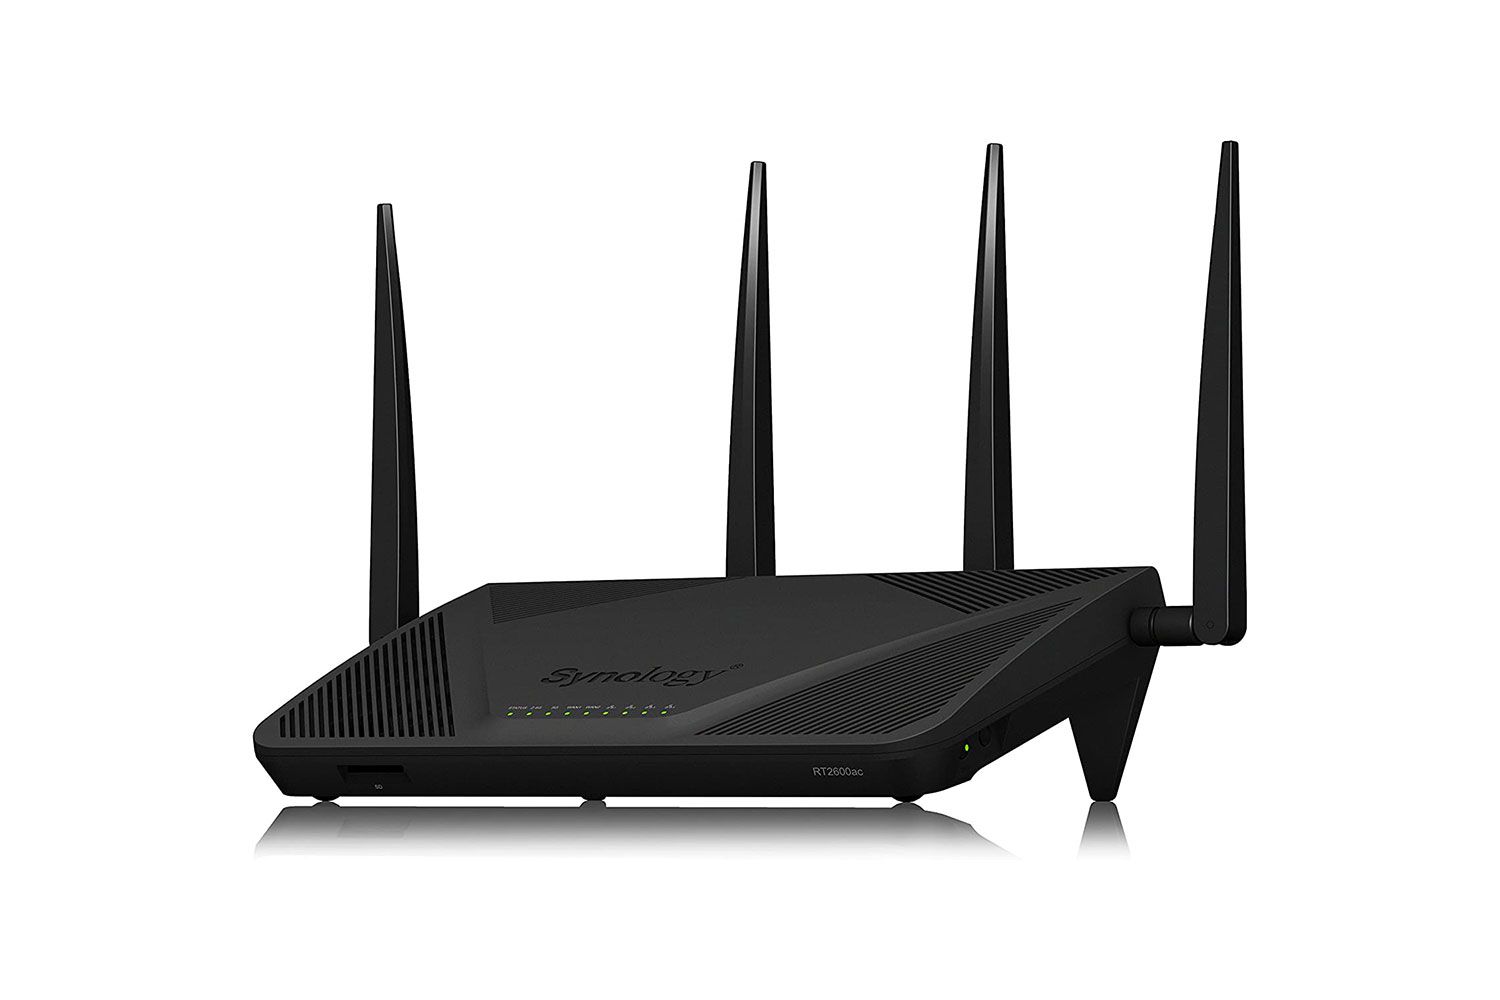
Trendnet is a well-known brand in the networking industry, offering a range of routers and networking solutions. Their Wi-Fi routers provide an array of security features to ensure that your network remains secure and your personal information stays protected.
In this article, we will walk you through the step-by-step process of setting up Trendnet Wi-Fi wireless security. Whether you are a tech-savvy individual or a beginner, this guide will help you configure your Trendnet router to maximize security.
Before we delve into the setup process, let’s take a moment to understand the importance of Wi-Fi security. A secure network prevents unauthorized users from accessing your internet connection and potentially compromising your personal data. It also helps protect against hacking attempts, malware infections, and other cyber threats.
Without proper security measures in place, your Wi-Fi network becomes vulnerable to attacks, putting your devices, data, and privacy at risk. By following the steps outlined in this guide, you will have peace of mind and ensure that only authorized users can connect to your network.
Now that we understand the significance of Wi-Fi security, let’s move on to the process of setting up Trendnet Wi-Fi wireless security.
Key Takeaways:
- Protect Your Wi-Fi Network
Setting up Trendnet Wi-Fi wireless security ensures that only authorized users can access your network, keeping your personal data safe from potential cyber threats. - Create Strong Passwords
Choosing a strong Wi-Fi password and enabling network encryption adds layers of protection, making it harder for hackers to breach your Trendnet Wi-Fi network.
Read also: 10 Best Trendnet Wi-Fi Router For 2025
Step 1: Understanding Trendnet Wi-Fi Wireless Security
Before we dive into the setup process, it’s important to have a clear understanding of Trendnet Wi-Fi wireless security. Trendnet routers offer several security features and protocols that help protect your network and ensure a safe browsing experience. Here are some key concepts you should familiarize yourself with:
- Encryption: Encryption is a process that converts data transmitted over a network into a coded format. Trendnet routers support various encryption protocols like WEP, WPA, and WPA2. These protocols provide different levels of security, with WPA2 being the most secure option.
- SSID: SSID stands for Service Set Identifier and is the name of your Wi-Fi network. It is the identifier that devices use to connect to your network. Trendnet routers allow you to personalize your SSID, which helps you easily identify and connect to the correct network.
- Guest Network: Trendnet routers also offer the option to set up a guest network. This network is separate from your main network and allows your guests to connect to the internet without accessing your private files and devices. Enabling a guest network adds an extra layer of security to your network.
- MAC Address Filtering: MAC Address Filtering is a security feature that allows you to create a list of specific devices that are allowed to connect to your network. By specifying the MAC addresses of your devices, you can restrict access to your network only to those devices.
- Firewall Settings: Trendnet routers come equipped with a built-in firewall that acts as a barrier between your network and the internet. It helps block unauthorized access attempts and protects your network and devices from potential threats.
By understanding these concepts, you will have a better grasp of the security features available on your Trendnet router. This knowledge will prove invaluable as you proceed with the setup process.
Now that we have familiarized ourselves with the concepts, let’s move on to the next step, which is connecting to your Trendnet Wi-Fi network.
Step 2: Connecting to Your Trendnet Wi-Fi Network
Before you can configure the wireless security settings on your Trendnet router, you need to establish a connection to your Wi-Fi network. Here’s a step-by-step guide to help you through the process:
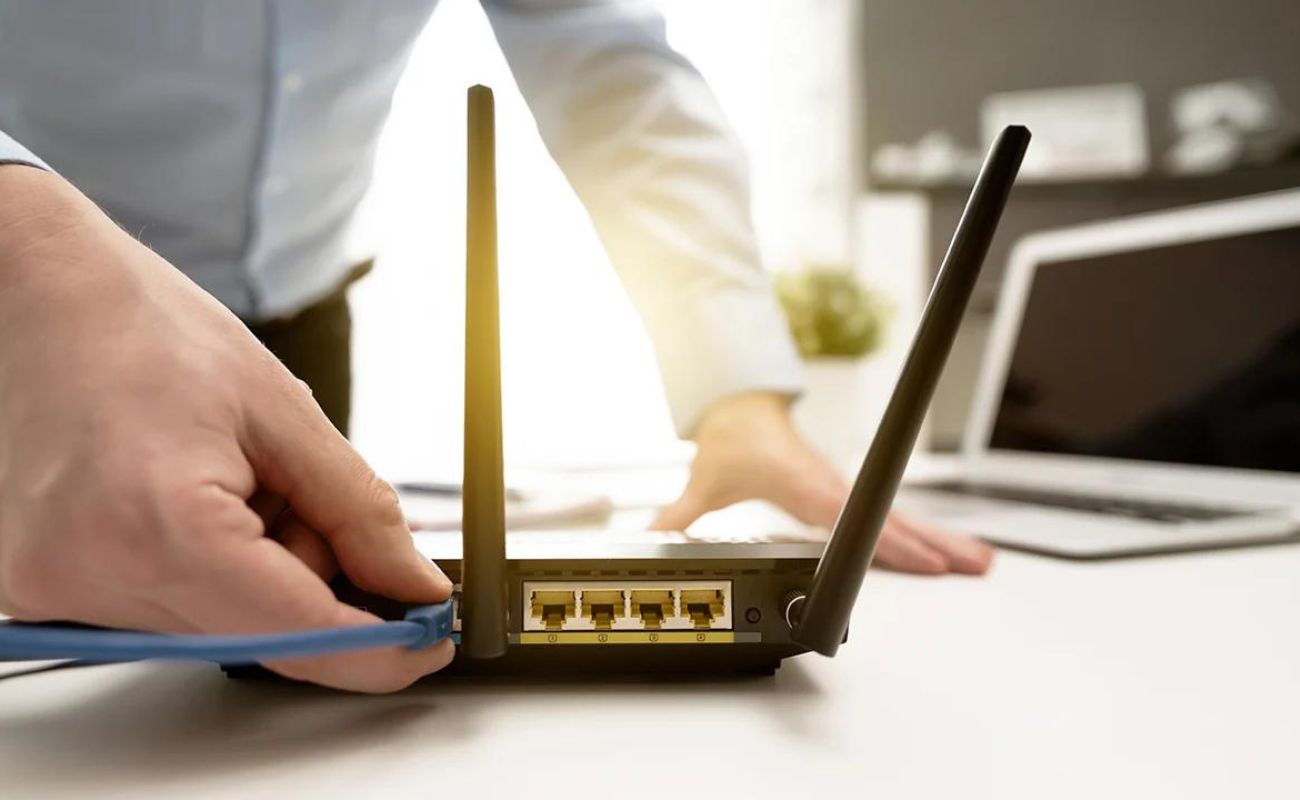
- Ensure that your Trendnet router is properly connected to your modem and powered on. Make sure all the necessary cables are securely plugged in.
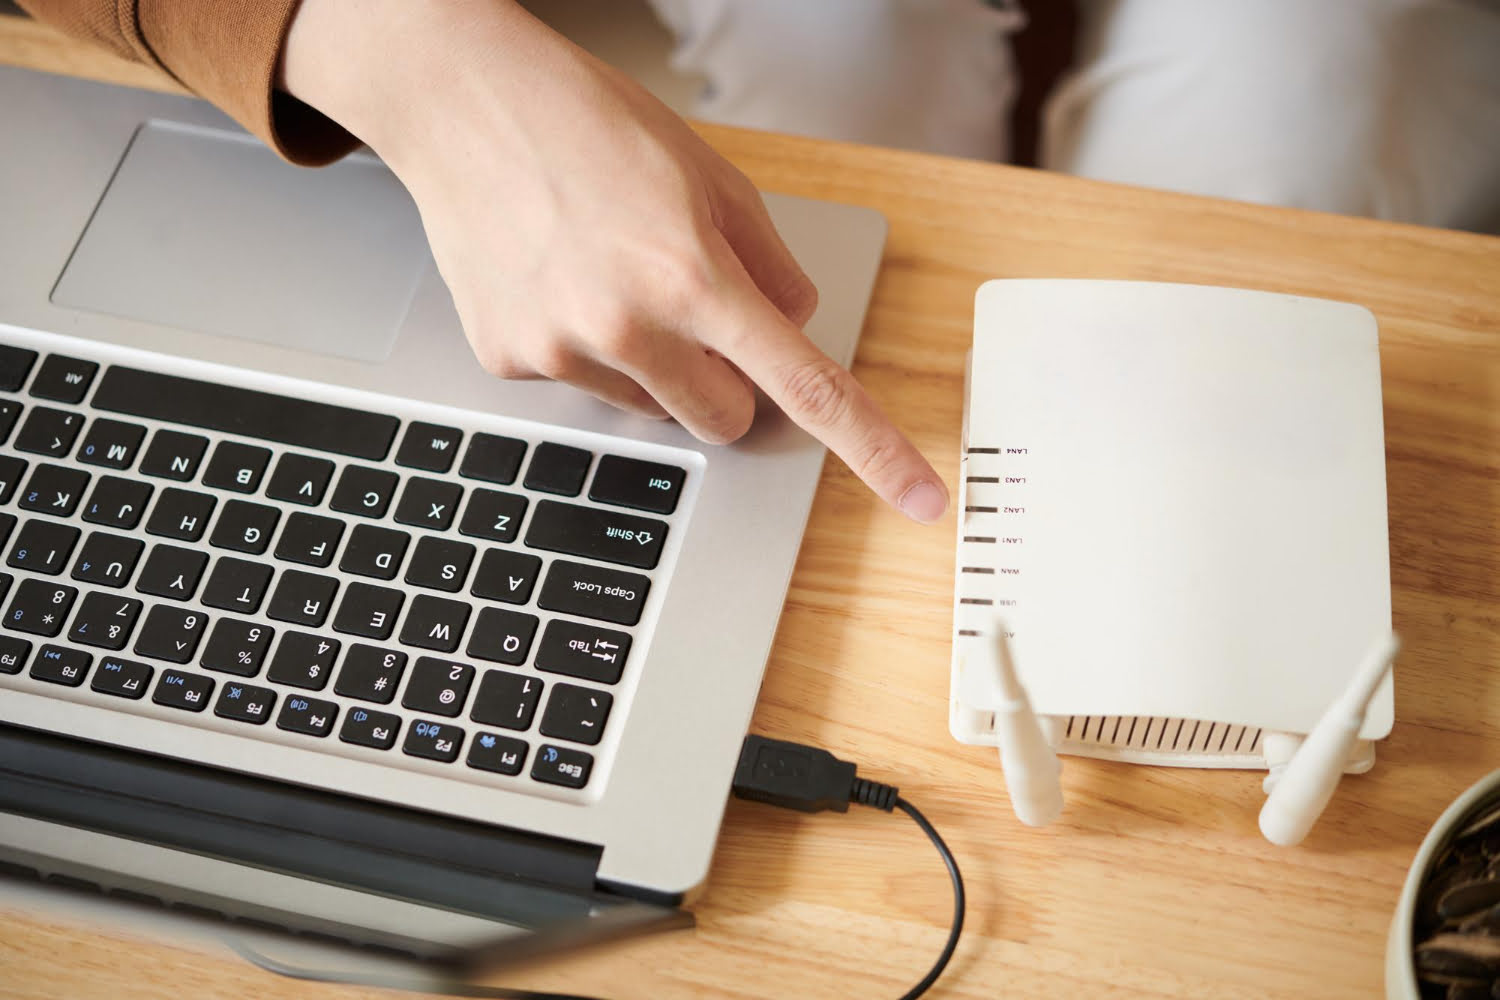
- On your computer or mobile device, navigate to the Wi-Fi settings menu. This can usually be found in the system settings or control panel.
- In the list of available Wi-Fi networks, locate your Trendnet router’s SSID (Service Set Identifier). It should be displayed as the name of your network.
- Select your Trendnet Wi-Fi network and click on the “Connect” button.
- If prompted, enter the Wi-Fi password. This is usually found on a sticker on the bottom or back of your Trendnet router. If you have changed the password before, enter the updated password. Ensure that you enter the password correctly, as it is case-sensitive.
- Wait for your device to connect to the Wi-Fi network. Once connected, you will see a confirmation message or Wi-Fi icon in the system tray or status bar, indicating a successful connection.
Once you have connected to your Trendnet Wi-Fi network, you are ready to proceed to the next step, which involves accessing the Trendnet router settings.
Note: If you are still having trouble connecting to your Wi-Fi network, make sure you are within the range of the router. Additionally, check that the Wi-Fi feature on your device is enabled.
Now that you are connected to your Trendnet Wi-Fi network, let’s move on to the next step and learn how to access the Trendnet router settings.
Step 3: Accessing the Trendnet Wi-Fi Router Settings
In order to configure the wireless security settings on your Trendnet router, you need to access the router’s settings page. Here’s a step-by-step guide on how to access the Trendnet router settings:
- Open a web browser on the device connected to your Trendnet Wi-Fi network. It can be a computer, laptop, or mobile device.
- In the address bar of the web browser, type in the default IP address of Trendnet routers. The default IP address for most Trendnet routers is 192.168.10.1. You can also try 192.168.0.1 or check the user manual or the label on the router for the correct IP address.
- Press Enter or Return to access the Trendnet router’s login page.
- You will be prompted to enter the username and password to log in to the router’s settings page. The default username and password are usually “admin” for both fields. If you have changed the login credentials before, enter the updated username and password.
- After entering the correct login credentials, click on the “Login” or “Sign In” button to proceed.
- If the credentials are correct, you will be logged in to the Trendnet router’s settings page. This is where you can make changes to various settings, including wireless security.
Note: If you are unable to access the router settings using the default IP address or if you have changed the IP address in the past, you can try resetting the router to its factory settings. This will restore the default IP address, username, and password. Refer to the user manual or contact Trendnet support for instructions on how to perform a factory reset.
Now that you have successfully logged in to the Trendnet router’s settings page, let’s move on to the next step: configuring the wireless security settings.
Step 4: Configuring Wireless Security Settings
Configuring wireless security settings on your Trendnet router is crucial to ensure the privacy and protection of your Wi-Fi network. Here’s a step-by-step guide on how to configure wireless security settings:
- On the Trendnet router’s settings page, navigate to the “Wireless” or “Wireless Settings” section. This is where you can make changes to your Wi-Fi network settings.
- Locate the “Security” or “Wireless Security” option, and click on it to access the wireless security settings.
- Choose the appropriate security protocol from the available options. Trendnet routers typically support WEP, WPA, and WPA2 protocols. It is recommended to select WPA2 as it offers the highest level of security.
- Once you have selected the security protocol, you will need to enter a passphrase or password. Create a strong, unique password that is not easily guessable. Include a combination of uppercase and lowercase letters, numbers, and special characters.
- Some routers may also offer additional security settings, such as the ability to change the encryption type or enable WPS (Wi-Fi Protected Setup). Review these options and configure them based on your preferences.
- Click on the “Apply” or “Save” button to save the changes and apply the new wireless security settings to your Trendnet router.
By configuring the wireless security settings on your Trendnet router, you are taking an important step towards protecting your network from unauthorized access and potential security threats. Remember to keep your wireless security settings up-to-date and periodically change the Wi-Fi password to ensure optimum security.
Now that you have configured the wireless security settings on your Trendnet router, let’s move on to the next step: choosing a strong Wi-Fi password.
When setting up Trendnet Wi-Fi wireless security, make sure to change the default username and password for your router to prevent unauthorized access. This can be done in the router’s settings menu.
Step 5: Choosing a Strong Wi-Fi Password
Choosing a strong Wi-Fi password is crucial to enhance the security of your Trendnet wireless network and keep potential hackers at bay. Follow these steps to create a robust password:
- Make it lengthy: The longer the password, the harder it is to crack. Aim for a minimum of 12 characters.
- Include a mix of characters: Use a combination of uppercase and lowercase letters, numbers, and special characters (e.g., !, @, #, $).
- Avoid personal information: Do not use easily guessable information such as your name, address, birthdate, or phone number as part of your password.
- Avoid common words: Avoid using common words, dictionary words, or sequential patterns such as “password” or “123456”. These are easy targets for attackers using automated tools.
- Consider using a passphrase: Instead of a single word, use a memorable phrase with multiple words, including spaces. For example, “I love hiking in the mountains!”
- Use a password manager: If remembering complex passwords is challenging, consider using a password manager to securely store and generate passwords for you.
- Change your password regularly: It’s good practice to change your Wi-Fi password periodically to minimize the risk of unauthorized access.
Remember, a strong Wi-Fi password serves as the first line of defense against potential security breaches. By choosing a robust password, you significantly reduce the risk of intruders gaining unauthorized access to your network and personal information.
Now that you have created a strong Wi-Fi password, let’s move on to the next step: enabling network encryption.
Step 6: Enabling Network Encryption
Enabling network encryption is a crucial step in securing your Trendnet Wi-Fi network. Encryption ensures that the data transmitted between your devices and the router is encoded and cannot be easily intercepted by unauthorized users. Follow these steps to enable network encryption:
- Access the Trendnet router’s settings page by entering the router’s IP address in your web browser’s address bar and logging in with your credentials.
- Navigate to the “Wireless” or “Wireless Settings” section.
- Look for the wireless encryption settings or security options.
- Select your preferred encryption method. Trendnet routers typically support options such as WEP, WPA, and WPA2.
- Choose WPA2 as the encryption method if available. This is currently the most secure option.
- Once you have selected WPA2, configure the encryption settings by entering a passphrase or network key. Make sure it is unique and complex, following the guidelines mentioned in Step 5.
- Save the settings and apply the changes.
Enabling network encryption ensures that only authorized devices with the correct passphrase or network key can connect and communicate with your Trendnet Wi-Fi network. This protects your data, privacy, and network from potential threats.
Now that you have enabled network encryption, it’s important to verify the wireless security setup to ensure that everything is functioning correctly. Let’s move on to the next and final step: verifying the wireless security setup.
Step 7: Verifying the Wireless Security Setup
After configuring the wireless security settings on your Trendnet router, it is important to verify that the setup is working correctly. This final step will ensure that your Wi-Fi network is secure and that only authorized devices can connect to it. Follow these steps to verify the wireless security setup:
- Ensure that your Trendnet router is powered on and connected to the network.
- On a device that is not currently connected to your Wi-Fi network, search for available Wi-Fi networks.
- Locate and select your Trendnet Wi-Fi network (SSID) from the list of available networks.
- Enter the Wi-Fi password or passphrase that you configured during Step 4 when prompted.
- If the entered password is correct, you should be successfully connected to your Wi-Fi network. If the connection fails or you receive an error message, double-check the password and try again.
- To further verify the security setup, try connecting with a device that is not authorized or does not have the correct Wi-Fi password. It should be unable to connect to your Wi-Fi network, confirming that only authorized devices can access it.
Verifying the wireless security setup ensures the effectiveness of the measures you have implemented to protect your Wi-Fi network. It gives you peace of mind, knowing that your network is secure from unauthorized access and potential threats.
Congratulations! By completing this final step, you have successfully set up Trendnet Wi-Fi wireless security. Your network is now well-protected and ready to provide a safe and secure online experience for you and your connected devices.
If you encounter any issues during the setup process or have questions about specific features, reach out to Trendnet customer support for assistance. They will be able to provide further guidance and address any concerns you may have.
Thank you for following this comprehensive guide. Enjoy the peace of mind that comes with a secure Wi-Fi network!
Conclusion
Securing your home Wi-Fi network is essential in today’s digital landscape, where cyber threats are on the rise. By following the steps outlined in this guide, you have successfully set up Trendnet Wi-Fi wireless security, ensuring the protection and privacy of your network.
Throughout this process, you have gained an understanding of Trendnet Wi-Fi wireless security, connected to your Wi-Fi network, accessed the Trendnet router settings, configured wireless security settings, chosen a strong Wi-Fi password, enabled network encryption, and verified the wireless security setup. These steps collectively create layers of protection to safeguard your network and personal information.
Remember, maintaining the security of your network is an ongoing effort. It is recommended to periodically review and update your wireless security settings, change your Wi-Fi password, and keep your router firmware up to date to stay one step ahead of potential security risks.
In addition to the steps outlined in this guide, consider implementing other security measures to further enhance your network’s protection. These could include enabling MAC address filtering, setting up a guest network, and configuring firewall settings on your Trendnet router.
By taking these proactive steps, you can enjoy a secure home network that protects your connected devices, personal data, and privacy from unauthorized access.
Thank you for following this comprehensive guide on setting up Trendnet Wi-Fi wireless security. Feel free to refer back to this article whenever you need to revisit the setup process or make any changes to your wireless security settings. Stay safe and enjoy a worry-free online experience!
Frequently Asked Questions about How To Setup Trendnet Wi-Fi Wireless Security
Was this page helpful?
At Storables.com, we guarantee accurate and reliable information. Our content, validated by Expert Board Contributors, is crafted following stringent Editorial Policies. We're committed to providing you with well-researched, expert-backed insights for all your informational needs.