Home>Home Security and Surveillance>How Do You Setup Wireless Security Cameras?
Home Security and Surveillance
How Do You Setup Wireless Security Cameras?
Modified: March 6, 2024
Learn how to setup wireless security cameras for your home security and surveillance. Step-by-step guide for DIY installation and optimal protection.
(Many of the links in this article redirect to a specific reviewed product. Your purchase of these products through affiliate links helps to generate commission for Storables.com, at no extra cost. Learn more)
Introduction
Welcome to the world of wireless security cameras! As technology advances, so does the way we protect our homes and loved ones. Gone are the days of complicated and expensive wired surveillance systems; today, wireless security cameras have become a popular choice for homeowners seeking a simple and effective way to monitor their properties.
Wireless security cameras offer a myriad of benefits, including easy installation, flexible placement options, and remote viewing capabilities. Whether you’re a technophile looking to upgrade your home security or a beginner searching for a user-friendly solution, this guide will walk you through the steps of setting up wireless security cameras.
Before we dive into the installation process, it’s crucial to understand the importance of choosing the right wireless security camera for your specific needs. With various brands, models, and features available in the market, it’s essential to select a camera that aligns with your security goals and fits your budget.
Let’s begin our journey by exploring the first step in setting up wireless security cameras: choosing the right camera for your home!
Key Takeaways:
- Setting up wireless security cameras involves choosing the right camera, installing it, connecting to Wi-Fi, configuring the software, and testing its functionality to ensure a reliable and effective home surveillance system.
- It’s important to regularly review and update security and privacy settings, stay informed about firmware updates, and integrate the camera with other smart home devices for enhanced security.
Read more: How Do You Setup Wireless Security?
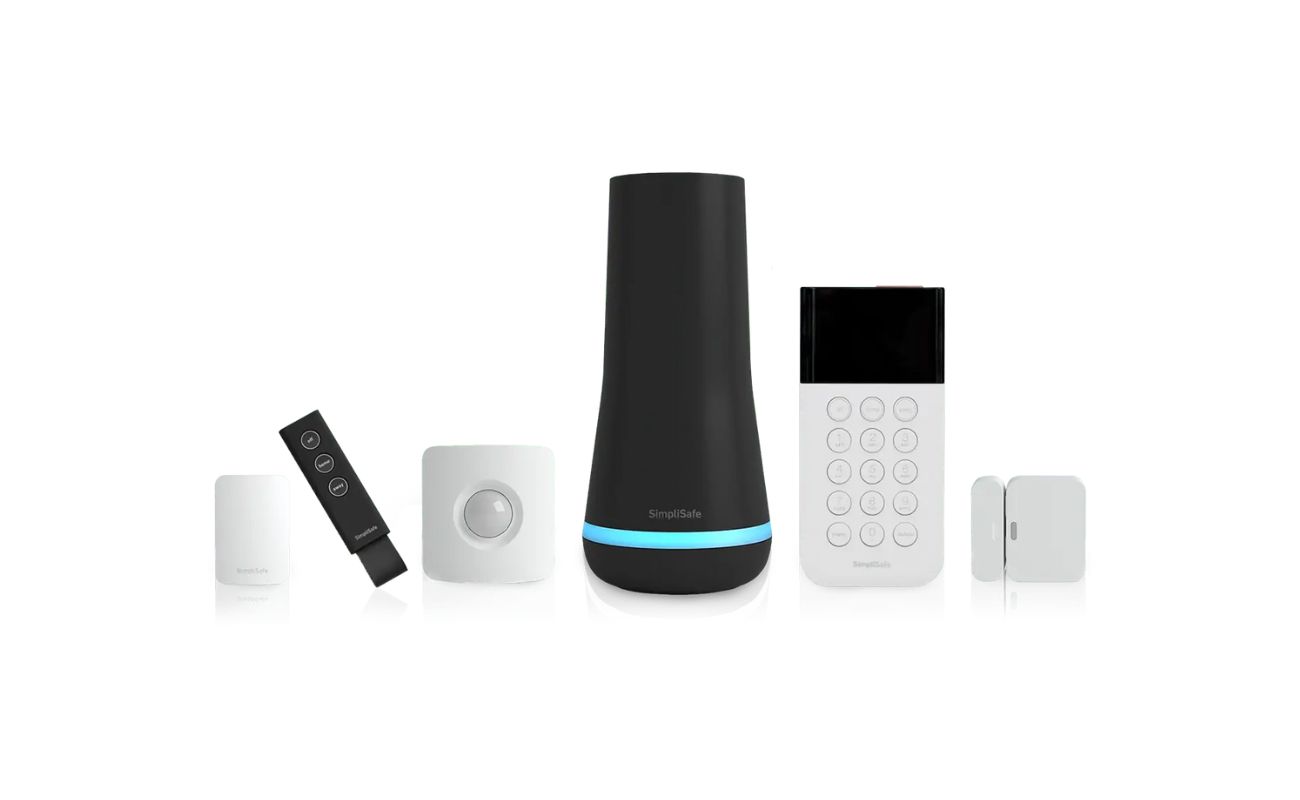
Step 1: Choosing the Right Wireless Security Camera
When it comes to selecting a wireless security camera, there are several factors to consider. By understanding your specific requirements and preferences, you can choose a camera that best suits your needs. Here are some key factors to keep in mind:
- Indoor or Outdoor: Determine whether you need a camera for indoor surveillance, outdoor monitoring, or both. This will help you narrow down your options and ensure the camera is built to withstand the elements if needed.
- Resolution: The resolution of the camera determines the clarity of the footage. Higher resolution cameras, such as those with 1080p or 4K capabilities, offer clearer and more detailed images. Consider your surveillance requirements and the level of detail you need.
- Field of View: The field of view refers to the area that the camera can capture. It is typically measured in degrees and determines how much of your property will be covered. A wider field of view is beneficial for monitoring large areas, while a narrower one may be suitable for focused surveillance.
- Night Vision: If you require surveillance in low-light or nighttime conditions, choose a camera with infrared (IR) night vision capabilities. This feature allows the camera to capture clear footage even in complete darkness.
- Motion Detection: Many wireless security cameras offer motion detection technology that triggers recording or alerts when movement is detected. Consider whether this feature is important for your surveillance needs and choose a camera with adjustable sensitivity settings.
- Two-Way Audio: If you want to communicate with people on the other end of the camera, opt for a camera with two-way audio functionality. This feature allows you to listen and talk through the camera’s built-in speaker and microphone.
- Storage Options: Determine how you want to store your camera’s footage. Some cameras offer onboard storage via SD cards, while others provide cloud storage options for convenient access and backup.
- Budget: Lastly, consider your budget and find a wireless security camera that offers the right balance of features and affordability. Remember to factor in any additional costs such as subscription plans for cloud storage or advanced features.
By evaluating these factors, you can narrow down your options and find the wireless security camera that meets your specific needs. Now that you have a clear understanding of what to look for in a camera, let’s move on to the next step: installing the camera!
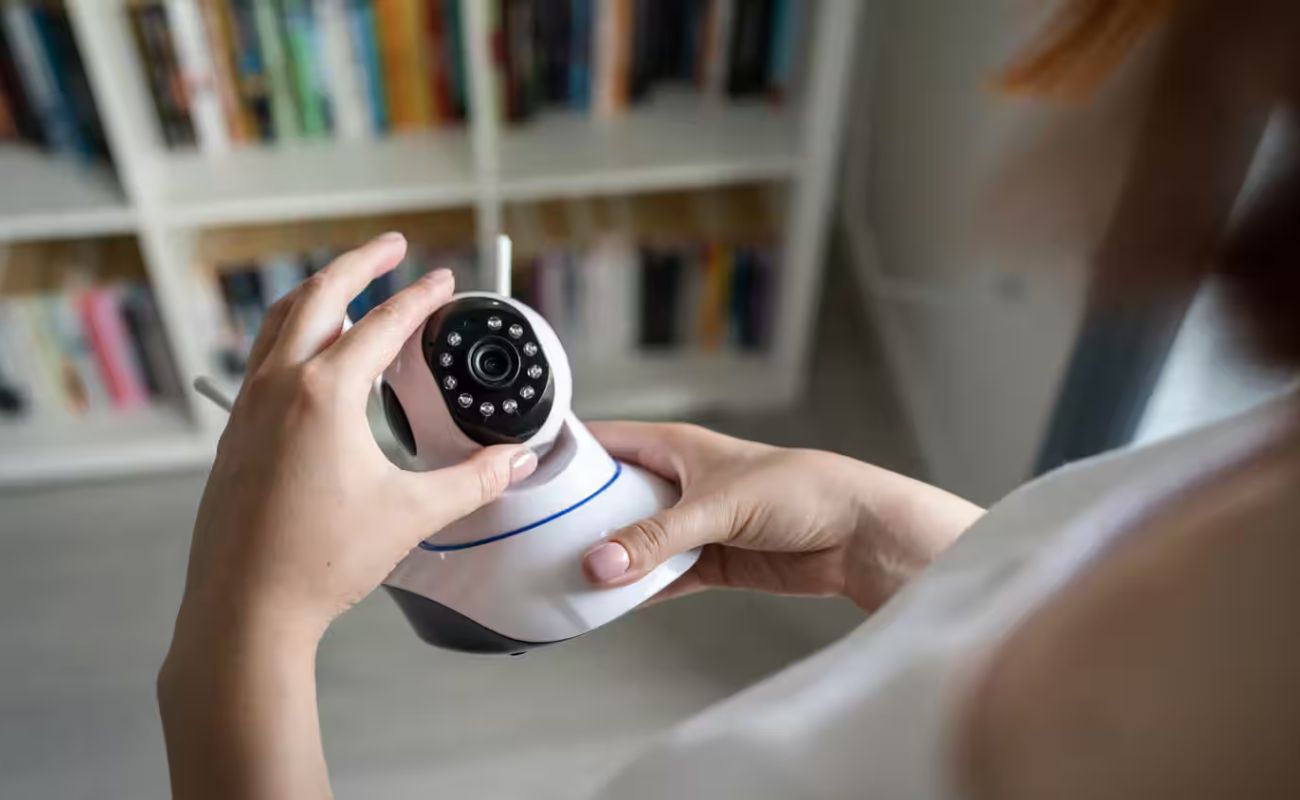
Step 2: Installing the Camera
Once you have chosen the right wireless security camera, the next step is installing it. The installation process may vary depending on the camera model and the specific instructions provided by the manufacturer. However, here are some general steps to help you get started:
- Select the mounting location: Determine where you want to place the camera. Consider areas that provide a good coverage of the desired surveillance area and ensure that the camera is securely mounted.
- Prepare the mounting surface: Clean the area where you plan to mount the camera. Ensure that the surface is smooth and free from any dust or debris.
- Mount the camera: Follow the manufacturer’s instructions to mount the camera securely. Depending on the camera, you may need to use screws, adhesive mounts, or other mounting options.
- Position the camera: Adjust the camera to the desired angle and position. Make sure it provides optimal coverage of the monitored area and minimizes any blind spots.
- Ensure proper power supply: If your camera requires power, ensure that it is conveniently located near a power outlet. Consider using outdoor-rated extension cords or installing a weatherproof power supply box if needed.
- Perform a test run: Before finalizing the installation, perform a test run to ensure the camera is functioning correctly. Check the video feed, adjust the settings if necessary, and confirm that the camera is capturing the desired footage.
- Secure any cables: If the camera has cables, ensure they are neatly secured and hidden to prevent tampering or accidental damage. Consider using cable clips or conduits to keep the cables organized and protected.
Remember to refer to the specific instructions provided by the manufacturer as the installation process may vary. If you encounter any difficulties or have questions, consult the camera’s user manual or contact the manufacturer’s customer support for assistance.
Now that the camera is securely installed, it’s time to move on to the next step: connecting the camera to Wi-Fi!
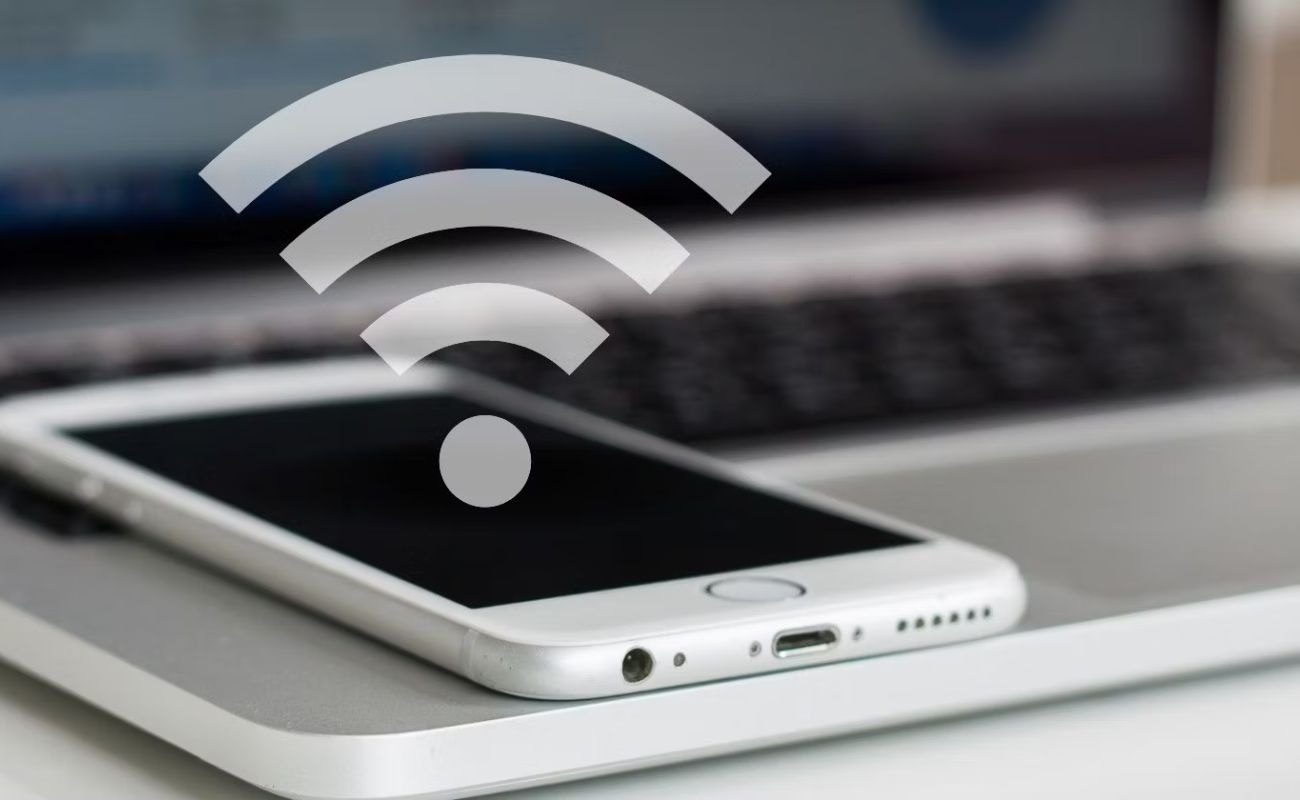
Step 3: Connecting the Camera to Wi-Fi
Once you have installed the wireless security camera, the next step is to connect it to your Wi-Fi network. This allows you to access the camera remotely and view the live feed or recorded footage on your smartphone, tablet, or computer. Follow these steps to connect your camera to Wi-Fi:
- Access the camera settings: Depending on the camera model, you may need to access the camera’s settings either through a web browser or a dedicated app. Refer to the manufacturer’s instructions to determine the correct method.
- Locate the Wi-Fi setup option: Within the camera settings, look for the Wi-Fi setup option. It may be labeled as “Wireless Setup” or something similar.
- Select your Wi-Fi network: In the Wi-Fi setup menu, your camera should detect and display a list of available networks. Select your Wi-Fi network from the list.
- Enter the Wi-Fi credentials: Once you have selected your Wi-Fi network, you will need to enter the password or security key associated with your Wi-Fi network. Make sure to enter the correct credentials to establish a successful connection.
- Confirm the connection: After entering the Wi-Fi credentials, the camera will attempt to connect to the network. Wait for the camera to establish a connection, which may take a few moments.
- Verify the connection: Once the camera successfully connects to your Wi-Fi network, it will display a confirmation message. You can also check the camera’s status indicators to ensure it is connected.
- Test the remote access: To ensure the camera is connected and accessible remotely, launch the camera’s app or access the camera’s web interface on your mobile device or computer. Check if you can view the live feed or access the camera’s settings remotely.
Remember that the steps may vary slightly depending on the camera model and the specific instructions provided by the manufacturer. If you encounter any difficulties during the connection process, consult the camera’s user manual or contact the manufacturer’s customer support for guidance.
With the camera now connected to your Wi-Fi network, you’re one step closer to enjoying the benefits of wireless surveillance. In the next step, we’ll explore how to set up the camera’s software and app for remote access and control.
When setting up wireless security cameras, make sure to change the default password to a strong, unique one. This will help prevent unauthorized access to your camera feed.
Step 4: Setting Up the Camera’s Software and App
After connecting your wireless security camera to Wi-Fi, the next step is to set up the camera’s software and app. This will enable you to remotely access and control the camera, view live feeds, adjust settings, and receive alerts. Follow these steps to set up the camera’s software and app:
- Download the camera’s app: Visit the app store on your smartphone or tablet and search for the camera’s dedicated app. Download and install the app onto your device.
- Create an account: Launch the app and follow the on-screen instructions to create an account. This usually involves providing your email address and choosing a secure password.
- Add your camera to the app: Once you have an account, follow the app’s instructions to add your camera. This may involve scanning a QR code located on the camera or entering a unique camera ID.
- Configure camera settings: Within the app, navigate to the camera settings section. Here, you can customize various settings such as motion detection sensitivity, recording modes, and notification preferences.
- Set up remote access: To enable remote access, ensure that the camera’s software and app support remote viewing. Follow the app’s instructions to configure remote access, which typically involves creating a secure login or linking the app to your account.
- Explore additional features: Depending on the camera model and app, there may be additional features to explore. This can include two-way audio, scheduling recording times, or integrating with other smart home devices.
- Test the app and software: Once you have completed the initial setup, perform a test by accessing the camera’s live feed, checking the settings, and verifying that you receive alerts properly.
Remember to refer to the specific instructions provided by the camera manufacturer and the app developer as the setup process may vary. If you encounter any difficulties or have questions, consult the camera’s user manual or contact the manufacturer’s customer support for assistance.
Now that you have set up the camera’s software and app, you can conveniently access and control your wireless security camera using your smartphone or tablet. In the next step, we will discuss how to configure security and privacy settings for your camera.
Read more: How Do You Power A Wireless Security Camera
Step 5: Configuring Security and Privacy Settings
Configuring the security and privacy settings of your wireless security camera is crucial to ensure the protection of your personal information and maintain the privacy of your surveillance system. Follow these steps to properly configure the security and privacy settings:
- Change the default password: One of the first things you should do is change the default password for your camera’s login. Use a strong and unique password that combines letters, numbers, and special characters to prevent unauthorized access.
- Enable encryption: Check if your camera supports encryption protocols, such as WPA2 or AES. Enable encryption to protect the transmission of data between your camera and device, making it more difficult for hackers to intercept or tamper with the feed.
- Update firmware: Regularly check for firmware updates for your camera and install them promptly. Firmware updates often include security patches and bug fixes that help protect against potential vulnerabilities.
- Disable UPnP: Universal Plug and Play (UPnP) can pose a security risk by allowing devices on your network to automatically configure port settings. It’s recommended to disable UPnP to prevent any potential security vulnerabilities.
- Enable two-factor authentication: If your camera and app support it, enable two-factor authentication for an extra layer of security. This will require you to provide a verification code in addition to your password when logging in.
- Control user access: If you have multiple users who need access to the camera’s feed and settings, assign appropriate permissions and controls to each user. Restrict access to sensitive features and ensure that each user has a unique login.
- Set motion detection zones: Configure motion detection zones to focus the camera’s attention on specific areas and avoid capturing unnecessary footage. This will help minimize false alerts and improve the accuracy of motion detection.
- Review privacy options: Some cameras offer privacy features such as scheduling when the camera should be active, blurring certain areas, or disabling audio recording. Review and customize these privacy options based on your preferences and requirements.
Remember to regularly review and update your security and privacy settings as needed. Stay vigilant by monitoring any security advisories from the manufacturer and implementing recommended security practices.
By properly configuring the security and privacy settings, you can ensure the integrity of your wireless security camera system and protect your privacy. In the final step, we will discuss the importance of testing the camera’s functionality.
Step 6: Testing the Camera’s Functionality
After setting up your wireless security camera and configuring all the necessary settings, it’s crucial to perform a thorough test to ensure that the camera is functioning properly. Testing the camera’s functionality will help identify any issues or areas that need adjustment. Follow these steps to test your camera:
- Check the camera’s live feed: Launch the camera’s app or access the camera’s web interface and check if you can view the live feed from the camera. Ensure that the feed is clear and the image quality meets your expectations.
- Test motion detection: Move within the camera’s field of view and observe if the camera correctly detects motion and triggers recording or sends motion alerts. Adjust the motion detection settings if necessary to reduce false alarms or to capture all desired activity.
- Confirm night vision capabilities: Test the camera’s night vision by checking if it can capture clear footage in low-light or dark conditions. Make sure the infrared (IR) LEDs are functioning properly and adjust the camera’s settings if needed.
- Verify remote access: Access the camera’s live feed and settings remotely using your smartphone, tablet, or computer. Ensure that you can connect to the camera over the internet and that the remote access features are working correctly.
- Test two-way audio: If your camera has two-way audio functionality, test it by speaking through the camera’s app or web interface and checking if you can hear the audio from the camera’s speaker. Ensure that the audio quality is clear and that there are no connectivity issues.
- Review recording and storage: Check if the camera is recording and storing footage as expected. Verify that the camera is saving recordings to the designated storage location, whether it’s an SD card or a cloud-based storage service.
- Test alerts and notifications: Trigger a motion event or manually activate any other alert triggers to ensure that the camera sends notifications promptly to your smartphone or email. Check if you receive alerts and review their accuracy.
During the testing process, take note of any issues or areas that need improvement. If you encounter any difficulties or the camera is not functioning as expected, consult the camera’s user manual or contact the manufacturer’s customer support for guidance and troubleshooting assistance.
By thoroughly testing the camera’s functionality, you can ensure that your wireless security camera system is reliable and effective in providing the surveillance and peace of mind you desire.
With these steps completed, you have successfully set up and tested your wireless security camera. By choosing the right camera, installing it properly, configuring the software and app, and testing its functionality, you have taken important steps towards enhancing the security of your home. Remember to regularly maintain the camera and keep it updated to ensure optimal performance and security.
Congratulations on setting up your wireless security camera and may it bring you peace of mind and enhanced protection!
Conclusion
Congratulations on successfully setting up your wireless security camera! By following the steps outlined in this guide, you have chosen the right camera for your needs, installed it correctly, connected it to Wi-Fi, configured the software and app, and tested its functionality. Your efforts have paid off in creating a reliable and effective home surveillance system.
Wireless security cameras have revolutionized the way we protect our homes, offering easy installation, flexible placement, and remote access capabilities. With the ability to monitor your property from anywhere, you can have peace of mind knowing that your loved ones and belongings are secure.
Remember to periodically review and update your camera’s settings, including security and privacy measures. Regularly check for firmware updates and stay informed about any security advisories from the manufacturer to ensure the ongoing protection of your camera system.
Additionally, consider integrating your camera with other smart home devices and features for enhanced security. Connect your camera to smart home hubs or systems to automate surveillance based on triggered events or schedules. This integration can further enhance the overall security of your home.
Throughout the setup and configuration process, it’s important to refer to the manufacturer’s instructions and seek support if needed. Most camera manufacturers provide resources such as user manuals, online tutorials, and customer support to assist you during any stage of the setup and maintenance process.
By taking the time to select the right camera, follow proper installation procedures, establish a secure Wi-Fi connection, configure software and apps, and perform thorough testing, you have ensured the effectiveness and reliability of your wireless security camera system.
Now that your wireless security camera is up and running, enjoy the peace of mind that comes with knowing your home and loved ones are protected. Stay proactive in monitoring your camera’s feed, reviewing recorded footage, and adjusting settings as needed. With this powerful surveillance tool in place, you can focus on the things that matter most, knowing that your home is secure.
Frequently Asked Questions about How Do You Setup Wireless Security Cameras?
Was this page helpful?
At Storables.com, we guarantee accurate and reliable information. Our content, validated by Expert Board Contributors, is crafted following stringent Editorial Policies. We're committed to providing you with well-researched, expert-backed insights for all your informational needs.