Home>Home Security and Surveillance>How To Setup A Wireless Security System In An Apartment?
Home Security and Surveillance
How To Setup A Wireless Security System In An Apartment?
Modified: September 1, 2024
Learn how to easily set up a wireless security system in your apartment with our comprehensive guide. Enhance your home security and surveillance today!
(Many of the links in this article redirect to a specific reviewed product. Your purchase of these products through affiliate links helps to generate commission for Storables.com, at no extra cost. Learn more)
Introduction
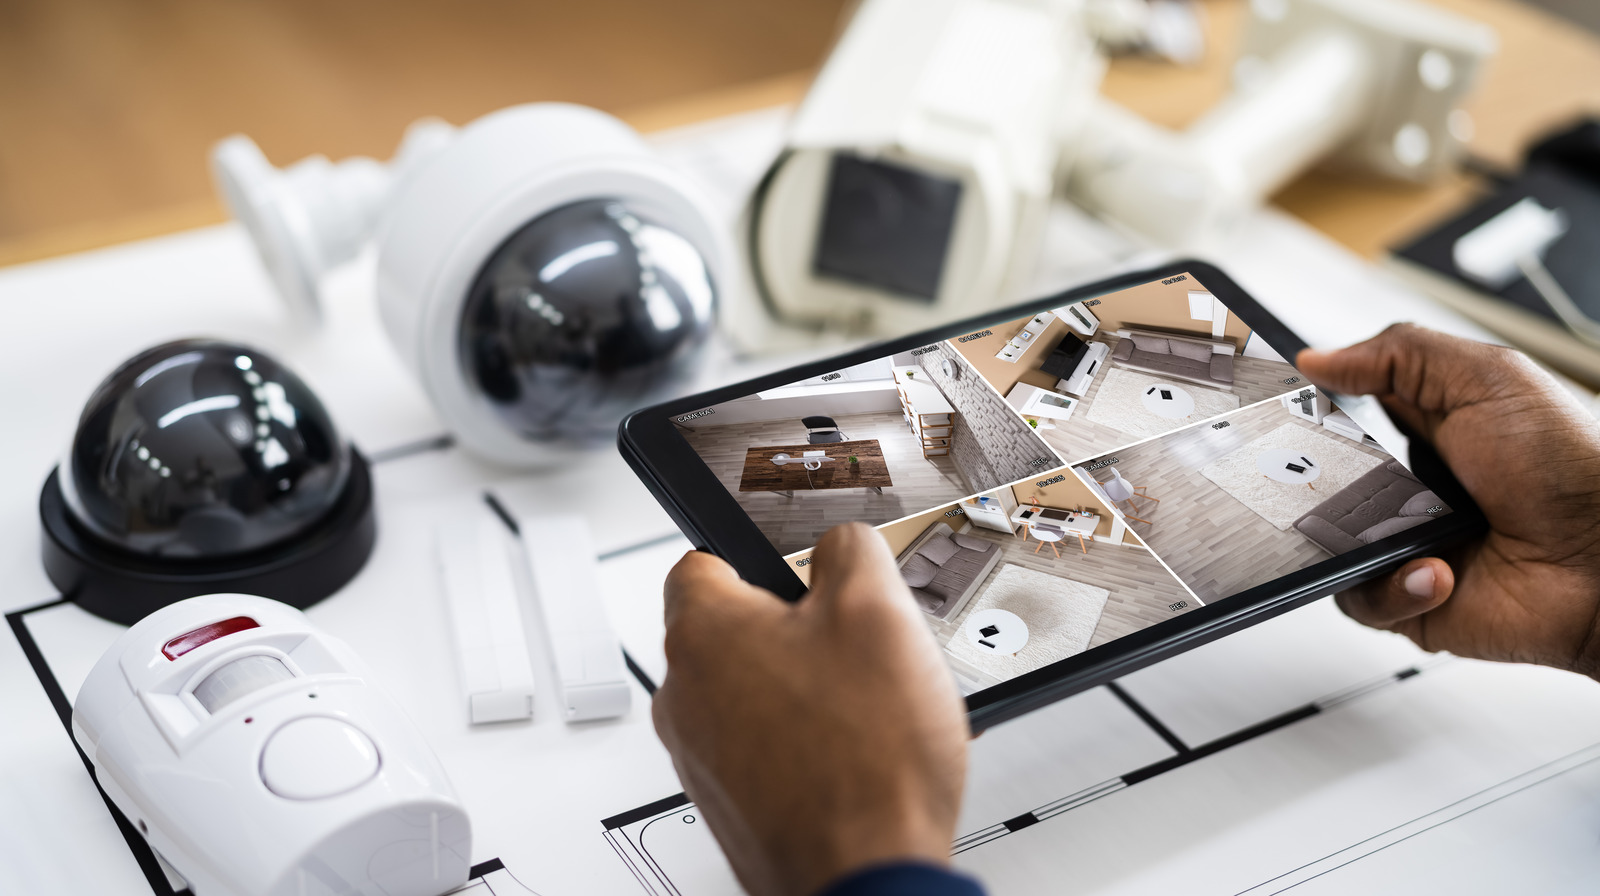
Welcome to the ultimate guide on how to set up a wireless security system in an apartment. As an apartment dweller, it’s essential to prioritize the safety and security of your home and loved ones. A wireless security system offers an effective and convenient solution that allows you to monitor your apartment and deter potential intruders.
In this comprehensive guide, we will walk you through the step-by-step process of setting up a wireless security system in your apartment. From assessing your security needs to installing and maintaining the system, we’ll cover it all.
Before we dive into the details, it’s important to understand the advantages of using a wireless security system. First and foremost, wireless systems are incredibly easy to install and set up, making them a perfect choice for apartment dwellers who may not have the luxury of making extensive modifications to their living space.
Wireless security systems also offer flexibility in terms of camera placement. Unlike traditional wired systems, which require drilling holes and running cables, wireless cameras can be placed anywhere within range of your Wi-Fi network. This flexibility allows you to easily reposition or add cameras as your security needs evolve.
Additionally, wireless security systems often come with advanced features, such as motion detection, night vision, and remote viewing capabilities. These features enable you to keep a close eye on your apartment even when you’re away, providing you with peace of mind.
Now that we’ve covered the advantages, let’s move on to the first step in setting up your wireless security system: assessing your security needs. By understanding your specific requirements, you can choose the right system and customize it to fit your apartment perfectly.
Key Takeaways:
- Setting up a wireless security system in your apartment is easy and customizable. Assess your needs, choose the right system, and follow the steps to install and maintain it for a safe living environment.
- Regular testing, maintenance, and troubleshooting are essential for a reliable security system. Stay proactive and enjoy peace of mind knowing you’ve taken steps to protect your home and loved ones.
Step 1: Assessing your security needs
Before you start setting up your wireless security system, it’s crucial to assess your security needs. Every apartment is unique, and understanding your specific requirements will help you determine the type and number of cameras you’ll need.
Start by identifying the vulnerable areas within and around your apartment. This includes entry points such as doors and windows, as well as areas where valuable belongings are stored. Take note of any blind spots or areas with poor lighting that may need extra surveillance.
Consider your lifestyle and daily routine. Do you spend long hours away from home? Do you frequently travel? Knowing your patterns and potential risks will help you determine the level of monitoring and security you require.
Next, define your objectives. Are you primarily interested in deterring potential intruders, or do you want to capture detailed footage for evidence purposes? Understanding your goals will guide you in selecting the appropriate camera features and capabilities.
Consider the layout of your apartment. Do you have multiple entryways or a large outdoor area that needs monitoring? This will affect the number of cameras you’ll need and the type of system that best suits your space.
Take into account any specific security concerns you may have. For example, if you’re worried about package theft, you might want to focus on cameras positioned near your front door or mail area.
Lastly, consider your budget. While it’s important to invest in a reliable security system, it’s equally important to find one that fits your financial constraints.
By thoroughly assessing your security needs, you’ll be able to make informed decisions when it comes to selecting the right wireless security system for your apartment. Now that you have a clear understanding of your requirements, let’s move on to step two: choosing the right wireless security system.
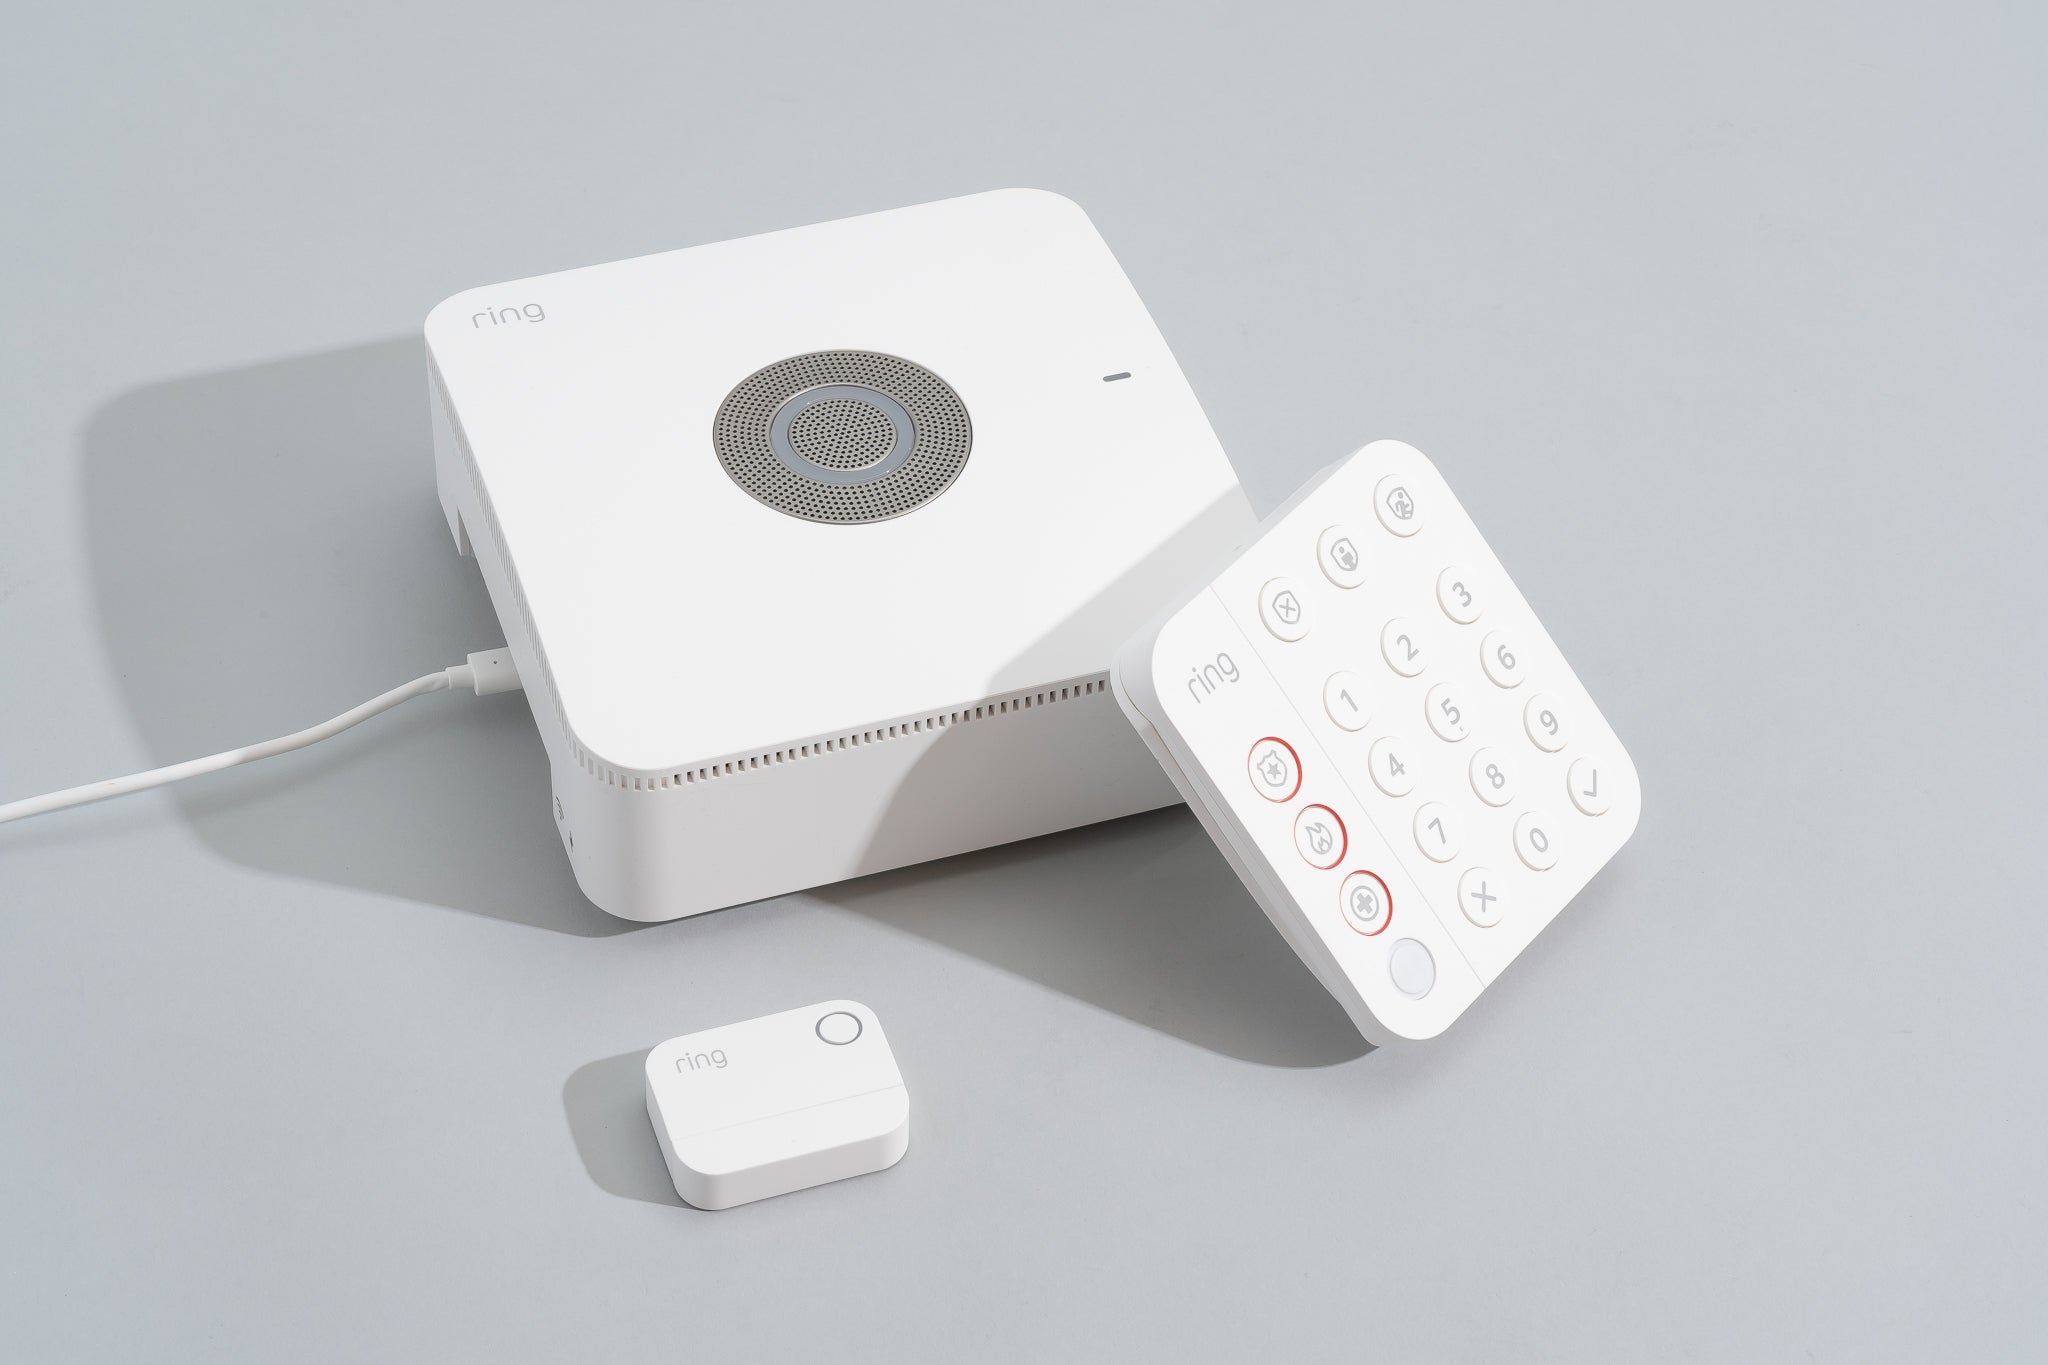
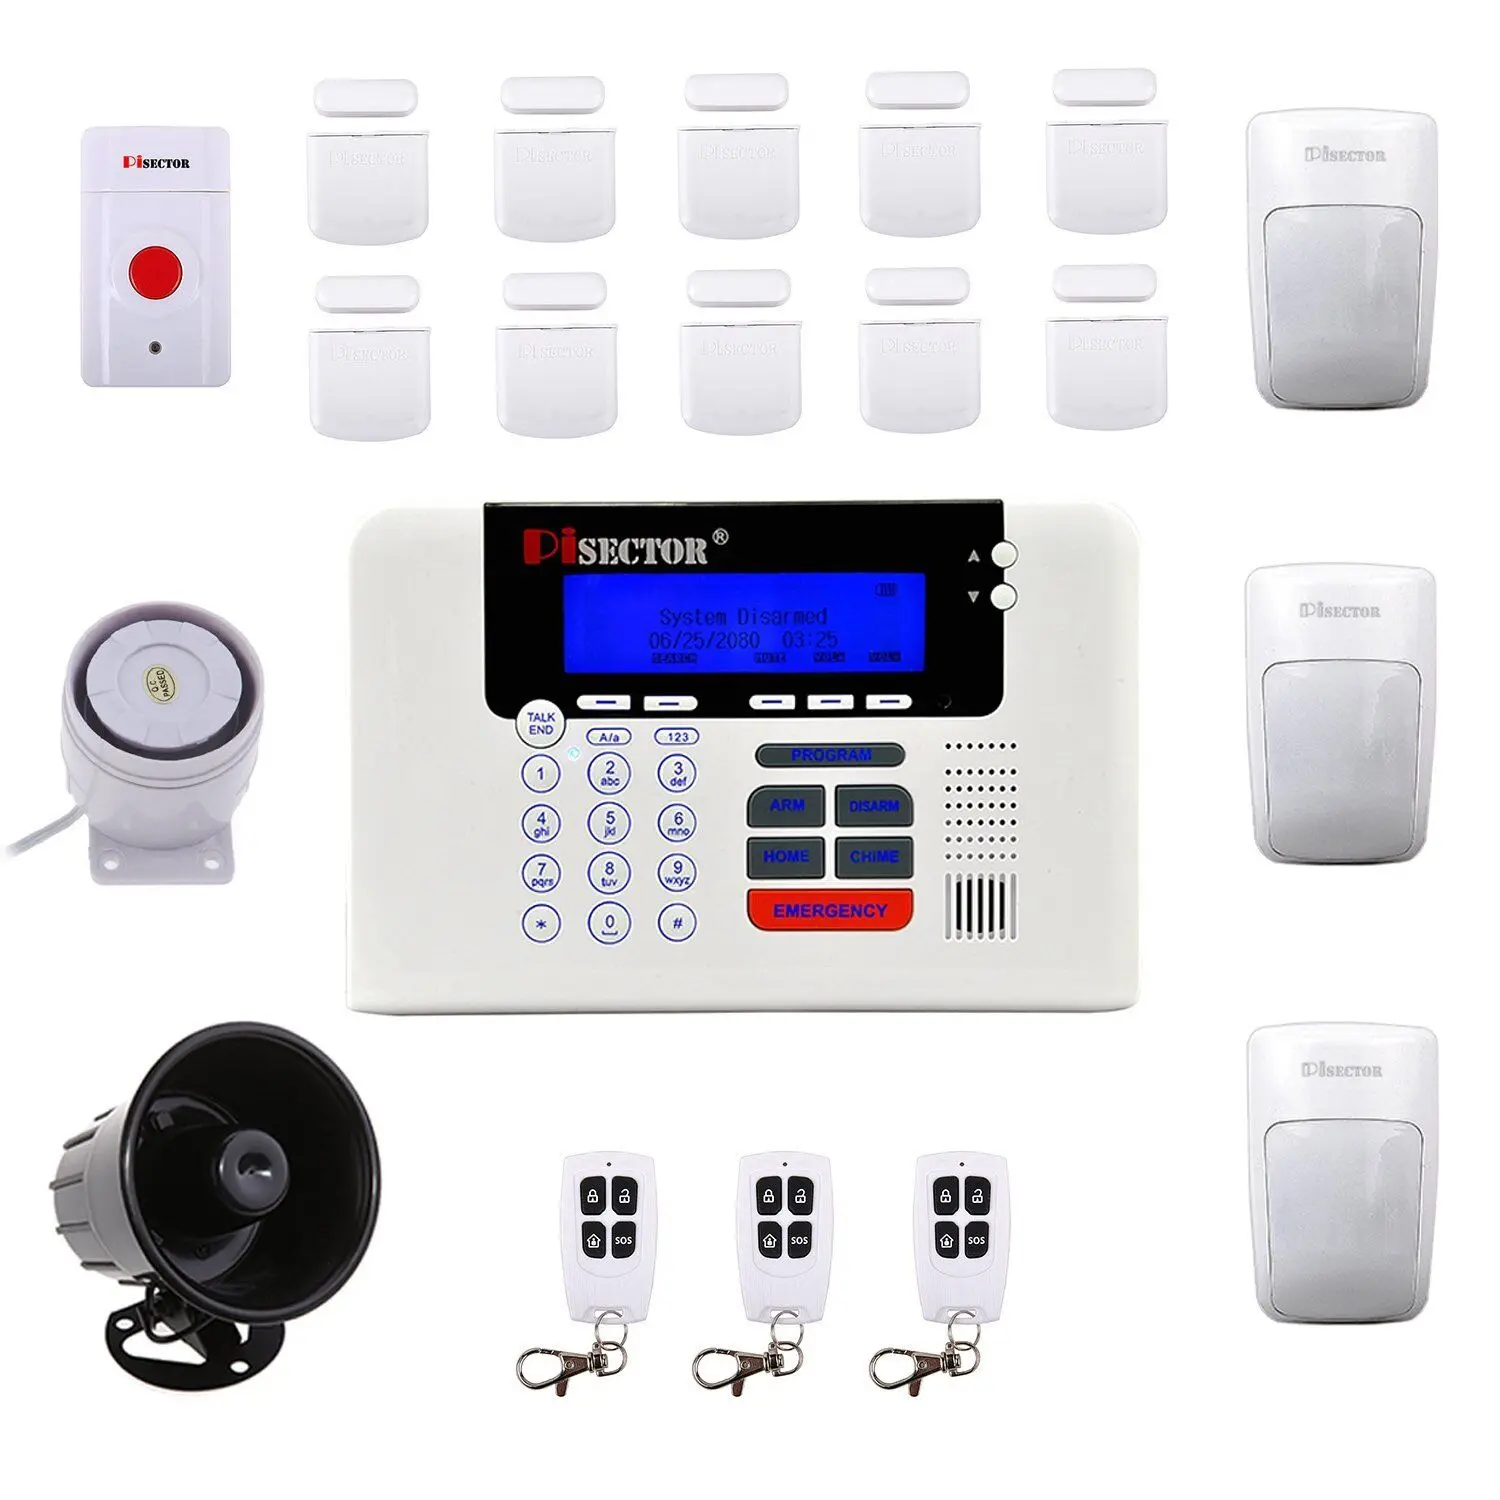
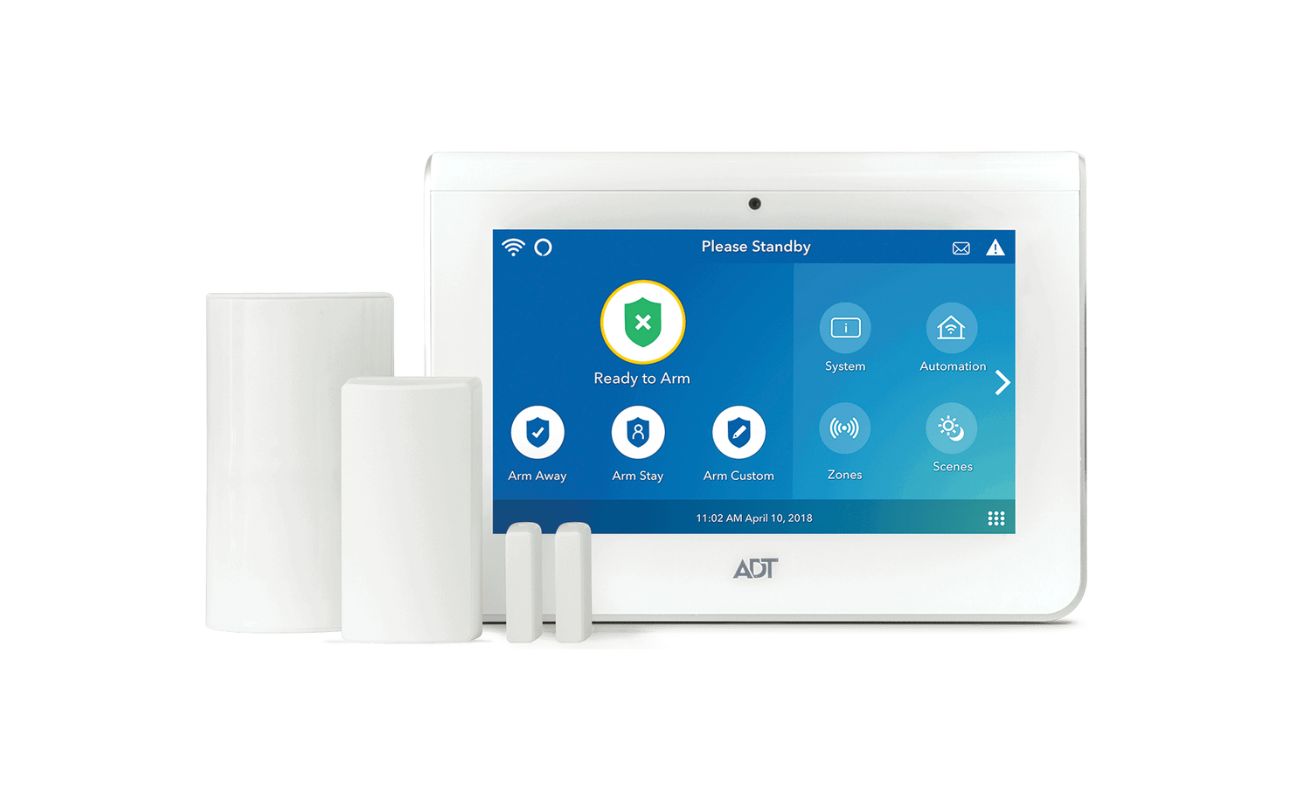
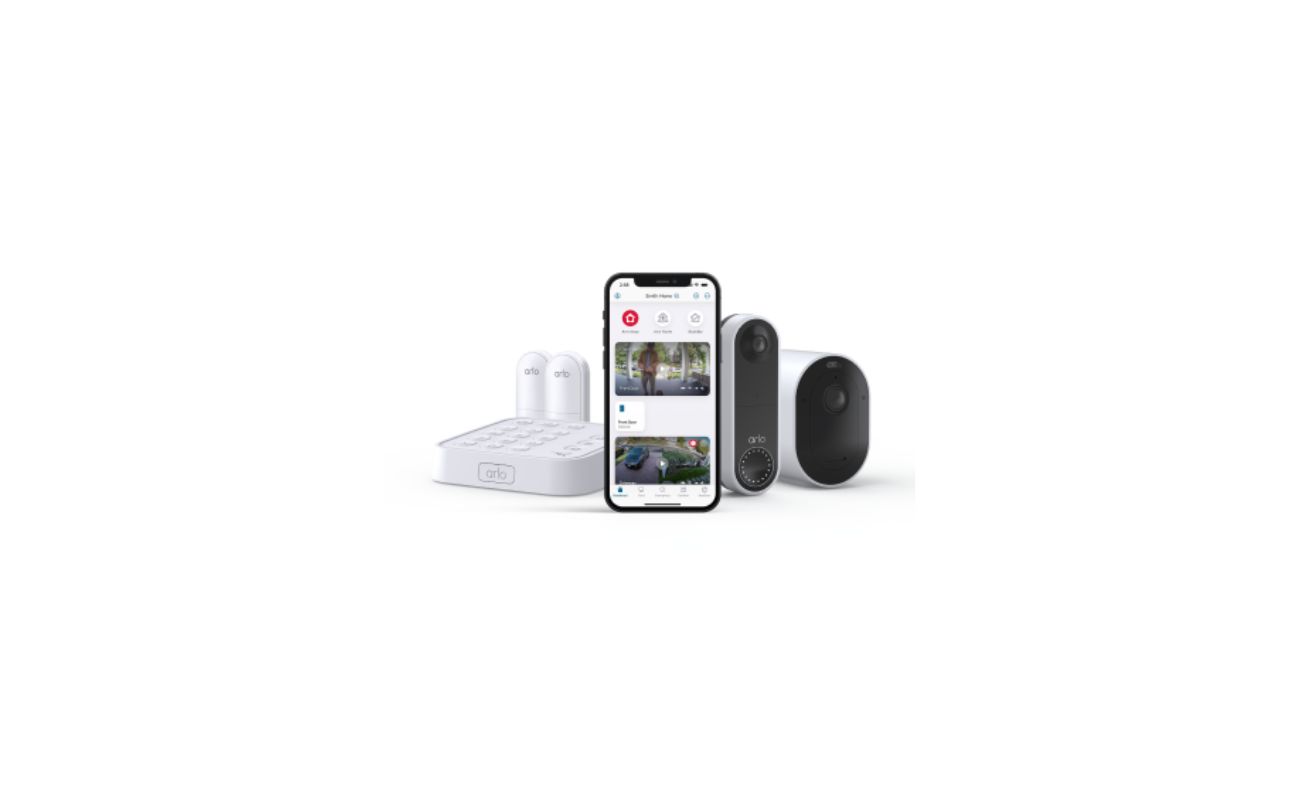
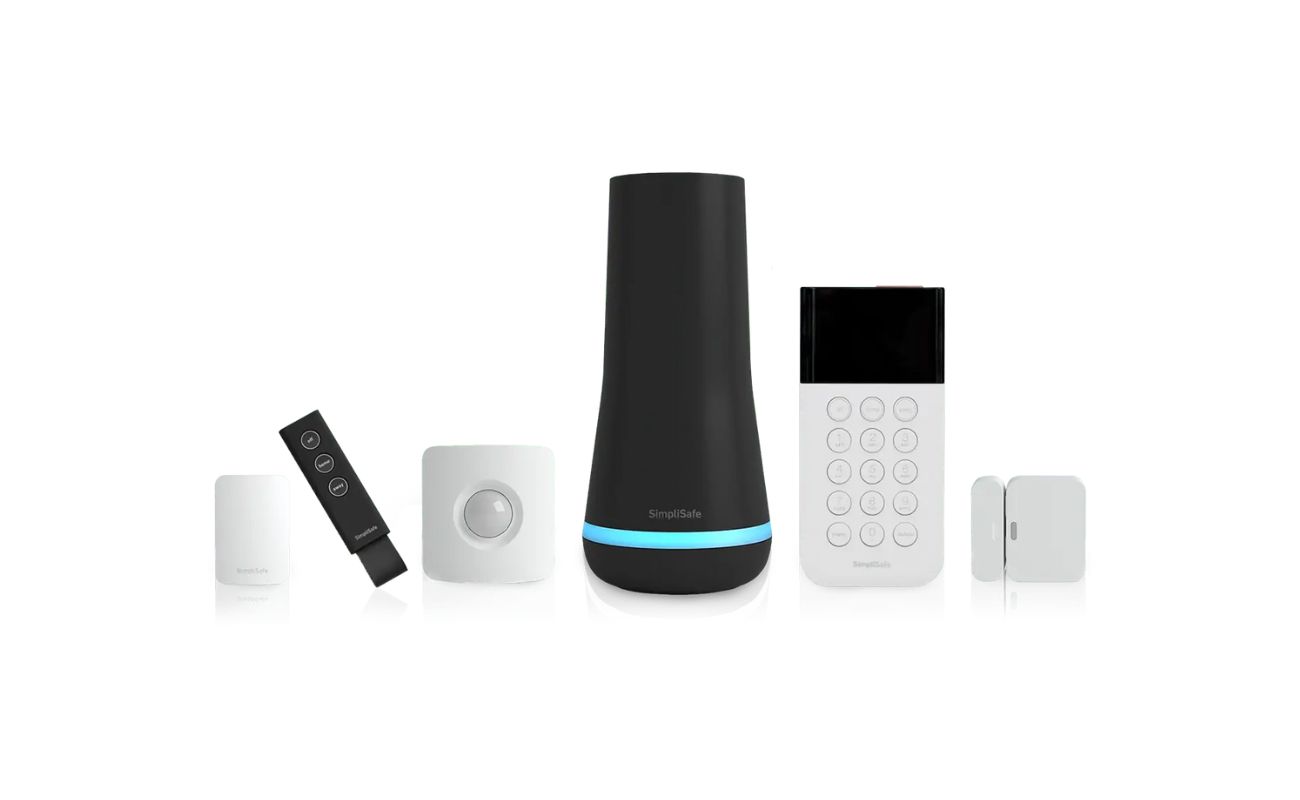
Step 2: Choosing the right wireless security system
Now that you have assessed your security needs, it’s time to choose the right wireless security system for your apartment. With so many options available in the market, it can be overwhelming to make a decision. But don’t worry, we’re here to help!
When choosing a wireless security system, there are several factors to consider:
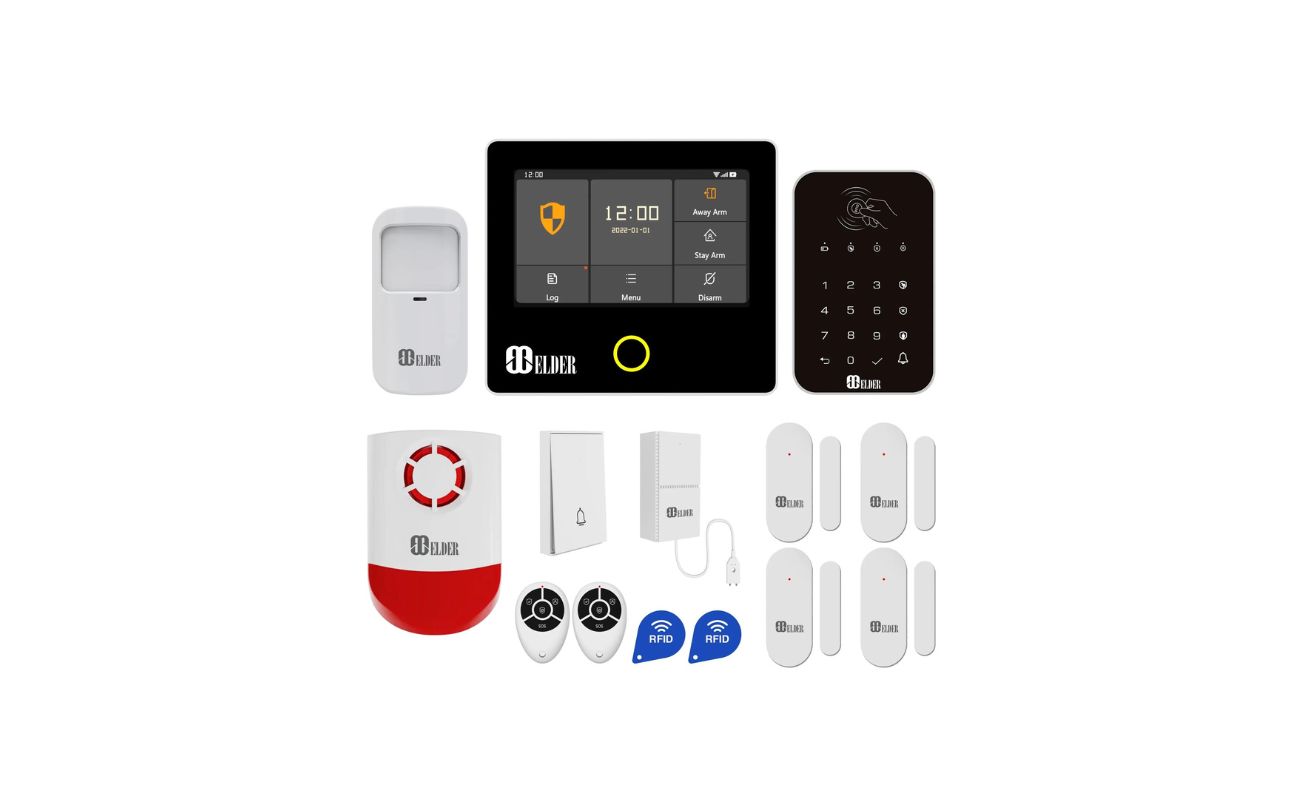
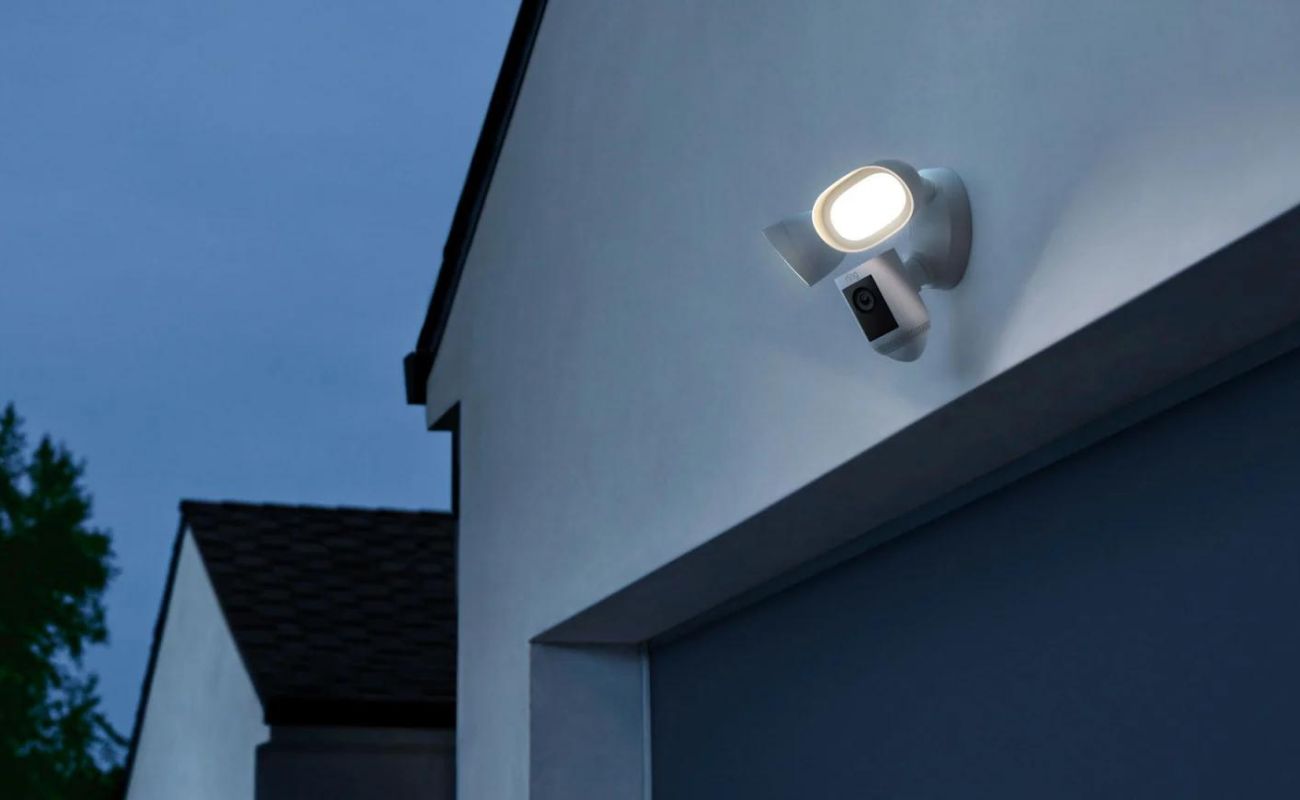
- Camera types: There are various types of cameras available, such as indoor cameras, outdoor cameras, and doorbell cameras. Assess your needs and select cameras that are suitable for your specific requirements.
- Resolution: Look for cameras with high-resolution capabilities to ensure clear and detailed footage. HD or 4K resolution will provide the best image quality.
- Field of view: Consider the field of view that each camera offers. A wider field of view will cover more area, reducing the number of cameras needed.
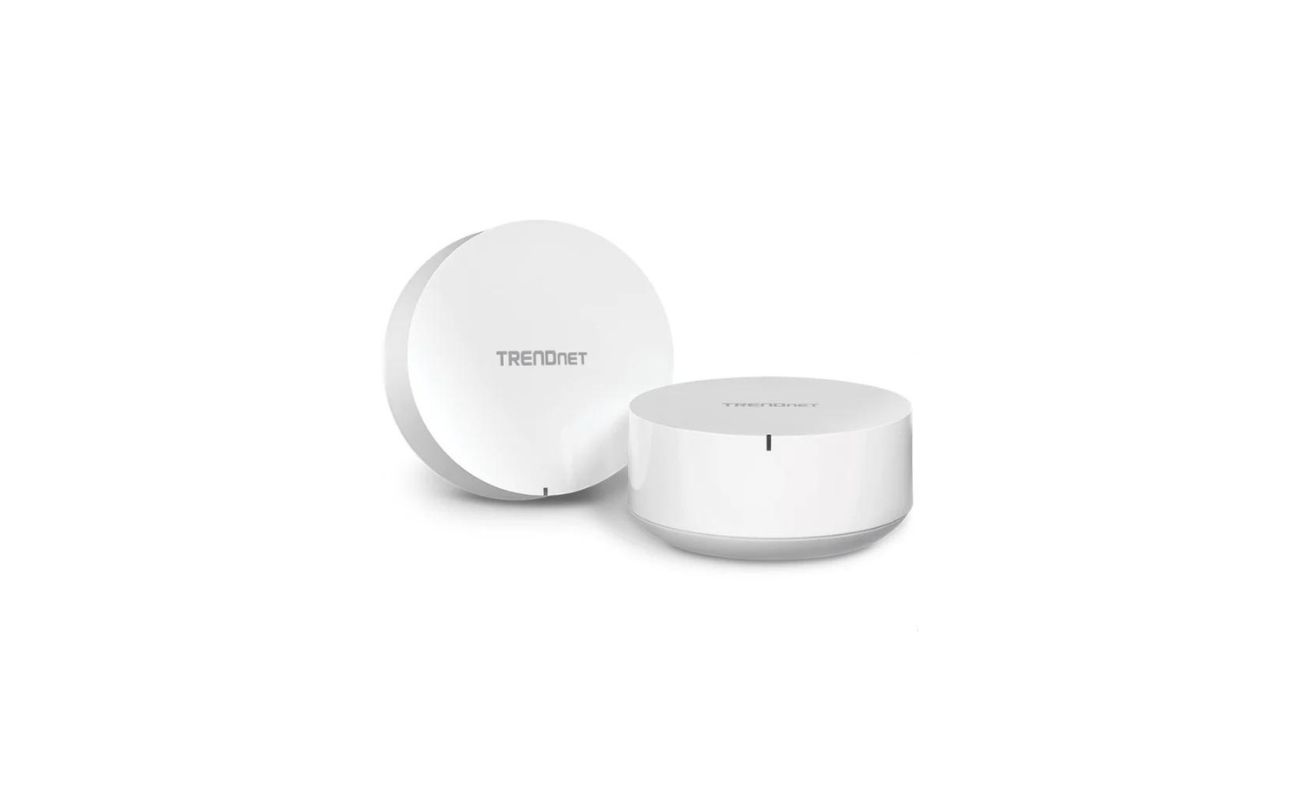
- Wireless range: Ensure that the wireless cameras you choose have a range that can cover your entire apartment. This will ensure a strong and stable connection.
- Camera features: Look for advanced features such as motion detection, night vision, two-way audio, and mobile app integration. These features enhance the functionality of the system and provide added convenience.
- Storage options: Consider how the system stores the recorded footage. Some systems use cloud storage, while others provide options for local storage through an SD card or a network-attached storage (NAS) device.
- Budget: Set a budget and look for security systems within that range. Remember to prioritize quality and reliability over price alone.
Take the time to research different brands and read customer reviews to gain insights into the performance and reliability of the systems you are considering. It’s also advisable to consult with security professionals or seek recommendations from friends or neighbors who have already installed wireless security systems.
Once you have narrowed down your options, compare the features and pricing of each system. Select the one that best meets your needs and offers the most value for your investment.
With the right wireless security system chosen, you are now ready to proceed to step three: preparing for installation.
Step 3: Preparing for installation
Before you start installing your wireless security system, it’s important to properly prepare your apartment for the setup process. This step will ensure a smooth installation and optimal performance of your security system.
Here are some key steps to follow when preparing for installation:
- Identify optimal camera placement: Based on your security needs and the layout of your apartment, identify the best locations to install the cameras. Ensure that the chosen spots provide clear views of the areas you want to monitor.
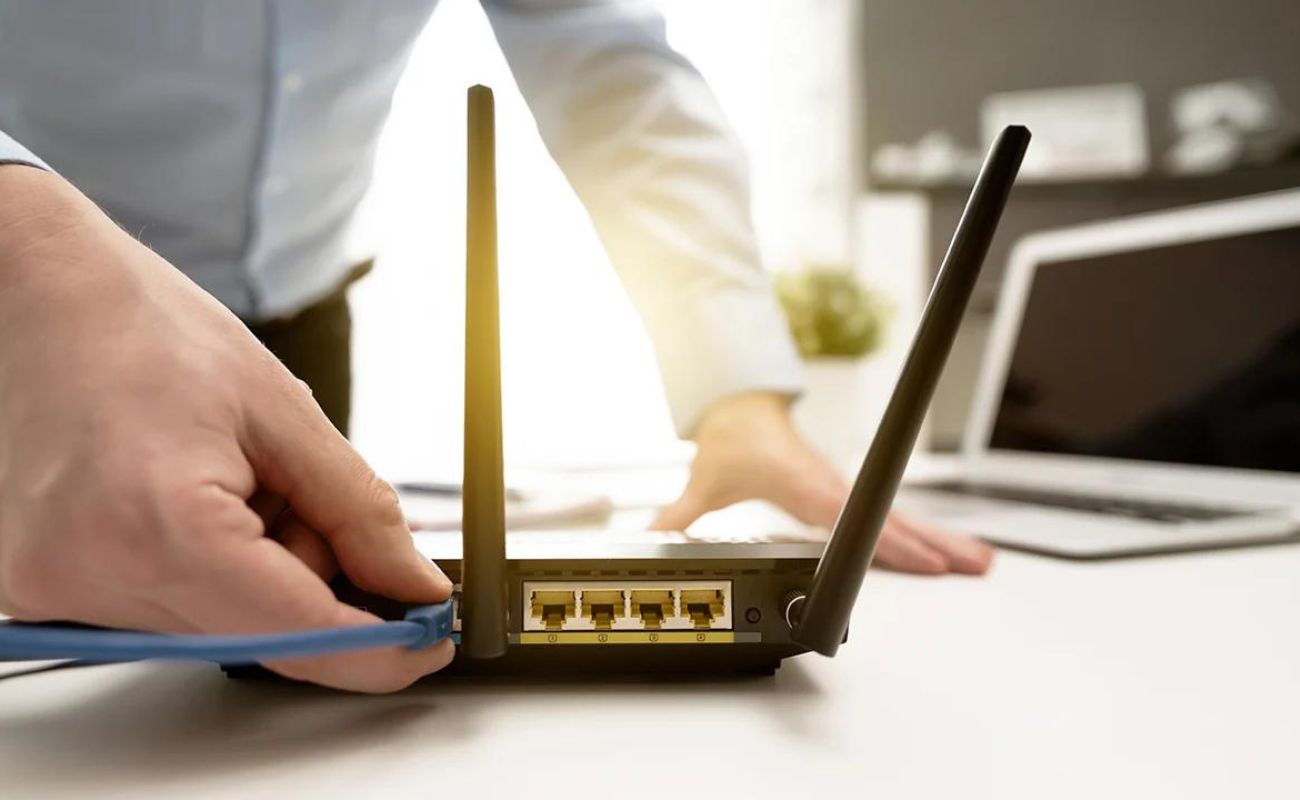
- Check Wi-Fi network coverage: Place your wireless router in a central location within your apartment to ensure strong and reliable Wi-Fi coverage. Test the signal strength in the areas where you plan to install the cameras. If there are any weak spots, consider using Wi-Fi extenders to boost the coverage.
- Prepare power sources: Determine how you will power the wireless cameras. Most wireless cameras can be powered through AC outlets or with rechargeable batteries. If you opt for battery-powered cameras, make sure to have spare batteries on hand for easy replacement.
- Gather necessary tools: Before you begin the installation process, gather the necessary tools such as a drill, screws, screwdrivers, cable clips, and a ladder if needed. Having these tools readily available will make the installation process more efficient.
- Secure permission if required: If you are renting your apartment or living in a managed property, check with your landlord or property management if there are any restrictions or permissions required for installing security cameras. It’s important to follow the rules and regulations to avoid any complications.
- Inform neighbors: Consider informing your neighbors about your intention to install a wireless security system. This will help avoid any misunderstandings or concerns and can foster a sense of community security.
By taking the time to properly prepare your apartment, you will set the foundation for a successful installation. Now that you have completed the preparation process, it’s time to move on to step four: installing the cameras.
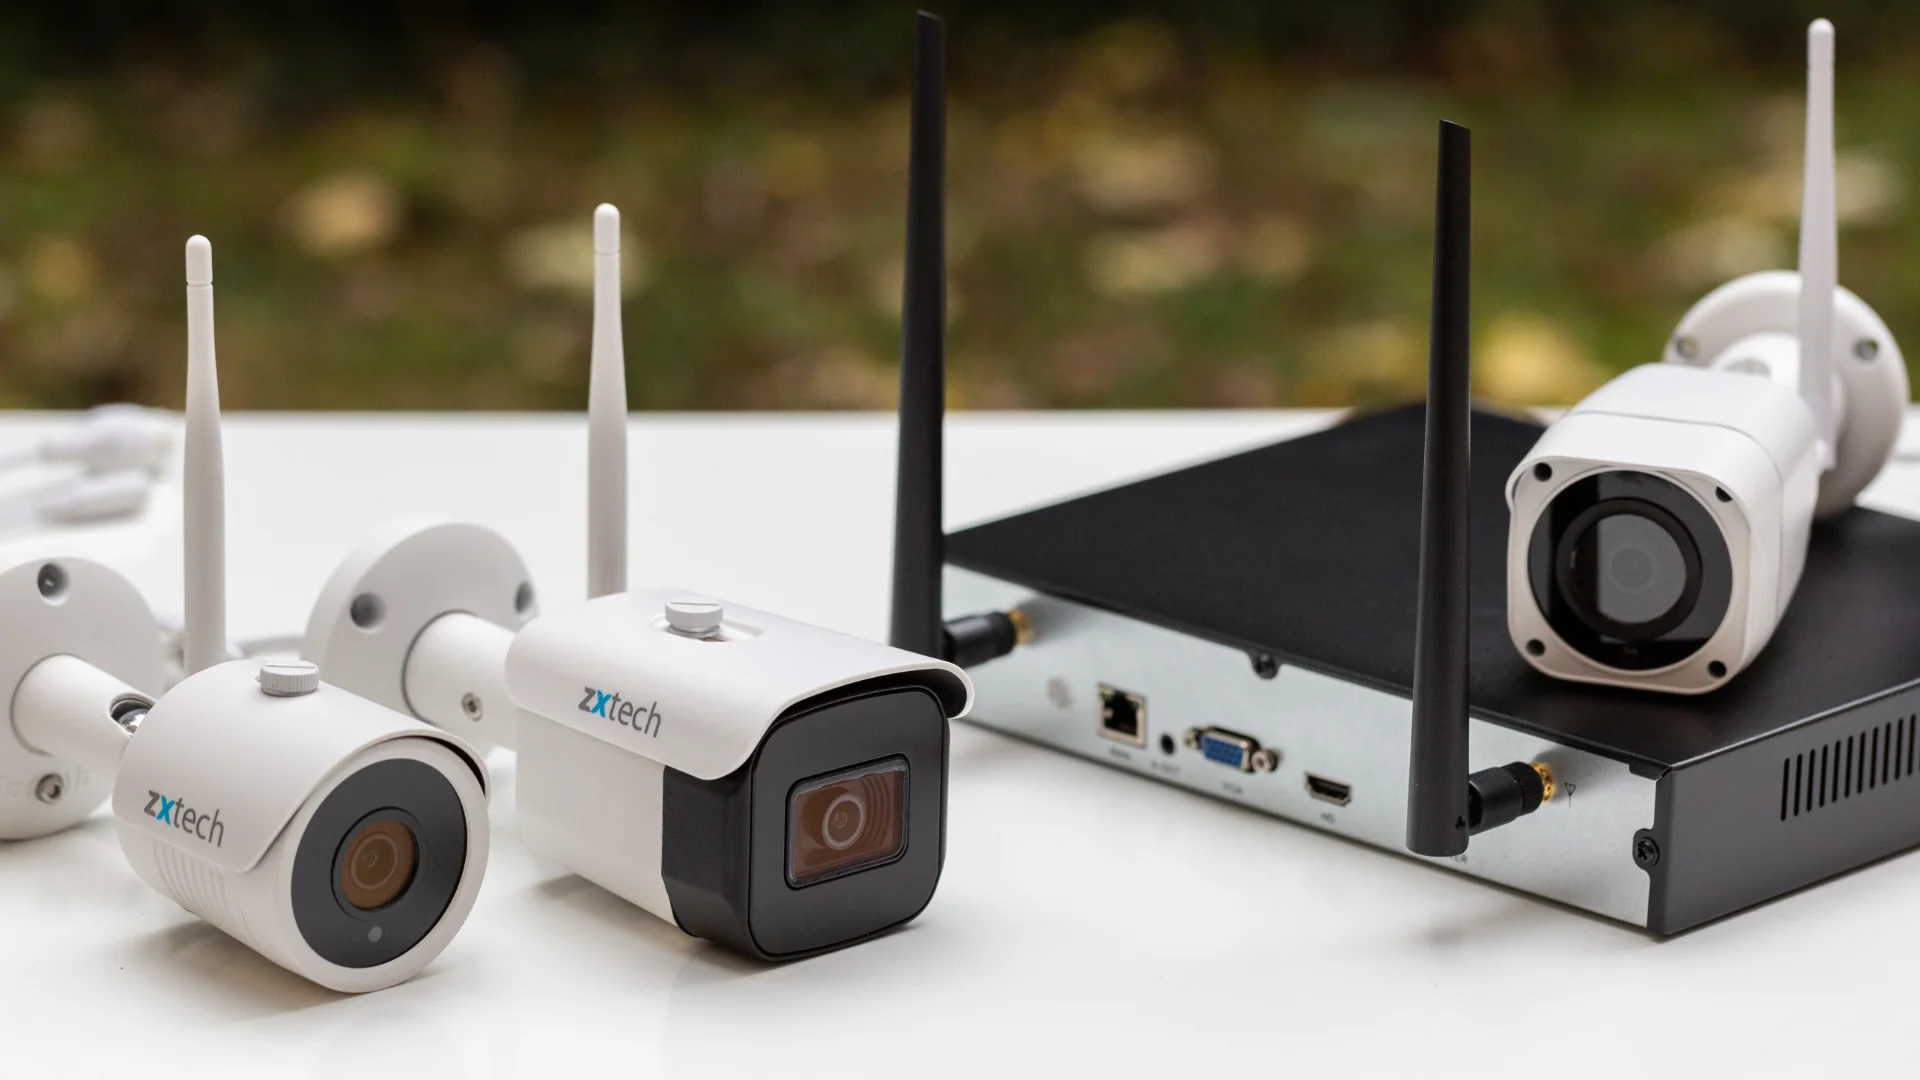
Step 4: Installing the cameras
Installing the cameras is a crucial step in setting up your wireless security system. Proper installation ensures optimal coverage and functionality, so it’s important to pay attention to the following steps:
- Follow the manufacturer’s instructions: Each camera model may have slightly different installation instructions, so it’s important to carefully read and follow the instructions provided by the manufacturer.
- Mounting options: Decide on the mounting options based on your camera’s design and the locations you identified during the preparation phase. Cameras can be mounted on walls, ceilings, or other surfaces using brackets, screws, or adhesive mounts.
- Proper alignment: When installing the cameras, ensure proper alignment for optimal coverage. Adjust the camera angle and adjustability features to cover the desired areas, whether it’s entry points or blind spots.
- Consider camera protection: If you’re installing outdoor cameras, it’s important to protect them from weather conditions such as rain or extreme temperatures. Look for cameras with weatherproof housing or consider installing protective covers.
- Secure wiring: If your cameras require wiring, ensure that the wires are securely hidden and protected. You can use cable clips or wire channels to neatly route the wires along walls or through ceiling spaces.
- Ensure power source: Connect the cameras to the appropriate power source, whether it’s an AC outlet or a battery. Ensure that the power source is easily accessible for maintenance and replacement.
- Test positions: Before finalizing the installation, it’s a good idea to test the camera positions and make any necessary adjustments. This will ensure that the cameras provide the desired coverage and minimize any blind spots.
It’s essential to take your time during the installation process and ensure that each camera is securely mounted and properly connected. If you’re unsure about any aspects of the installation, consider seeking professional assistance to ensure a seamless setup.
Once all the cameras are installed, you’re ready to move on to the next step: connecting the cameras to the wireless network.
When setting up a wireless security system in an apartment, make sure to place motion sensors in key areas such as entryways and windows to maximize coverage and protection.
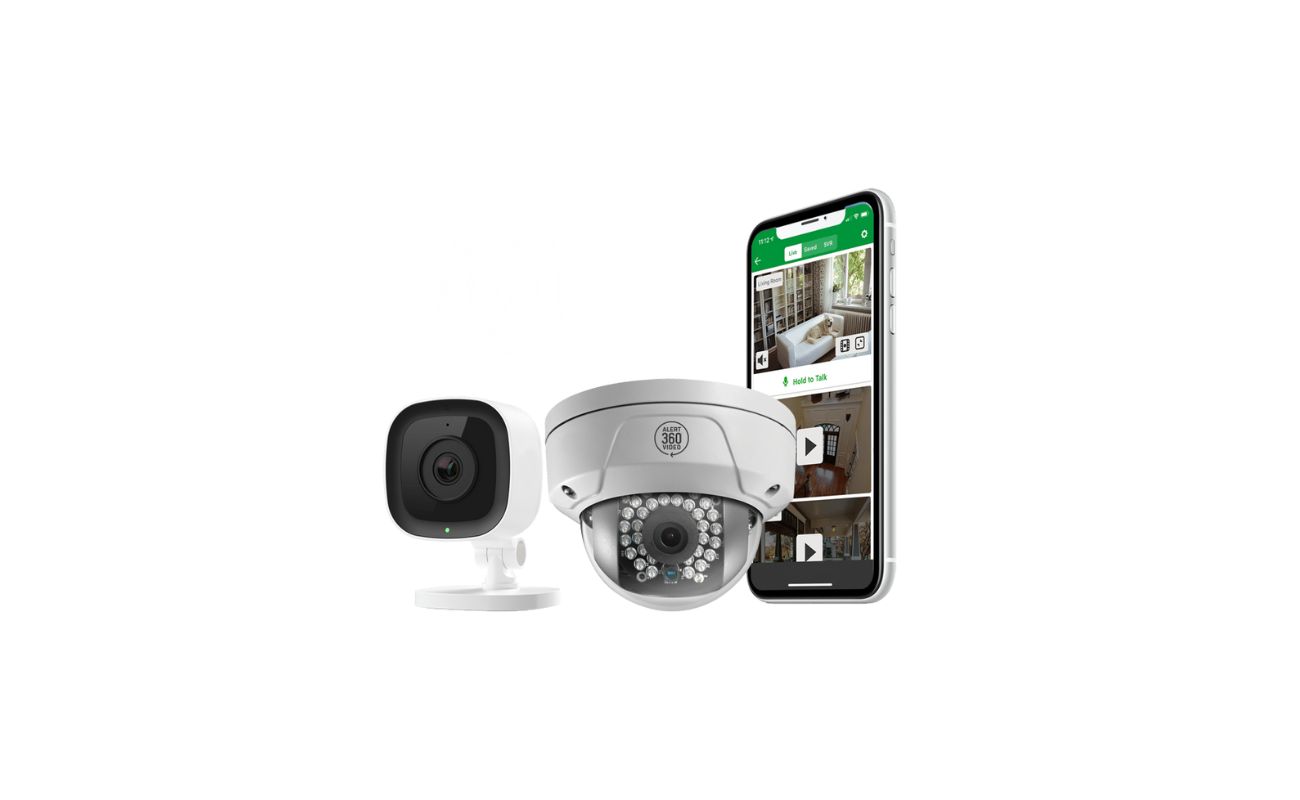
Step 5: Connecting the cameras to the wireless network
After installing the cameras, the next step in setting up your wireless security system is to connect the cameras to your wireless network. This step allows you to access and monitor the cameras remotely through your smartphone or computer. Here’s how to do it:
- Access camera settings: Each camera model will have its own web interface or mobile app for configuration. Consult the user manual or manufacturer’s instructions to access the camera settings.
- Connect to Wi-Fi: Within the camera settings, navigate to the network settings and select the option to connect to a Wi-Fi network. Enter the necessary credentials, such as the network name (SSID) and password.
- Ensure signal strength: Pay attention to the Wi-Fi signal strength when selecting camera locations. If you notice a weak signal, consider moving the camera or using Wi-Fi extenders to improve coverage.
- Verify connection: Once you’ve entered the Wi-Fi credentials, the camera will attempt to connect to the network. Wait for a few moments and verify that the camera successfully establishes a connection.
- Assign IP addresses: Depending on the camera model, you may need to assign static IP addresses to each camera. This step ensures that the cameras always have the same IP address, making them easier to access and manage.
- Test remote access: After connecting the cameras to the wireless network, test remote access from your smartphone or computer. Install the manufacturer’s app or access the camera’s web interface using the assigned IP address.
- Set up password protection: To enhance security, it’s important to set up password protection for accessing the camera’s settings and live feeds. Create a strong password and enable any additional security features provided by the camera system.
Once all cameras are successfully connected to the wireless network and remote access is established, you’ll be able to monitor and manage your wireless security system from anywhere with internet access. This brings us to step six: setting up the monitoring system.
Step 6: Setting up the monitoring system
Setting up the monitoring system is a crucial step in ensuring the effectiveness of your wireless security system. This step involves configuring the software and devices that will allow you to monitor and manage your cameras. Let’s dive into the process:
- Software installation: Install the software or mobile app provided by the camera manufacturer on your smartphone, tablet, or computer. Follow the instructions provided to complete the installation process.
- Create user accounts: Set up user accounts for each household member who will have access to the monitoring system. Assign appropriate access levels and passwords to ensure security and privacy.
- Configure camera settings: Within the monitoring software or app, configure camera settings according to your preferences. This may include adjusting motion detection sensitivity, setting up notifications, and customizing recording settings.
- Set up motion detection and alerts: Enable motion detection features to receive alerts whenever the cameras detect motion. Customize the sensitivity and define specific areas of interest to reduce false alarms.
- Create monitoring schedules: Establish monitoring schedules based on your daily routine and occupancy patterns. For example, you may choose to activate monitoring only when you’re away from home or during nighttime hours.
- Explore remote access features: Familiarize yourself with the remote access features provided by the monitoring software or app. This may include live view, playback of recorded footage, and the ability to control camera settings remotely.
- Test the monitoring system: Perform a thorough test of the monitoring system to ensure that everything is functioning as expected. Verify that motion detection is working, alerts are being received, and you can access the cameras remotely.
By properly setting up the monitoring system, you’ll be able to effectively monitor and manage your wireless security system from the convenience of your smartphone or computer, giving you peace of mind knowing that your apartment is well-protected. With the monitoring system in place, let’s move on to step seven: testing and adjusting the system.
Step 7: Testing and adjusting the system
Testing and adjusting your wireless security system is crucial to ensure its effectiveness and reliability. This step allows you to identify any potential issues or areas that require fine-tuning. Follow these steps to thoroughly test and adjust your system:
- Verify camera coverage: Check each camera’s field of view to ensure that it covers the desired areas and there are no blind spots. Adjust camera angles and positions if necessary.
- Test motion detection: Walk around your apartment to test the motion detection feature. Verify that the cameras accurately detect and capture motion events. Fine-tune the sensitivity settings if needed to prevent false alarms.
- Verify notification alerts: Set up test scenarios to ensure that you receive timely and accurate notification alerts when motion is detected. Check both email and app notifications to confirm their functionality.
- Test remote access: Test the remote access features from different locations, such as outside your home or using a different Wi-Fi network. Ensure that you can access the live feeds and recorded footage smoothly.
- Review recording quality: Play back the recorded footage to verify the quality and clarity of the captured images. Adjust camera settings, such as resolution or frame rate, to achieve the desired recording quality.
- Consider lighting conditions: Test the cameras’ performance in various lighting conditions, both during daylight and at night. Adjust camera settings or supplement with additional lighting if necessary to improve visibility.
- Perform regular maintenance: Establish a schedule for regular maintenance tasks, such as cleaning camera lenses, checking battery levels (if applicable), and ensuring all connections are secure and functioning properly.
Through thorough testing and adjustments, you can fine-tune your wireless security system to meet your specific needs and optimize its performance. Regularly reassess your setup and adapt it as your security requirements change over time. Now that your system is tested and adjusted, let’s move on to step eight: maintaining and troubleshooting tips.
Step 8: Maintaining and troubleshooting tips
Maintaining your wireless security system is vital to ensure its continued functionality and effectiveness. Additionally, knowing how to troubleshoot common issues will help you address any problems that may arise. Here are some maintenance and troubleshooting tips:
- Regularly update firmware: Check for firmware updates provided by the camera manufacturer and apply them to ensure that your cameras have the latest features and security patches.
- Monitor battery levels: If you have battery-powered cameras, regularly check and replace the batteries as needed. Keep spare batteries on hand to avoid any interruptions in camera performance.
- Clean camera lenses: Dust and debris can accumulate on camera lenses, affecting image quality. Clean the lenses periodically using a microfiber cloth to ensure clear and sharp footage.
- Check storage capacity: Monitor the storage capacity of your recording devices, whether it’s cloud storage or local storage. Delete unnecessary footage or consider upgrading the storage capacity if needed.
- Ensure network stability: Periodically check the stability of your wireless network to ensure a reliable connection with the cameras. Restart your router if you experience any connectivity issues.
- Review camera placement: Regularly reassess the placement of your cameras to ensure they still cover the desired areas effectively. Adjust camera angles or relocate cameras if needed to maintain optimal coverage.
- Test and update user accounts: Occasionally review and update user accounts to ensure that only authorized individuals have access to the monitoring system. Remove any inactive accounts or update passwords if necessary.
- Troubleshoot connectivity issues: If you experience any connectivity issues, power cycle the cameras and the router. Check for any interference or potential sources of signal disruption.
- Refer to troubleshooting guides: Familiarize yourself with the troubleshooting guides provided by the camera manufacturer. These resources can help you resolve common issues and provide guidance on more complex problems.
- Consult customer support: If you encounter persistent issues that you are unable to resolve, don’t hesitate to reach out to the camera manufacturer’s customer support. They can provide personalized assistance and solutions to address your concerns.
By adhering to these maintenance and troubleshooting tips, you can ensure that your wireless security system operates optimally and provides you with reliable protection for your apartment. Remember to stay proactive in maintaining your system to enjoy long-term security benefits.
With these eight steps, you are now fully equipped to set up and maintain a wireless security system in your apartment. By understanding your security needs, selecting the right system, properly installing and configuring the cameras, and conducting regular maintenance, you can effectively safeguard your home and enjoy peace of mind.
Stay vigilant, and may your wireless security system provide you with a safe and secure living environment.
Conclusion
Setting up a wireless security system in your apartment is a proactive step towards ensuring the safety and security of your home. By following the comprehensive steps outlined in this guide, you can create a robust and reliable security system tailored to your specific needs. From assessing your security requirements to choosing the right system, installing and configuring the cameras, and maintaining the system, each step plays a crucial role in the overall effectiveness of your security measures.
Wireless security systems offer the flexibility and convenience that apartment dwellers need, allowing for easy installation and customization without the hassle of extensive modifications to the living space. With advanced features like motion detection, night vision, and remote access capabilities, you can monitor your apartment from anywhere at any time, providing you with peace of mind and a sense of control over your home’s security.
Remember to regularly test and adjust your system to ensure optimal performance and address any issues that may arise. Maintenance tasks such as firmware updates, battery replacements, and cleaning the camera lenses will help to sustain the functionality and quality of your security system.
In addition, knowing how to troubleshoot common issues and seeking assistance from customer support when needed will ensure that your wireless security system remains dependable and efficient. Stay vigilant and proactive, regularly assessing your security needs and updating your system as required, to keep your apartment well-protected.
Investing in a wireless security system for your apartment demonstrates your commitment to the safety of your home and loved ones. With the information and guidance provided in this guide, you have the knowledge and tools to create a secure living environment. Enjoy the peace of mind that comes with knowing you have taken proactive measures to protect what matters most.
Frequently Asked Questions about How To Setup A Wireless Security System In An Apartment?
Was this page helpful?
At Storables.com, we guarantee accurate and reliable information. Our content, validated by Expert Board Contributors, is crafted following stringent Editorial Policies. We're committed to providing you with well-researched, expert-backed insights for all your informational needs.