Home>Ideas and Tips>7 Steps To Organize Your Kitchen Pantry

Ideas and Tips
7 Steps To Organize Your Kitchen Pantry
Published: November 4, 2024
Transform your kitchen pantry with these 7 easy steps. Learn how to declutter, categorize, and maintain an organized pantry for a stress-free cooking experience.
(Many of the links in this article redirect to a specific reviewed product. Your purchase of these products through affiliate links helps to generate commission for Storables.com, at no extra cost. Learn more)
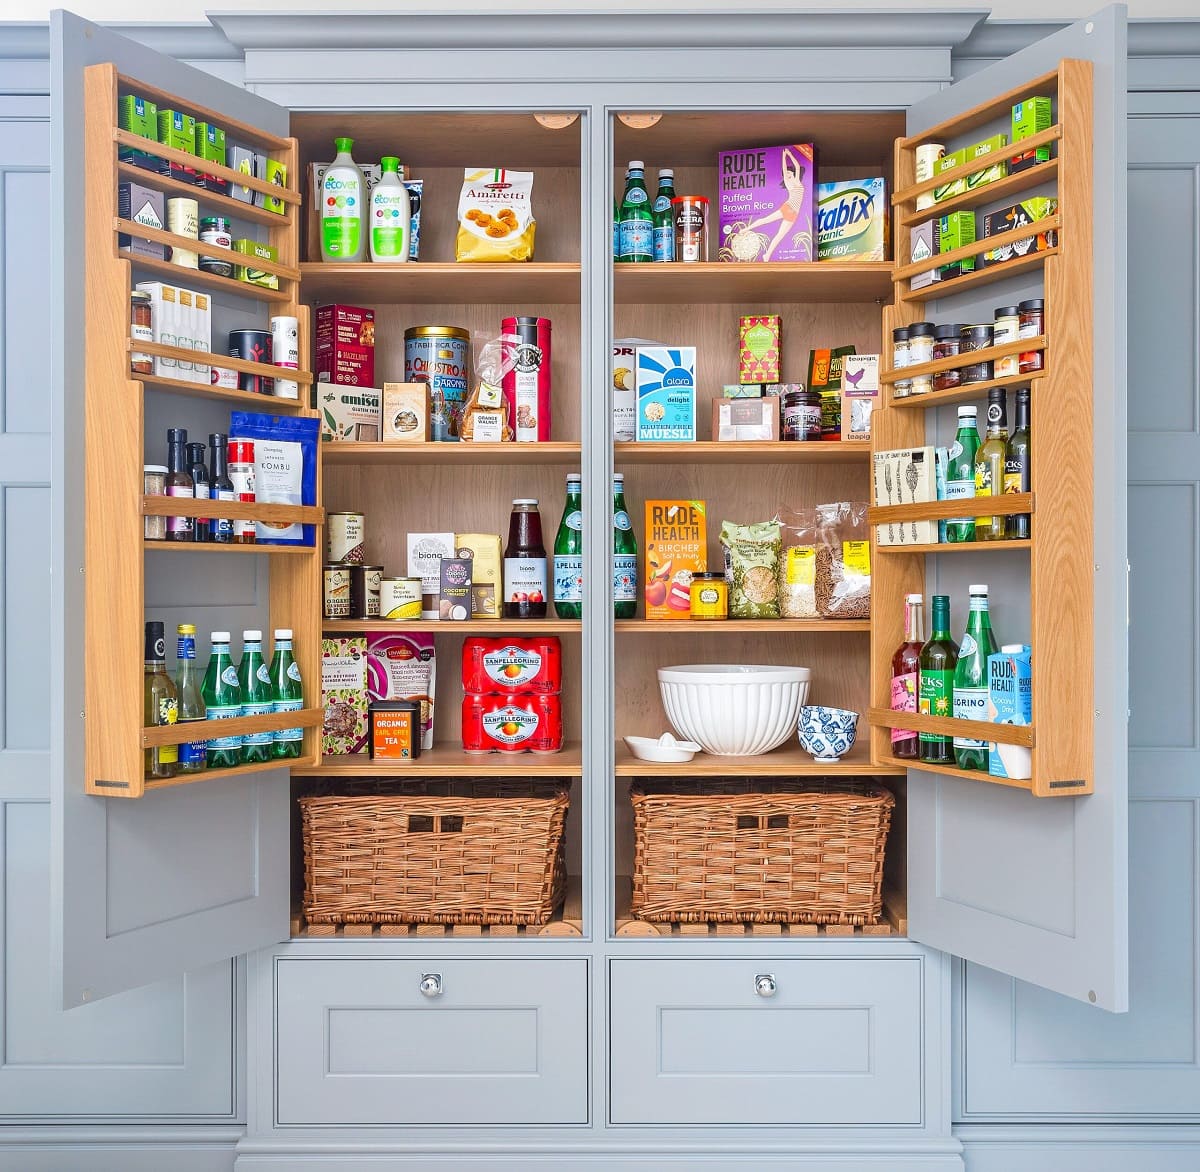
Organizing your kitchen pantry is one of the most effective ways to streamline your cooking routine and make the most of your kitchen space. A well-organized pantry not only saves time but also reduces stress and ensures that you always have the ingredients you need at your fingertips. In this article, we will guide you through a step-by-step process to transform your kitchen pantry into a functional and efficient storage space.
Step 1: Purge and Declutter
Before you start organizing, it's essential to get rid of items that are no longer needed or useful. This step is often the most challenging part of the process, but it's crucial for creating a clean slate.
- Take Everything Out: Start by removing everything from your pantry. This will give you a clear view of what you have and help you decide what to keep, donate, or discard.
- Sort Items: Categorize items into groups such as baking supplies, canned goods, spices, snacks, and cooking essentials.
- Check Expiration Dates: Inspect all food items for expiration dates. Discard any expired or spoiled food to prevent waste and potential health hazards.
- Assess Condition: Evaluate the condition of containers and packaging. If they are damaged or no longer usable, consider replacing them with new ones.
- Donate or Discard: Set aside items that are still good but no longer needed for donation or disposal.
Step 2: Clean the Pantry
A clean pantry is essential for maintaining organization and preventing pests and mold growth.
- Wipe Down Shelves: Use a damp cloth to wipe down all shelves and surfaces inside the pantry.
- Vacuum or Sweep: Remove any dust or debris from the floor and shelves using a vacuum cleaner or broom.
- Disinfect: Use a disinfectant spray to sanitize all surfaces, paying particular attention to areas around food storage containers.
- Dry the Pantry: Allow the pantry to dry completely before restocking it with items.
Step 3: Choose Storage Containers
Proper storage containers are vital for maintaining organization in your pantry. Here are some tips for selecting the right containers:
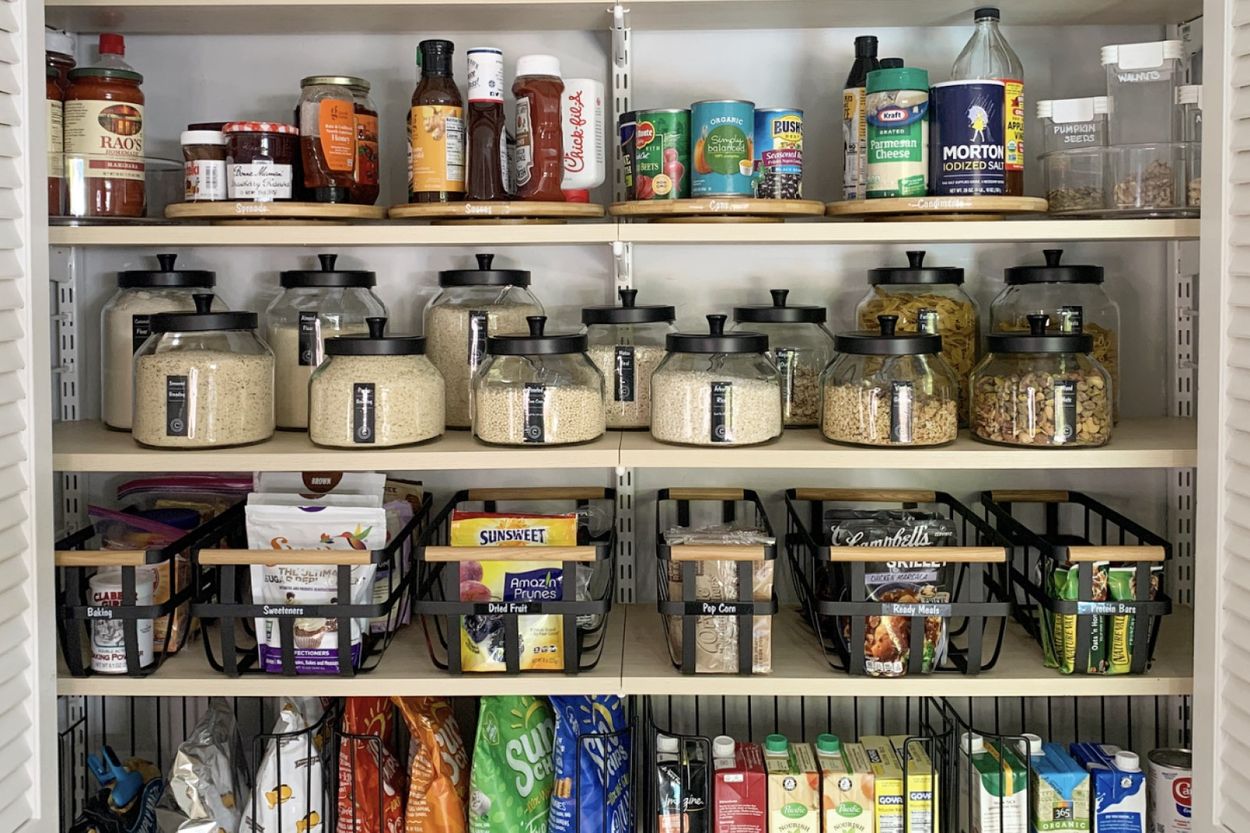
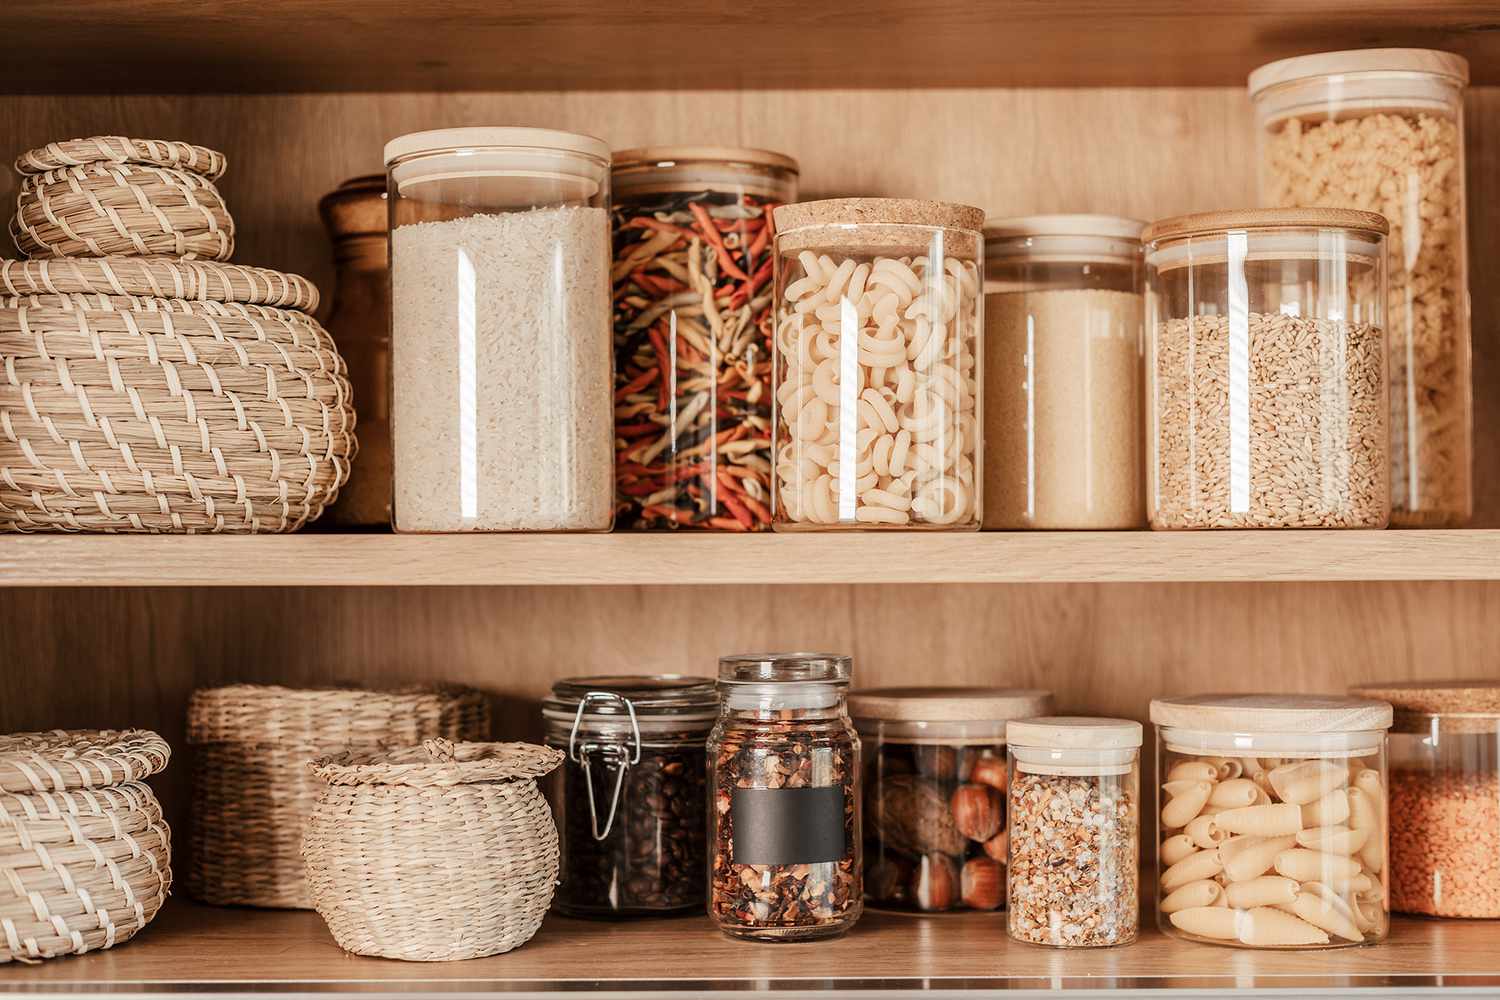
- Labeling: Choose containers with labels so you can easily identify what's inside without having to open them.
- Size: Select containers that fit your available space and the size of the items you're storing.
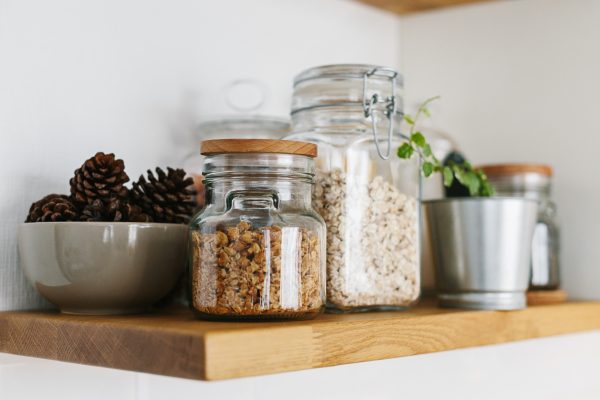
- Material: Opt for durable materials like glass or plastic that are easy to clean and resistant to moisture.
- Stackability: Consider stackable containers to maximize vertical space in your pantry.
Step 4: Categorize and Group Items
Organizing items into categories makes it easier to find what you need quickly and ensures that similar items are stored together.
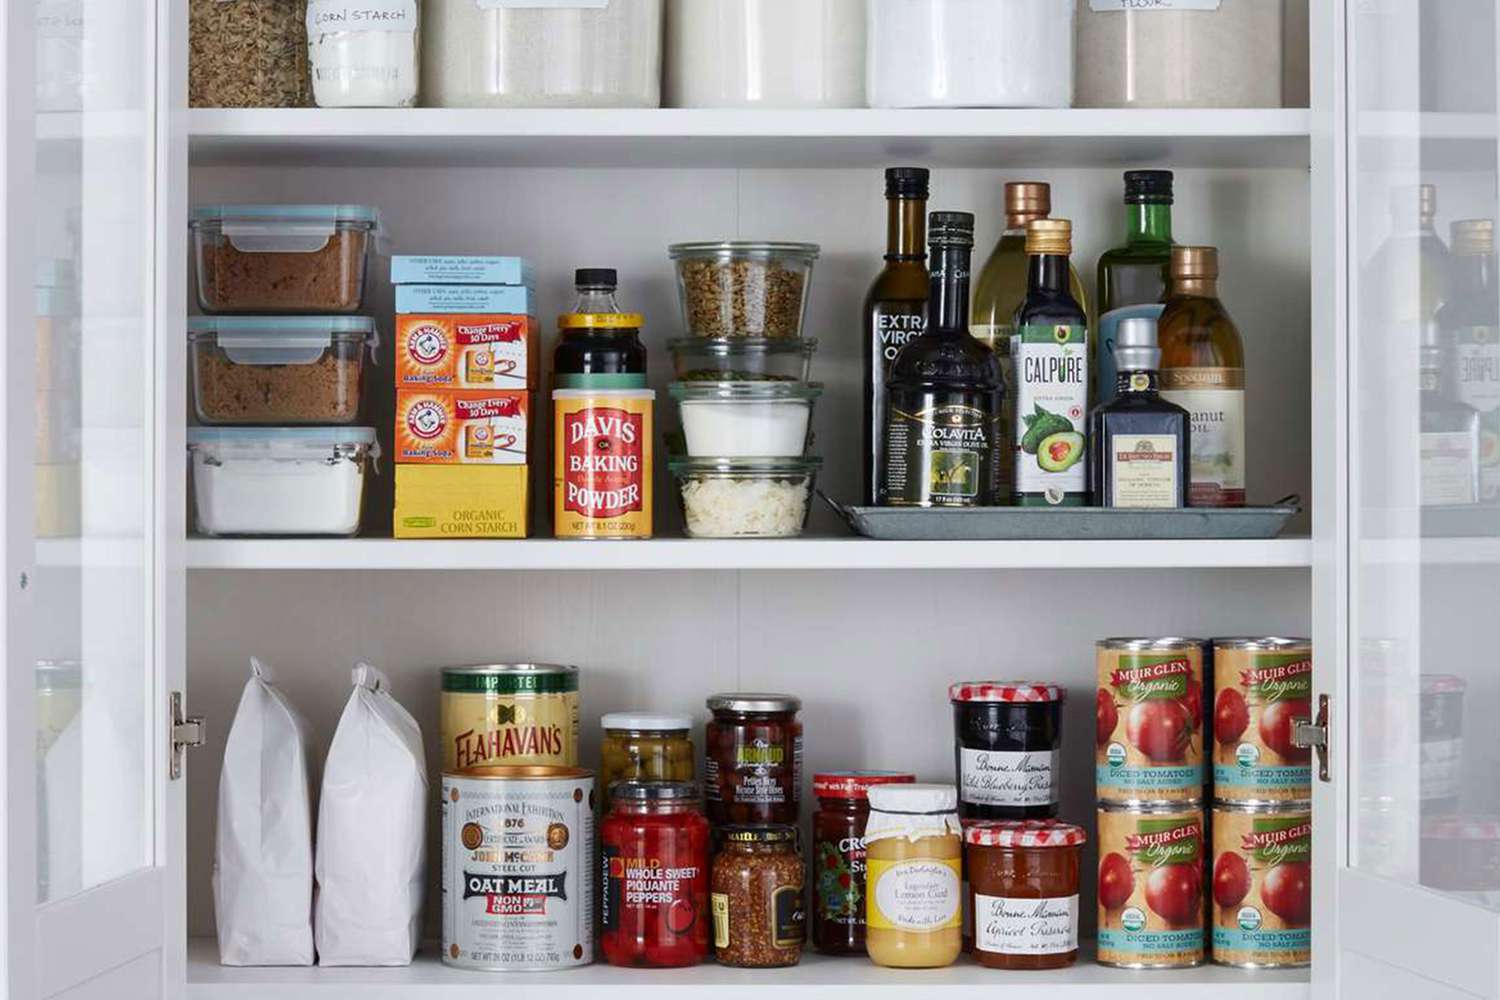
- Baking Supplies: Store baking powder, baking soda, flour, sugar, and other baking essentials in one area.
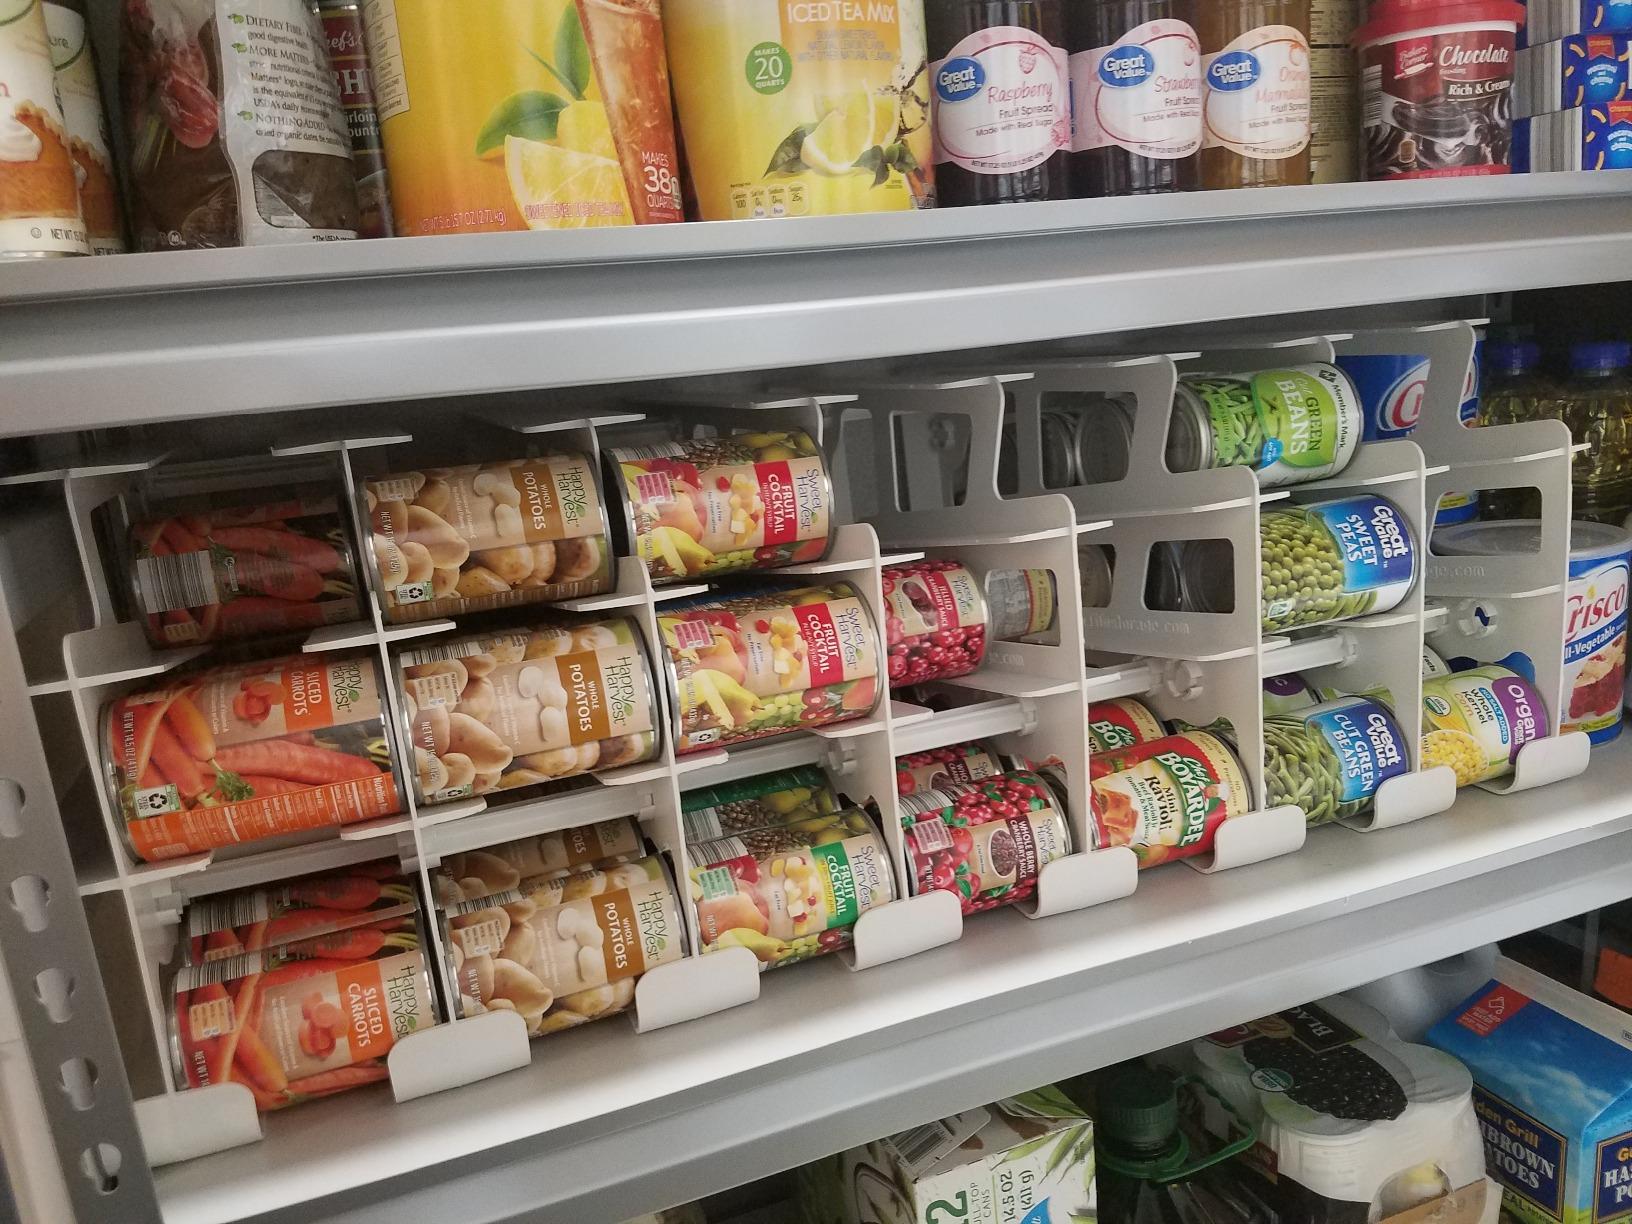
- Canned Goods: Group canned vegetables, fruits, meats, soups, and broths together.
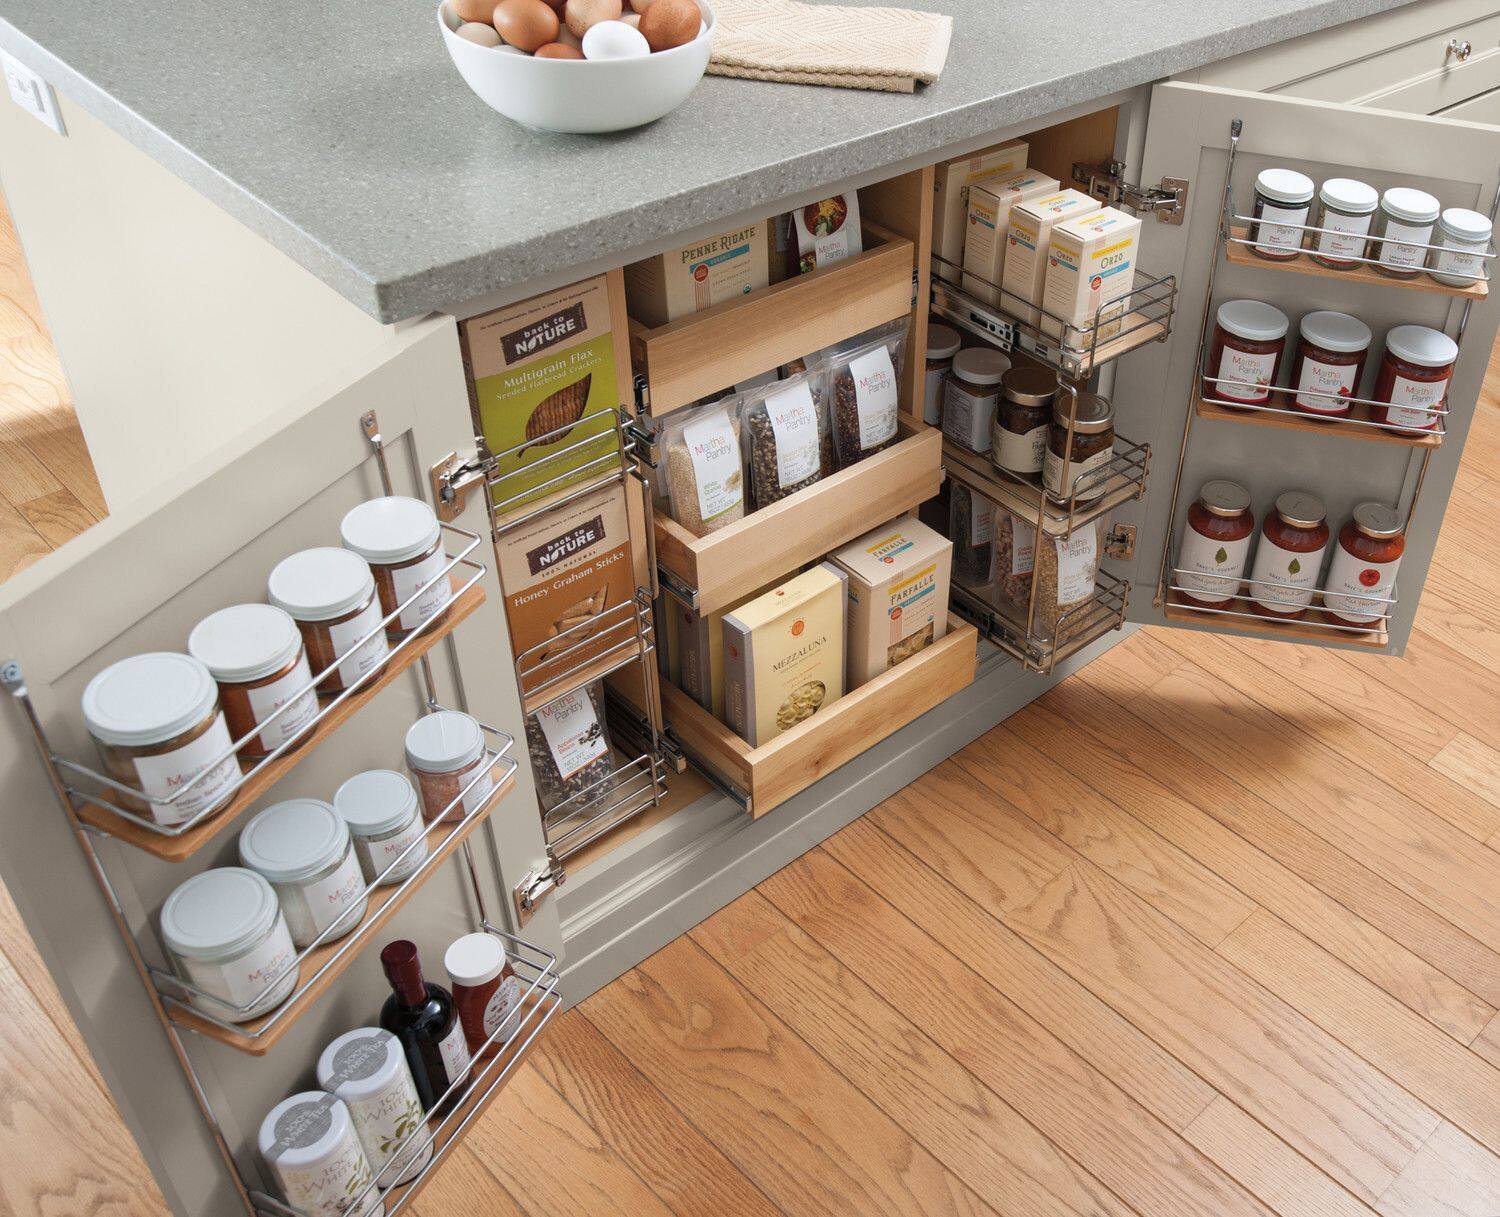
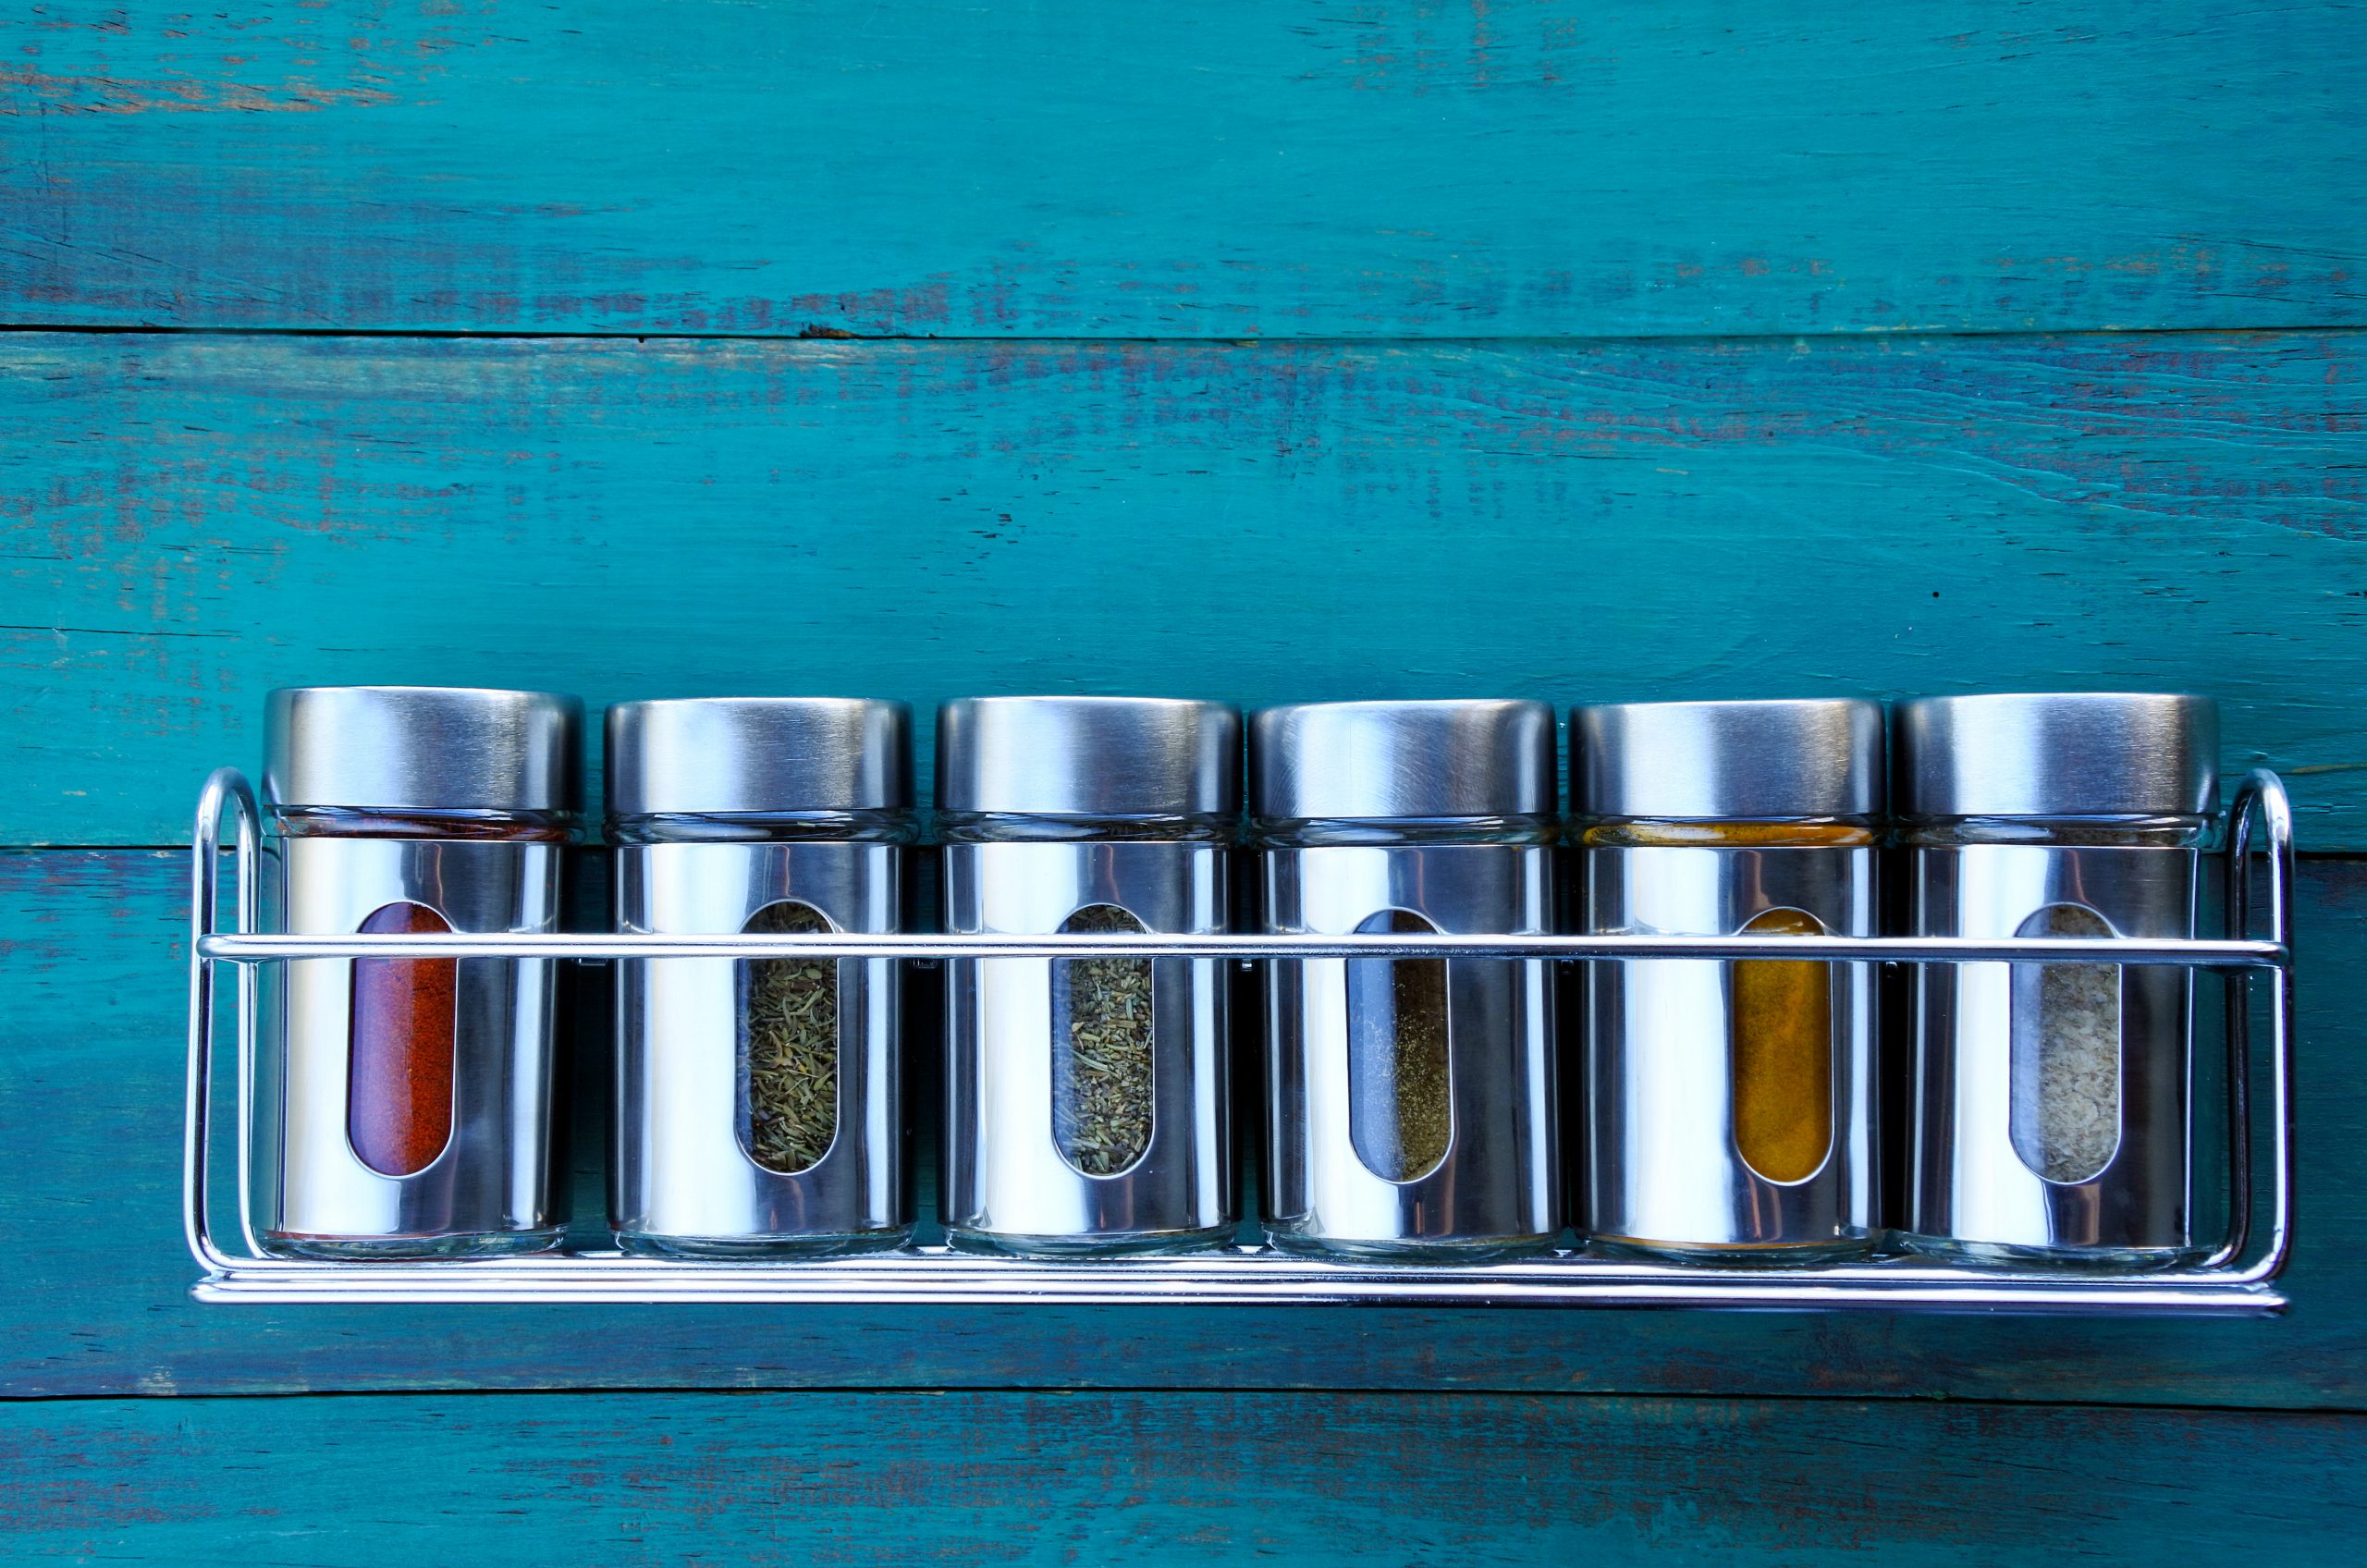
- Spices: Organize spices alphabetically or by type (e.g., herbs vs. spices) on a spice rack or in a designated spice container.
- Snacks: Store snacks like chips, crackers, nuts, and dried fruits in easy-to-access containers.
- Cooking Essentials: Keep oils (olive oil, vegetable oil), vinegars (apple cider vinegar), condiments (ketchup), and other cooking essentials together.
Step 5: Implement a Zoning System
Divide your pantry into zones based on how often you use different items:
- Frequently Used Zone: Place frequently used items at eye level or near the front of the pantry for quick access.
- Occasionally Used Zone: Store less frequently used items on higher or lower shelves.
- Specialty Zone: Designate an area for specialty items like baking supplies or spices.
Read more: 10 Steps To A Perfectly Organized Pantry
Step 6: Utilize Vertical Space
Maximize your pantry's vertical space by using wall-mounted shelves or hooks:
- Wall-Mounted Shelves: Install shelves above or below existing ones to add more storage without taking up floor space.
- Hooks: Hang baskets or hooks from the ceiling or walls to store items like utensils or infrequently used cookbooks.
Step 7: Maintain Your Pantry
Once you've organized your pantry, it's crucial to maintain it regularly to keep it clutter-free and functional:
- Regular Cleaning: Set aside time each week to wipe down shelves and vacuum/sweep the floor.
- Inventory Check: Periodically check expiration dates and restock items as needed.
- Adjust as Needed: Reassess your pantry's layout periodically and make adjustments based on changing usage patterns.
Additional Tips
- Use Baskets: Use baskets or bins to store small items like pasta, rice, or coffee beans.
- Label Everything: Label each container so you can easily identify what's inside without having to open it.
- Store Heavy Items Below: Place heavy items like canned goods or large containers at the bottom of shelves for stability.
- Keep Frequently Used Items Front and Center: Place frequently used items in easy-to-reach locations like the front of a shelf or near eye level.
By following these steps and tips, you'll be able to transform your kitchen pantry into an efficient and organized space that makes cooking easier and more enjoyable. Remember that maintaining this level of organization requires regular effort but is well worth it for the benefits it provides in terms of time savings and reduced stress during meal preparation.
Was this page helpful?
At Storables.com, we guarantee accurate and reliable information. Our content, validated by Expert Board Contributors, is crafted following stringent Editorial Policies. We're committed to providing you with well-researched, expert-backed insights for all your informational needs.





0 thoughts on “7 Steps To Organize Your Kitchen Pantry”