Home>Articles>How To Connect A Pantry To An Existing Kitchen Cabinet
Articles
How To Connect A Pantry To An Existing Kitchen Cabinet
Modified: February 27, 2024
Learn how to connect a pantry to your existing kitchen cabinet with these helpful articles.
(Many of the links in this article redirect to a specific reviewed product. Your purchase of these products through affiliate links helps to generate commission for Storables.com, at no extra cost. Learn more)
Introduction
Welcome to the world of kitchen organization! If you’ve been longing for some extra storage space, a pantry can be a fantastic addition to your existing kitchen cabinet. A pantry provides a designated area for storing your groceries, kitchen essentials, and other items, helping to keep your kitchen neat, tidy, and well-organized.
Connecting a pantry to an existing kitchen cabinet may seem like a daunting task, but with the right guidance and some handy tools, it can be a rewarding DIY project. In this article, we’ll walk you through the steps needed to successfully connect a pantry to your existing kitchen cabinet.
Before you start, it’s important to assess the space available in your kitchen and determine the measurements for your pantry. This will help you choose the right size and design that fits seamlessly with your existing cabinet.
Next, you’ll need to prepare your existing kitchen cabinet to ensure a smooth connection. This may involve removing shelves, adjusting hinges, or making any necessary modifications to create space for the new pantry.
Once your existing cabinet is prepped and ready, it’s time to choose the style and design of your pantry. Whether you prefer a freestanding pantry, a built-in pantry, or a pull-out pantry, there are various options to suit your needs and preferences.
With your pantry selected, it’s time to connect it to your existing kitchen cabinet. This will involve securely attaching the pantry to the cabinet, ensuring a stable and durable connection. Depending on the type of pantry and cabinet you have, you may need to use screws, brackets, or other hardware to achieve a secure fit.
After the pantry is connected, it’s important to take the necessary steps to secure it in place. This involves checking for any wobbling or instability and making adjustments as needed. You may also want to consider adding additional supports, such as L-brackets or anchors, to ensure the pantry remains sturdy and safe.
Finally, it’s time to add those finishing touches! This may involve painting or staining the pantry to match your existing cabinet, adding decorative elements, or installing additional storage features, such as wire racks or hooks.
By following these steps and taking the time to properly connect and secure your pantry, you’ll be able to enjoy the benefits of added storage space and a more organized kitchen. So let’s get started on transforming your kitchen into a well-equipped and efficient space!
Key Takeaways:
- Transform your kitchen with a seamlessly connected pantry, adding valuable storage space and organization to your existing cabinet. Choose the right pantry style, connect it securely, and add finishing touches for a functional and stylish kitchen upgrade.
- By carefully assessing space, preparing the cabinet, and securing the pantry, you can successfully complete a rewarding DIY project. Enjoy the benefits of a well-organized and efficient kitchen space, tailored to your storage needs and personal style.
Step 1: Assessing the Space and Measurements
The first step in connecting a pantry to an existing kitchen cabinet is to assess the available space and take accurate measurements. This will help you determine the size and design of the pantry that will fit seamlessly with your existing cabinet.
Start by measuring the width, height, and depth of the space where you plan to install the pantry. This includes the space above your existing cabinet, as well as any adjacent areas that will accommodate the pantry. Take note of any obstructions, such as electrical outlets or plumbing pipes, that may affect the placement of the pantry.
Consider the functionality of the pantry as well. Do you need shelves, drawers, or a combination of both? Are there any specific items you want to store in the pantry, such as small appliances, canned goods, or spices? Taking these factors into account will help you choose the right style and design for your pantry.
Next, examine your existing kitchen cabinet and determine if any adjustments need to be made to accommodate the pantry. Do you need to remove a shelf or reposition hinges? This step is crucial to ensure a seamless connection between the pantry and the cabinet.
If you’re unsure about the measurements or any adjustments needed, consult a professional or a knowledgeable friend who can provide guidance. It’s better to be precise in this stage to avoid any difficulties during installation.
Lastly, consider the aesthetics of your kitchen. Choose a pantry design that complements the style and color scheme of your existing cabinet. Whether you prefer a modern, rustic, or traditional look, there are numerous pantry options available to suit your taste.
By carefully assessing the space and taking accurate measurements, you’ll be able to choose a pantry that fits perfectly with your existing kitchen cabinet. This step is essential for a successful connection and will set the foundation for a seamless pantry installation.
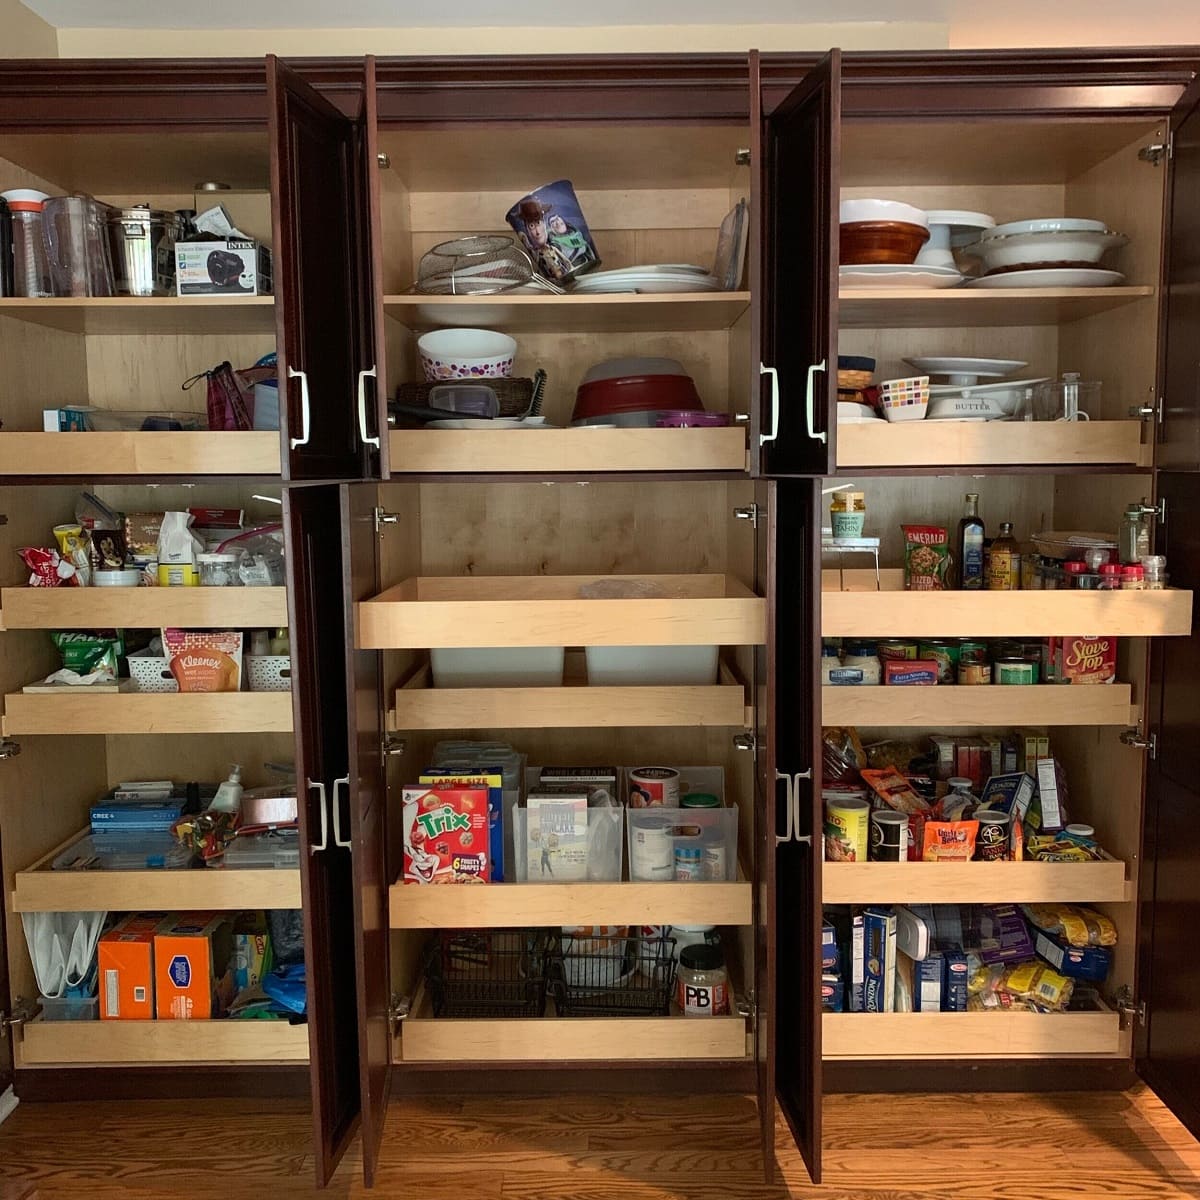
Step 2: Preparing the Existing Cabinet
Once you have assessed the space and measurements for your pantry, the next step is to prepare your existing kitchen cabinet. This ensures that it is ready to accommodate the new pantry and creates a seamless connection between the two.
Start by removing any items or shelves from the cabinet and clear out any clutter. This will give you a clear workspace and make it easier to make any necessary adjustments.
Next, examine the cabinet and determine if any modifications need to be made. For example, if there is a shelf that obstructs the space where the pantry will be connected, you may need to remove the shelf to create ample space. Use a screwdriver or power drill to carefully remove any screws holding the shelf in place.
If there are hinges in the cabinet that may interfere with the pantry installation, you may need to adjust their placement or replace them with shorter hinges. This will ensure that the pantry can be connected without any obstructions.
Take note of any other potential issues, such as uneven surfaces or loose screws, and address them before proceeding. This will help create a more stable foundation for the pantry and prevent any future problems.
Additionally, clean the interior of the cabinet thoroughly. Wipe down the surfaces and remove any grease, grime, or dust. A clean cabinet not only makes for a better connection but also ensures that your pantry items will be stored in a hygienic environment.
Lastly, consider applying a fresh coat of paint or stain to the interior of the cabinet if needed. This will give it a fresh look and create a cohesive appearance when the pantry is connected. Choose a color that complements your pantry and existing kitchen design.
By properly preparing your existing kitchen cabinet, you are setting the stage for a successful connection with the new pantry. Taking the time to make any necessary adjustments and creating a clean and aesthetically pleasing interior will result in a more seamless and visually pleasing integration of the two storage spaces.
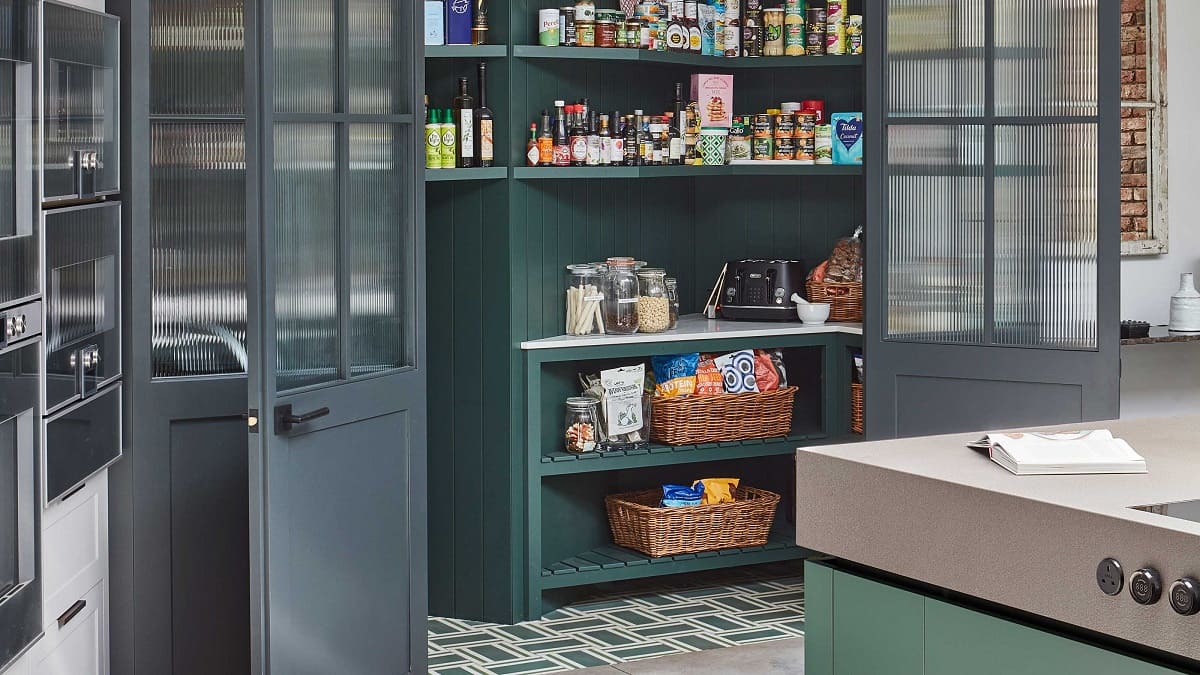
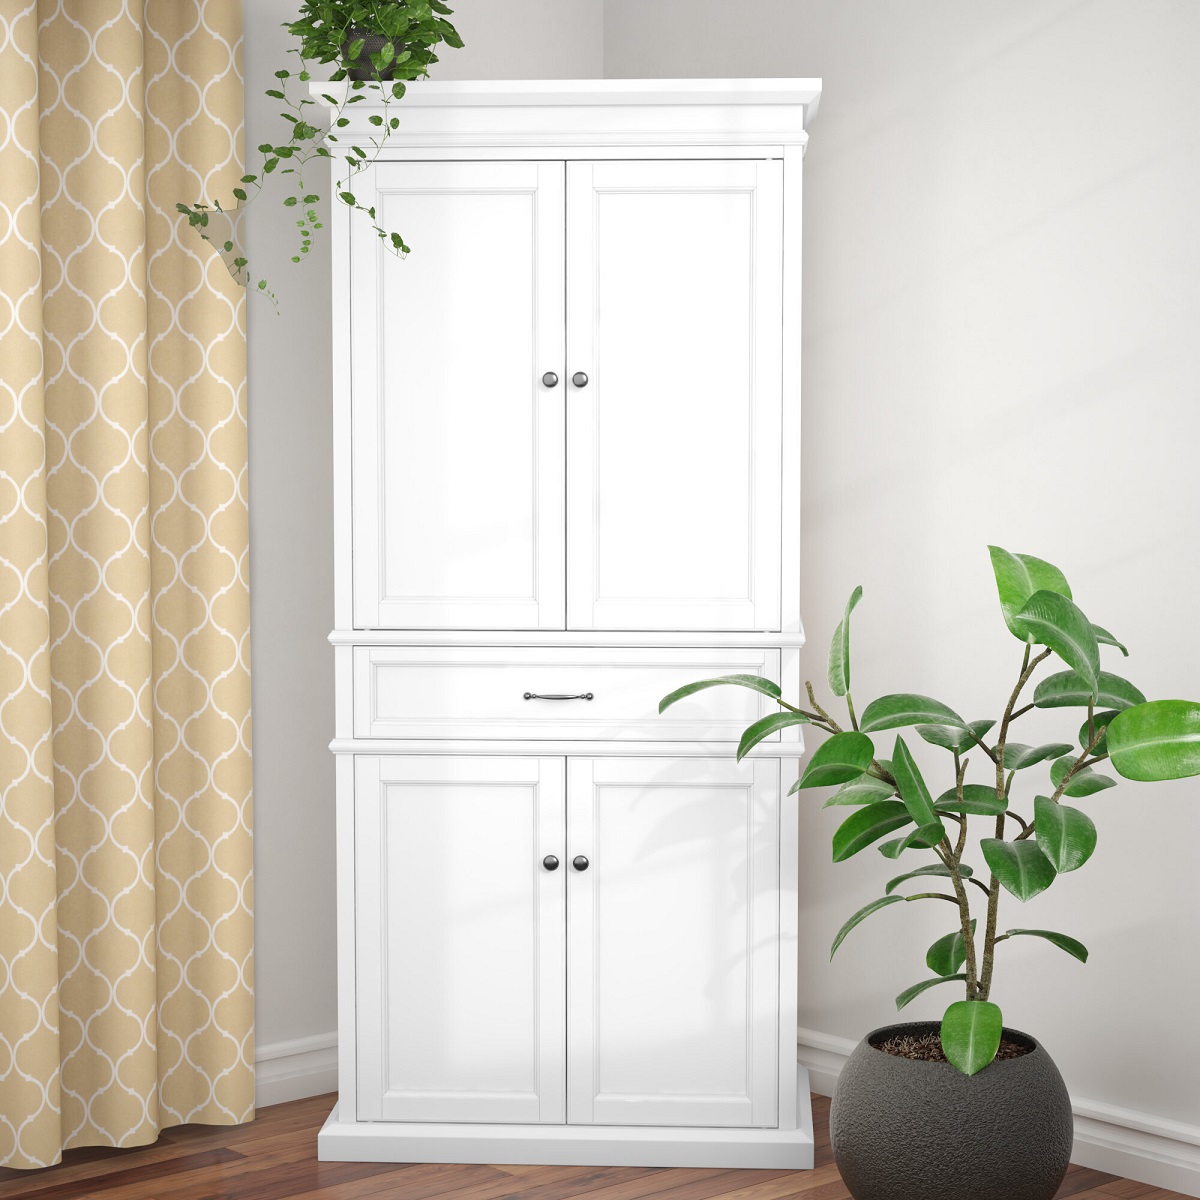
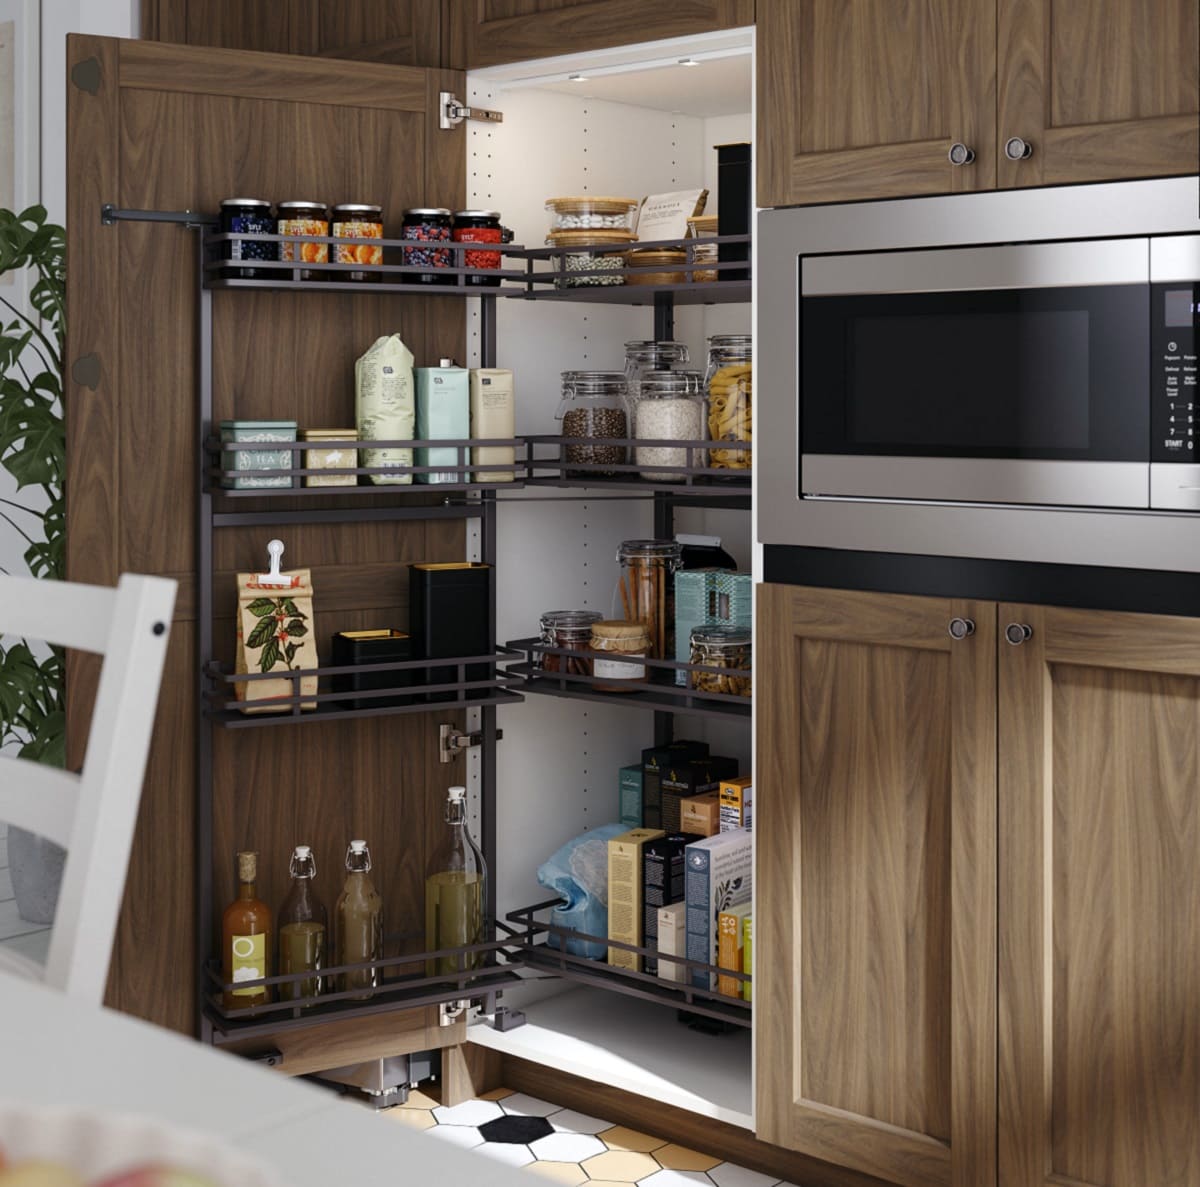
Step 3: Choosing the Pantry Style and Design
Now that you have assessed the space and prepared your existing kitchen cabinet, it’s time to choose the style and design of your pantry. This step is essential as it will determine the functionality, aesthetics, and overall look of your pantry.
There are various pantry styles and designs to choose from, each offering unique features and benefits. Consider your storage needs and preferences when making your selection.
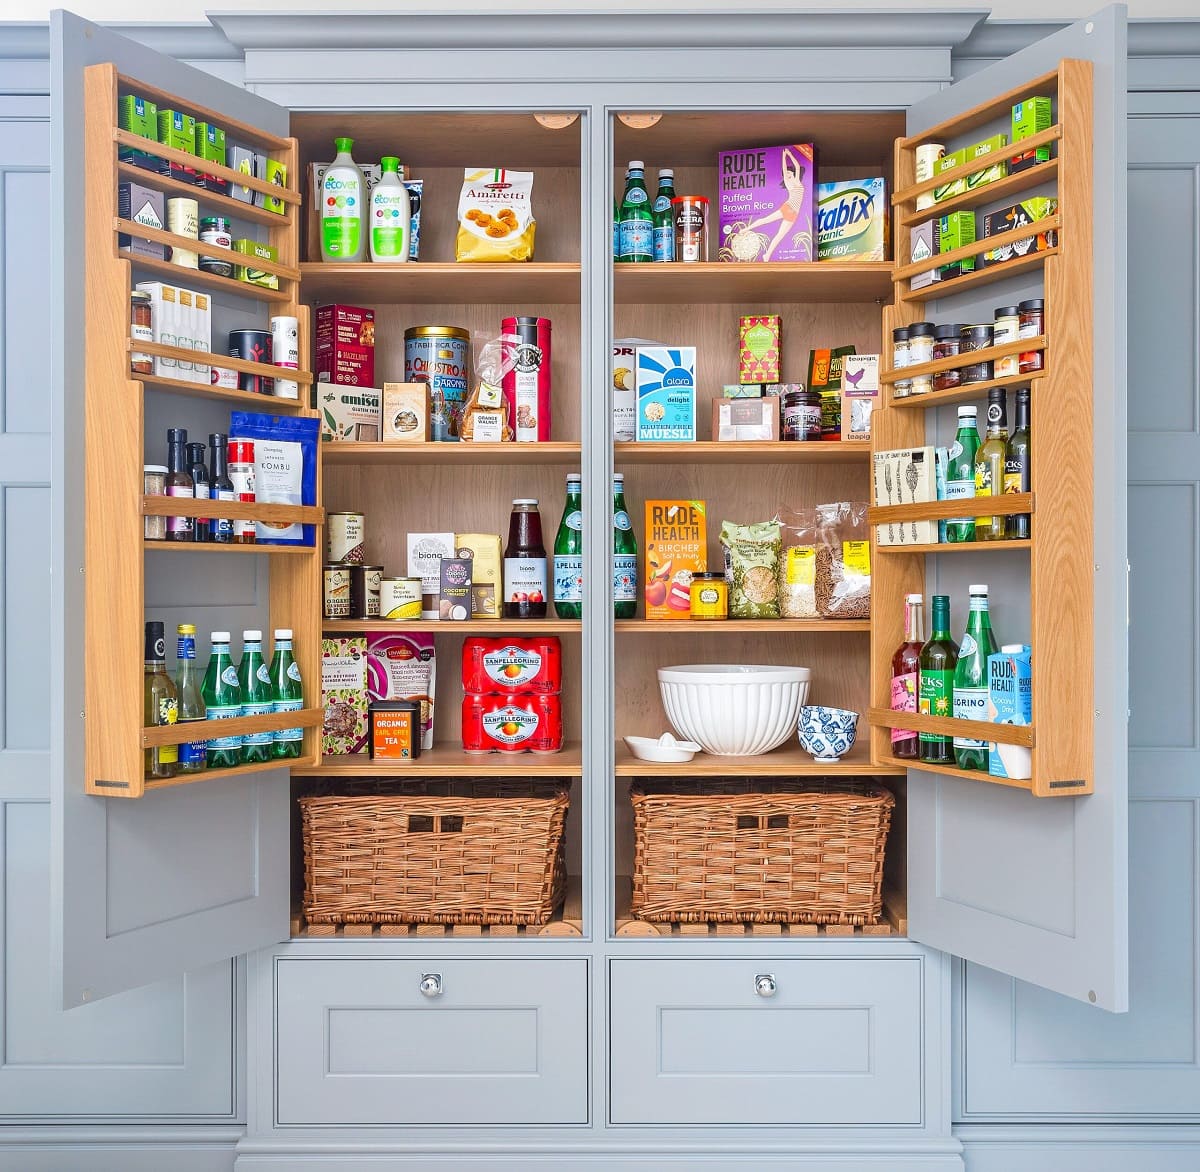
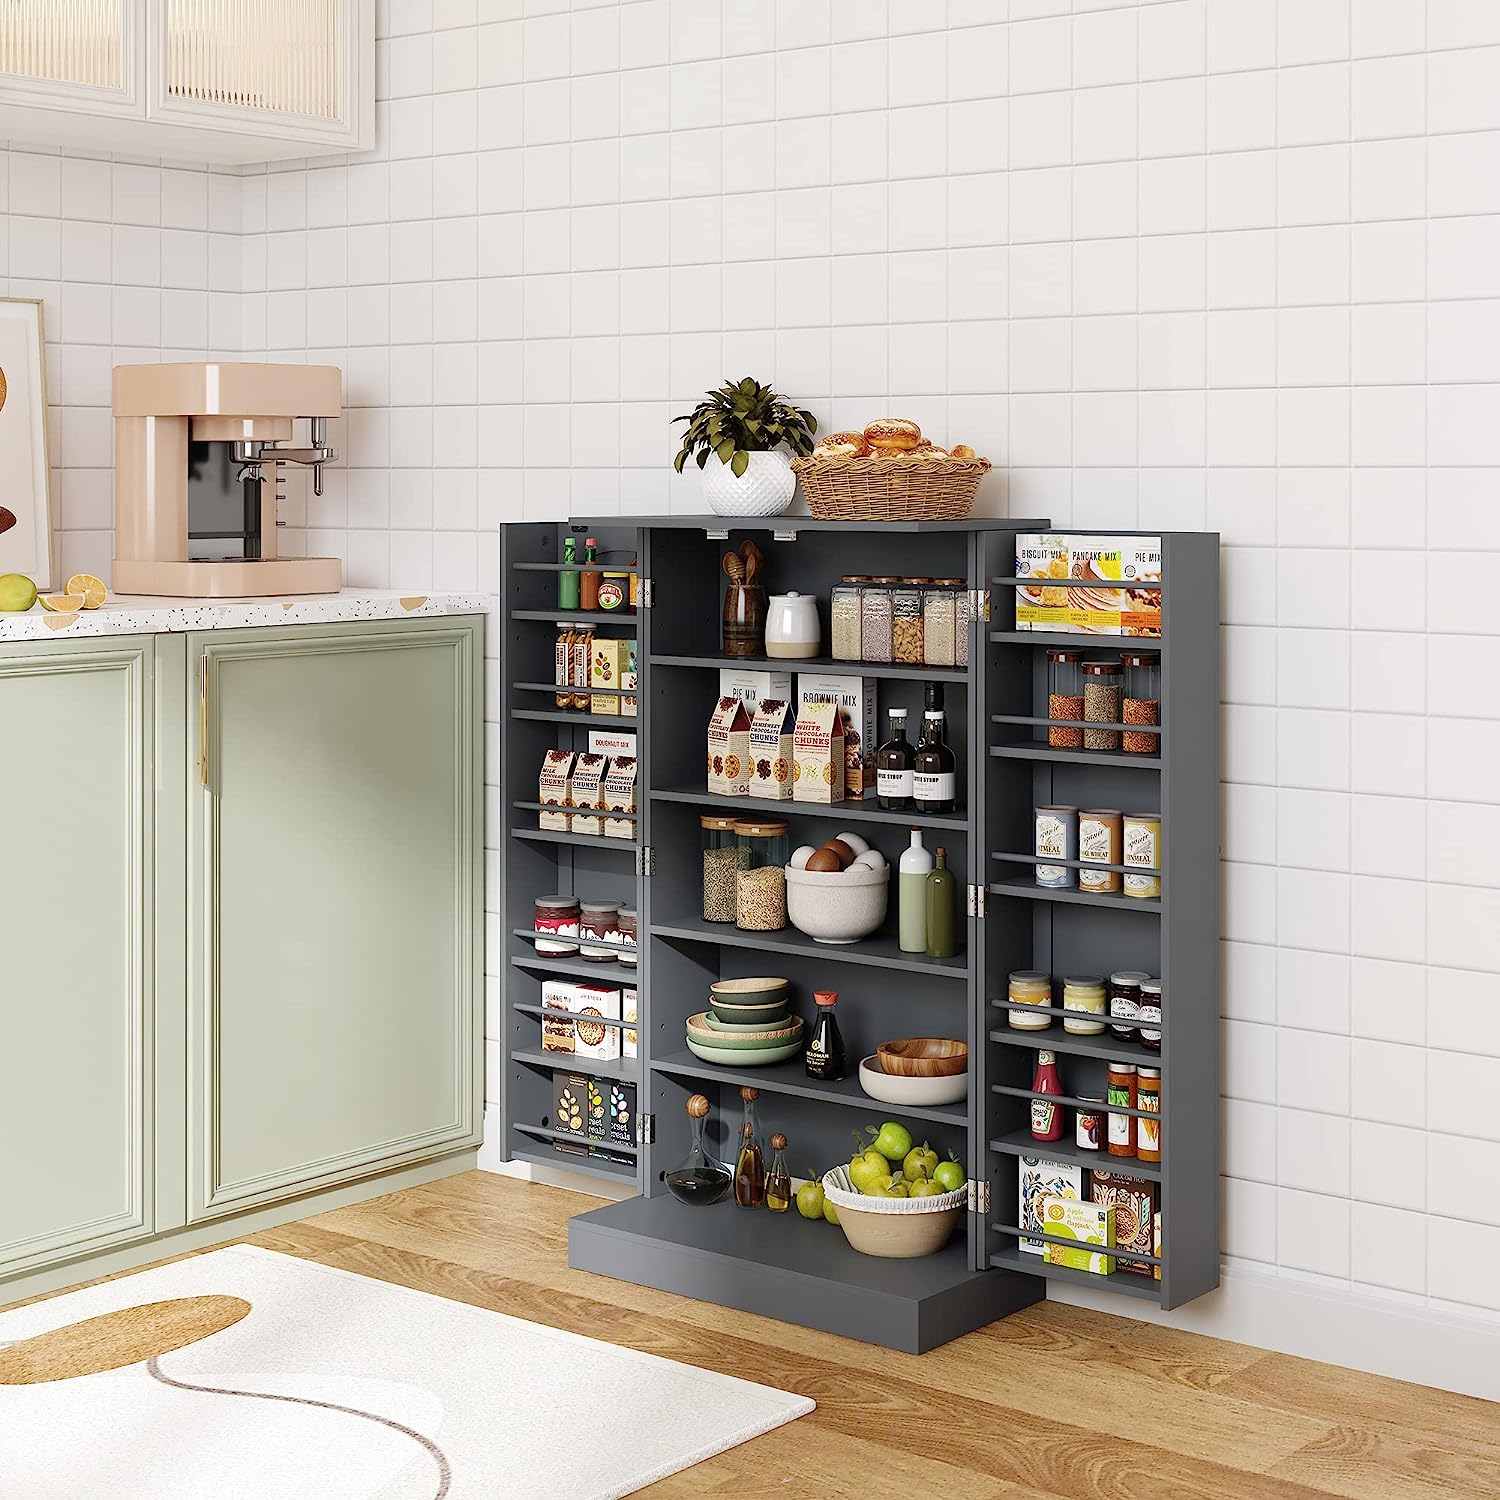
One option is a freestanding pantry, which is a standalone unit that can be positioned next to or near your existing cabinet. Freestanding pantries offer flexibility as they can be moved if needed and come in different sizes and configurations. They typically have adjustable shelves, drawers, and doors to customize the storage space.
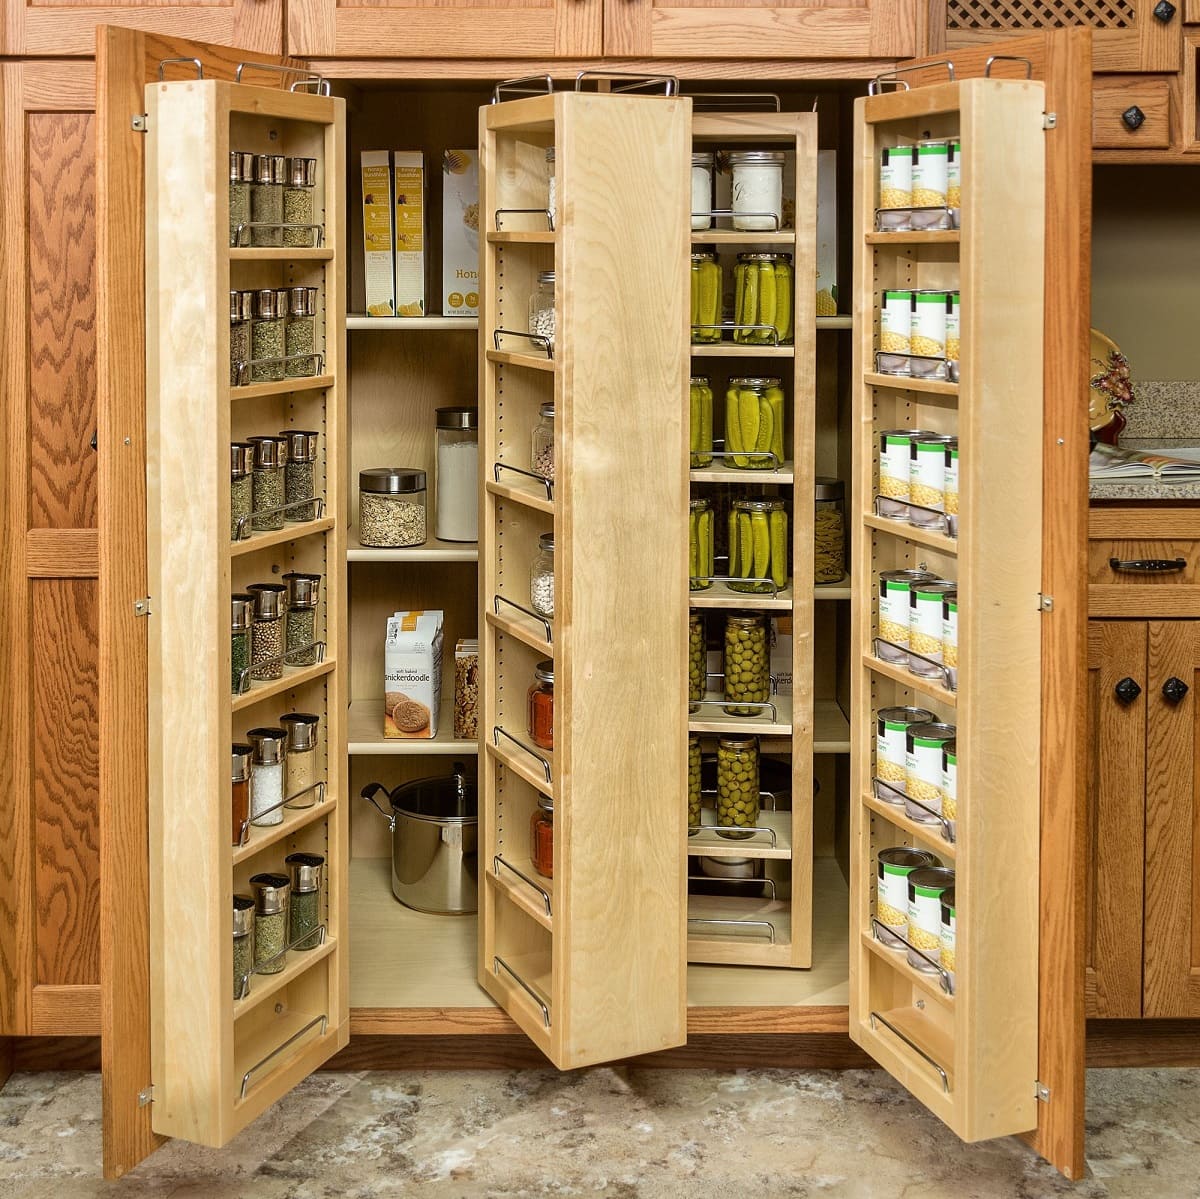
Another option is a built-in pantry. This type of pantry is installed directly into the existing cabinet space, creating a seamless and integrated look. Built-in pantries are great for maximizing space as they can be customized to fit the specific dimensions of your cabinet. They can feature pull-out shelves, spice racks, and other organizational elements.
If you have limited space or prefer a more discreet option, consider a pull-out pantry. These pantries are installed within the cabinet itself and can be pulled out when needed. They are perfect for storing canned goods, spices, and other frequently used items, as they provide easy access without taking up much space.
When choosing the design of your pantry, also consider the material and color that will best complement your existing kitchen cabinet. You can opt for a matching design to create a cohesive look, or choose a contrasting style to add a pop of interest and visual appeal.
Additionally, think about the functionality of the pantry. If you need specific storage features, such as wire racks for holding cans or adjustable shelves for accommodating different-sized items, ensure that your chosen pantry design offers these options.
Take your time to research and explore different pantry styles and designs before making a final decision. Consider your storage needs, available space, and personal style preferences. By choosing the right pantry design, you’ll not only enhance the functionality of your kitchen but also add a touch of style and organization to the space.
When connecting a pantry to an existing kitchen cabinet, make sure to measure and align the two pieces carefully before securing them together. Use appropriate hardware and consider hiring a professional for complex installations.
Step 4: Connecting the Pantry to the Existing Cabinet
Now that you’ve chosen the style and design of your pantry, it’s time to connect it to your existing kitchen cabinet. This step requires precision and careful execution to ensure a secure and stable connection.
Start by positioning the pantry next to or in the designated space next to your cabinet. Make sure it is aligned and level with the cabinet and adjust as necessary.
Depending on the type of pantry and cabinet you have, you may need to use screws, brackets, or other hardware to secure the two together. Refer to the manufacturer’s instructions for your specific pantry model, as they may provide guidance on the recommended method of connection.
If using screws, determine the appropriate locations for drilling. Pre-drill pilot holes in the pantry and cabinet to prevent any splitting or cracking of the wood. Ensure that the screws are long enough to securely attach the pantry to the cabinet but not so long that they penetrate the other side.
If brackets are required, position them in the designated areas according to the instructions. These brackets will help support and stabilize the pantry, ensuring it remains firmly attached to the cabinet.
Once the screws or brackets are in place, carefully attach the pantry to the cabinet, applying equal pressure to ensure a tight fit. Use a screwdriver or drill to secure the screws tightly, but be careful not to overtighten and risk damaging the wood.
Double-check the alignment and stability of the pantry after it is connected to the cabinet. Ensure that there are no gaps or wobbling. If necessary, make any minor adjustments to achieve a seamless connection.
If you are unsure about the process or feel uncomfortable with the installation, consider contacting a professional to ensure a safe and secure connection.
Connecting the pantry to your existing cabinet may require some patience and attention to detail, but with the right tools and proper execution, you can achieve a sturdy and reliable connection. Successful completion of this step brings you one step closer to having a fully functional and organized pantry to enhance your kitchen storage.
Read more: What Is A Pantry Cabinet
Step 5: Securing the Pantry in Place
Now that you have connected the pantry to your existing kitchen cabinet, it’s essential to ensure that it is securely in place. This step is critical for the stability and safety of the pantry, as well as for the overall functionality and longevity of the installation.
Start by checking for any wobbling or instability of the pantry. Gently push and pull on the pantry to test its stability and ensure that it is securely attached to the cabinet. If you notice any movement or looseness, double-check the screws or brackets and make any necessary adjustments.
If you want to provide additional support and stability, consider using L-brackets or anchors. These can be installed at strategic points on the pantry, such as the top corners or sides, to further secure it to the cabinet. Make sure to follow the manufacturer’s instructions for proper installation and placement of these supports.
Another option to enhance stability is to use adhesive or construction adhesive. Apply a thin layer of adhesive where the pantry meets the cabinet. This will create an extra bond and help keep the pantry securely in place.
Once you have secured the pantry, test it again for stability and make any final adjustments. The pantry should feel sturdy and firm, with no movement or wobbling when pressure is applied.
Take a moment to inspect the surrounding area and ensure that there are no gaps or spaces between the pantry and the cabinet. If there are any visible openings, use wooden shims or filler material to fill them in and create a seamless appearance
Lastly, if you have any plans to further secure the pantry, such as anchoring it to the wall for additional support, now is the time to do so. This step is especially important if you have a larger or heavier pantry or if you live in an area prone to seismic activity.
Taking the time to properly secure the pantry in place ensures its stability and reliability. You’ll have peace of mind knowing that your pantry is securely attached to the cabinet, providing you with a functional and organized storage solution in your kitchen.
Step 6: Adding Finishing Touches
Congratulations! You have successfully connected and secured the pantry to your existing kitchen cabinet. Now it’s time to add those final touches to complete the project and enhance the functionality and aesthetics of your new pantry.
One important step in finishing the pantry is to paint or stain it to match your existing cabinet. This will create a cohesive and cohesive look, giving the impression that the pantry was always a part of your kitchen. Choose a paint or stain color that complements the overall color scheme of your kitchen, allowing the pantry to seamlessly blend in.
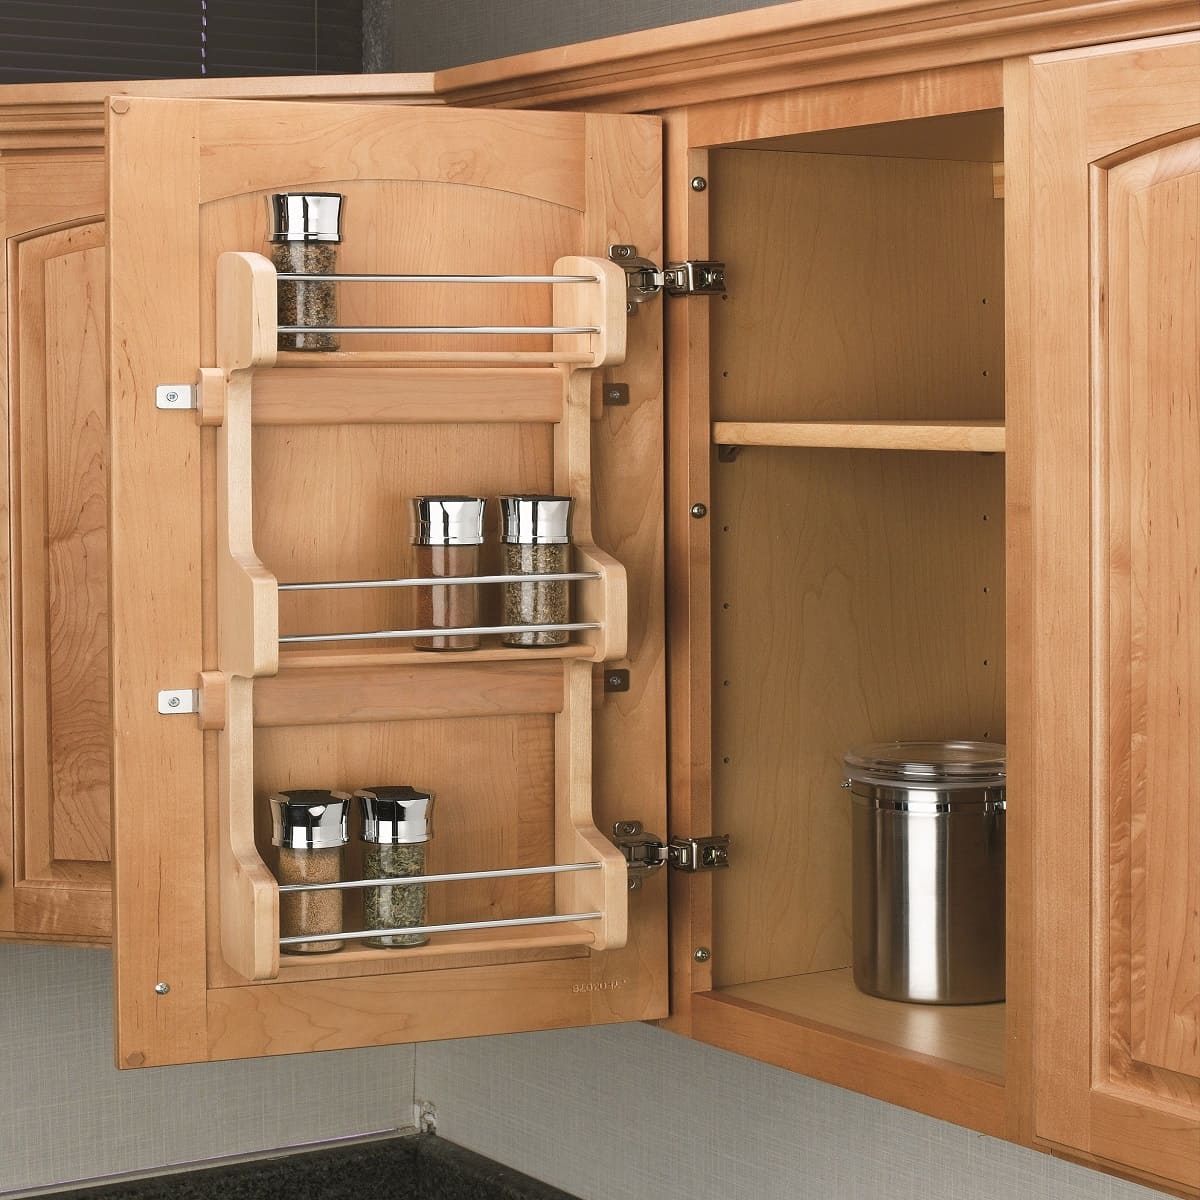
Consider adding any additional storage features that will make the pantry even more functional and efficient. Wire racks, hooks, or pull-out drawers can help maximize storage space and keep your pantry items organized. Install these elements according to the manufacturer’s instructions, ensuring they are secure and properly aligned.
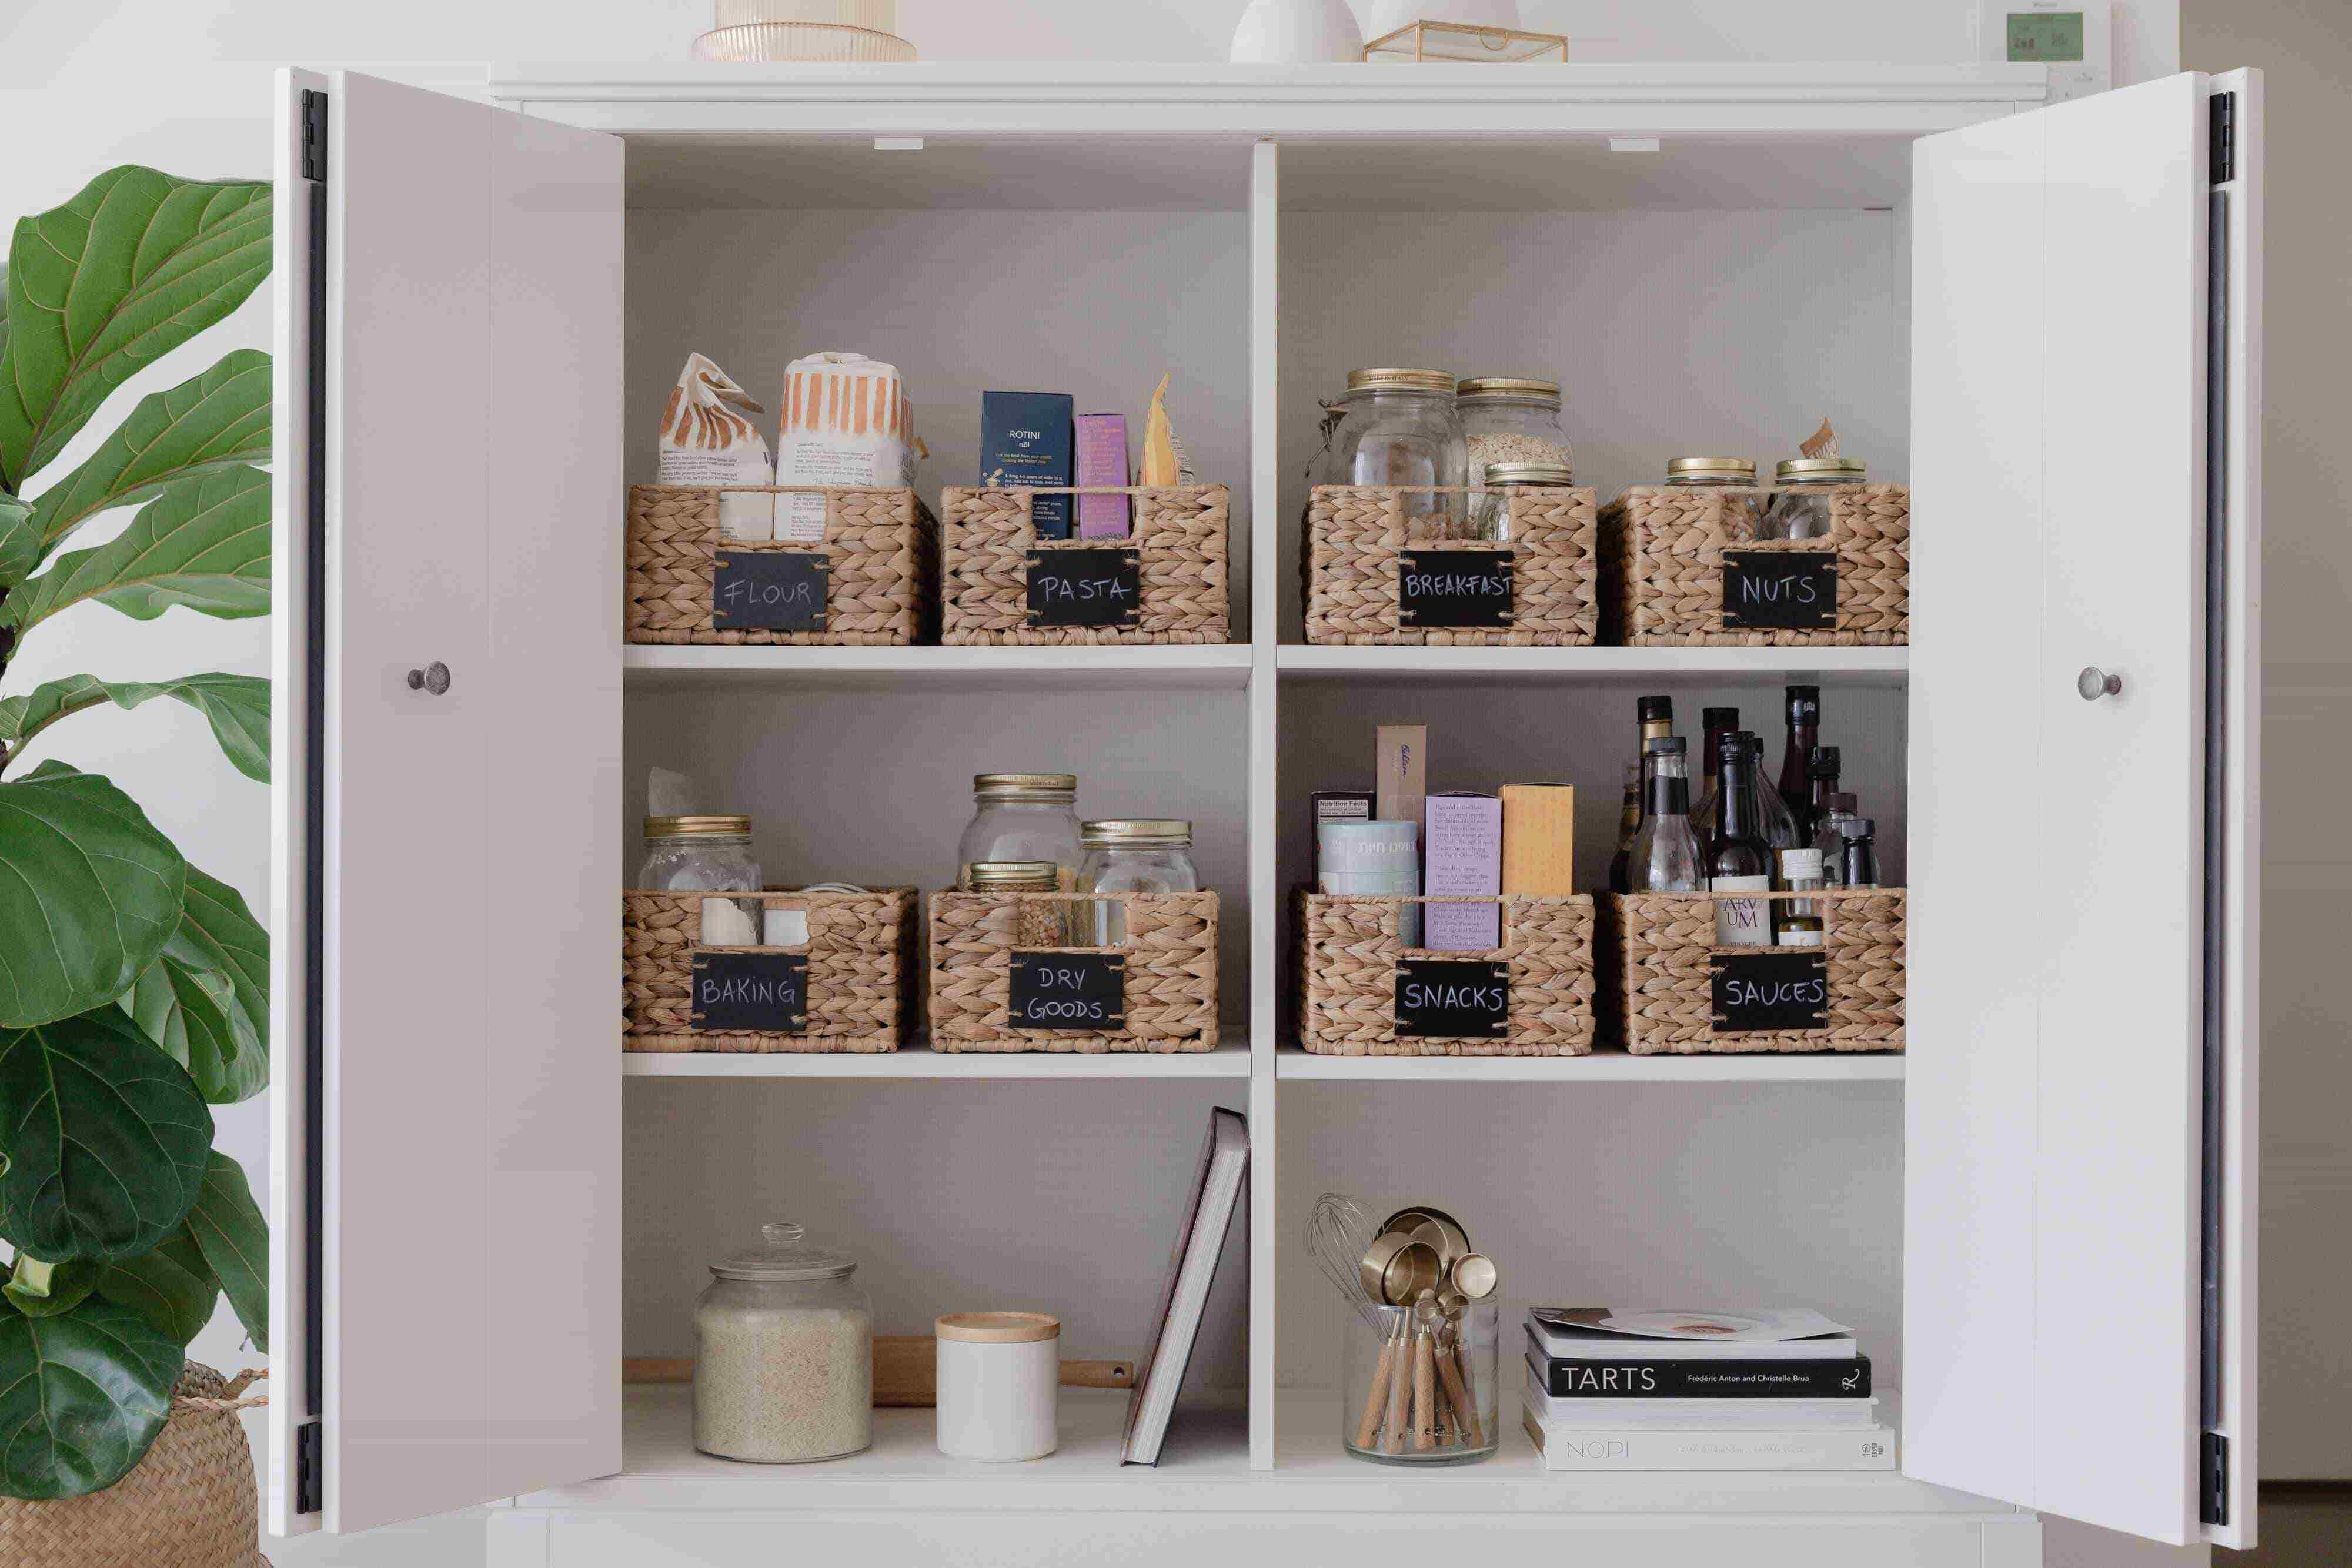
You may also choose to install decorative elements to personalize your pantry. Cabinet knobs or handles in a coordinating style can add a touch of elegance or charm. Additionally, labeling or categorizing your pantry items can make it easier to locate and access what you need.
Once you have added the finishing touches, take a step back and admire your newly connected and finished pantry. It’s now a fully functional storage space that seamlessly integrates with your existing kitchen cabinet, providing you with the extra storage and organization you desired.
Remember to regularly maintain and clean your pantry to keep it in optimal condition. Wipe down the shelves, clean spilled liquids promptly, and periodically reorganize your pantry to keep it tidy and efficient.
Enjoy the benefits of your newly connected pantry, knowing that you’ve successfully completed a DIY project that not only enhances the functionality of your kitchen but also adds a stylish and efficient storage solution. Your pantry will serve you for years to come, making cooking and meal preparation a breeze.
Congratulations again on completing all the steps to connect a pantry to your existing kitchen cabinet. Now sit back, relax, and enjoy the well-organized and efficient kitchen space you’ve created!
Conclusion
Connecting a pantry to an existing kitchen cabinet is a rewarding DIY project that adds valuable storage space and enhances the organization of your kitchen. By following the steps outlined in this guide, you can successfully transform your kitchen into a more efficient and functional space.
We started by assessing the space and taking accurate measurements to ensure the pantry fits seamlessly with your existing cabinet. Preparing the cabinet by making any necessary adjustments and ensuring a clean and stable foundation is crucial for a successful installation.
Choosing the right pantry style and design allows you to customize the storage space according to your needs and preferences. The type of pantry you select, whether it’s freestanding, built-in, or pull-out, will determine the overall functionality and look of your kitchen.
Once you have chosen the pantry, the next steps involve connecting and securing it to your existing cabinet. This requires careful execution and following the manufacturer’s instructions, be it using screws, brackets, or adhesive. Double-checking for stability and making minor adjustments ensure a secure and stable connection.
To complete the project, adding finishing touches such as painting or staining the pantry to match your existing cabinet, incorporating additional storage features, and personalizing it with decorative elements contribute to the overall aesthetics and functionality of your pantry.
By completing the steps in this guide and paying attention to detail, you will have successfully connected a pantry to your existing kitchen cabinet, resulting in a well-organized and efficient kitchen space.
Remember to regularly maintain and clean your pantry, keeping it tidy and organized. This will help you fully enjoy the benefits of the added storage space and streamline your meal preparation and cooking processes.
Congratulations on completing your pantry project and creating a more organized and functional kitchen. Enjoy the rewards of your hard work and the convenience of having all your pantry items neatly stored in one dedicated space!
Frequently Asked Questions about How To Connect A Pantry To An Existing Kitchen Cabinet
Was this page helpful?
At Storables.com, we guarantee accurate and reliable information. Our content, validated by Expert Board Contributors, is crafted following stringent Editorial Policies. We're committed to providing you with well-researched, expert-backed insights for all your informational needs.


0 thoughts on “How To Connect A Pantry To An Existing Kitchen Cabinet”