Home>Technology>Smart Home Devices>How To Connect Konica Minolta Printer To Computer
Smart Home Devices
How To Connect Konica Minolta Printer To Computer
Published: January 21, 2024
Learn how to easily connect your Konica Minolta printer to your computer and start printing with smart home devices. Follow our step-by-step guide for seamless setup.
(Many of the links in this article redirect to a specific reviewed product. Your purchase of these products through affiliate links helps to generate commission for Storables.com, at no extra cost. Learn more)
Introduction
In our increasingly digital world, the seamless integration of smart home devices has become a hallmark of modern living. Among these innovative gadgets, Konica Minolta printers stand out for their exceptional performance and advanced connectivity features. Whether you're a seasoned tech enthusiast or a newcomer to the realm of smart home devices, learning how to connect a Konica Minolta printer to your computer is a valuable skill that can enhance your productivity and streamline your printing tasks.
In this comprehensive guide, we will walk you through the process of connecting your Konica Minolta printer to your computer with clear, step-by-step instructions. By the end of this tutorial, you will have a deep understanding of the necessary materials, the installation of printer drivers, the connection process, and how to test the connection to ensure everything is functioning seamlessly.
So, grab your favorite beverage, settle into a comfortable spot, and let's embark on this enlightening journey to connect your Konica Minolta printer to your computer. Whether you're a home user looking to simplify your printing experience or a professional seeking to optimize your workflow, this guide is designed to equip you with the knowledge and confidence to seamlessly integrate your Konica Minolta printer into your digital ecosystem. Let's dive in and unlock the full potential of your smart printing solution!
Key Takeaways:
- Connecting your Konica Minolta printer to your computer is a breeze with the right materials and printer drivers. Whether using a USB cable or wireless setup, follow the steps to ensure a seamless connection.
- After connecting, test the printer by sending a print job to ensure everything works smoothly. If any issues arise, refer to Konica Minolta’s troubleshooting resources for assistance.
Step 1: Gather the Necessary Materials
Before embarking on the process of connecting your Konica Minolta printer to your computer, it’s essential to gather the necessary materials to ensure a smooth and hassle-free setup. Here’s a list of items you’ll need to have on hand:
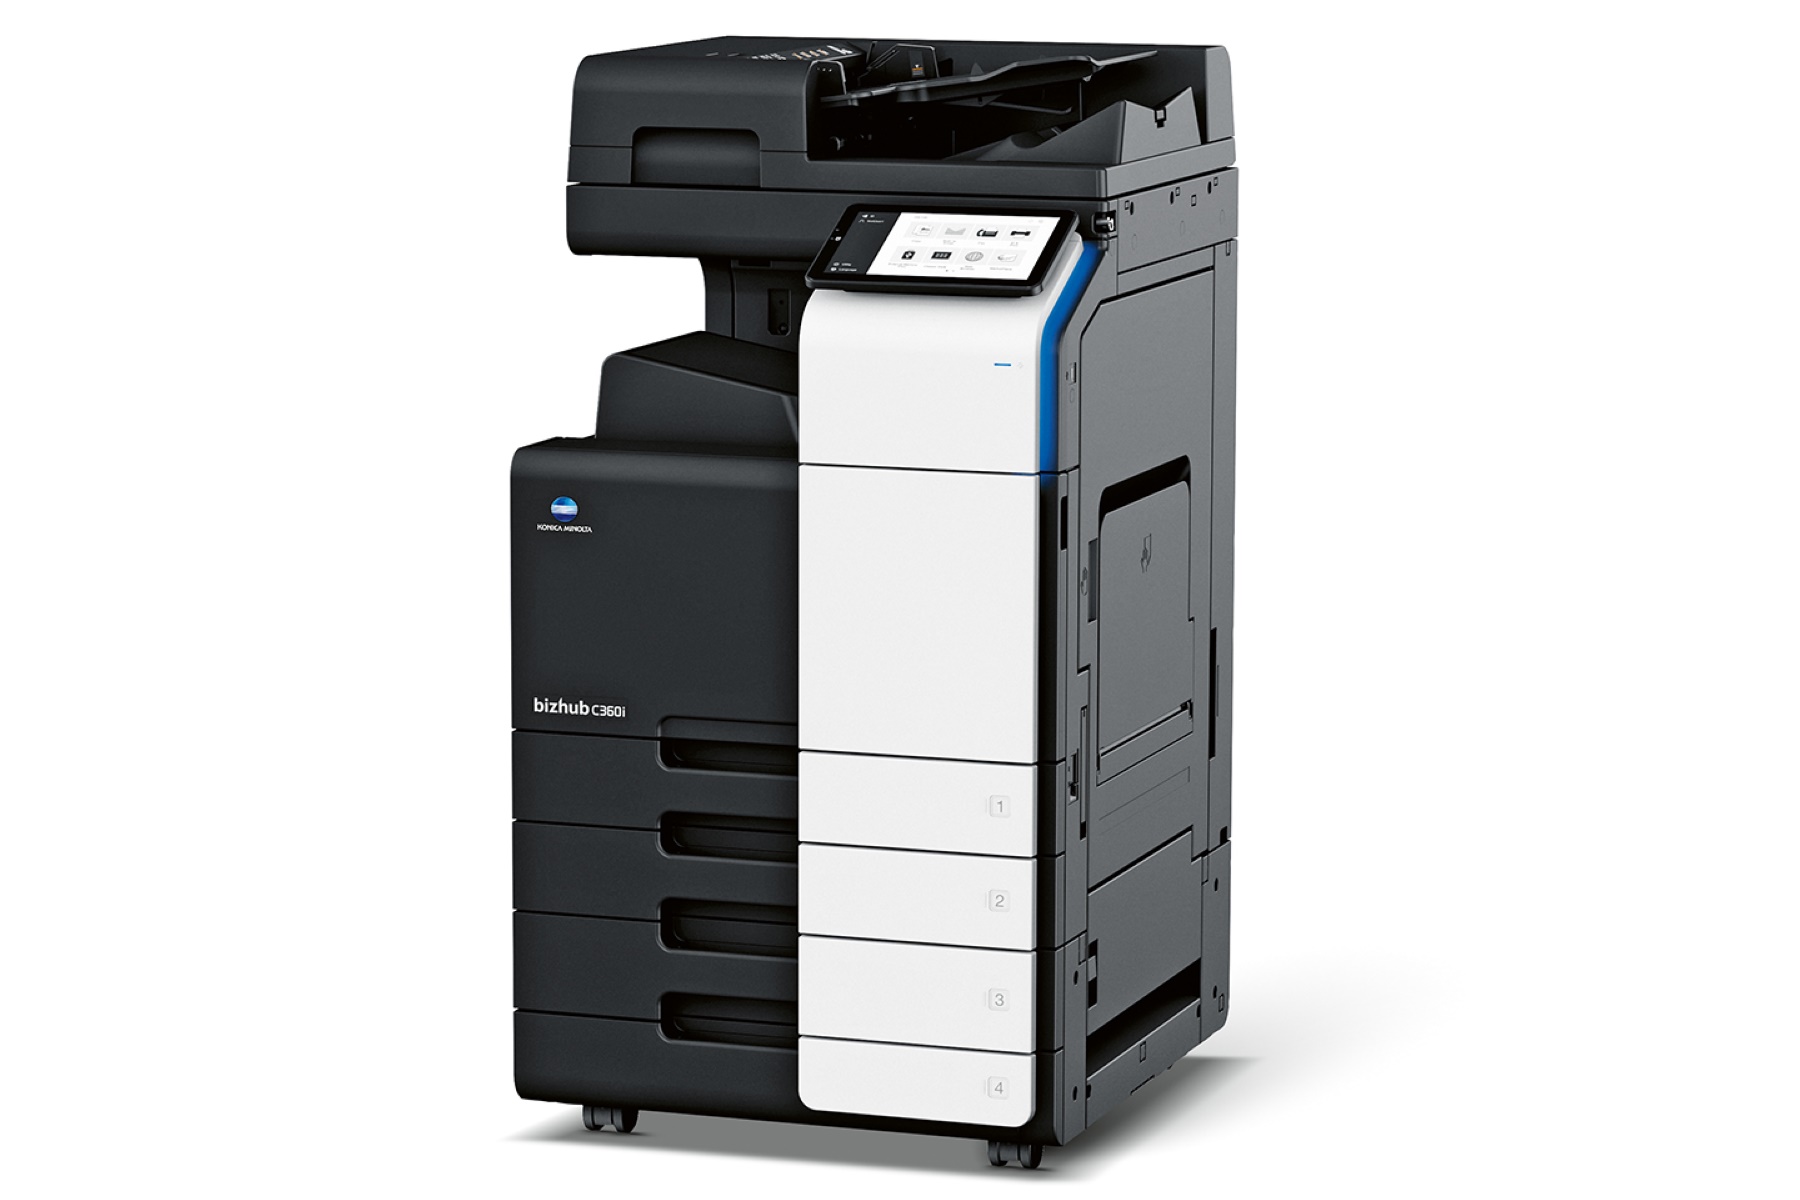
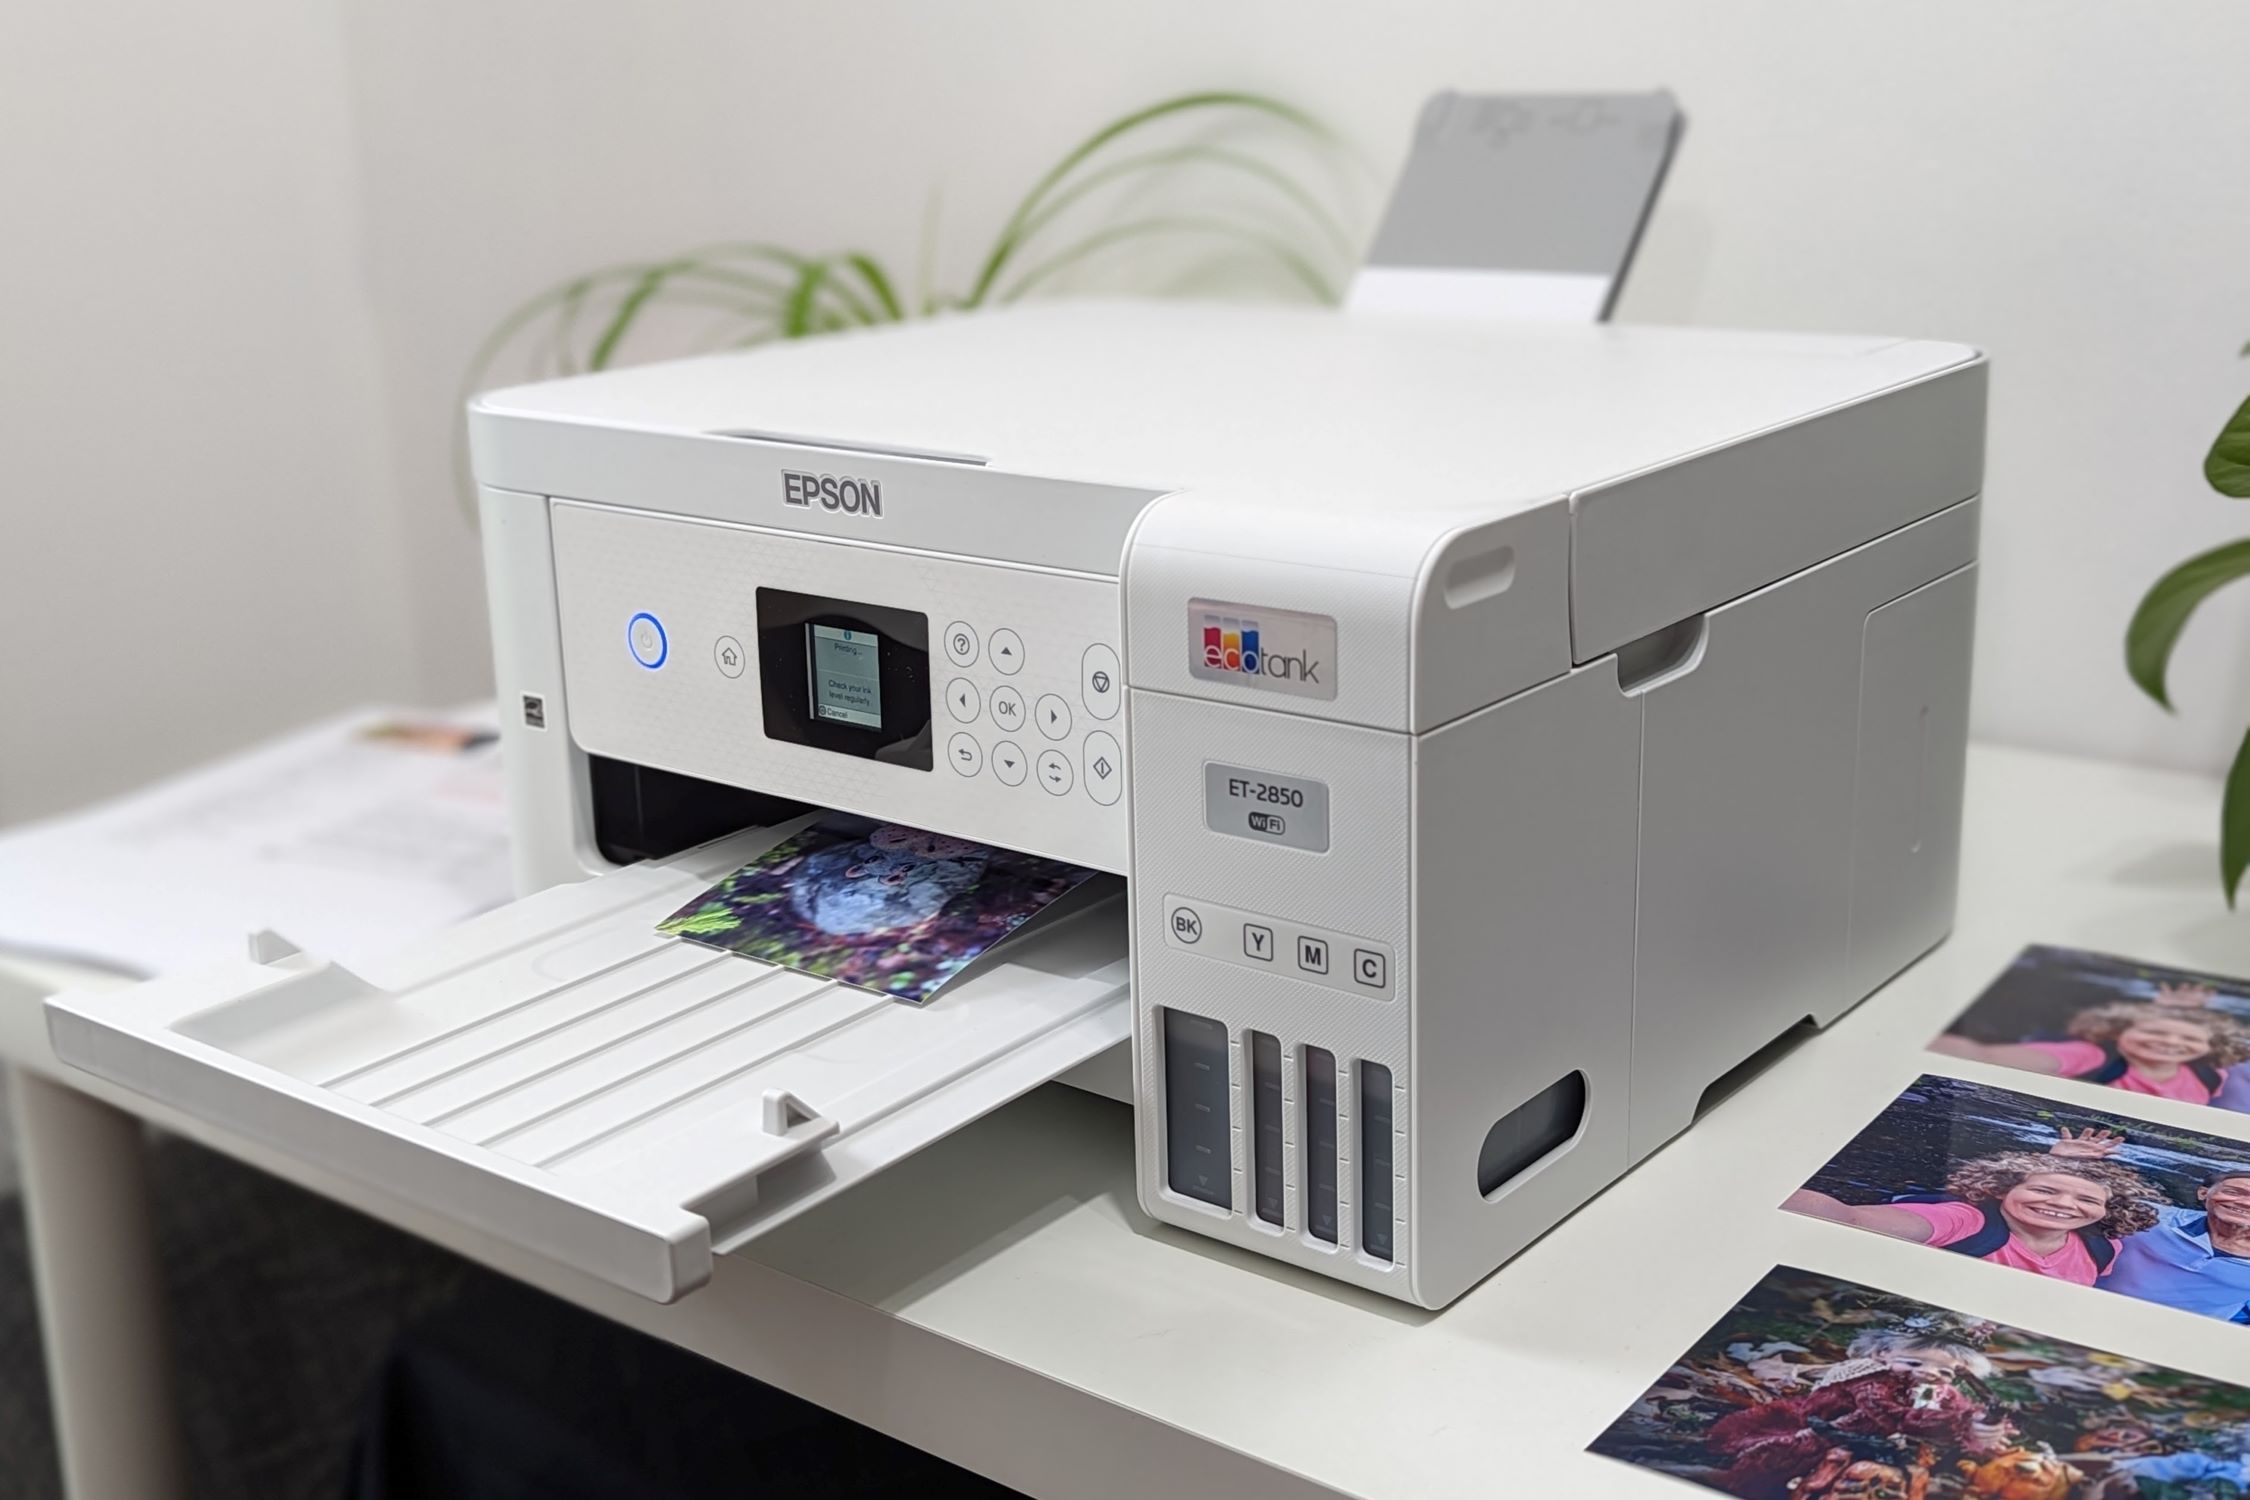
- Konica Minolta Printer: Of course, the star of the show is your Konica Minolta printer. Ensure that the printer is in good working condition and is compatible with your computer’s operating system.
- Computer: Whether it’s a desktop, laptop, or a hybrid device, make sure your computer is powered on and ready for the setup process.
- Printer Drivers: Check if the necessary printer drivers are included with your printer or if you need to download them from the Konica Minolta website. Having the correct drivers is crucial for seamless communication between the printer and your computer.
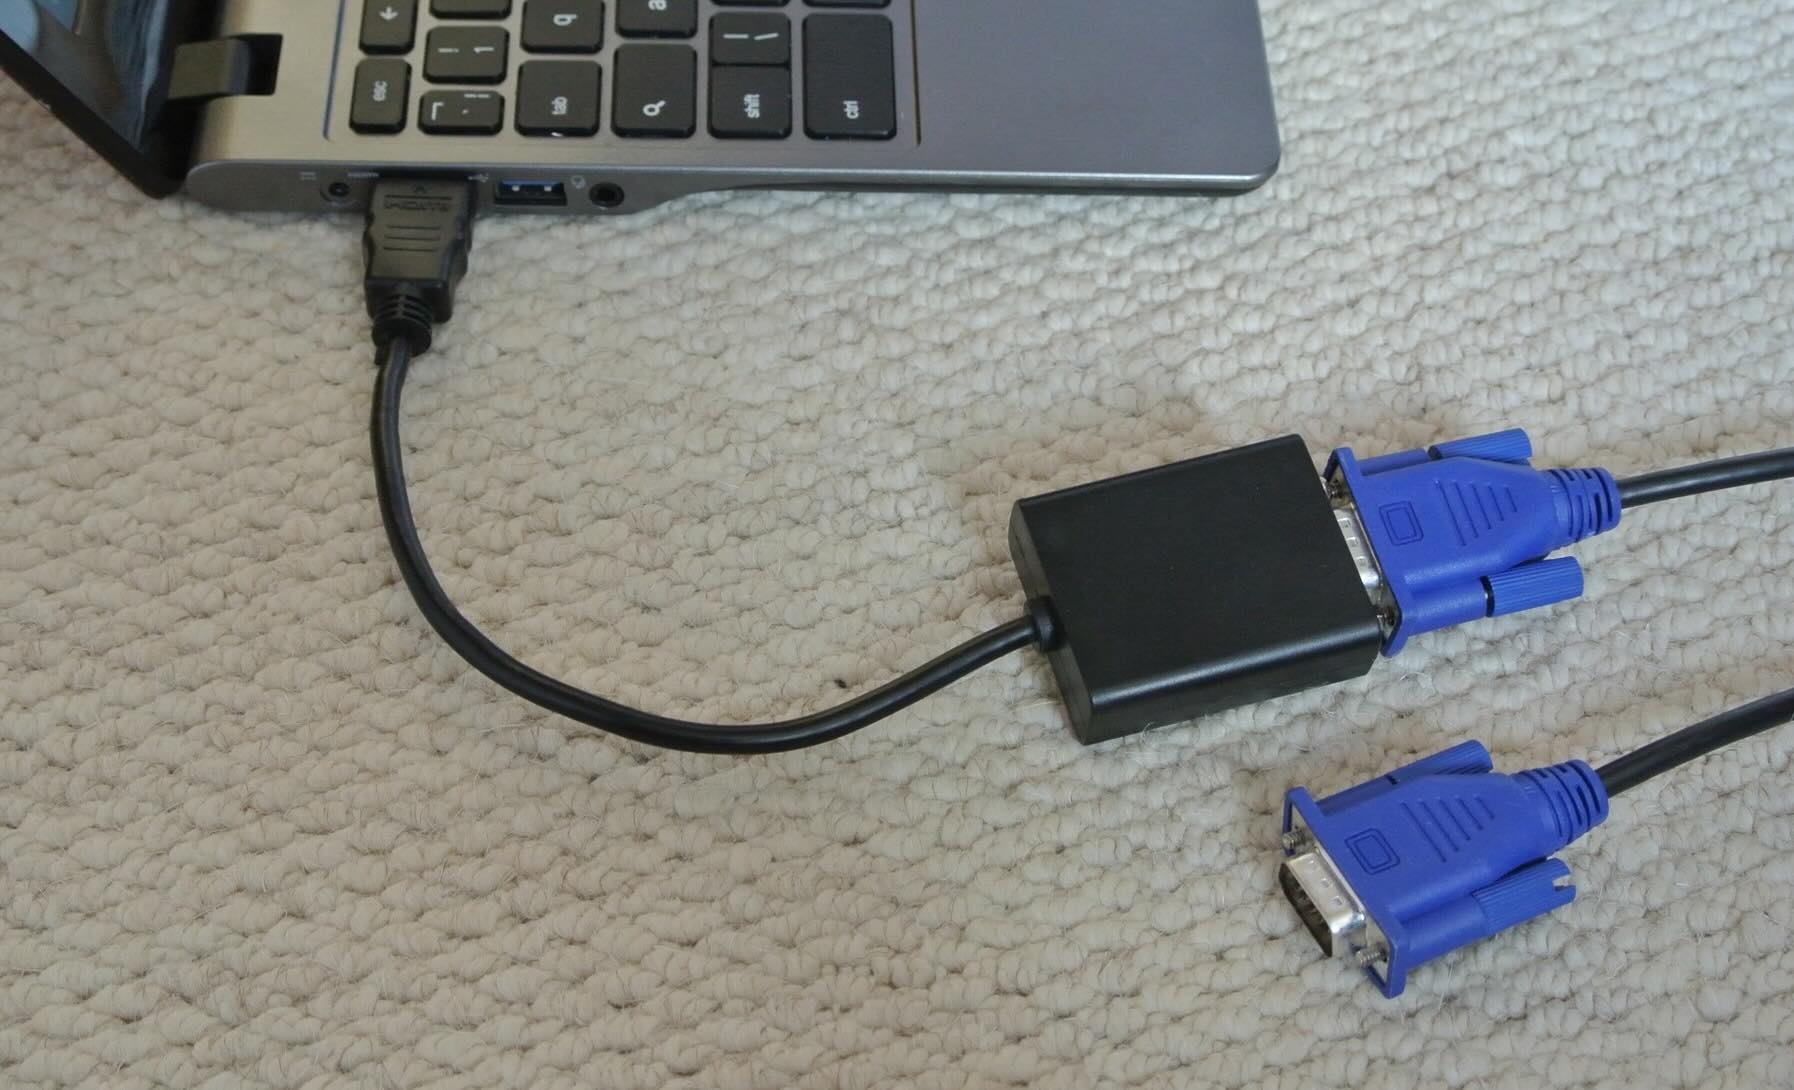
- USB Cable or Network Connection: Depending on your printer model and your preferences, you may need a USB cable for a direct connection or access to a network connection for wireless setup.
- Power Cable: Ensure that the printer’s power cable is securely connected to a power source.
- Paper and Ink/Toner: Have a stack of paper and a sufficient supply of ink or toner ready for test prints and regular usage.
By ensuring that you have all these materials at hand, you’ll be well-prepared to proceed with the seamless setup of your Konica Minolta printer. With everything in place, you’re ready to move on to the next step and delve into the installation of the printer drivers.
Step 2: Install the Printer Drivers
Installing the printer drivers is a crucial step in setting up your Konica Minolta printer for seamless communication with your computer. These drivers serve as the bridge between your computer’s operating system and the printer, allowing them to work together harmoniously. Follow these steps to install the printer drivers:
- Locate the Installation Disc: If your Konica Minolta printer came with an installation disc, insert it into your computer’s disc drive. This disc typically contains the necessary drivers and software for your printer.
- Run the Installation Wizard: Once the disc is inserted, the installation wizard should launch automatically. Follow the on-screen prompts to begin the installation process. If the wizard does not launch automatically, navigate to the disc drive in File Explorer and run the setup file to initiate the installation.
- Download Drivers from the Manufacturer’s Website: If your printer did not come with an installation disc or if you prefer to use the latest drivers, visit the official Konica Minolta website. Locate the support or downloads section and enter your printer model to find the appropriate drivers for your operating system. Download the drivers and save them to a convenient location on your computer.
- Run the Driver Installation File: Once the drivers are downloaded, locate the installation file and double-click to run it. Follow the on-screen instructions to complete the driver installation process.
- Restart Your Computer: After the drivers are successfully installed, it’s a good practice to restart your computer to ensure that the changes take full effect.
By diligently following these steps, you will have successfully installed the necessary printer drivers, paving the way for seamless communication between your Konica Minolta printer and your computer. With this vital step completed, you’re now ready to move on to the next phase of the setup process: connecting the printer to your computer.
To connect a Konica Minolta printer to a computer, you can use a USB cable or connect it to the same Wi-Fi network as your computer. Install the printer driver on your computer and follow the on-screen instructions to complete the setup.
Step 3: Connect the Printer to the Computer
With the printer drivers successfully installed, you’re now ready to establish the physical or wireless connection between your Konica Minolta printer and your computer. Depending on your printer model and your preferences, you can choose from the following connection methods:
- USB Connection: If you prefer a direct, physical connection, use a USB cable to connect your printer to an available USB port on your computer. Ensure that the cable is securely plugged into both the printer and the computer.
- Network Connection: For wireless setup, connect your Konica Minolta printer to your Wi-Fi network according to the instructions provided in the printer’s manual. Once connected, your computer should be able to detect the printer over the network.
Regardless of the connection method you choose, follow these general guidelines to ensure a successful connection:
- Power On the Printer: Ensure that your Konica Minolta printer is powered on and ready for the connection process. If it has a control panel, check for any prompts or instructions related to connecting to a computer.
- Computer Detection: Once the physical or wireless connection is established, your computer should automatically detect the new printer. It may prompt you to complete the setup or installation process. Follow any on-screen instructions to finalize the connection.
- Printer Settings: Access the printer settings on your computer to verify that the Konica Minolta printer is recognized and set as the default printer, if desired. This ensures that any print commands are directed to the correct device.
By following these steps, you will have successfully connected your Konica Minolta printer to your computer, establishing a seamless link that allows you to effortlessly send print jobs from your computer to the printer. With the connection in place, it’s time to move on to the final step: testing the connection to ensure everything is functioning as expected.
Step 4: Test the Connection
After connecting your Konica Minolta printer to your computer, it’s essential to conduct a thorough test to ensure that the connection is functioning flawlessly. By running a test print and checking for proper communication between the devices, you can confirm that your printer is ready to fulfill your printing needs. Follow these steps to test the connection:
- Send a Test Print: Open a document, image, or any file that you’d like to print. Click on the print option within the application and select your Konica Minolta printer as the designated printing device. Initiate the print command and observe the printer for any signs of activity.
- Verify Print Output: Once the print command is executed, monitor the printer to ensure that it receives the print job and begins processing it. Listen for the sound of the printer’s mechanisms and observe the paper tray for movement as the print job is executed.
- Inspect the Printed Output: Once the print job is completed, retrieve the printed document from the output tray. Inspect the quality of the print, ensuring that the text or images are rendered accurately and clearly. If the printout meets your expectations, the connection test is successful.
If the test print is successful and the printed output meets your standards, congratulations! You have effectively connected your Konica Minolta printer to your computer, and it’s ready to serve your printing needs. However, if you encounter any issues during the test, such as print errors or communication failures, refer to the troubleshooting resources provided by Konica Minolta or seek assistance from their support team to resolve the issues.
By diligently conducting a comprehensive test of the connection, you can ensure that your Konica Minolta printer and computer are seamlessly linked, ready to facilitate your printing tasks with efficiency and reliability. With the successful completion of the connection test, you have accomplished the final step in the setup process.
Read more: How To Connect Brother Printer To Computer
Conclusion
Congratulations on successfully connecting your Konica Minolta printer to your computer! By following the step-by-step instructions in this guide, you have gained the knowledge and confidence to seamlessly integrate your printer into your digital workflow. Whether you opted for a direct USB connection or a wireless setup, your Konica Minolta printer is now poised to enhance your printing experience with its advanced features and exceptional performance.
As you embark on your printing journey with your newly connected Konica Minolta printer, remember that periodic maintenance and software updates can further optimize its functionality and longevity. Stay informed about the latest firmware updates and driver enhancements provided by Konica Minolta to ensure that your printer operates at its best.
Furthermore, familiarize yourself with the printer’s settings and capabilities, such as duplex printing, paper size adjustments, and print quality settings, to tailor your printing experience to your specific needs. By leveraging the full potential of your Konica Minolta printer, you can achieve professional-quality prints and efficient document management.
Whether you’re a home user, a small business owner, or a professional in a corporate environment, the seamless connection between your Konica Minolta printer and your computer empowers you to unleash your creativity and productivity. From printing documents and presentations to producing vibrant photographs, your printer is a versatile tool that can bring your ideas to life.
As technology continues to evolve, Konica Minolta remains at the forefront of innovation, delivering cutting-edge printing solutions that cater to diverse user needs. By staying connected with the latest developments and advancements in printing technology, you can ensure that your printing setup remains efficient, reliable, and aligned with your evolving requirements.
Thank you for joining us on this enlightening journey to connect your Konica Minolta printer to your computer. Embrace the possibilities that your connected printing solution offers, and may your printing experiences be consistently seamless and rewarding.
Frequently Asked Questions about How To Connect Konica Minolta Printer To Computer
Was this page helpful?
At Storables.com, we guarantee accurate and reliable information. Our content, validated by Expert Board Contributors, is crafted following stringent Editorial Policies. We're committed to providing you with well-researched, expert-backed insights for all your informational needs.

0 thoughts on “How To Connect Konica Minolta Printer To Computer”