Home>Ideas and Tips>DIY Guide: Building Custom Shelving For Your Garage

Ideas and Tips
DIY Guide: Building Custom Shelving For Your Garage
Modified: October 22, 2024
Learn how to build custom garage shelving with our step-by-step DIY guide. Maximize storage space and keep your garage organized.
(Many of the links in this article redirect to a specific reviewed product. Your purchase of these products through affiliate links helps to generate commission for Storables.com, at no extra cost. Learn more)
Introduction
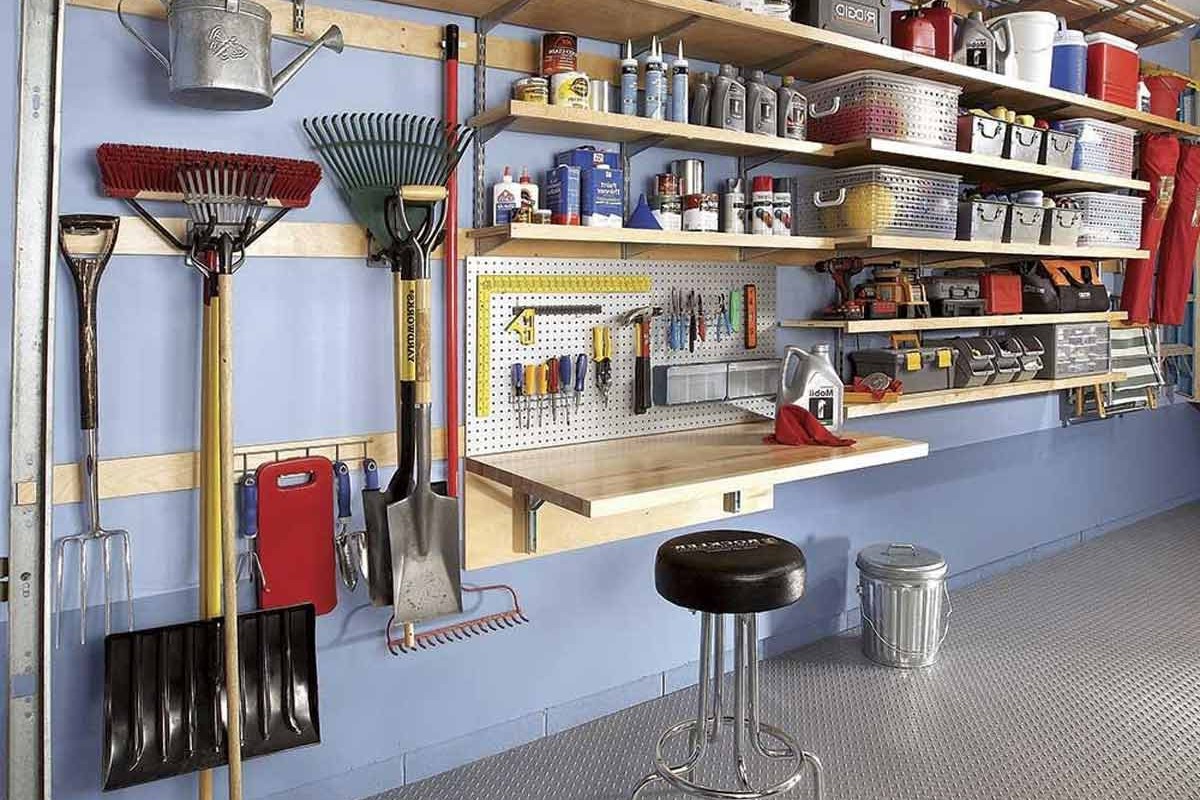
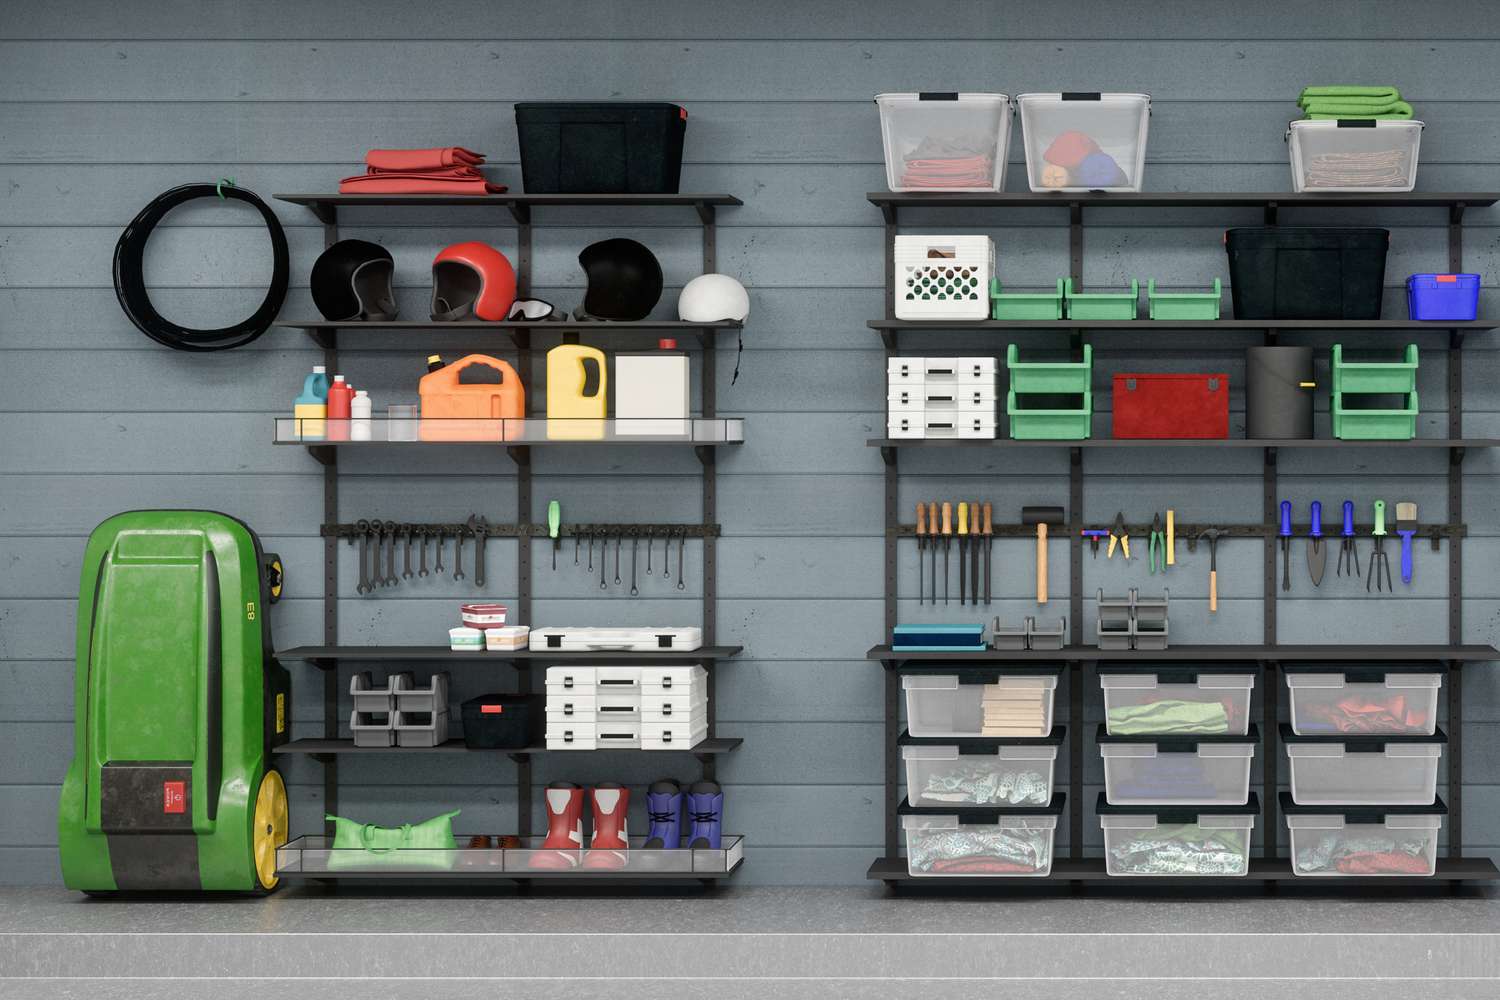
Are you tired of cluttered garage floors and constantly having to dig through your attic to find storage bins and totes? Building custom shelving for your garage is an excellent solution to this problem. Not only does it provide ample storage space, but it also helps in keeping your garage organized and efficient. In this article, we will guide you through the process of building custom garage shelving, from planning and designing to the final assembly.
Building custom shelving for your garage is a fantastic way to declutter and organize your space. Imagine walking into your garage and everything has its place. No more tripping over tools or searching for that one elusive box of holiday decorations. Custom shelving allows you to maximize your storage space, making it easier to find and access your items. Plus, it adds a touch of personalization to your garage, making it truly your own. So, let's dive into the steps to create your very own custom garage shelving.
Read more: DIY Guide To Building Custom Shelving Units
Planning and Designing Your Garage Shelving
Before you start building, it's essential to plan and design your garage shelving. Here are some steps to follow:
1. Measure Your Space
Measure the width and height of your garage wall. Consider the space between the ceiling and the top of the wall, as well as any obstructions like windows or doors. This will help you determine the size of your shelves.
2. Decide on Shelf Design
Decide on the number of shelves you want and their spacing. Typically, the bottom shelf is taller to accommodate larger or heavier items, while the top shelf is narrower for smaller items.
3. Choose Materials
For building garage shelves, you'll need lumber and plywood or MDF. Pressure-treated wood should be used for parts that touch the floor to prevent moisture damage. Untreated wood can be used for the rest of the structure.
4. Gather Tools and Materials
Here are the tools and materials you'll need:
-
Tools:
- 6-foot Step Ladder
- Circular Saw
- Track Saw (optional)
- Impact Driver or Drill with screw bit
- Hammer or Mallet
- Rafter “Speed” Square
- Tape Measure
- Clamps with minimum 5-inch opening
-
Materials:
- One 4×8 sheet of 3/8-inch sheathing plywood
- Thirty-five 2x4x8 studs
- Four 1x3x8 furring strips
- Five-pound box of 3-inch #10 screws
- Eighteen 1-1/4-inch screws for securing plywood
- Wood glue or construction adhesive (optional)
Step-by-Step Guide to Building Garage Shelving
Step 1: Cut Pairs of 2×4 Shelf Supports
Cut four pairs of matching 2x4s using your miter saw, measured to fill the wall between the corner and any obstructions like windows or doors. Each pair will act as the bottom of a shelf, with one board going against the wall and the other along the front of your shelf.
Step 2: Hang One 2×4 from Each Pair
Using a level and tape measure, hang one board from each pair against the wall using long wood screws into wall studs. This will provide a sturdy base for your shelves.
Step 3: Attach Vertical Supports
Attach vertical supports between each pair of 2x4s to create a frame. Make sure these supports are evenly spaced and securely attached to the wall studs.
Step 4: Add Side Pieces
Add side pieces to reinforce the frame and provide additional support. These can be 1x3s or similar materials.
Step 5: Nail In Shelf Tops
Set the plywood or MDF sheets in place as the top shelf, aligning them with the four upright corners. Secure them with three 1 1/4-inch screws into each rung. For additional shelves, place them between the vertical supports and secure them similarly.
Step 6: Add Bracing (Optional)
To make your shelving unit even sturdier, add diagonal bracing. Place a 1×3 along the back of the unit, overlapping it enough to get two screws through it. Clamp it in place and mark a line flush with the top shelf. Remove it and cut it at this line before reattaching it with screws at both ends.
Read more: How To Build Custom Cedar Shutters
Step 7: Secure Plywood Panels
Place additional plywood sheets on center shelves if needed. Fasten them with three screws into each rung for added stability.
Anchoring Your Shelves for Extra Support
Anchoring your shelves to both the wall and floor provides extra support and prevents them from tipping over under heavy loads. Here’s how you can do it:
1. Anchor to Wall Studs
Use long wood screws or wall anchors specifically designed for this purpose to secure your shelves directly into wall studs. This ensures maximum stability.
2. Anchor to Ceiling Joists
If possible, anchor your shelves to ceiling joists as well. This adds an extra layer of support, especially if you're storing heavy items.
Read more: DIY Guide To Installing Floating Shelves
3. Anchor to Floor
For added security, especially if you're using pressure-treated wood on the bottom shelf, consider anchoring it slightly above the floor using screws or brackets designed for this purpose.
Tips for Building Garage Shelves
Use Pressure-Treated Wood
For parts of the shelf that touch the floor, use pressure-treated wood to prevent moisture damage from concrete floors.
Space Shelves Properly
Space shelves so that larger, heavier items go on the bottom and smaller items go higher up. This ensures easier access and prevents clutter buildup.
Add Bracing
Adding diagonal bracing makes your shelving unit more solid and less prone to tipping over under heavy loads.
Customize Your Design
Customize your design according to your specific needs—whether it's fitting around garage doors or accommodating specific storage bins and totes.
FAQs About Building Garage Shelves
Q: How Much Weight Can Garage Shelves Hold?
The weight capacity of garage shelves depends on their design and materials used. Generally, well-built shelves with proper anchoring can hold significant weight, but it's always best to test them with lighter loads first.
Read more: DIY Guide To Building A Backyard Pergola
Q: What Type of Wood Should I Use?
For parts touching the floor, use pressure-treated wood; for other parts, untreated wood is sufficient.
Q: How Do I Ensure My Shelves Are Level?
Using a level and clamps ensures that your shelves are perfectly level during assembly.
Conclusion
Building custom garage shelving is an excellent DIY project that can significantly improve the organization and efficiency of your garage space. By following these steps and tips, you can create sturdy, customizable shelving units that meet all your storage needs. Whether you're looking to store tools, bins, or other items, this guide will help you build the perfect solution for your garage.
Additional Resources
For more detailed instructions and free plans, consider the following resources:
- Casual Builds: A YouTube video demonstrating how to build overhead garage storage shelves using 2x4s and plywood.
- The Home Depot: A comprehensive guide on building DIY garage shelves, including anchoring them to the wall and floor for extra support.
- Young House Love: An easy step-by-step tutorial for building heavy-duty shelves for a garage, shed, or basement using 2x4s and plywood.
- Ana White: Four ways to build your own garage shelving, including options with metal angle supports and freestanding designs.
- FixThisBuildThat: Easy DIY garage shelves with free plans and a full video tutorial, perfect for maximizing storage space on sidewalls.
By following these guides and tips, you'll be well on your way to creating a beautifully organized garage that enhances both functionality and aesthetics. Happy building
Was this page helpful?
At Storables.com, we guarantee accurate and reliable information. Our content, validated by Expert Board Contributors, is crafted following stringent Editorial Policies. We're committed to providing you with well-researched, expert-backed insights for all your informational needs.





0 thoughts on “DIY Guide: Building Custom Shelving For Your Garage”