Articles
How To Build Custom Cedar Shutters
Modified: January 6, 2024
Discover expert articles on how to build custom cedar shutters. Learn step-by-step instructions and tips from experienced craftsmen for your DIY shutter project.
(Many of the links in this article redirect to a specific reviewed product. Your purchase of these products through affiliate links helps to generate commission for Storables.com, at no extra cost. Learn more)
Introduction
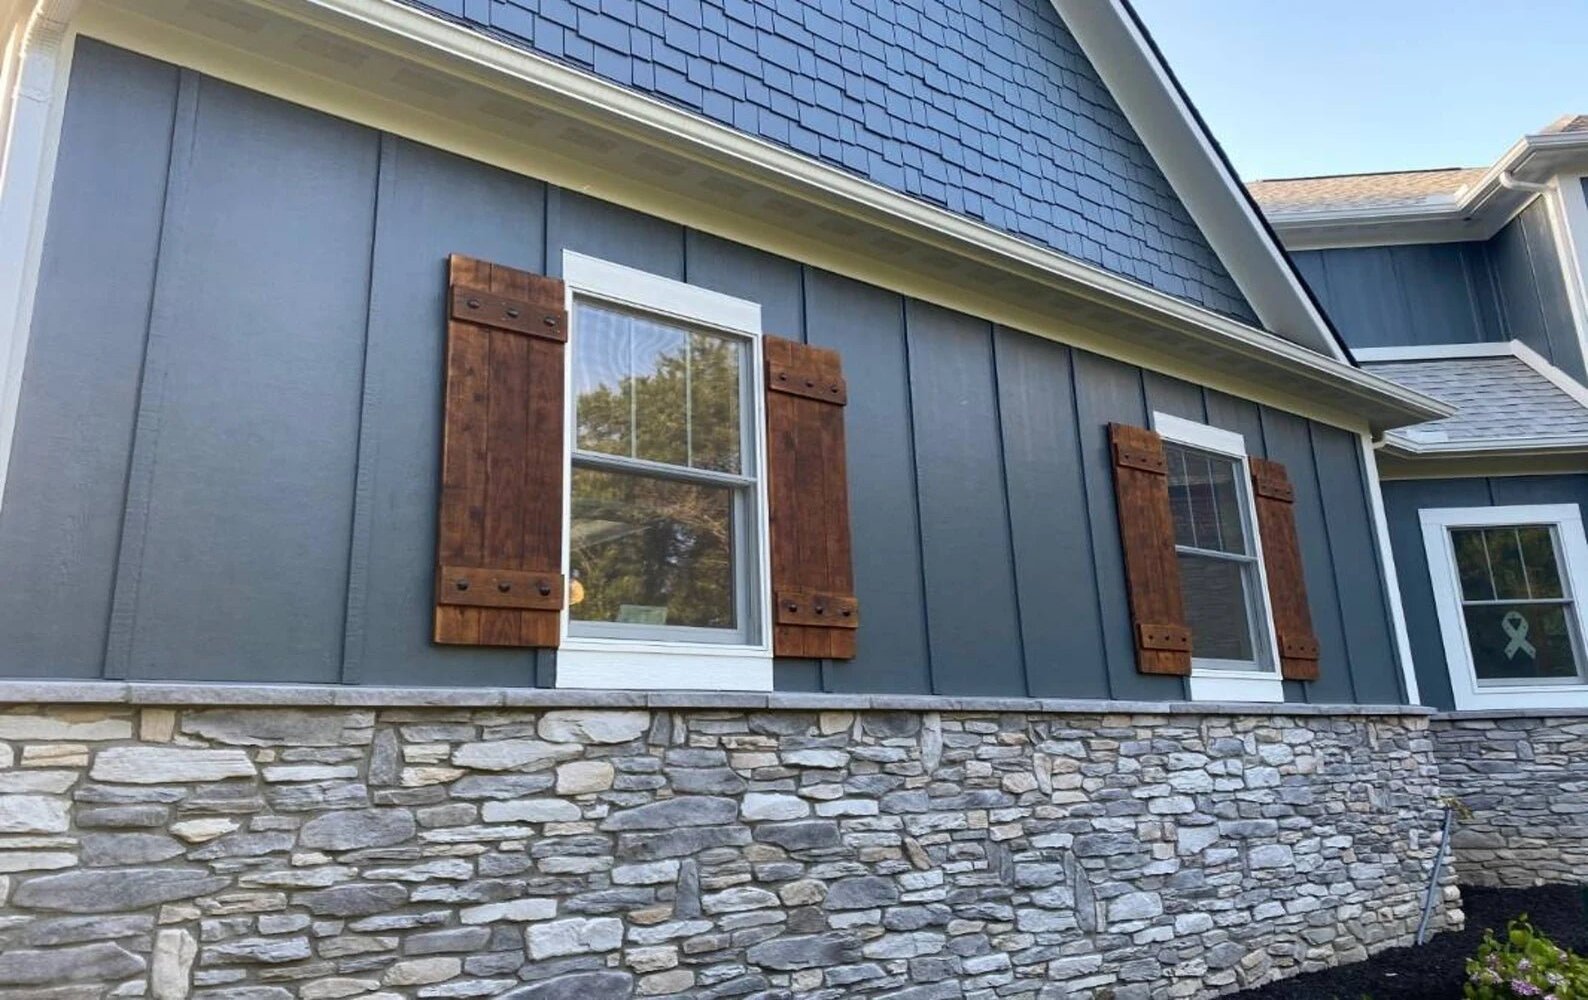
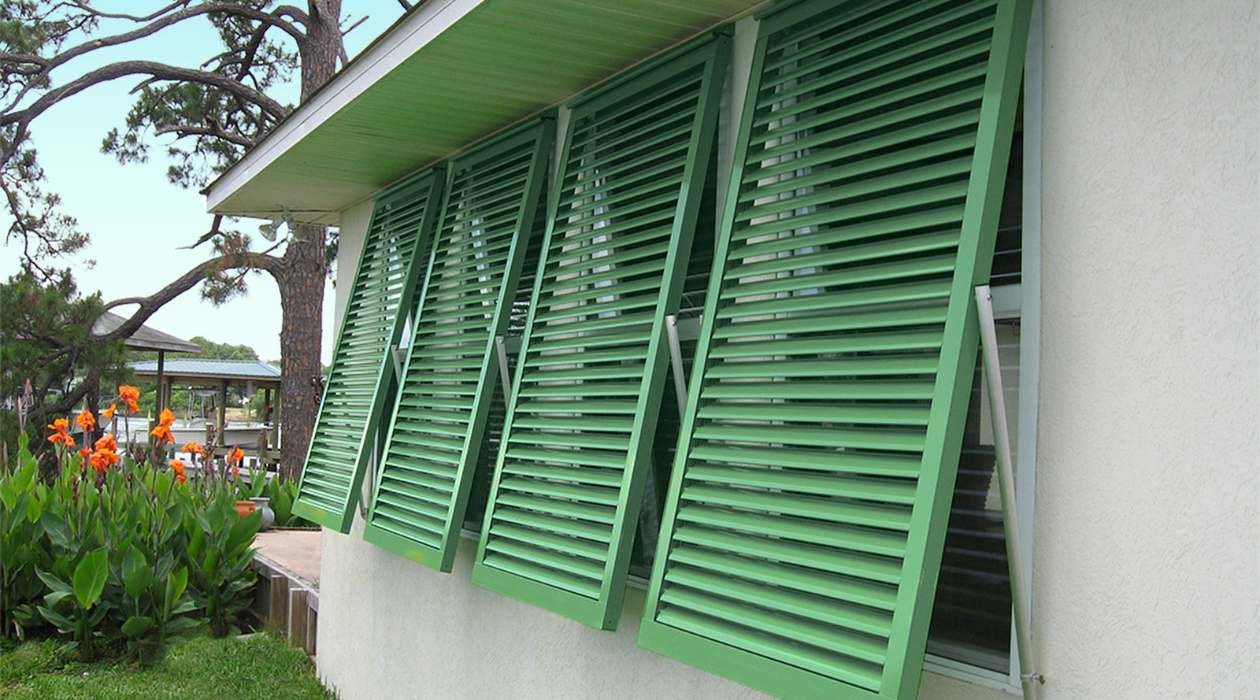
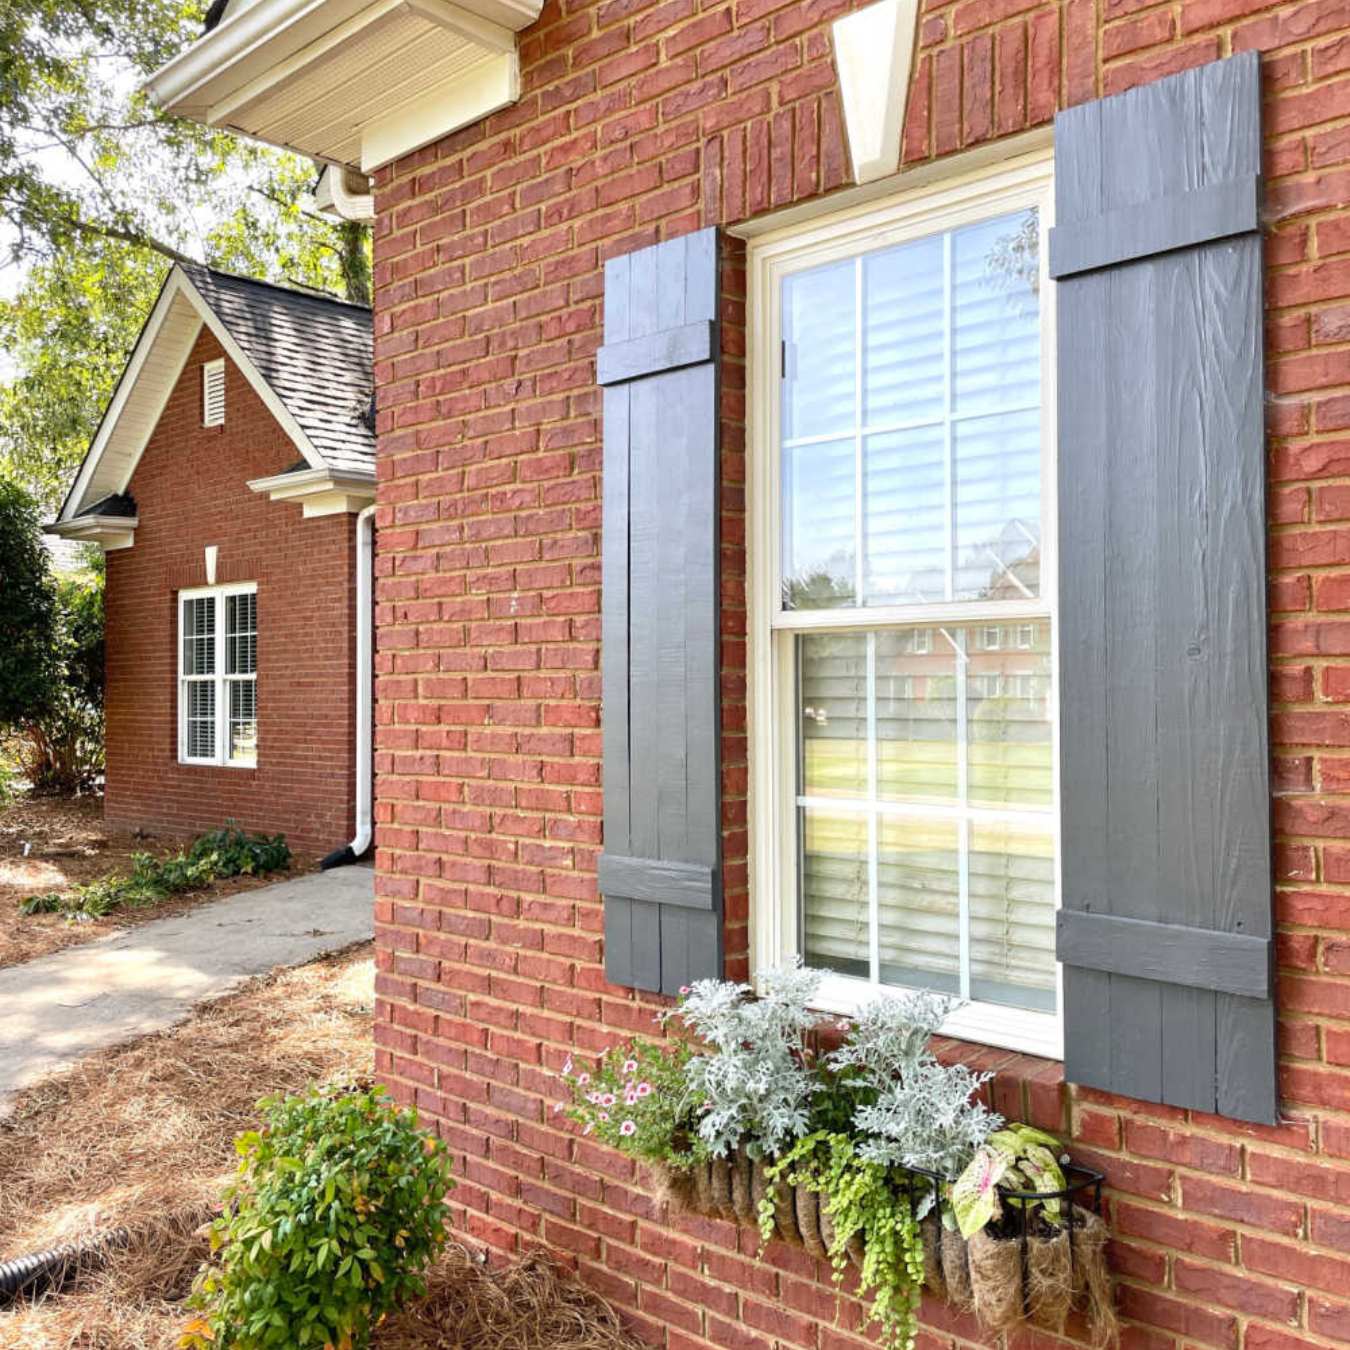
Are you looking to add a touch of elegance and charm to your home’s exterior? Custom cedar shutters are a timeless and beautiful addition that can enhance the curb appeal of any house. Not only do they provide functional benefits such as privacy and protection from the elements, but they also add a touch of architectural character.
In this step-by-step guide, we will walk you through the process of building custom cedar shutters for your home. Whether you’re a seasoned DIY enthusiast or a beginner, this project is well within your reach. With some basic tools and materials, you can create stunning shutters that will elevate the look of your home.
Before we delve into the construction process, it’s important to understand the advantages of using cedar wood. Cedar is a popular choice for shutters due to its natural beauty, durability, and resistance to decay and insect damage. It is known for its rich grain patterns, warm color variations, and aromatic scent.
Now, let’s get started with the first step of building custom cedar shutters: gathering the necessary materials and tools.
Key Takeaways:
- Elevate your home’s exterior with timeless custom cedar shutters that add charm, privacy, and protection from the elements. Follow this step-by-step guide for a rewarding DIY project that enhances curb appeal.
- Embrace the natural beauty and durability of cedar wood to create stunning shutters that complement your home’s architectural style. From measuring and cutting to finishing and installation, this guide makes the process achievable for DIY enthusiasts of all levels.
Read more: How To Build Custom Closet
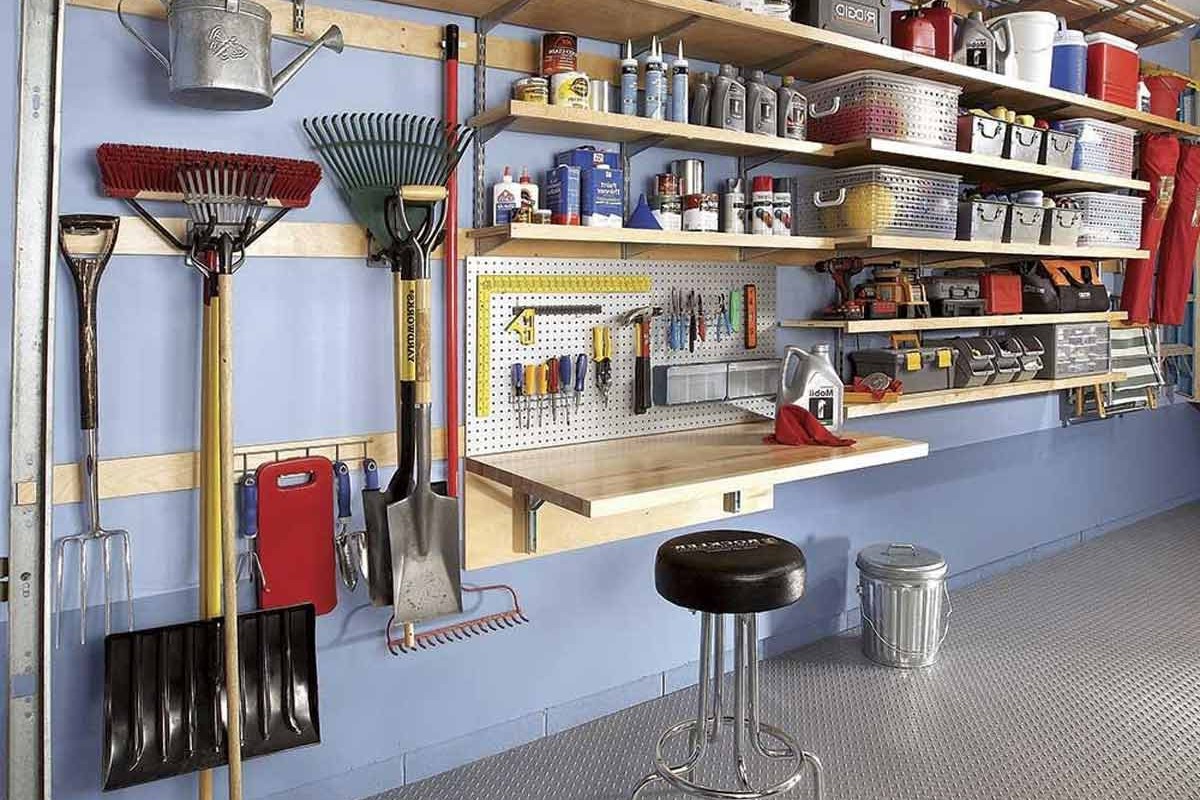
Step 1: Gather Materials and Tools
Before you begin, it’s important to gather all the necessary materials and tools for building your custom cedar shutters. Here’s a list of what you’ll need:
- Cedar boards: Choose high-quality cedar boards that are resistant to decay and insect damage. The thickness and width of the boards will depend on your shutter design and desired aesthetic.
- Measuring tape: A measuring tape is essential to accurately measure the dimensions for your shutters.
- Circular saw: A circular saw will be used to cut the cedar boards to the desired lengths.
- Screwdriver or drill: You’ll need a screwdriver or drill to assemble the shutter frames and attach the slat boards.
- Sandpaper: Sandpaper will be used to smooth out any rough edges and prepare the wood for finishing.
- Wood glue: Wood glue is necessary for securely bonding the shutter frame joints.
- Exterior wood stain or paint: Choose a high-quality exterior wood stain or paint to protect and enhance the appearance of your shutters.
- Paintbrush or roller: Depending on the finishing method you choose, you’ll need a paintbrush or roller for applying the stain or paint.
- Shutter hardware: Depending on your preference, you may need hinges, shutter dogs, or other hardware for installation.
Once you have gathered all the necessary materials and tools, you’re ready to move on to the next step: measuring and cutting the cedar boards.
Step 2: Measure and Cut the Cedar Boards
Now that you have all the materials and tools ready, it’s time to measure and cut the cedar boards for your custom shutters.
Start by measuring the windows where you plan to install the shutters. Take accurate measurements of the width and height of each window, as well as the desired width of the shutters. Keep in mind that the shutters should be slightly shorter than the height of the window to allow for clearance.
Once you have the measurements, mark them on the cedar boards. Use a measuring tape and a pencil to mark the cuts. Double-check the measurements to ensure accuracy before making any cuts.
Next, using a circular saw, carefully cut the cedar boards according to the marked measurements. Take your time and ensure straight and clean cuts. It’s a good idea to wear protective eyewear and gloves while using the saw.
After cutting the boards to the desired lengths, you may need to make additional cuts for the top and bottom rails of the shutter frames. These rails should be slightly shorter than the width of the shutters to allow for the insertion of the slat boards.
Remember to measure twice and cut once to avoid any mistakes. Once all the boards are cut, you’re ready to move on to the next step: assembling the shutter frames.
Step 3: Assemble the Shutter Frame
With the cedar boards cut to the desired lengths, it’s time to assemble the shutter frames. The frame serves as the structure that holds the slat boards together and provides stability to the shutters.
Start by laying out the boards for each shutter on a flat surface. Place the vertical boards (known as stiles) on either side, and then position the top and bottom rails between them. Ensure that the corners are aligned properly.
Next, apply a generous amount of wood glue to the ends of the top and bottom rails. Carefully attach the rails to the stiles, creating a rectangular frame. Make sure everything is properly aligned and square. You can use clamps to hold the pieces together as the glue dries.
Once the glue has dried, reinforce the joints by drilling pilot holes through the stiles and into the rails. This will ensure a secure connection. Use screws that are appropriate for outdoor use and the thickness of the cedar boards. Be mindful not to overtighten the screws, as it may cause the boards to split.
Repeat this process for each shutter. Once all the frames are assembled, double-check their dimensions to ensure consistency.
With the shutter frames complete, you’re ready to move on to the next step: adding the slat boards.
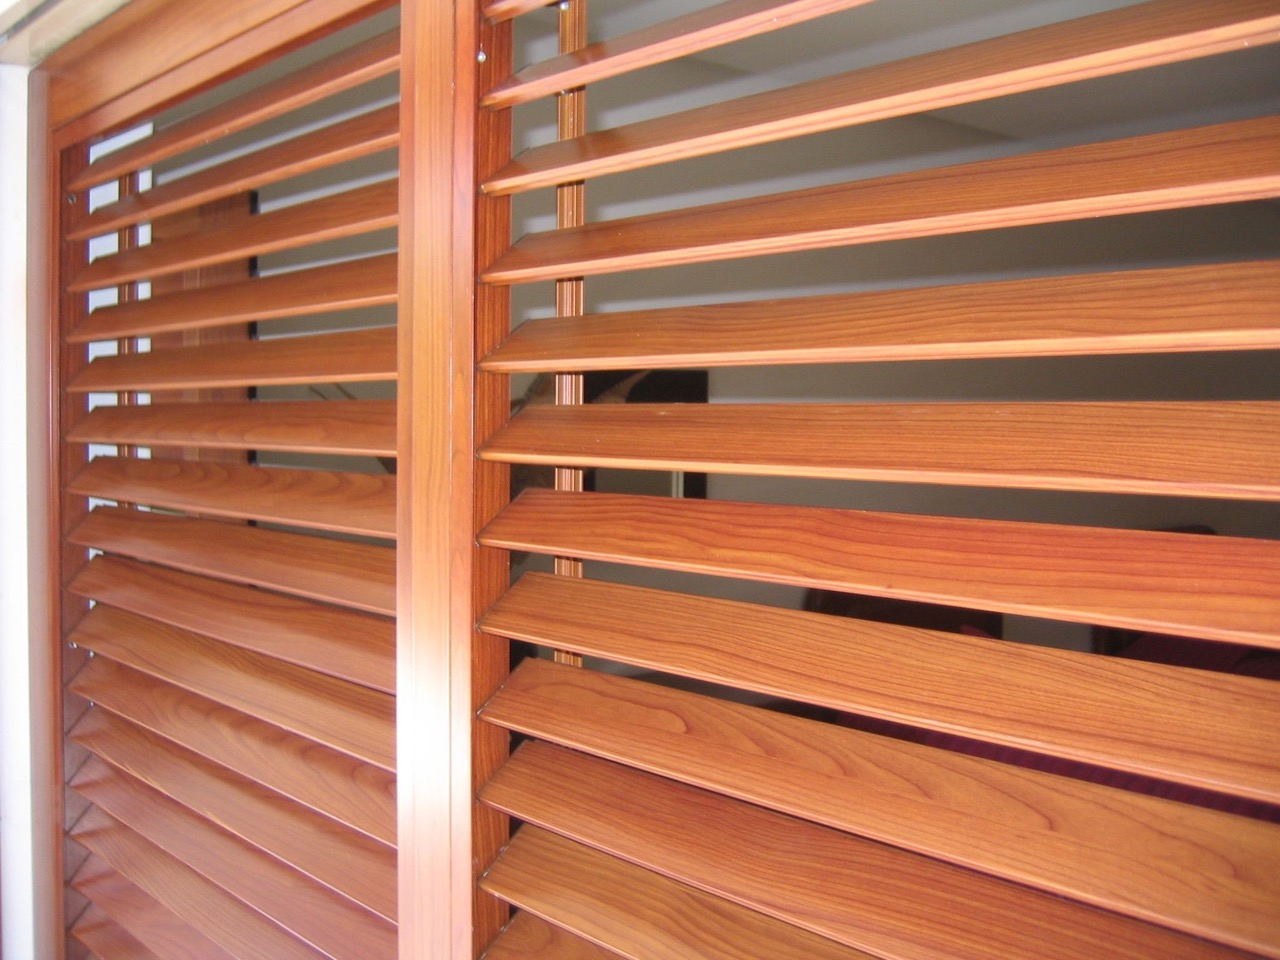
Step 4: Add the Slat Boards
Now that you have the shutter frames assembled, it’s time to add the slat boards. These boards are what give the shutters their distinct look and allow for light and air to pass through.
Start by measuring the distance between the vertical stiles of each shutter frame. This will determine the length of the slat boards. Mark the measurements on the boards, ensuring they are evenly spaced.
Next, apply a thin bead of wood glue along the top and bottom rails of the shutter frame. Carefully align the slat boards on the glue, making sure they are evenly spaced and parallel to each other.
Using a drill or screwdriver, attach the slat boards to the rails by inserting screws through the back of the frame and into the slats. Be careful not to over-tighten the screws, as it may cause the boards to split.
Continue adding the slat boards until the entire shutter frame is filled. Make sure the boards are snugly fitted and aligned with each other.
Once all the slat boards are secured, allow the glue to dry completely.
With the slat boards added, your custom cedar shutters are taking shape. The next step is to sand and finish the shutters.
When building custom cedar shutters, be sure to properly seal and finish the wood to protect it from the elements and prolong its lifespan. Use a high-quality outdoor sealant and finish for best results.
Read more: How To Build A Custom Mailbox
Step 5: Sand and Finish the Shutters
After assembling the shutters and adding the slat boards, it’s time to sand and finish the cedar surfaces. This step is crucial for achieving a smooth and polished appearance, as well as protecting the wood from weathering.
Start by using a medium-grit sandpaper (around 120 grit) to gently sand the entire surface of the shutters. Sanding will help remove any rough edges, splinters, or imperfections in the wood.
Pay extra attention to the edges and corners, ensuring they are smooth and rounded. Use a sanding block or folded sandpaper to maintain even pressure and prevent accidentally sanding too much in one area.
Once you’ve finished sanding with the medium-grit sandpaper, switch to a fine-grit sandpaper (around 220 grit) for a finer finish. Sand the shutters again, this time in the direction of the wood grain, to achieve a smooth and silky texture.
After sanding, wipe down the shutters with a clean, damp cloth to remove any dust or debris. Allow the wood to dry completely before proceeding to the finishing step.
Now it’s time to apply the finishing touch to your custom cedar shutters. Choose an exterior wood stain or paint that complements the architectural style and color scheme of your home.
Before applying the stain or paint, stir it thoroughly to ensure an even consistency. Use a paintbrush or roller to apply the finish to all surfaces of the shutters, including the slat boards. Apply multiple coats as needed, following the manufacturer’s instructions for drying times between coats.
Once the stain or paint has dried completely, your custom cedar shutters are ready to be installed on your home. The next step will guide you through the installation process and hardware selection.
Step 6: Install the Hardware
Now that your custom cedar shutters are sanded and finished, it’s time to install the hardware that will allow you to open, close, and secure the shutters. The specific hardware you choose will depend on the design of your shutters and your personal preference.
Start by selecting hinges that are sturdy, weather-resistant, and suitable for outdoor use. Position the hinges on the backside of each shutter, ensuring they are evenly spaced and aligned with the vertical stiles.
Using a pencil, mark the screw holes for the hinges on the backside of the shutters. Pre-drill pilot holes to prevent the wood from splitting when you attach the hinges with screws. Make sure the hinges are securely fastened to the shutters.
Next, determine the ideal placement for any additional hardware such as shutter dogs or holdbacks. These components are used to keep the shutters open and secure them when closed.
Mark the positions for the shutter dogs on the exterior wall or trim adjacent to the shutters. Pre-drill pilot holes and then attach the shutter dogs using screws or mounting hardware provided with the product.
Take your time to ensure that the hardware is properly aligned and securely attached to the shutters and the exterior of your home. Double-check that the shutters open and close smoothly and are properly aligned with the windows.
With the hardware installed, your custom cedar shutters are almost ready to be hung. The final step is to adjust and fine-tune the shutters for a perfect fit.
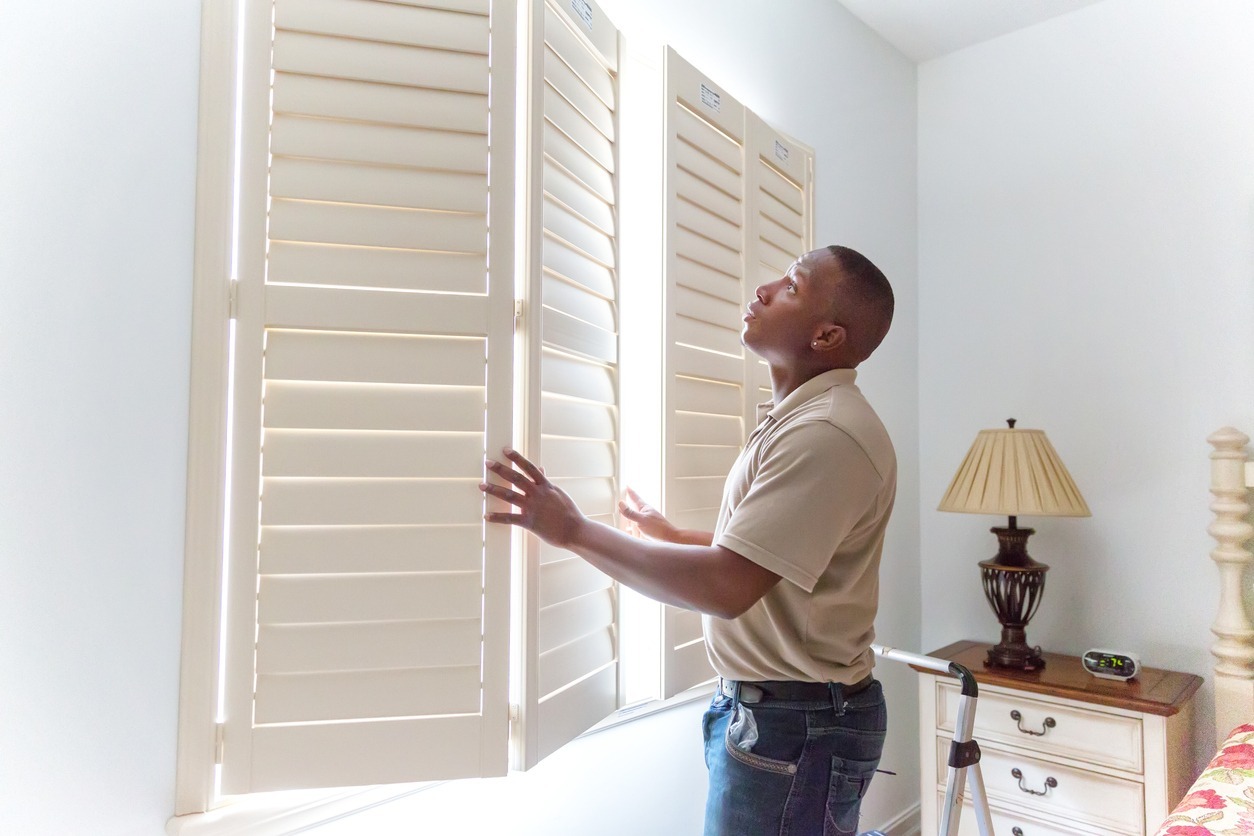
Step 7: Hang and Adjust the Shutters
With all the preparation work complete, it’s time to hang your custom cedar shutters and make any necessary adjustments for a perfect fit. Proper installation and adjustment are crucial to ensure the shutters function properly and enhance the overall aesthetics of your home.
Start by positioning the shutters next to the windows, aligning them with the window frame and ensuring they are level. Use a level tool to ensure accuracy.
Mark the locations of the hinge screw holes on the window frame or siding. Pre-drill pilot holes to prevent any damage to the wood when attaching the hinges.
With the help of someone, hold the shutters in place and attach the hinges to the window frame using the appropriate screws. Double-check that the shutters are aligned and swing freely without any obstructions.
Next, test the opening and closing of the shutters. Make any necessary adjustments to ensure smooth operation. If the shutters are too tight or too loose, you may need to adjust the hinges or reposition the screws slightly.
Take time to visually inspect the shutters from different angles, ensuring they are positioned correctly and align with the window and surrounding architectural elements.
Once you are satisfied with the fit and alignment of the shutters, repeat the installation and adjustment process for the remaining shutters.
After all the shutters are securely installed and adjusted, step back and admire your handiwork. Your custom cedar shutters are now perfectly hung and ready to enhance the curb appeal and charm of your home.
Remember to periodically inspect and maintain your shutters to ensure they stay in optimal condition. Regular cleaning, refinishing, and lubrication of the hinges will help prolong the life and beauty of your custom cedar shutters.
Congratulations on completing this DIY project and adding a touch of elegance to your home’s exterior!
If you are not confident in your DIY skills or prefer professional assistance, it’s always a good idea to consult a skilled carpenter or contractor for expert installation and guidance.
Conclusion
Building custom cedar shutters is a rewarding and cost-effective way to enhance the beauty and value of your home. With careful attention to detail and the right materials, you can create stunning shutters that not only add architectural character but also provide privacy and protection from the elements.
In this step-by-step guide, we have walked you through the process of building custom cedar shutters from gathering the materials and tools to hanging and adjusting the shutters. Whether you are a seasoned DIY enthusiast or a beginner, this project is well within your reach.
Cedar wood, with its natural beauty and durability, is an excellent choice for shutters. Its resistance to decay and insect damage makes it ideal for exterior applications. Additionally, cedar’s rich grain patterns and warm color variations add a touch of elegance to any home.
By taking the time to properly measure and cut the cedar boards, assemble the shutter frames, add the slat boards, sand and finish the shutters, and install the hardware, you can create custom cedar shutters that perfectly complement your home’s architectural style.
Remember, the key to a successful project is to pay attention to detail, follow safety guidelines, and take your time throughout the process. Whether you’re looking to enhance the charm of a traditional home or add a rustic touch to a contemporary house, custom cedar shutters are a timeless and versatile choice.
So, roll up your sleeves, gather your materials, and embark on this DIY journey to transform your home’s exterior. The end result will be a stunning addition that adds both visual appeal and functional benefits to your property.
Enjoy the process, and let your creativity and skills shine as you build and install your very own custom cedar shutters!
Frequently Asked Questions about How To Build Custom Cedar Shutters
Was this page helpful?
At Storables.com, we guarantee accurate and reliable information. Our content, validated by Expert Board Contributors, is crafted following stringent Editorial Policies. We're committed to providing you with well-researched, expert-backed insights for all your informational needs.


0 thoughts on “How To Build Custom Cedar Shutters”