Home>Ideas and Tips>DIY Guide To Building A Backyard Pergola
Ideas and Tips
DIY Guide To Building A Backyard Pergola
Modified: October 28, 2024
Learn how to build a stunning backyard pergola with our step-by-step DIY guide. Enhance your outdoor space with shade and style.
(Many of the links in this article redirect to a specific reviewed product. Your purchase of these products through affiliate links helps to generate commission for Storables.com, at no extra cost. Learn more)
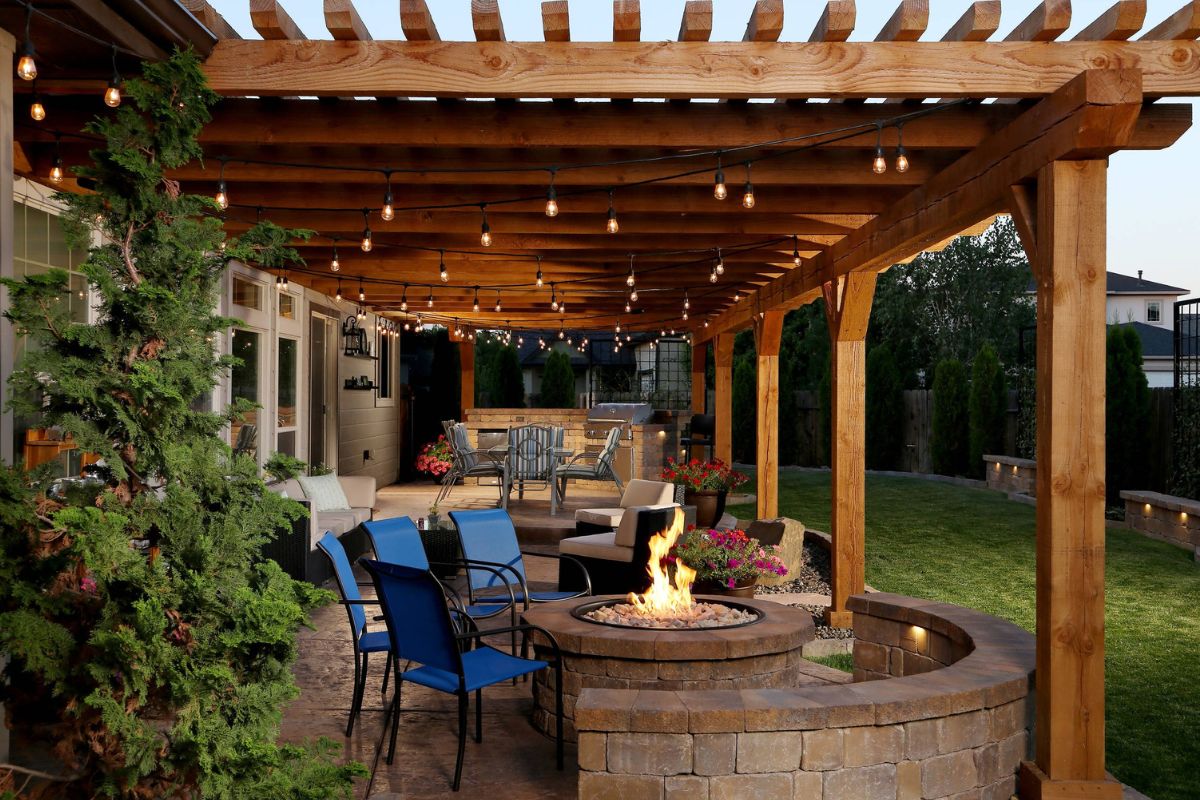
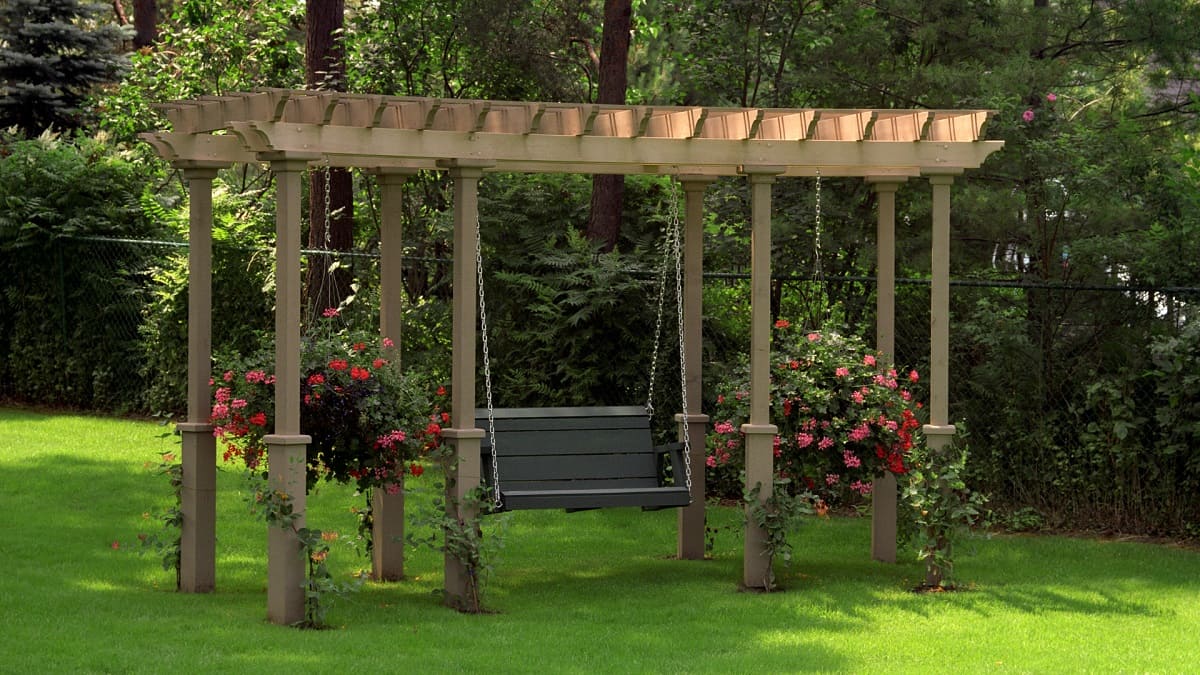
Building a pergola in your backyard can be a fantastic way to enhance your outdoor living space, provide shade, and add architectural beauty to your yard. Whether you're looking to create a cozy seating area, a shaded spot for dining, or simply a focal point for your garden, a DIY pergola project can be both rewarding and cost-effective. In this comprehensive guide, we'll walk you through the steps to build a stunning backyard pergola, from planning and preparation to the final touches.
Why Build a Pergola?
Before we dive into the nitty-gritty of building a pergola, let's explore why you might want to consider this project. Here are some compelling reasons:
-
Shade and Sun Protection: Pergolas provide partial shade, which is essential for enjoying your outdoor space during hot summer months. The lattice structure allows sunlight to filter through, creating dappled shadows that are both aesthetically pleasing and comfortable.
-
Enhanced Curb Appeal: A well-designed pergola can significantly enhance the curb appeal of your home. It adds an architectural element that can make your yard stand out and increase your home's value.
-
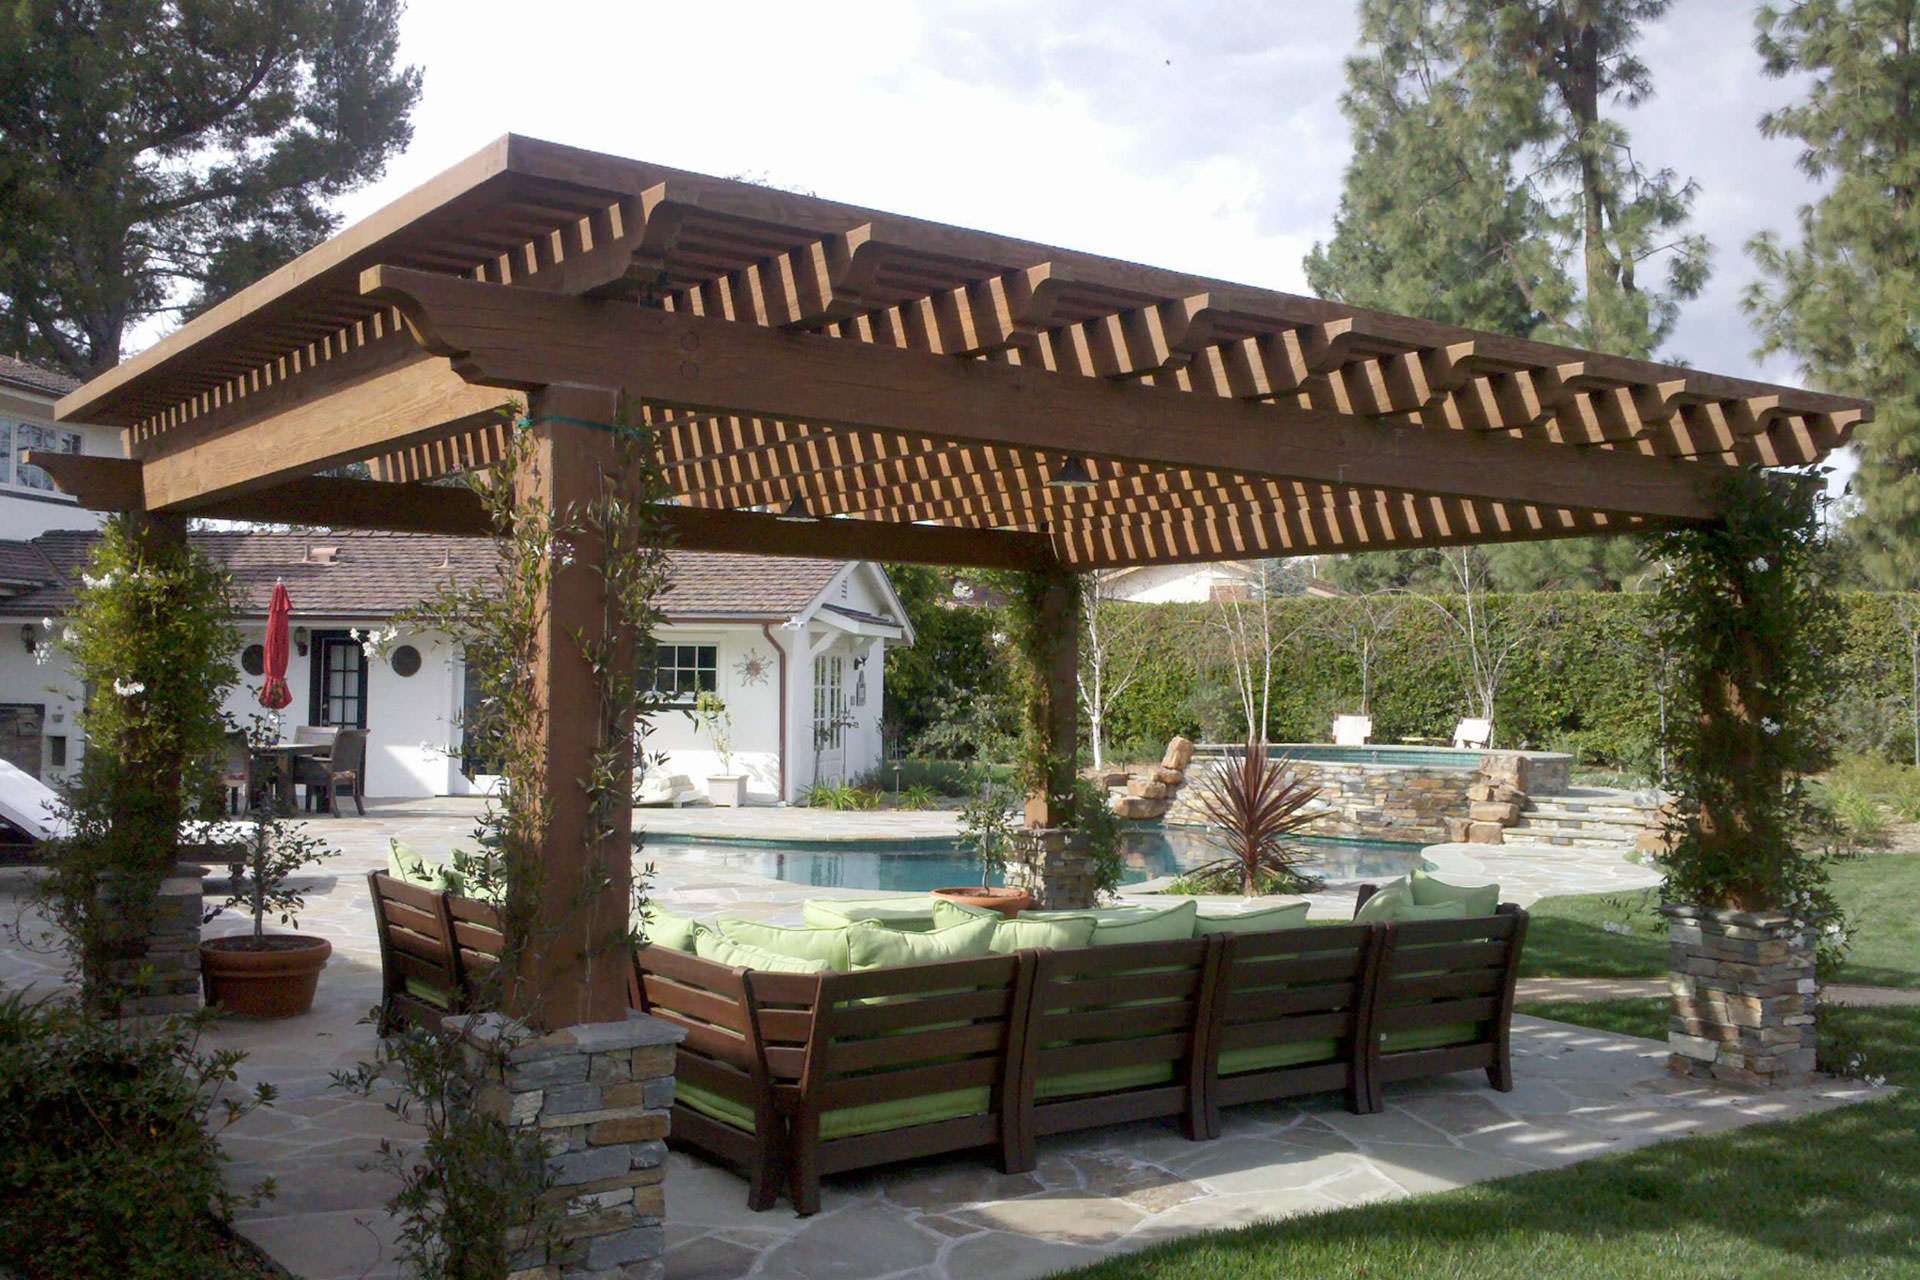
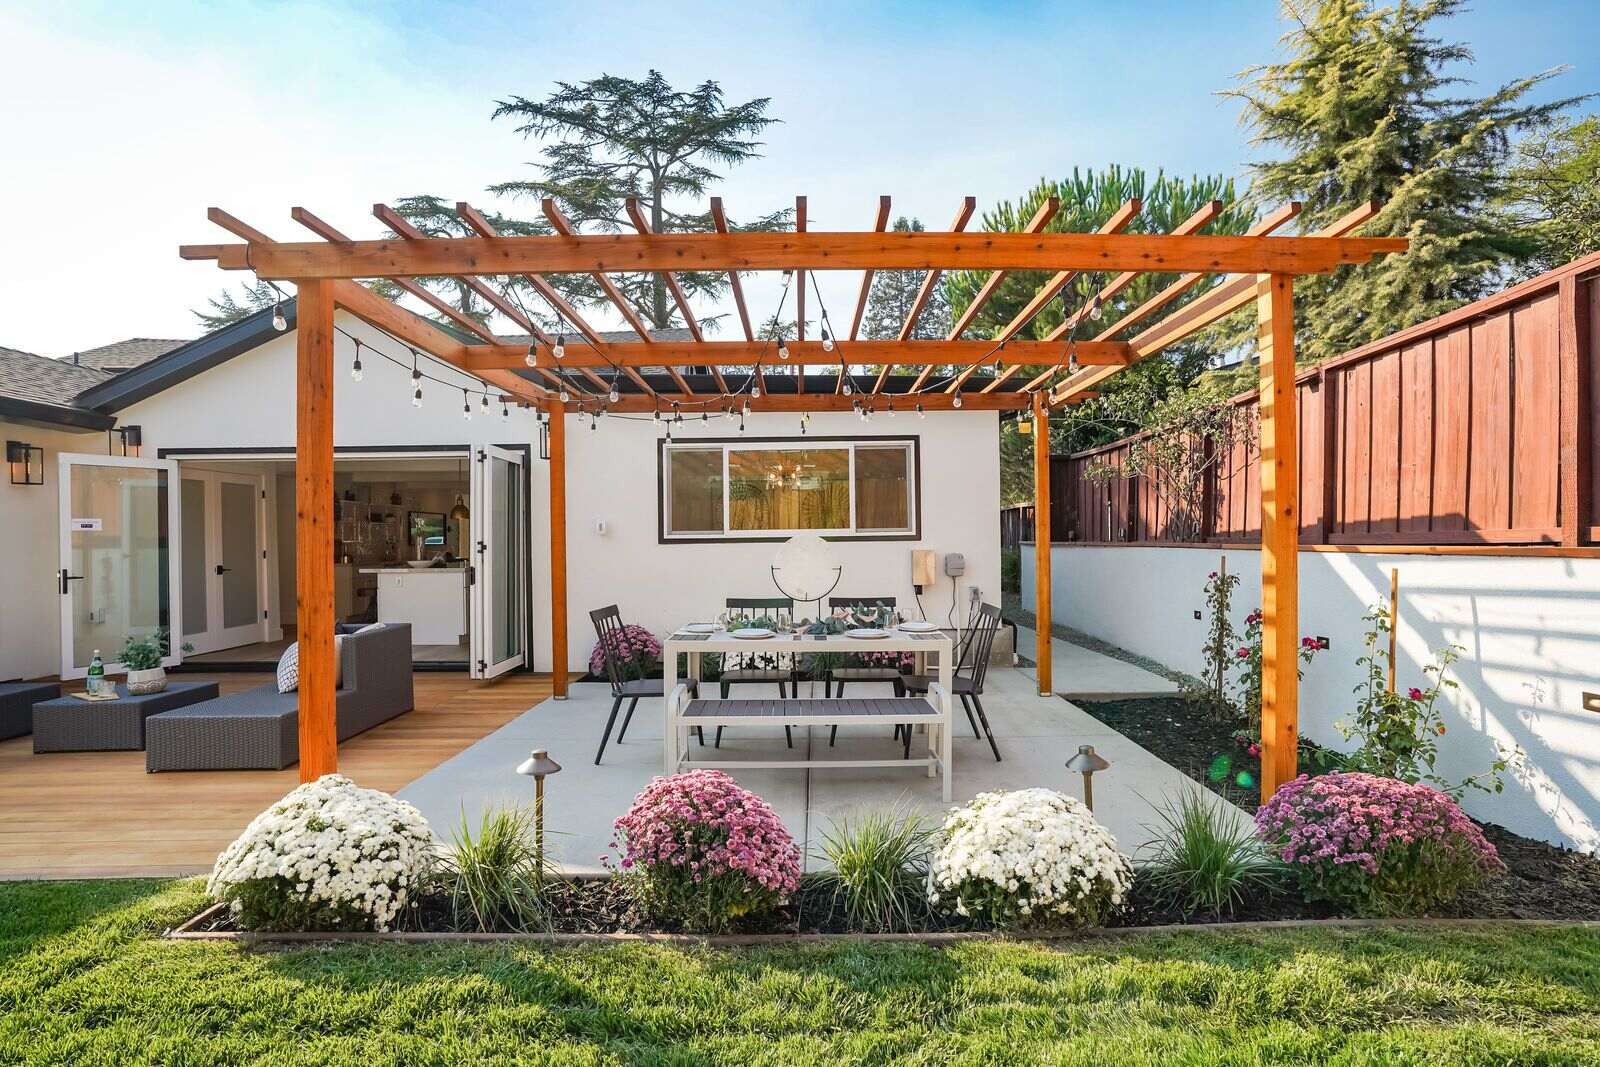
Versatile Use: Pergolas can serve multiple purposes. You can use them as a dining area, a seating spot, or even as a support for climbing plants like wisteria or honeysuckle.
-
DIY Friendly: Building a pergola is a relatively simple DIY project that can be completed over a weekend with basic tools and materials. This makes it an excellent choice for homeowners who enjoy DIY projects.
Read more: DIY Guide To Building A Backyard Fire Pit
Planning Your Pergola Project
Before you start building, careful planning is essential to ensure your pergola meets your needs and complements your outdoor space.
Choose the Perfect Location
-
Flat and Level Area: Select a flat, level area in your yard for your pergola. If you don’t have a naturally level spot, you may need to grade the area by removing soil.
-
Overhangs: Keep in mind that your pergola will have overhangs of about 1-2 feet past the support posts. Account for these overhangs when placing it near your home or other structures.
-
Avoid Utility Lines: Before digging any holes, call your local utilities or 411 to mark any buried cable or gas lines. This will help you avoid any potential issues during construction.
Determine Size and Style
-
Standard Size: For this guide, we’re focusing on a 6-by-8-foot pergola, which is a fairly standard size suitable for many backyards. However, you can adjust the dimensions to fit your specific needs.
-
Consider Your Use: Think about how you intend to use the pergola — whether it’s for dining, lounging, or creating a focal point in your garden. This will help you decide on the size and style.
-
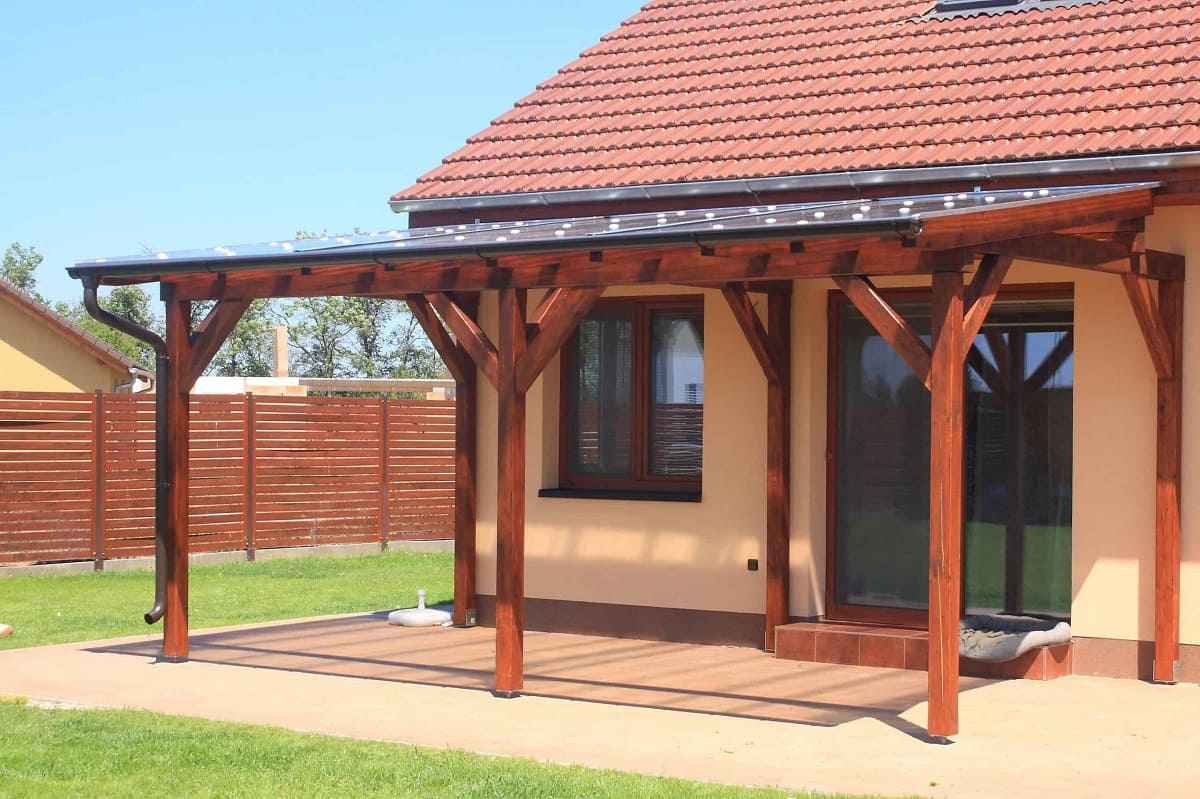
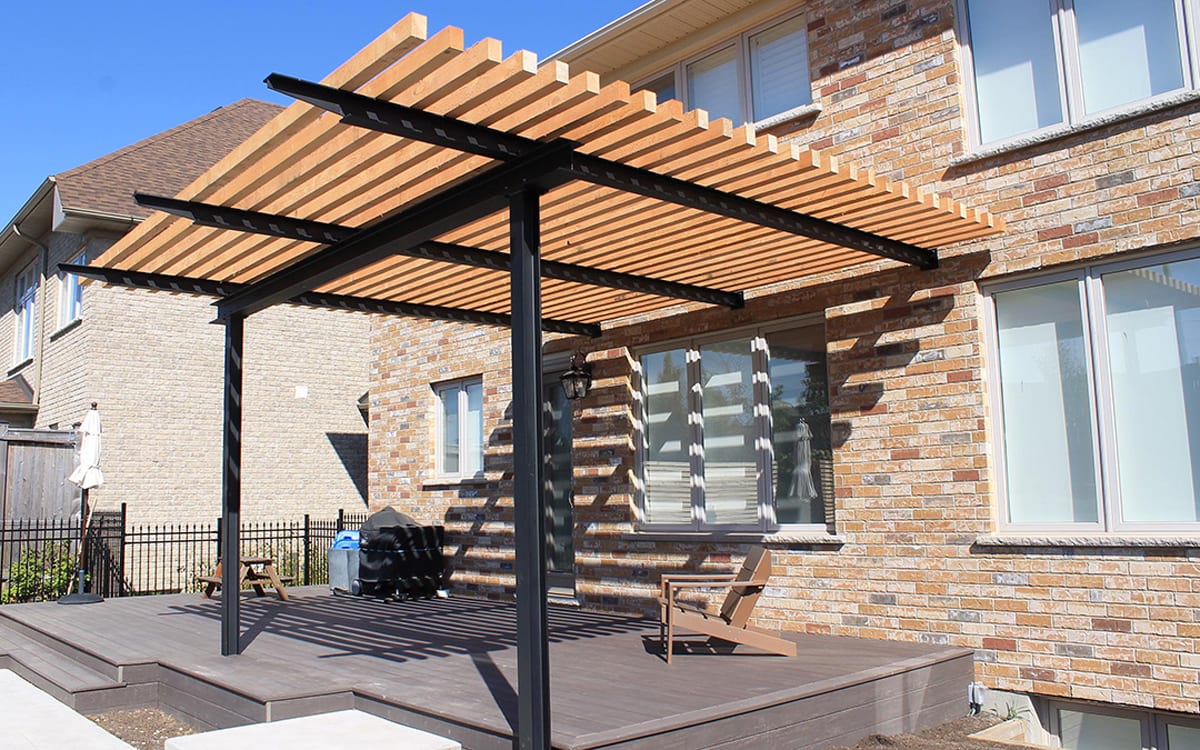
Style Options: You can choose from various styles, including freestanding, attached to a house, or even covered with lattice or slats. Each style offers unique benefits and aesthetic appeal.
Get Necessary Permits
-
Homeowners Association (HOA): Check with your homeowners association to see if there are any specific regulations or restrictions on building a pergola in your neighborhood.
-
County Building Department: Contact the county building department to inquire about permits and local codes. This is particularly important regarding the depth required for setting your posts.
Read more: DIY Guide To Building Custom Shelving Units
Essential Tools and Materials
To build your pergola, you’ll need the following tools and materials. The numbers are specific to the project we built, so your requirements may vary:
-
Pressure-Treated Posts: Four 4″ x 4″ x 10′ pressure-treated posts (if building codes require posts set deeper than 24 inches, you may need longer posts).
-
Bracing Boards: Four 2″ x 4″ x 8′ boards for bracing.
-
Crossbeams: Nine 2″ x 6″ x 8′ pressure-treated boards.
-
Top Beams: Four 2″ x 8″ x 8′ pressure-treated boards.
-
Stakes: Four wooden stakes.
-
Fast-Drying Concrete Mix: For setting the posts.
-
Ladder: For reaching high areas during construction.
-
Brightly Colored Spray Paint: For marking the posts before digging.
-
Posthole Digger: For digging holes for the posts.
-
Shovel: For widening the holes and removing soil.
-
Wheelbarrow: For mixing concrete.
-
Circular Saw: For cutting lumber.
-
Jigsaw: For cutting decorative end pieces.
-
Level: For ensuring the posts are level.
-
Battery-Operated Drill: For drilling screws and bolts.
-
Hammer: For tapping screws into place.
Step-by-Step Guide to Building a Pergola
Step 1: Prepare the Site
-
Clear the Area: Clear the area where you plan to build your pergola. Remove any debris, plants, or obstructions.
-
Mark the Post Locations: Use brightly colored spray paint to mark the locations where you will dig the holes for the posts.
-
Dig the Holes: Use a posthole digger to dig holes that are at least 24 inches deep. If you have clay soil, it’s best to dig to frost depth (if greater than 24 inches) for your footings to prevent frost heave.
-
Widen the Holes: Use a shovel to widen the holes slightly to ensure they are large enough for the posts.
-
Set the Posts: Pour fast-drying concrete mix into each hole and set the pressure-treated posts. Make sure they are level using a level tool.
Step 2: Build the Frame
-
Cut the Bracing Boards: Cut four 2″ x 4″ boards to the desired length for bracing.
-
Assemble the Frame: Use 5-inch galvanized drive screws to attach the bracing boards to the posts. Make sure they are securely attached.
-
Add Crossbeams: Cut nine 2″ x 6″ boards and attach them to the bracing boards using 5-inch galvanized drive screws. Space them evenly apart (about 10 inches).
-
Add Top Beams: Cut four 2″ x 8″ boards and attach them to the crossbeams using 5-inch galvanized drive screws. These will form the top of your pergola.
Step 3: Add Decorative Touches
-
Cut Decorative End Pieces: Use a jigsaw to cut decorative end pieces from additional lumber.
-
Attach Decorative End Pieces: Attach these pieces to the top beams using 3½” structural wood screws.
-
Add Lattice or Slats (Optional): If you want to add lattice or slats, now is the time to do it. You can use either wood slats or lattice panels depending on your desired look.
Step 4: Finish and Protect
-
Stain or Paint: Stain or paint your pergola to protect it from the elements and enhance its appearance.
-
Seal the Wood (Optional): Apply a sealant to protect the wood from moisture and extend its lifespan.
-
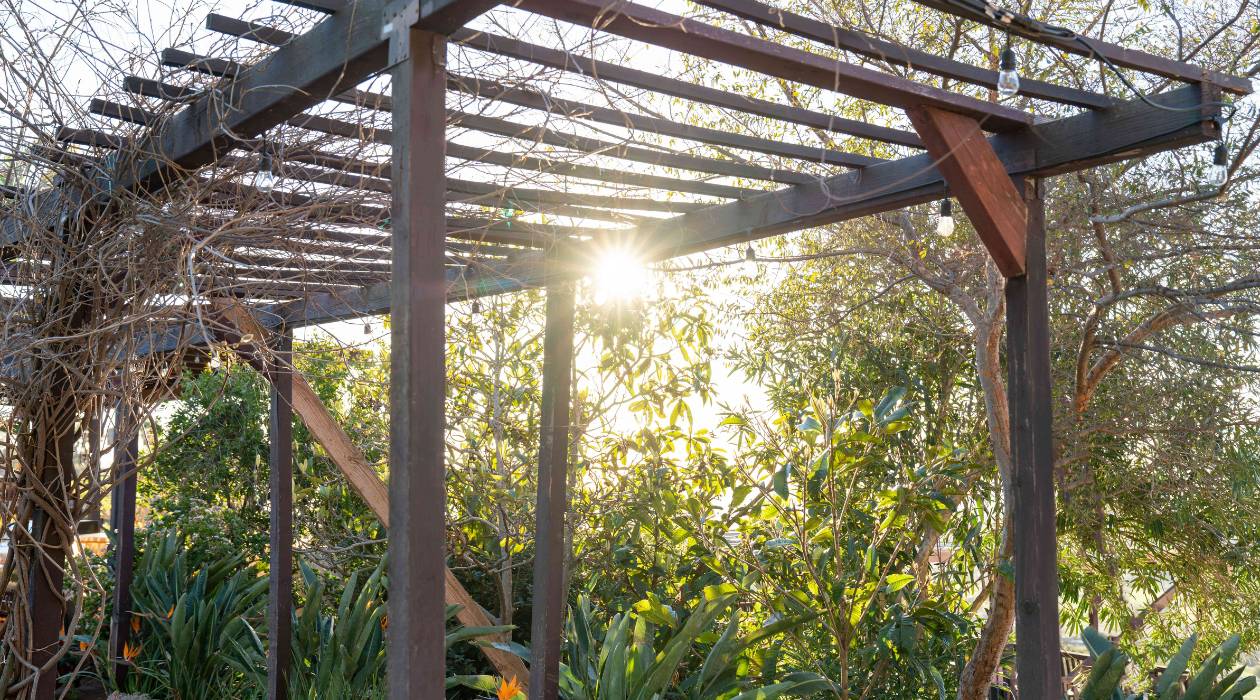
Install Lighting (Optional): Consider installing string lights or fairy lights to add ambiance to your pergola at night.
Cost Considerations
Building a pergola yourself can result in significant savings compared to hiring a professional. According to Angi, a typical pergola costs between $30–$60 per square foot. For our project, that equates to $1,440 for a standard 6-by-8-foot pergola.
However, if you choose to hire a professional, the cost can range from $3,000 to $6,000 or more depending on the size and complexity of the project.
Tips and Variations
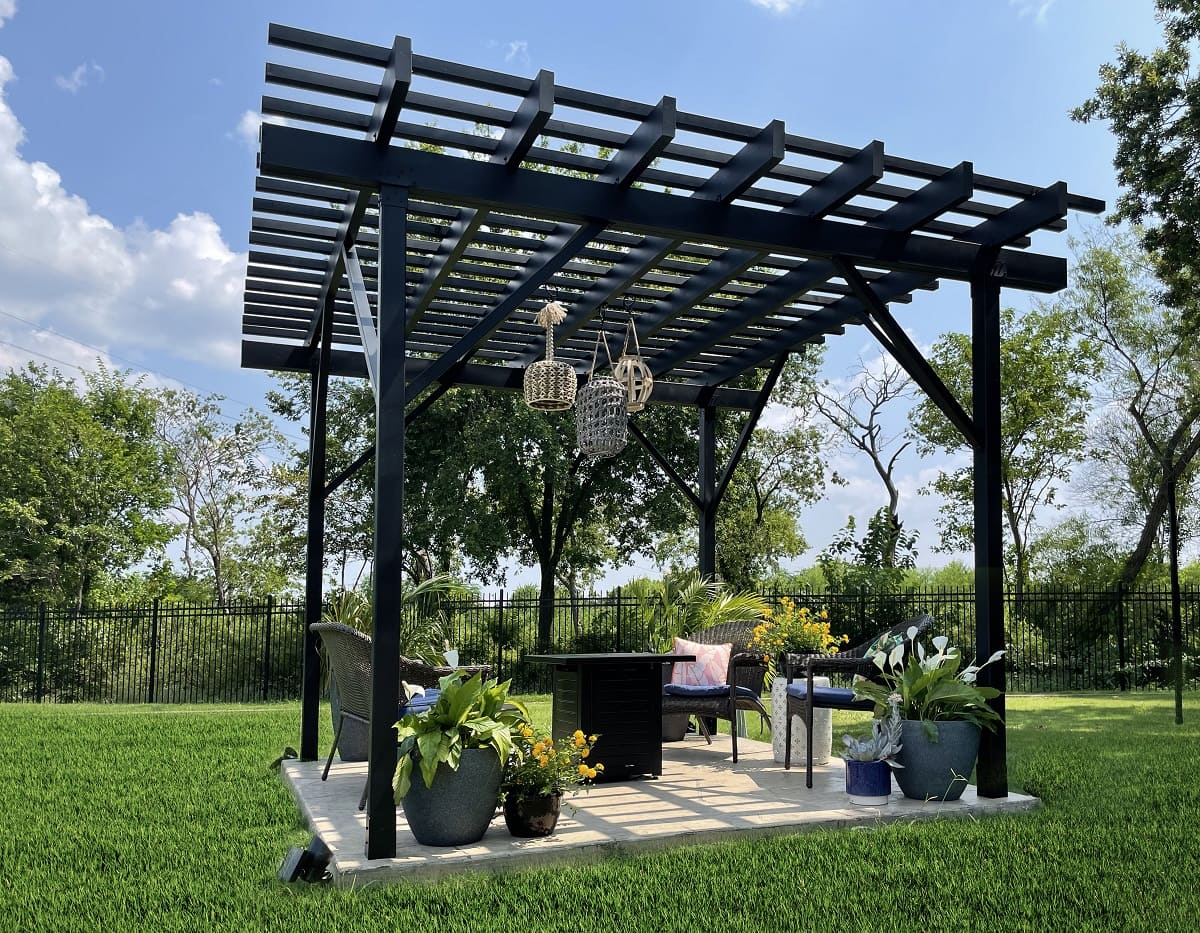
Freestanding vs. Attached
You can choose to build a freestanding pergola or attach it to your house. A freestanding pergola gives you more flexibility in terms of placement but requires additional footings for stability.
Lattice vs. Slats
You can use either lattice panels or static slats for your pergola. Lattice panels provide a more intricate design while static slats offer a clean and modern look.
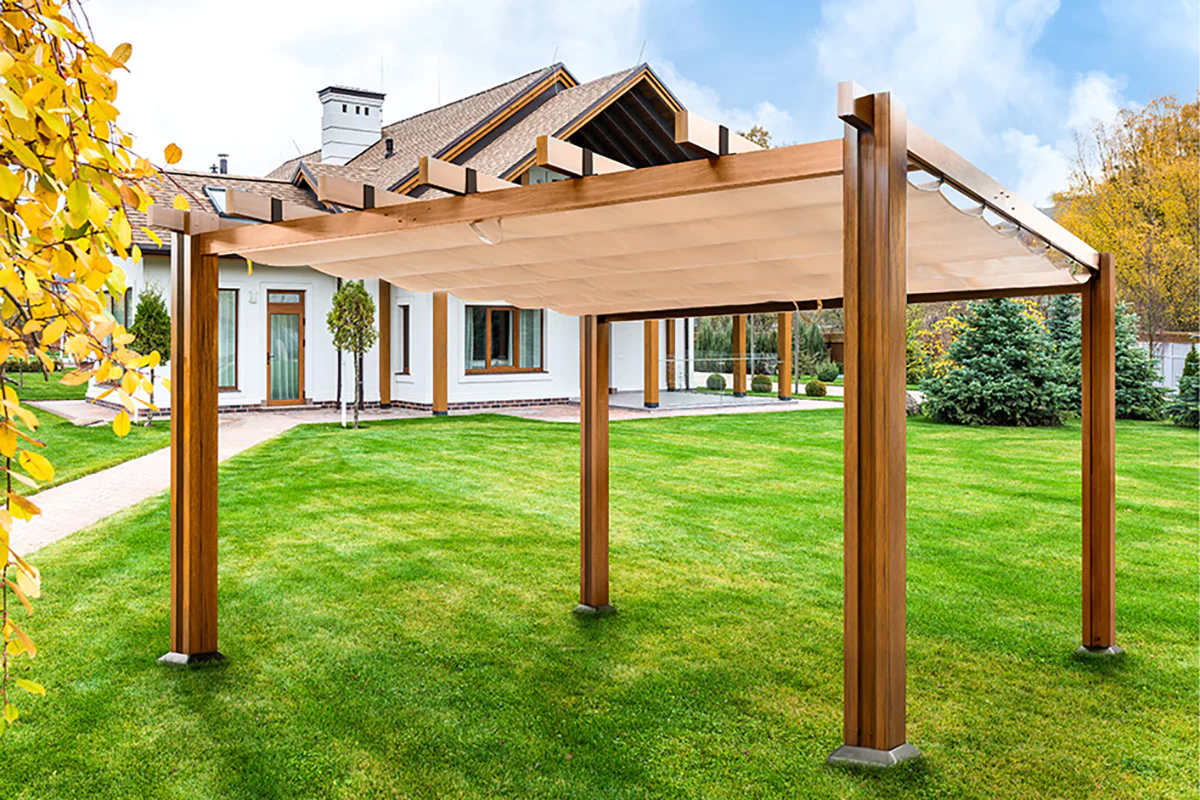
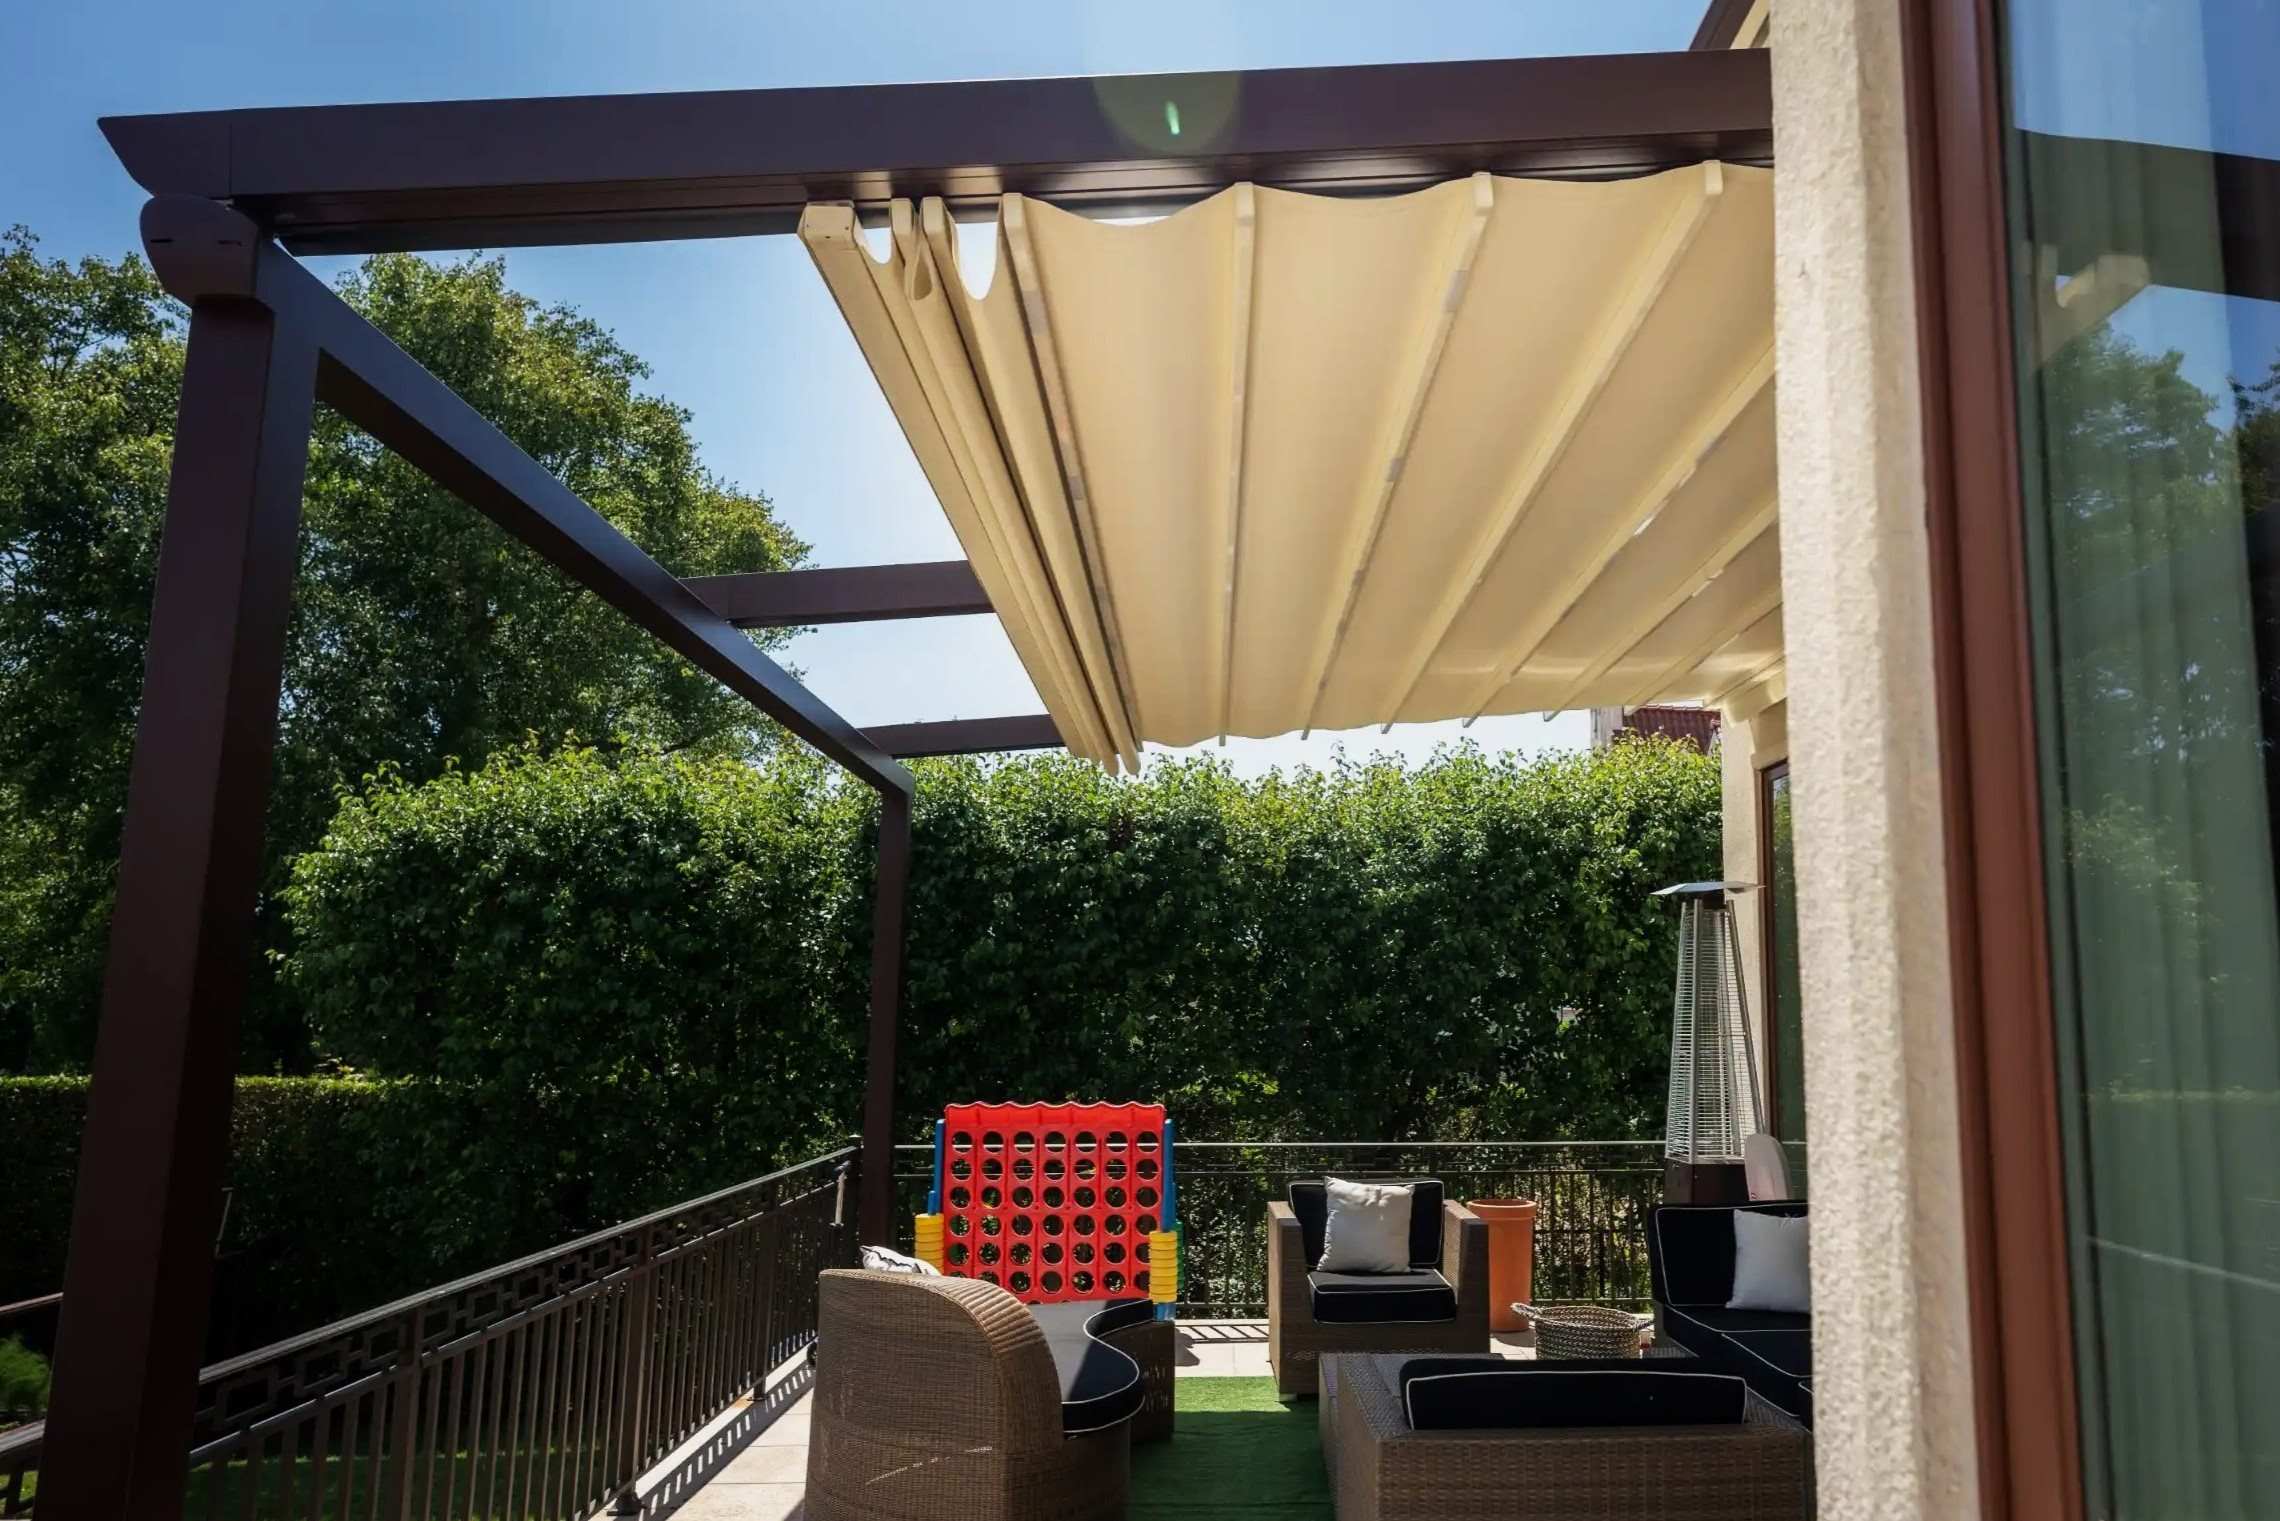
Canopy Option
Consider adding a canopy made out of weather-resistant fabric to keep you cool and shady all summer long. This adds an extra layer of protection from direct sunlight and can make your pergola feel ultra-luxurious.
Conclusion
Building a backyard pergola is a rewarding DIY project that can enhance your outdoor living space significantly. With careful planning, the right tools and materials, and some basic construction skills, you can create a stunning structure that provides shade, beauty, and functionality. Whether you're looking to add a cozy seating area or simply define an outdoor space, this guide has provided you with all the necessary steps to build a beautiful backyard pergola.
So why wait? Start planning your pergola project today and enjoy the benefits of having a shaded and elegant outdoor space right in your own backyard
Was this page helpful?
At Storables.com, we guarantee accurate and reliable information. Our content, validated by Expert Board Contributors, is crafted following stringent Editorial Policies. We're committed to providing you with well-researched, expert-backed insights for all your informational needs.


0 thoughts on “DIY Guide To Building A Backyard Pergola”