Home>Articles>Build A DIY Pergola With Planters In A Few Weekends

Articles
Build A DIY Pergola With Planters In A Few Weekends
Modified: August 27, 2024
Learn how to build a beautiful DIY pergola with built-in planters in just a few weekends. Get step-by-step instructions and helpful articles to guide you through the process.
(Many of the links in this article redirect to a specific reviewed product. Your purchase of these products through affiliate links helps to generate commission for Storables.com, at no extra cost. Learn more)
Introduction
Are you looking to enhance your outdoor space with a beautiful and functional addition? Look no further than building a DIY pergola with planters. This project is not only a great way to add extra shade to your patio or garden, but it also provides the opportunity to incorporate greenery and flowers into your outdoor living area.
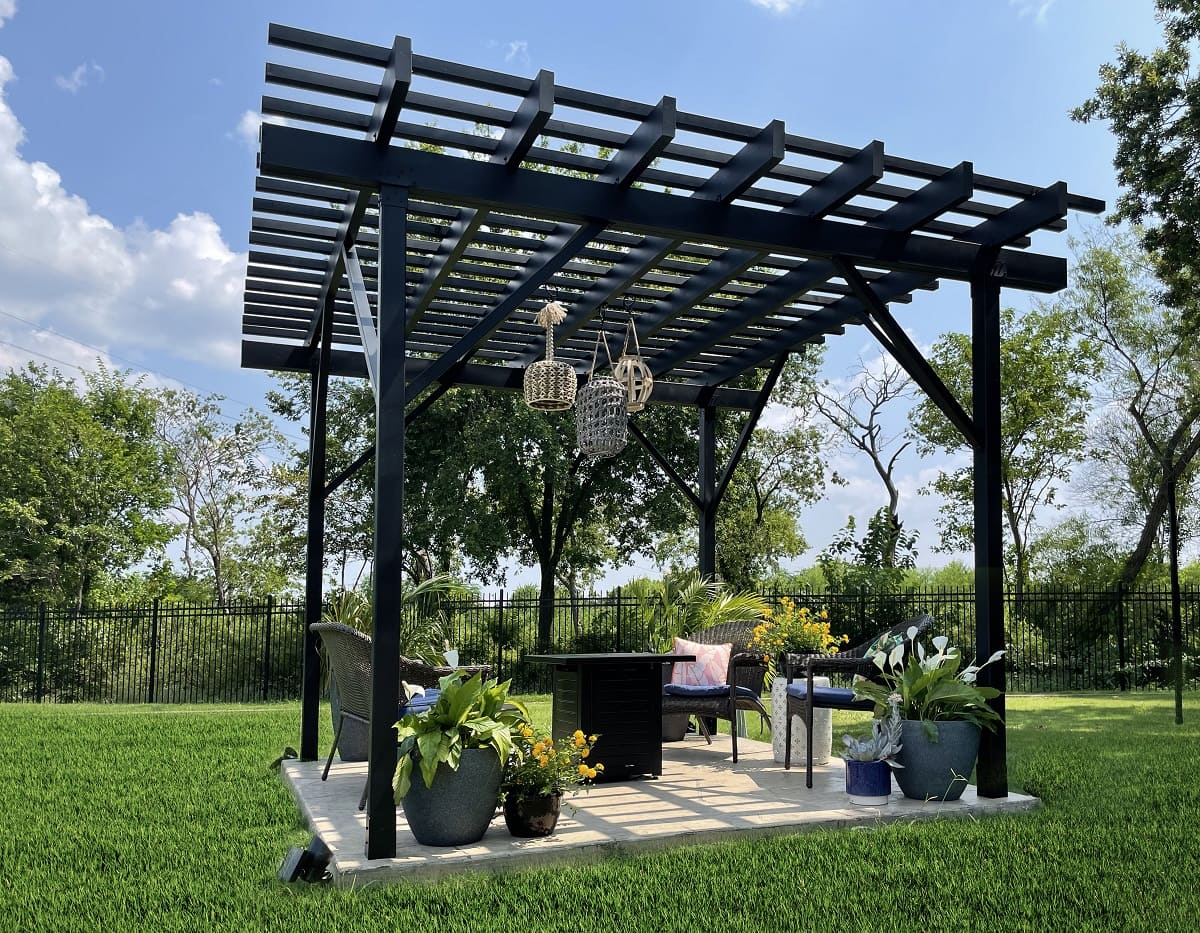
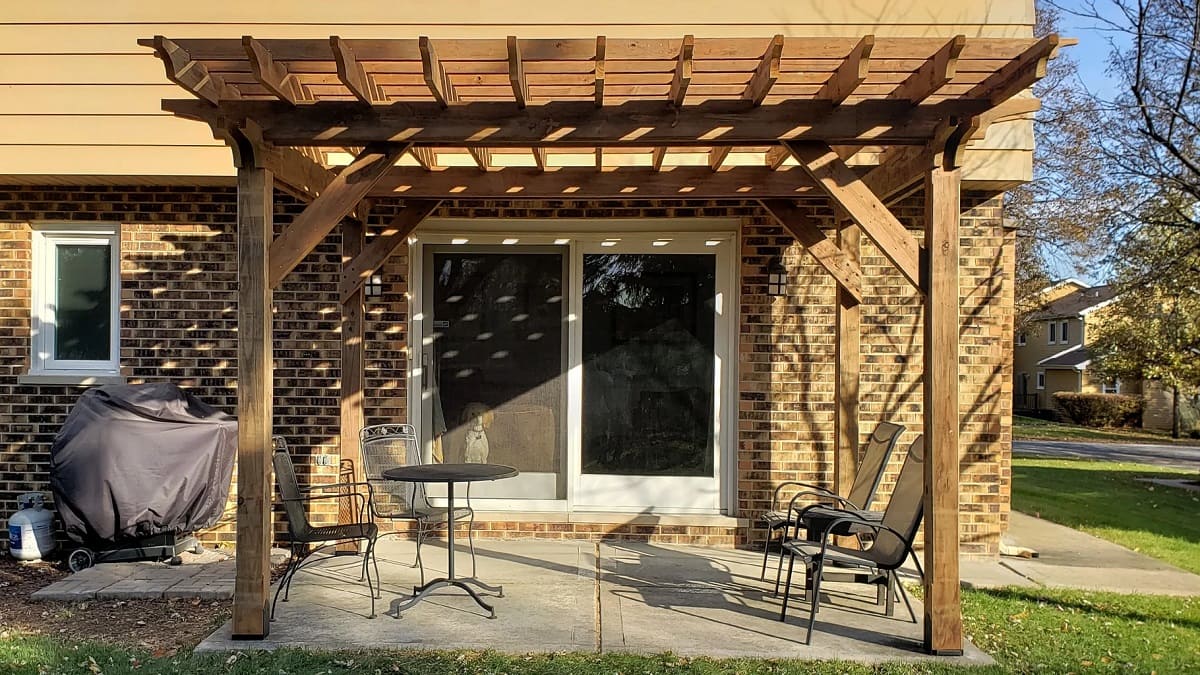
A pergola is a structure that consists of vertical posts supporting crossbeams and an open lattice roof. It offers a sense of privacy and defines an outdoor space, making it an ideal spot for relaxation, entertaining, or simply enjoying the beauty of your surroundings.
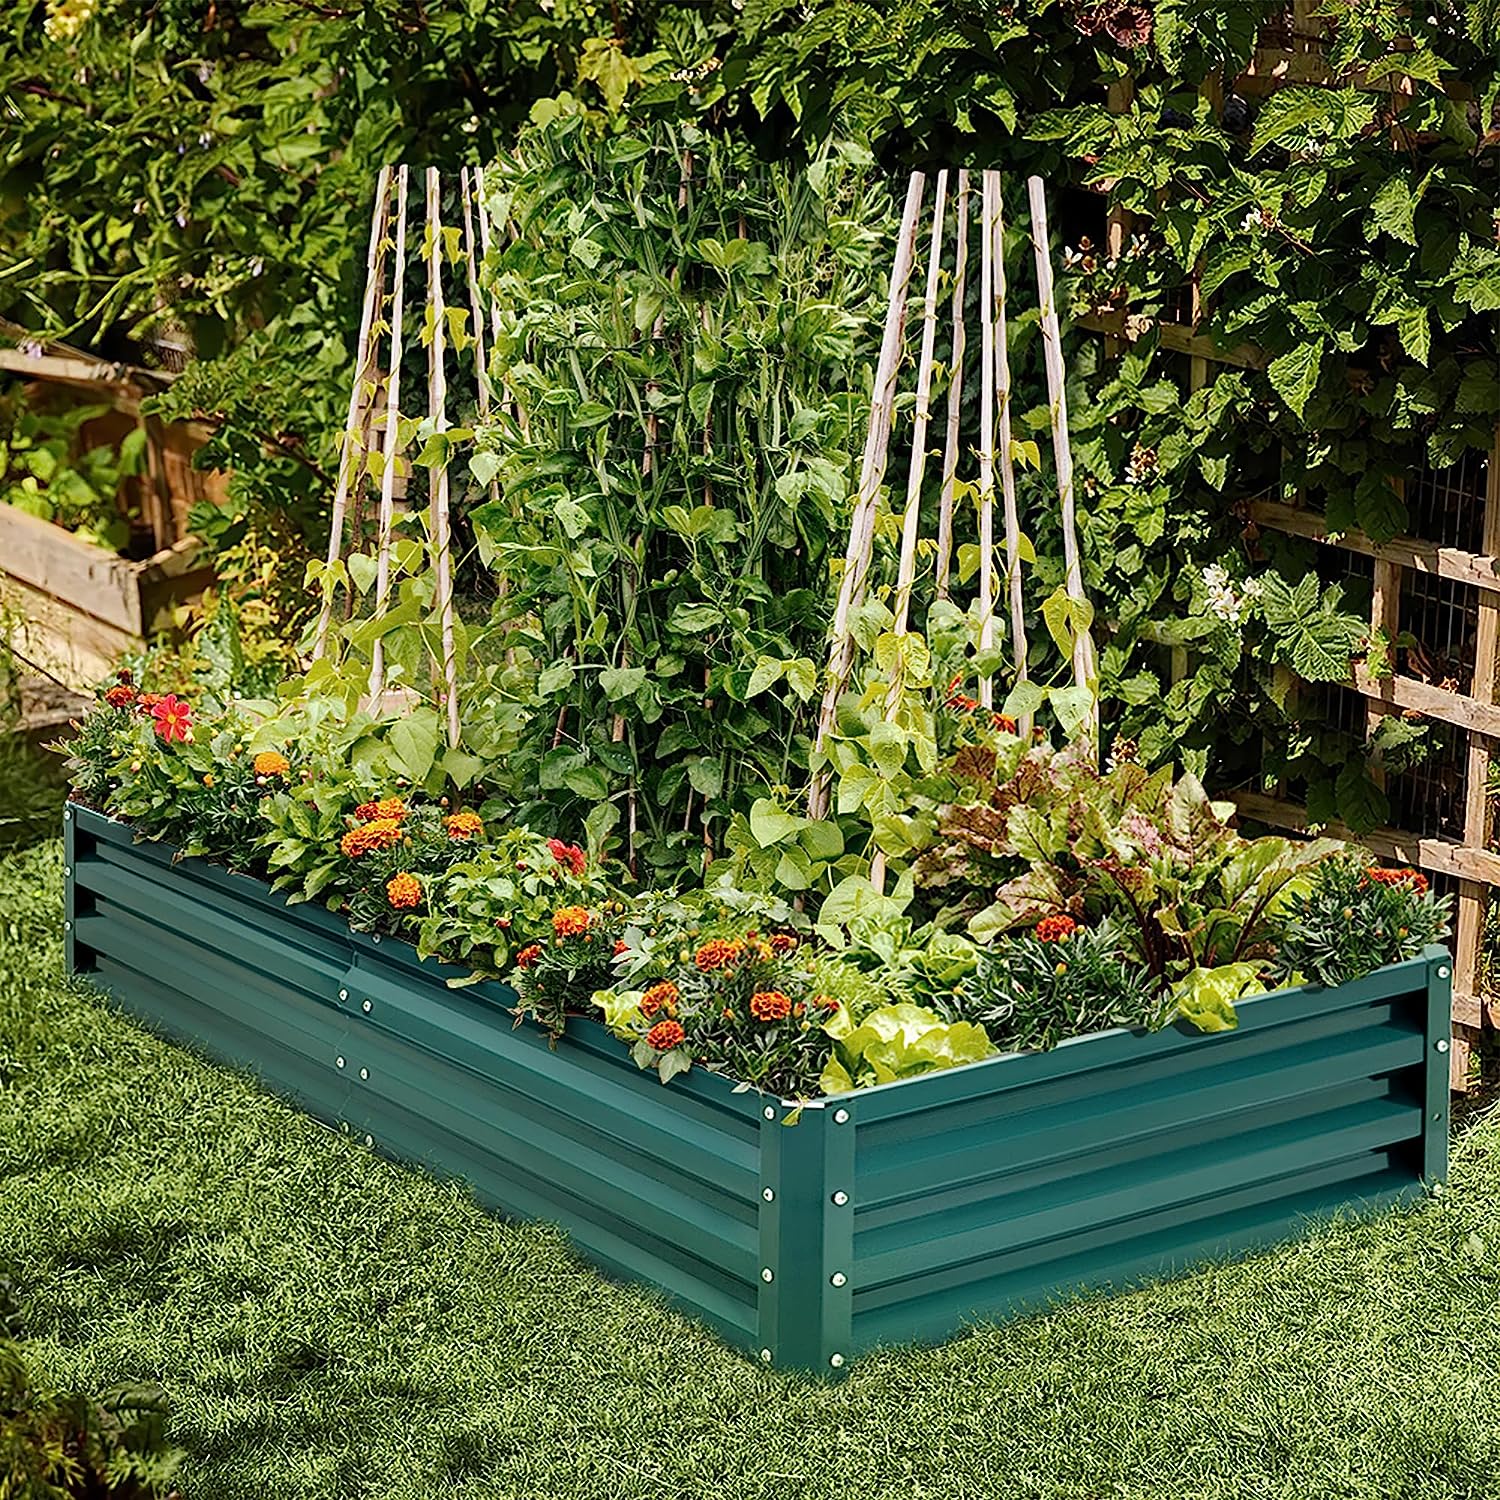
By adding planters to your pergola, you can bring nature into your design and create a stunning display of vibrant plants, herbs, or even a vegetable garden. You have the freedom to customize the size and style of the planters to fit your space and personal taste, making it a truly unique and personalized project.
In this article, we will guide you through the process of building a DIY pergola with planters, providing step-by-step instructions and valuable tips to ensure your project is a success. So, gather your materials and tools, and let’s get started on creating your dream outdoor space!
Key Takeaways:
- Create a stunning outdoor oasis by building a DIY pergola with planters, adding shade, greenery, and a personalized touch to your outdoor space. Careful planning, quality materials, and attention to detail are key to a successful project.
- Enhance your outdoor living experience with a DIY pergola and planters, providing a beautiful structure for relaxation, entertaining, and enjoying nature. Incorporate optional finishing touches to create a truly remarkable outdoor sanctuary.
Read more: DIY Guide To Building A Backyard Pergola
Materials and Tools Needed
Before diving into the construction of your DIY pergola with planters, it’s essential to gather all the necessary materials and tools. Here is a list to help you get started:
Materials:
- Pressure-treated lumber or cedar posts
- Pressure-treated or cedar boards for the crossbeams and rafters
- Galvanized screws or nails
- Plywood sheets for the planter boxes
- Landscape fabric
- Exterior wood glue
- Concrete mix
- Gravel
- Plastic or metal planter boxes
- Soil
- Plants or seeds of your choice
- Stain or paint (optional)
Tools:
- Tape measure
- Pencil or marker
- Level
- Circular saw or miter saw
- Drill
- Screwdriver or impact driver
- Hammer
- Shovel
- Mixing tub or wheelbarrow
- Paintbrush or roller (if staining or painting)
It’s important to choose high-quality materials that are weather-resistant and durable to ensure your pergola and planters withstand the elements. Pressure-treated lumber or cedar are popular choices as they are known for their longevity and resistance to rot and decay. Additionally, using galvanized screws or nails will help prevent rusting and ensure a sturdy structure.
When selecting planter boxes, consider the size and shape that will best suit your pergola design. Plastic or metal options are lightweight and easy to install, while wooden boxes can add a touch of natural beauty. Be sure to use landscape fabric inside the planters to prevent soil erosion and promote drainage.
Now that you have all the necessary materials and tools, you’re ready to move on to the next step: planning and designing your pergola.
Step 1: Planning and Design
Before you start building your DIY pergola with planters, take the time to plan and design your project. Here are the key considerations:
1. Choose the Location
Determine where you want to place your pergola with planters. Consider factors such as sunlight, proximity to your house, and the overall layout of your outdoor space. Take measurements to ensure the area is suitable for the size of the pergola you want to build.
2. Select the Size and Style
Decide on the dimensions of your pergola and the style that best complements your outdoor aesthetic. Consider factors like the number of posts, the height of the structure, and the spacing of the crossbeams. Sketch out your design and take note of important measurements.
3. Obtain Necessary Permits
Check with your local building authority to determine if you need any permits or approvals for constructing a pergola in your area. Some locations may have specific regulations regarding the size and placement of outdoor structures, so it’s important to ensure compliance.
4. Gather Design Inspiration
Browse through home and garden magazines, online platforms, and social media to gather inspiration for your pergola design. Save images or create a mood board to help visualize the final look and determine the features you want to incorporate, such as decorative elements or additional seating.
Read more: Build An Outdoor Room This Weekend
5. Consider Climbing Plants
If you desire a pergola covered in lush greenery, research suitable climbing plants that can thrive in your climate. Popular options include ivy, climbing roses, wisteria, or grapevines. Take into account the maintenance and growth requirements of these plants when planning your pergola structure.
By carefully planning and designing your pergola with planters, you’ll have a clear vision of the desired end result. This will make the construction process much smoother and ensure that your DIY project turns out just the way you imagined.
In the next step, we’ll guide you through preparing the ground for your pergola installation.
Step 2: Preparing the Ground
Before you start building your pergola with planters, it’s crucial to properly prepare the ground to ensure a stable and long-lasting structure. Follow these steps to prepare the ground:
1. Mark the Perimeter
Using a tape measure and marking paint, mark the perimeter of your pergola. Use the measurements and design plan from the previous step to ensure accurate placement. Make sure the corners are square by measuring diagonally from corner to corner – the measurements should be equal.
2. Clear the Area
Remove any vegetation, rocks, or debris from the marked area. Level the ground by removing excess soil or adding soil as needed. It’s important to have a level and stable surface for your pergola to sit on.
3. Dig Post Holes
Using a shovel or post hole digger, dig holes for the pergola’s posts. The depth and diameter of the holes will depend on the size and height of your pergola. Generally, holes should be at least 18 inches deep and 8-10 inches in diameter to provide a secure foundation.
4. Level the Holes
Ensure that the bottom of each hole is level by using a spirit level or a long, straight board across the holes. Adjust the depth of the holes as necessary to achieve a level surface.
5. Add Gravel and Concrete
Place a few inches of gravel at the bottom of each hole for drainage. Then, mix concrete according to the package instructions and pour it into each hole, filling it up to a few inches below ground level. Use the level or a wooden stake to ensure the posts will be perfectly vertical. Allow the concrete to dry and cure as recommended by the manufacturer.
6. Secure the Posts
Once the concrete has cured, place the pergola posts into each hole and secure them in place. Use a level to ensure they are perfectly vertical and adjust as necessary. Temporarily support the posts with braces to keep them upright while the pergola structure is being built.
By properly preparing the ground for your pergola, you are laying the foundation for a sturdy and durable structure. With this step complete, you are ready to move on to the next stage: building the pergola structure.
Read more: How To Build A Pergola Roof
Step 3: Building the Pergola Structure
Now that the ground is prepared and the posts are securely in place, it’s time to start building the pergola structure. This step will guide you through constructing the main framework of the pergola:
1. Measure and Cut the Crossbeams and Rafters
Measure the distance between the posts to determine the length of the crossbeams and rafters. Use a circular saw or miter saw to cut the pressure-treated or cedar boards to the appropriate length.
2. Attach the Crossbeams
Position the crossbeams on top of the pergola posts, aligning them with the marks you made during the planning phase. Use galvanized screws or nails to attach the crossbeams to the posts. Use a level to ensure that the crossbeams are straight and level across the entire structure.
3. Install the Rafters
Place the rafters perpendicular to the crossbeams, ensuring they are evenly spaced. Secure the rafters to the crossbeams using galvanized screws or nails. Again, use a level to check that the rafters are straight and level.
4. Add Additional Support (Optional)
If desired, add additional support to the pergola structure by attaching diagonal braces between the posts and crossbeams. This will provide extra stability and strength to your pergola.
5. Finishing Touches
Once the main structure is complete, consider adding decorative elements or trim to enhance the aesthetic appeal. Sand any rough edges and, if desired, apply a coat of stain or paint to protect the wood from weathering.
With the pergola structure built, you have created the foundation for a beautiful and functional outdoor space. The next step will guide you through constructing the planters that will adorn your pergola.
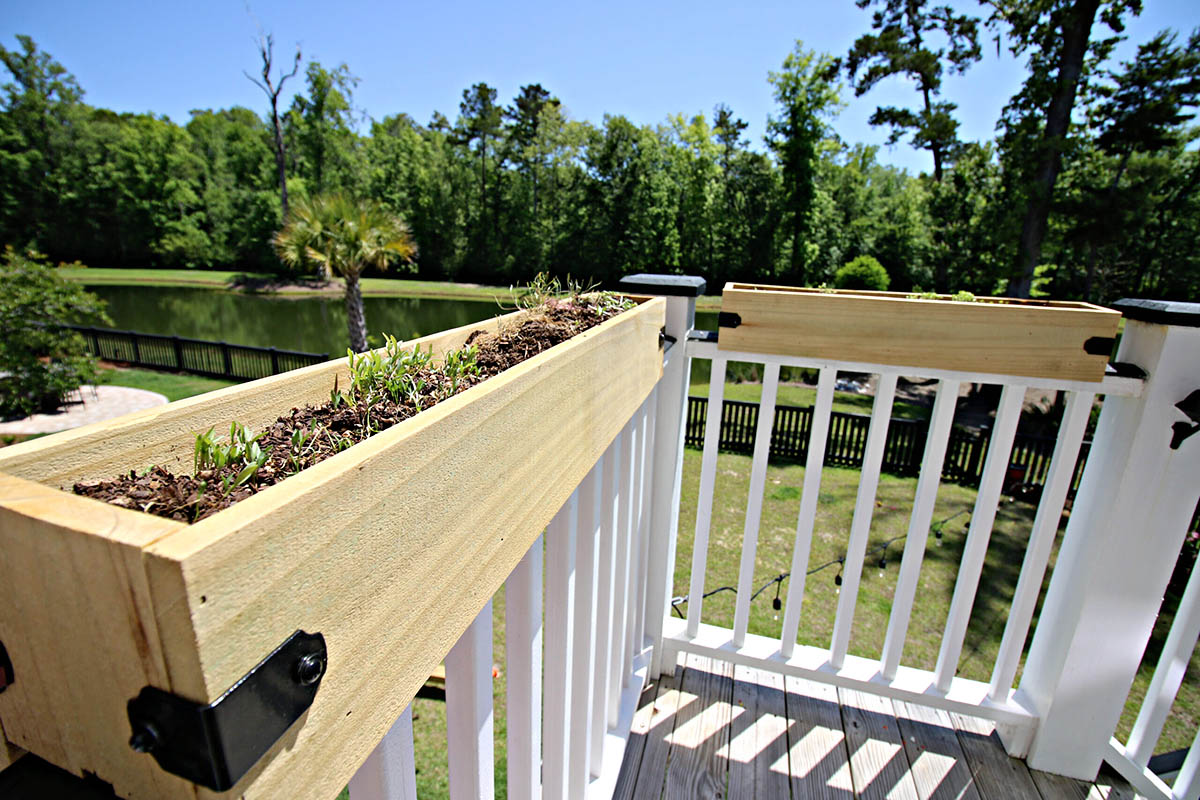
Step 4: Constructing the Planters
Now that the pergola structure is in place, it’s time to turn your attention to building the planters that will add a touch of greenery and charm to your DIY pergola. Follow these steps to construct the planters:
1. Determine the Size and Shape
Decide on the size and shape of the planters that will best suit your pergola design. Consider the available space and the types of plants you intend to showcase. Rectangular or square planters are commonly used, but you can also get creative with unconventional shapes.
Read more: How To Build A Lean-To Pergola
2. Cut the Plywood
Measure and cut the plywood sheets to the desired dimensions for the base and sides of the planters. Use a circular saw or jigsaw to make precise cuts. Sand the edges of the plywood to ensure a smooth finish.
3. Assemble the Planter Boxes
Using exterior wood glue, attach the sides of the planter to the base, forming a box shape. Clamp the pieces together and let the glue dry according to the adhesive manufacturer’s instructions. Use a level to ensure the planter is standing straight and adjust if necessary.
4. Drill Drainage Holes
Drill drainage holes in the bottom of the planter box to prevent water from pooling and causing root rot. Space the holes evenly to ensure proper drainage. You can also line the bottom of the planter with landscape fabric to keep the soil from escaping through the holes.
5. Repeat for Multiple Planters
If you plan to have multiple planters on your pergola, repeat the process to construct each box. Ensure consistency in size and shape to maintain a cohesive design.
Read more: How To Build A Pergola Swing
6. Optional: Add Trellises
If you want to incorporate climbing plants into your pergola design, consider attaching trellises to the sides of the planters. This will provide support for the plants as they grow, creating a beautiful vertical display.
Once the planters are constructed, you are ready to move on to the next step: installing the planters onto the pergola. This will bring your DIY pergola with planters project one step closer to completion!
Step 5: Installing the Planters onto the Pergola
With the pergola structure and planters built, it’s time to install the planters onto the pergola. Follow these steps to ensure a secure and visually appealing installation:
1. Determine Placement
Decide where you want to position the planters on your pergola. Consider factors such as symmetry, balance, and accessibility. Mark the desired locations on the crossbeams of the pergola.
2. Attach Mounting Hardware
Using galvanized screws or nails, attach mounting brackets or L-shaped brackets to the crossbeams. Ensure that the brackets are securely fastened and level. These brackets will serve as the connection point between the planters and the pergola structure.
Read more: How To Build A Pergola On A Patio
3. Attach the Planters
Place the planters onto the brackets, aligning them with the marked locations. Use screws or nails to secure the planters to the brackets. Make sure the planters are level and secure to ensure the safety of your plants and the longevity of the installation.
4. Test Stability
Gently shake the planters to ensure they are stable and properly attached to the pergola. Make any necessary adjustments or reinforcements to ensure a sturdy installation. The planters should be able to withstand wind and weather conditions without risk of falling or shifting.
5. Line the Planters
Line the inside of the planters with landscape fabric to prevent soil erosion and promote drainage. This will help maintain the health of your plants and prevent waterlogged soil.
6. Add Soil and Plants
Fill the planters with a high-quality potting mix or soil appropriate for the types of plants you will be growing. Plant your desired flowers, herbs, or vegetables, ensuring they have enough space to grow and thrive.
With the planters securely installed on your pergola, you have successfully combined the beauty of nature with the functionality of your outdoor space. The project is nearly complete, but there are a few optional finishing touches you can add to further enhance the aesthetic appeal.
Read more: How To Build A Patio Pergola
Step 6: Optional Finishing Touches
With your DIY pergola with planters almost complete, it’s time to add some optional finishing touches to further enhance its appearance and functionality. Consider the following ideas to add the perfect final touches:
1. Stain or Paint
If you haven’t already, consider staining or painting your pergola and planters to protect the wood from weathering and to match your outdoor aesthetic. Choose a color that complements the surrounding environment and adds to the overall appeal of your outdoor space.
2. Install Shade Cloth or Drapes
To provide additional shade and privacy, you can install shade cloth or outdoor drapes on the roof or sides of the pergola. This will create a cozy and intimate ambiance while also protecting you from the sun’s rays.
3. Add Lighting
Illuminate your pergola and planters with outdoor lighting to create an enchanting atmosphere for evening gatherings. Install string lights, solar-powered lanterns, or LED recessed lighting to set the mood and extend your outdoor enjoyment into the night.
Read more: How To Build A Freestanding Pergola
4. Hang Potted Plants
In addition to the planters on your pergola, consider hanging potted plants from the crossbeams or rafters. This will add height and dimension to your outdoor space while maximizing the greenery.
5. Incorporate Decorative Elements
Add decorative elements such as hanging baskets, wind chimes, or outdoor art to personalize your pergola and infuse it with your unique style. Select pieces that complement your overall design and create a visually captivating space.
6. Create Seating Areas
Enhance the functionality of your pergola by adding seating areas within or around it. Install benches, chairs, or even an outdoor sofa to create a comfortable and inviting space where you can relax and enjoy your garden oasis.
By incorporating these optional finishing touches, you can transform your DIY pergola with planters into a truly remarkable outdoor sanctuary. Take the time to carefully curate your final details, and enjoy the fruits of your labor for years to come.
Conclusion
Congratulations! You have successfully completed the construction of your DIY pergola with planters. By following the step-by-step instructions in this guide, you have created a stunning and functional addition to your outdoor space.
Your pergola provides a beautiful structure for relaxation, entertaining, and enjoying the beauty of your surroundings. The addition of planters allows you to incorporate nature into your design, creating a vibrant and inviting atmosphere.
Remember, the key to building a successful pergola with planters is careful planning, precise measurements, and attention to detail. Choosing quality materials, properly preparing the ground, and constructing a sturdy pergola structure all contribute to a long-lasting and visually appealing result.
Don’t forget to regularly maintain your pergola and planters by inspecting for any signs of damage, cleaning them when needed, and caring for your plants. This will ensure their longevity and keep your outdoor space looking its best.
Whether you use your pergola with planters for relaxing with a good book, hosting gatherings with friends and family, or simply enjoying the tranquility of nature, it will undoubtedly become a favorite spot in your home.
So, step outside and bask in the beauty of your DIY pergola with planters. Embrace the shade it provides, the greenery it brings, and the joy it adds to your outdoor living experience. Sit back, relax, and savor the fruits of your labor in this incredible outdoor oasis.
Frequently Asked Questions about Build A DIY Pergola With Planters In A Few Weekends
Was this page helpful?
At Storables.com, we guarantee accurate and reliable information. Our content, validated by Expert Board Contributors, is crafted following stringent Editorial Policies. We're committed to providing you with well-researched, expert-backed insights for all your informational needs.
0 thoughts on “Build A DIY Pergola With Planters In A Few Weekends”