Home>Garden Essentials>Garden Storage>How To Build An Easy DIY Patio To Upgrade Your Backyard

Garden Storage
How To Build An Easy DIY Patio To Upgrade Your Backyard
Modified: September 1, 2024
Learn how to upgrade your backyard with an easy DIY patio project that provides ample storage space, creating a functional and organized outdoor area.
(Many of the links in this article redirect to a specific reviewed product. Your purchase of these products through affiliate links helps to generate commission for Storables.com, at no extra cost. Learn more)
Introduction
Are you looking to upgrade your backyard and create a space where you can relax and entertain? Building a DIY patio is a fantastic project that can transform your outdoor space into a beautiful and functional area. Not only will it increase the value of your home, but it will also provide you with a great outdoor living space.
Building a patio may seem like a daunting task, but with the right materials, tools, and a little bit of guidance, it can easily be accomplished over a weekend. In this article, we will walk you through the step-by-step process of building your own DIY patio.
Before we get started, it’s important to note that building a patio requires careful planning and consideration. You need to determine the size and location of your patio, as well as the materials and design that best fit your needs and budget.
Without further ado, let’s dive into the materials needed for this project.
Key Takeaways:
- Building a DIY patio is a rewarding project that can transform your backyard into a beautiful and functional space for relaxation and entertainment. With careful planning, the right materials, and attention to detail, you can create a stunning outdoor oasis to enjoy for years to come.
- Regular maintenance, including cleaning, sealing, and inspecting for damage, is essential to ensure the longevity and continued enjoyment of your DIY patio. By adding furniture and decorations, you can personalize the space and create a welcoming outdoor retreat for family and friends.
Materials Needed
Before you begin building your DIY patio, make sure you have all the necessary materials. Here’s a list of what you’ll need:
- Patio pavers or stones
- Edging material
- Gravel
- Sand
- Concrete mix
- Crushed stone
- Landscaping fabric
- Leveling sand
- Paver edging spikes or nails
- Tools (shovel, rake, wheelbarrow, tamper, mallet)
- Masonry saw (optional)
- Patio sealer (optional)
It’s important to note that the quantities of these materials will depend on the size and layout of your patio. Take accurate measurements of the area to determine the amount needed.
Now that you have all your materials ready, let’s move on to the next step: planning and designing your patio.
Step 1: Planning and Designing Your Patio
Before you start digging and laying down pavers, it’s essential to carefully plan and design your patio. Here are some key considerations to keep in mind:
- Location: Determine where you want to build your patio. Consider factors such as sun exposure, proximity to the house, and any natural features or obstacles in your backyard.
- Size and Shape: Measure the available space and decide on the size and shape of your patio. Consider how you will use the area – whether it’s for dining, lounging, or entertaining – as this will help determine the appropriate dimensions.
- Materials: Choose the type of patio pavers or stones that you want to use. Consider the style of your home and outdoor aesthetic when selecting the materials.
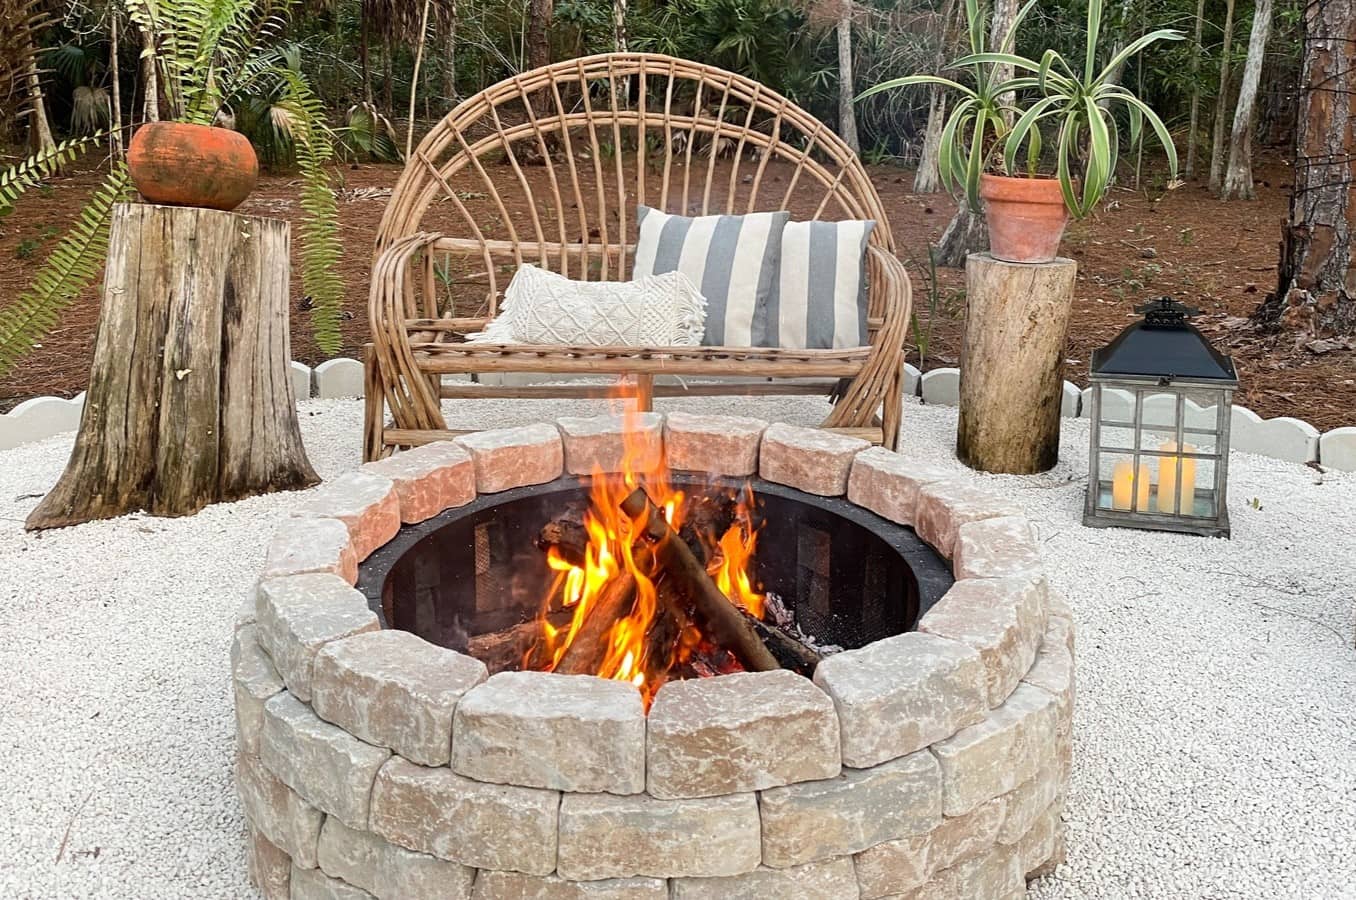
- Design: Sketch out a rough layout of your patio, including any additional features such as seating walls, fire pits, or planters. This will help you visualize the final look and ensure that the design is cohesive with the rest of your backyard.
- Budget: Determine your budget for the project. This will help you make decisions about the materials and any additional features you may want to include.
Once you have a clear plan and design in mind, you’re ready to move on to the next step: clearing and preparing the area for your patio.
Step 2: Clearing and Preparing the Area
Before you can start building your DIY patio, you’ll need to clear and prepare the area where it will be constructed. Follow these steps:
- Clear the Area: Remove any existing vegetation, rocks, or debris from the space where the patio will be located. Use a shovel, rake, and wheelbarrow to clear the area effectively.
- Mark the Perimeter: Use stakes and string to outline the perimeter of the patio. This will serve as a guide during the excavation process.
- Excavate the Area: Dig down to a depth of approximately 6-8 inches within the marked perimeter. This will allow space for the base materials and pavers. Use a shovel, ensuring the area is level as you go.
- Compact the Soil: Use a tamper to compact the soil in the excavated area. This will provide a stable base for your patio.
It’s essential to ensure that the area is properly leveled and compacted to prevent any unevenness in your patio. This will help to ensure its longevity and durability.
With the area cleared and prepared, you’re ready to move on to the next step: laying the foundation.
Step 3: Laying the Foundation
Creating a solid foundation is crucial for the stability and longevity of your DIY patio. Follow these steps to lay the foundation:
- Add a Layer of Crushed Stone: Pour a layer of crushed stone into the excavated area, filling it up to about 2-3 inches. Use a rake to spread and level the crushed stone.
- Compact the Crushed Stone: Use a tamper to compact the crushed stone layer. This will provide a stable base for your patio.
- Install Landscaping Fabric: Lay out landscaping fabric on top of the compacted crushed stone. This will help prevent weed growth and ensure proper drainage.
- Add a Layer of Leveling Sand: Pour a layer of leveling sand on top of the landscaping fabric. Use a straight board or screed to distribute and level the sand evenly.
- Compact the Leveling Sand: Once again, use a tamper to compact the leveling sand. This will create a smooth and stable surface for your patio pavers.
It’s important to take your time during this step to ensure that the foundation is even and well-compacted. Any imperfections at this stage can affect the overall integrity of your patio.
With the foundation in place, it’s time to move on to the next step: installing the patio pavers.
Consider using interlocking pavers for an easy DIY patio. They are easy to install, come in a variety of styles, and can be easily replaced if damaged. Plus, they provide a professional and polished look to your backyard.
Step 4: Installing the Patio Pavers
Now that the foundation is ready, it’s time to start installing the patio pavers. Follow these steps to ensure a successful installation:
- Start at a Corner: Begin laying your patio pavers at one corner of the foundation. This will serve as your starting point.
- Place the Pavers: Carefully place each paver on top of the leveling sand, ensuring a snug fit. Leave a small gap (about 1/8 to 1/4 inch) between each paver for jointing sand.
- Use a Level and Rubber Mallet: Use a level to ensure each paver is flat and level. If needed, gently tap them into place with a rubber mallet to ensure they are securely set.
- Continue the Pattern: Work your way outward from the corner, continuing to place pavers in the desired pattern. Keep checking for levelness as you go.
- Trimming Pavers: If necessary, use a masonry saw to cut pavers to fit along the edges or around obstacles.
- Alternate Paver Sizes: To create a visually appealing patio, consider using pavers of different sizes. This can add interest and texture to your design.
Take your time with this step to ensure that the pavers are properly aligned and evenly spaced. This will contribute to the overall aesthetics and functionality of your patio.
With the patio pavers in place, it’s time to move on to the next step: edging and securing the patio.
Step 5: Edging and Securing the Patio
Edging and securing your patio is an important step to ensure that the pavers stay in place and maintain their structural integrity. Follow these steps to complete this task:
- Install Edging Material: Choose an appropriate edging material, such as plastic or metal, and install it along the outer edges of your patio. This will help contain the pavers and prevent them from shifting.
- Secure Edging: Use paver edging spikes or nails to secure the edging material to the ground. Place them along the length of the edging, ensuring it is firmly in place.
- Add Additional Support: For added support, you can also use construction adhesive to attach the first row of pavers to the edging, ensuring they are securely in place.
- Check for Levelness: Use a level to ensure that the pavers are still level and adjust as necessary. This will help prevent any tripping hazards or unevenness in your patio.
Properly securing the edging and ensuring the levelness of your patio will contribute to the longevity and stability of your DIY patio. Take the time to double-check everything before moving on to the next step.
Next, we will move on to applying jointing sand to fill the gaps between the pavers.
Step 6: Applying Jointing Sand
Applying jointing sand is an essential step in completing your patio installation. The sand fills the gaps between the pavers, providing stability and preventing weed growth. Follow these steps to properly apply jointing sand:
- Clean the Patio: Before applying the jointing sand, ensure that the patio is clean and free of debris. Use a broom or leaf blower to remove any loose dirt or dust.
- Pour the Sand: Pour the jointing sand onto the patio, covering the surface completely. Use a broom or a trowel to spread the sand evenly across the paver joints.
- Compact the Sand: Use a plate compactor or a tamper to compact the sand into the joints. This will help secure the pavers in place and eliminate any voids.
- Sweep off Excess Sand: Once you have compacted the sand, use a broom to sweep off any excess sand from the surface of the pavers.
- Mist the Patio: Lightly mist the patio with water to activate the sand and allow it to settle into the joints. This will help create a solid and stable surface.
It’s important to note that the jointing sand may settle over time. If necessary, add more sand and repeat the compacting and misting process to ensure a strong and secure patio surface.
With the jointing sand in place, your DIY patio is almost complete. Let’s move on to the final step: adding the finishing touches and performing regular maintenance.
Step 7: Finishing Touches and Maintenance
With your DIY patio construction complete, it’s time to add the finishing touches and perform regular maintenance to keep it looking its best. Here’s what you need to do:
- Seal the Patio (Optional): If desired, you can apply a patio sealer to protect the pavers and enhance their appearance. Follow the manufacturer’s instructions for application and reapplication, as sealing may be necessary every few years.
- Add Furniture and Decorations: Transform your patio into an inviting space by adding outdoor furniture, such as chairs, a table, or a lounge set. Consider adding plants, cushions, and other decorative elements to personalize the space.
- Regular Cleaning: Keep your patio clean by sweeping away debris and leaves regularly. Remove any stains or spills promptly using a mild detergent and water. Avoid using harsh chemicals or pressure washers, as they can damage the pavers.
- Inspect for Damage: Periodically inspect your patio for any signs of damage, such as cracked or loose pavers. Replace or reposition any damaged pavers to maintain the structural integrity of your patio.
- Perform Necessary Repairs: If you notice any sinking or unevenness in your patio, address it promptly. Dig out the affected area, re-level the foundation, and reinstall the pavers to restore the stability of your patio.
By regularly maintaining and caring for your DIY patio, you can ensure its longevity and enjoy its beauty for years to come.
Congratulations! You have successfully completed the construction of your DIY patio. Now it’s time to sit back, relax, and enjoy your newly upgraded backyard space!
Disclosure: This article may contain affiliate links, which means we may receive a commission if you click a link and purchase something that we recommended. Read more about Affiliate disclosure here.
Disclaimer: The information in this article is for informational purposes only. It is not a substitute for professional advice or guidance. Always consult a qualified expert or professional for your specific needs and circumstances.
Read more: DIY Guide To Building A Backyard Pergola
Conclusion
Building a DIY patio is a rewarding project that can enhance the beauty and functionality of your backyard. With the right materials, tools, and a bit of planning, you can create a stunning outdoor space where you can relax, entertain, and enjoy the beauty of nature.
Throughout this guide, we’ve outlined the step-by-step process of building your own DIY patio. From planning and designing to laying the foundation, installing the pavers, and adding the finishing touches, each step is crucial in creating a durable and visually appealing patio.
Remember to take your time, follow safety precautions, and pay attention to detail. A well-constructed patio not only adds value to your home but also provides a space for creating lasting memories with family and friends.
Once your patio is complete, don’t forget to perform regular maintenance to keep it looking its best. From cleaning and sealing to inspecting for damage and performing repairs, taking care of your patio will ensure its longevity and continued enjoyment.
So, grab your tools, gather your materials, and embark on this exciting project of building your DIY patio. With a little effort and creativity, you’ll have a beautiful outdoor oasis where you can unwind and create lasting memories for years to come.
Ready to dive deeper into crafting and personalizing your space? If you're thrilled by this patio project, you'll love discovering why DIY projects are so rewarding. Or, maybe you're considering more natural elements? Check out our garden fence ideas that can transform your outdoor areas in no time. For those who love blending color and comfort, our guide on outdoor living enhancements offers exciting ways to make your deck the perfect place for relaxation and fun.
Frequently Asked Questions about How To Build An Easy DIY Patio To Upgrade Your Backyard
Was this page helpful?
At Storables.com, we guarantee accurate and reliable information. Our content, validated by Expert Board Contributors, is crafted following stringent Editorial Policies. We're committed to providing you with well-researched, expert-backed insights for all your informational needs.


0 thoughts on “How To Build An Easy DIY Patio To Upgrade Your Backyard”