Home>Ideas and Tips>DIY Guide To Installing A Bathroom Exhaust Fan
Ideas and Tips
DIY Guide To Installing A Bathroom Exhaust Fan
Modified: October 28, 2024
Learn how to install a bathroom exhaust fan with our step-by-step DIY guide. Improve ventilation, reduce moisture, and prevent mold growth easily.
(Many of the links in this article redirect to a specific reviewed product. Your purchase of these products through affiliate links helps to generate commission for Storables.com, at no extra cost. Learn more)
Installing a bathroom exhaust fan is a crucial home improvement project that can significantly enhance the quality of air in your bathroom and reduce the risk of mold and mildew growth. This guide will walk you through the step-by-step process of installing a bathroom exhaust fan, covering all the necessary tools, materials, and considerations to ensure a successful and safe installation.
Why Install a Bathroom Exhaust Fan?
Before diving into the installation process, it's essential to understand why installing a bathroom exhaust fan is important. Bathroom fans perform several critical functions:
- Moisture Removal: Excess moisture in the bathroom can lead to mold and mildew growth, which can cause significant damage to your walls, ceiling, and furniture.
- Odor Control: Bathroom fans help remove unpleasant odors from the bathroom, keeping the air fresh and clean.
- Improved Ventilation: Proper ventilation is crucial for maintaining a healthy indoor environment. Bathroom fans ensure that stale, damp air is removed from the bathroom and replaced with fresh air.
Materials and Tools Required
To install a bathroom exhaust fan, you will need the following materials and tools:
- Bathroom Exhaust Fan: Choose a fan that is compatible with your bathroom size and has the appropriate CFM (Cubic Feet per Minute) rating. CFM measures how much air the fan can move per minute. For example, a small bathroom may require a fan with a lower CFM rating (around 50-70 CFM), while a larger bathroom may need a fan with a higher CFM rating (around 100-150 CFM).
- Ladder: A sturdy ladder is necessary for accessing the attic and ceiling.
- Dust Mask or Respiratory Device: Protect yourself from dust and debris when cutting through drywall.
- Drywall Saw or Reciprocating Saw: These tools are used to cut holes in the ceiling for the fan.
- 4-inch Round Flexible Ducting: This ducting is used to connect the fan to the roof vent or wall vent.
- Cordless Drill: A drill is necessary for drilling screws into the ceiling and attaching the fan.
- 1/2-inch Drill Bit: This bit is used for drilling holes in the ceiling.
- Stud Finder: Helps locate studs in the ceiling for secure attachment.
- Voltage Tester (Touchless): Ensures that there is no power running to the area where you will be working.
- Screws: Drywall screws and standard screws are needed for securing the fan housing.
- Electrical Cable: Connects the fan to the power source.
- Wire Stripper: Used to strip insulation from electrical wires.
- Round Wall Vent or Roof Vent with Cap: Depending on your ventilation method, you may need a wall vent or roof vent kit.
Step-by-Step Instructions
Step 1: Prepare the Area
Before starting the installation, ensure that you have turned off the power to the room at the junction box. This is a safety precaution to avoid electrical shock. Verify that there is no power running to the area by using a voltage tester.
Step 2: Remove the Old Fan
If you are replacing an existing fan, remove it completely. Disconnect any ductwork from the old fan and take off the grate. Depending on the old fan's location, you may need to head up into the attic to finish removal.
Read more: How To Install An Exhaust Fan
Step 3: Cut a Hole for the New Fan
Using a keyhole saw or drywall saw, cut a hole in the ceiling for the new fan. If your new fan comes with a template, use it to ensure accurate placement. Otherwise, trace around the fan itself to ensure it fits snugly.
Step 4: Secure the New Fan
Install the housing first if required by your model. Secure it to the ceiling using drywall screws or standard screws if you're drilling into a joist. Make sure it is level and securely attached.
Step 5: Finish Ductwork and Electrical
Back up in the attic, seal any loose ductwork with duct tape. Connect the wires according to color codes (white to white, black to black, and green to green). Attach wire caps to protect exposed wires.
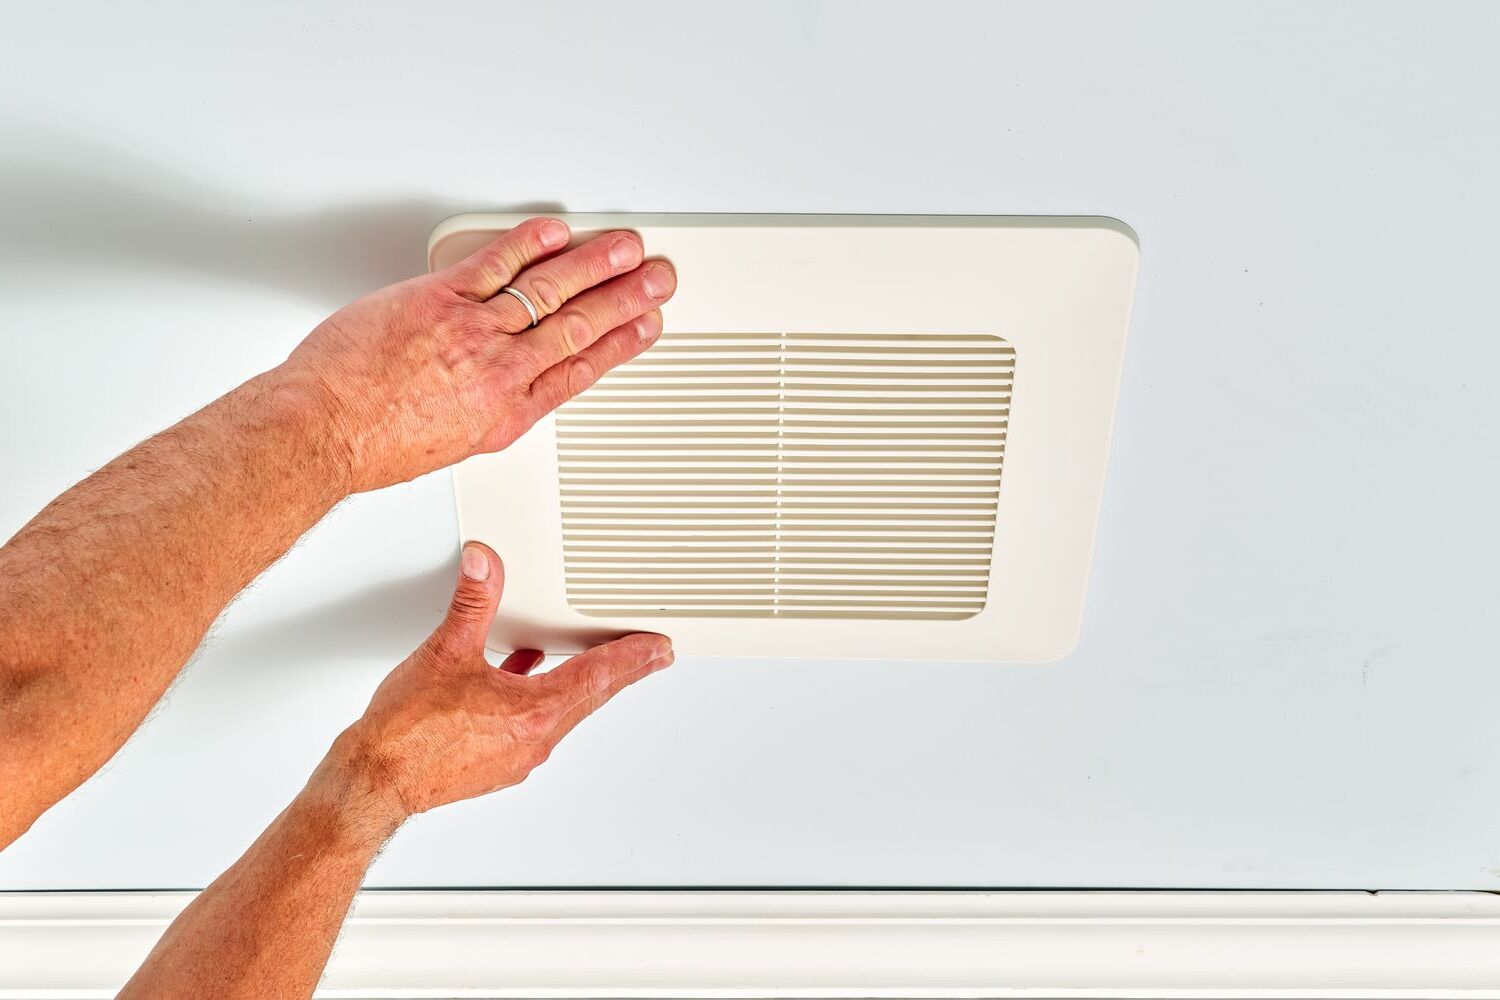
Step 6: Install Fan Cover
Place the fan cover over the fan housing. Ensure it is securely attached using screws provided with the fan or drywall screws if necessary.
Read more: Who Can Install Bathroom Exhaust Fan
Step 7: Venting the Fan
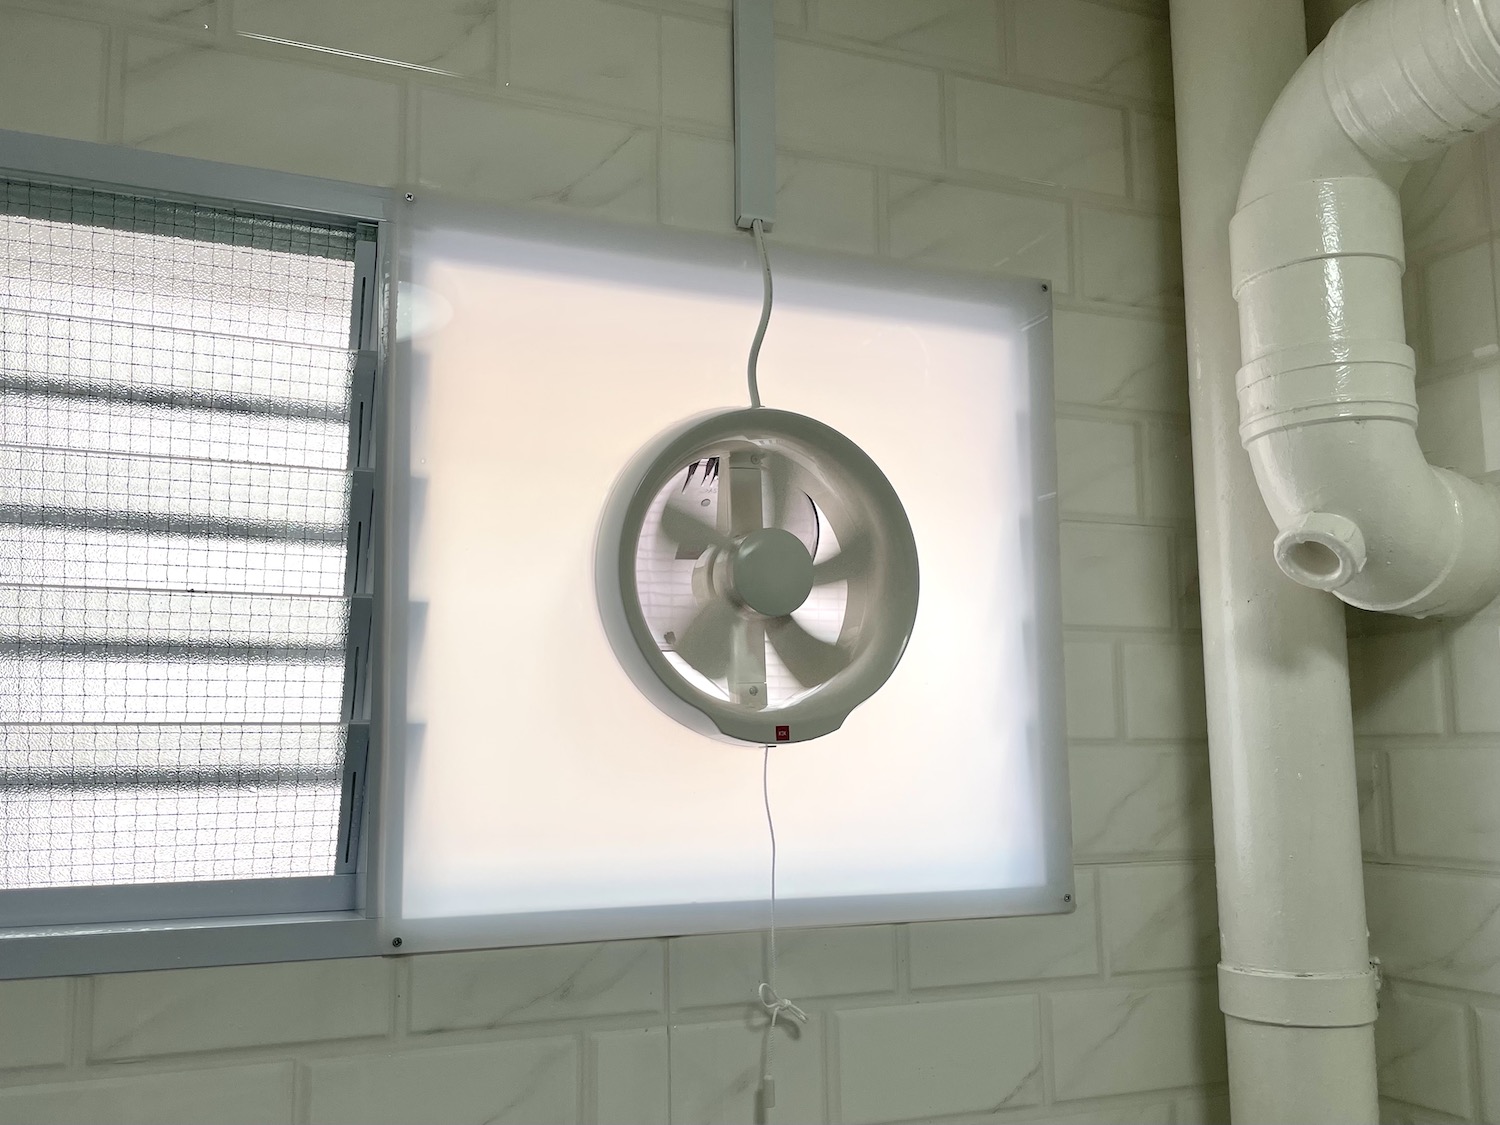
Bathroom fans should be vented outside to prevent moisture buildup in attics or walls. There are two common methods:
- Roof Venting: Attach flexible ducting from the fan port to an opening in the roof. Ensure that ductwork is as straight as possible without being pulled taut for maximum efficiency. Use roof cement and a roof cap to seal any gaps around the vent.
- Wall Venting: If venting through a wall is preferred, attach flexible ducting from the fan port to an opening in an exterior wall. Seal any gaps around the vent using exterior-grade caulk.
Step 8: Insulate and Seal
Ensure that all connections around the fan are properly sealed and insulated. This will prevent air leaks and reduce energy efficiency issues. Use caulk or spray foam to seal gaps around vents and ducts.
Step 9: Test the Fan
Turn on the fan and check for proper operation. Ensure that it is pulling moisture out of the bathroom effectively by performing simple tests like the "toilet paper test." If the fan is running well, it should hold toilet tissue squares against its cover.
Additional Considerations
Replacing Ductwork
If you're replacing an existing fixture, consider replacing ductwork as well. Inspect ductwork periodically for signs of damage, kinks, blockages, or loosened connections. Any problems with ductwork can prevent proper fan operation or allow moisture to escape into attics.
Proper Ventilation
Venting into an attic or soffit can lead to serious moisture problems and mold growth. Always vent bathroom fans outside through either a roof or wall opening. Building codes require this for safety reasons.
Repairing Walls/Ceilings
If your new fan is sized differently from the old one or if damage occurs during replacement, hang or patch drywall in the area to repair large holes. For extensive damage, consider hiring a professional for seamless repair.
Mold Remediation
If mold has already grown due to inefficient ventilation from an old fan, take care of small areas with three steps:
- Remove affected caulking.
- Clean walls and ceilings with mold-killing cleansers like hydrogen peroxide or bleach (do not mix these products).
- Open windows and doors; run the new fan to help dry out the area.
For larger-scale problems (over 10 square feet), consult local mold removal companies.
Read more: What Is An Exhaust Fan
Common Mistakes to Avoid
Wrong Fan Size
Choosing a fan that is too small for your bathroom can lead to inadequate moisture removal. Select a fan based on room square footage and CFM rating.
Incorrect Location
Installing the fan in the wrong location reduces its effectiveness. Place it near the shower or bathtub for maximum moisture extraction.
Noise Level
Not considering noise levels can result in disturbingly loud units. Look for fans rated at 1.0 sones or fewer for quiet ventilation.
Read more: How To Fix Bathroom Exhaust Fan
Inadequate Sealing/Insulation
Failing to properly seal and insulate around the fan leads to air leaks, reducing energy efficiency and potentially allowing moisture into attics or walls.
Electrical Safety
Handling electrical connections without proper knowledge or ensuring that circuits can handle loads can be dangerous and even result in fires. Follow electrical codes; if unsure, hire a professional electrician.
Conclusion
Installing a bathroom exhaust fan is a DIY project that requires careful planning and execution. By following these steps and considering common mistakes, you can ensure a successful installation that enhances your home's ventilation and reduces moisture-related issues. Remember always to follow local building codes and regulations for safety and compliance.
If you're unsure about any part of this process or lack the necessary skills or experience, it's often best to consult with a professional, especially for complex installations in older homes or when dealing with electrical wiring.
Was this page helpful?
At Storables.com, we guarantee accurate and reliable information. Our content, validated by Expert Board Contributors, is crafted following stringent Editorial Policies. We're committed to providing you with well-researched, expert-backed insights for all your informational needs.


0 thoughts on “DIY Guide To Installing A Bathroom Exhaust Fan”