Home>Ideas and Tips>DIY Guide To Installing A Bathroom Vanity
Ideas and Tips
DIY Guide To Installing A Bathroom Vanity
Published: September 3, 2024
Learn how to install a bathroom vanity with our step-by-step DIY guide. Perfect for beginners and seasoned DIY enthusiasts.
(Many of the links in this article redirect to a specific reviewed product. Your purchase of these products through affiliate links helps to generate commission for Storables.com, at no extra cost. Learn more)
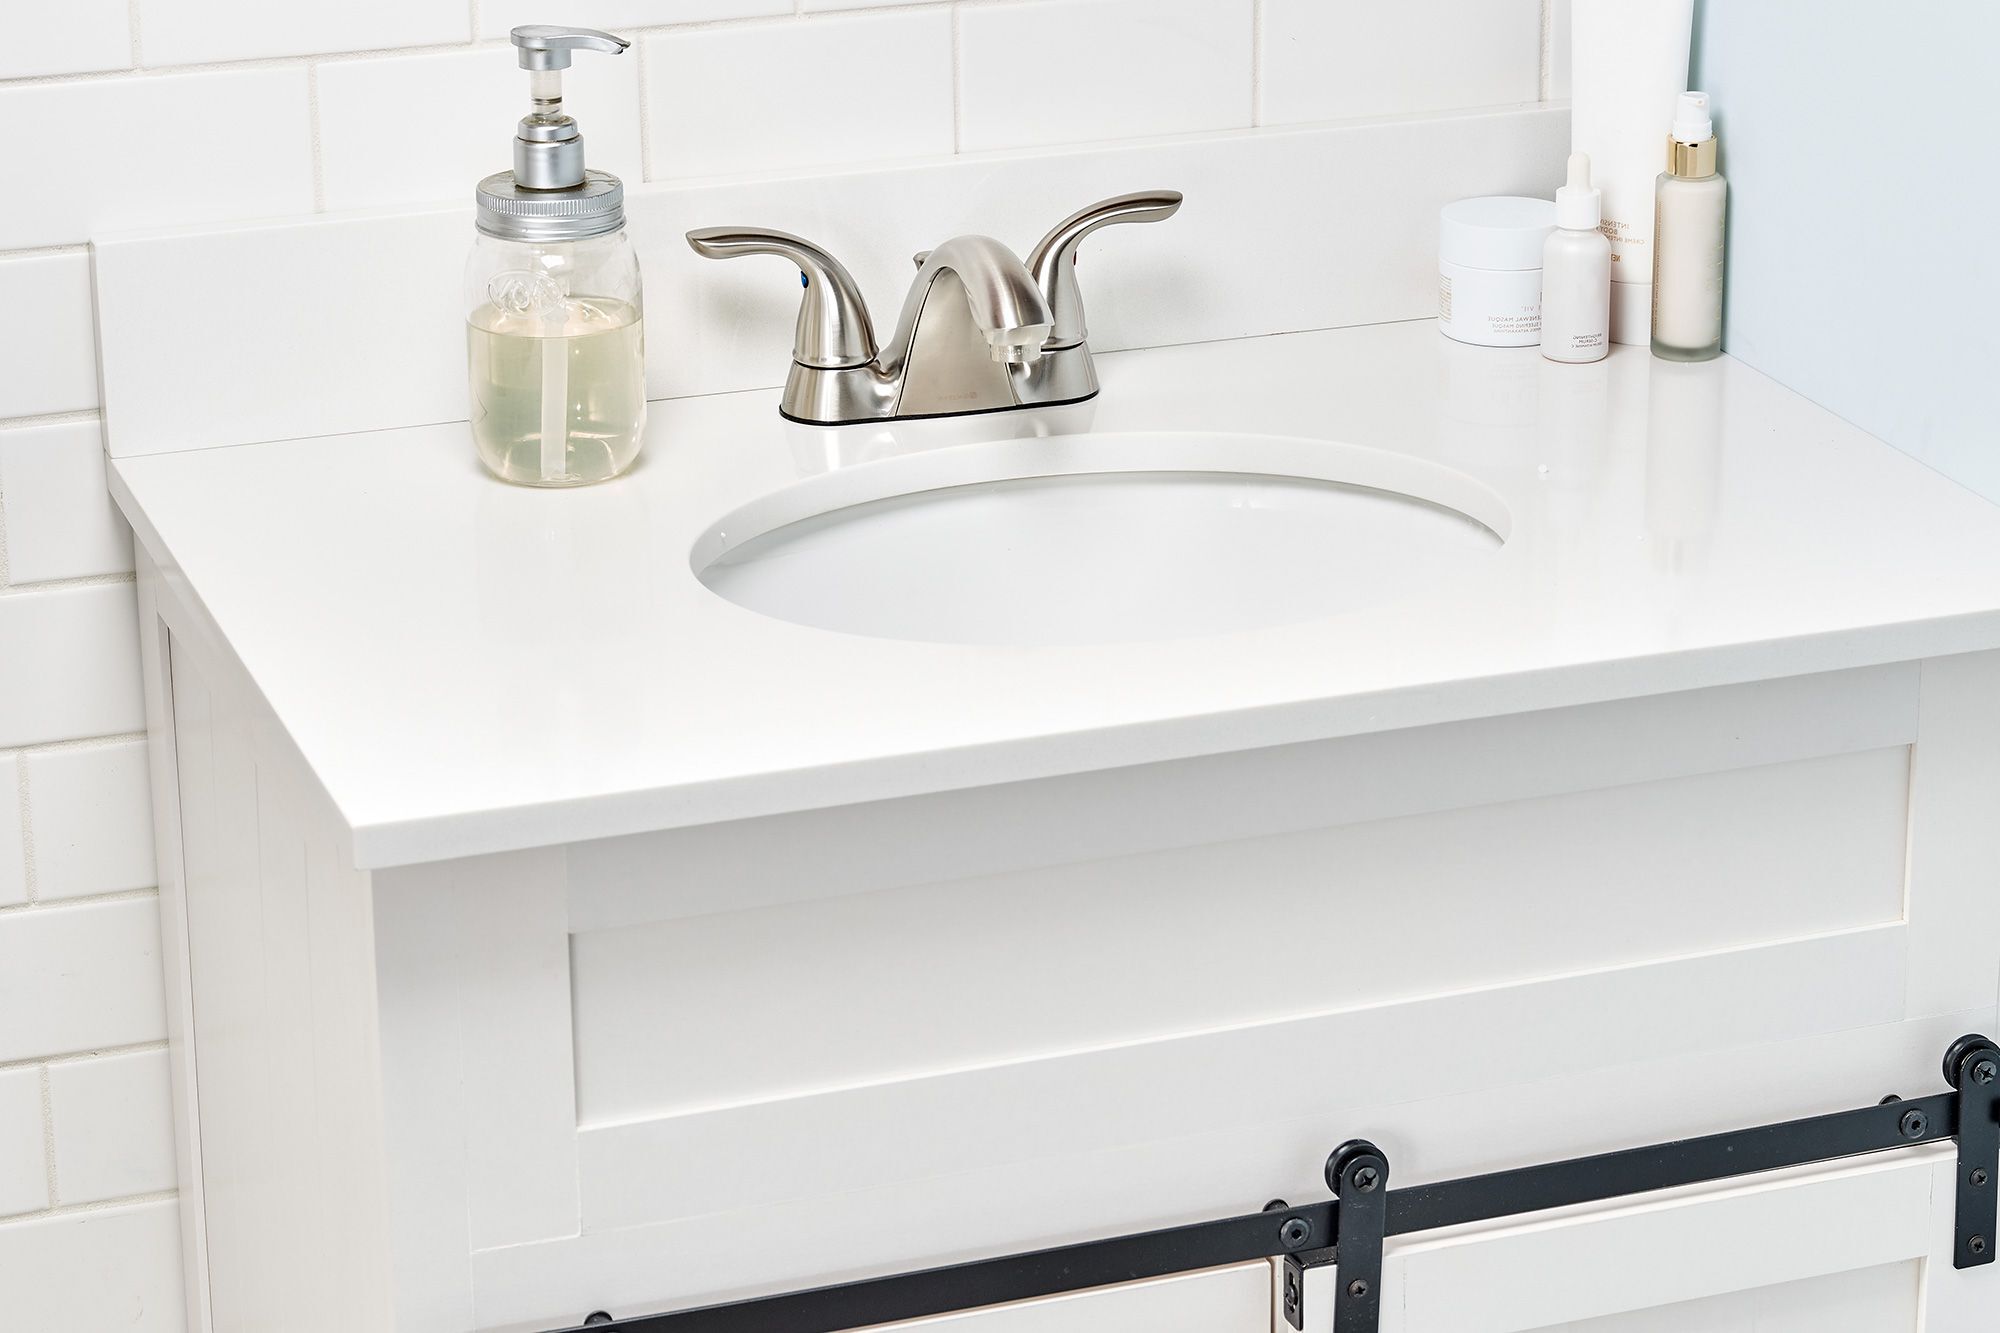
Installing a new bathroom vanity is a great way to update the look and functionality of your bathroom. It's a project that can be completed with some basic tools and a bit of patience. In this guide, we will walk you through the steps to remove an old vanity, prepare the space, and install a new one. Whether you're a seasoned DIY enthusiast or just starting out, this guide will provide you with the necessary information to complete the task successfully.
Step 1: Prepare for the Project
Before you begin, it's essential to prepare yourself and your workspace. Here are some key steps to take:
Measure Your Space
Measure the width, height, and depth of your bathroom to ensure that your new vanity will fit comfortably. Consider the space needed for door and drawer clearances, as well as walking paths. It's also important to measure plumbing clearances and the location of electrical outlets and switches.
Plan Your Project
Sketch out a plan or have the numbers handy when you purchase your vanity. This will help you visualize the installation process and ensure that all necessary components are accounted for.
Gather Materials and Tools
Make a list of the materials and tools you'll need. Here are some common items:
- Vanity: Choose a vanity that fits your space and style.
- Sink: Decide on the type of sink you want (under-mount, drop-in, vessel, or integrated).
- Faucet: Select a faucet that's compatible with your vanity and fits your aesthetic.
- Plumbing Supplies: Water supply lines, P-trap, slip nuts, and Teflon tape.
- Adhesives and Caulks: Silicone caulk or adhesive for securing the countertop.
- Tools: Miter saw, drill, Kreg jig, adjustable wrench, utility knife, stud finder, hole saw, and wall anchors.
Read more: DIY Guide: Installing A Bathroom Vanity
Step 2: Disconnect Plumbing
Disconnecting the plumbing is a crucial step in the process. Here’s how to do it safely:
-
Turn Off Water Supply:
- Locate the shut-off valves under your sink or at the main shutoff.
- Turn off the water supply to prevent any accidental leaks.
-
Open Faucet:
- Open the faucet to release any remaining pressure in the lines.
-
Remove P-Trap:
- Loosen the slip nut at the top of the P-trap with your hands or a pipe wrench.
- Pull down the P-trap and set it aside.
-
Disconnect Water Lines:
- Use an adjustable wrench or tongue-and-groove pliers to disconnect the water supply lines from the valves.
- Place a bucket under the valve to catch any water that might spill out.
-
Cut Sealant From Backsplash:
- Use a utility knife to cut the caulk or sealant that connects the sink backsplash to the wall.
Step 3: Remove Old Vanity
Removing the old vanity is a straightforward process:
-
Remove Screws:
- Use a screwdriver to remove any screws or bolts holding the vanity to the wall.
-
Pull Out Vanity:
- Gently pull out the old vanity from the wall. If it's stuck, you might need to use a bit of force or some lubricant.
-
Repair Wall:
- If necessary, paint or patch any sections of the wall that were damaged during removal.
Step 4: Prepare Wall for New Vanity
Before installing the new vanity, you need to prepare the wall:
-
Mark New Vanity Position:
- Use a pencil to mark out the new position of your vanity on the wall. Ensure that you have enough space for door and drawer clearances.
-
Find Studs:
- Use a stud finder to locate and mark the studs within this outlined area.
-
Measure Pipe Holes:
- If your new vanity has a solid back, measure out the position of pipes on the wall and translate these measurements to the back of your new vanity.
- Cut holes for plumbing connections using a hole saw.
Step 5: Install New Vanity
Now it's time to install your new vanity:
-
Slide Vanity Into Place:
- Carefully slide your new vanity into position, lining it up with your marks.
-
Level Vanity:
- Check that your vanity is level and use shims if necessary.
-
Attach Vanity to Wall:
- Drill pilot holes at the nearest stud locations and attach your vanity using drywall screws or wall anchors if needed.
-
Secure Countertop (if applicable):
- If your vanity doesn’t come with an attached countertop, apply a bead of silicone caulk or adhesive along the edge of your vanity.
- Set the countertop on the vanity and press down. Allow the adhesive to cure before using your vanity.
Step 6: Install Faucet
Installing the faucet is an important step:
-
Prepare Faucet Installation:
- Follow all instructions provided with your faucet for installation.
-
Add Gaskets and Insert Faucet:
- Add gaskets and insert the faucet and/or handles into their respective holes on your countertop.
-
Secure Faucet:
- Secure as indicated in your faucet instructions using nuts that came with it.
-
Apply Plumbers Putty:
- Apply plumbers putty underneath sink drain ring before attaching P-trap.
-
Reattach P-Trap:
- Reattach P-trap to sink drain line after applying Teflon tape in a clockwise direction.
-
Reattach Water Lines:
- Reattach water supply lines after ensuring all connections are secure.
-
Turn On Water Supply:
- Turn on water supply valves and test your faucet for leaks.
Additional Tips
Here are some additional tips to keep in mind during installation:
-
Use Proper Adhesives:
- Always follow manufacturer instructions when using adhesives or caulk to ensure proper bonding.
-
Secure Plumbing Connections:
- Use Teflon tape on threaded connections to prevent leaks.
-
Check for Leaks:
- Turn on water supply and check all connections for leaks before finishing installation.
-
Consider Professional Help:
- If you're not comfortable with plumbing projects or feel overwhelmed by any part of this process, consider hiring a licensed plumber for assistance.
Conclusion
Installing a new bathroom vanity is a rewarding DIY project that can significantly enhance the look and functionality of your bathroom space. By following these steps carefully and taking necessary precautions, you can achieve professional-looking results without breaking the bank or hiring someone else to do it for you.
Remember, patience is key when working with plumbing and carpentry tasks. If at any point you feel uncertain about proceeding with a particular step, it's always better to seek advice from a professional rather than risking damage or safety hazards.
With these guidelines in hand, you're ready to transform your bathroom into a modern oasis that reflects your personal style and enhances your daily routine. Happy renovating
Was this page helpful?
At Storables.com, we guarantee accurate and reliable information. Our content, validated by Expert Board Contributors, is crafted following stringent Editorial Policies. We're committed to providing you with well-researched, expert-backed insights for all your informational needs.


0 thoughts on “DIY Guide To Installing A Bathroom Vanity”