Articles
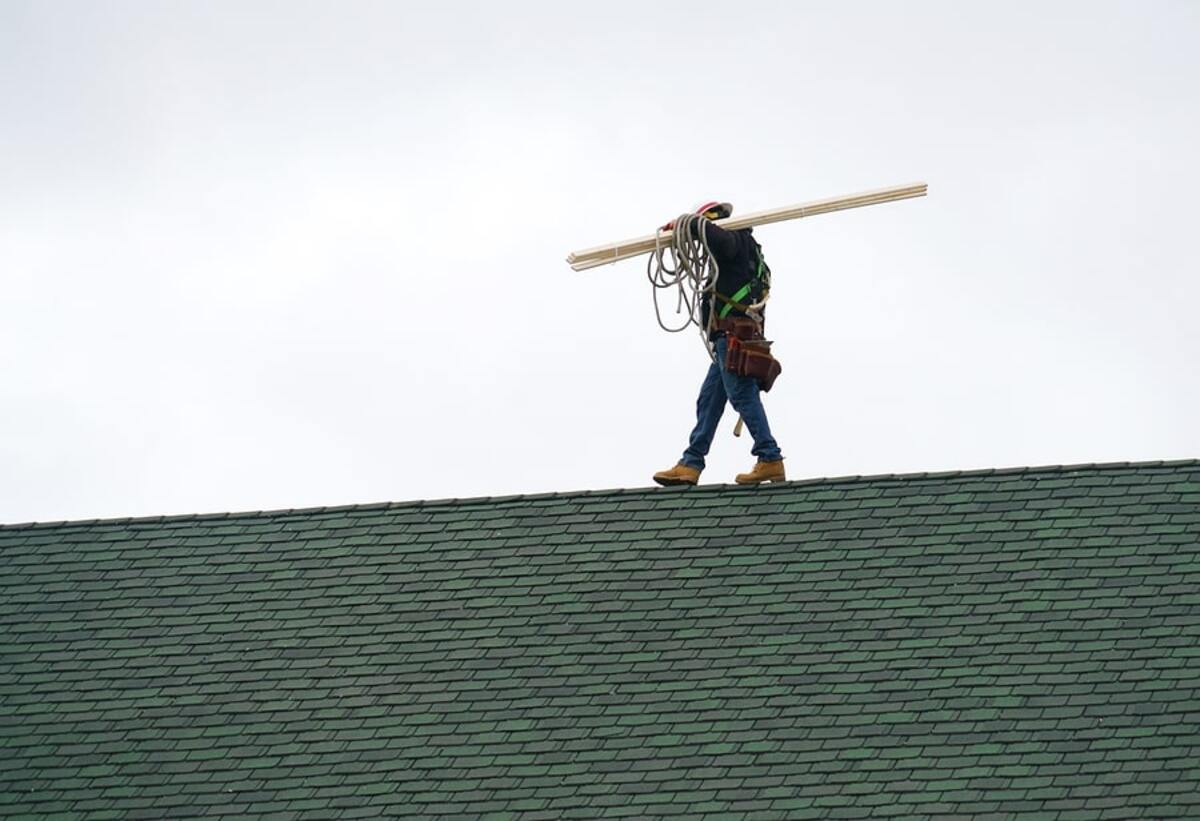
How To Tar A Roof
Modified: August 28, 2024
Learn the step-by-step process of tar roofing with our informative articles. Get expert tips and advice on how to tar a roof and enhance its durability.
(Many of the links in this article redirect to a specific reviewed product. Your purchase of these products through affiliate links helps to generate commission for Storables.com, at no extra cost. Learn more)
Introduction
When it comes to protecting your roof and extending its lifespan, applying tar is a common solution. Tar is a versatile and effective roofing material that provides a protective coating, preventing water leaks and reducing damage caused by the elements.
In this article, we will guide you through the process of how to tar a roof effectively, ensuring a durable and long-lasting result. By following these steps, you can save money on costly repairs and maintain the integrity of your roof.
Before you begin the tar application process, it’s essential to gather the necessary materials and familiarize yourself with the steps involved. With the right tools and instructions, you can successfully tar your roof and provide it with the protection it needs.
So let’s dive into the step-by-step process of how to tar a roof, from preparing the surface to applying the tar and ensuring proper maintenance for years to come.
Key Takeaways:
- Protect your roof with tar by gathering the right materials, preparing the surface, and applying the primer and tar in thin, even layers. Proper maintenance ensures a long-lasting, watertight seal.
- Knowing how to tar a roof can save you money on repairs and extend your roof’s lifespan. Follow the step-by-step process, including installing the roofing material, and establish a regular maintenance routine for optimal protection.
Read more: How To Get Tar Out Of Carpet
Step 1: Gather the necessary materials
Before starting the tar application process, you need to gather all the necessary materials to ensure a smooth and efficient roofing project. Here are the essential tools and materials you will need:
- Tar: Purchase a high-quality roofing tar that is specifically designed for your type of roof. Ensure that it is suitable for the climate in your area to withstand extreme weather conditions.
- Roofing primer: This helps improve adhesion and create a strong bond between the tar and the roof surface. Make sure you choose a primer that is compatible with your roofing material.
- Roofing brushes: You will need both a stiff-bristled brush for cleaning the roof surface and a soft-bristled brush for applying the tar.
- Roofing shovel: This will be useful for removing any debris or loose materials from the roof before applying the tar.
- Protective gear: It’s important to keep yourself safe during the roofing process. Wear gloves, safety goggles, and appropriate clothing to protect your skin and eyes from any potential hazards.
- Ladders or scaffolding: Depending on the size and height of your roof, you may require ladders or scaffolding to access the area safely.
- Bucket and mixing sticks: Use these to mix the tar and primer if required.
Ensure that you have all the necessary equipment and materials before you begin the roofing project. This will save you time and prevent any interruptions during the application process.
Step 2: Prepare the roof surface
Properly preparing the roof surface is crucial to ensure the adhesion and effectiveness of the tar. This step involves cleaning the roof and making any necessary repairs. Here’s how to prepare the roof surface before applying tar:
- Clear the roof: Remove any debris, leaves, or loose materials from the roof. Use a roofing shovel or a stiff-bristled brush to sweep away dirt and debris. This will create a clean surface for the tar application.
- Inspect for damage: Carefully inspect the roof for any signs of damage, such as cracks, holes, or loose shingles. Repair any issues before applying the tar to prevent further damage or leaks.
- Fix leaks: If you notice any leaks or areas of moisture, address them promptly. Seal any leaks with roofing sealant or patching compound and allow them to dry completely.
- Remove rust and corrosion: If your roof has metal components that are rusted or corroded, use a wire brush or sandpaper to remove the rust. Apply a rust converter or primer to prevent further corrosion.
- Apply a primer: In some cases, applying a primer to the roof surface can enhance the adhesion of the tar. Follow the manufacturer’s instructions to apply the primer evenly across the roof.
By properly preparing the roof surface, you are ensuring that the tar will adhere well and provide maximum protection. Take the time to clean, repair, and prime the roof before moving on to the next step.
Step 3: Apply the primer
Once you have prepared the roof surface, it’s time to apply the primer. The primer acts as a bonding agent, increasing the adhesion of the tar to the roof. Here’s how to apply the primer effectively:
- Read the instructions: Read the manufacturer’s instructions on the primer container carefully. Make sure you understand the recommended application method and drying time.
- Mix the primer (if required): Some primers may require mixing before use. If that’s the case, follow the instructions on the container to mix the primer thoroughly. Use a mixing stick or a drill attachment to ensure a uniform consistency.
- Start at the edges: Begin applying the primer at the edges of the roof and work your way towards the center. Use a soft-bristled brush to apply a thin and even coat of primer. Be careful not to apply too much, as it may affect the adhesion of the tar.
- Work in small sections: Divide the roof into manageable sections and work on one section at a time. This will ensure that the primer doesn’t dry before you have a chance to apply the tar.
- Allow the primer to dry: Follow the drying time specified on the primer container. Generally, it takes a few hours for the primer to dry completely. Make sure the primer is completely dry before moving on to the next step.
By applying a primer, you are improving the bond between the tar and the roof surface, increasing the durability of the tar application. Take your time to apply the primer carefully and allow it to dry fully before proceeding to the next step.
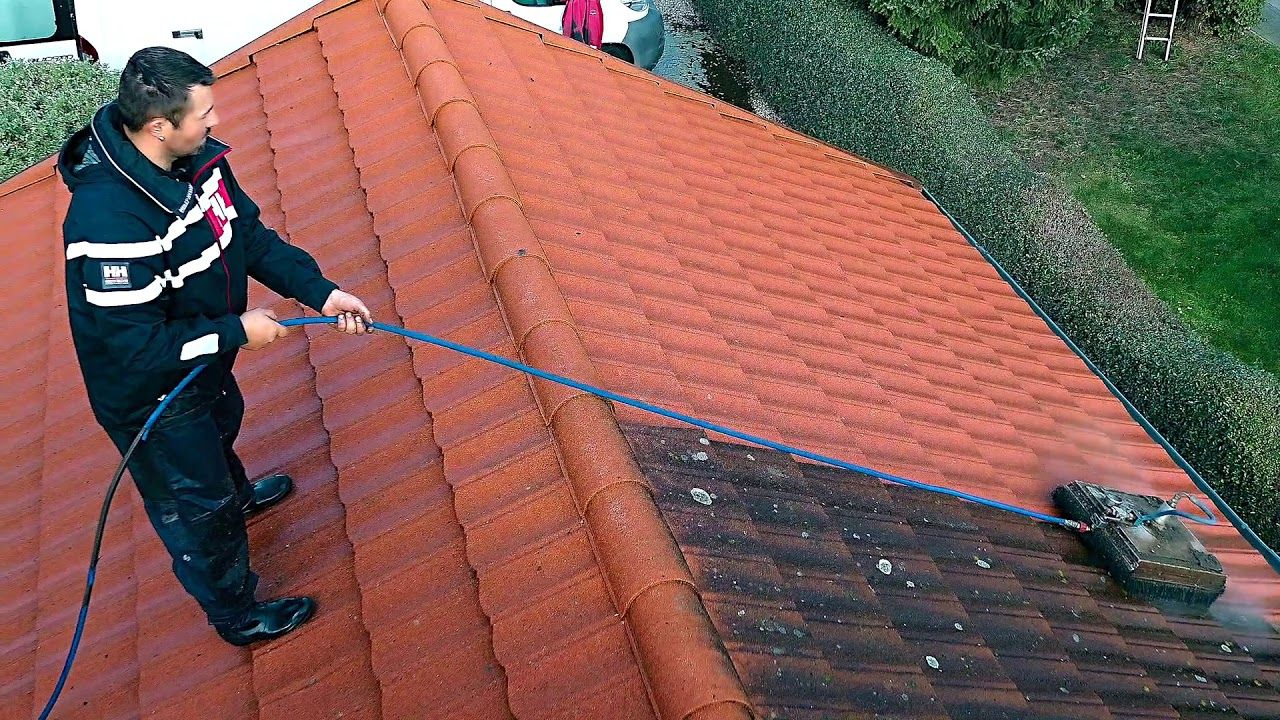
When tarring a roof, make sure to clean the surface thoroughly before applying the tar. Use a pressure washer to remove any dirt or debris, and allow the surface to dry completely before starting the tarring process.
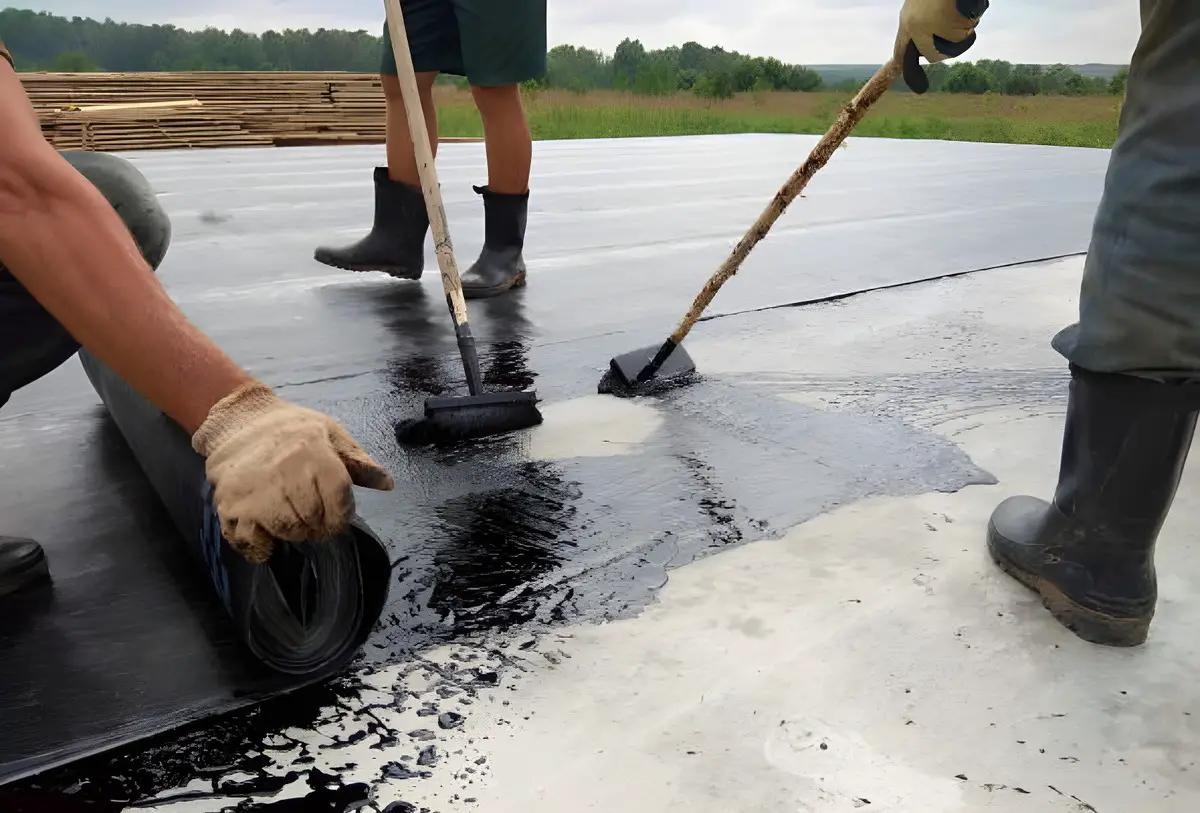
Step 4: Spread the tar
Now that the primer has dried, it’s time to spread the tar onto the roof surface. This step requires careful application to ensure an even and sufficient layer of tar. Follow these steps to spread the tar effectively:
- Choose the right weather conditions: It’s important to choose a day with dry and mild weather for tar application. Avoid applying tar on rainy or extremely hot days, as it may affect the curing and bonding process.
- Stir the tar: Stir the tar using a mixing stick or paddle to make it easier to work with. This helps to ensure a consistent texture and temperature throughout the tar.
- Start at the lowest point: Begin spreading the tar at the lowest point of the roof and work your way upwards. Use a soft-bristled brush or a roofing mop to apply the tar in smooth and even strokes.
- Apply in thin layers: It’s crucial to apply the tar in thin layers to promote better adhesion and prevent sagging. Spread a thin, even layer of tar across the roof, making sure to cover the entire surface area.
- Overlap the layers: To ensure complete coverage, slightly overlap each layer of tar as you work your way up the roof. This helps provide a seamless barrier and minimizes the risk of water penetration.
- Pay attention to seams and edges: Extra care should be taken when applying tar around seams, edges, and penetrations like vents or chimneys. Apply an extra layer of tar to these areas to create a strong and watertight seal.
During the tar application process, remember to work in small sections to prevent the tar from drying before you finish spreading it. Take your time to ensure a thorough and even application, paying close attention to details and areas prone to water leakage.
Read more: How To Get Tar Off A Bathtub
Step 5: Install the roofing material
After spreading the tar, it’s time to install the roofing material on top. The roofing material provides an extra layer of protection and helps to seal the tar. Follow these steps to properly install the roofing material:
- Choose the appropriate roofing material: Select a roofing material that is compatible with the type of tar you have used. Common options include roofing felt, asphalt shingles, or roll roofing.
- Measure and cut the material: Measure the dimensions of your roof and cut the roofing material accordingly. Leave a small overhang on the edges to ensure complete coverage and to prevent water from seeping underneath.
- Place the material on the tar: Carefully position the roofing material on top of the tar layer. Gently press it down to ensure good adhesion and eliminate any air pockets or wrinkles.
- Secure the material: Depending on the type of roofing material, secure it in place using appropriate methods. This may involve nailing down shingles, using adhesive for roll roofing, or using staples for roofing felt.
- Continue with additional layers: If necessary, apply additional layers of tar and roofing material to achieve the desired level of protection. Make sure each layer is properly aligned and securely fastened.
Installing the roofing material not only enhances the visual appeal but also adds an extra layer of durability to your roof. Take your time to ensure precise measurements, proper placement, and secure installation for optimum performance.
Step 6: Clean up and maintenance tips
Once you have completed the tar application and installed the roofing material, it’s essential to perform a thorough clean-up and establish a maintenance routine to keep your roof in optimal condition. Follow these tips for cleaning up and maintaining your tarred roof:
- Remove any tar spills: If you accidentally spill tar during the application process, clean it up immediately. Use a scraping tool or a cloth to carefully remove the excess tar before it hardens.
- Dispose of waste properly: Dispose of any waste materials, such as empty tar containers, brushes, or leftover roofing materials, according to local regulations. Avoid leaving any debris or hazardous materials on your property.
- Inspect the roof regularly: Regular inspections will help identify any signs of damage or leaks. Inspect the roof at least once a year and after any severe weather events. Look for cracks, loose shingles, or areas of pooled water.
- Address small repairs promptly: If you notice any minor damage, such as small cracks or loose shingles, repair them promptly to prevent further deterioration. Use a patching compound or sealant to fix the issues immediately.
- Clear debris regularly: Keep your roof free from debris, such as branches, leaves, and dirt. Regularly clean your roof by sweeping or using a leaf blower to prevent clogs and potential water damage.
- Consider professional maintenance: For more extensive maintenance or repairs, it’s advisable to consult a professional roofing contractor. They can provide expert advice, perform necessary repairs, and ensure the longevity of your tarred roof.
By establishing a regular maintenance routine and addressing any issues promptly, you can prolong the lifespan of your tarred roof and maintain its functionality and durability for years to come.
Conclusion
In conclusion, knowing how to tar a roof can be a valuable skill that helps protect your roof from damage and extends its lifespan. By following the step-by-step process outlined in this article, you can effectively apply tar to your roof and ensure a durable and watertight seal.
Remember to gather all the necessary materials before starting the tar application process. Clean and prepare the roof surface, applying a primer if recommended, to enhance adhesion. Carefully spread the tar in thin layers, paying attention to seams and edges, and ensuring even coverage. Install the appropriate roofing material on top to provide an extra layer of protection.
After completing the tar application, perform a thorough clean-up and establish a maintenance routine. Regular inspections, addressing small repairs promptly, and keeping the roof free from debris are crucial for maintaining the integrity of your tarred roof.
If you’re unsure about any aspect of tar application or dealing with more extensive repairs, it’s always best to consult with a professional roofing contractor. They can provide expert advice and ensure that your tarred roof remains in excellent condition for years to come.
With proper preparation, application, and maintenance, tar can be an effective way to protect and preserve your roof, providing you with peace of mind and the assurance of a secure and reliable shelter for your home.
Now that you've mastered tar roofing, why not tackle some common flat roof challenges? Our guide on repairing bubbles or tears provides practical advice, ensuring your roofing skills are well-rounded. Perfect for those inevitable repairs, this article offers straightforward solutions that keep your roof in top condition.
Frequently Asked Questions about How To Tar A Roof
Was this page helpful?
At Storables.com, we guarantee accurate and reliable information. Our content, validated by Expert Board Contributors, is crafted following stringent Editorial Policies. We're committed to providing you with well-researched, expert-backed insights for all your informational needs.


0 thoughts on “How To Tar A Roof”