Home>Ideas and Tips>DIY Guide To Installing A Pedestal Sink
Ideas and Tips
DIY Guide To Installing A Pedestal Sink
Modified: October 27, 2024
Learn how to install a pedestal sink with our step-by-step DIY guide. Enhance your bathroom's elegance and functionality with these expert tips and tricks.
(Many of the links in this article redirect to a specific reviewed product. Your purchase of these products through affiliate links helps to generate commission for Storables.com, at no extra cost. Learn more)
Installing a pedestal sink can be a challenging but rewarding DIY project, especially if you're looking to enhance the elegance and functionality of your bathroom. Pedestal sinks are perfect for small bathrooms or powder rooms where a traditional vanity would overwhelm the space. However, they require careful planning and precise measurements to ensure a successful installation. In this guide, we will walk you through the steps involved in installing a pedestal sink, highlighting the challenges and tips to make the process smoother.
Before You Start
Understanding Pedestal Sinks
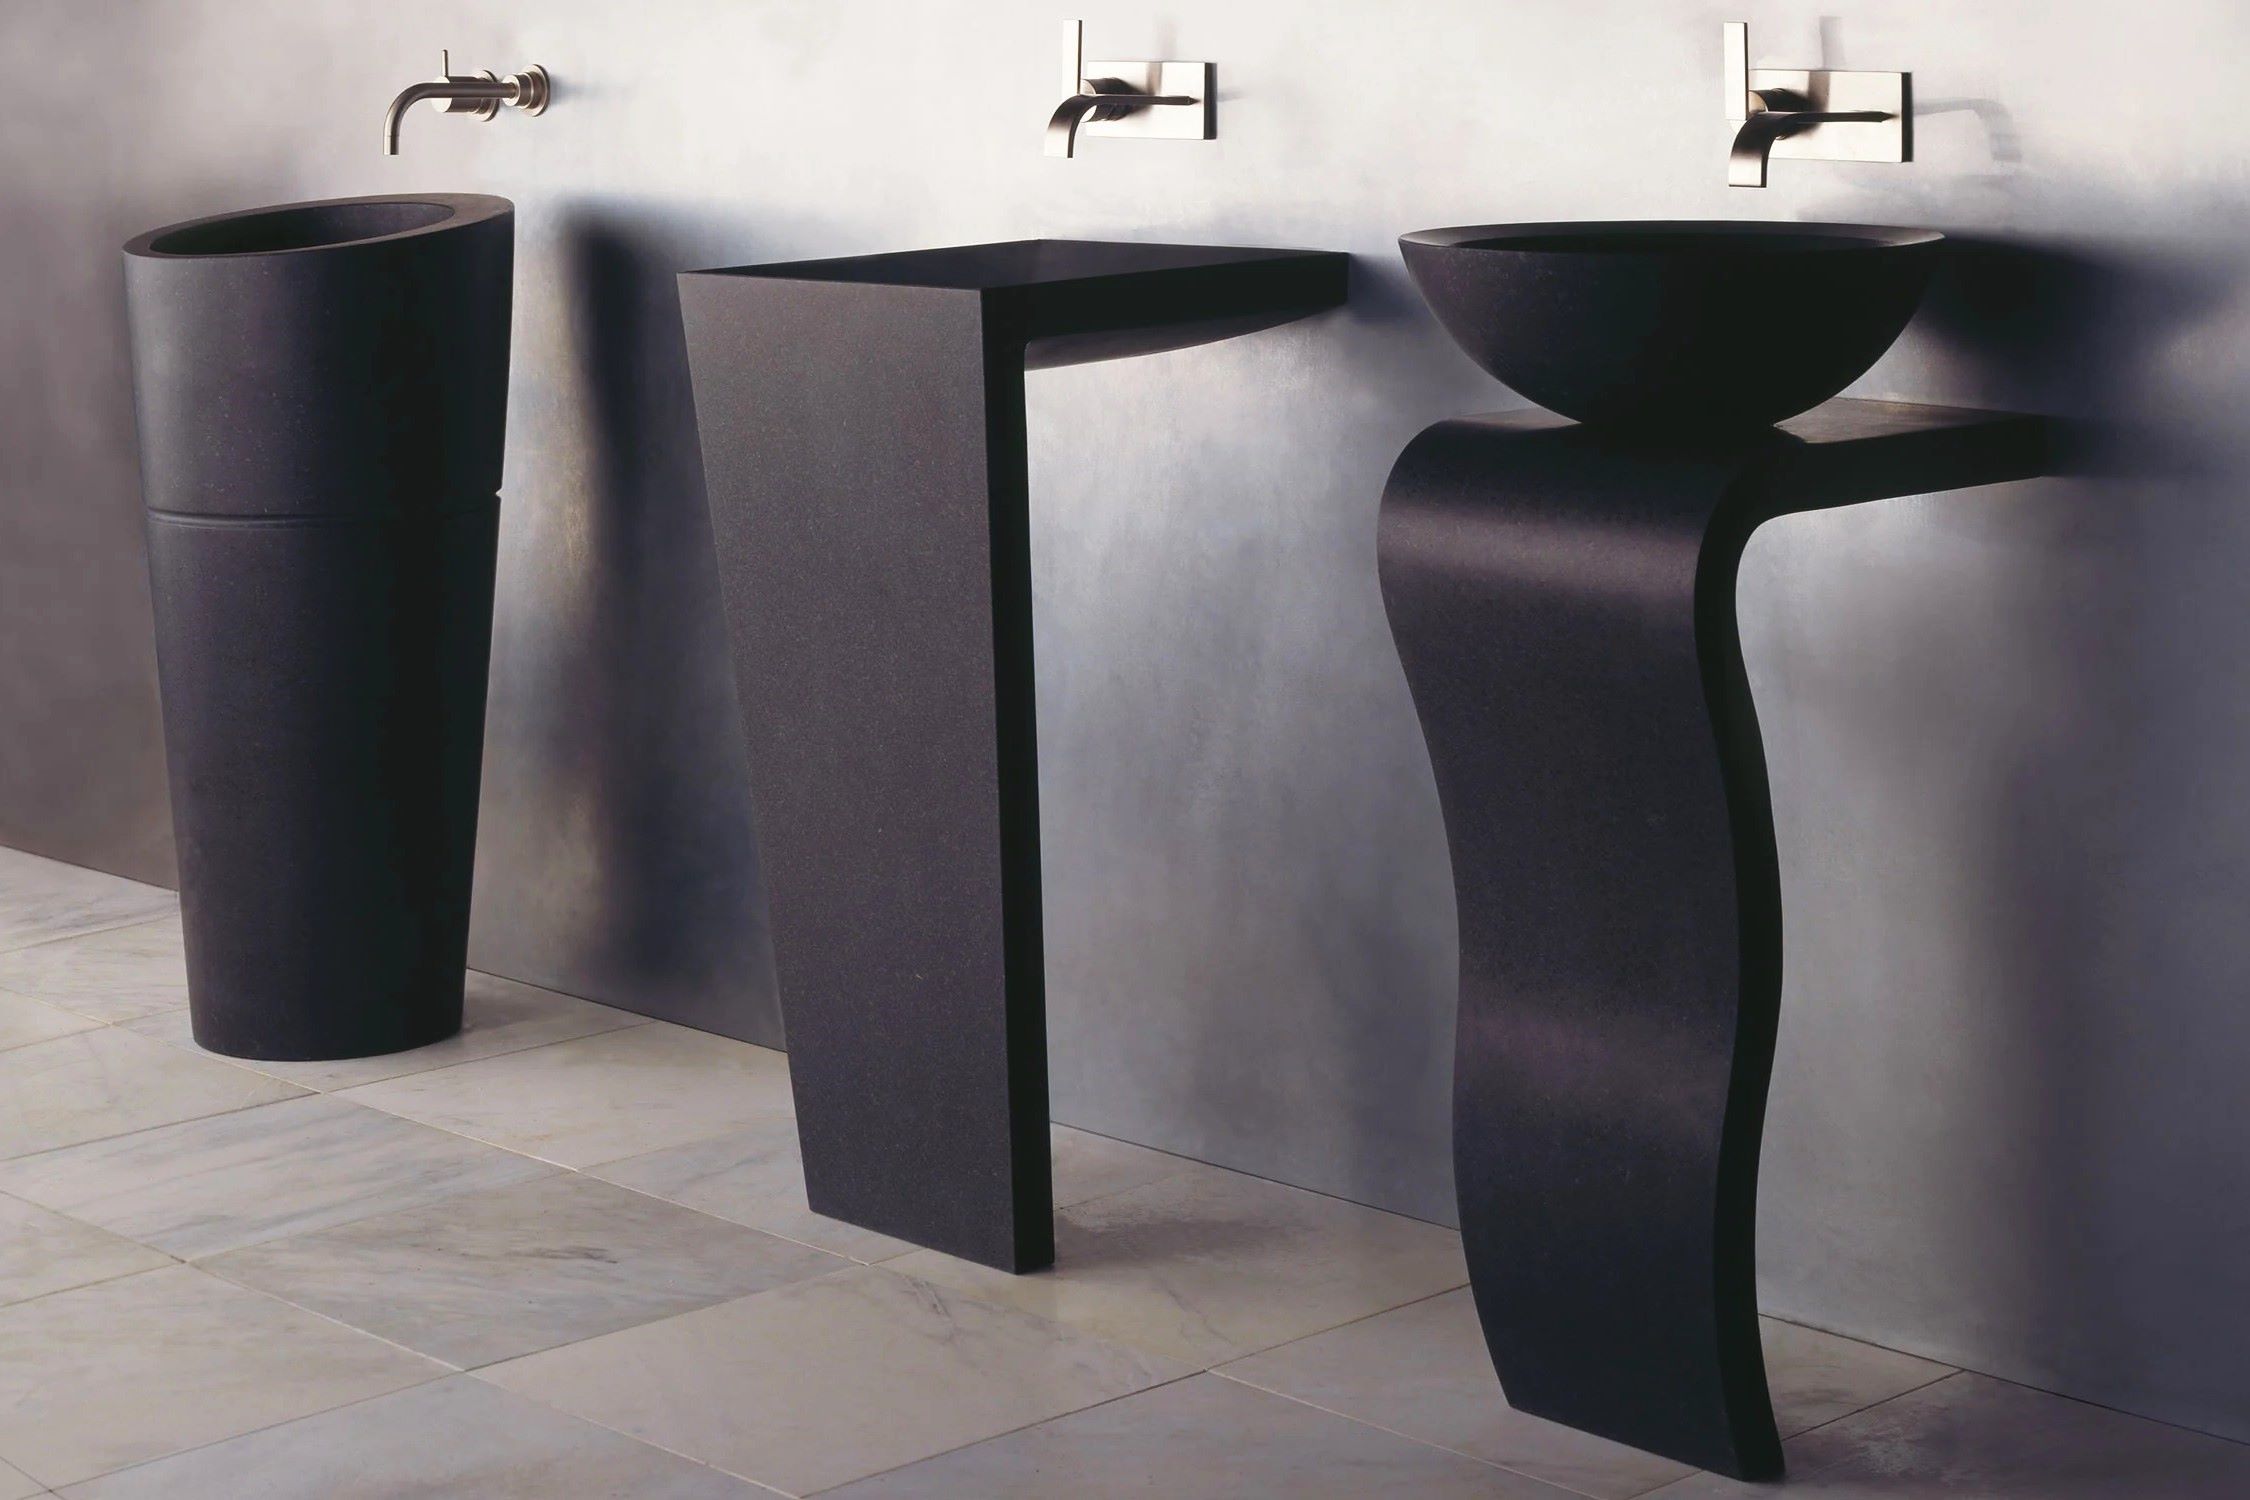
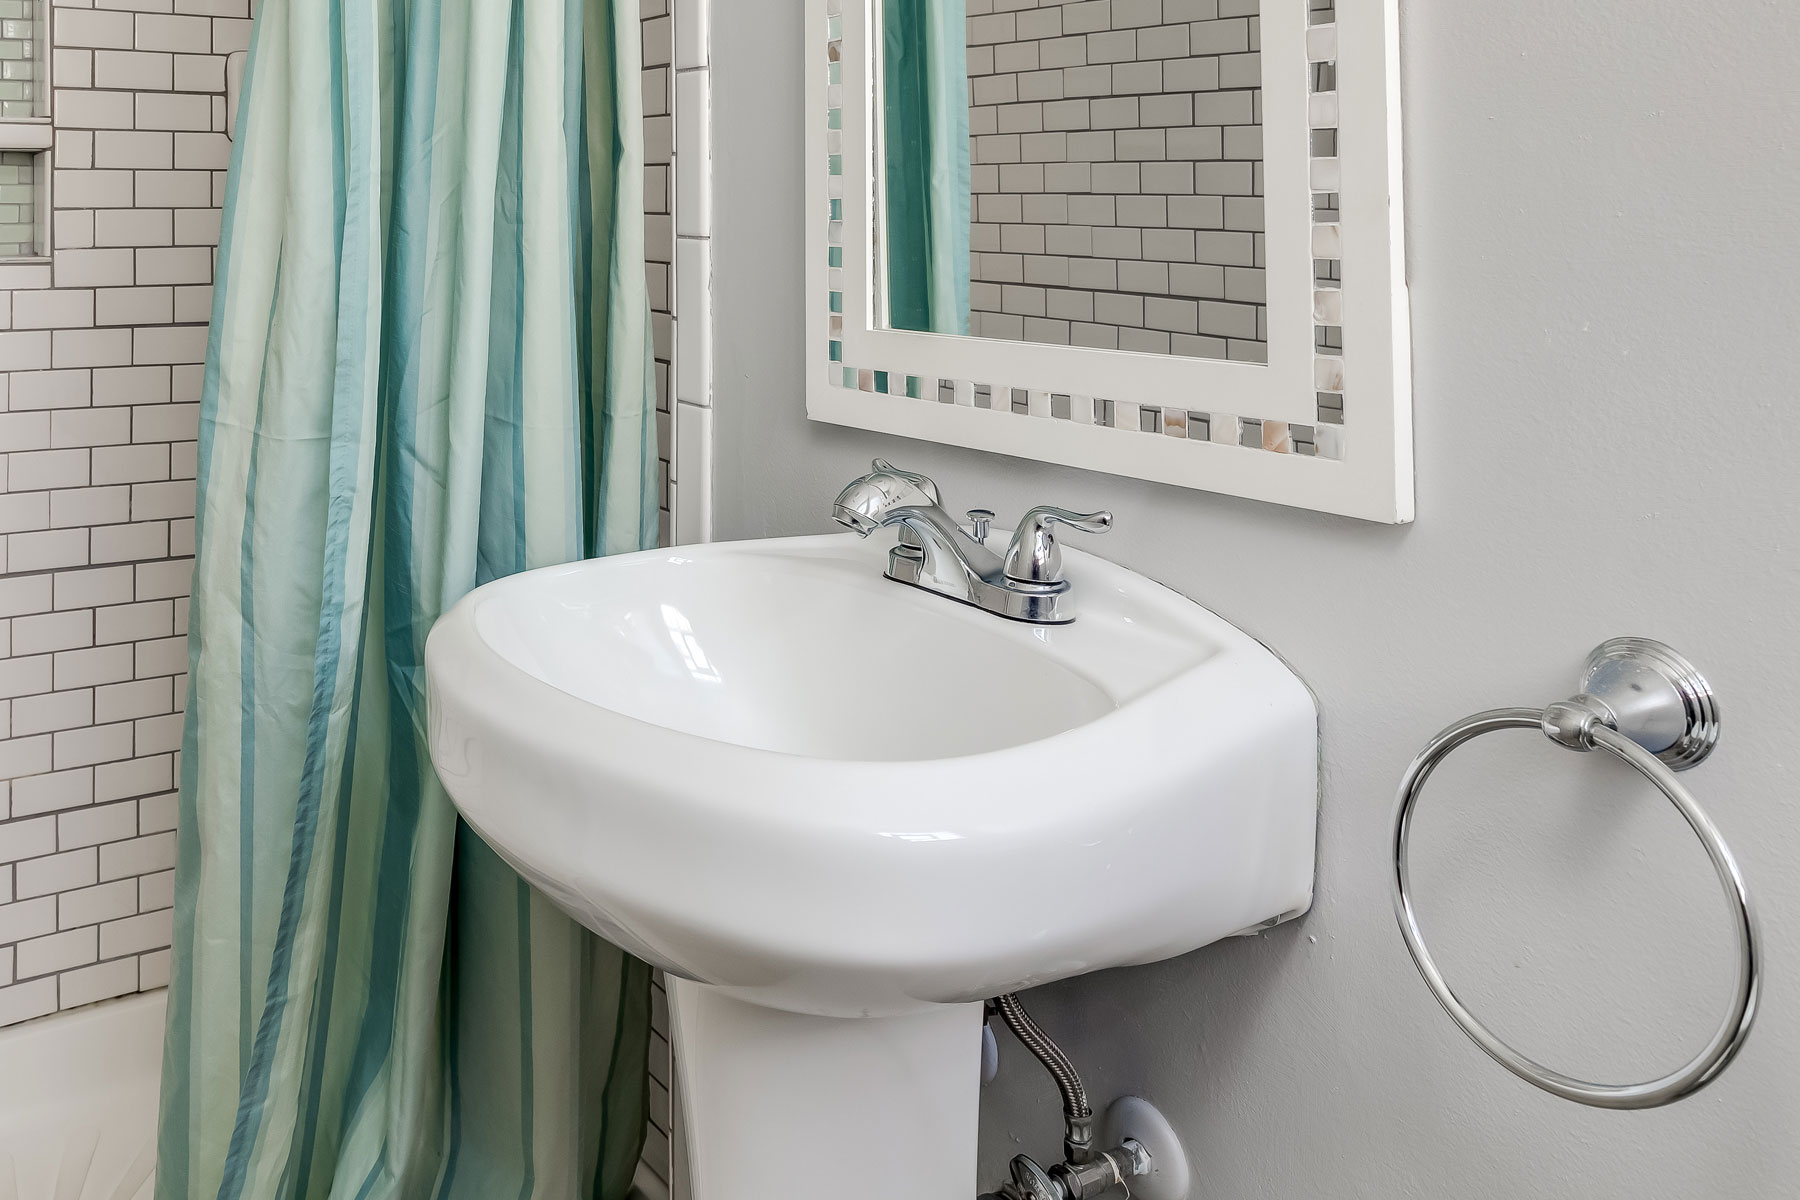
Pedestal sinks come in two pieces: the stand (or pedestal) and the sink itself. The plumbing either fits inside the pedestal, which is secured to the floor, or it’s slightly visible behind the sink. The sink is mounted to the wall and rests on the pedestal stand. Pedestal sinks are available in various styles to match different decor, but they often lack storage space, which can be a consideration when deciding whether to replace a bathroom vanity with a pedestal sink.
Assessing Your Space
Before you begin, it’s crucial to assess your bathroom space. Pedestal sinks are ideal for small bathrooms or powder rooms where space is limited. However, they do require some floor space for the pedestal and wall space for mounting. Ensure that you have enough room for both the sink and the pedestal without overcrowding the area.
Tools and Materials Needed
To install a pedestal sink, you will need the following tools and materials:
-
Tools:
- Stud finder
- Drill with bits
- Wrenches (adjustable and fixed)
- Socket wrench
- Level
- Measuring tape
- Pencil and marker
- Safety glasses
- Work light (if necessary)
- Hanger bolts
- Lag bolt and washer
- Compression nuts and ferrules
- Silicone caulk
- Putty knife
- Drywall repair kit (if needed)
-
Materials:
- Pedestal sink
- Faucet and drain assembly
- Water supply lines
- P-trap assembly
- Decorative chrome sleeve (if applicable)
- Plastic shims (for leveling)
- Drywall (if necessary)
- Joint compound (for drywall repair)
- Paint (to match the wall color)
Preparing Your Bathroom
Turning Off the Water Supply
The first step in any plumbing project is to turn off the water supply. Locate the shut-off valves under the sink and turn them clockwise to shut off the water supply. Place a bucket under the pipes to catch any excess water that may still be in the lines.
Removing the Old Vanity
If you’re replacing an old vanity with a pedestal sink, you’ll need to remove the old vanity. Start by turning off the water supply and then open the faucet to relieve pressure in the lines. Loosen the nuts holding the drain pipes and disconnect the water lines from the valves. Cut the sealant along the backsplash and remove it. If your vanity is secured to the wall, use a putty knife to separate the top from the vanity and then lift it off and remove the screws holding it in place.
Repairing Plumbing
With the old vanity out of the way, you can make any necessary plumbing repairs. This may include moving supply lines and drain pipes. Consider installing new plumbing if it will be visible, as this can enhance the aesthetic appeal of your bathroom. Some pedestal sinks require a support board behind the finished wall for extra strength. To install this, mark the sink height on the wall, cut out part of the wallboard and studs, and install the support board with screws. Then repair the wall surface by patching any holes with drywall and taping it with joint compound. Sand the surface until smooth and paint it to match your wall color.
Installing the Pedestal Sink
Step 1: Marking the Wall and Floor
Use a stud finder to locate the wall studs where you’ll fit the mounting brace. Mark the height of the support recommended by the manufacturer’s instructions. Carefully cut a hole in the wall based on your measurements, ensuring you don’t cut any electrical or plumbing fixtures. Cut a piece of 2×6 board to the length of the recommended support and notch it out to fit snugly inside the studs. Screw the brace into place using screws provided with your pedestal sink.
Step 2: Drilling Holes for Hanger Bolts
Mark the centerline on both the wall and floor where you want to install your pedestal sink. Make a mark 10 inches from the wall to account for any baseboards. Position the pedestal on this mark and set it tight against the wall, checking for level and adjusting as needed. Mark the anchor holes on both the wall and floor where you’ll drill later.
Step 3: Drilling Holes
Move the sink and pedestal aside and drill three holes for hanger bolts in both locations (wall and floor). Install hanger bolts in the wall, leaving about an inch extending from each side. Securely attach these bolts to ensure they are level.
Step 4: Securing Pedestal to Floor
Use a lag bolt and washer to secure the pedestal to the floor. Be careful not to overtighten, as this can crack porcelain.
Step 5: Attaching Faucet and Drain
Attach your faucet and drain assembly before placing the sink bowl in position. Insert pieces of the faucet into their respective holes in the sink basin, thread provided gaskets onto underside fittings, and tighten by hand. Add handles according to manufacturer’s instructions.
Step 6: Positioning Sink Bowl
Position the sink bowl over hanger bolts, ensuring it’s level. Secure it with cap nuts and washers provided with your installation kit. Again, avoid overtightening to prevent damage.
Step 7: Connecting Plumbing
Reconnect drain pipes and water supply lines according to manufacturer’s guidelines. Ensure all connections are secure but not over-tightened. Test valves by opening one faucet valve while checking for leaks at all supply connections between wall and faucet valves.
Step 8: Sealing Edges
Apply silicone caulk around edges where sink meets wall and pedestal. This provides a finished look while preventing water from seeping behind the sink. Touch up any visible sealant or caulk if necessary. Clean the sink thoroughly to remove any leftover adhesive or residue.
Final Touches
Testing for Leaks
Before considering your job complete, test all valves thoroughly for leaks. Make sure faucet valves are closed, turn main water supply back on, remove spout’s aerator and filter, stand aside while partially opening one faucet valve at a time until clear air/debris flows out. Repeat process with second valve then reattach aerator/filter.
Adjusting Level
Ensure sink remains level throughout installation process; use plastic shims if necessary for final adjustments before securing everything firmly place.
Conclusion
Installing a pedestal sink is indeed a challenging DIY project but one that can significantly enhance both aesthetics and functionality within your bathroom space By following these steps carefully measuring handling porcelain with care taking time with plumbing connections having assistant nearby call licensed plumber if needed you’ll achieve best results possible remember measure measure measure avoid relying solely manufacturer’s instruction sheet good luck happy renovating!
Additional Tips & Considerations
-
Plumbing Visibility: If hiding plumbing completely is a priority purchase pedestal sink stand designed hide plumbing otherwise choose aesthetically pleasing parts e.g., metal pipes over PVC.
-
Support Boards: Some pedestal sinks require support boards behind finished walls extra strength ensure proper installation.
-
Wall Repair: If cutting holes wallboard necessary patch holes using drywall repair kit sand smooth paint match wall color.
-
Plumbing Repairs: Consider installing new plumbing visible areas enhance aesthetic appeal bathroom space.
By following this comprehensive guide you’ll be well-equipped tackle installation process confidently achieve beautiful functional bathroom space
Was this page helpful?
At Storables.com, we guarantee accurate and reliable information. Our content, validated by Expert Board Contributors, is crafted following stringent Editorial Policies. We're committed to providing you with well-researched, expert-backed insights for all your informational needs.


0 thoughts on “DIY Guide To Installing A Pedestal Sink”