Articles
How To Replace Plumbing In Old House
Modified: October 19, 2024
Discover effective tips and step-by-step guides on replacing plumbing in an old house with our informative articles. Take control of your home's plumbing system and ensure it's functioning flawlessly!
(Many of the links in this article redirect to a specific reviewed product. Your purchase of these products through affiliate links helps to generate commission for Storables.com, at no extra cost. Learn more)
Introduction
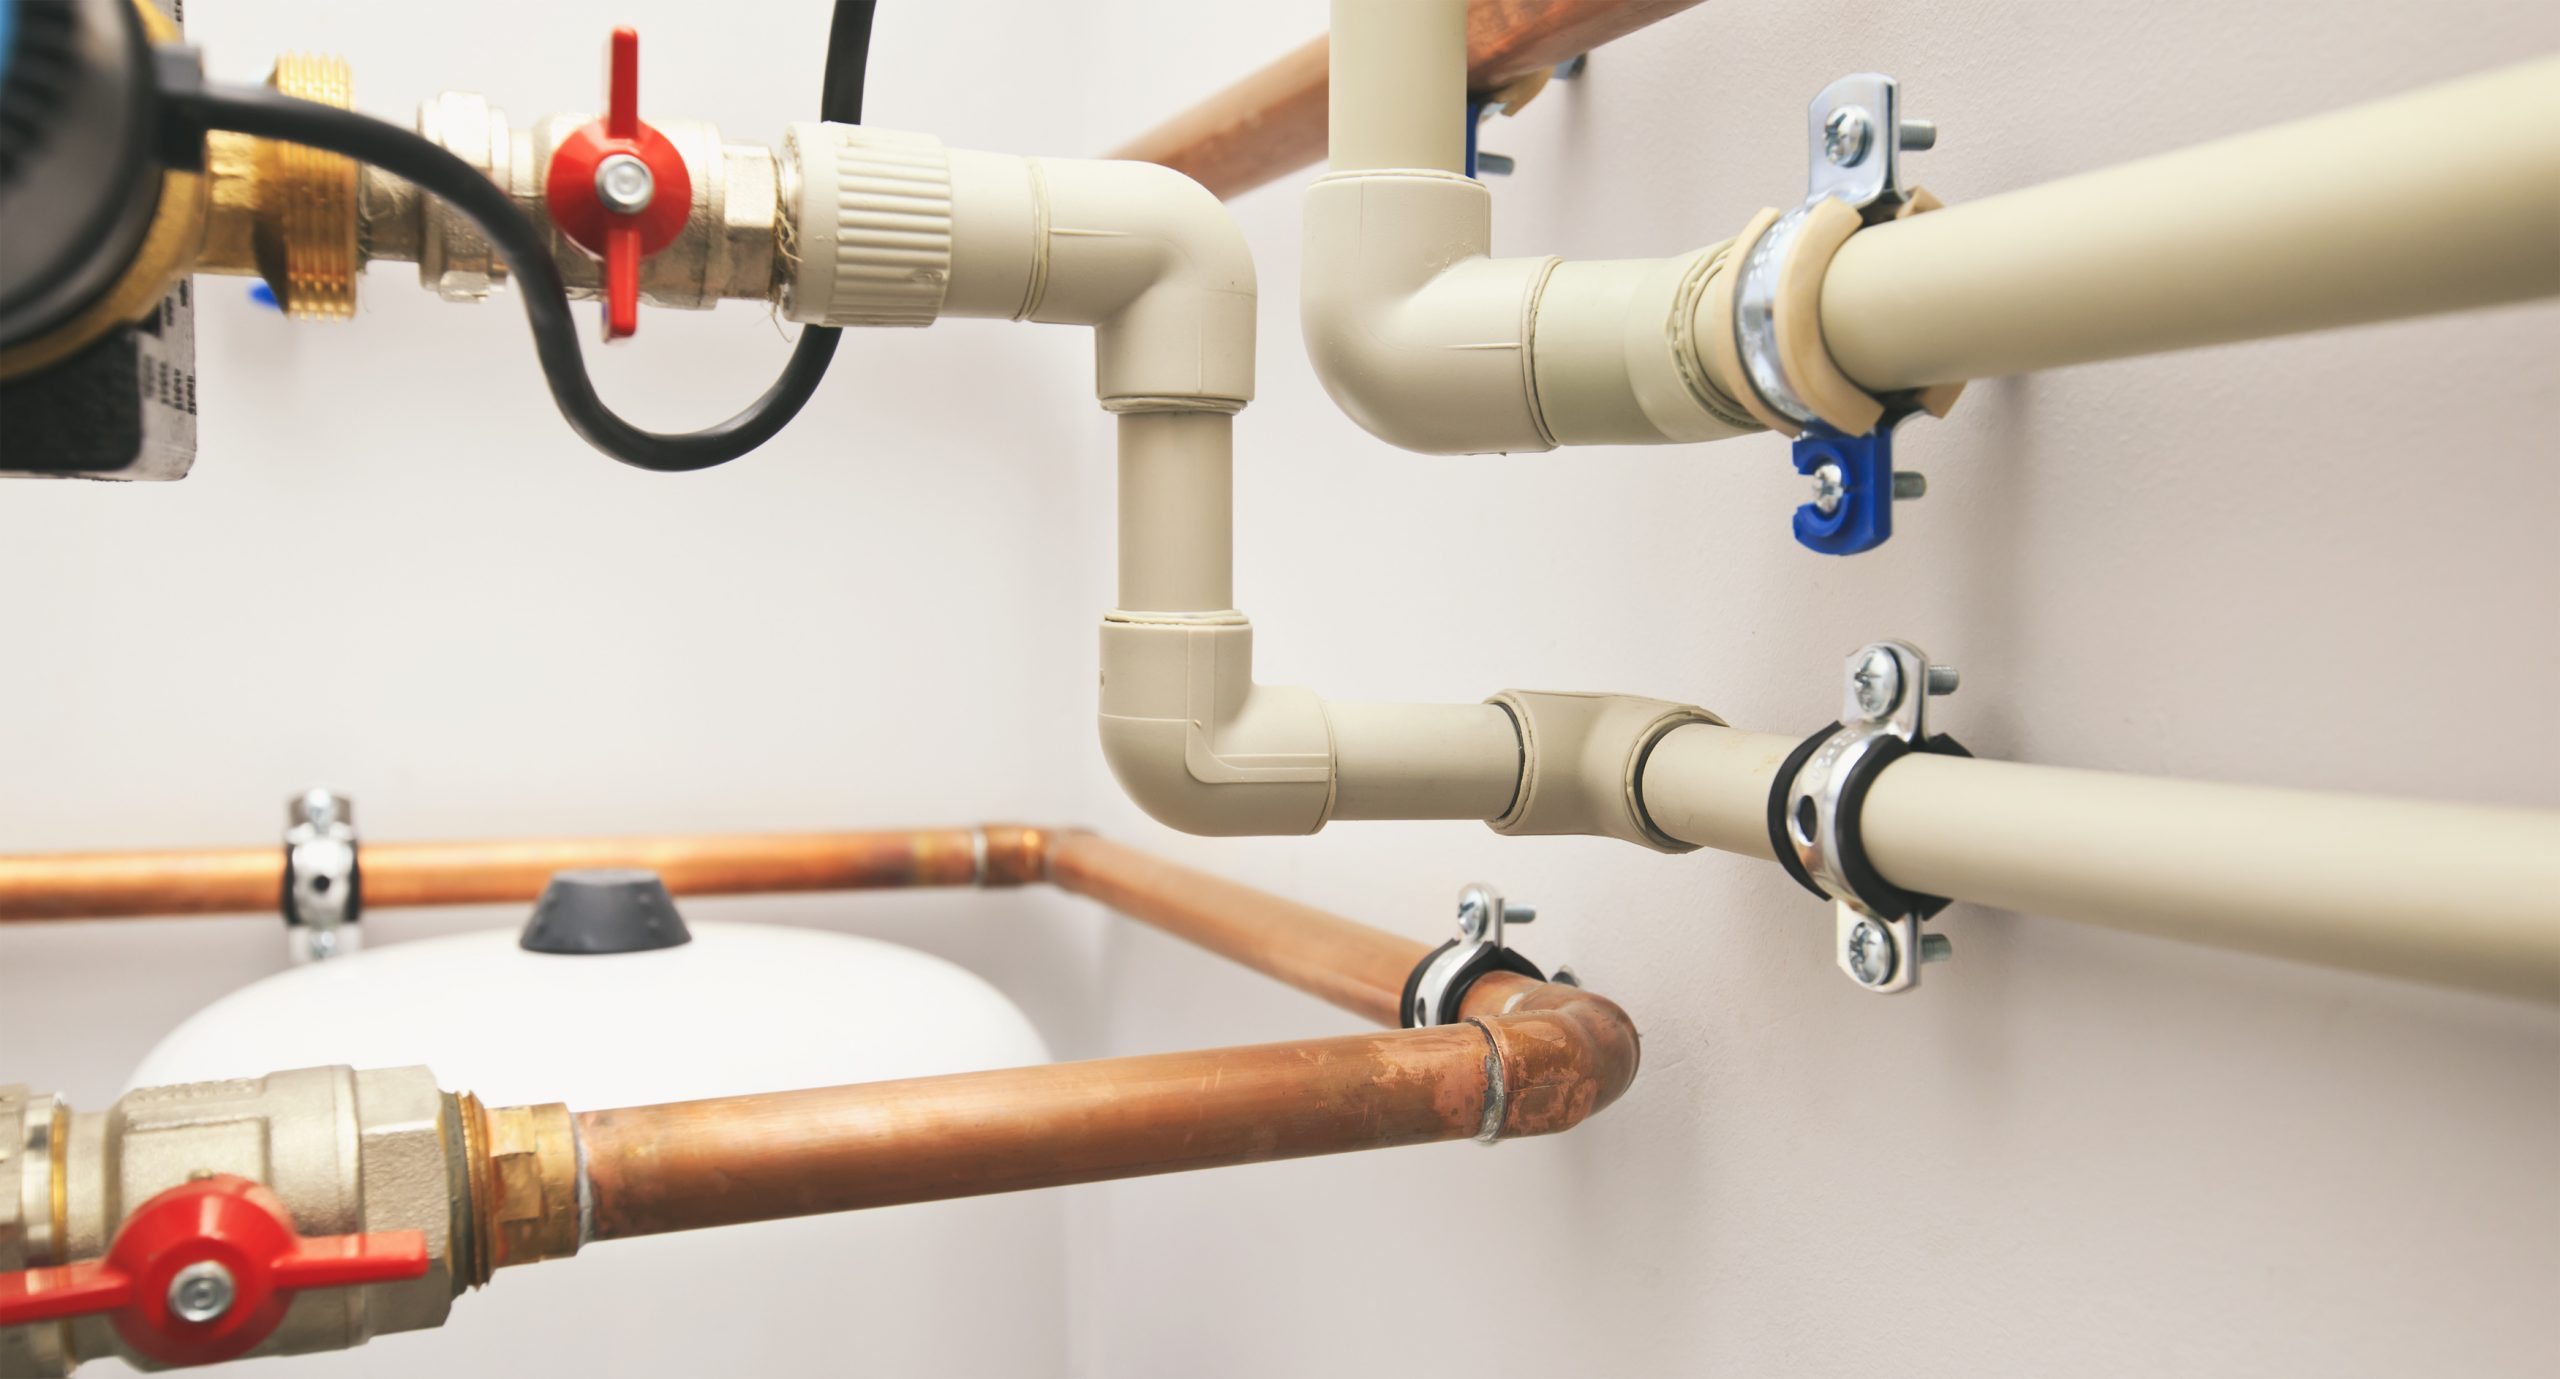
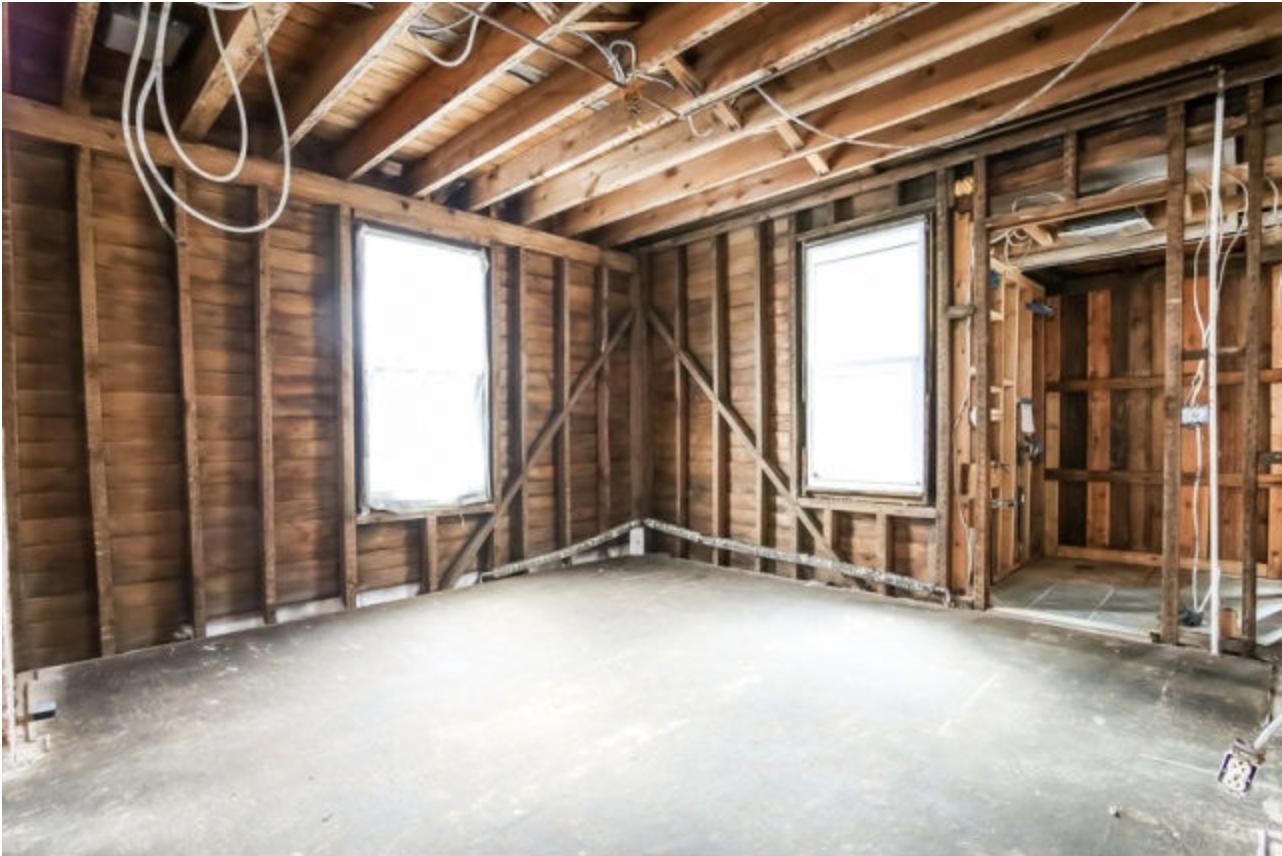
Plumbing is an essential component of any house, ensuring the flow of water and proper disposal of waste. However, in older homes, the plumbing system may have deteriorated over time, leading to leaks, low water pressure, or even potential health hazards. It becomes necessary to replace the plumbing system in an old house to ensure the safety and functionality of the water supply.
Undertaking a plumbing replacement project in an old house requires careful planning and preparation. It involves assessing the existing plumbing system, gathering the necessary tools and supplies, removing the old plumbing, and installing new pipes and fittings. Additionally, connecting fixtures and appliances and testing the new plumbing system is crucial to ensure it functions as intended.
In this article, we will guide you through the steps of replacing plumbing in an old house, offering valuable tips along the way. By following these instructions and taking necessary precautions, you can successfully update your plumbing system and restore it to optimal working condition.
Before you start the project, it is important to be aware of the potential challenges you may encounter. Older houses often have different plumbing configurations, outdated materials, and potential structural limitations. Therefore, it is crucial to thoroughly assess the existing plumbing system to determine the extent of the replacement and plan accordingly.
Additionally, consider the water needs of your household before proceeding. Take into account the number of bathrooms, kitchen fixtures, and any other appliances that rely on the plumbing system. This will help you determine the required size and capacity of the new plumbing system.
Now, let’s dive into the details of each step involved in replacing the plumbing in an old house. By following this guide, you will not only improve the functionality and reliability of your water supply but also ensure the safety and longevity of your home.
Key Takeaways:
- Upgrading the plumbing in an old house requires meticulous planning, proper tools, and thorough assessment of the existing system. By following expert tips and taking necessary precautions, you can successfully update your home’s plumbing for improved functionality and safety.
- When replacing plumbing in an old house, it’s essential to shut off the water supply, remove old pipes carefully, and test the new system thoroughly. Consider hiring a professional plumber for complex tasks and prioritize regular maintenance to ensure the longevity of your updated plumbing system.
Assessing the Plumbing System
Before embarking on a plumbing replacement project, it is crucial to assess the existing plumbing system in your old house. This step will help you determine the condition of the pipes, identify any potential issues, and plan for the necessary replacements.
Start by locating the main water shut-off valve, as well as individual shut-off valves for different sections of the plumbing system. Familiarize yourself with the layout of the pipes throughout the house, including the supply lines and drain lines.
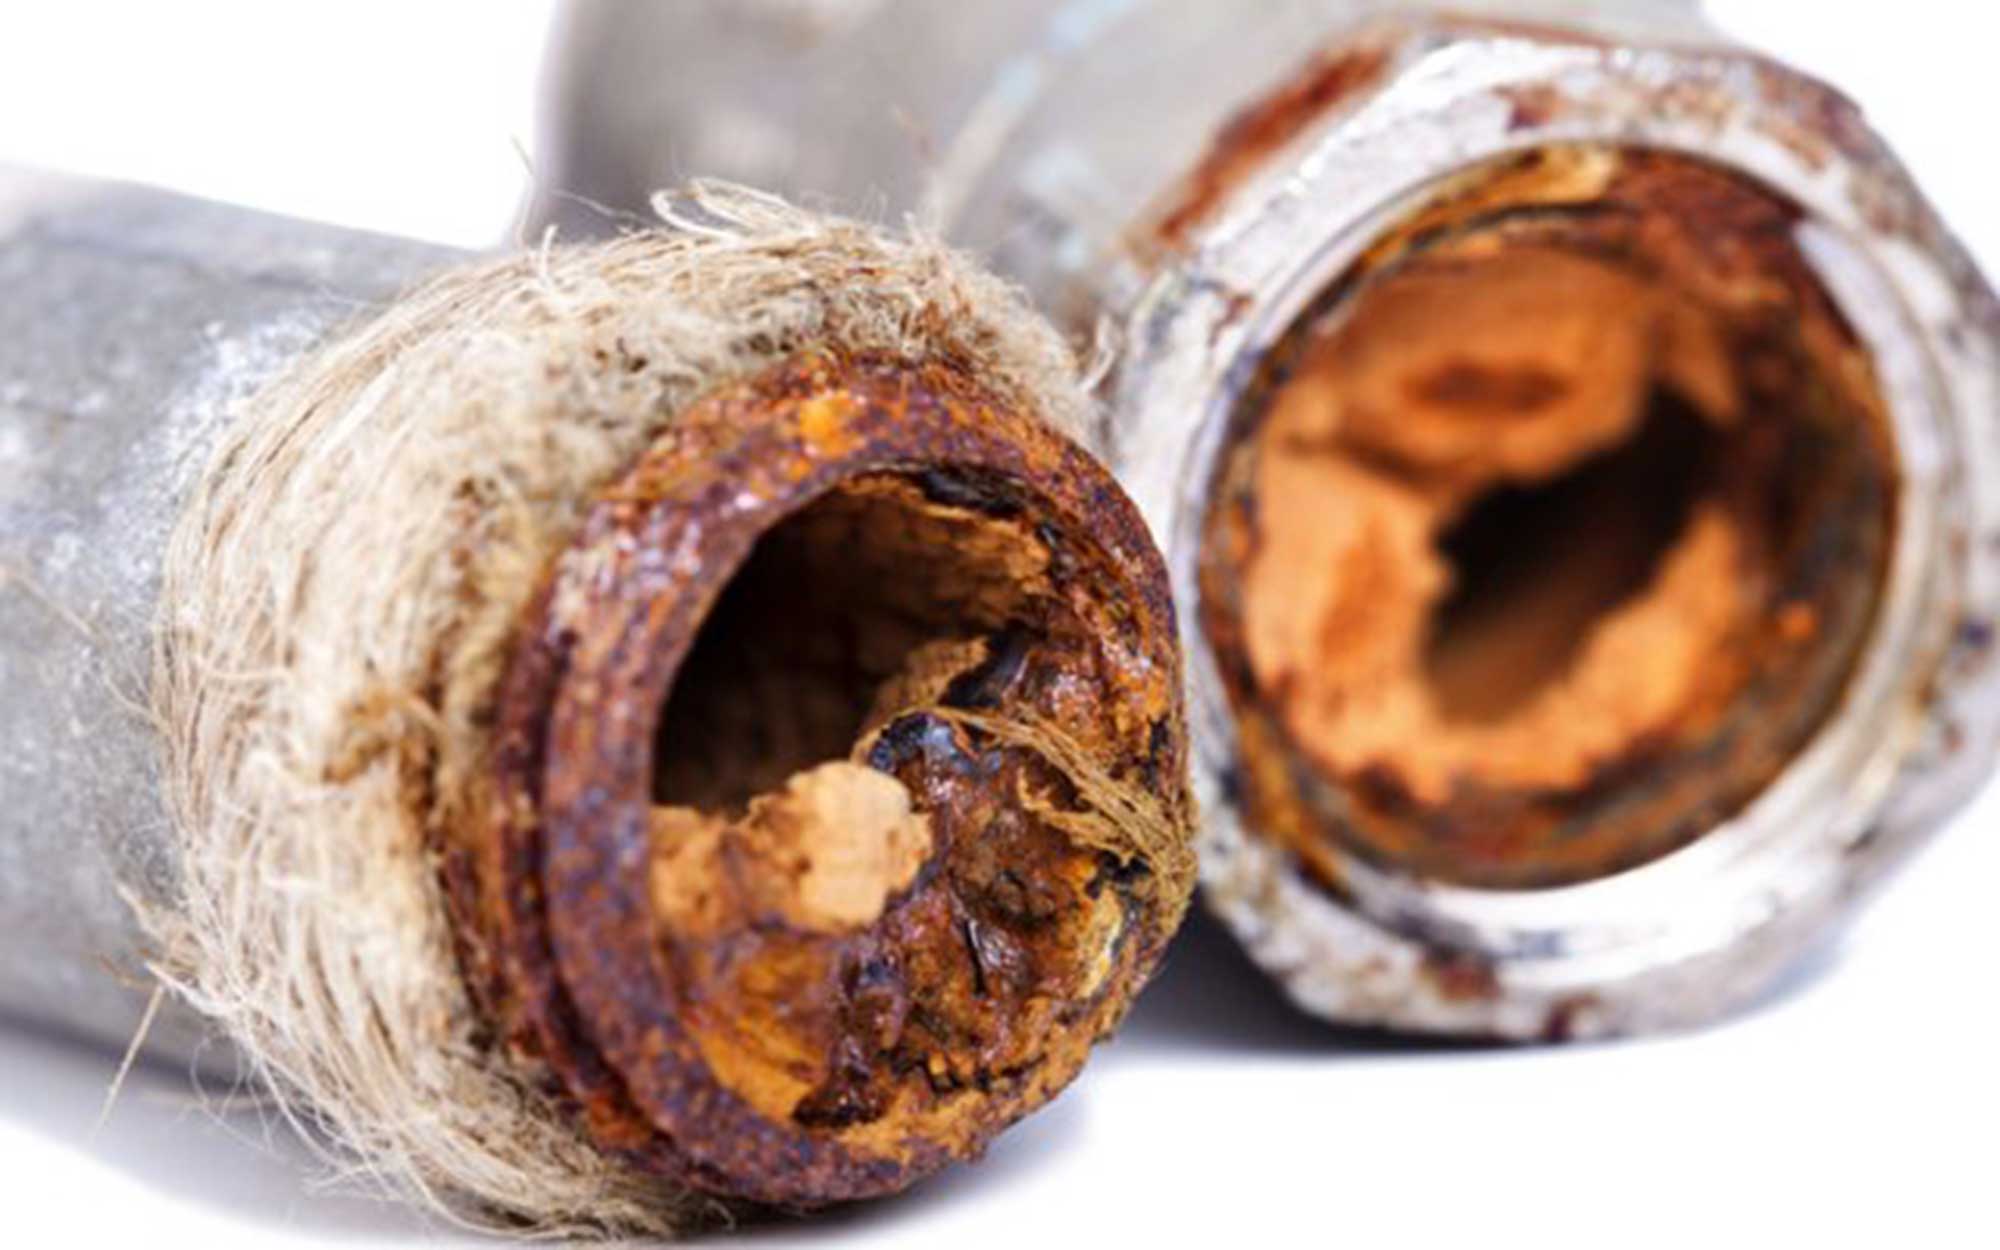
Inspect the visible pipes for signs of deterioration, such as corrosion, leaks, or mineral deposits. Look for any bulges or discoloration that could indicate weakened pipes. Additionally, check for uneven water pressure or slow drains, as these may point to clogged or damaged pipes.
You may consider hiring a professional plumber to perform a thorough inspection of your plumbing system. They can use specialized tools, such as a drain camera or leak detection equipment, to identify hidden issues that may not be apparent to the naked eye.
Determine the material of the existing pipes, as older houses may have plumbing systems made of various materials, including galvanized steel, copper, or even lead. Certain materials, such as galvanized steel, are more prone to corrosion and may require immediate replacement.
Evaluate the size and capacity of the existing pipes to ensure they are adequate for your water needs. Older homes may have smaller pipes that restrict water flow and pressure. Upgrading to larger pipes can improve overall performance and prevent issues like low water pressure.
Consider the location of the plumbing system in relation to other areas of the house, such as walls, floors, and ceilings. Assess any potential structural limitations that may impact the installation of new pipes or cause damage during the replacement process.
Based on the assessment of your plumbing system, create a detailed plan for the replacement project. Determine the areas that require immediate attention and prioritize the order of replacement. This will help you stay organized and ensure a smooth transition to the new plumbing system.
Remember, the assessment stage is crucial for the success of your plumbing replacement project. Taking the time to thoroughly evaluate the existing system will save you from unexpected surprises and ensure that you address all necessary repairs and replacements.
Gathering Necessary Tools and Supplies
Once you have assessed the plumbing system in your old house and created a plan for the replacement project, the next step is to gather the necessary tools and supplies. Having the right equipment on hand will make the process smoother and more efficient.
Here are some essential tools and supplies you will need for replacing the plumbing in an old house:
1. Pipe Cutters: These will be used to cut through the old pipes, allowing for their removal.
2. Adjustable Wrenches: These versatile tools are essential for loosening and tightening nuts and bolts. Invest in a good-quality set of adjustable wrenches in various sizes.
3. Pliers: Both needle-nose and tongue-and-groove pliers will come in handy for gripping, twisting, and holding pipes and fittings.
4. Hacksaw: This will be used along with a metal-cutting blade to saw through metal pipes and fittings.
5. Pipe Wrenches: These heavy-duty wrenches are designed to grip and turn pipes. They are particularly useful for removing threaded pipes.
6. Teflon Tape: This plumber’s tape is used to create a tight seal between threaded connections, preventing leaks.
7. PVC Cement and Primer: If you are working with PVC pipes, you will need PVC cement and primer to create secure and watertight connections.
8. Pipe Fittings and Connectors: Make sure to purchase the necessary pipes, elbows, tees, and other fittings required for your specific plumbing layout. Measure and plan accordingly to ensure a proper fit.
9. Pipe Insulation: Insulating the pipes in your new plumbing system can help prevent heat loss, reduce condensation, and protect against freezing in colder climates.
10. Safety Equipment: Don’t forget to prioritize safety by wearing protective gear such as gloves, safety goggles, and a mask to protect against dust and debris.
Before starting the project, double-check your inventory to ensure that you have all the required tools and supplies. If you are uncertain about any specific items, consult with a plumber or a knowledgeable expert to ensure you have everything you need.
Having all the necessary tools and supplies ready will save you time and frustration during the replacement process. It’s better to be prepared and have everything on hand rather than having to make multiple trips to the hardware store in the middle of the project.
Now that you have gathered all the essential tools and supplies, it’s time to move on to the next step: shutting off the water supply in your old house.
Shutting Off Water Supply
Before you can begin removing the old plumbing in your old house, it is crucial to shut off the water supply. Shutting off the water will prevent any further water flow and reduce the risk of leaks or water damage during the replacement process.
Follow these steps to safely shut off the water supply:
1. Locate the Main Water Shut-Off Valve: The main shut-off valve is typically located near the water meter or where the main water line enters your house. It is usually found in the basement, crawl space, utility closet, or near the water heater. The valve may be a round wheel or lever-type handle.
2. Turn Off the Main Water Supply: Turn the main shut-off valve clockwise (to the right) to shut off the water supply to the entire house. If the valve is a lever-type handle, switch it to the off position. Ensure that the valve is completely closed.
3. Drain the Remaining Water: After shutting off the main valve, open faucets, showers, and flush toilets to drain any remaining water from the plumbing system. This will help relieve pressure and minimize water mess during the replacement process.
4. Check for Water Flow: Verify that the water supply is successfully shut off by testing faucets and fixtures throughout the house. If water continues to flow, there may be additional shut-off valves for individual sections of the plumbing system that need to be closed.
In addition to shutting off the main water supply, it is also important to turn off the water heater if it is connected to the plumbing system. This will prevent the heating element from burning out when there is no water supply.
Remember, shutting off the water supply is a critical step to ensure your safety and minimize potential water damage during the plumbing replacement. Take the time to locate and turn off all necessary shut-off valves before proceeding with the project.
Once the water supply is shut off, you can move on to the next step in replacing the plumbing: removing the old pipes and fittings.
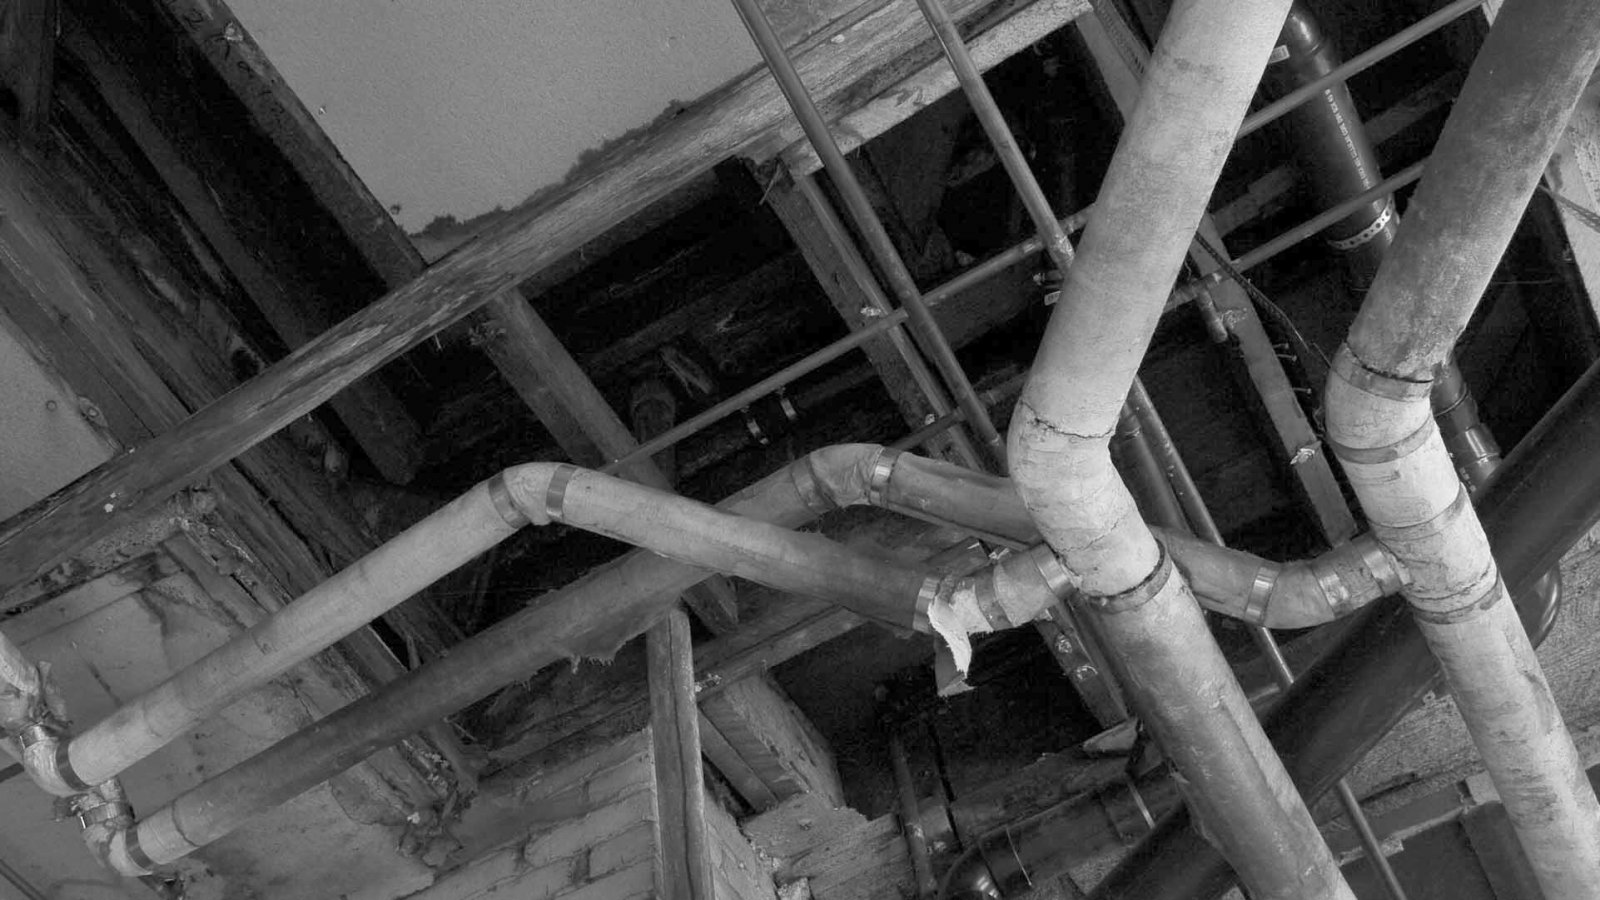
Removing Old Plumbing
With the water supply shut off, it’s time to start removing the old plumbing in your old house. Removing the old pipes and fittings requires careful attention and the use of proper tools. Here’s a step-by-step guide to help you through the process:
1. Clear the Work Area: Before you begin removing the old plumbing, make sure to clear the area around the pipes and fixtures. Remove any obstacles or objects that may hinder your progress.
2. Work Systematically: Start with one section of the plumbing system at a time, such as a bathroom or kitchen. This will help you stay organized and keep track of what needs to be replaced.
3. Start with Disconnecting Fixtures: To remove a fixture, such as a sink or toilet, turn off the water supply to the individual fixture and disconnect the water supply lines using adjustable wrenches or pliers. Remove any mounting hardware, such as screws or bolts, and carefully lift the fixture off.
4. Remove Exposed Pipes: Use pipe cutters or hacksaws to cut through the exposed pipes. Cut close to fittings or elbows to make the removal easier. Be cautious while cutting near walls or floors to avoid damaging the surrounding structures.
5. Loosen Stubborn Fittings: If you encounter fittings that are difficult to remove, apply penetrating oil or lubricant to help loosen them. Use pipe wrenches or pliers to grip the fitting securely and turn it counterclockwise to unscrew it.
6. Dispose of Old Pipes: As you remove the old pipes, gather them and dispose of them safely. If the pipes are made of hazardous materials such as lead, make sure to follow proper disposal methods and regulations.
7. Inspect Surrounding Areas: As you remove the old plumbing, periodically inspect the surrounding areas for any signs of damage or deterioration. This is an opportunity to identify and address any structural issues that may need attention.
8. Clean the Work Area: Once the old plumbing has been removed, clean the work area thoroughly. Remove any debris, old caulking, or adhesive that may interfere with the installation of the new plumbing.
Remember to take necessary precautions while removing old plumbing, such as wearing gloves and safety goggles. If you encounter any challenges or difficulties, don’t hesitate to seek assistance from a professional plumber.
By diligently removing the old plumbing, you are preparing the groundwork for the installation of the new pipes and fittings. In the next step, we will guide you through the process of installing the new plumbing in your old house.
When replacing plumbing in an old house, be sure to check for any outdated materials such as lead pipes, and consider upgrading to more modern and durable options like copper or PEX. Always consult with a professional plumber to ensure the job is done safely and effectively.
Read more: How To Design Plumbing For A House
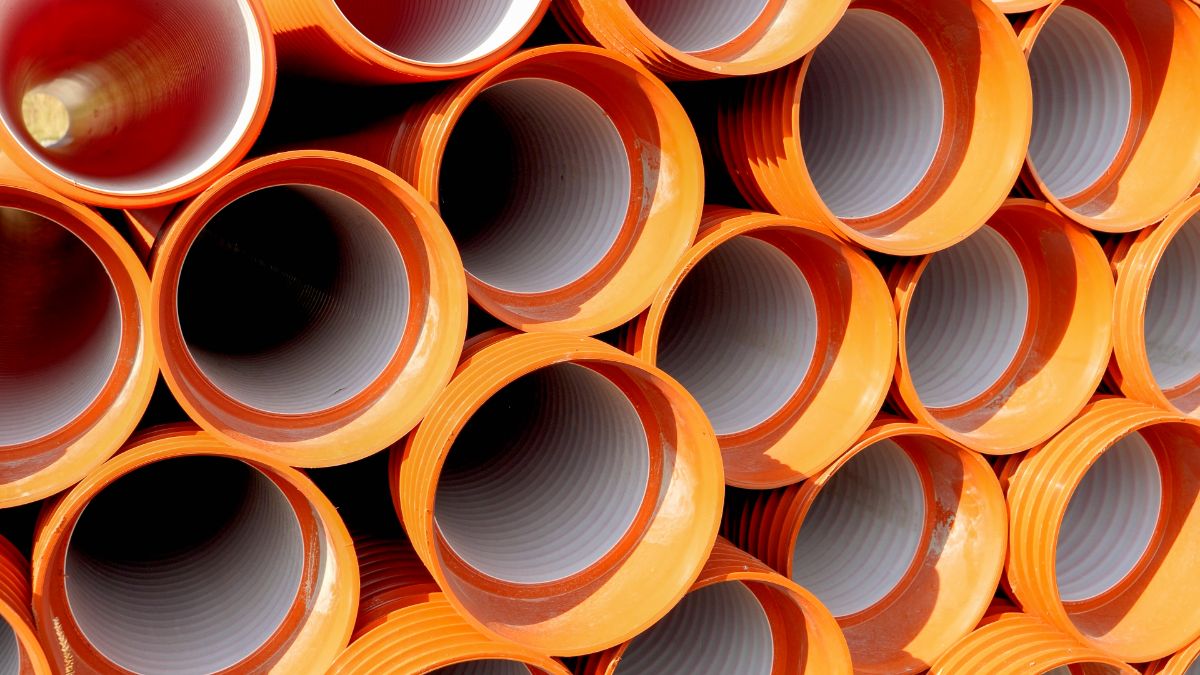
Installing New Pipes and Fittings
Now that you have successfully removed the old plumbing in your old house, it’s time to begin installing the new pipes and fittings. Installing the new plumbing system requires careful planning, precise measurements, and proper techniques. Follow these steps to ensure a successful installation:
1. Measure and Plan: Before purchasing new pipes and fittings, measure the length and diameter requirements for each section of the plumbing system. Consider the layout and configuration of your specific plumbing needs. Create a detailed plan to ensure that you have all the necessary materials and fittings.
2. Cut Pipes: Use pipe cutters or hacksaws to cut the new pipes to the required lengths. Measure twice and cut once to ensure accuracy. Deburr the cut edges with a pipe reamer or file to remove any sharp or uneven edges.
3. Dry-Fit Fittings: Before applying any glue or cement, dry-fit the pipes and fittings together to ensure proper alignment and fit. Make any necessary adjustments and ensure a snug connection without excessive force.
4. Apply Primer and Cement: For PVC or CPVC pipes, apply a layer of primer to the outside of the pipe and the inside of the fitting. Then, apply PVC or CPVC cement to the primer-coated areas. Immediately insert the pipe into the fitting and twist it slightly to create a secure bond. Hold the connection in place for a few seconds to allow the cement to set.
5. Connect Pipes and Fittings: Follow the plumbing layout plan and connect the pipes and fittings accordingly. Use pipe wrenches or pliers to tighten threaded connections securely. Ensure that all connections are properly sealed to prevent leaks.
6. Support Pipes: Properly support the pipes with pipe hangers or clamps to prevent sagging or excessive movement. Consider the material of the pipes and the weight they will be supporting. Adhere to local building codes and regulations for pipe support spacing.
7. Make Angled Connections: For angled connections, such as elbows or tees, ensure they are oriented correctly to the desired direction of the pipe flow. Use Teflon tape on threaded connections to provide an extra layer of sealant.
8. Check for Leaks: After installing each section of the plumbing system, perform a thorough check for leaks. Turn on the water supply and observe for any signs of water seepage or drips. Address any leaks immediately by tightening connections or reapplying cement.
9. Insulate Pipes (Optional): Consider insulating the pipes, especially those in unheated areas or exposed to cold temperatures. Pipe insulation helps prevent heat loss, reduce condensation, and protect against freezing.
With the new pipes and fittings installed, you are one step closer to completing the plumbing replacement project in your old house. The next step is to connect fixtures and appliances to the new plumbing system.
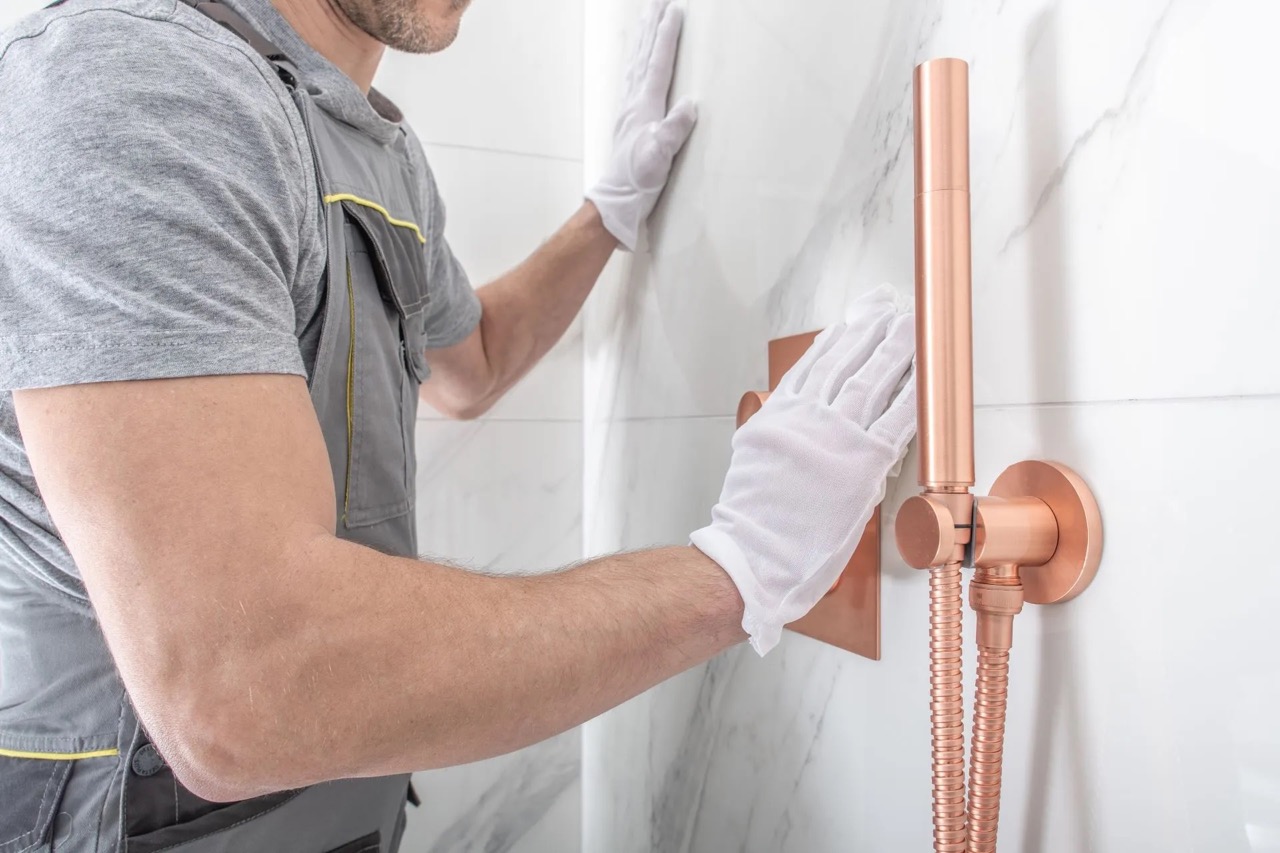
Connecting Fixtures and Appliances
After installing the new pipes and fittings in your old house, the next step is to connect fixtures and appliances to the new plumbing system. This includes sinks, toilets, showers, bathtubs, and any other fixtures that rely on water supply and drainage.
Follow these steps to properly connect fixtures and appliances to the new plumbing system:
1. Shut off Individual Fixture Supply: Before connecting any fixture, make sure to shut off the water supply to the specific fixture. This can usually be done by turning off the shut-off valve located near the fixture.
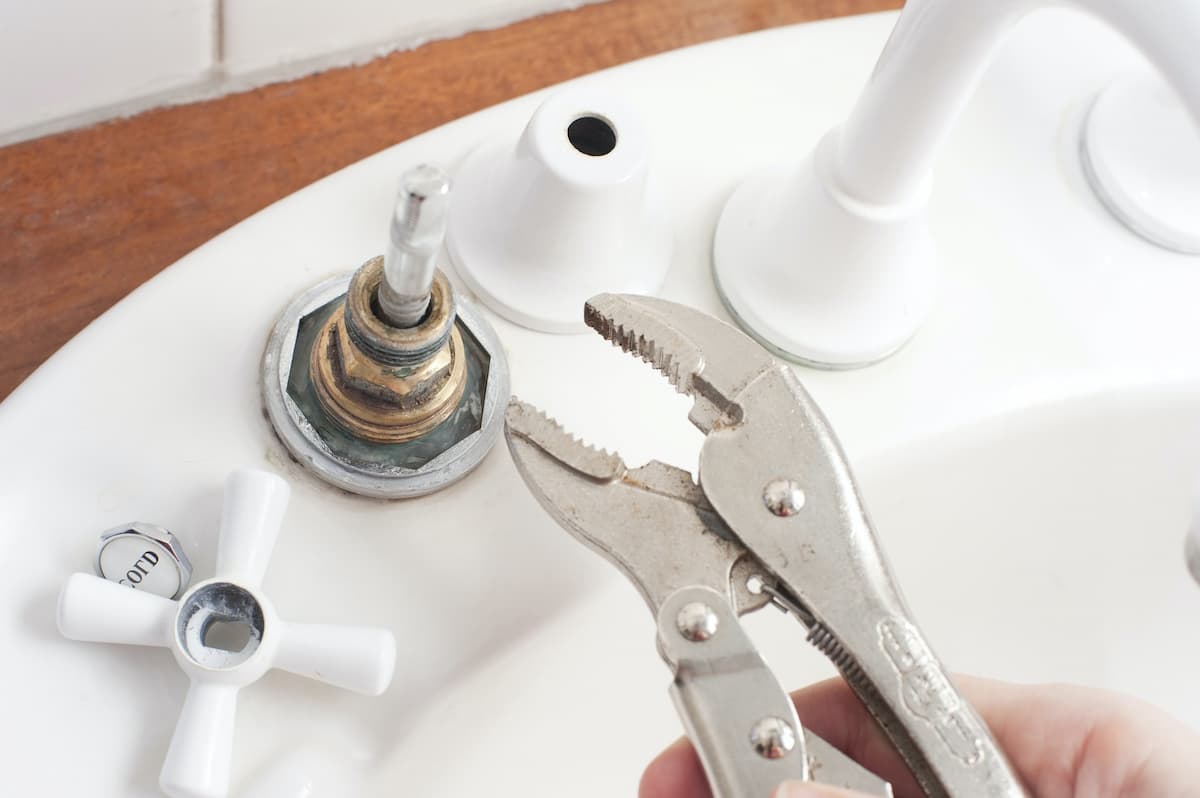
2. Install Faucets and Valves: Start by installing the faucets and valves for sinks, showers, and bathtubs. Follow the manufacturer’s instructions to ensure proper installation. Use Teflon tape on threaded connections to provide a tight seal.
3. Install Drains and Traps: Connect the drain pipes to the corresponding fixture drains. Install P-traps or S-traps to prevent odors from entering the house. Make sure the trap is properly aligned and secured to prevent leaks.
4. Connect Toilet: Install the wax ring or gasket onto the toilet flange and carefully lower the toilet bowl onto it. Secure the toilet to the floor using the provided bolts. Connect the water supply line to the toilet tank, ensuring a secure and watertight connection.
5. Test Fixture Connections: After connecting each fixture, turn on the water supply and check for leaks around the connections. Tighten any loose connections and address leaks immediately.
6. Test Fixture Functionality: Once you have confirmed that the connections are leak-free, test the functionality of each fixture. Check for proper water flow, drainage, and proper flushing of toilets. Adjust any valves or fixtures as needed to ensure optimal performance.
7. Connect Appliances: If your old house has plumbing for appliances such as a dishwasher or washing machine, connect them to the new plumbing system. Follow the manufacturer’s instructions for the proper connection and installation of each appliance.
8. Inspect and Adjust: After connecting all fixtures and appliances, closely inspect the connections for any signs of leaks or abnormalities. Make any necessary adjustments or repairs to ensure everything is working properly.
Remember to follow the manufacturer’s instructions and local building codes when connecting fixtures and appliances to the new plumbing system. If you encounter any difficulties or are unsure about any aspect of the installation, consult a professional plumber for assistance.
With the fixtures and appliances successfully connected, the next step is to test the new plumbing system to ensure its proper functioning.
Testing the New Plumbing System
After completing the installation of the new plumbing system in your old house and connecting all the fixtures and appliances, it is crucial to thoroughly test the system before considering the project complete. This step will help you identify any potential leaks or issues and ensure that the plumbing system is functioning as intended. Follow these steps to test the new plumbing system:
1. Turn on the Water Supply: Start by turning on the main water supply or the individual shut-off valve for the new plumbing system. Slowly open the valve to allow water to flow into the pipes. This initial step will help clear any air from the pipes.
2. Check for Leaks: Carefully inspect all the connections, joints, and fittings for any signs of leaks. Look for water drips, puddles, or damp areas around the pipes and connections. Address any leaks immediately by tightening connections or applying additional sealant.
3. Check Water Flow: Open faucets and fixtures throughout the house to check the water flow. Make sure the water pressure is consistent and there are no signs of weak or fluctuating water flow. Pay attention to both hot and cold water supplies.
4. Flush Toilets: Flush each toilet in the house to ensure proper flushing and drainage. Check for any issues such as weak flushing or incomplete emptying of the bowl. Address any toilet-related problems promptly.
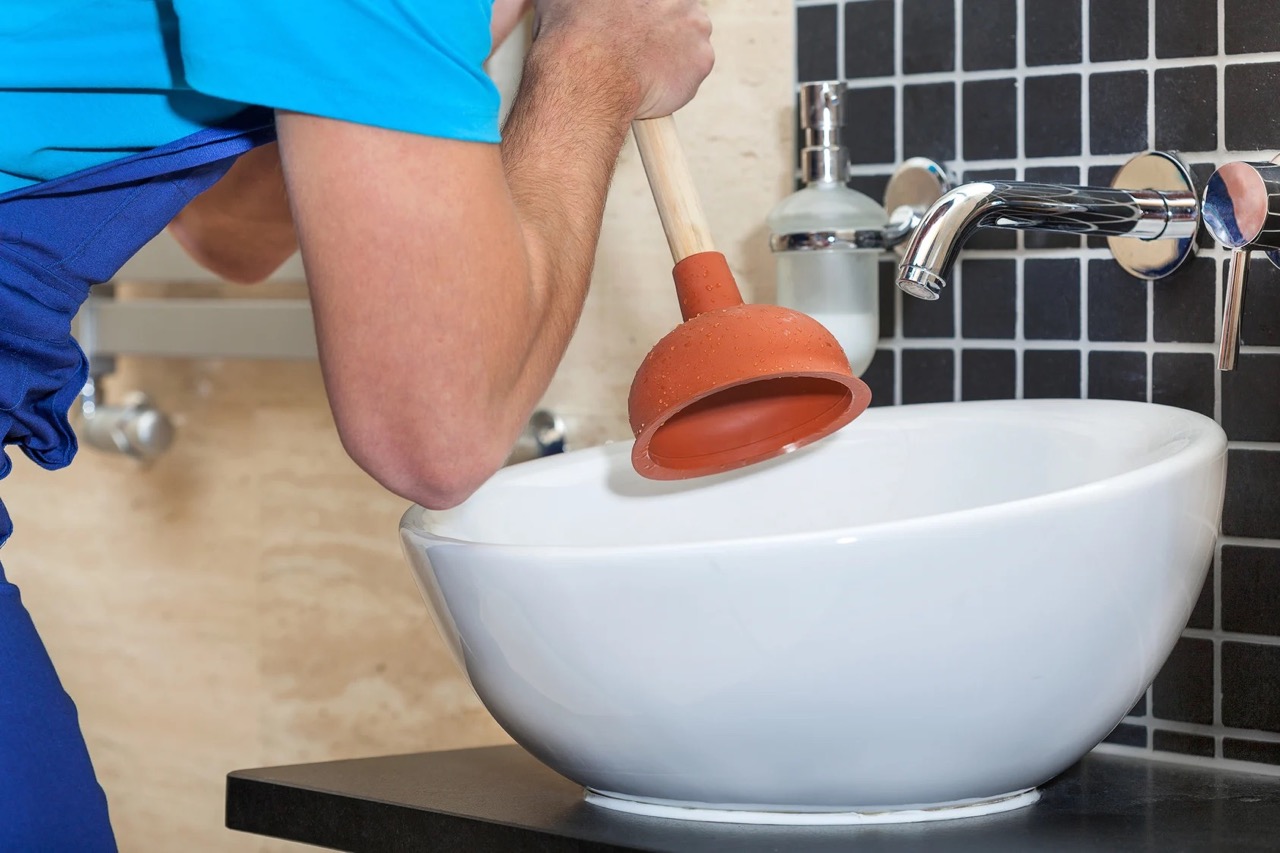
5. Test Drains: Fill sinks, bathtubs, and showers with water and then drain them to test the drainage system. Check for any slow or clogged drains. If necessary, use drain cleaning tools or chemicals to clear any obstructions.
6. Inspect for Proper Venting: Check the venting system to ensure proper air circulation and prevent sewer gas from entering the house. Verify that each fixture has an appropriate vent to the roof or exterior of the house. Look for any signs of sewer odors or gurgling in drains.
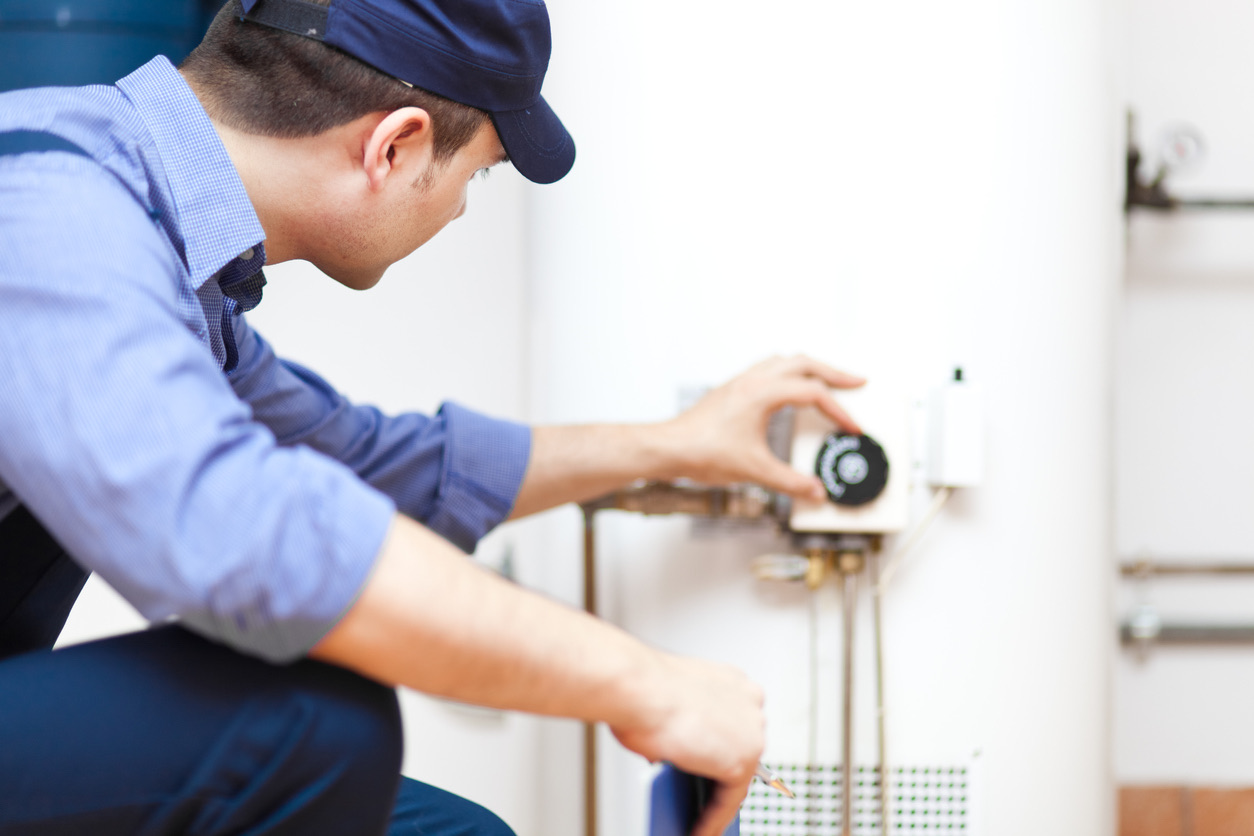
7. Check Hot Water System: If you have a hot water system, test the operation of the water heater. Verify that hot water is being produced and distributed to the fixtures as expected. Adjust the temperature settings if necessary.
8. Test Appliances: If you have connected appliances such as a dishwasher or washing machine, run them through their cycles to ensure they are functioning properly.
By thoroughly testing the new plumbing system, you can identify and address any problems early on. It is important to fix any potential issues before proceeding with any cosmetic work or considering the project complete.
If you encounter major issues or are unsure about any aspect of the testing process, it is advisable to seek the assistance of a professional plumber. They can help diagnose and resolve any problems to ensure the functionality and safety of your new plumbing system.
With the testing phase successfully completed, you can now enjoy the benefits of your updated plumbing system in your old house. However, it is important to keep in mind that proper maintenance and regular inspections are essential to ensure the longevity and efficiency of your plumbing system.
Tips for Plumbing in an Old House
Plumbing in an old house can present unique challenges due to the age of the infrastructure and potential issues that may arise. To ensure a successful plumbing replacement project, consider the following tips:
1. Plan and Research: Before starting the project, thoroughly research the plumbing system in your old house. Understand the layout, materials used, and any potential limitations you may encounter. This will help you plan accordingly and anticipate any complications that may arise.
2. Hire a Professional if Needed: If you’re unsure about the extent of the plumbing work or lack the necessary skills, consider hiring a professional plumber. They have the experience and knowledge to deal with the complexities of older plumbing systems and can ensure the work is done correctly.
3. Use Modern Materials: When replacing the old plumbing, opt for modern materials that are more durable and resistant to corrosion. For example, consider using copper or PEX pipes instead of outdated galvanized steel or lead pipes. Modern materials will provide better longevity and performance.
4. Upgrade Water Lines: Older homes often have smaller water lines, resulting in reduced water pressure and flow. Consider upgrading to larger diameter pipes to improve the overall performance of your plumbing system.
5. Address Structural Issues: Take note of any structural issues in your old house that may impact the plumbing replacement. Ensure that walls, floors, and ceilings are in good condition and capable of supporting the new plumbing system. Address any structural concerns before proceeding with the project.
6. Insulate Pipes: Insulate the pipes in your old house to prevent heat loss, reduce condensation, and protect against freezing. This is especially important if you live in a colder climate.
7. Test Water Quality: Older plumbing systems may have accumulated sediment or other contaminants over time. Before connecting fixtures and appliances, consider testing the water quality. If necessary, install appropriate filtration systems to ensure clean and safe water.
8. Consider Energy Efficiency: Replace outdated fixtures and appliances with energy-efficient ones. This will not only help conserve water and energy but also improve the overall functionality of your plumbing system.
9. Address Drainage Issues: Old houses may have inadequate or outdated drainage systems. Ensure that the drainage system is properly vented and that there are no blockages or obstructions. Consult a professional plumber if you encounter drainage issues.
10. Regular Maintenance: Once the plumbing replacement is complete, establish a regular maintenance routine. Inspect the plumbing system periodically, check for leaks or signs of damage, and address any issues promptly. Regular maintenance can help prevent costly repairs and ensure the longevity of your new plumbing system.
Plumbing in an old house requires careful planning, proper tools, and a thorough understanding of the unique challenges that may arise. By following these tips and taking necessary precautions, you can successfully update the plumbing system and enjoy reliable water supply and drainage in your old house.
Read more: How To Check Plumbing In A House
Conclusion
Replacing the plumbing in an old house can be a challenging project, but with proper planning and execution, it is possible to update the plumbing system and ensure the safety and functionality of your home’s water supply.
Through the process of assessing the plumbing system, gathering the necessary tools and supplies, shutting off the water supply, removing old plumbing, installing new pipes and fittings, connecting fixtures and appliances, testing the new plumbing system, and following expert tips, you can successfully undertake this project.
By meticulously assessing the plumbing system, you can identify potential issues and plan for the necessary replacements. Gathering the necessary tools and supplies ensures that you are well-equipped to complete the project efficiently. Shutting off the water supply is a crucial step to prevent any water-related mishaps during the replacement process.
Removing the old plumbing requires careful attention and the use of proper tools to avoid damage. Installing new pipes and fittings should be done with precision and adherence to manufacturer instructions. Connecting fixtures and appliances ensures that your plumbing system is fully functional for everyday use.
Thoroughly testing the new plumbing system allows you to identify and address any leaks or issues before considering the project complete. Following expert tips, such as using modern materials, upgrading water lines, and addressing structural issues, will help to ensure the success of your plumbing replacement project.
In conclusion, replacing the plumbing in an old house requires careful planning, meticulous execution, and attention to detail. By following the steps outlined in this article and considering the expert tips, you can successfully update your old house’s plumbing system, providing safe and reliable water supply for years to come.
Remember, if you are not confident in your abilities or encounter any difficulties, it is always recommended to seek the assistance of a professional plumber to ensure a successful outcome. With proper installation and maintenance, your updated plumbing system will serve you well for many years in your old house.
Frequently Asked Questions about How To Replace Plumbing In Old House
Was this page helpful?
At Storables.com, we guarantee accurate and reliable information. Our content, validated by Expert Board Contributors, is crafted following stringent Editorial Policies. We're committed to providing you with well-researched, expert-backed insights for all your informational needs.

0 thoughts on “How To Replace Plumbing In Old House”