Home>Ideas and Tips>DIY Guide To Installing Crown Molding

Ideas and Tips
DIY Guide To Installing Crown Molding
Published: August 27, 2024
Learn how to install crown molding like a pro with our step-by-step DIY guide. Enhance your home's elegance with easy-to-follow tips and techniques.
(Many of the links in this article redirect to a specific reviewed product. Your purchase of these products through affiliate links helps to generate commission for Storables.com, at no extra cost. Learn more)
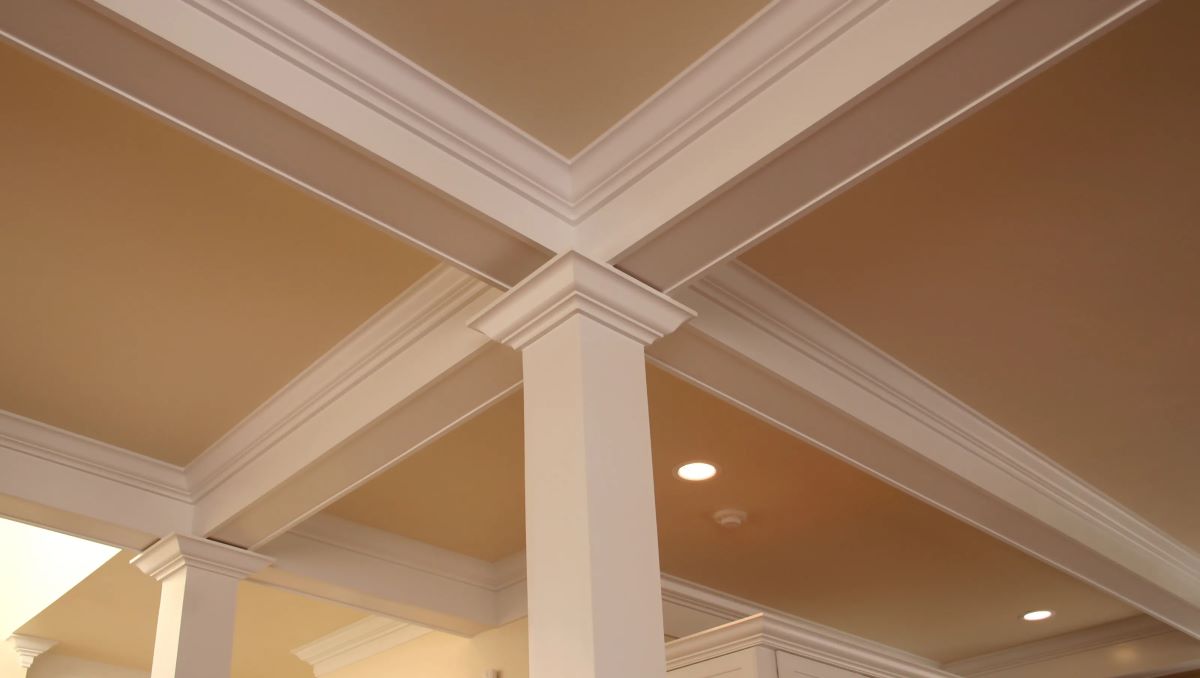
Crown molding is a versatile and elegant trim that can significantly enhance the aesthetic appeal of any room. Whether you're looking to add a touch of sophistication to your living room, create a cozy atmosphere in your dining area, or simply update the look of your home, installing crown molding is a DIY project that can be both rewarding and challenging. In this comprehensive guide, we'll walk you through the steps involved in installing crown molding, highlighting the necessary tools, materials, and techniques to ensure a professional-looking finish.
Choosing the Right Materials
Before diving into the installation process, it's crucial to select the right materials for your project. Crown molding comes in various materials, each with its own set of advantages and disadvantages.
Read more: How To Install Crown Molding Lighting
Wood
Wood is the most popular material for crown molding due to its versatility and aesthetic appeal. It comes in a wide range of profiles and can be stained or painted to match any interior design style. However, wood is sensitive to temperature and humidity changes, which can cause it to expand and contract over time.
Polyurethane
Polyurethane crown molding is a durable and low-maintenance option. Unlike wood, polyurethane is not susceptible to changes in temperature or humidity, making it ideal for homes with significant climate variations. It's also available in various profiles and can be painted or stained.
Medium-Density Fiberboard (MDF)
MDF is another popular choice for crown molding. It's less expensive than traditional wood crown molding and is not as sensitive to cracking. MDF is excellent as a painted trim and can also come in a wood finish.
Tools and Supplies Needed
To ensure a smooth installation process, you'll need the following tools and supplies:
Tools
- Miter Saw: A miter saw is essential for cutting crown molding at precise angles. You can choose between a manual or power miter saw, depending on your preference and the complexity of your project.
- Crown Stops: These are small devices that attach to your miter saw and help you cut crown molding accurately by holding the molding in place.
- Test Angle Piece: A small piece of crown molding cut at a 45-degree angle on each side can be used to test your cuts before applying them to the wall.
- Nailing Gun: A nailing gun is necessary for securing the crown molding to the wall. Use 2 1/2-inch nails for most crown molding projects.
- Brad Nailer: For more precise nailing, especially in corners, a brad nailer can be useful.
- Level: A level ensures that your crown molding is installed straight and level, which is crucial for maintaining its aesthetic appeal.
- Pencil and Marking Tool: These are used to mark the wall where you'll be cutting the crown molding.
- WD-40 Specialist Dry Lube: This lubricant helps keep your saw blades running smoothly and protects them from corrosion.
Supplies
- Crown Molding: Choose the material and profile that best suits your needs.
- Crown Stops: These are necessary for accurate cutting.
- Test Angle Piece: A small piece of crown molding used to test your cuts.
- Nails or Brads: Depending on your nailing gun or brad nailer, you'll need these for securing the molding.
- Liquid Nails: For added security, especially in corners, liquid nails can be applied to the back of the trim before nailing.
- Wood Filler (Optional): If you're using a hardwood trim, you might need wood filler to cover any nail holes.
Step-by-Step Installation Guide
Step 1: Prepare Your Workspace
Before starting your project, ensure your workspace is clear and well-lit. Cover your floors and furniture with drop cloths to protect them from debris and dust.
Read more: How To Install Kitchen Cabinet Crown Molding
Step 2: Measure Your Walls
Measure the length of each wall where you'll be installing the crown molding. Round these measurements to the nearest foot and add them together to determine how much crown molding you'll need.
Step 3: Install Crown Stops
Attach the crown stops to your miter saw. These stops hold the crown molding in place, ensuring accurate cuts and saving time in the long run.
Step 4: Cut Test Angle Piece
Cut a small piece of crown molding at a 45-degree angle on each side. This test piece helps you confirm if your cut pieces work or decide which angle to cut.
Step 5: Cut Actual Pieces of Crown Molding
Hold up your test piece and decide on the first angle. Mark your piece of trim and cut it on a 45-degree angle. For every piece you'll put up, perform a dry fit before nailing it up to ensure proper placement.
Step 6: Install Inside Corner Pieces
For inside corners, use hardwood trim pieces specifically designed for crown molding. Attach these pieces to the corners using liquid nails and 18-gauge brad nails driven diagonally through the trim into the drywall.
Step 7: Lay Flat Trim Below Crown Molding (Optional)
To create a nice cove and use crown molding effectively, consider installing flat trim below the crown molding. This adds an extra layer of elegance to your room.
Step 8: Install Crown Molding
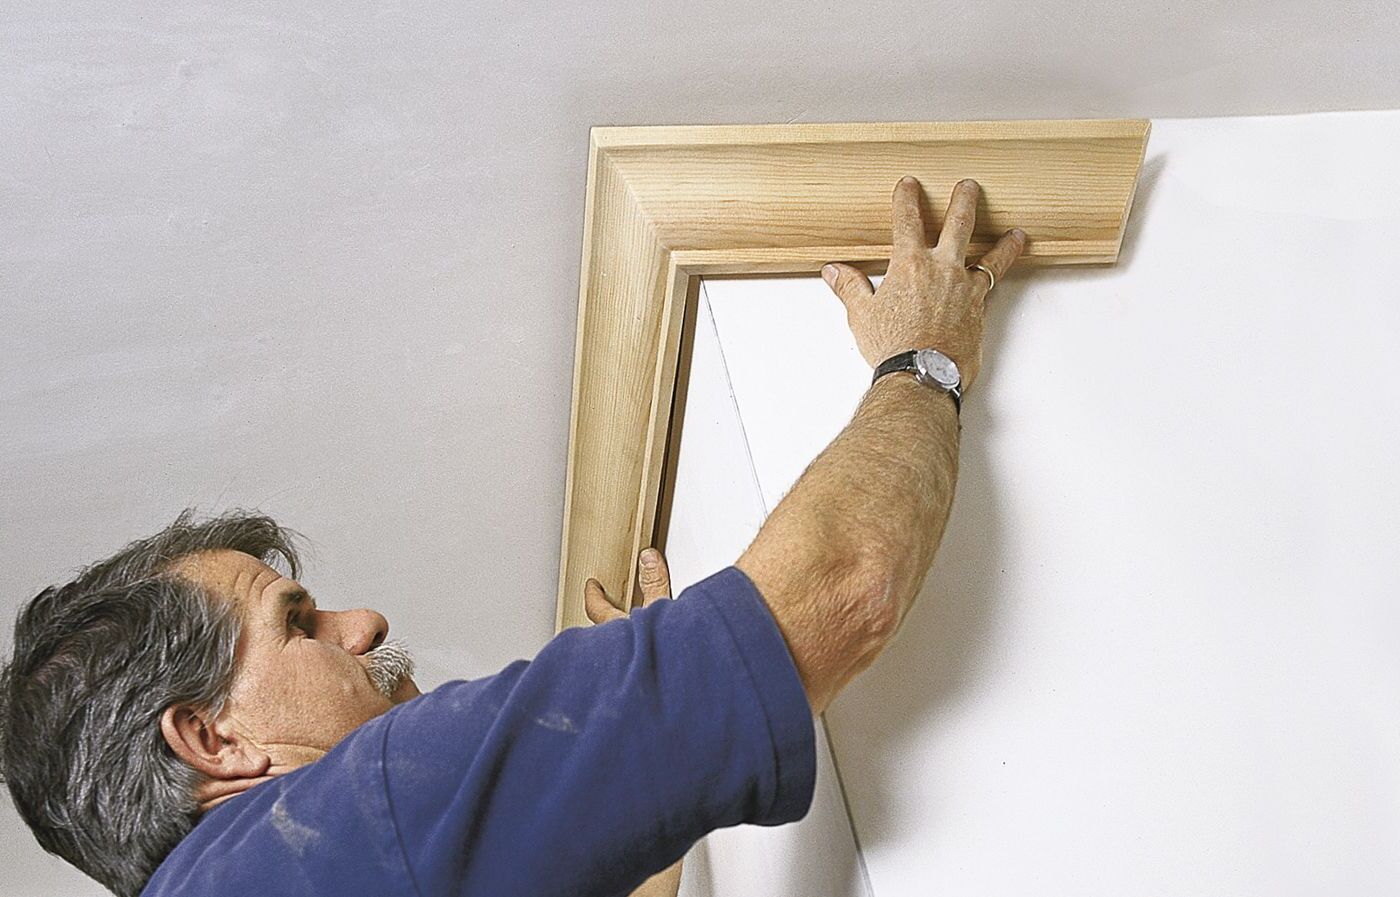
Start by holding up your crown molding in place and measuring its position. Use a level to ensure it's straight and level. Cut the molding according to your measurements, using your miter saw with crown stops attached.
Step 9: Secure Crown Molding
Use your nailing gun or brad nailer to secure the crown molding to the wall. Aim for the middle of each piece when nailing, ensuring that both edges are pulled towards the wall for a secure fit.
Step 10: Add Liquid Nails (Optional)
For added security in corners or where necessary, apply liquid nails to the back of the trim before nailing it into place.
Step 11: Fill Nail Holes (Optional)
If you're using hardwood trim, fill any nail holes with wood filler to maintain a smooth finish.
Step 12: Paint or Stain (Optional)
If you're using MDF or wood that needs finishing, paint or stain your crown molding according to your desired color and style.
Tips for Installing Crown Molding
Read more: DIY Guide To Installing Wainscoting
Using a Shadow Line
One of the most challenging aspects of installing crown molding is dealing with uneven ceilings. To overcome this issue, use a shadow line technique where you hold the crown molding down below the ceiling by about half an inch. This keeps the molding level around the entire room without requiring compound angle cuts.
Coping vs. Mitering Corners
When dealing with corners, you have two main options: coping or mitering. Coping involves cutting one piece of molding so that it fits snugly over another piece, allowing for wood movement and easier installation. Mitering involves cutting both pieces at precise angles so they fit together perfectly but can be more time-consuming and less forgiving if not done correctly.
Nailing Techniques
When nailing crown molding into place, aim for the middle of each piece to ensure both edges are pulled towards the wall for a secure fit. If you're using backer boards or MDF, consider nailing into studs or joists for added stability.
Common Issues and Solutions
Seasonal Separation
One common issue with crown molding is seasonal separation from the ceiling intersection due to truss lift. To address this, use acrylic/latex caulk to fill gaps, ensuring a smooth finish.
Backer Boards vs. Studs
When deciding whether to use backer boards or nail directly into studs, consider the width of your crown molding. For wider moldings like six and a quarter inches, adding backer boards at 16-inch intervals can provide extra stability and ensure a smooth fit.
Conclusion
Installing crown molding is a rewarding DIY project that can significantly enhance the aesthetic appeal of any room. By following these steps and tips, you can achieve professional-looking results even if you're a beginner. Remember to choose the right materials for your project, use the necessary tools and supplies, and be patient with the installation process. With practice and patience, you'll be able to create beautiful, elegant spaces that add value and charm to your home.
Additional Resources
- Video Tutorials: For a more visual understanding of the installation process, consider watching video tutorials available on YouTube or other DIY platforms.
- Lowe’s Crown Molding Buying Guide: This guide provides detailed information on selecting the right material and style for your crown molding project.
- DIY Network’s List of Materials and Tools: This list ensures you have all the necessary tools and supplies before starting your project.
By following this comprehensive guide, you'll be well-equipped to tackle your next DIY crown molding project with confidence and precision.
Was this page helpful?
At Storables.com, we guarantee accurate and reliable information. Our content, validated by Expert Board Contributors, is crafted following stringent Editorial Policies. We're committed to providing you with well-researched, expert-backed insights for all your informational needs.




0 thoughts on “DIY Guide To Installing Crown Molding”