Articles
How To Install Crown Molding Lighting
Modified: October 19, 2024
Learn how to install crown molding lighting in this helpful article. Step-by-step guide and tips for achieving the perfect lighting solution for your space.
(Many of the links in this article redirect to a specific reviewed product. Your purchase of these products through affiliate links helps to generate commission for Storables.com, at no extra cost. Learn more)
Introduction
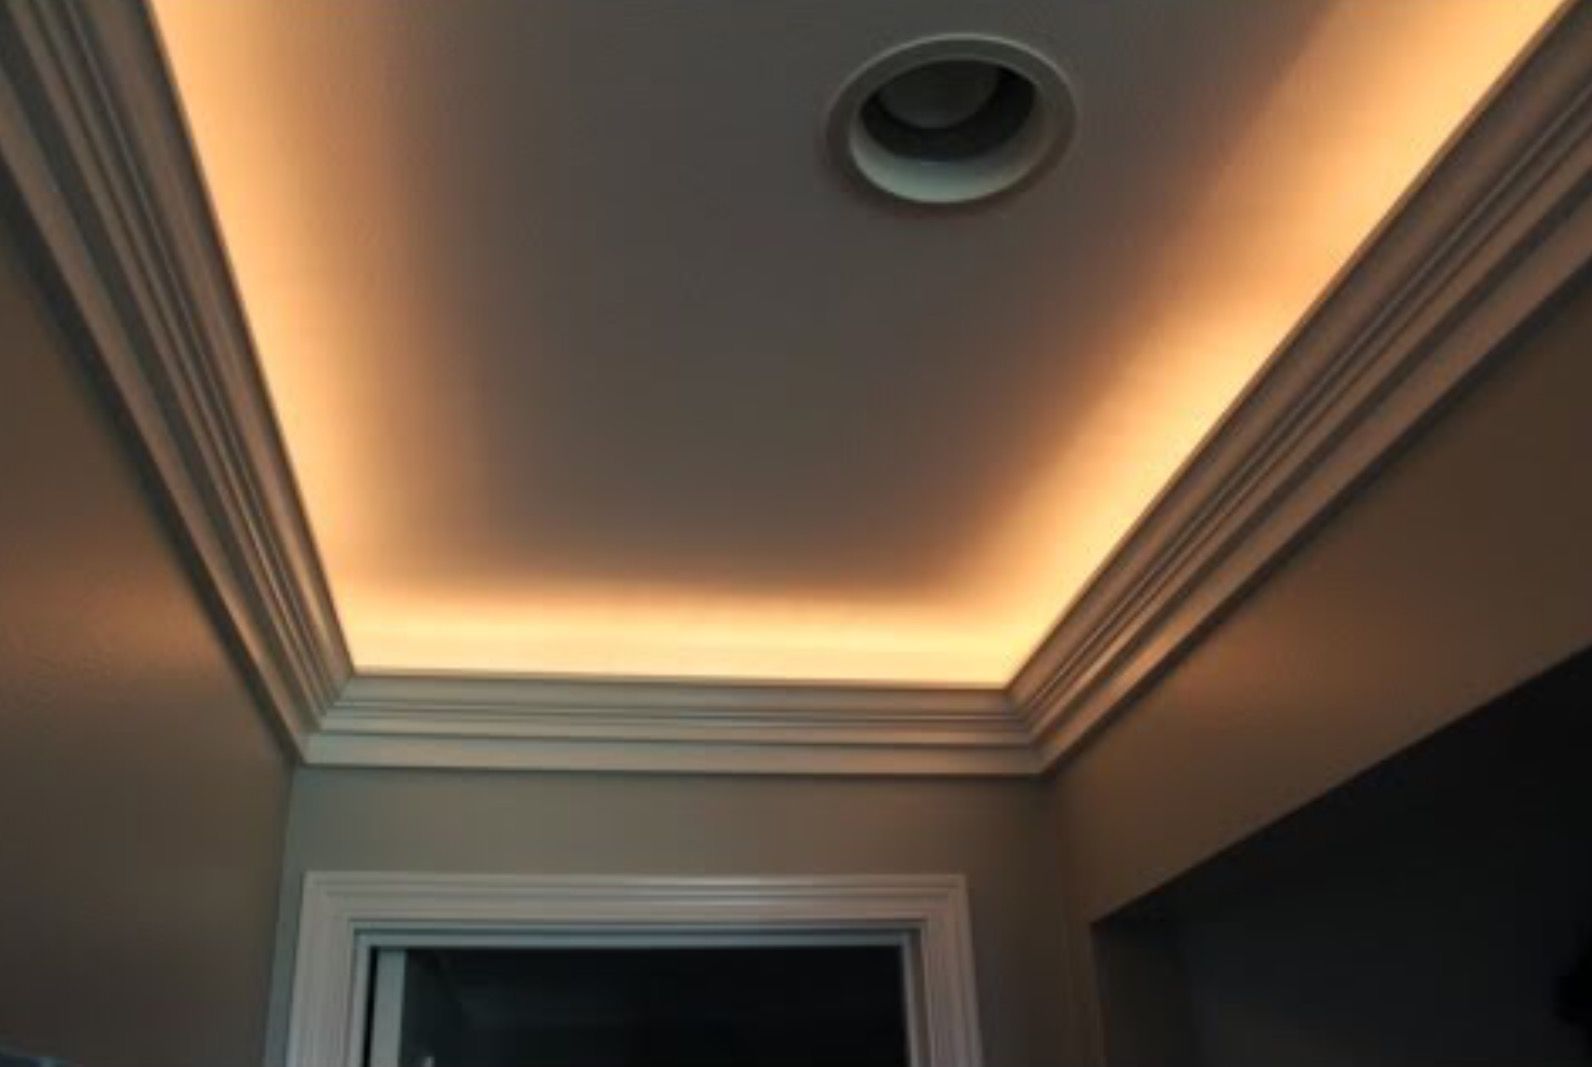
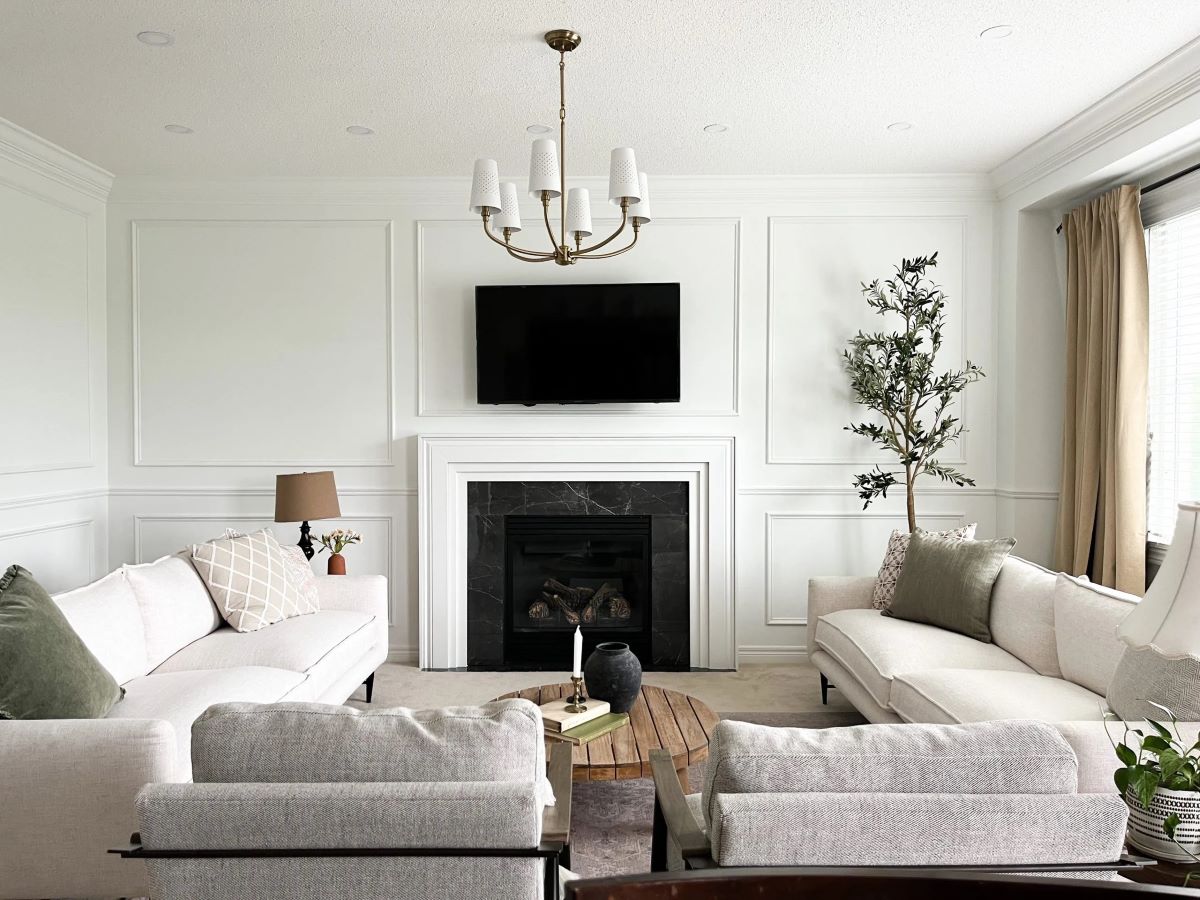
Installing crown molding lighting is a fantastic way to add a touch of elegance and ambiance to any room. Whether you want to illuminate a living area, create a soft glow in a bedroom, or highlight artwork on the walls, crown molding lighting can transform the atmosphere of your space. In this article, we will guide you through the steps to install crown molding lighting, helping you to achieve a stunning and professional-looking result.
Before we delve into the installation process, it’s important to note that working with electrical wiring requires caution and expertise. If you are not experienced with electrical work, it is recommended to consult with a licensed professional to ensure the safety and legality of your installation.
With that said, let’s get started on creating a beautiful lighting feature with crown molding!
Key Takeaways:
- Elevate your space with stunning crown molding lighting, adding elegance and ambiance to any room. Follow our step-by-step guide for a professional-looking installation and enjoy the captivating visual impact.
- Transform your living area, bedroom, or any space with the soft, ambient glow of crown molding lighting. From gathering materials to testing the lighting, bring your vision to life and bask in the warm, inviting ambiance of your beautiful creation.
Read more: How To Install Kitchen Cabinet Crown Molding
Step 1: Gather your materials
Before you begin the installation process, it’s essential to gather all the necessary materials. Here is a list of items you will need:
- Crown molding: Choose a crown molding style that suits your taste and complements the aesthetics of your room. It is advisable to select a molding with a built-in channel to accommodate the lighting fixtures.
- Lighting fixtures: Select LED strip lights or rope lights that fit securely within the crown molding channel. These lights should be suitable for indoor use and provide the desired level of brightness for your space.
- Power supply: Depending on the length and number of lighting fixtures, you may require a power supply unit to connect the lights to an electrical source. Make sure the power supply is compatible with the lighting fixtures you have chosen.
- Electrical wiring: If you plan to connect multiple lighting fixtures, ensure you have the appropriate electrical wiring, connectors, and junction boxes to create a seamless and safe electrical connection.
- Measuring tape: Accurate measurements are crucial for a precise and professional installation. Have a measuring tape handy to measure the length of the crown molding and determine the spacing for the lighting fixtures.
- Utility knife or saw: You may need a utility knife or saw to cut the crown molding to the desired length. Choose a tool that is suitable for the material of your crown molding.
- Screws or nails: Depending on the installation method, you will need screws or nails to secure the crown molding to the wall or ceiling. Ensure you have the appropriate size and type of fasteners for your specific application.
By having all the necessary materials ready, you can streamline the installation process and minimize potential delays.
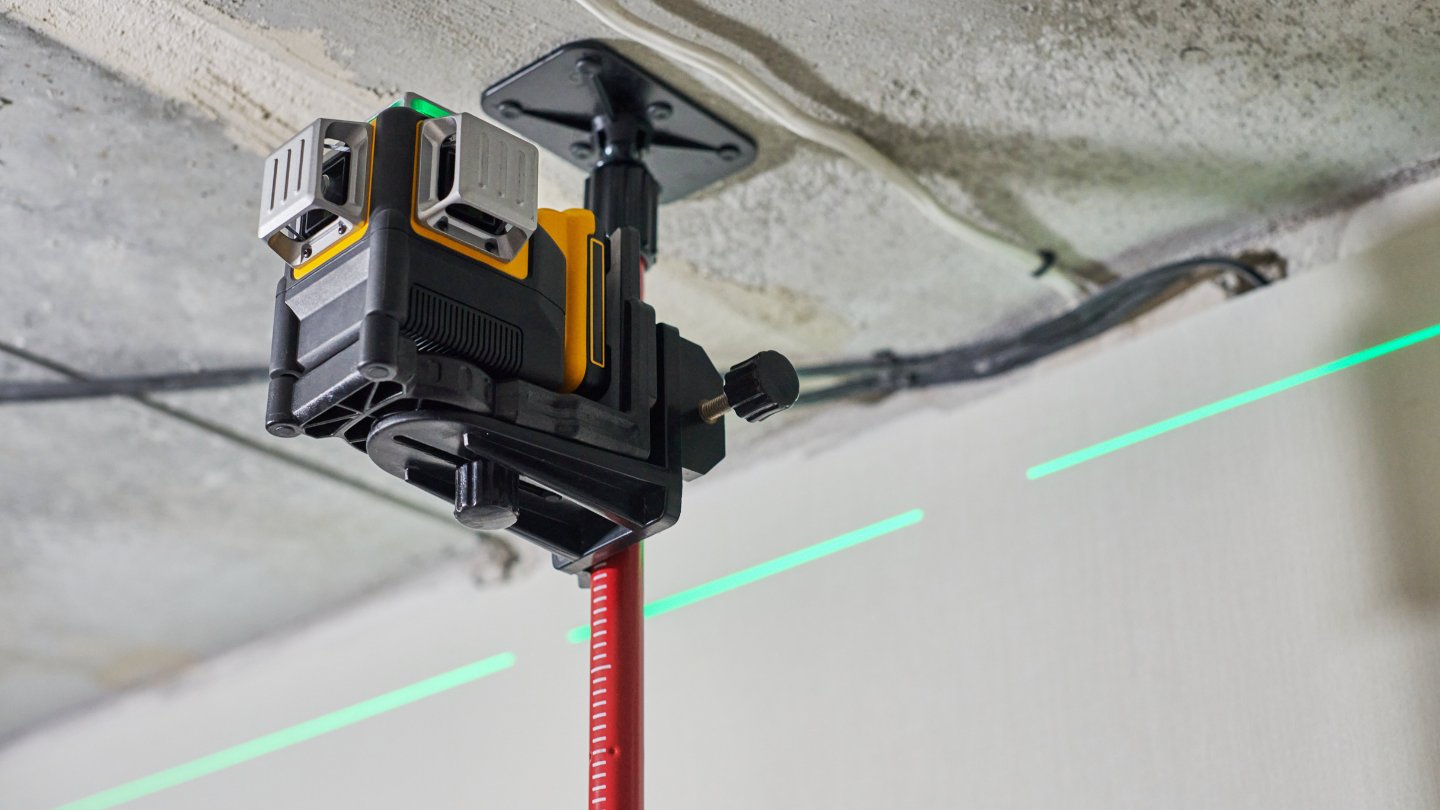
Step 2: Measure and plan
Before you start installing the crown molding lighting, it’s important to measure the length of the walls or ceiling where you will be placing the molding. This will help you determine the amount of crown molding needed for your project.
Start by measuring the length of each wall or the perimeter of the ceiling. Take accurate measurements and write them down. If your walls or ceiling have any corners, be sure to measure those as well.
Next, you’ll need to plan the placement of the lighting fixtures on the crown molding. Consider the desired effect and the location of power outlets or electrical wiring. Decide how far apart you want the lighting fixtures to be and mark those spots on the crown molding.
It’s a good idea to sketch out a rough diagram of the room, indicating the placement of the crown molding and lighting fixtures. This will serve as a visual guide during the installation process.
Before proceeding, make sure to turn off the power to the area where you’ll be working. Safety should always be a top priority when working with electricity.
By measuring and planning ahead of time, you can ensure that your crown molding lighting installation is both aesthetically pleasing and properly positioned for optimal lighting effect.
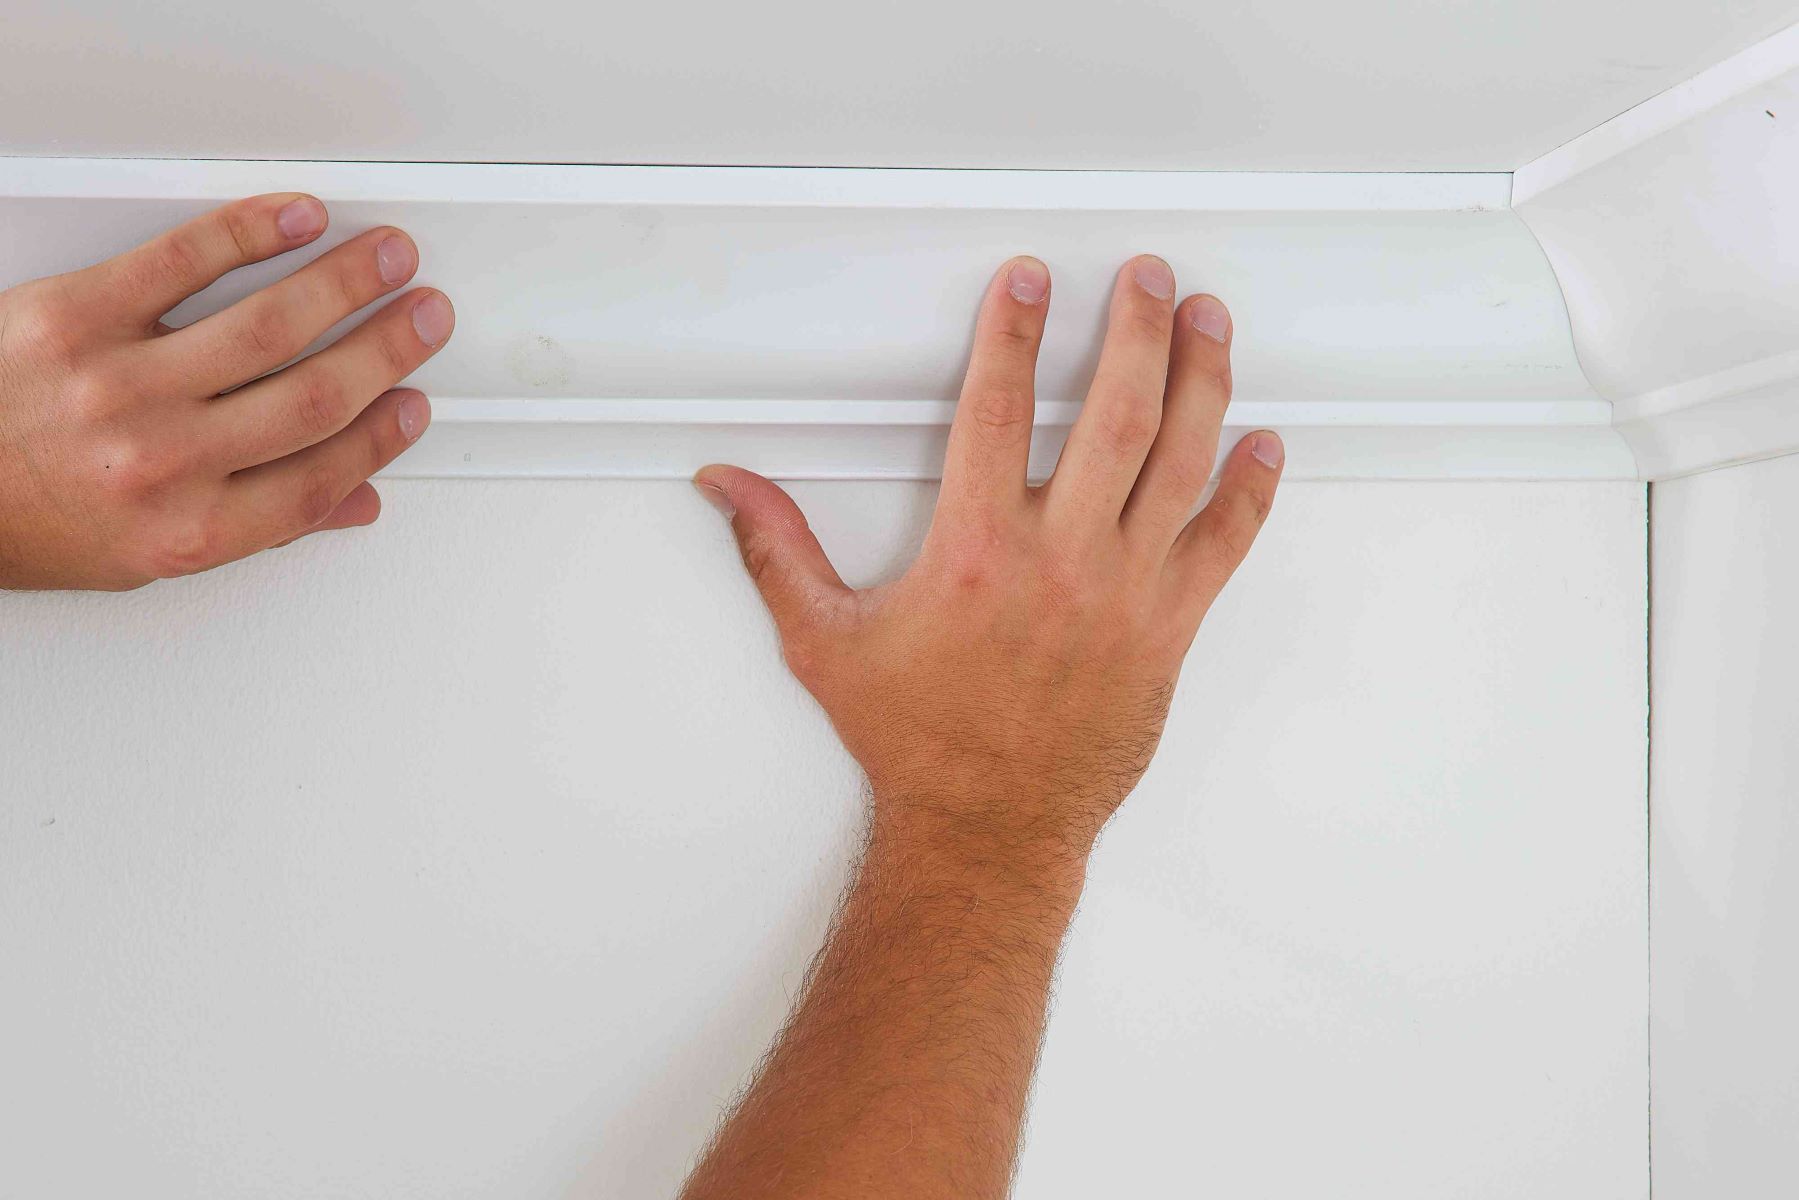
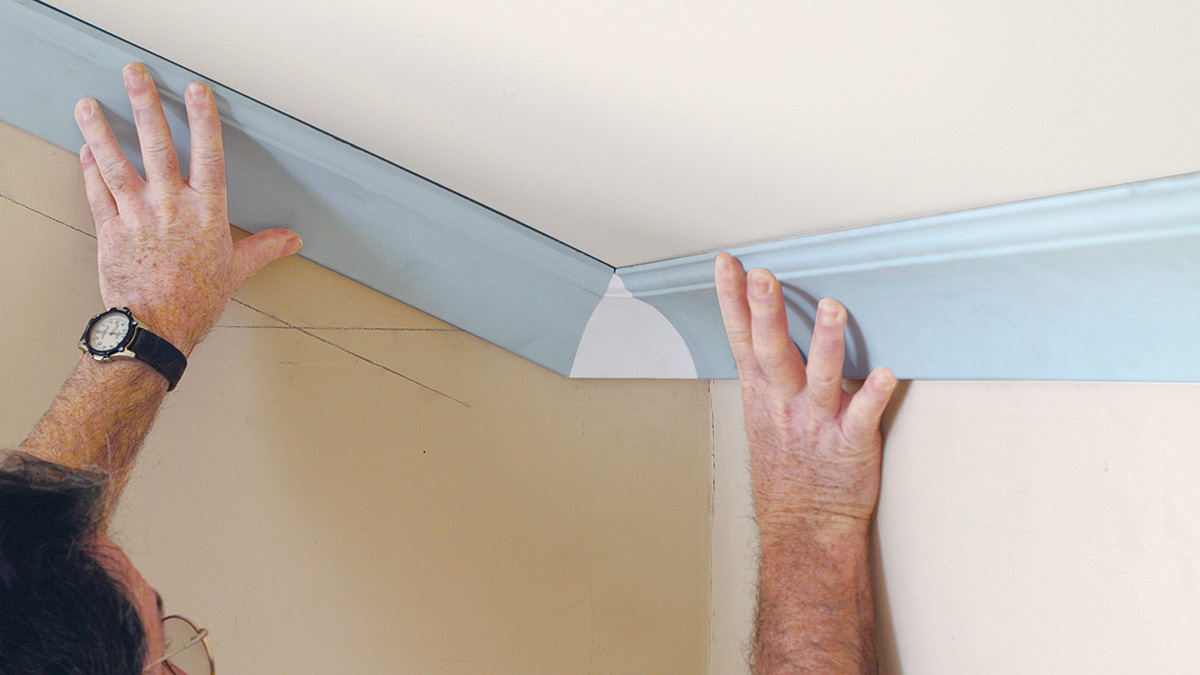
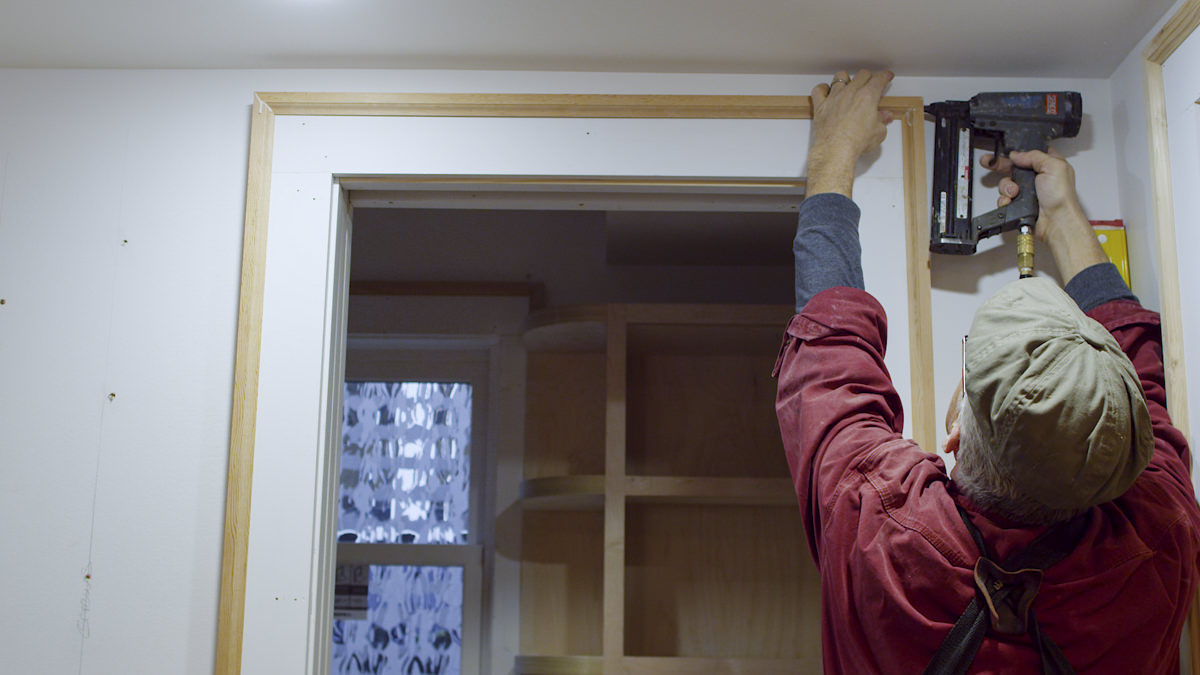
Step 3: Install the crown molding
Now that you have your materials ready and measurements in hand, it’s time to install the crown molding. Follow these steps to achieve a seamless installation:
- Start by cutting the crown molding to the appropriate length using a saw or utility knife. Ensure that the corners are cut at the correct angles to fit together tightly. Take your time and make precise cuts to achieve a professional-looking finish.
- Hold the first piece of crown molding against the wall or ceiling at the desired height. Use a level to ensure it is straight. Mark the locations where the molding will be attached with a pencil.
- Apply construction adhesive to the back of the crown molding in a zigzag pattern. This will help secure it to the wall or ceiling.
- Press the crown molding firmly against the wall or ceiling, aligning it with the pencil marks. Hold it in place for a few seconds to allow the adhesive to bond.
- Secure the molding further by using screws or nails. Place them strategically along the length of the molding, ensuring they are not visible from the front. Countersink the screws or nails and fill the holes with wood filler for a seamless finish.
- Repeat the above steps for each piece of crown molding, making sure to align the corners correctly for a neat and cohesive look.
- Allow the adhesive to dry and cure according to the manufacturer’s instructions before proceeding to the next step.
Remember to take your time during the installation process to ensure that the crown molding is straight and securely attached. This will provide a solid foundation for the lighting fixtures to be installed in the next steps.
Step 4: Prepare the lighting fixtures
With the crown molding securely in place, it’s time to prepare the lighting fixtures before attaching them. Follow these steps:
- Check the length of the LED strip lights or rope lights you have chosen. If necessary, cut them to the desired length using scissors or a designated cutting tool. Many LED strip lights come with marked cutting points for easy customization.
- Remove the adhesive backing from the LED strip lights or rope lights to expose the adhesive side. Be careful not to damage or disconnect any wires in the process.
- For LED strip lights, attach the lights to the channel in the crown molding, ensuring they are pressed firmly to secure the adhesive. If using rope lights, place them inside the channel and adjust them to sit evenly for a uniform lighting effect.
- Repeat the above steps for each lighting fixture, ensuring consistent spacing between them.
- Once you have installed all the lighting fixtures, double-check that they are securely attached and the wiring is not tangled or exposed.
- Take a moment to clean any excess adhesive or dirt from the crown molding and the lighting fixtures. This will provide a clean and polished look.
By properly preparing the lighting fixtures, you ensure that they are ready for installation and will provide the desired illumination effect once connected to the power supply.
When installing crown molding lighting, make sure to measure and mark the placement of the lighting fixtures before securing the molding in place. This will ensure proper alignment and spacing for a professional-looking finish.
Read more: DIY Guide To Installing Crown Molding
Step 5: Attach the lighting fixtures to the crown molding
With the lighting fixtures prepared, it’s time to attach them to the crown molding. Follow these steps:
- Starting at one end of the crown molding, carefully position the lighting fixture in the designated spot.
- Press the fixture firmly against the crown molding, ensuring it is securely adhered.
- Repeat the above steps for each lighting fixture, maintaining a consistent spacing and alignment along the crown molding.
- Check that each fixture is straight and evenly positioned. Adjust as necessary.
- Take a step back and assess the overall appearance of the installed lighting fixtures. Make any adjustments to improve the alignment or spacing if needed.
- Allow the adhesive on the fixtures to dry according to the manufacturer’s instructions before proceeding to the next step.
By carefully attaching the lighting fixtures to the crown molding, you ensure a secure and visually appealing installation. Take your time to ensure the fixtures are straight and evenly spaced for a professional look.
Step 6: Connect the wiring
Now that your crown molding lighting fixtures are securely attached, it’s time to connect the wiring. Follow these steps to ensure a safe and proper connection:
- Start by identifying the power source for your lighting fixtures. This may be an existing electrical outlet or a designated power supply unit.
- If using an outlet, make sure the power is turned off before proceeding. If using a power supply unit, ensure it is compatible with the voltage and wattage requirements of your lighting fixtures.
- Connect the wiring from the power source to the first lighting fixture. Follow the manufacturer’s instructions for connecting the wires, typically matching the positive (+) and negative (-) terminals.
- Use appropriate connectors, such as wire nuts or terminal blocks, to secure the wiring connections. Ensure the connections are tight and insulated to prevent any electrical hazards.
- Continue connecting the wiring from each lighting fixture, following the designated wiring sequence and connectors. Take care to avoid any exposed or tangled wires.
- Once all the wiring connections are made, double-check that they are secure and insulated. Take an extra moment to organize and tuck away any excess wiring to maintain a neat appearance.
- If necessary, consult a licensed electrician or follow local electrical codes to ensure the proper installation and compliance with safety regulations.
By properly connecting the wiring, you ensure a reliable and safe electrical connection for your crown molding lighting. If you are unsure about any aspect of the electrical work, it is always wise to consult with a professional to ensure the job is done correctly.
Step 7: Test the lighting
With the wiring connected, it’s time to test the lighting to ensure everything is working properly. Follow these steps to test the functionality of your crown molding lighting:
- Turn on the power to the lighting fixtures at the designated power source.
- Step back and observe the illumination from the lighting fixtures. Check that all the fixtures are emitting the desired level of brightness and that they are evenly distributed along the crown molding.
- Pay attention to any flickering or inconsistent lighting. If you notice any issues, double-check the wiring connections and ensure the power supply is providing the appropriate voltage.
- If you are using LED lights, check that they are not generating excessive heat. LED lights should emit a cool and energy-efficient glow.
- Take note of any areas that may require additional lighting or adjustments. This is the time to make any necessary tweaks before proceeding to the final step.
Testing the lighting ensures that your installation is successful and that the crown molding lighting provides the desired effect. If you encounter any issues during the testing phase, it is recommended to troubleshoot or consult with a professional to resolve them before completing the installation.
Step 8: Secure and finish the installation
Once you have tested the lighting and made any necessary adjustments, it’s time to secure and finish the installation. Follow these final steps to complete your crown molding lighting project:
- Ensure that all the wiring connections are secure and insulated. Double-check that there are no exposed wires or loose connections.
- Secure any loose crown molding or lighting fixtures using screws or nails. Make sure the fasteners are discreet and do not detract from the overall aesthetics of the installation.
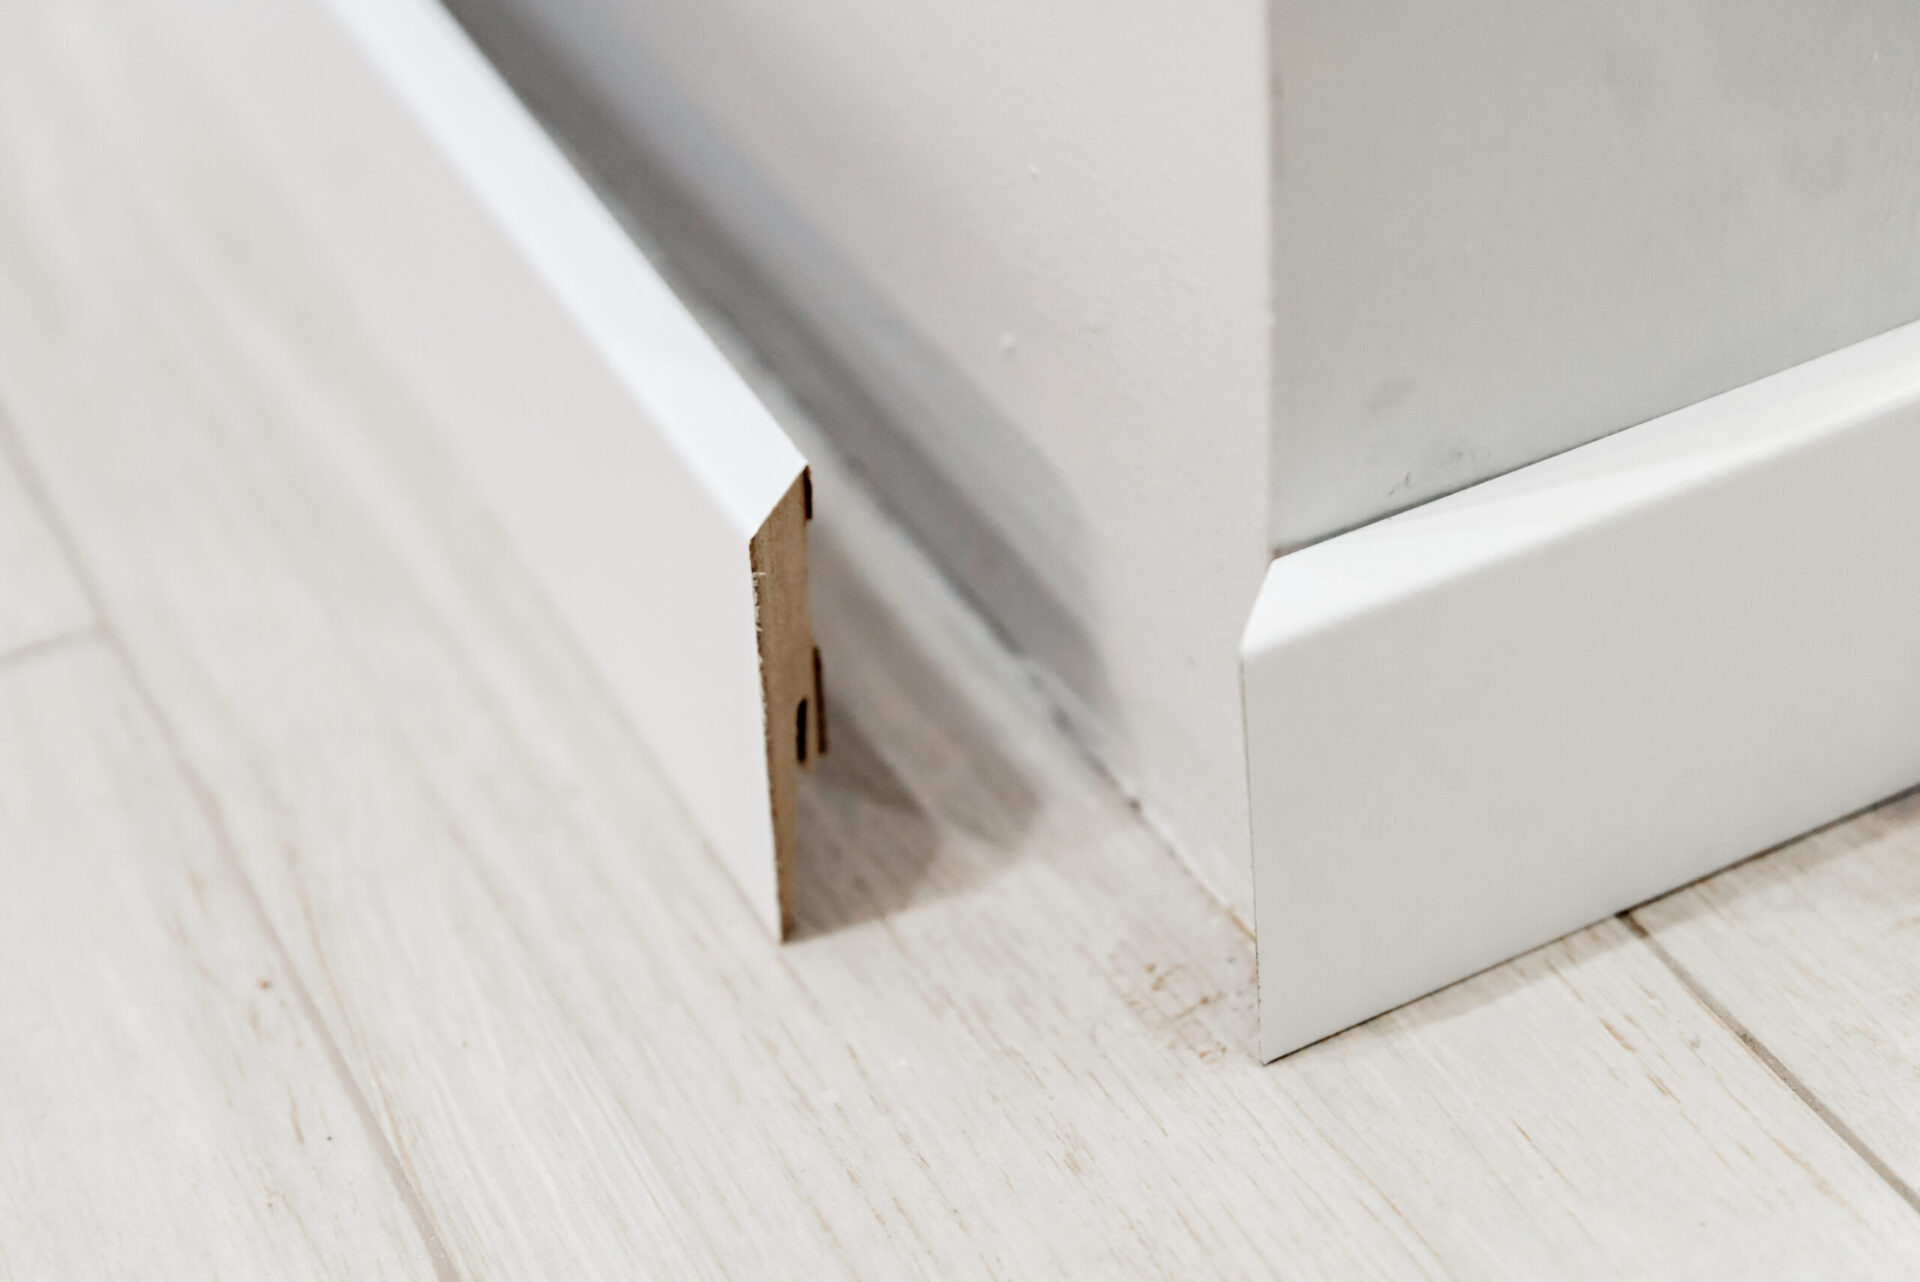
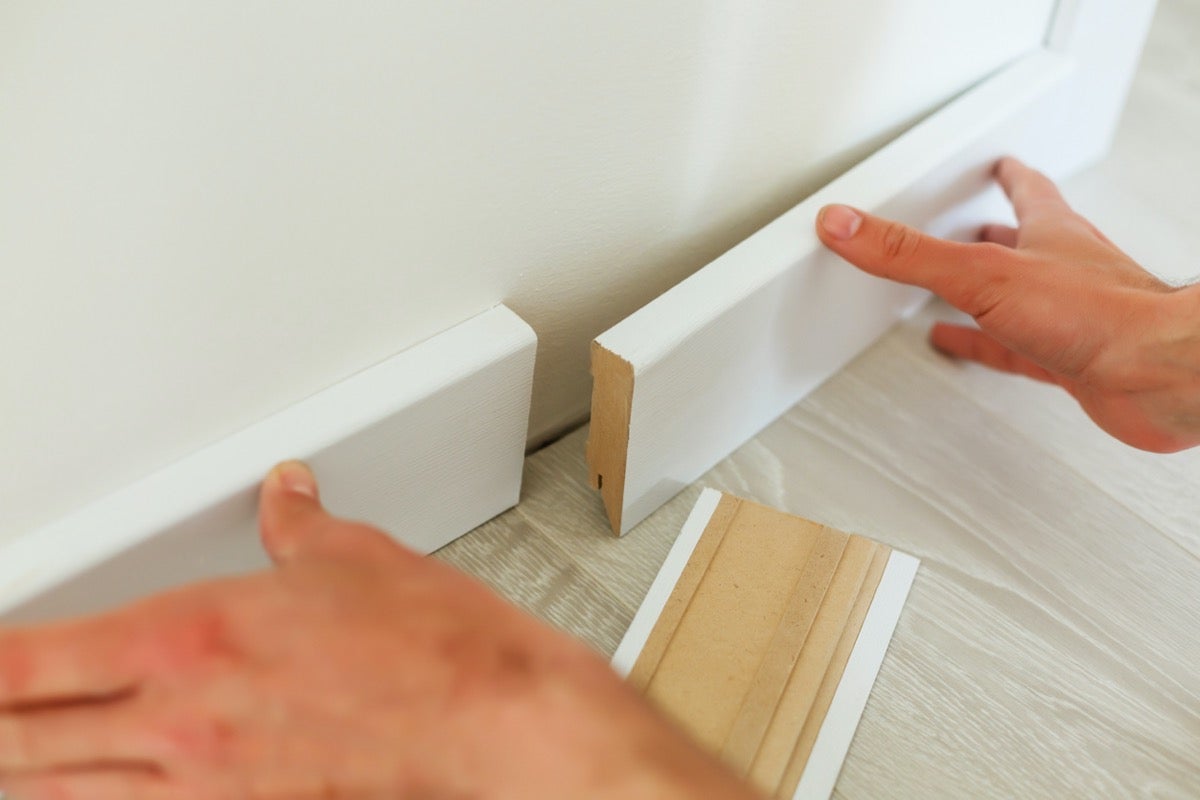
- Inspect the entire crown molding for any gaps or imperfections. Use caulk or a suitable filler to fill in any gaps or seams, creating a seamless appearance.
- Touch up the crown molding with paint or stain, if necessary, to match the surrounding decor. Ensure that the paint or stain is evenly applied and complements the overall aesthetic.
- Clean up any debris or excess materials from the installation process. This will give your crown molding lighting a polished and neat look.
- Take a final moment to step back and admire your completed crown molding lighting installation. Enjoy the ambiance and beauty it brings to your space.
By securing and finishing the installation, you ensure that your crown molding lighting is not only visually appealing but also durable and long-lasting. Take pride in your accomplishment and savor the enhanced atmosphere your new lighting feature brings to your room.
Conclusion
Installing crown molding lighting is a wonderful way to elevate the aesthetics and ambiance of any room. With careful planning, precise measurements, and attention to detail, you can create a stunning lighting feature that adds a touch of elegance to your space.
Throughout this step-by-step guide, we’ve covered the process of installing crown molding lighting, from gathering materials to securing the final installation. By following these steps, you can achieve a professional-looking result and enjoy the benefits of a beautifully illuminated space.
Remember, safety should always be a top priority when working with electrical wiring. If you are not experienced with electrical work, it is recommended to consult with a licensed professional to ensure the safety and legality of your installation.
Whether you’re looking to enhance the living room, bedroom, or any other area of your home, crown molding lighting can transform the atmosphere and create a captivating visual impact. The soft, ambient glow provided by the lighting fixtures installed seamlessly within the crown molding can set the mood, highlight architectural details, or accentuate artwork on the walls.
So, gather your materials, measure and plan, install the crown molding, prepare the lighting fixtures, attach them securely, connect the wiring, test the lighting, and finish with care. With each step, you’ll bring your vision to life.
Now, it’s time to immerse yourself in the warm and inviting ambiance of your newly installed crown molding lighting. Sit back, relax, and bask in the glow of your beautiful creation.
Frequently Asked Questions about How To Install Crown Molding Lighting
Was this page helpful?
At Storables.com, we guarantee accurate and reliable information. Our content, validated by Expert Board Contributors, is crafted following stringent Editorial Policies. We're committed to providing you with well-researched, expert-backed insights for all your informational needs.


0 thoughts on “How To Install Crown Molding Lighting”