Articles
How To Install Kitchen Cabinet Crown Molding
Modified: October 20, 2024
Learn how to install crown molding on your kitchen furniture with step-by-step instructions and helpful tips. Enhance the look of your cabinets with this simple DIY project.
(Many of the links in this article redirect to a specific reviewed product. Your purchase of these products through affiliate links helps to generate commission for Storables.com, at no extra cost. Learn more)
Introduction
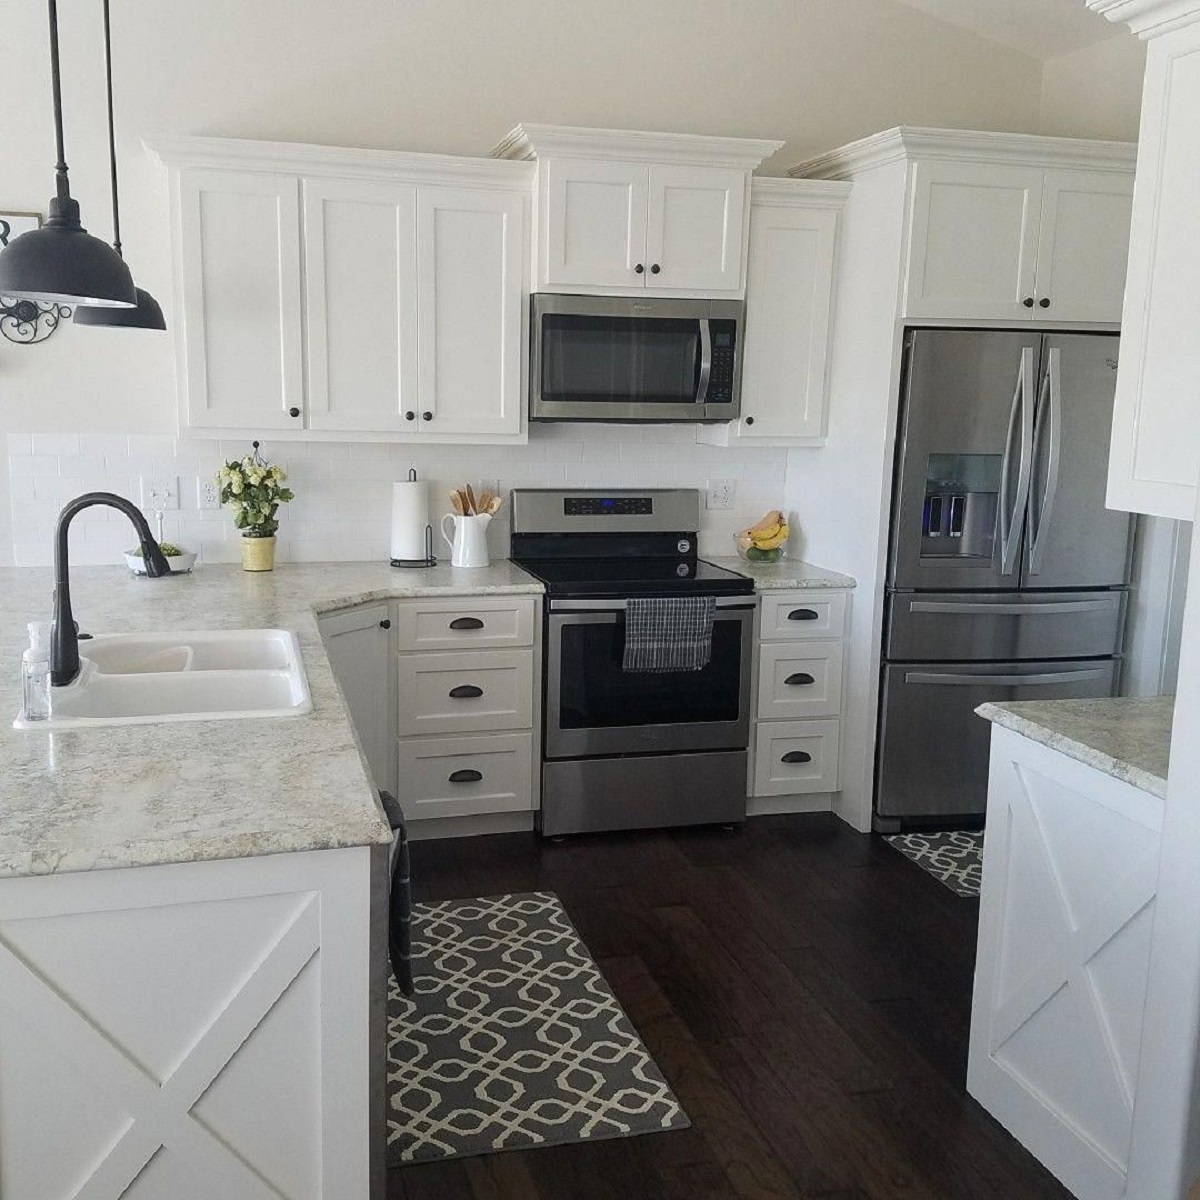
Welcome to our comprehensive guide on how to install kitchen cabinet crown molding. Crown molding is a great way to add a touch of elegance and sophistication to your kitchen. Not only does it enhance the appearance of your cabinets, but it also adds value to your home. Whether you are upgrading your kitchen or doing a complete remodel, installing crown molding on your kitchen cabinets can transform the look of your space.
While the task may seem daunting at first, with the right tools, materials, and a little bit of patience, you can easily accomplish this project. In this guide, we will walk you through each step of the process, providing detailed instructions and tips to ensure a successful installation.
Before we dive into the steps, let’s take a moment to go over the tools and materials you will need for this project.
Key Takeaways:
- Elevate your kitchen’s aesthetic and add value to your home by installing crown molding on your cabinets. Follow our comprehensive guide for a seamless and professional-looking transformation.
- With the right tools, materials, and step-by-step guidance, you can achieve a flawless installation. Take your time, pay attention to detail, and enjoy the rewarding process of upgrading your kitchen space.
Tools and Materials Needed
Before getting started, gather the following tools and materials:
- Measuring tape
- Miter saw
- Brad nailer or hammer and finishing nails
- Level
- Wood adhesive
- Sanding block or sandpaper
- Putty or wood filler
- Primer
- Paint or stain
- Paintbrush or paint sprayer
Now that you have all the necessary tools and materials, let’s move on to the step-by-step process of installing kitchen cabinet crown molding.
Step 1: Measure the Cabinets
The first step in installing kitchen cabinet crown molding is to accurately measure the cabinets. This will ensure that you cut the crown molding to the correct length and achieve a precise fit.
Start by measuring the length of each cabinet where you plan to install the crown molding. Use a measuring tape and record the measurements. It’s essential to measure all sides of the cabinets individually, as they may vary in length.
Next, measure the depth of the cabinets. This measurement will help determine the size and angle of the crown molding you need. Measure from the front edge of the cabinet to the back. Note down this measurement as well.
It’s important to be precise when measuring the cabinets to avoid any gaps or unevenness when installing the crown molding. Take your time and double-check your measurements before moving on to the next step.
Step 2: Purchase the Crown Molding
Once you have measured your cabinets, it’s time to purchase the crown molding. When selecting the crown molding, consider the style and design of your kitchen. Choose a molding that complements the overall aesthetic and matches the existing cabinetry.
Measure the total length of crown molding needed for all the cabinets and add a few extra inches as a buffer for any mistakes or miscalculations. It’s better to have a little extra than not enough.
There are various types of crown molding available, including wood, MDF (Medium Density Fiberboard), and polyurethane. Each material has its own advantages and disadvantages. Wood crown molding offers a natural, elegant look but may require more maintenance. MDF and polyurethane crown molding are more affordable and easier to work with, but they may not have the same authenticity as real wood.
Visit your local home improvement store or check online retailers to find the crown molding that suits your needs. Remember to factor in the quantity and length of the pieces required to cover all the cabinets in your kitchen.
With the crown molding in hand, you’re ready to move on to the next step: cutting the molding to the correct size.
Step 3: Cut the Crown Molding
Now that you have your crown molding, it’s time to cut it to the correct size. The cuts you make will depend on the measurements you took in Step 1 and the design you want to achieve.
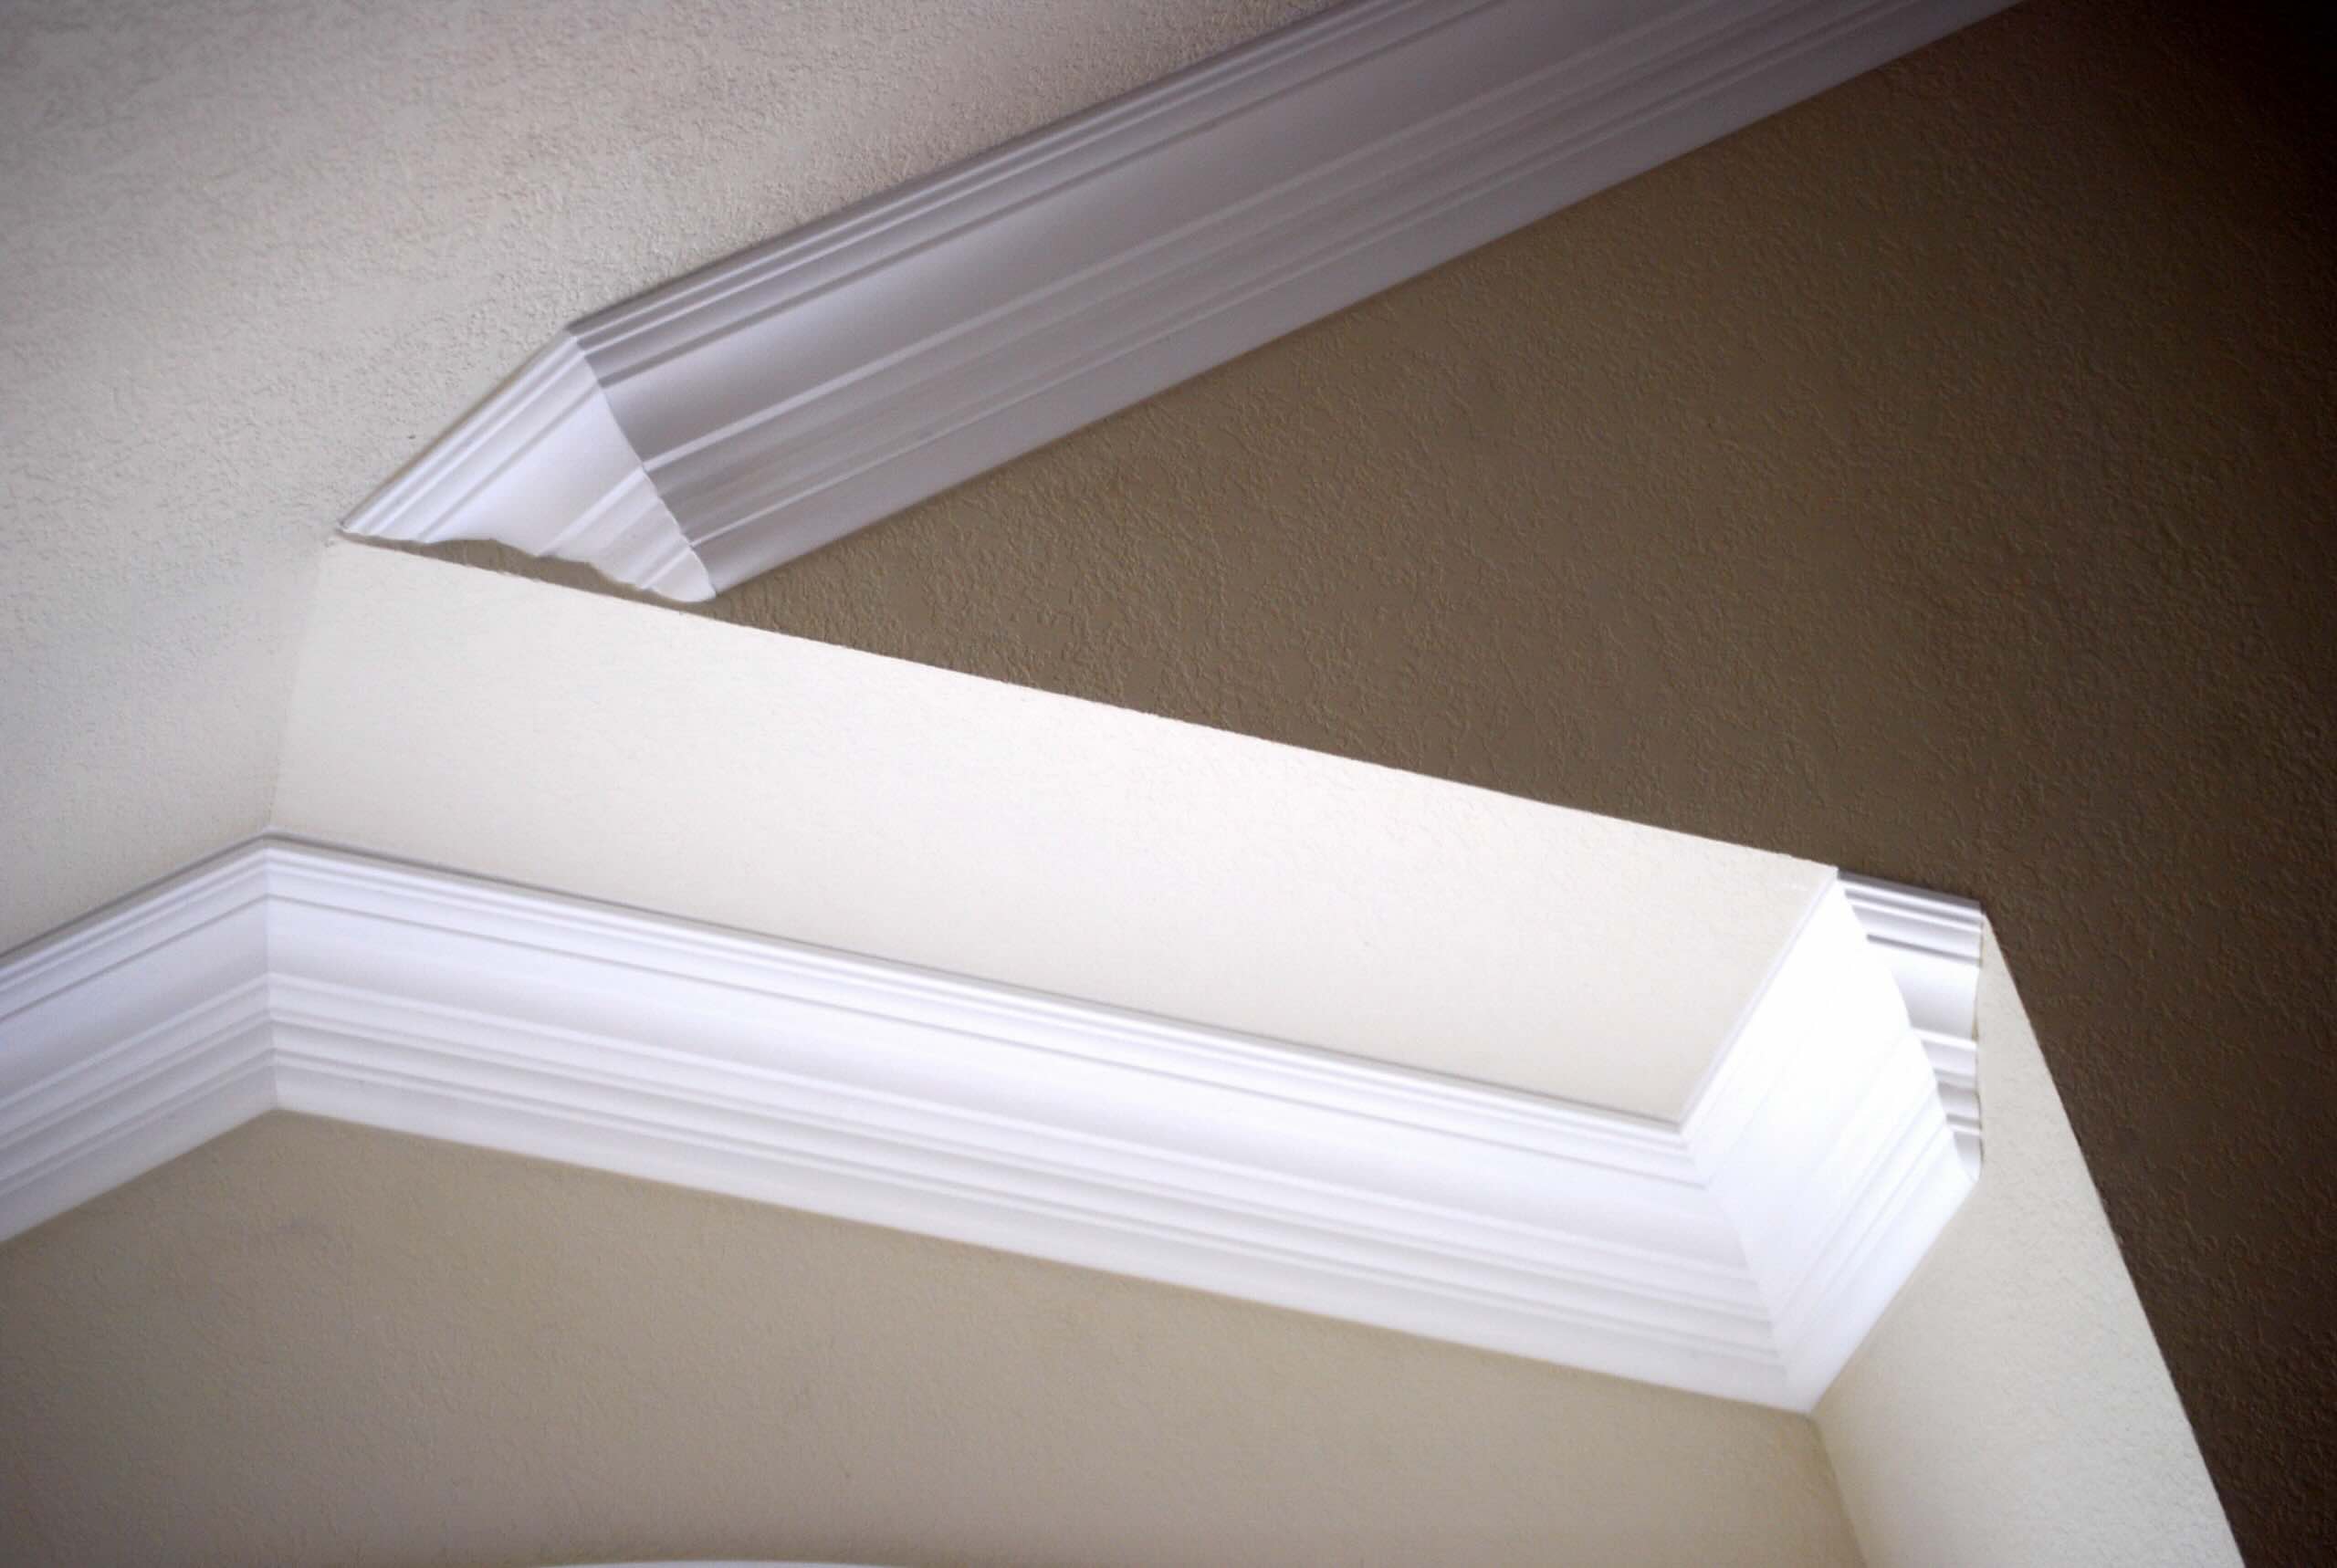
Using a miter saw, set the angle to match the angle of your walls and cabinets. Most commonly, crown molding is cut at a 45-degree angle, but it may vary depending on your specific kitchen layout. Take your time to adjust the saw and ensure an accurate cut.
Start by cutting one end of the crown molding at a 45-degree angle. Measure and mark the length of the first piece based on your cabinet measurements. Then, cut the other end of the molding at a 45-degree angle in the opposite direction. This will create a miter joint that fits snugly against the corner of the cabinets.
Repeat this process for each section of crown molding needed for your cabinets. Measure, mark, and cut each piece with precision, ensuring that the angles match the corners of your cabinets.
Remember to hold the crown molding securely while cutting and use proper safety precautions when operating the miter saw.
Once all the pieces have been cut, it’s time to move on to the next step: installing corner blocks (optional).
Read more: How To Install Crown Molding Lighting
Step 4: Install Corner Blocks (Optional)
Installing corner blocks can add a decorative touch to your crown molding and simplify the installation process. They are especially useful if your cabinets have uneven corners or if you want to achieve a more intricate design.
To install corner blocks, start by marking the corners where you want to place them. Measure the height of the corner and cut the corner block to fit, using a miter saw set at a 45-degree angle. Make sure the angle matches the corners of your cabinets.
Apply a small amount of wood adhesive to the back of the corner block and press it firmly onto the corner of the cabinets. Use a level to ensure that the block is straight and even. Hold it in place for a few seconds to allow the adhesive to bond.
If needed, you can secure the corner block further by using finishing nails or brad nails. Pre-drill small holes to prevent the wood from splitting, then carefully nail the block into place.
Repeat this process for each corner where you want to install the corner blocks. Make sure all the blocks are aligned properly and securely attached.
Installing corner blocks is optional, but it can enhance the overall appearance of your crown molding and provide a seamless transition between corners.
Once the corner blocks are in place, you can move on to the next step: attaching the crown molding to the cabinets.
When installing kitchen cabinet crown molding, make sure to measure and cut the molding accurately to ensure a seamless fit. Use a miter saw for precise angled cuts and secure the molding with finishing nails for a professional finish.
Step 5: Attach the Crown Molding to the Cabinets
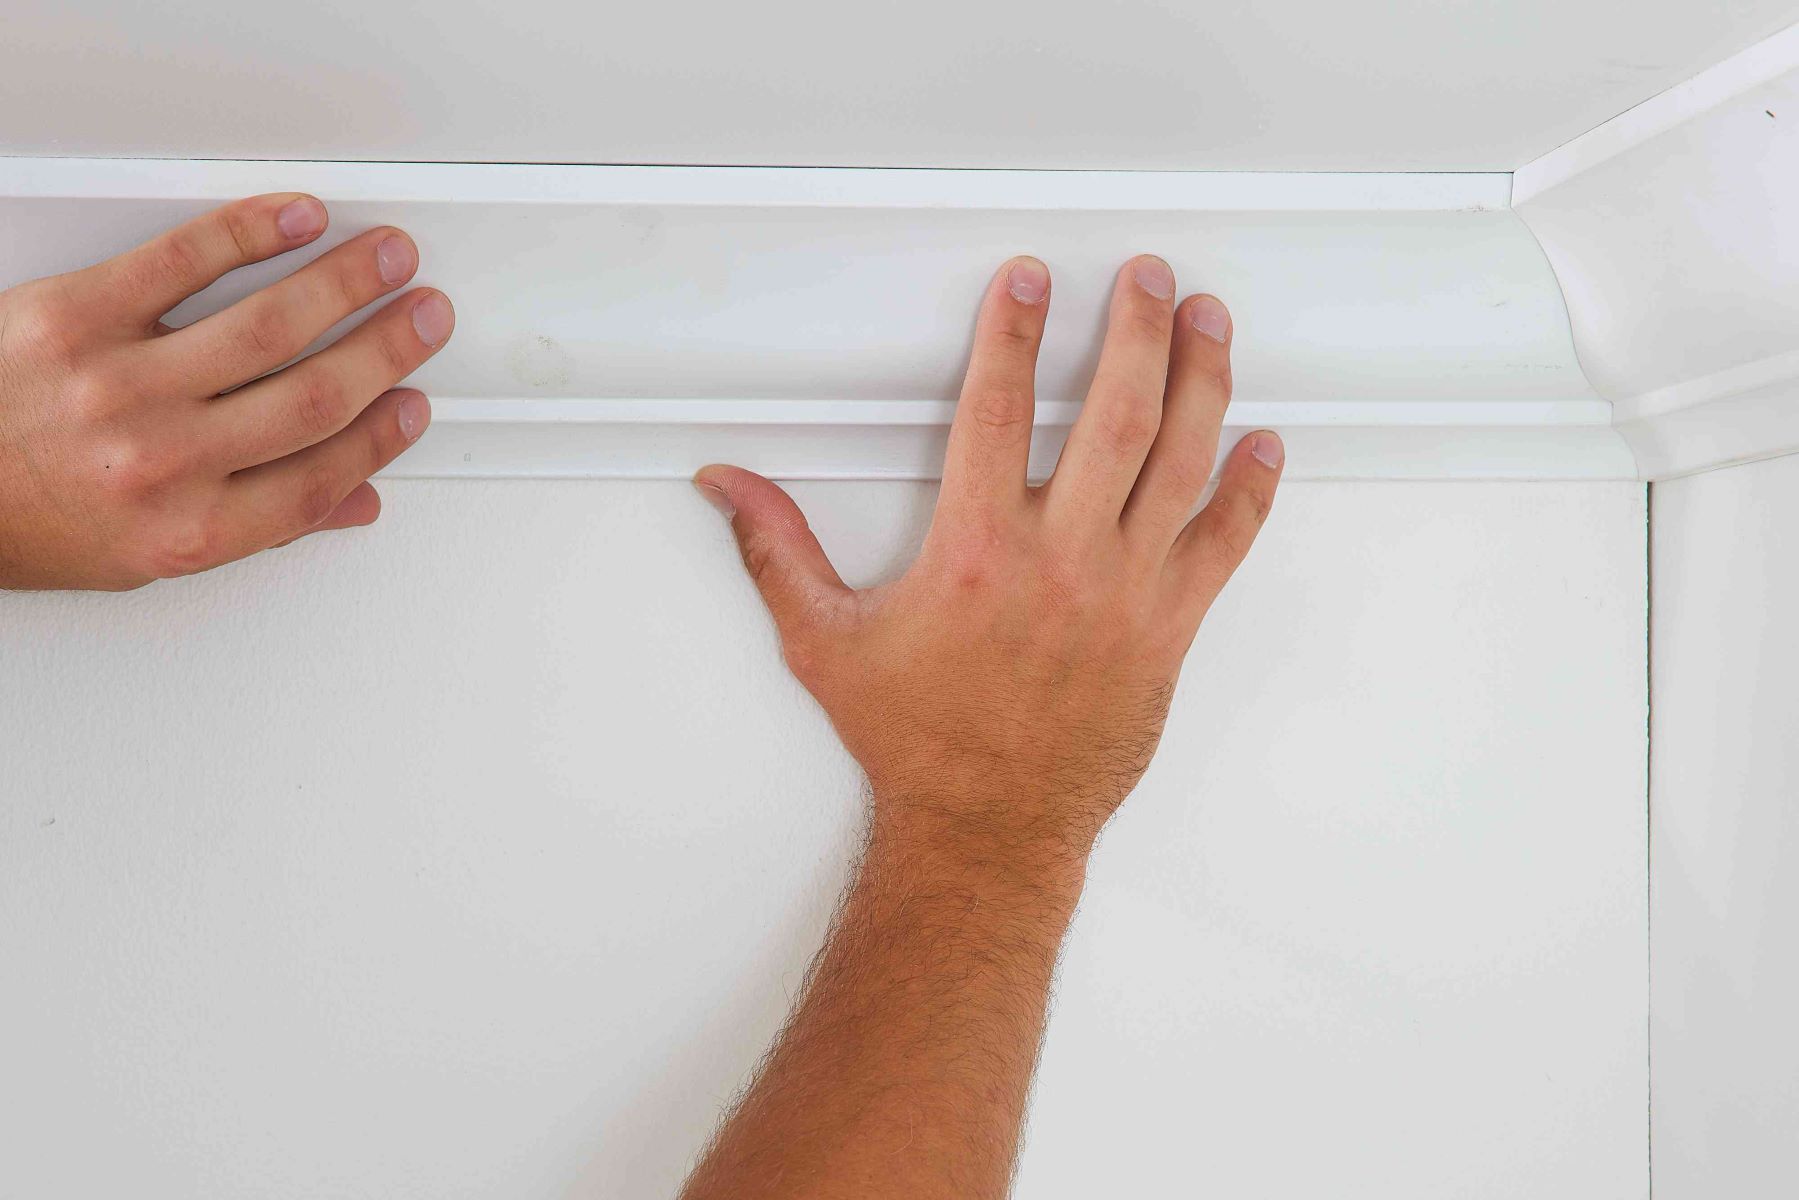
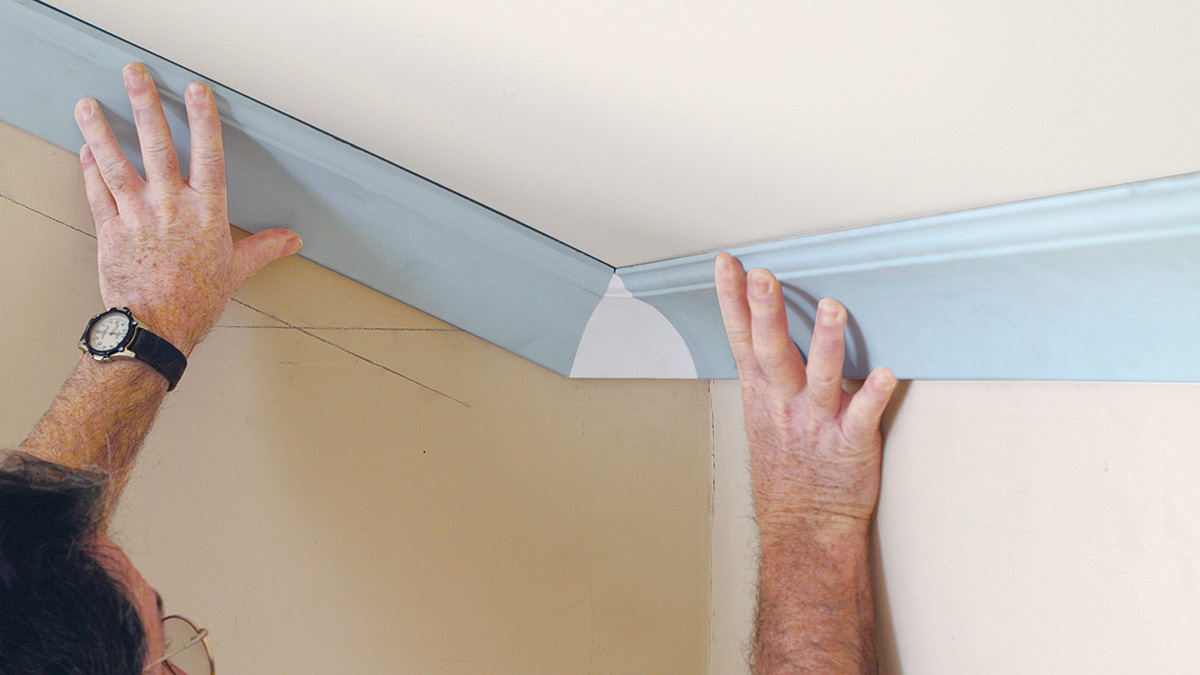
With the corner blocks (if applicable) in place, it’s time to attach the crown molding to the cabinets. This step requires careful precision to ensure a seamless and professional-looking installation.
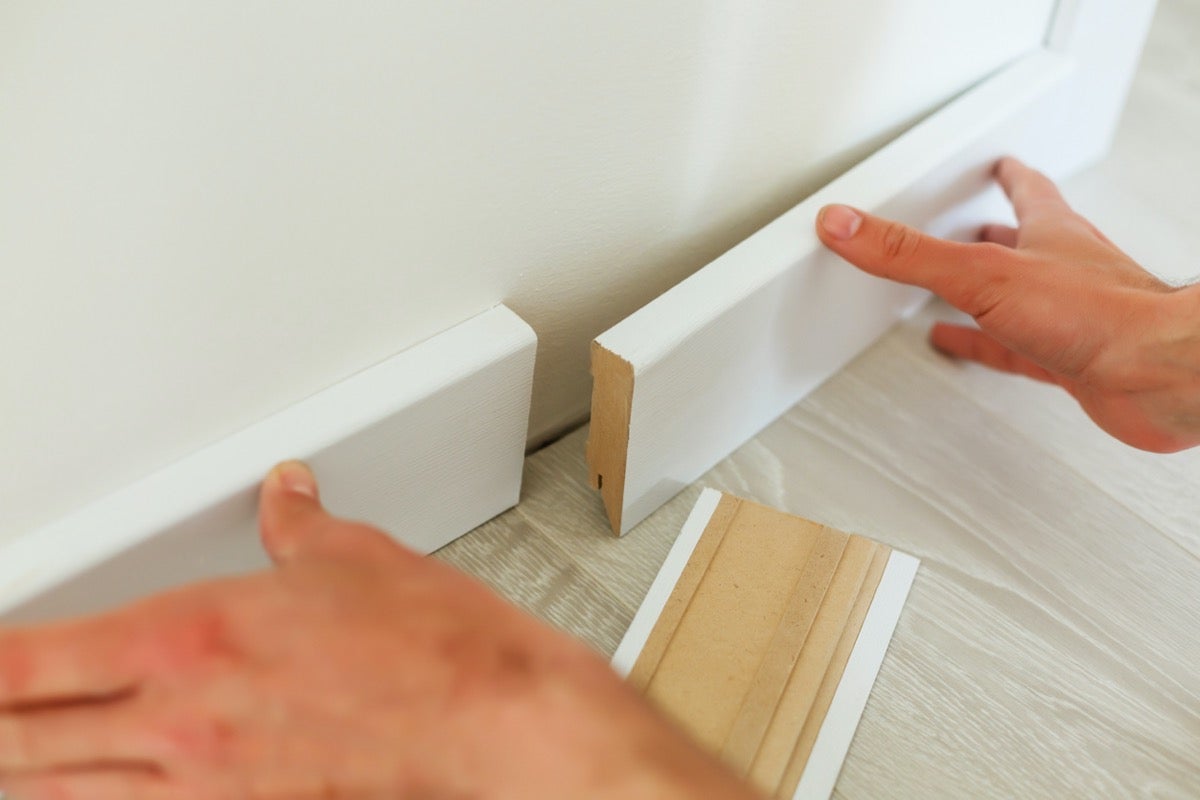
Starting with one side of a cabinet, apply a thin line of wood adhesive along the back edge of the crown molding. Position the molding against the top edge of the cabinet, ensuring that it is flush with both the front and side edges. Press the molding firmly into place.
Next, use a brad nailer or a hammer and finishing nails to secure the crown molding to the cabinet. Drive the nails into the thicker parts of the molding to avoid splitting. Make sure the nails are countersunk, so they can be easily concealed later.
Continue attaching the crown molding to the cabinets, moving along one side at a time. Apply wood adhesive and press the molding firmly against the cabinet, then secure it with nails. Take your time to ensure that the molding is straight and aligned properly.
If you have a long stretch of cabinets, it may be necessary to use a helper or temporary supports to hold the crown molding in place while securing it. This will prevent the molding from sagging or shifting during installation.
Once all the crown molding pieces are attached, double-check for any gaps or misalignments. Make any necessary adjustments before moving on to the next step.
Great job! You have successfully attached the crown molding to the cabinets. Next, we’ll discuss how to fill nail holes and sand the molding to create a seamless finish.
Step 6: Fill Nail Holes and Sand
After attaching the crown molding to the cabinets, it’s time to give it a polished and finished look by filling any nail holes and sanding the surface.
Start by inspecting the crown molding for any visible nail holes or gaps. Use a small amount of wood putty or wood filler to fill these holes. Apply the putty with a putty knife, smoothing it out and ensuring that it is level with the surface of the molding. Allow the putty to dry according to the manufacturer’s instructions.
Once the putty is dry, it’s time to sand the crown molding. Use a sanding block or sandpaper to gently sand the surface of the molding. Sand in the direction of the wood grain to avoid damaging the surface. The goal here is to create a smooth and even surface, removing any rough edges or imperfections.
Pay special attention to the areas where you applied the putty to ensure a seamless transition between the molding and the filled nail holes.
Be sure to wipe away any dust or debris from the sanding process before moving on to the next step.
With the nail holes filled and the crown molding sanded, the next step is to prime and paint the molding to achieve the desired finish.
Step 7: Prime and Paint the Crown Molding
Priming and painting the crown molding will give it a beautiful, finished look that matches the style of your kitchen. This step allows you to customize the color and appearance of the molding to suit your preferences.
Start by applying a coat of primer to the crown molding. Use a paintbrush or a paint sprayer to evenly coat the surface. Priming helps the paint adhere better and provides a smooth base for the paint color.
Once the primer is dry, it’s time to apply the paint. Choose a high-quality paint suitable for trim and woodwork. Use a paintbrush or a paint sprayer to apply an even coat of paint to the crown molding. Start from one end and work your way along the length of the molding, making sure to cover all surfaces.
Allow the first coat of paint to dry completely. Depending on the color and coverage, you may need to apply a second coat. Follow the manufacturer’s instructions for drying time between coats.
Take your time during the painting process to ensure a professional and smooth finish. Pay attention to any drips, streaks, or missed spots, and make corrections as needed.
Once the paint is dry, inspect the crown molding for any touch-ups or final details. Use a small brush to fix any imperfections or areas that need additional paint.
With the crown molding primed and painted, it’s time for the final step: adding the finishing touches and cleaning up.
Read more: DIY Guide To Installing Crown Molding
Step 8: Final Touches and Cleaning up
Congratulations! You’re in the final stretch of installing kitchen cabinet crown molding. Now it’s time to add the final touches and clean up any mess.
Start by inspecting the crown molding for any visible seams or gaps between the pieces. Use a small amount of wood filler or caulk to fill in these gaps, creating a seamless look. Smooth out the filler with a putty knife or your finger, ensuring that it blends seamlessly with the rest of the molding.
Take a step back and examine the overall appearance of the crown molding. Look for any areas that may require additional touch-ups, such as paint chips or uneven edges. Address these issues with touch-up paint or a small brush, ensuring that the molding looks flawless.
Once you’re satisfied with the crown molding’s appearance, it’s time to clean up the work area. Remove any excess wood adhesive, putty, or paint that may have dripped or splattered during the installation process. Use a damp cloth or sponge to wipe away residue from the cabinets, walls, and floor.
Dispose of any leftover materials, such as empty paint cans or discarded packaging, responsibly.
Lastly, step back and admire your newly installed kitchen cabinet crown molding. The addition of crown molding brings an element of sophistication and style to your kitchen, elevating its overall aesthetic.
Remember to maintain your crown molding by periodically dusting and cleaning it to ensure its longevity and continued beauty.
With the final touches and clean-up complete, your kitchen cabinet crown molding installation is finished. You can now enjoy the beauty and elegance it adds to your kitchen space.
Thank you for following this comprehensive guide. We hope it has been helpful in your crown molding installation journey. Happy remodeling!
Conclusion
Installing kitchen cabinet crown molding is a rewarding project that can transform the look and feel of your kitchen. With the right tools, materials, and step-by-step guidance, you can achieve a seamless and professional-looking installation.
In this comprehensive guide, we have taken you through each step of the process, from measuring the cabinets to adding the final touches. We have covered important tasks such as cutting the crown molding, attaching it to the cabinets, filling nail holes, sanding, priming, and painting. All of these steps contribute to a flawless and polished result.
Remember to take your time during the installation process, ensuring accurate measurements, precise cuts, and careful attachment of the crown molding. Pay attention to detail and make any necessary adjustments along the way. Your patience and attention to detail will be rewarded with a beautifully finished product.
Adding crown molding to your kitchen cabinets not only enhances their appearance but also adds value to your home. The elegance and sophistication it brings can greatly elevate the overall aesthetic of your kitchen space.
Whether you are upgrading your kitchen or embarking on a complete remodel, installing crown molding on your kitchen cabinets will undoubtedly make a significant impact.
Thank you for joining us on this journey of installing kitchen cabinet crown molding. We hope you have found this guide informative and helpful. Now, it’s time to put your knowledge into action and create a stunning kitchen space that you can enjoy for years to come. Happy remodeling!
Now that you've mastered installing kitchen cabinet crown molding, why not tackle more home projects? If you've got the DIY bug, our guide on DIY home improvement offers practical steps to transform any space easily. For those who love crafting with wood, check out our latest roundup of the best woodworking projects. These resources are perfect for anyone eager to enhance their skills and home aesthetics.
Frequently Asked Questions about How To Install Kitchen Cabinet Crown Molding
Was this page helpful?
At Storables.com, we guarantee accurate and reliable information. Our content, validated by Expert Board Contributors, is crafted following stringent Editorial Policies. We're committed to providing you with well-researched, expert-backed insights for all your informational needs.


0 thoughts on “How To Install Kitchen Cabinet Crown Molding”