Home>Ideas and Tips>DIY Guide To Installing Hardwood Floors
Ideas and Tips
DIY Guide To Installing Hardwood Floors
Published: September 3, 2024
Learn how to install hardwood floors with our comprehensive DIY guide. Step-by-step instructions, tips, and tools for a professional finish.
(Many of the links in this article redirect to a specific reviewed product. Your purchase of these products through affiliate links helps to generate commission for Storables.com, at no extra cost. Learn more)
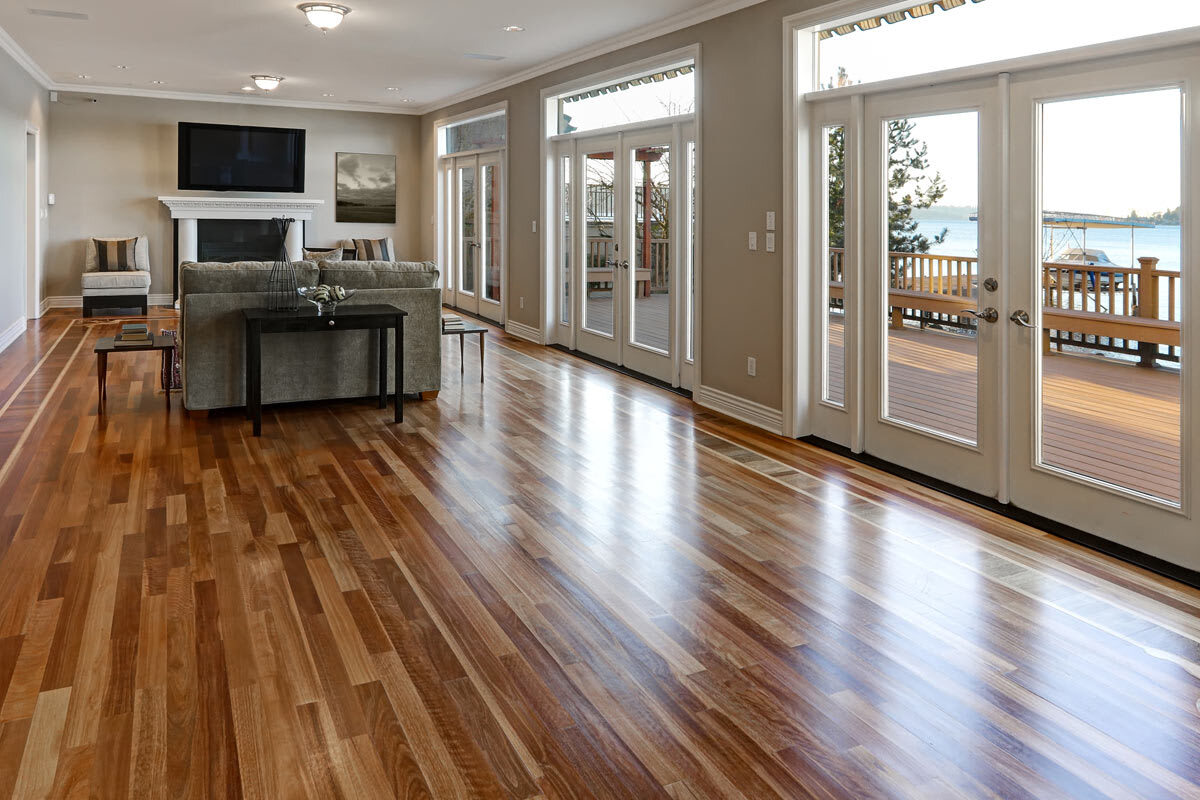
Installing hardwood floors is a rewarding and cost-effective way to upgrade your home, adding warmth, beauty, and value to your living space. However, it requires careful planning, attention to detail, and the right tools and knowledge. In this comprehensive guide, we will walk you through the steps involved in installing hardwood floors, from selecting the right materials to adding the finishing touches.
Choosing the Right Hardwood Flooring
Before you begin your project, it's essential to choose the right type of hardwood flooring for your needs. There are several factors to consider:
-
Type of Wood: Hardwood flooring comes in various types, including solid hardwood, engineered hardwood, and bamboo. Each type has its own advantages and disadvantages. Solid hardwood is durable but can be more expensive and sensitive to moisture. Engineered hardwood is more versatile and can be installed over concrete or existing flooring. Bamboo is eco-friendly and resistant to dings and scratches but may require gluing down due to its brittle tongue.
-
Thickness: The thickness of the flooring should match the existing flooring in adjoining rooms to ensure an even height. A common thickness for hardwood flooring is 3/4 inch, but it can vary depending on the type and manufacturer.
-
Color and Finish: The color and finish of the flooring should complement the style and decor of your home. Consider factors like the natural color of the wood, the finish (e.g., matte, glossy), and any additional treatments like staining or distressing.
-
Quality: The quality of the flooring can significantly impact its durability and appearance. Look for flooring that is FSC-certified (Forest Stewardship Council) for sustainability and has a high Janka hardness rating for resistance to wear and tear.
Read more: DIY Guide To Installing A Tile Floor
Determining Square Footage
To ensure you have enough flooring, it's crucial to calculate the square footage of the room accurately. Here’s how to do it:
- Measure the Room: Measure the length and width of the room in feet.
- Calculate Square Footage: Multiply the length by the width to get the square footage.
- Add 10-15% for Cuts and Waste: Add 10-15% to your total square footage to account for cuts and waste during installation.
For example, if your room is 12 feet by 15 feet, the square footage would be:
[ 12 text{ feet} times 15 text{ feet} = 180 text{ square feet} ]
Adding 10% for cuts and waste:
[ 180 text{ square feet} + (180 times 0.10) = 198 text{ square feet} ]
Preparing Your Workspace
Before you start installing your hardwood floors, it's essential to prepare your workspace:
- Clear the Room: Remove all items from the room, including furniture, rugs, and decorations. This will help prevent dust and debris from accumulating during the installation process.
- Cover the Floor: Cover any remaining items or surfaces with drop cloths or plastic sheets to protect them from dust and debris.
- Remove Baseboards: Use a pry bar to carefully remove baseboards. If you plan to reuse them, be careful not to damage them.
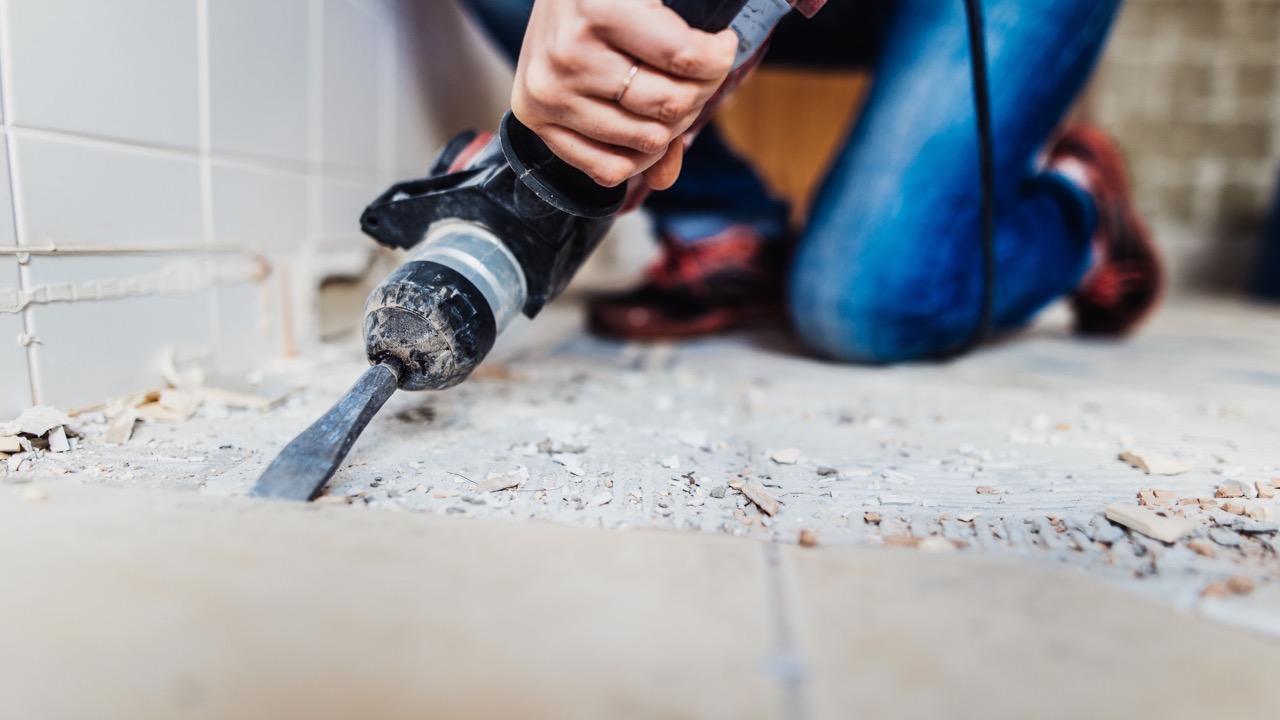
- Remove Old Flooring: Remove any existing flooring materials such as carpet, vinyl, or tile. Use a pry bar for carpet and vinyl, and a hammer for tile.
Preparing the Subfloor
A well-prepared subfloor is crucial for a successful hardwood floor installation:
- Inspect the Subfloor: Check the subfloor for any signs of damage, moisture, or unevenness.
- Repair Damaged Areas: Repair any damaged areas with plywood or OSB (oriented strand board). Ensure that the subfloor is completely dry before proceeding.
- Level the Subfloor: Use a long level to check for high or low spots. Sand down high spots or fill low areas with a leveling compound as needed.
- Check Moisture Levels: Use a moisture meter to check the moisture levels in the subfloor. If your moisture levels are too high, it may be necessary to apply a moisture barrier or consult a professional.
- Ensure Structural Integrity: Make sure the subfloor is strong and structurally sound. Fix loose or creaky boards with wood or decking screws.
Special Considerations for Concrete Subfloors
If you're installing over concrete:
- Apply a Moisture Barrier: Ensure that the moisture content is below 4% before installing.
- Check Both Floors: If you're working on plywood over concrete, check both floors for levelness. The floor shouldn't vary more than 3/16 inch every 10 feet.
- Sand High Spots: Sand any high spots on the concrete subfloor.
- Use Leveling Compound: Apply leveling compound if necessary to ensure the subfloor is level.
Read more: DIY Guide To Installing A Pebble Tile Floor
Special Considerations for Wood Subfloors
If you're working with wood subfloors:
- Thickness: Ensure that the subfloor is at least 3/4-inch thick plywood or OSB.
- Secure Fastening: Make sure the subfloor is securely fastened to the floor joists.
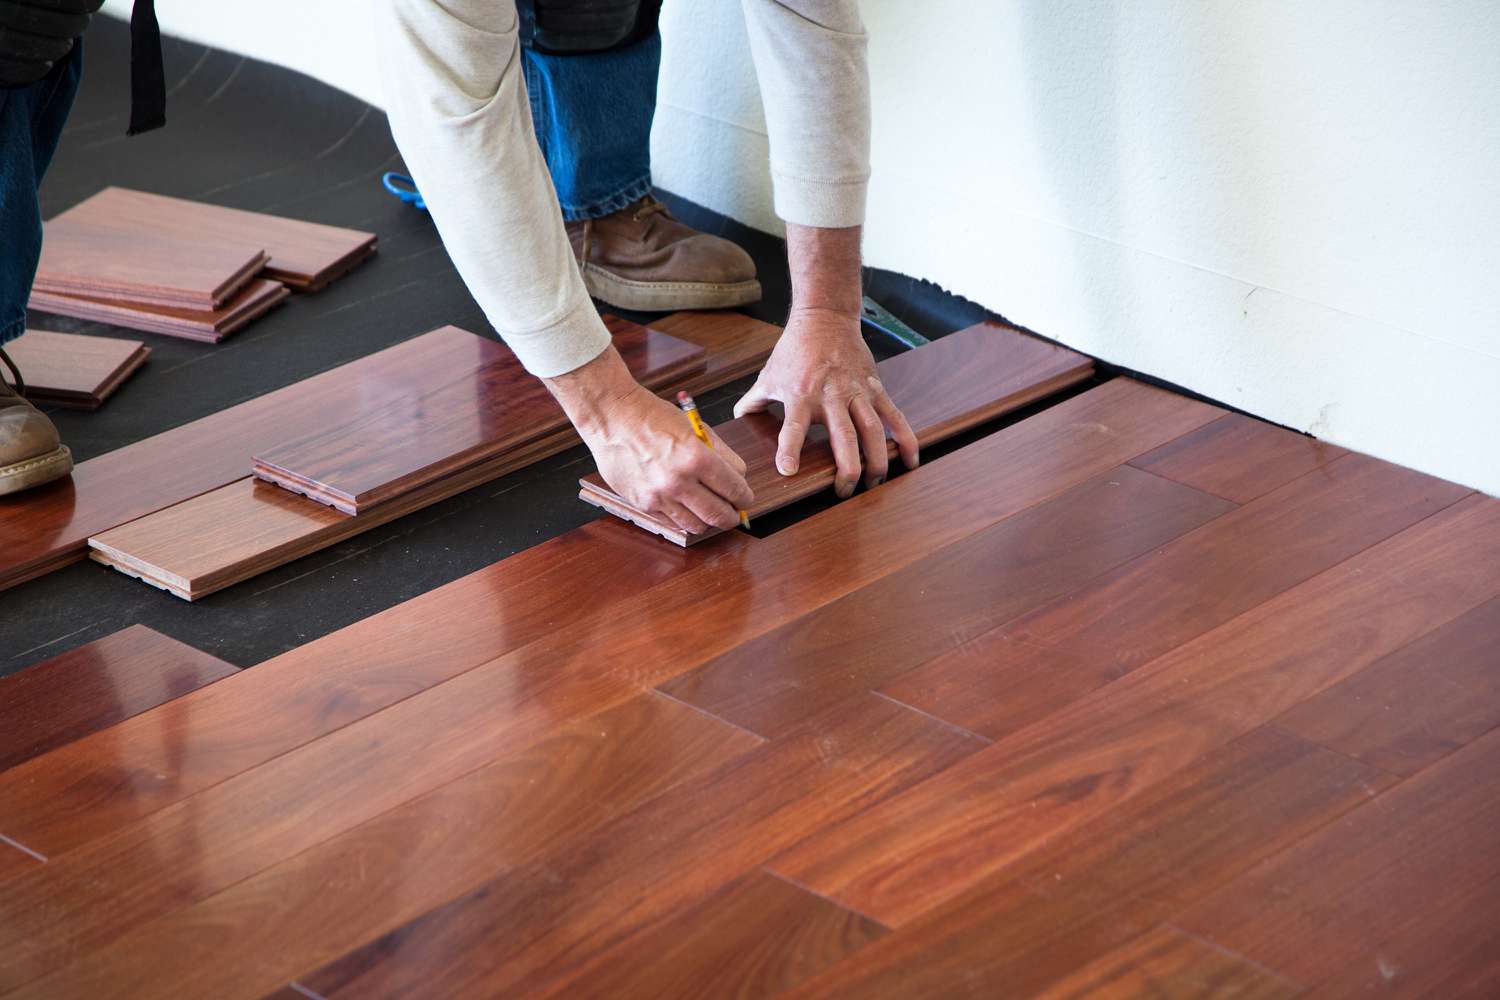
Installing the First Row of Flooring
The first row of hardwood flooring sets the foundation for the entire installation:
- Create a Straight Starting Line: Snap a chalk line parallel to your starting wall, accounting for the 3/4-inch expansion gap.
- Secure Initial Boards: Place the first board along this line with the groove facing the wall. If the wall isn’t perfectly straight, you may need to scribe the first row to fit its contours. Secure this row by face-nailing through the board about one-half of an inch from the wall side.
- Use Nail Set: Use a nail set to countersink the nails slightly below the surface of the wood.
Continuing the Hardwood Flooring Installation Process
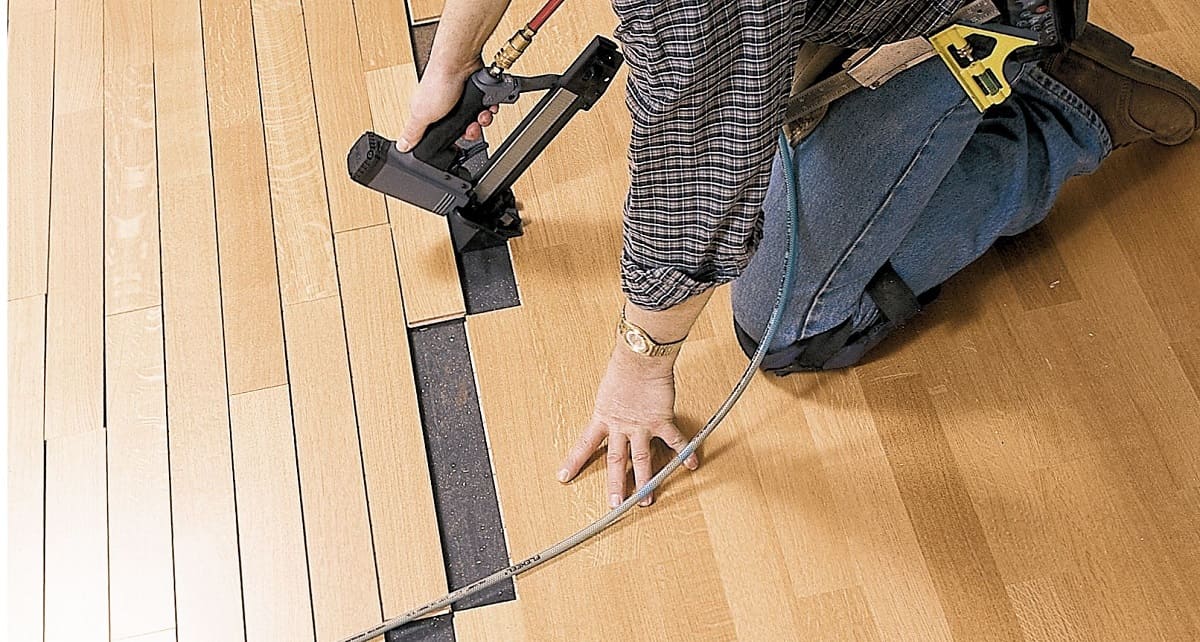
Once you’ve successfully laid the first row, you can install the rest of the flooring:
- Using a Flooring Nailer: For most of the installation, use a flooring nailer to secure the boards through the tongue. Position the nailer against the board, ensuring it’s snug against the tongue. Strike the plunger with a mallet to drive the fastener.
- Stagger Board Joints: To create a strong and visually appealing floor, stagger the end joints of the boards. Aim for at least 6 inches of separation between joints in adjacent rows.
- Avoid H-Pattern: Avoid making an H-pattern or stair-step effect with the board joints, as this can weaken the floor and make it look unnatural.
Setting Expansion Gaps
Before laying any boards, leave a three-quarter-inch expansion gap around the perimeter of the room. This gap allows the wood to expand and contract with changes in humidity without causing buckling or other damage. Use three-quarter-inch spacers along the starting wall to maintain this gap.
Read more: How To Install Hardwood Floors
Preparing Doorways
Prepare doorways ahead of time by stacking a piece of flooring on the underlayment and cutting door casings about 1/16 inch above with a jam saw for doors. Remove them and cut about 1/8 inch above when your subfloor is in good shape.
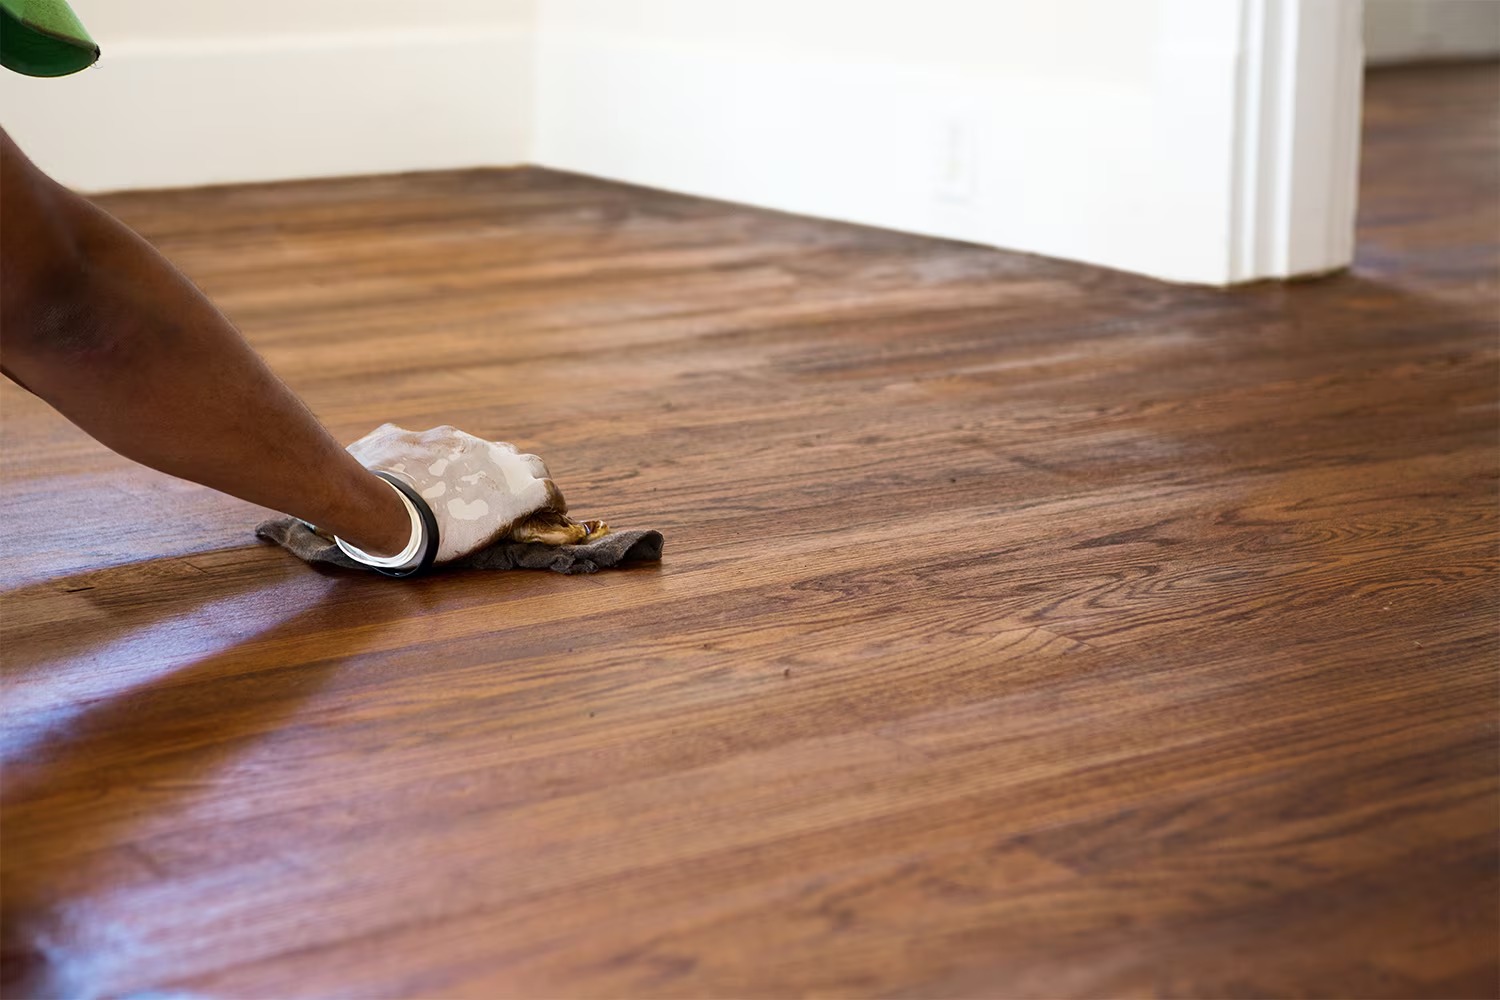
Finishing Touches
Once your installation is completed and your glue is dry, it’s time to put the finishing touches on your brand-new flooring:
- Sand and Stain: Sand the entire floor to smooth out any imperfections. If desired, stain the floor to enhance its color and finish.
- Apply Polyurethane Coating: Apply multiple coats of polyurethane coating to protect the wood and enhance its appearance.
- Install Baseboards: Reinstall baseboards and any other trim pieces you removed earlier.
Additional Tips and Considerations
- Acclimate Flooring: Acclimate your flooring to your home's climate for a few days before installation. This helps prevent warping or shrinking due to sudden changes in humidity.
- Use Proper Tools: Invest in proper tools like a flooring nailer, chalk line, and nail set for a smoother installation process.
- Measure Twice, Cut Once: Double-check your measurements before cutting any boards to avoid costly mistakes.
- Work with a Partner: If possible, work with a partner to make the installation process easier and more efficient.
Cost Considerations
Hardwood floor installation costs can vary significantly based on several factors including:
- Type and Quality of Wood: The type and quality of the wood significantly impact the cost. Engineered wood and groove flooring are generally more cost-effective than solid hardwood.
- Installation Method: The installation method (floating, nail-down, or glue) also affects the cost. Glue-down installations are often more expensive but provide a stable floor.
- Labor Costs: If you hire a professional, labor costs can range from $3 to $8 per square foot.
For a DIY installation, you can expect to pay around $6 to $14 per square foot for materials and installation, making it a cost-effective option if you have the time and skills.
Read more: DIY Guide To Refinishing Hardwood Floors
Conclusion
Installing hardwood floors is a rewarding DIY project that can transform your home's aesthetic and value. By following these steps and considering the tips and recommendations outlined in this guide, you can achieve professional-looking results while saving money on labor costs. Remember to always measure twice, cut once, and work with a partner if possible to ensure a smooth and successful installation process.
Whether you're a seasoned DIY enthusiast or just starting out, this guide provides a comprehensive overview of the steps involved in installing hardwood floors. With patience and attention to detail, you can create beautiful, durable hardwood floors that will enhance your home for years to come.
Was this page helpful?
At Storables.com, we guarantee accurate and reliable information. Our content, validated by Expert Board Contributors, is crafted following stringent Editorial Policies. We're committed to providing you with well-researched, expert-backed insights for all your informational needs.


0 thoughts on “DIY Guide To Installing Hardwood Floors”