Articles
How To Build A Freestanding Divider Wall
Modified: March 1, 2024
Learn how to build a sturdy and functional freestanding divider wall with our step-by-step articles. Perfect for creating separate spaces without the need for permanent structures.
(Many of the links in this article redirect to a specific reviewed product. Your purchase of these products through affiliate links helps to generate commission for Storables.com, at no extra cost. Learn more)
Introduction
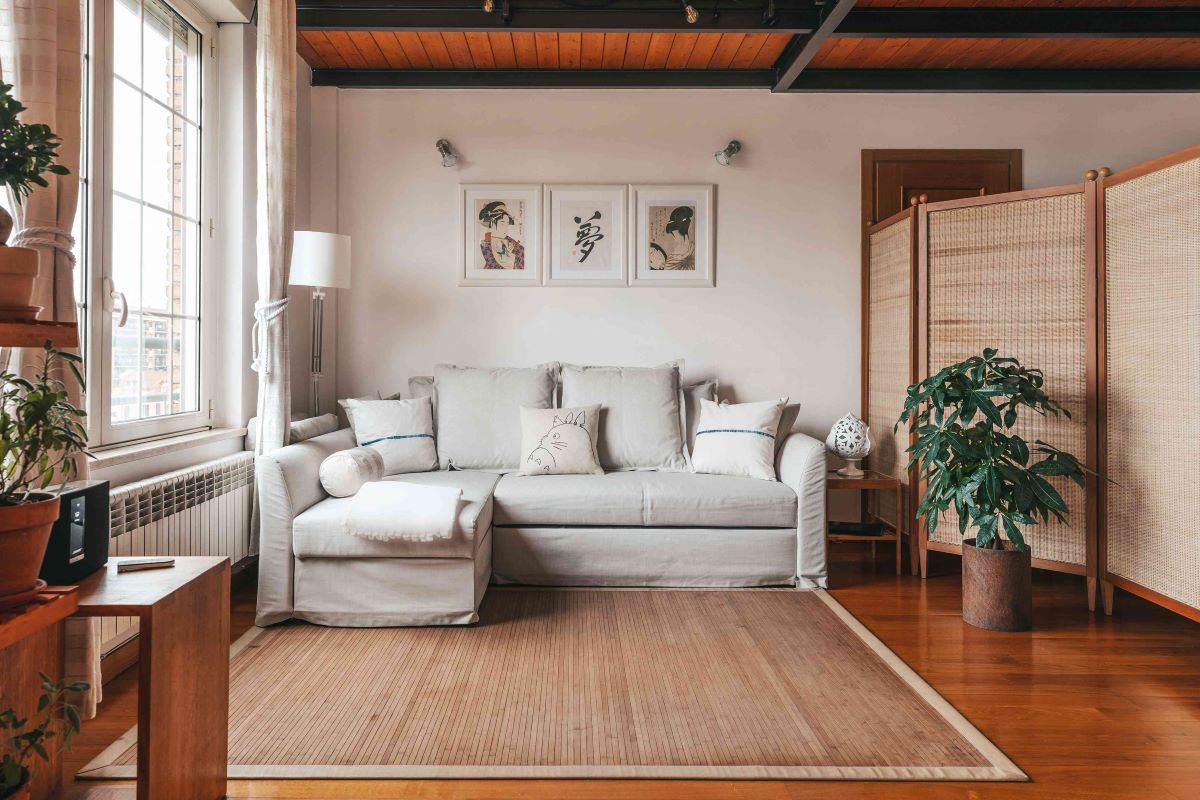
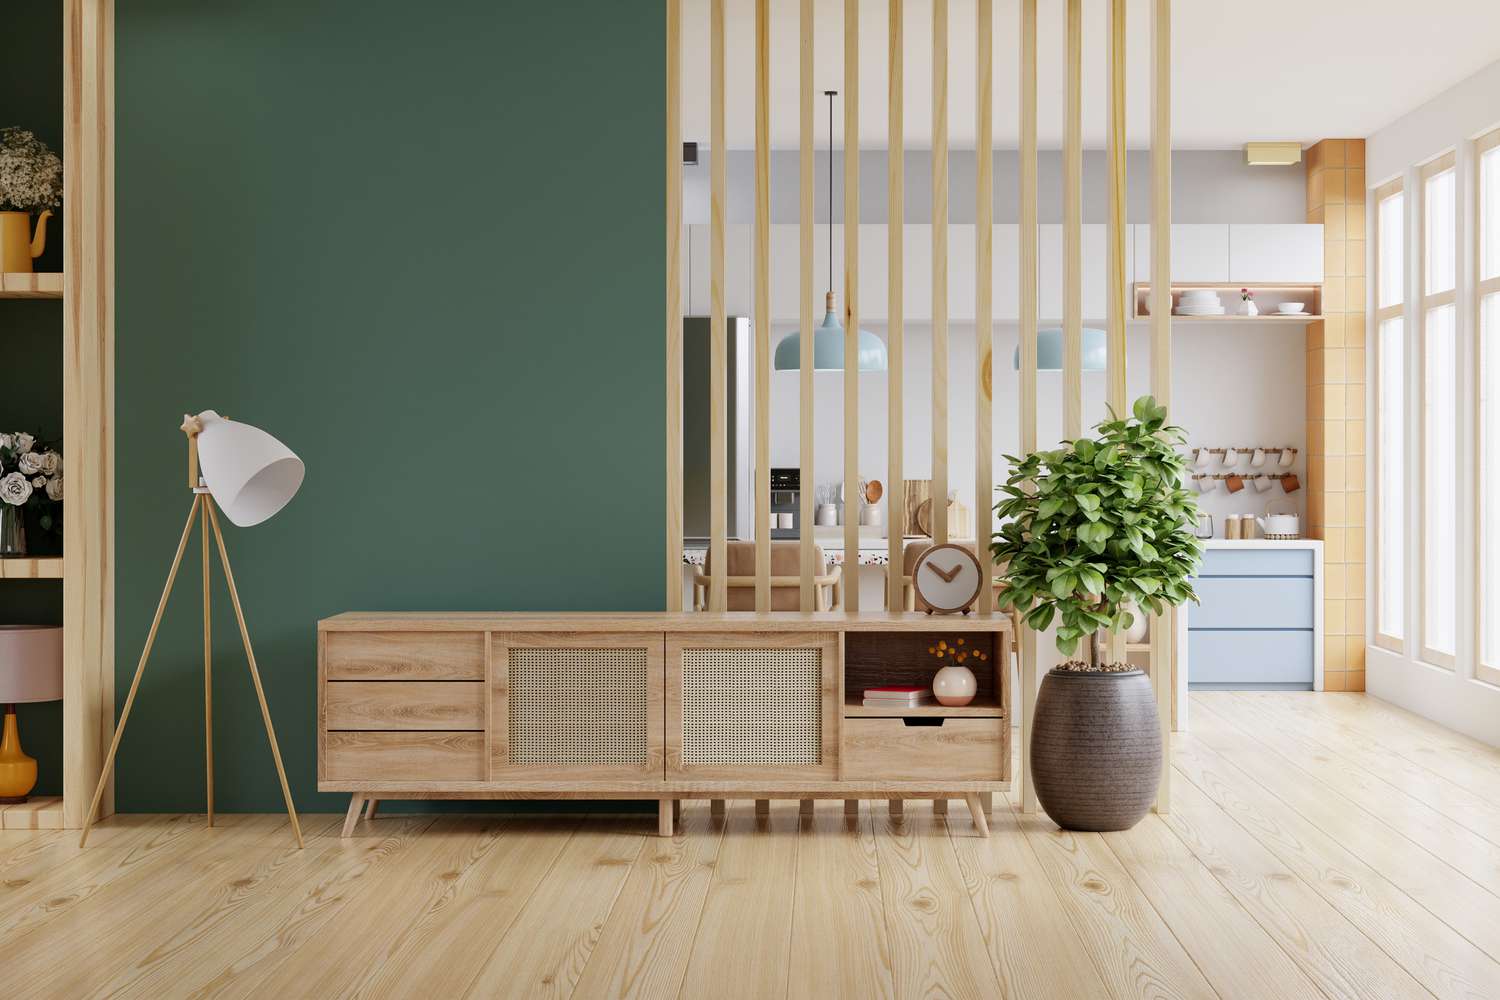
Are you looking to create a separate space within a room or office without the need for permanent walls? A freestanding divider wall can be the perfect solution. Whether you want to create a private workspace, divide a room into different functional areas, or just add a stylish accent to your interior design, building a freestanding divider wall gives you flexibility and control over your space.
In this article, we will guide you through the step-by-step process of building a freestanding divider wall. From gathering materials and tools to adding the finishing touches, we’ll cover everything you need to know to create your own custom divider wall.
Before we begin, it’s important to note that the construction of a freestanding divider wall requires some intermediate DIY skills and basic knowledge of woodworking. Additionally, ensure that you have the necessary safety equipment, such as goggles, gloves, and ear protection, to protect yourself during the construction process.
So, if you’re ready to transform your space and add some functionality and style, let’s get started on building your very own freestanding divider wall!
Key Takeaways:
- Create a versatile and stylish space with a custom freestanding divider wall, adding functionality and privacy to your room or office while reflecting your personal style.
- Building a freestanding divider wall requires intermediate DIY skills and woodworking knowledge, prioritizing safety and proper preparation for a successful and visually appealing project.
Read more: How To Build A Half Wall Room Divider
Step 1: Gathering Materials and Tools
Before starting any construction project, it’s important to gather all the necessary materials and tools. Here’s a list of what you’ll need to build your freestanding divider wall:
- Measuring tape
- Pencil
- Level
- Drill
- Screws
- Screwdriver or drill bit
- Saw
- Sandpaper
- Wood glue
- Plywood panels
- Lumber for frame
- Corner braces
- Stud finder
- Paint or stain (optional)
- Paintbrush or roller (optional)
Make sure you have all these materials and tools ready before proceeding to the next step. This will not only save you time but also ensure a smoother construction process.
When it comes to choosing the lumber for the frame and plywood panels, consider the overall design and functionality of your divider wall. If you want a more rustic look, opt for reclaimed wood or choose a stain that matches your existing furniture. On the other hand, if you prefer a modern and sleek finish, go for painted plywood and clean lines.
Additionally, you may want to consider the dimensions of your divider wall. Measure the height and width of the area where you plan to install the wall to ensure a perfect fit. Keep in mind that the standard height for most divider walls is around 6 to 8 feet, but you can adjust the measurements to suit your specific needs.
Once you have gathered all the necessary materials and tools, you’re ready to move on to the next step: preparing the area.
Step 2: Preparing the Area
Before you start building your freestanding divider wall, it’s crucial to prepare the area where it will be installed. Here are the steps to follow:
- Clean the area: Remove any furniture or obstacles from the space where the divider wall will be placed. This will give you a clear working area and ensure that the wall is installed properly.
- Measure and mark the location: Use a measuring tape, pencil, and level to determine the exact placement of the wall. Measure and mark the desired height and width on the floor.
- Locate the studs: Use a stud finder to locate the studs in the walls or floor where the divider wall will be attached. This will help provide additional stability and ensure that the wall is securely anchored.
- Prepare the floor: If the area has carpeting, consider removing it or cutting it away where the wall will be installed. This will provide a solid and level surface for the base of the divider wall.
- Protect the flooring: Place a drop cloth or tarp on the floor to protect it during the construction process. This will prevent any damage from tools or spilled materials.
By taking the time to properly prepare the area, you’ll ensure that the installation process goes smoothly and that the freestanding divider wall is secure and stable.
Once you have completed these preparation steps, you’re ready to move on to the next step: measuring and marking the wall.
Step 3: Measuring and Marking the Wall
Now that the area is prepared, it’s time to measure and mark the dimensions of your freestanding divider wall. Follow these steps:
- Measure the height: Use a measuring tape to determine the desired height of your divider wall. Measure from the floor up to the desired height, making sure to account for the base and any additional trim or molding you plan to add.
- Mark the height: Mark the measured height on both sides of the space where the divider wall will be installed, using a pencil. Use a level to ensure the marks are straight and even.
- Measure the width: Measure the width of the space where the wall will be installed. For a freestanding wall, it’s recommended to leave a gap of at least 1 to 2 inches on each side to allow for easy installation and adjustment.
- Mark the width: Using the measured width, mark the desired width on the floor at the base of the wall. Again, use a level to ensure the marks are straight and even.
Once you have measured and marked the dimensions of your freestanding divider wall, you’ll have a clear guide to follow during the construction process. These measurements will help you ensure that the wall fits perfectly in the designated space and meets your desired height and width specifications.
With the wall dimensions marked, you’re now ready to move on to the next step: building the frame.
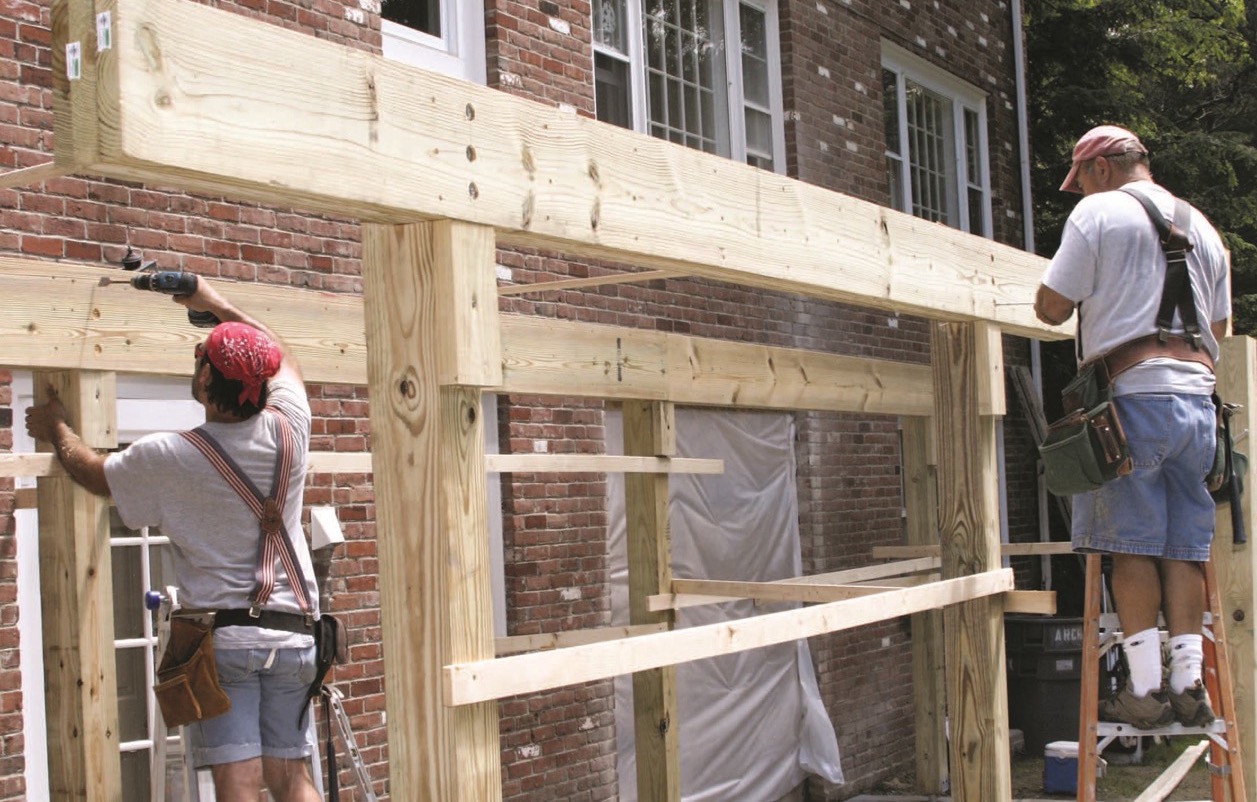
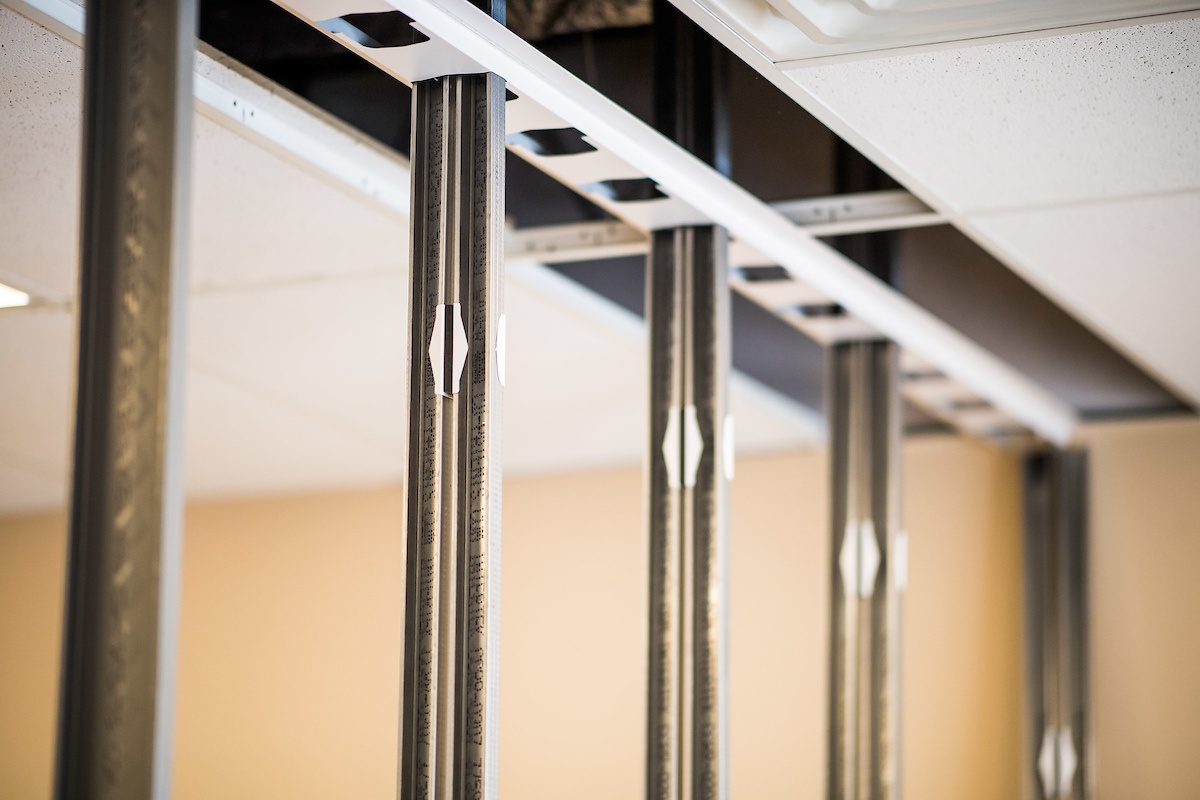
Step 4: Building the Frame
Building the frame is a crucial step in constructing your freestanding divider wall. The frame provides the structure and support for the wall. Follow these steps to build the frame:
- Measure and cut the lumber: Based on the marked dimensions, use a saw to cut the lumber for the top and bottom plates and the vertical studs. Make sure to follow the measurements accurately so that the frame fits within the marked area.
- Attach the top and bottom plates: Place the cut lumber for the top and bottom plates horizontally along the marked width on the floor. Use a drill and screws to attach the plates securely.
- Add the vertical studs: Measure the distance between the top and bottom plates and cut the vertical studs accordingly. Place them vertically between the plates, evenly spaced along the length. Use wood glue and screws to secure them in place.
- Check for levelness: Use a level to ensure that the frame is perfectly level both vertically and horizontally. Make any necessary adjustments by adding shims or sanding down sections until the frame is level.
- Secure the frame: Once the frame is level, reinforce the corners by adding corner braces. Attach the corner braces with screws to provide additional stability and strength to the frame.
Building a sturdy and level frame is essential for the stability of your freestanding divider wall. By following these steps, you’ll ensure that the frame is properly constructed, providing a solid foundation for the rest of the wall.
With the frame in place, you’re now ready to move on to the next step: attaching the plywood panels.
When building a freestanding divider wall, make sure to use sturdy materials and secure the wall to the floor and ceiling for stability. Consider using a combination of wood, metal, or other strong materials for the frame to ensure durability.
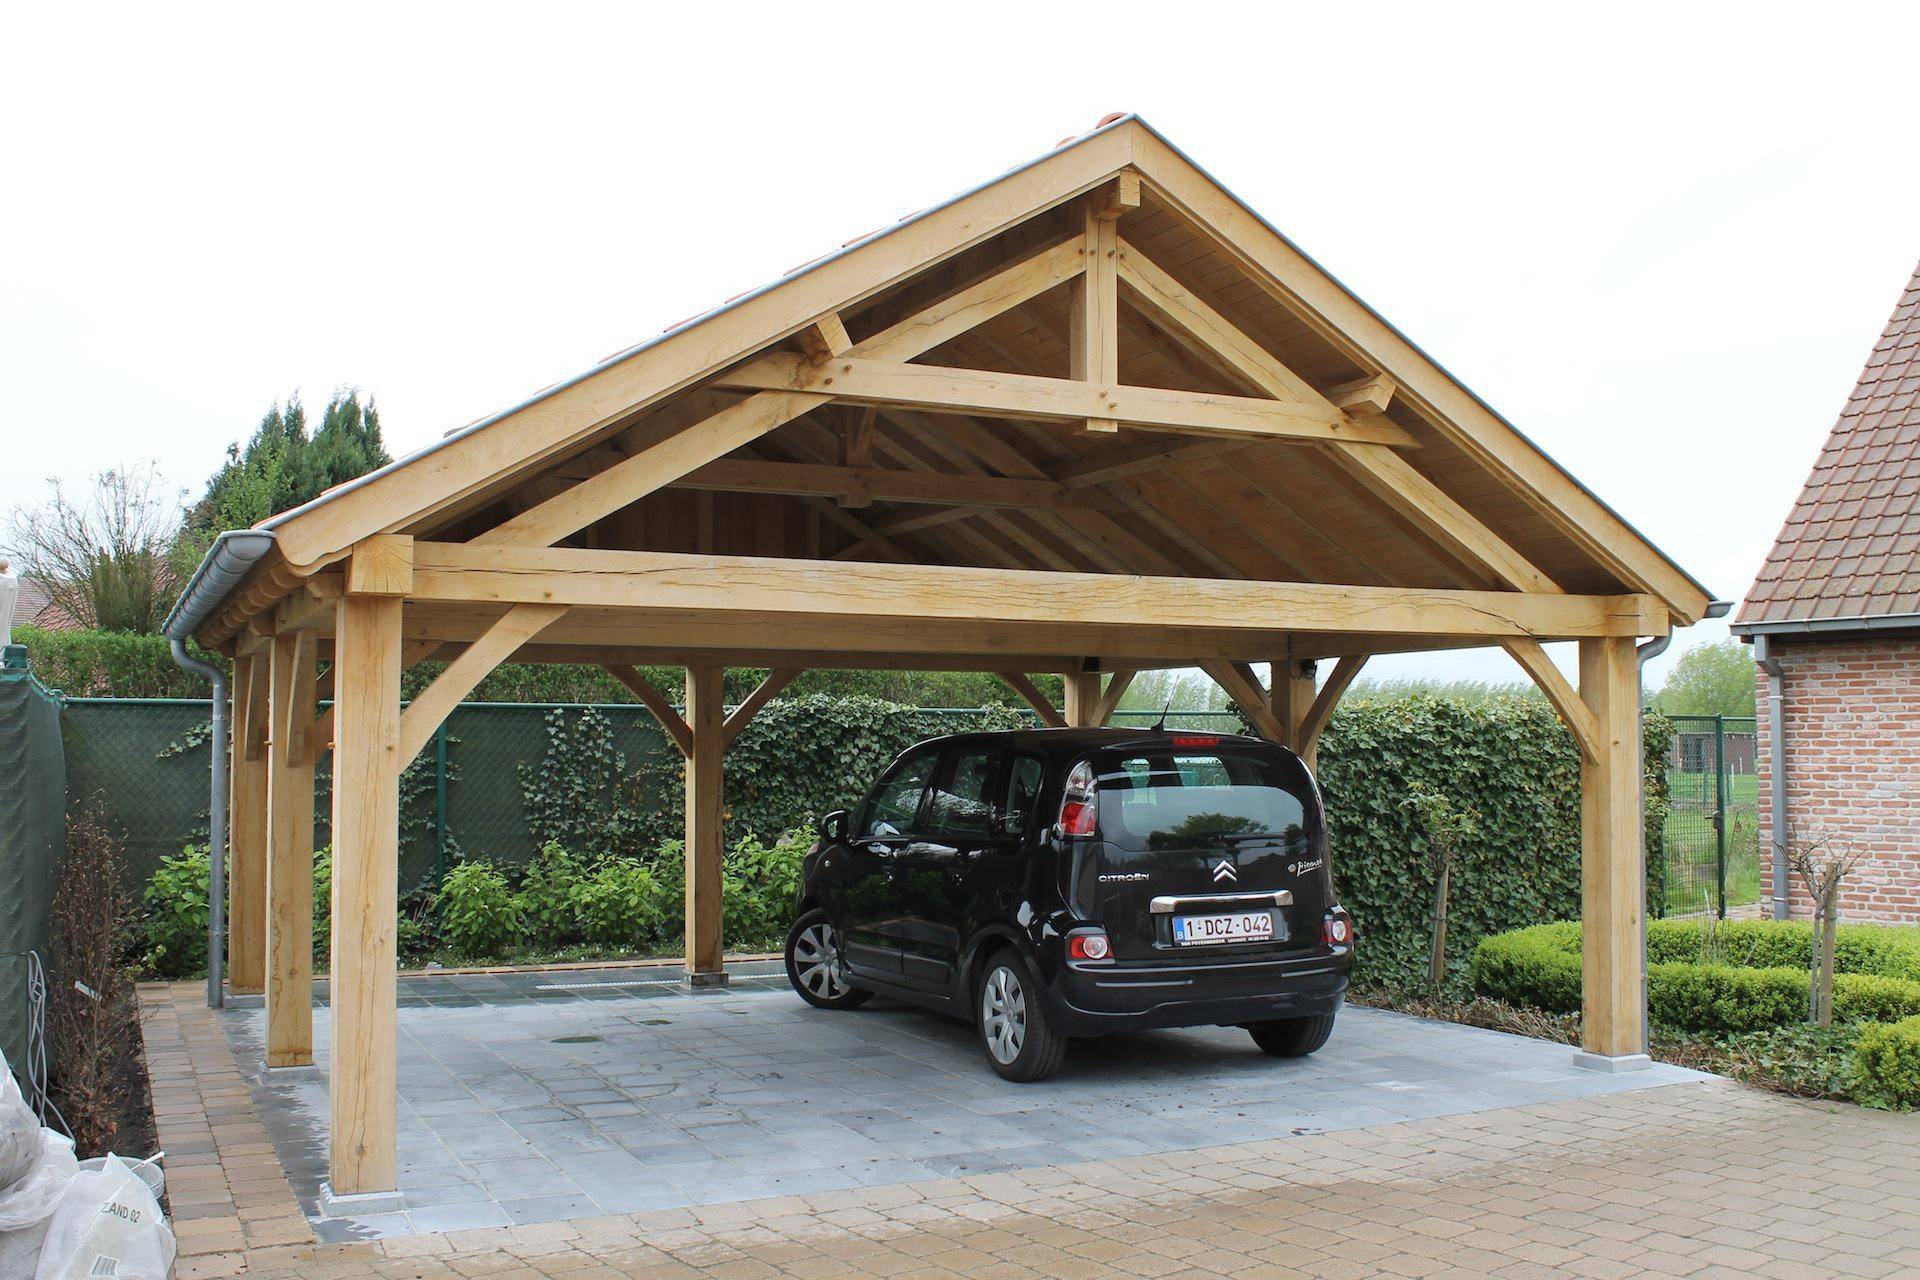
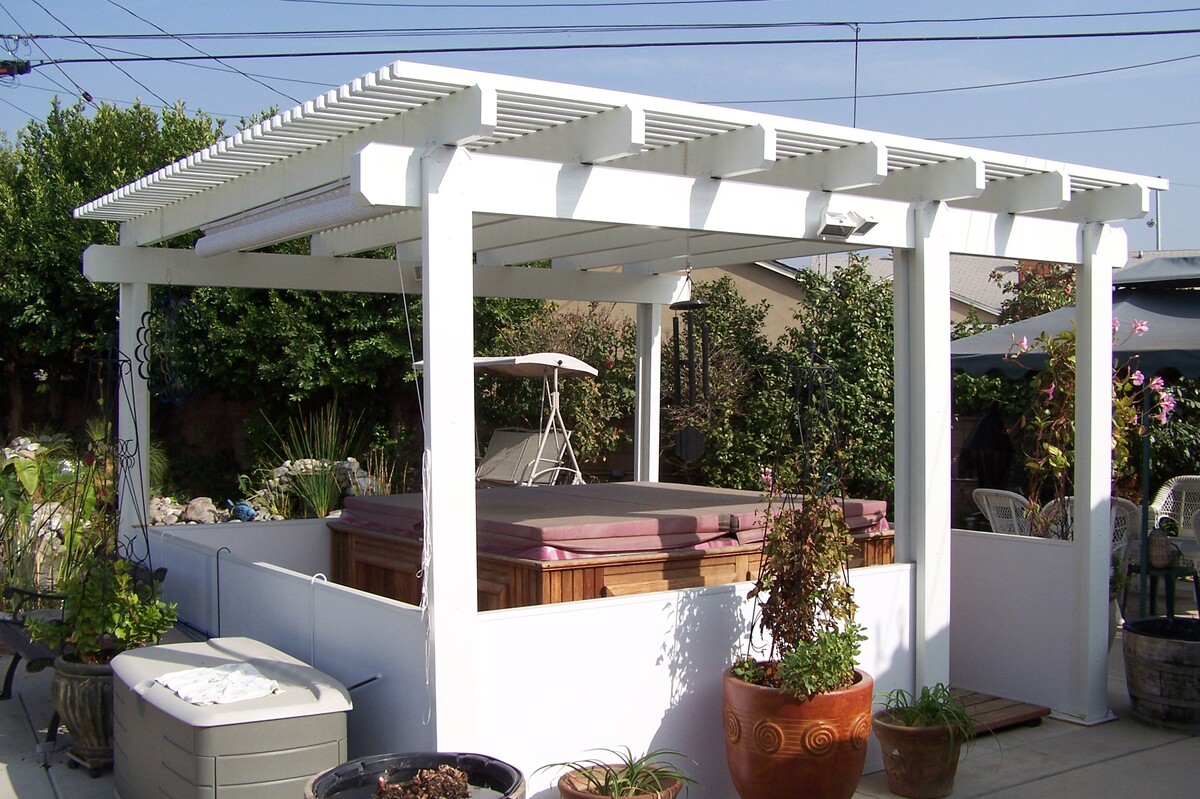
Read more: How To Build A Freestanding Pergola
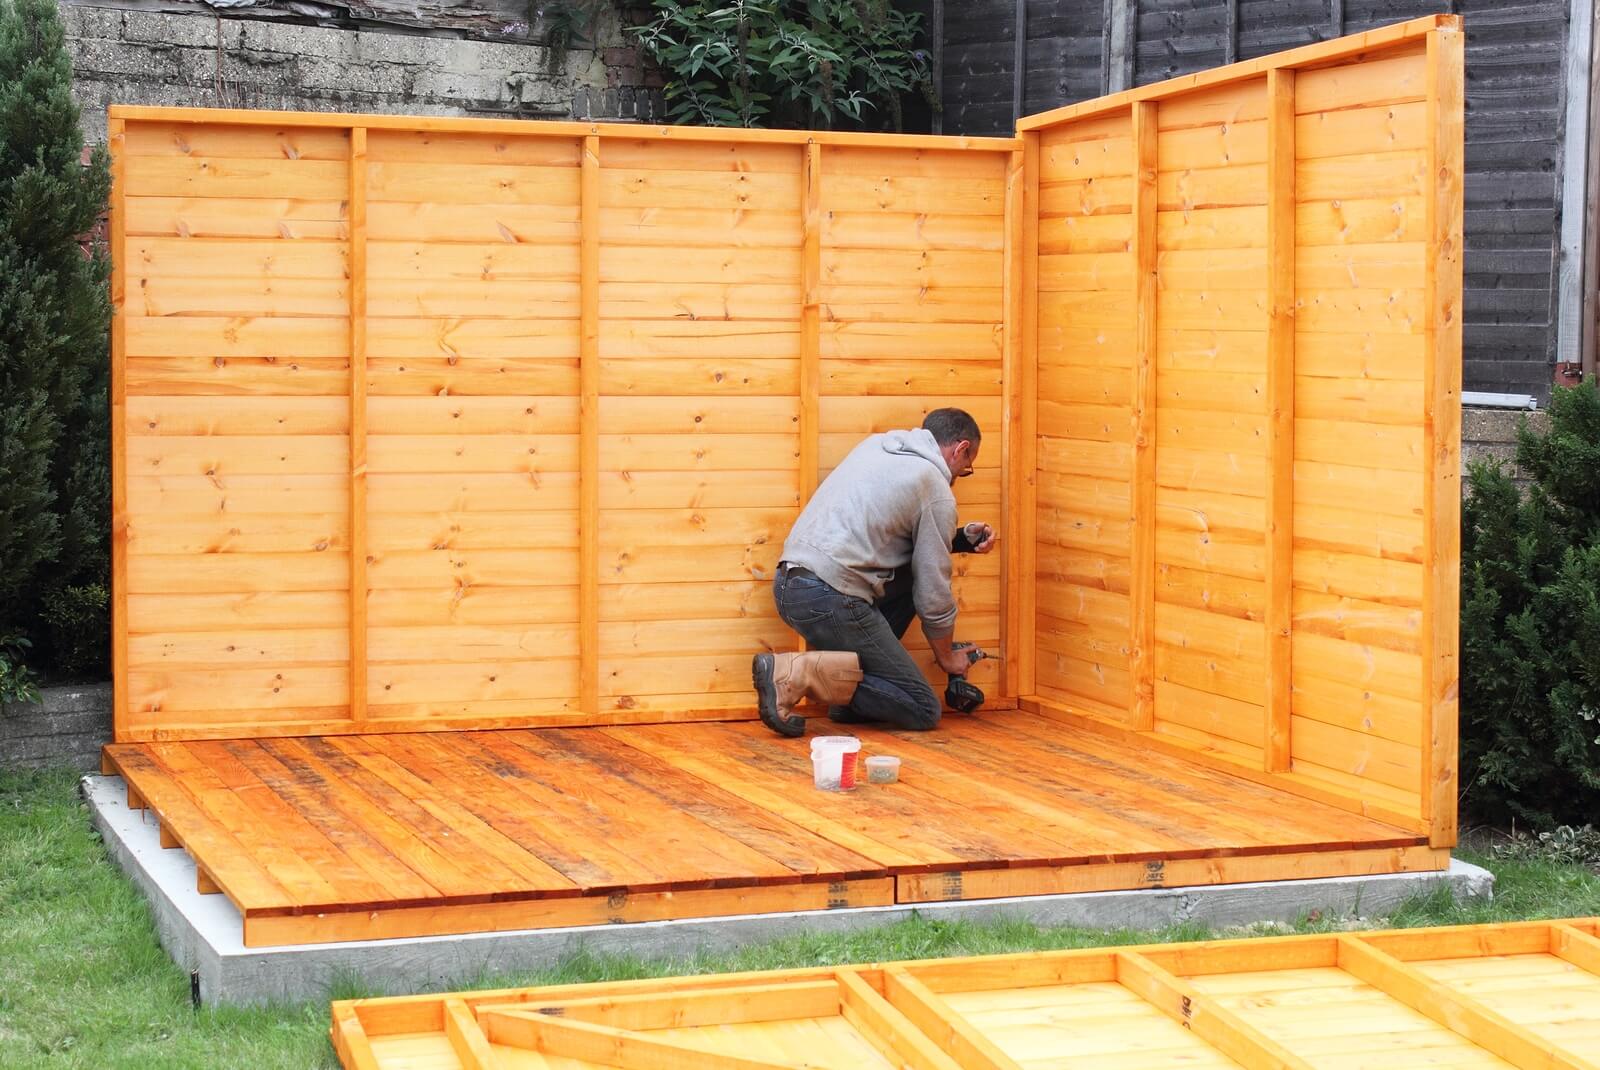
Step 5: Attaching the Plywood Panels
Now that you have built the frame for your freestanding divider wall, it’s time to attach the plywood panels. These panels will provide the surface and visual element of the wall. Follow these steps to attach the plywood panels:
- Measure and cut the plywood panels: Measure the height and width of the space within the frame where the plywood panels will be attached. Use a saw to cut the plywood panels to the appropriate size.
- Align the first plywood panel: Start by aligning the first plywood panel vertically with one side of the frame. Ensure that it is flush with the top and bottom plates as well as the vertical studs.
- Secure the panel: Use a drill and screws to secure the first plywood panel to the frame. Place screws at regular intervals along the top and bottom plates and vertical studs to ensure the panel is securely attached.
- Repeat for remaining panels: Align and secure the remaining plywood panels in the same way, ensuring they fit tightly together without any gaps between them.
- Sand and smooth the panels: Once all the plywood panels are attached, use sandpaper to smooth any rough edges or surfaces. This will give the panels a clean and finished look.
Attaching the plywood panels completes the structural aspect of the divider wall. It provides the visual barrier and privacy while also adding a touch of style to your space.
With the plywood panels securely attached, you’re now ready to move on to the next step: reinforcing the wall for added strength and stability.
Step 6: Reinforcing the Wall
To ensure the strength and stability of your freestanding divider wall, it’s important to reinforce it. Reinforcing the wall will provide additional support and prevent any potential wobbling or instability. Follow these steps to reinforce the wall:
- Add diagonal braces: Measure and cut diagonal braces from the same lumber used for the frame. Position the diagonal braces from the top corners of the frame to the bottom corners in an “X” shape. Secure the braces using screws or nails.
- Install a center support beam: Depending on the height and width of your divider wall, you may need to add a center support beam. Measure and cut a piece of lumber to fit vertically in the center of the frame. Attach the support beam with screws or nails to provide additional strength to the wall.
- Tighten all screws and connectors: Go through the entire frame of the wall and tighten any screws or connectors that may have loosened during the construction process. This will ensure that the wall is secure and stable.
Reinforcing your freestanding divider wall will give you peace of mind knowing that it is strong and sturdy. It will also help prolong the lifespan of the wall, ensuring that it can withstand regular use and any potential movements or vibrations.
With the wall reinforced, you’re now ready to move on to the next step: adding the finishing touches to complete your freestanding divider wall.
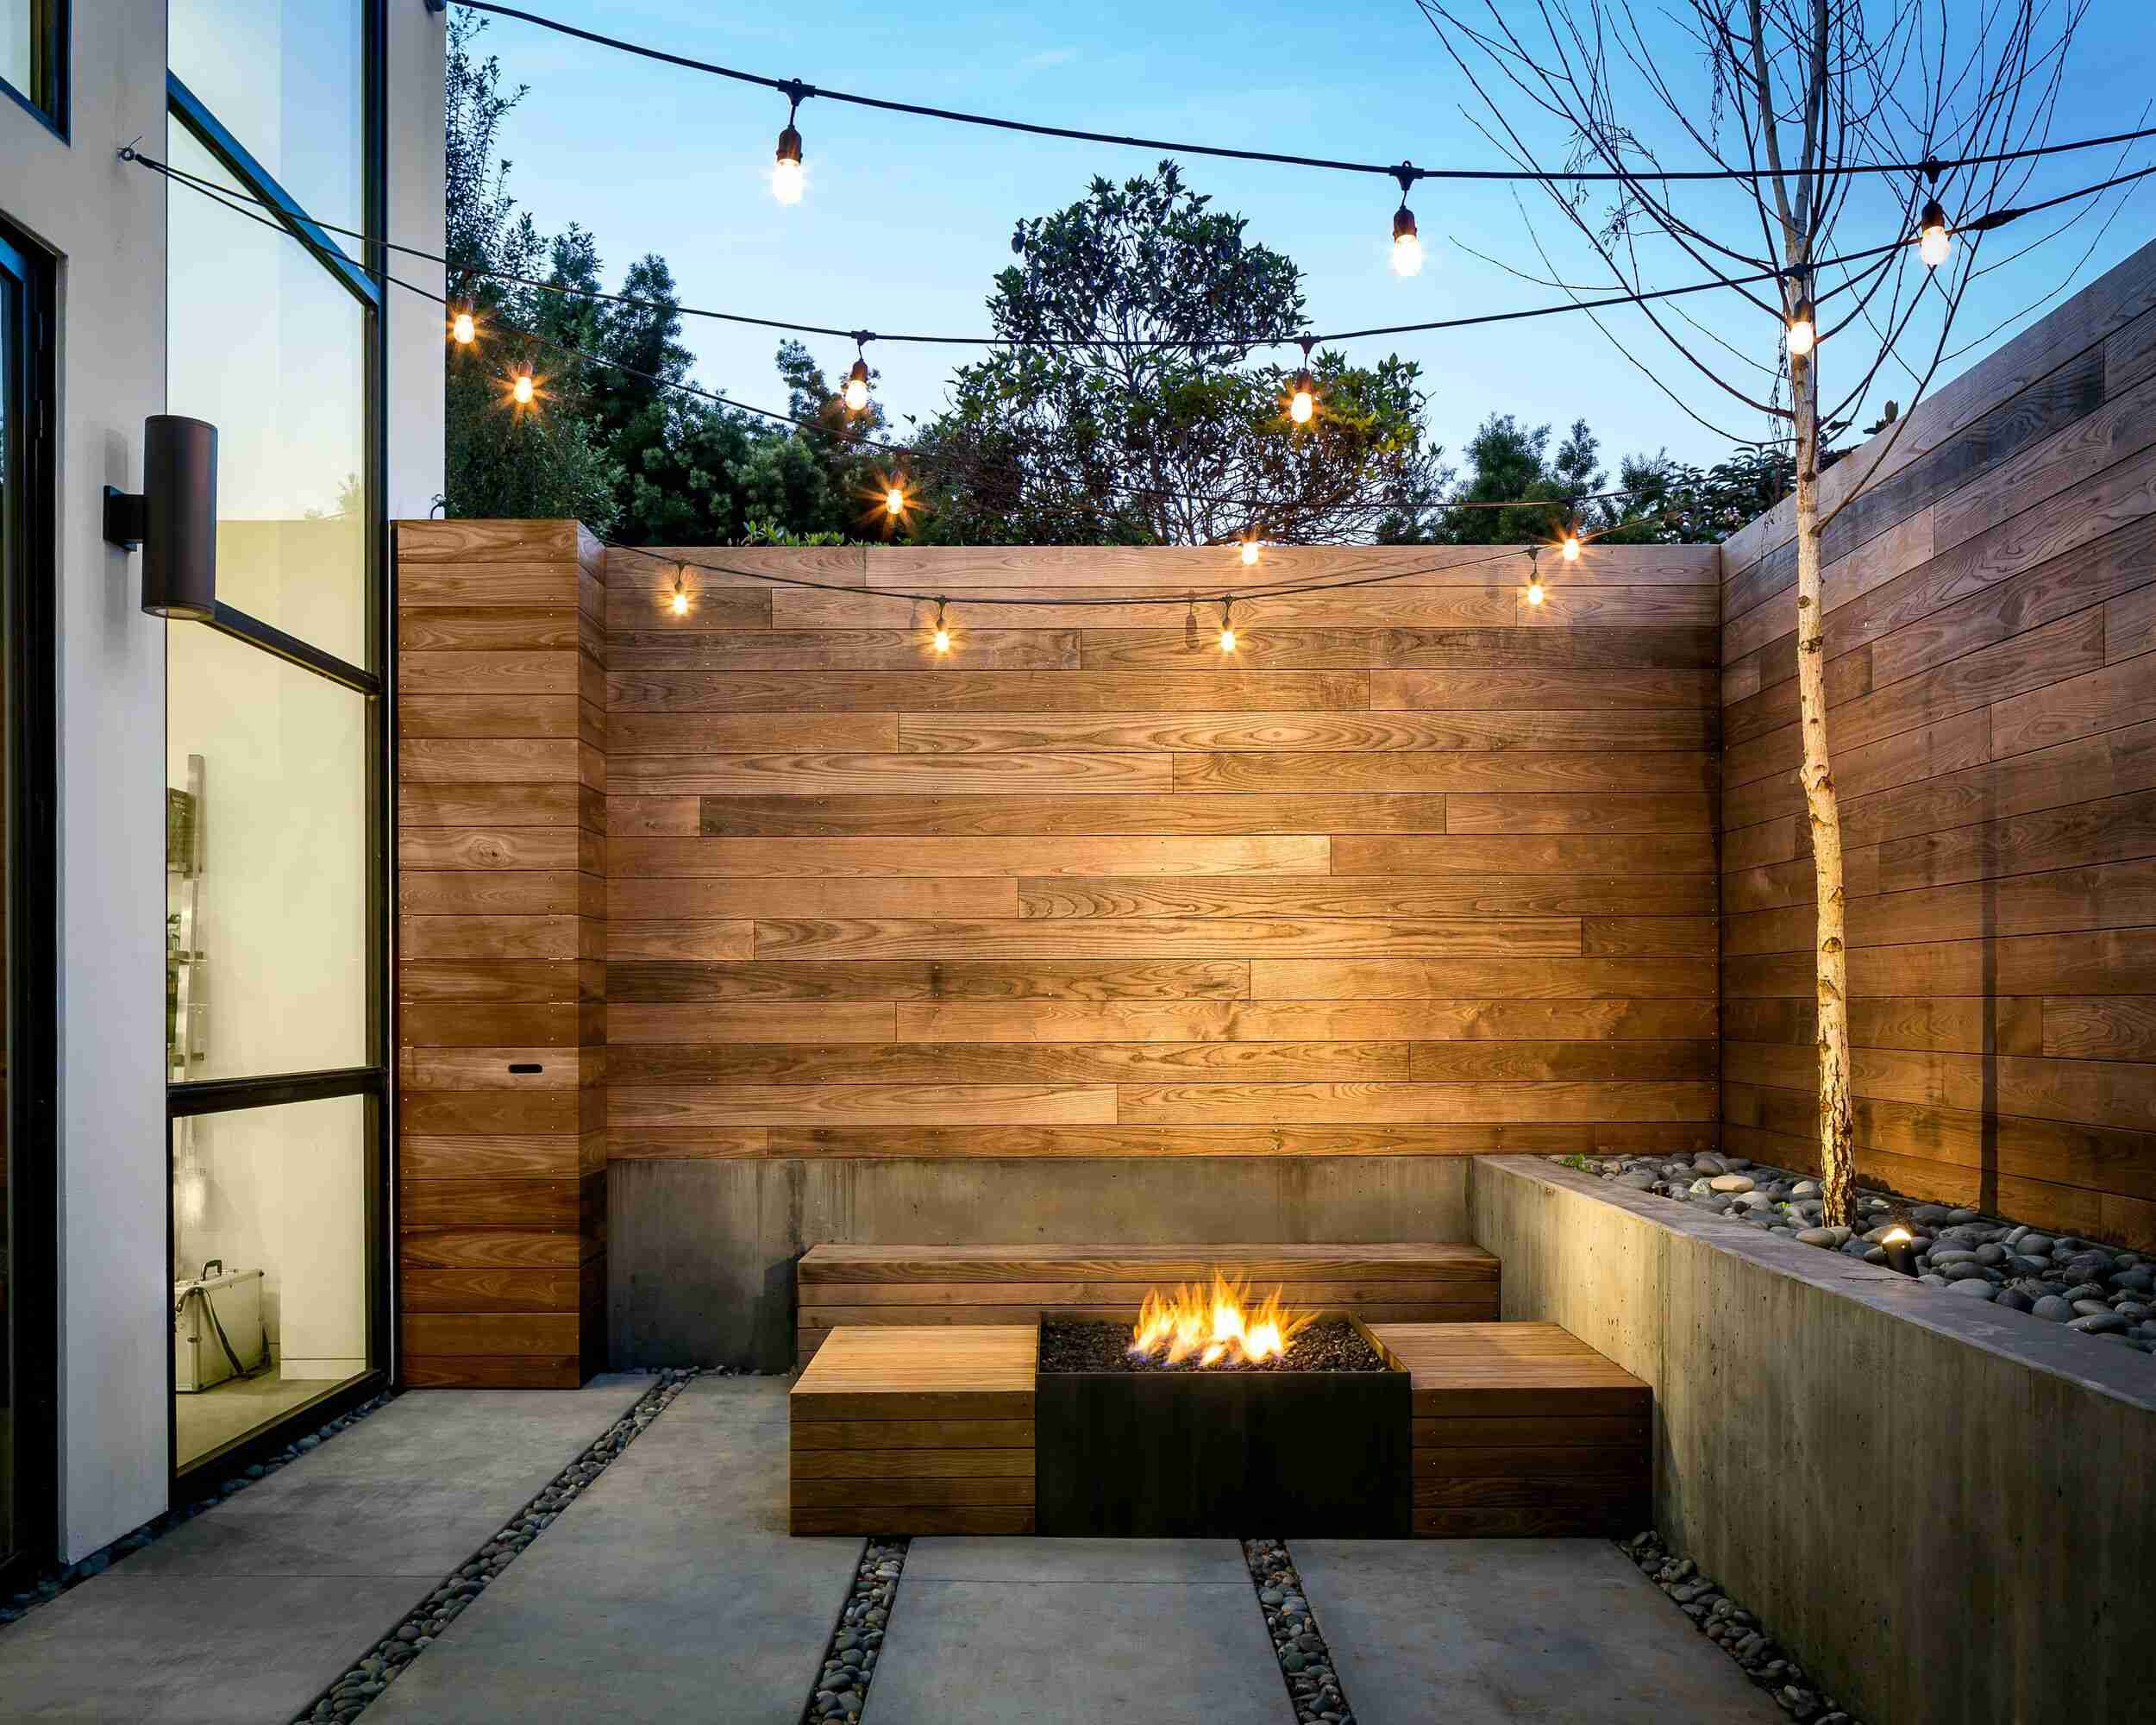
Step 7: Finishing Touches
With the construction of your freestanding divider wall complete, it’s time to add the finishing touches to make it visually appealing and seamlessly integrate it into your space. Follow these steps to add the final touches:
- Sand and paint or stain: If desired, sand the entire surface of the plywood panels to ensure a smooth and even finish. Then, apply a coat of paint or stain to match your preferred aesthetic. Use a paintbrush or roller to evenly apply the paint or stain, following the manufacturer’s instructions.
- Add trim or molding: To enhance the visual appeal of the wall, consider adding trim or molding along the outer edges of the plywood panels. Measure and cut the trim or molding to size, and then attach it using a nail gun or adhesive.
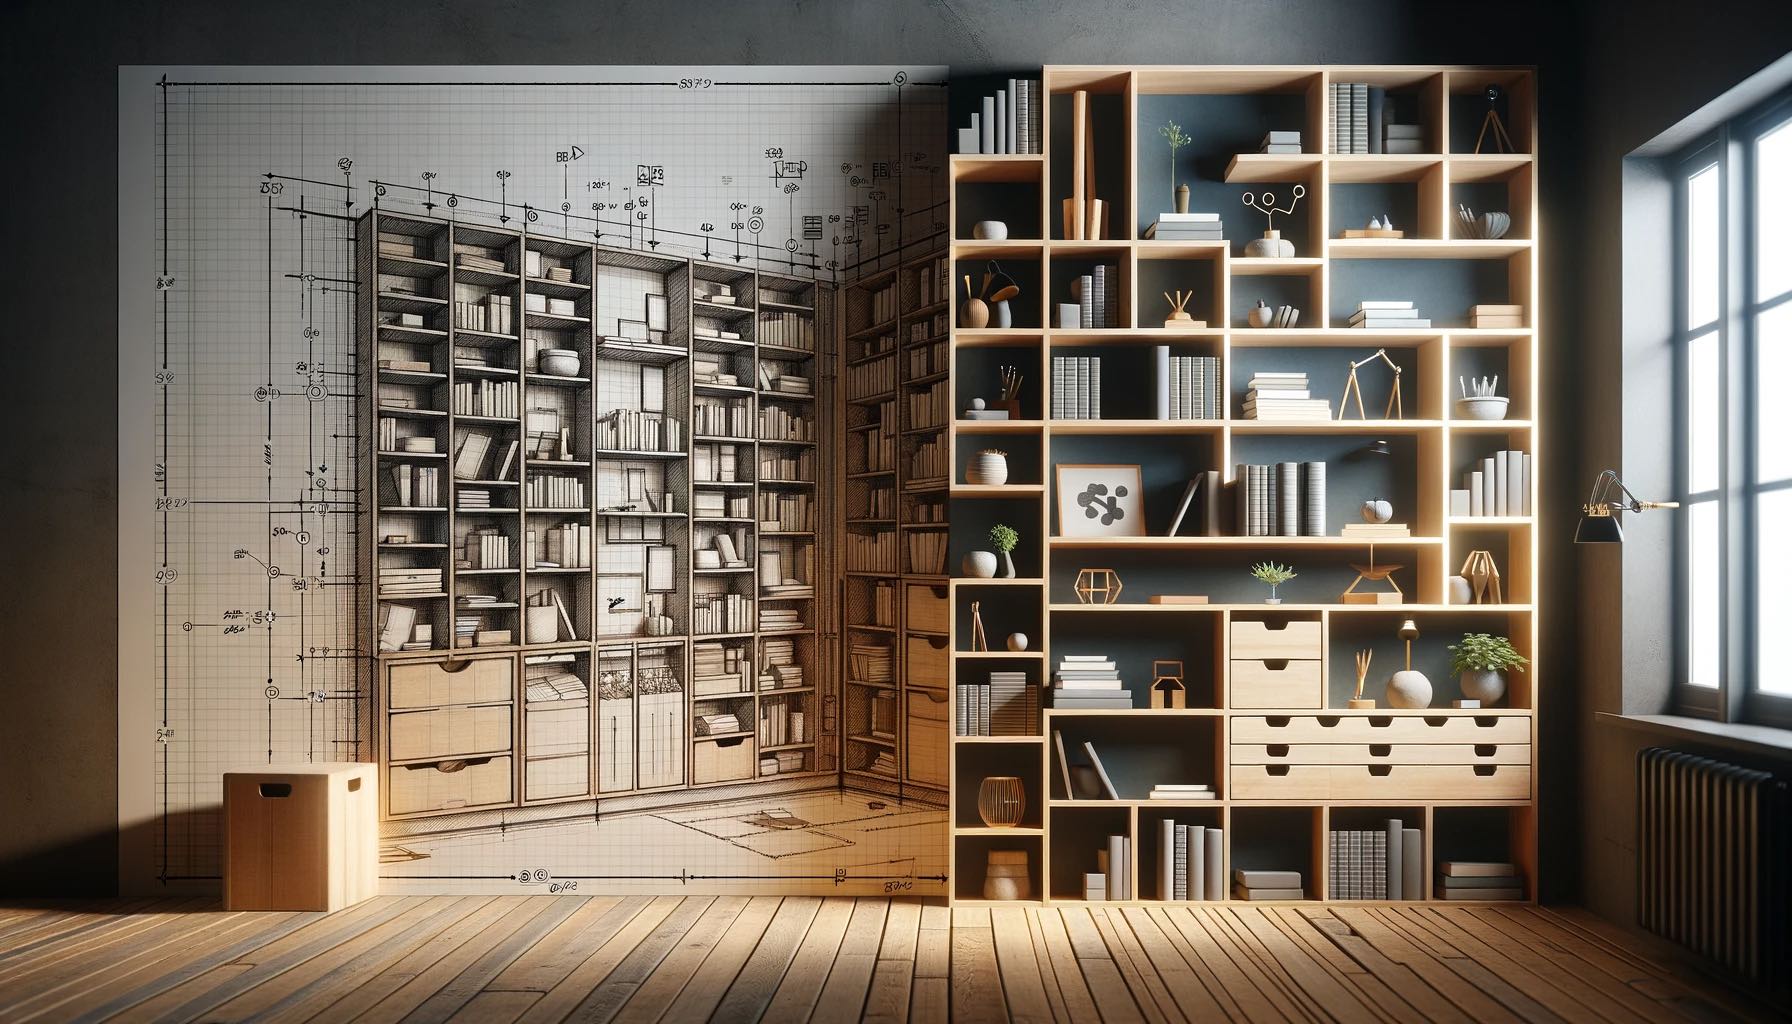
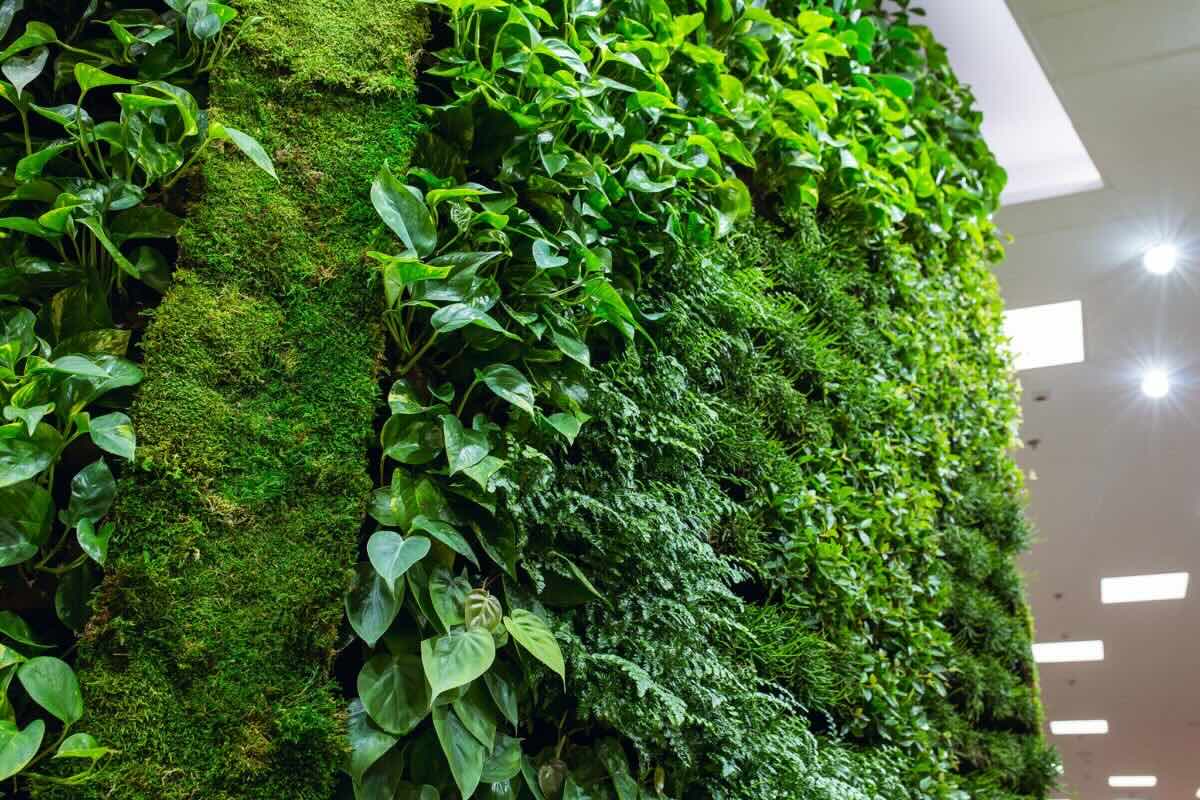
- Accessorize and personalize: Personalize your freestanding divider wall by adding accessories such as hooks, shelves, or artwork. This will not only add functionality but also make it feel more like a part of your space.
- Clean and maintain: Regularly clean the surfaces of your divider wall using a mild cleanser and a soft cloth. This will help keep it looking fresh and new. Additionally, periodically inspect the wall for any signs of wear or damage and make any necessary repairs.
By adding these finishing touches, your freestanding divider wall will become a stylish and functional addition to your space. Take the time to make it your own and ensure that it seamlessly integrates into your existing decor and design.
With the finishing touches complete, stand back and admire your newly constructed freestanding divider wall. It’s now ready to provide privacy, define spaces, and enhance the overall aesthetics of your room or office!
Congratulations on successfully building your own freestanding divider wall!
Conclusion
Creating a freestanding divider wall is a great way to add functionality, style, and flexibility to your space. With the step-by-step guide provided in this article, you now have the knowledge and confidence to build your own custom divider wall.
Starting with gathering the necessary materials and tools, preparing the area, and measuring and marking the wall, you set the foundation for a successful project. By building a sturdy frame, attaching plywood panels, and reinforcing the wall, you ensured its stability and strength.
The finishing touches, such as sanding, painting or staining, and adding trim or molding, added the final touches to make your freestanding divider wall visually appealing and seamlessly integrate it into your space. Personalizing it with accessories and maintaining its cleanliness will help keep it looking fresh and functional for years to come.
Remember, building a freestanding divider wall requires some intermediate DIY skills and basic woodworking knowledge. Always prioritize safety and use appropriate safety equipment during the construction process. If at any point you feel unsure or uncomfortable, it’s best to seek professional assistance or guidance.
Now that you have successfully built your own freestanding divider wall, enjoy the improved functionality and aesthetic appeal it brings to your room or office. Whether you’re creating a private workspace, dividing a room into different functional areas, or just adding a stylish accent, your custom divider wall will transform your space to meet your needs and reflect your personal style.
Congratulations on completing this project, and best of luck with your newly constructed freestanding divider wall!
Frequently Asked Questions about How To Build A Freestanding Divider Wall
Was this page helpful?
At Storables.com, we guarantee accurate and reliable information. Our content, validated by Expert Board Contributors, is crafted following stringent Editorial Policies. We're committed to providing you with well-researched, expert-backed insights for all your informational needs.


0 thoughts on “How To Build A Freestanding Divider Wall”