Home>Ideas and Tips>How To Turn An Old Shed Into A Dreamy She-Shed

Ideas and Tips
How To Turn An Old Shed Into A Dreamy She-Shed
Published: November 3, 2024
Transform your old shed into a dreamy she-shed with our step-by-step guide. Create a cozy backyard retreat perfect for relaxation and creativity.
(Many of the links in this article redirect to a specific reviewed product. Your purchase of these products through affiliate links helps to generate commission for Storables.com, at no extra cost. Learn more)
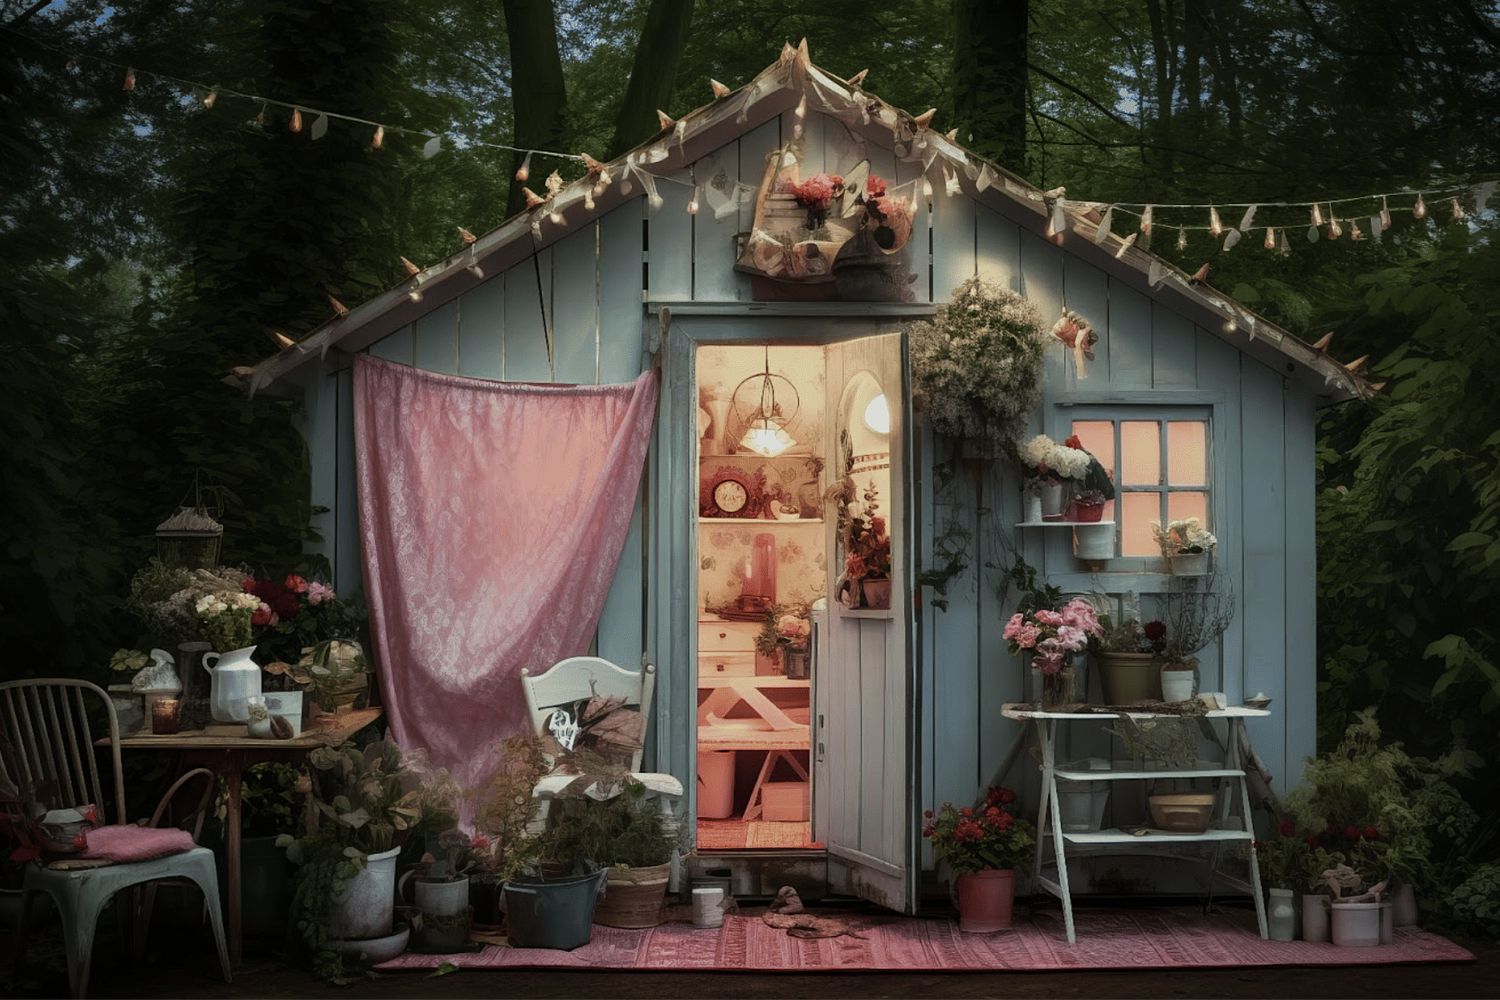
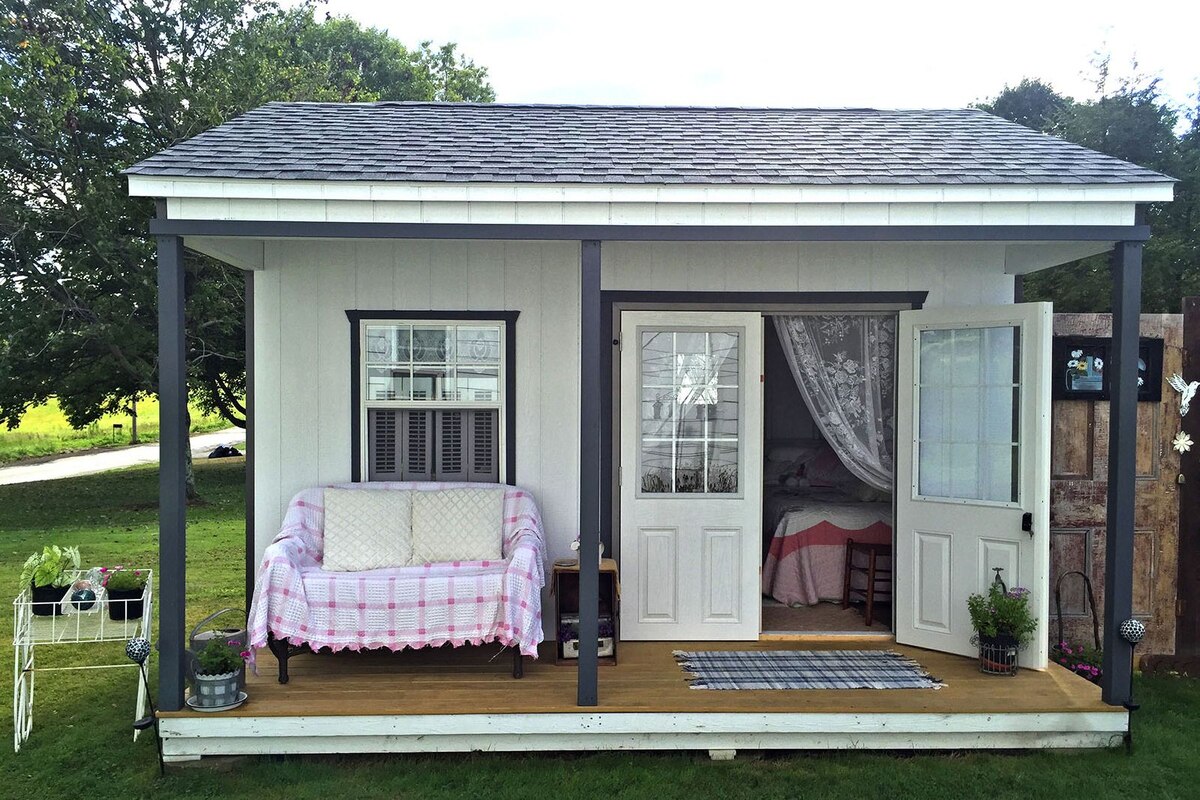
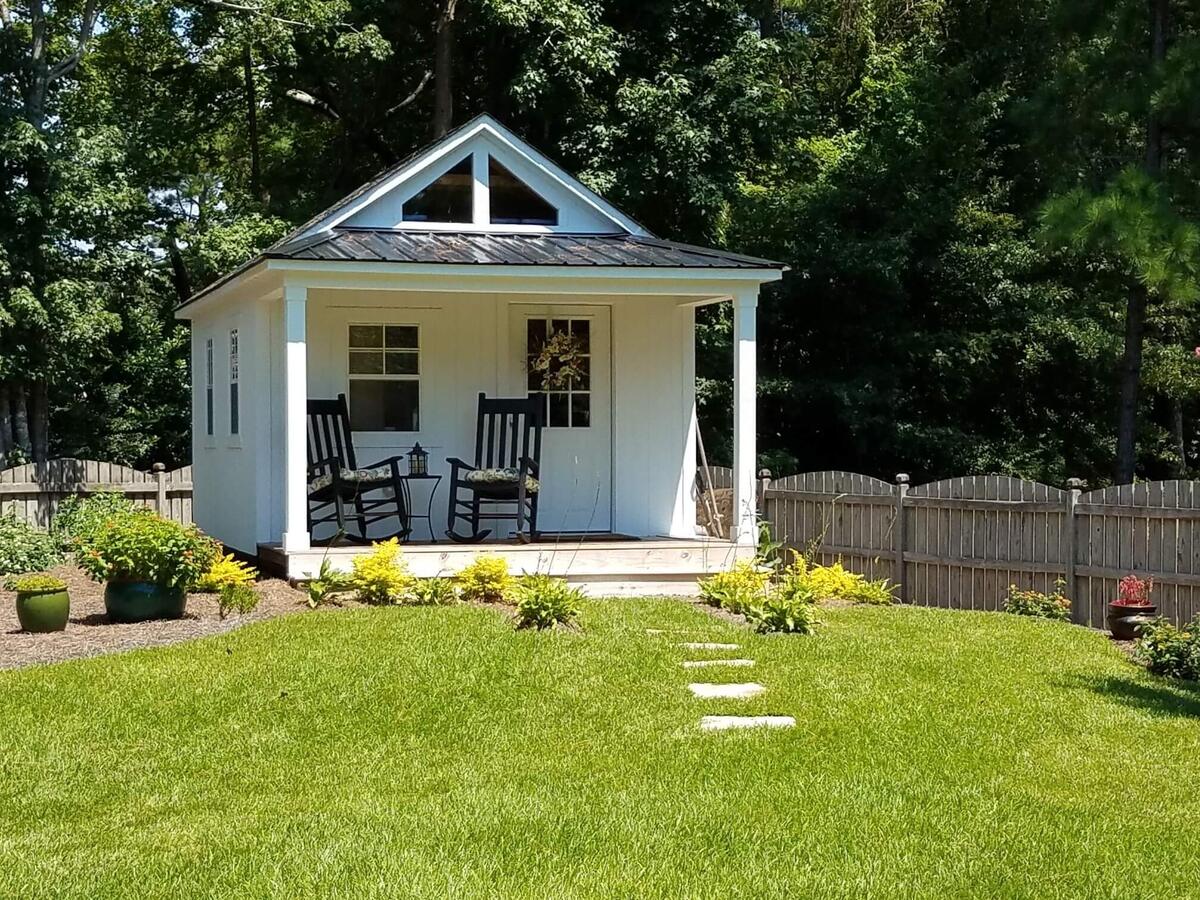
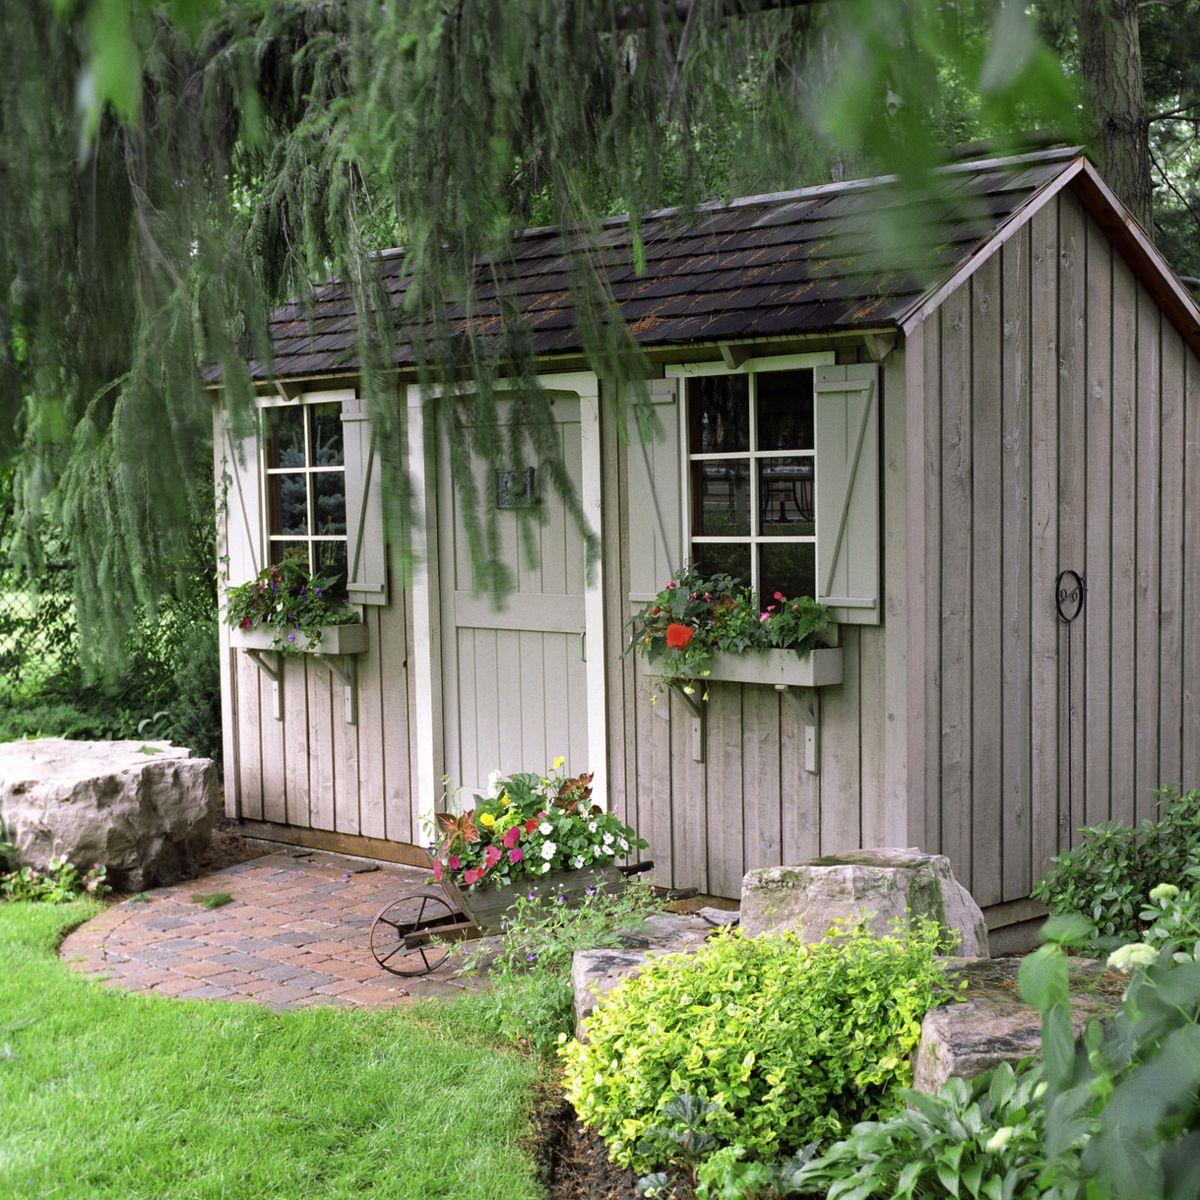
Transforming an old shed into a cozy and inviting she-shed is a fantastic way to create a personal retreat in your backyard. Whether you're looking to escape the hustle and bustle of daily life or simply need a quiet space to relax and unwind, a she-shed can be the perfect solution. In this article, we'll guide you through the process of turning an old shed into a dreamy she-shed, from planning and preparation to the final touches.
1. Planning and Preparation
Before you start your project, it's essential to have a clear vision of what you want your she-shed to look like. Here are some steps to help you plan and prepare:
1.1 Assess the Shed
Take a good look at the shed you're planning to transform. Check its condition, size, and location. Consider factors like sunlight, wind direction, and accessibility.
1.2 Define Your Needs
Think about how you want to use your she-shed. Do you need a space for reading, crafting, or entertaining? Make a list of the activities you'll be doing in your she-shed and the amenities you'll require.
1.3 Set a Budget
Determine how much you're willing to spend on this project. This will help you decide on materials and any additional features you might want to include.
1.4 Gather Inspiration
Look for inspiration online or in magazines. Check out different designs and layouts to get ideas for your own she-shed.
Read more: How To Turn An Old Shed Into A She Shed
2. Designing Your She-Shed
Once you have a clear idea of what you want, it's time to start designing your she-shed. Here are some tips:
2.1 Choose a Theme
Decide on a theme or style for your she-shed. This could be rustic, modern, bohemian, or anything else that reflects your personality.
2.2 Plan the Layout
Sketch out a floor plan of your she-shed. Consider the space you need for furniture, storage, and any other features you want to include.
2.3 Select Materials
Choose materials that fit your theme and budget. For example, reclaimed wood can add a rustic touch while modern materials like steel or glass can give a sleek look.
3. Preparing the Shed
Before you start renovating, make sure the shed is in good condition and safe to work with:
3.1 Clean Out the Shed
Clear out any debris or old items from the shed. This will give you a clean slate to work with.
3.2 Inspect for Damage
Check for any damage such as rotting wood, broken windows, or structural issues. Make a list of repairs needed before proceeding with renovations.
3.3 Remove Old Flooring
Take out the old flooring if it's damaged or unsuitable for your new design. This could include old boards, concrete, or even old carpeting.
4. Renovating the Shed
Now it's time to start renovating Here are some steps to follow:
4.1 Repair Any Damage
Fix any structural issues like broken beams or rotten wood before proceeding with further renovations.
4.2 Insulate the Shed
Insulation is crucial for making your she-shed comfortable year-round. Use materials like foam board insulation or fiberglass batts to keep it warm in winter and cool in summer.
4.3 Install New Flooring
Choose flooring that fits your theme and is durable enough for frequent use. Options include hardwood floors, laminate flooring, or even tile for a more modern look.
4.4 Add Windows and Doors
Install new windows and doors if necessary. Consider adding skylights for natural light during the day.
4.5 Paint or Stain
Give your she-shed a fresh coat of paint or stain to match your chosen theme. This will also protect the wood from further damage.
5. Adding Electrical and Plumbing
If you plan on using electricity or running water in your she-shed, now is the time to do it:
5.1 Hire a Professional
For safety reasons, it's highly recommended to hire an electrician or plumber if you're not experienced with these tasks yourself.
5.2 Install Lighting
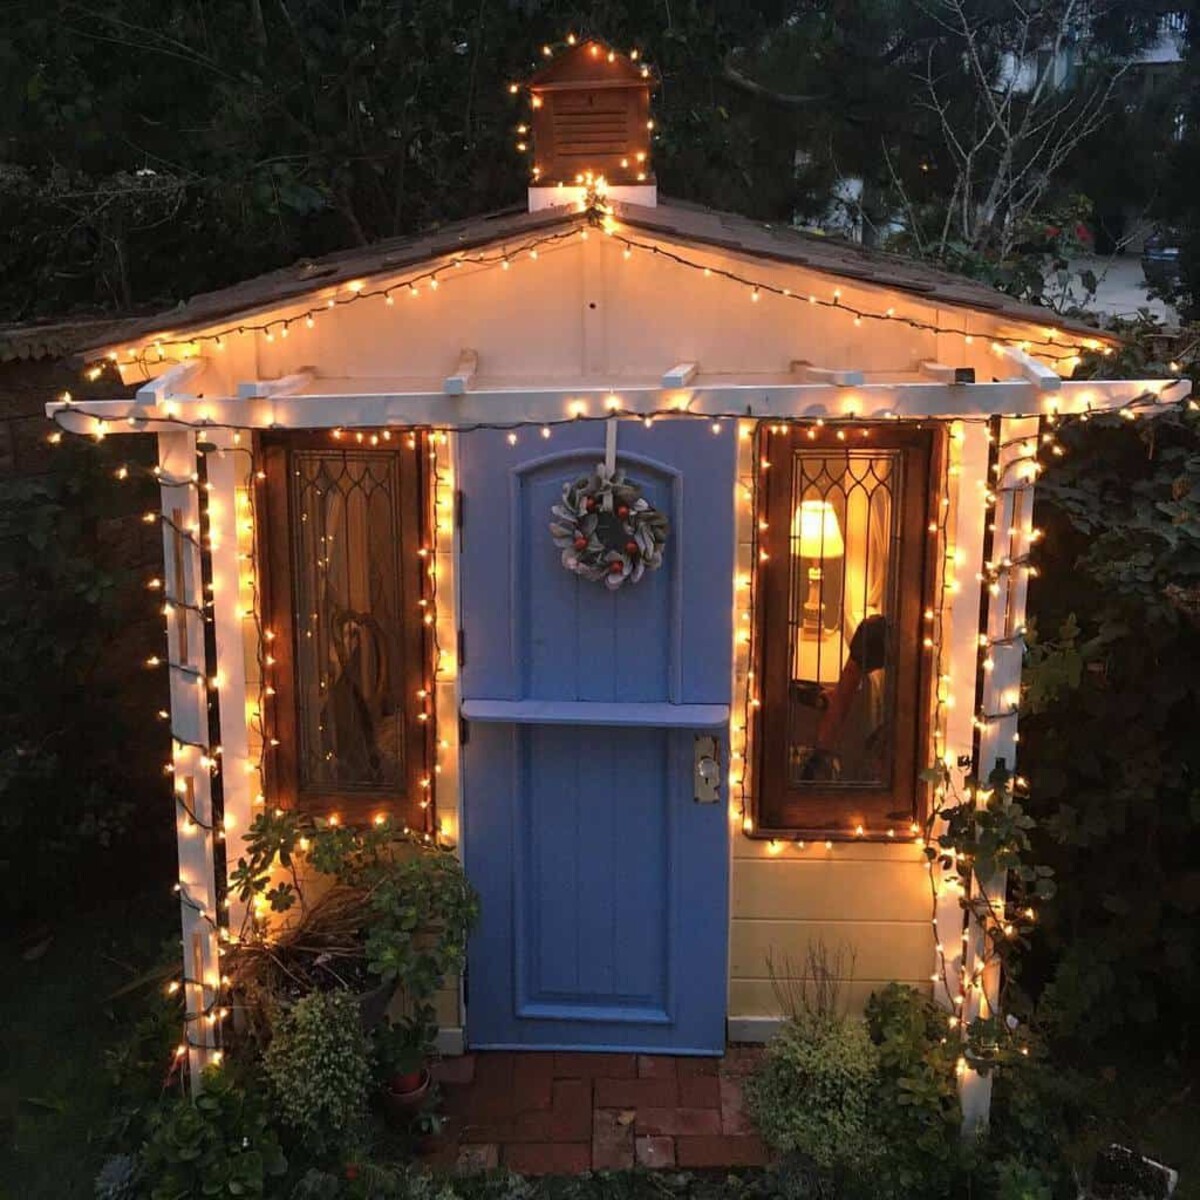
Add lighting fixtures such as ceiling lights, table lamps, or string lights depending on how you want to illuminate your space.
5.3 Install Plumbing
If you're adding a sink or other plumbing fixtures, ensure they are installed correctly by a professional.
Read more: How To Turn A Shed Into A She Shed
6. Finishing Touches
The final touches can make all the difference in creating a cozy and inviting atmosphere:
6.1 Add Decorative Elements
Incorporate decorative elements like artwork, rugs, curtains, and furniture that reflect your personal style.
6.2 Install Shelving & Storage
Add shelving units or storage solutions like cabinets or drawers to keep your belongings organized and within reach.
6.3 Incorporate Comfortable Seating
Choose comfortable seating options such as armchairs or sofas that fit comfortably within your space.
6.4 Add Plants & Greenery
Bring life into your she-shed by adding plants or greenery which not only purify the air but also enhance its aesthetic appeal.
7. Final Inspection & Maintenance
Before declaring your she-shed complete, perform a final inspection:
7.1 Check Electrical & Plumbing Systems
Ensure all electrical wiring is secure and functioning properly; similarly check plumbing systems for leaks or other issues.
7.2 Test Appliances & Fixtures
Test any appliances like refrigerators or microwaves along with plumbing fixtures like sinks before finalizing everything else around them.
7.3 Regular Maintenance
Regularly maintain your she-shed by checking for any signs of wear-and-tear regularly ensuring it remains safe & functional over time!
Conclusion
Turning an old shed into a dreamy she-shed requires patience but yields immense satisfaction once completed By following these steps carefully considering each aspect from planning through final touches ensures creating beautiful personalized retreat perfect escaping daily grind enjoying peaceful moments whenever needed most!
Additional Tips & Considerations
- Permits & Regulations: Check local building codes regarding renovations especially if adding electrical/plumbing systems ensuring compliance avoiding potential fines/penalties later down line!
- Energy Efficiency: Incorporate energy-efficient solutions like solar panels/renewable energy sources reducing carbon footprint making sustainable choice long-term benefits both environment wallet alike!
- Accessibility Features: Incorporate accessibility features like ramps/wheelchair-accessible doors making space inclusive everyone regardless mobility issues ensuring everyone can enjoy peaceful retreat too!
By following these guidelines transforming old shed into dreamy she-shed becomes achievable reality Whether seeking refuge relaxation inspiration creativity alike turning unused space into haven tailored specifically needs desires makes perfect sense today’s fast-paced world where everyone deserves little slice heaven right own backyard
Was this page helpful?
At Storables.com, we guarantee accurate and reliable information. Our content, validated by Expert Board Contributors, is crafted following stringent Editorial Policies. We're committed to providing you with well-researched, expert-backed insights for all your informational needs.


0 thoughts on “How To Turn An Old Shed Into A Dreamy She-Shed”