Articles
How To Fix A Frayed Carpet
Modified: October 20, 2024
Discover effective ways to repair frayed carpets with our informative articles. Transform your worn-out carpet into a pristine floor covering with these expert tips.
(Many of the links in this article redirect to a specific reviewed product. Your purchase of these products through affiliate links helps to generate commission for Storables.com, at no extra cost. Learn more)
Introduction
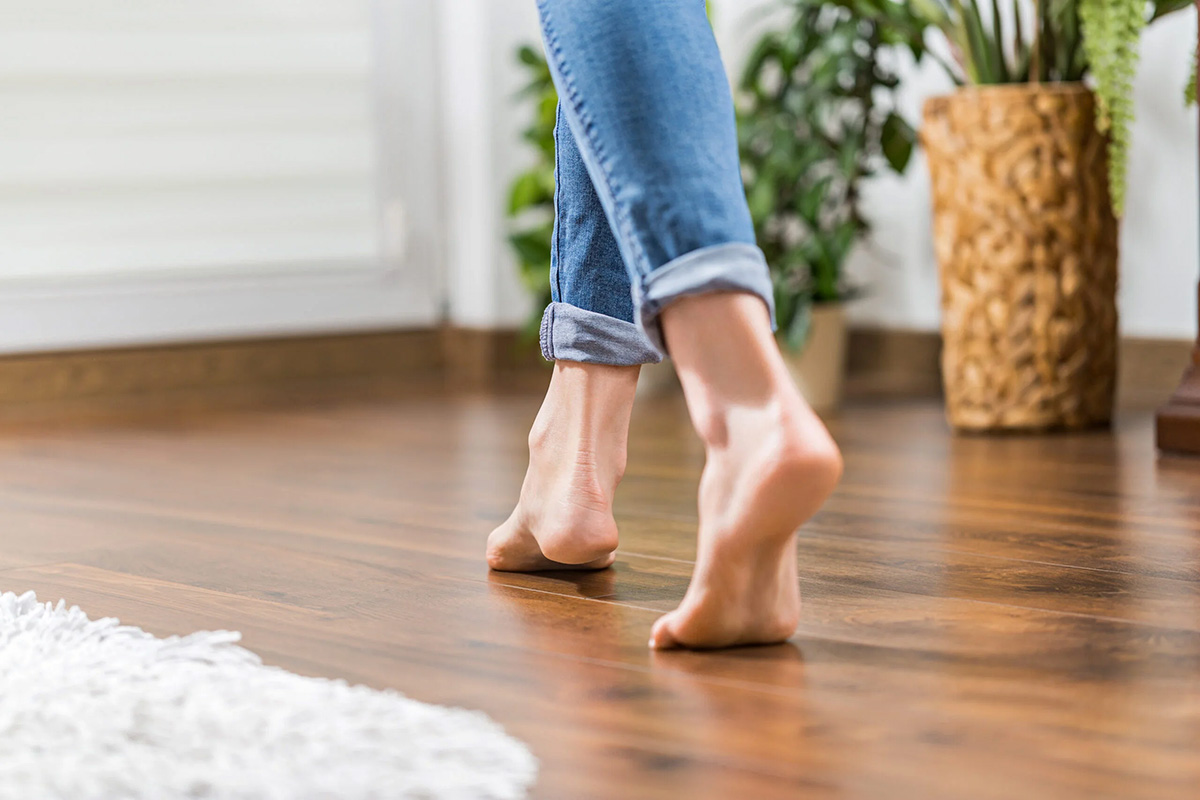
Carpeting can be a beautiful and cozy addition to any home. However, over time, wear and tear can lead to a frayed carpet, which not only looks unsightly but can also pose a safety hazard. Whether it’s due to heavy traffic, pets, or simply the natural aging of the carpet, fraying can happen to anyone. The good news is that fixing a frayed carpet is a relatively simple DIY project that can save you the cost of replacing the entire carpet. In this article, we will guide you through the process of fixing a frayed carpet, step by step.
Key Takeaways:
- Repairing a frayed carpet is a simple DIY project that can save you the cost of replacing the entire carpet. Assess the damage, trim loose fibers, and reattach them using methods such as hot glue, needle and thread, or rug tape and carpet seam adhesive.
- Prevent further fraying by adopting simple measures such as regular cleaning, using area rugs in high-traffic areas, avoiding sharp objects and heavy furniture, trimming pet nails, promptly addressing stains and spills, and reinforcing vulnerable areas with rug tape or carpet seam adhesive.
Read more: How To Keep Carpet Edges From Fraying
Tools and Materials Needed
Before you begin fixing your frayed carpet, it’s important to gather the necessary tools and materials. Here’s a list of what you’ll need:
- Scissors
- Rug tape or carpet seam adhesive
- Hot glue gun and glue sticks
- Needle and thread
- Carpet shears or utility knife
- Small paintbrush
- Stiff brush or comb
- Straight pins
- Old towel or cloth
These tools and materials will help you in the process of repairing your frayed carpet effectively and efficiently.
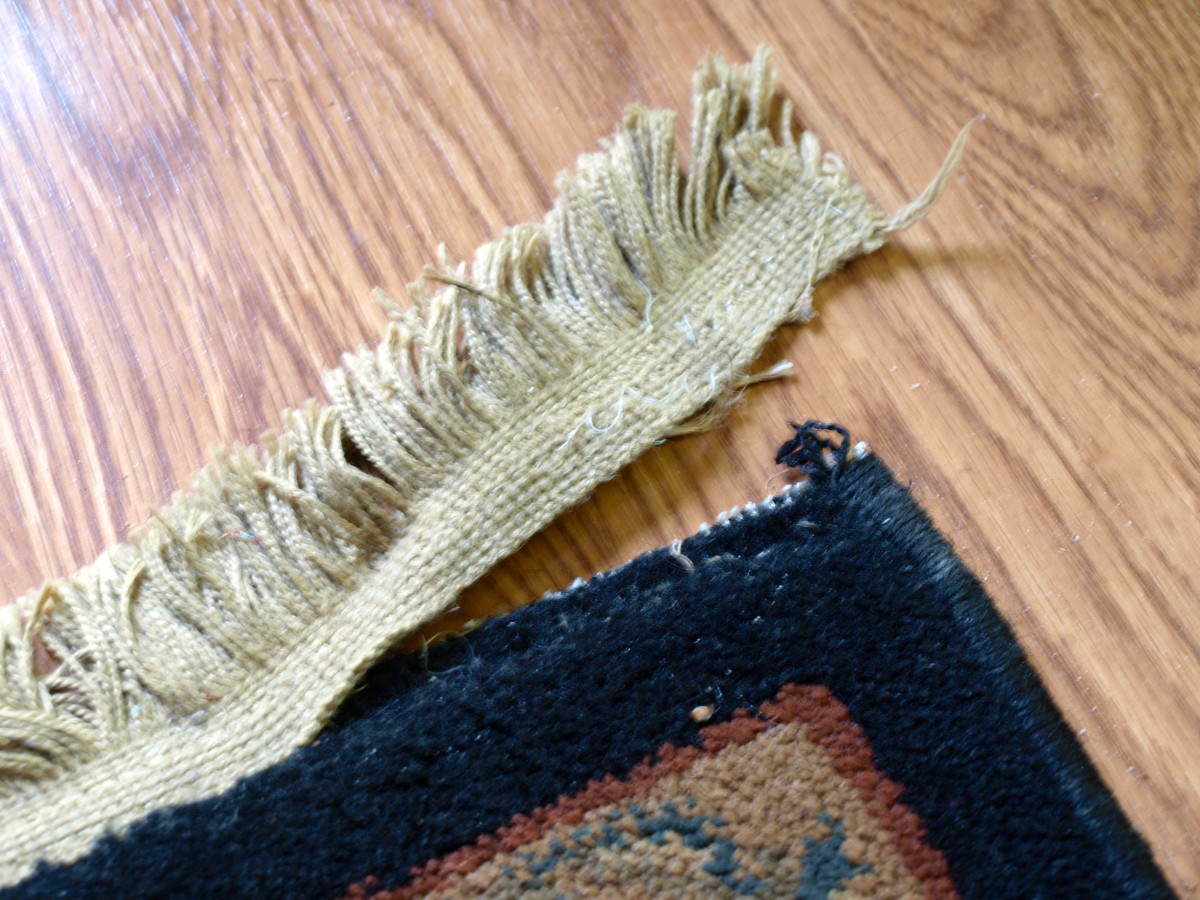
Assessing the Damage
Before you start repairing a frayed carpet, it’s important to assess the extent of the damage. Take a closer look at the frayed area and determine how severe the fraying is. Is it a small section with just a few loose fibers, or is it a larger area that requires more extensive repair?
If the fraying is minimal, with only a few loose fibers, you can easily trim them and reattach them to the carpet. However, if the fraying is more significant and the carpet fibers are unraveling or the backing is exposed, you’ll need to use additional techniques to repair the damage.
It’s also essential to consider the location of the frayed area. If it’s in a high-traffic area, such as a hallway or entrance, you might want to consider a more durable repair method to ensure the longevity of the fix.
By assessing the damage, you’ll have a better understanding of the extent of the repair needed and can proceed with the appropriate techniques and tools.
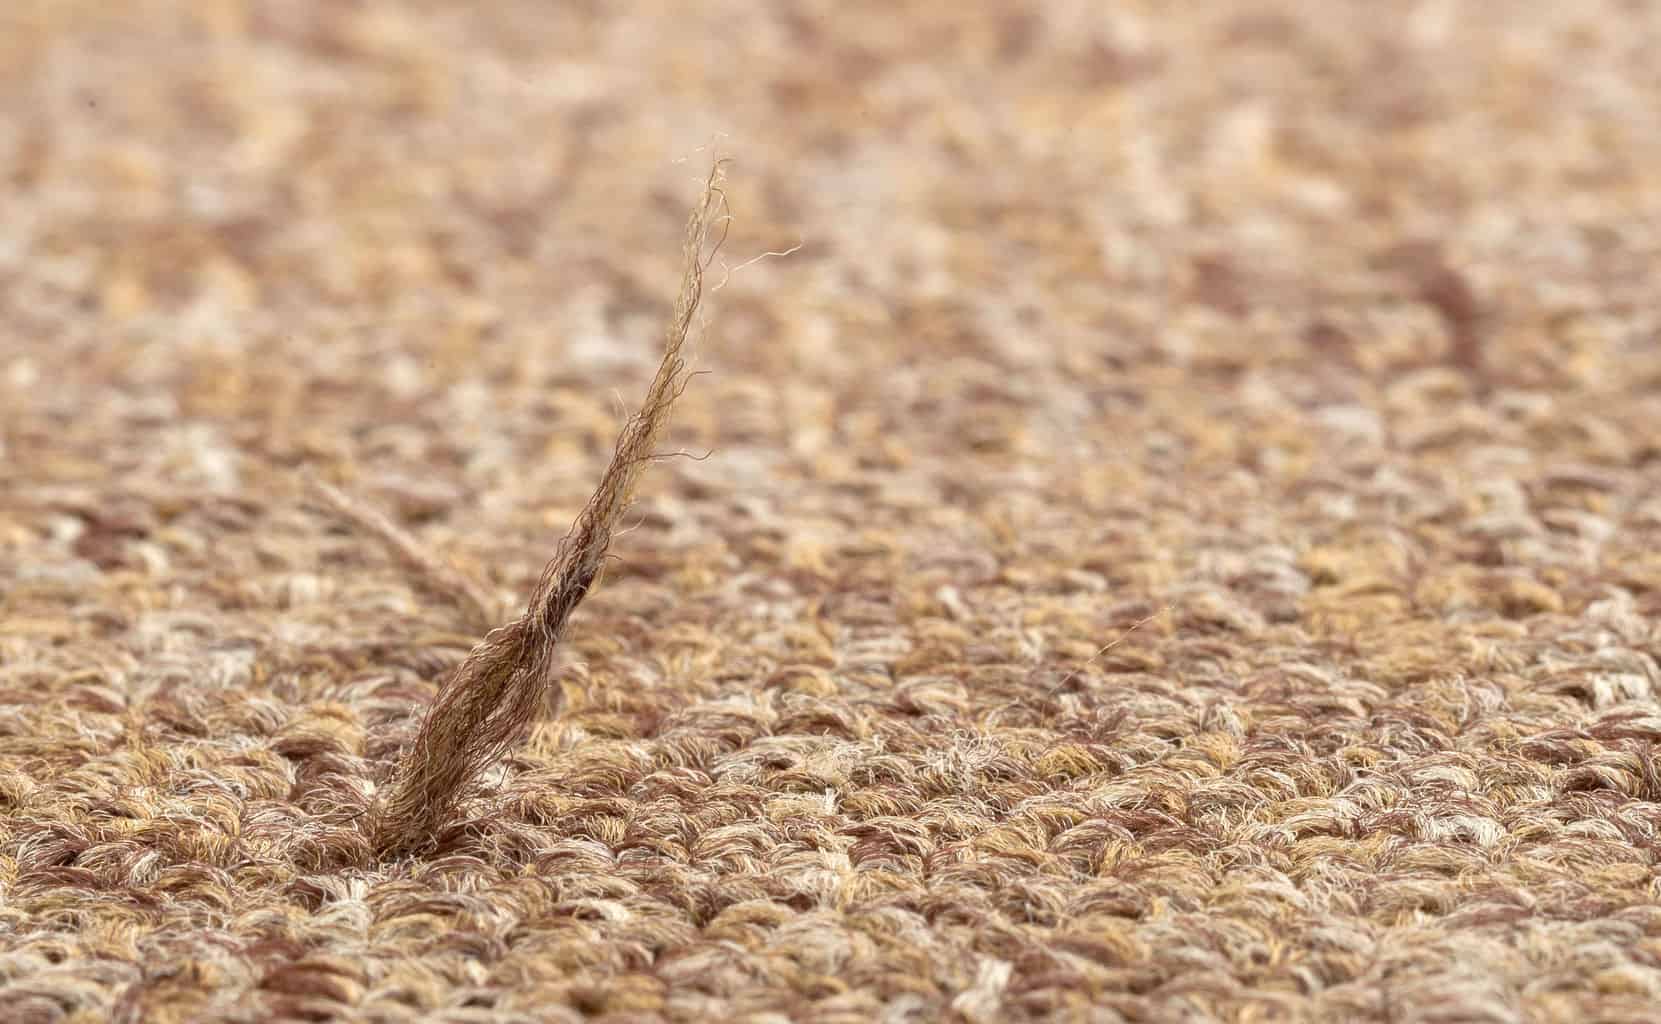
Trimming Loose Fibers
Once you’ve assessed the damage and determined that the fraying is minimal, the first step is to trim the loose fibers. Trimming the loose fibers will prevent further unraveling and make it easier to reattach them to the carpet.
To trim the loose fibers, start by gently pulling them away from the frayed area. Use a pair of sharp scissors to carefully cut the loose fibers at the base, as close to the carpet surface as possible. Be cautious not to cut any intact carpet fibers in the process.
If the frayed area is small, you can use your fingers to hold the loose fibers in place as you trim them. However, for larger frays, you may find it helpful to use straight pins to secure the surrounding carpet fibers, creating a stable surface to work on.
After trimming the loose fibers, take a stiff brush or comb and gently brush the surrounding carpet fibers in the opposite direction of the fray. This will help blend the trimmed area with the rest of the carpet, creating a seamless appearance.
Remember to collect and discard the trimmed fibers to keep your workspace clean. By trimming the loose fibers, you’ve taken the first step in repairing your frayed carpet and preventing further damage.
Reattaching the Frayed Carpet
Once you’ve trimmed the loose fibers, the next step is to reattach them to the carpet. There are a few methods you can use to achieve this, depending on the size of the frayed area and the materials you have on hand.
If the frayed area is small and the carpet fibers are still intact, you can use a hot glue gun to reattach the loose fibers. Apply a small amount of hot glue to the base of the frayed area and press the loose fibers into place. Hold it firmly for a few seconds to allow the glue to set. Be careful not to use too much glue, as it may seep through the carpet fibers and create a visible lump.
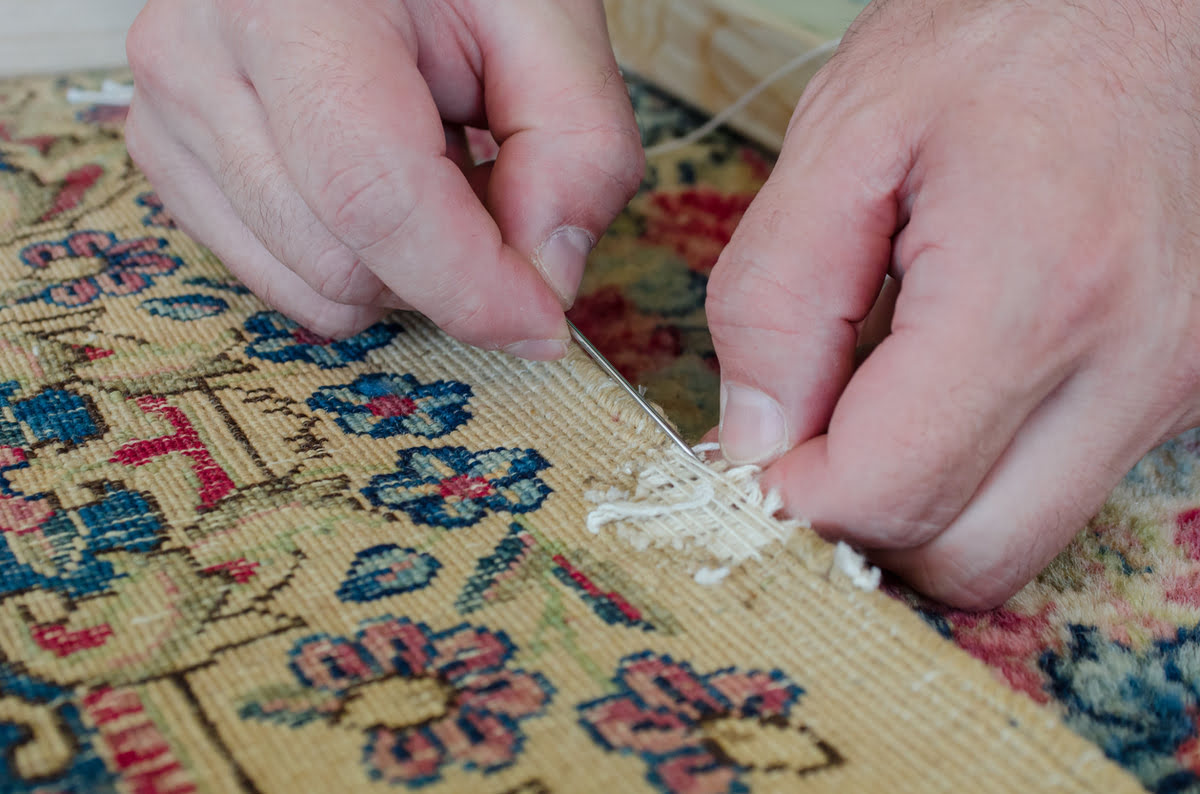
If you don’t have a hot glue gun, another option is to use a needle and thread. Thread the needle with a color-matching thread and carefully stitch the loose fibers back into place. Start from the back of the carpet and loop the needle through the base of the frayed area, securing the loose fibers. Tie a knot at the back to secure the stitch and trim any excess thread.
For larger frayed areas or cases where the carpet backing is exposed, you can use rug tape or carpet seam adhesive. Cut a piece of rug tape or carpet seam adhesive to fit the frayed area and apply it to the backside of the carpet. Press the loose fibers into the adhesive to reattach them. Make sure to follow the manufacturer’s instructions for proper application and drying times.
Whichever method you choose, take your time and ensure that the loose fibers are securely reattached to the carpet. Smooth out the repaired area with your hand to blend it with the surrounding carpet fibers. This will help create a seamless finish and make the repair less noticeable.
By reattaching the frayed carpet, you’re restoring its integrity and preventing further unraveling. Now, let’s explore some additional techniques for repairing larger frays.
Use a pair of sharp scissors to carefully trim away any frayed or loose fibers from the carpet. Be sure to trim as close to the base of the carpet as possible to create a smooth and even surface.
Read more: How To Fix Wrinkle In A Carpet
Using Rug Tape or Carpet Seam Adhesive
If you’re dealing with a larger frayed area or the backing of the carpet is exposed, using rug tape or carpet seam adhesive can provide a more durable and secure repair. Here’s how to proceed:
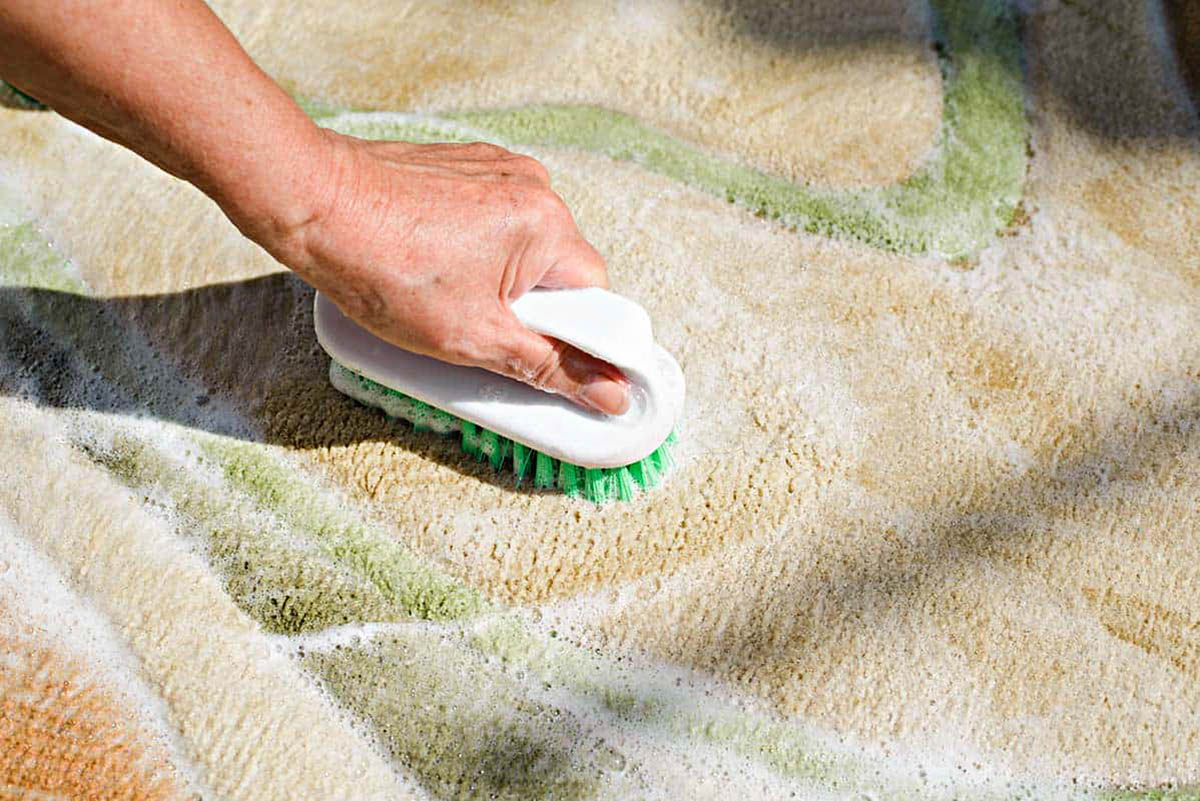
1. Clean the area: Before applying any adhesive, make sure to clean the frayed area and remove any dirt or debris. Use a damp cloth or a mild cleaning solution to gently wipe the area and allow it to dry completely.
2. Cut the rug tape or carpet seam adhesive: Measure the frayed area and cut a piece of rug tape or carpet seam adhesive that matches the size of the damaged section. Ensure that the tape or adhesive is slightly larger than the frayed area to ensure proper coverage.
3. Apply the adhesive: Peel off the backing of the rug tape or apply a thin layer of carpet seam adhesive to the exposed backing of the carpet. Make sure to apply the adhesive evenly and cover the entire frayed area.
4. Press down the carpet fibers: Place the frayed carpet fibers back into position and press them firmly onto the adhesive. Use a small paintbrush or your fingers to smooth out the carpet fibers and ensure they are securely attached.
5. Allow the adhesive to dry: Follow the manufacturer’s instructions for drying time. It’s crucial to allow the adhesive to dry completely before subjecting the repaired area to foot traffic. This will ensure a strong and long-lasting repair.
Rug tape or carpet seam adhesive provides a reliable solution for repairing larger frayed areas and securing the carpet fibers to the backing. It’s a simple and effective method that can extend the lifespan of your carpet and prevent further damage.
If you’re still unsure about using these adhesives or would prefer a professional touch, consider reaching out to a carpet repair specialist who can provide expert advice and assistance.
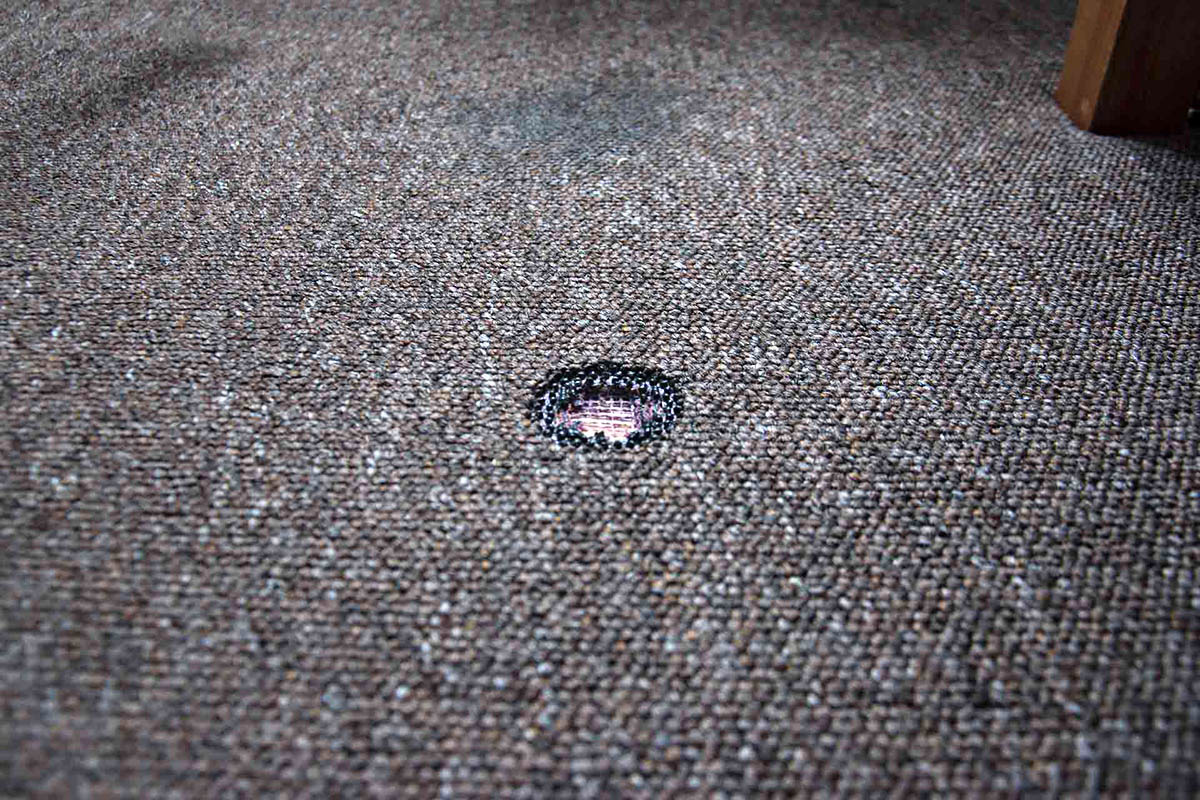
Repairing a Bigger Fray
For larger frayed areas that extend beyond a few loose fibers, a more involved repair process is necessary. Here’s a step-by-step guide to repairing a bigger fray in your carpet:
1. Trim loose fibers: Start by trimming any loose or frayed fibers using scissors or carpet shears. Remove any excess or unraveled carpet fibers, but be careful not to cut into the intact carpet fibers.
2. Create a patch: If the frayed area is substantial and the carpet backing is exposed, you’ll need to create a patch to cover the damaged section. Measure the frayed area and cut a patch from leftover carpet or a matching piece of carpeting from a hidden area, such as inside a closet or under furniture.
3. Secure the patch: Apply carpet seam adhesive to the edges of the patch and carefully place it over the frayed area, aligning the pattern and direction of the carpet fibers. Press down firmly to ensure a secure bond. If needed, use straight pins to hold the patch in place until the adhesive dries.
4. Blend the patch: Use a stiff brush or comb to blend the edges of the patch with the surrounding carpet fibers. This will help create a seamless appearance and disguise the repair. Gently brush or comb the carpet fibers in the same direction to ensure a uniform look.
5. Trim excess carpet: If the patch extends beyond the frayed area, carefully trim any excess carpet using carpet shears or a utility knife. Take your time to achieve clean and precise cuts, being mindful not to cut into the surrounding carpet fibers.
6. Allow for drying time: Follow the manufacturer’s instructions for drying time if you used carpet seam adhesive. Avoid stepping or placing heavy objects on the repaired area until the adhesive has fully dried to prevent any shifting or loosening of the patch.
Repairing a bigger fray may require more time and effort, but it can effectively restore the damaged section of your carpet. By following these steps, you can achieve a professional-looking repair that seamlessly blends with the rest of the carpet.
Preventing Further Fraying
Now that you’ve successfully repaired your frayed carpet, it’s crucial to take preventive measures to avoid future fraying. By implementing these simple steps, you can extend the lifespan of your carpet and maintain its appearance:
1. Regular cleaning and maintenance: Vacuum your carpet regularly to remove dirt, debris, and loose fibers. This will prevent them from becoming trapped in the carpet and causing fraying. Additionally, consider professional carpet cleaning to remove deep-seated dirt and stains that can weaken the carpet fibers.
2. Use area rugs or carpet runners: High-traffic areas, such as hallways and entryways, are more prone to fraying. Protect these areas by placing area rugs or carpet runners to distribute the weight and reduce wear on the carpet.
3. Avoid sharp objects and heavy furniture: Be cautious when moving furniture or placing heavy objects on the carpet. Sharp edges or excessive weight can cause the carpet fibers to snag or become crushed, leading to fraying over time.
4. Trim pet nails: If you have pets, ensure their nails are properly trimmed. Long nails can catch on the carpet fibers and cause them to pull or unravel. Regular grooming and nail maintenance for your pets can help prevent carpet fraying.
5. Promptly address stains and spills: Attend to spills and stains immediately to prevent them from seeping into the carpet fibers. Blot the area with a clean cloth or towel, avoiding rubbing, as this can cause damage to the carpet fibers. If needed, use a mild cleaning solution to treat the stain and blot it dry.
6. Reinforce vulnerable areas: For sections of your carpet that are prone to fraying, such as around doorways or in high-traffic areas, consider using rug tape or carpet seam adhesive as a preventive measure. Apply the tape or adhesive to the edges of the carpet to reinforce and secure the fibers.
By adopting these preventive measures, you can minimize the risk of future fraying and keep your carpet looking pristine for years to come.
Conclusion
Fixing a frayed carpet doesn’t have to be a daunting task. With the right tools, materials, and techniques, you can easily repair minor frays and even tackle larger damaged areas. By following the steps outlined in this article, you’ll be able to restore the appearance and functionality of your carpet at a fraction of the cost of replacing it entirely.
Remember to assess the damage, trim loose fibers, and reattach them using methods such as hot glue, needle and thread, or rug tape and carpet seam adhesive. For bigger frayed areas, creating a patch and blending it with the surrounding carpet fibers can result in a seamless repair. And to prevent further fraying, incorporate regular cleaning and maintenance practices, use area rugs in high-traffic areas, and reinforce vulnerable sections of your carpet.
While fixing a frayed carpet requires a bit of time, patience, and attention to detail, the end result is well worth it. Not only will you improve the aesthetics and lifespan of your carpet, but you’ll also create a safer and more comfortable environment for yourself and your family.
So, don’t let a frayed carpet diminish the beauty of your home. Take action today and restore your carpet to its former glory!
Frequently Asked Questions about How To Fix A Frayed Carpet
Was this page helpful?
At Storables.com, we guarantee accurate and reliable information. Our content, validated by Expert Board Contributors, is crafted following stringent Editorial Policies. We're committed to providing you with well-researched, expert-backed insights for all your informational needs.