Home>Ideas and Tips>Smart Garage Door Sensor Setup to Ensure Your Garage is Secure
Ideas and Tips
Smart Garage Door Sensor Setup to Ensure Your Garage is Secure
Modified: October 20, 2024
Learn how to set up smart garage door sensors for enhanced security and convenience. Follow our step-by-step guide to keep your garage secure.
(Many of the links in this article redirect to a specific reviewed product. Your purchase of these products through affiliate links helps to generate commission for Storables.com, at no extra cost. Learn more)
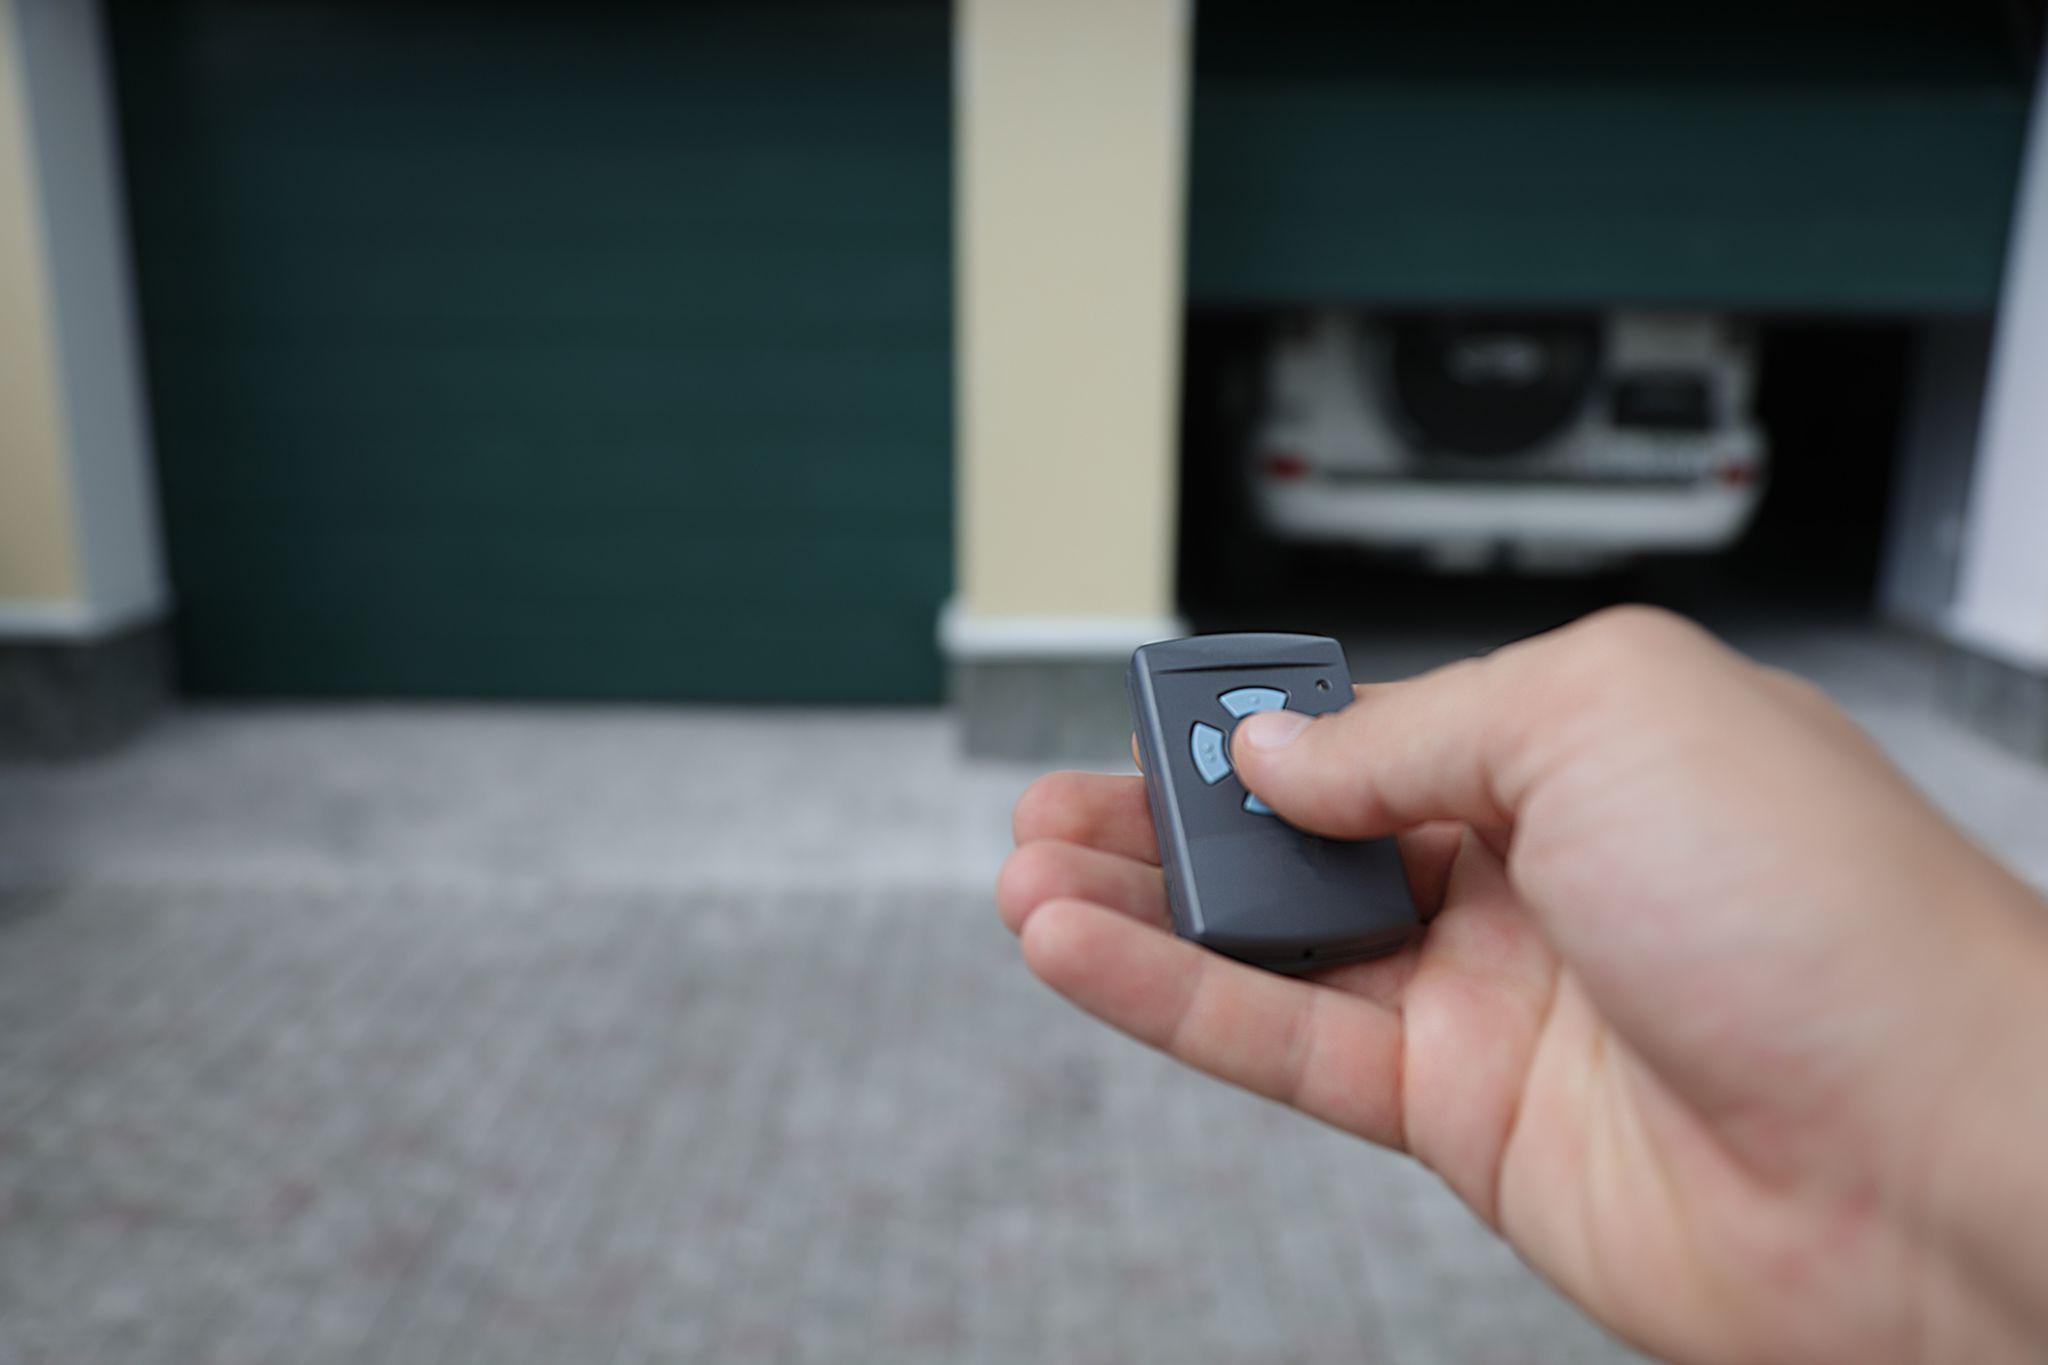
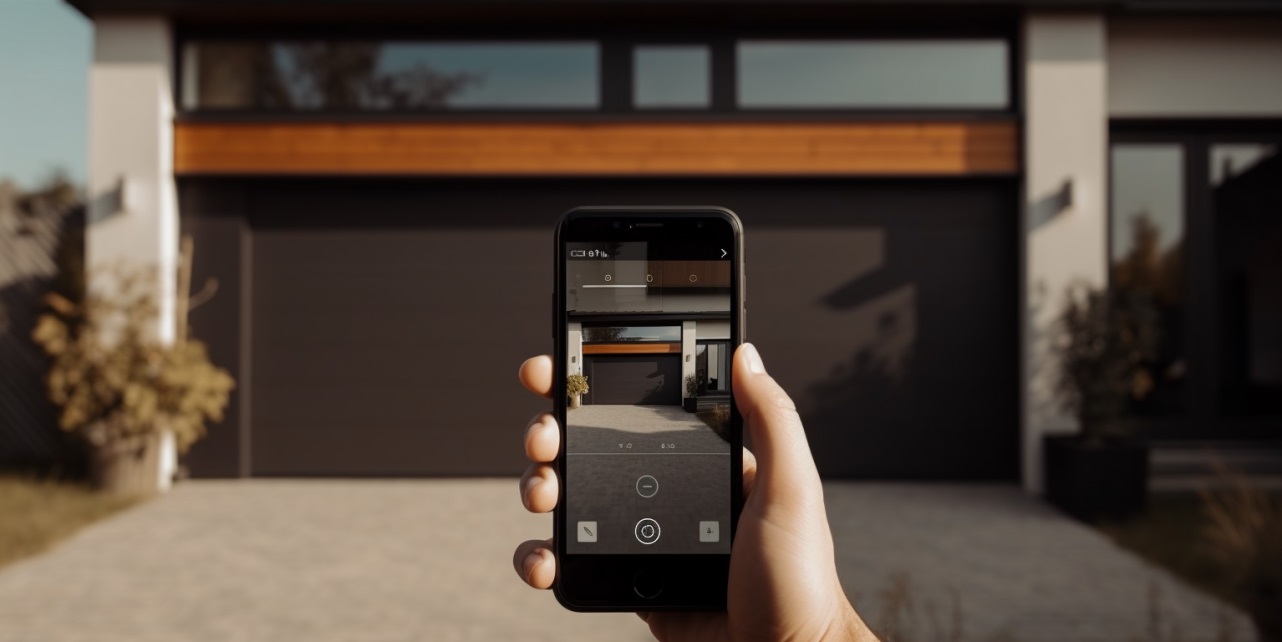
In today's world of smart home technology, ensuring the security and convenience of your garage is more important than ever. Smart garage door sensors offer a range of benefits, from remote monitoring to automatic alerts, making it easier to keep your garage and home secure. In this article, we will guide you through the setup process of various smart garage door sensors, highlighting the steps and considerations for each.
Introduction to Smart Garage Door Sensors
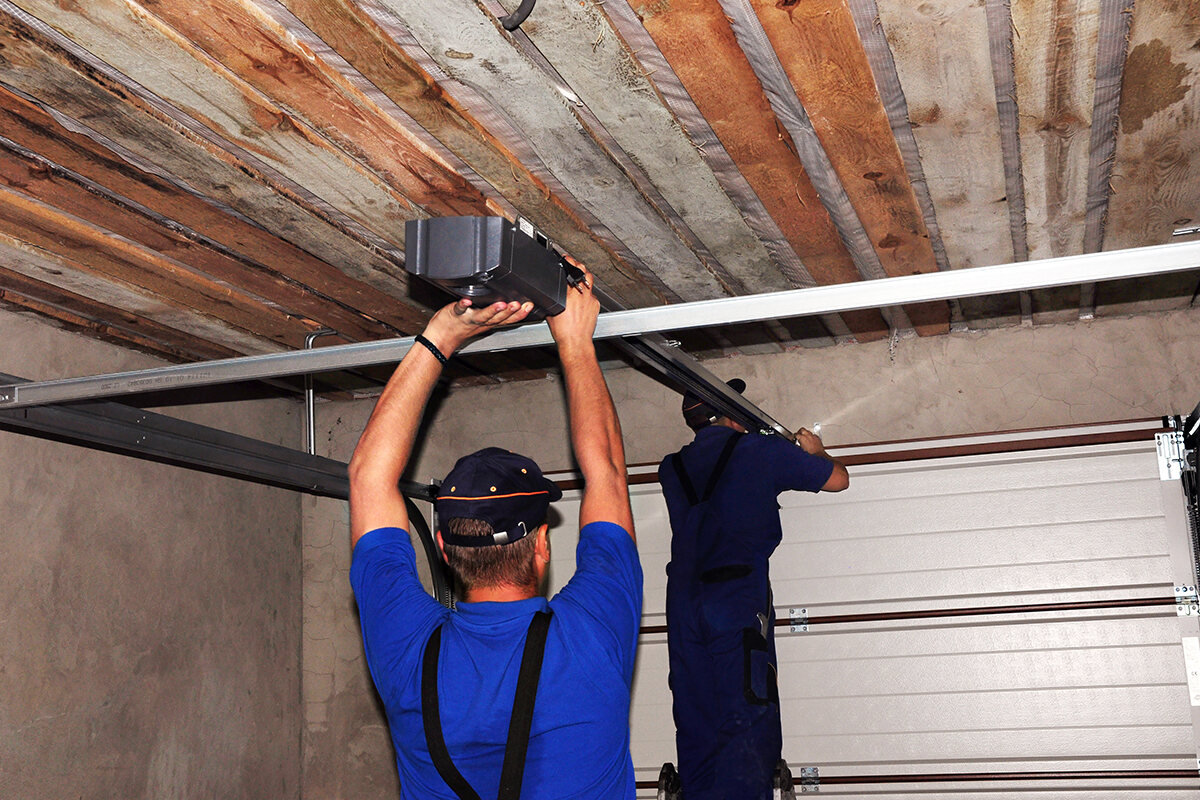
Smart garage door sensors are designed to integrate with your existing garage door opener, transforming it into a high-tech system that can be controlled and monitored remotely. These sensors typically include a hub or controller that connects to your home network via Wi-Fi, allowing you to check the status of your garage door from anywhere using a mobile app. Some models also come with additional features like automatic alerts, voice control integration, and even the ability to open or close the door remotely.
Benefits of Smart Garage Door Sensors
- Remote Monitoring: With a smart garage door sensor, you can check whether your garage door is open or closed from anywhere using your smartphone.
- Automatic Alerts: Receive notifications if you forget to close the garage door or if it has been left open for an extended period.
- Voice Control Integration: Many smart garage door sensors integrate with popular voice assistants like Google Assistant and Amazon Alexa, allowing you to control your garage door with voice commands.
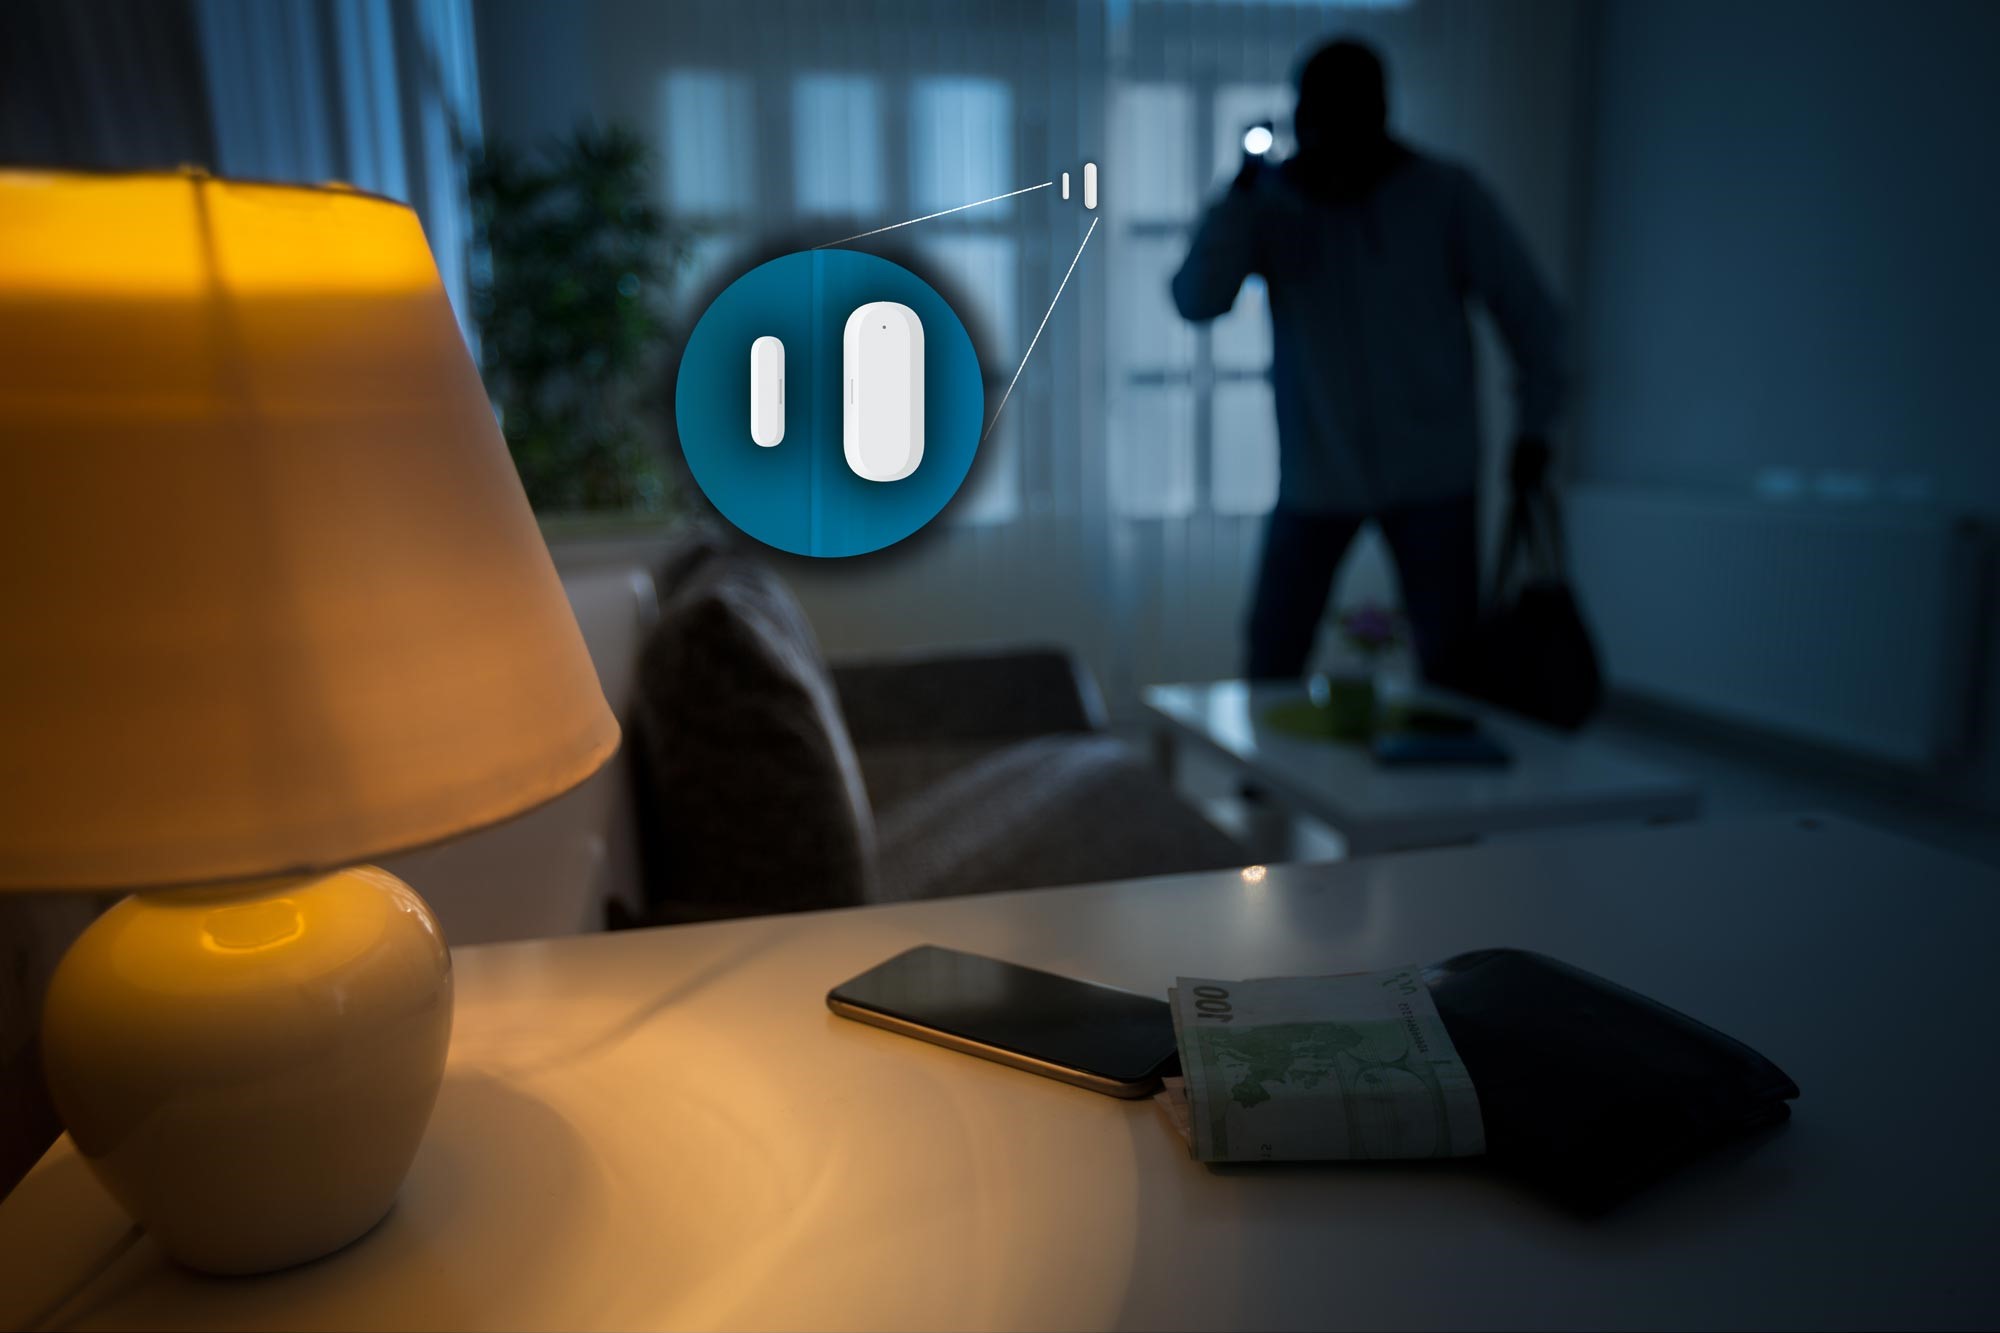
- Enhanced Security: Smart sensors can alert you if someone is trying to enter your garage without authorization.
- Convenience: Open or close your garage door without physically being there, making it ideal for busy homeowners.
Step-by-Step Setup Guide for Popular Smart Garage Door Sensors
1. Chamberlain Smart Garage Control
The Chamberlain Smart Garage Control is a popular choice among homeowners due to its ease of installation and robust features.
Materials Needed:
- Chamberlain Smart Garage Control
- Door Sensor
- Wi-Fi Hub
- Ladder
- Tools for mounting
- Wi-Fi network password
Steps:
-
Unbox and Prepare the Hub:
- Grab the smart garage control and head to the garage. Ensure your garage door is closed.
- Plug in the hub, and you will see a blinking blue light.
-
Pair the Hub with Your Wi-Fi Network:
- Open the MyQ app and tap on the Hub to continue.
- If you receive a Bluetooth pairing request, tap “Pair.”
- All users need to choose your home network and enter the correct password for your Wi-Fi network.
- The LEDs on the Hub will begin to flash when the LED turns solid green, indicating that you are connected.
-
Pair the Door Sensor:
- Pull out the plastic tab for the battery when prompted.
- Press the button on the door sensor and watch for the red light.
- Press the button again, and a bright light will flash in the middle of the Hub, accompanied by a beep from the app, indicating that pairing was successful.
-
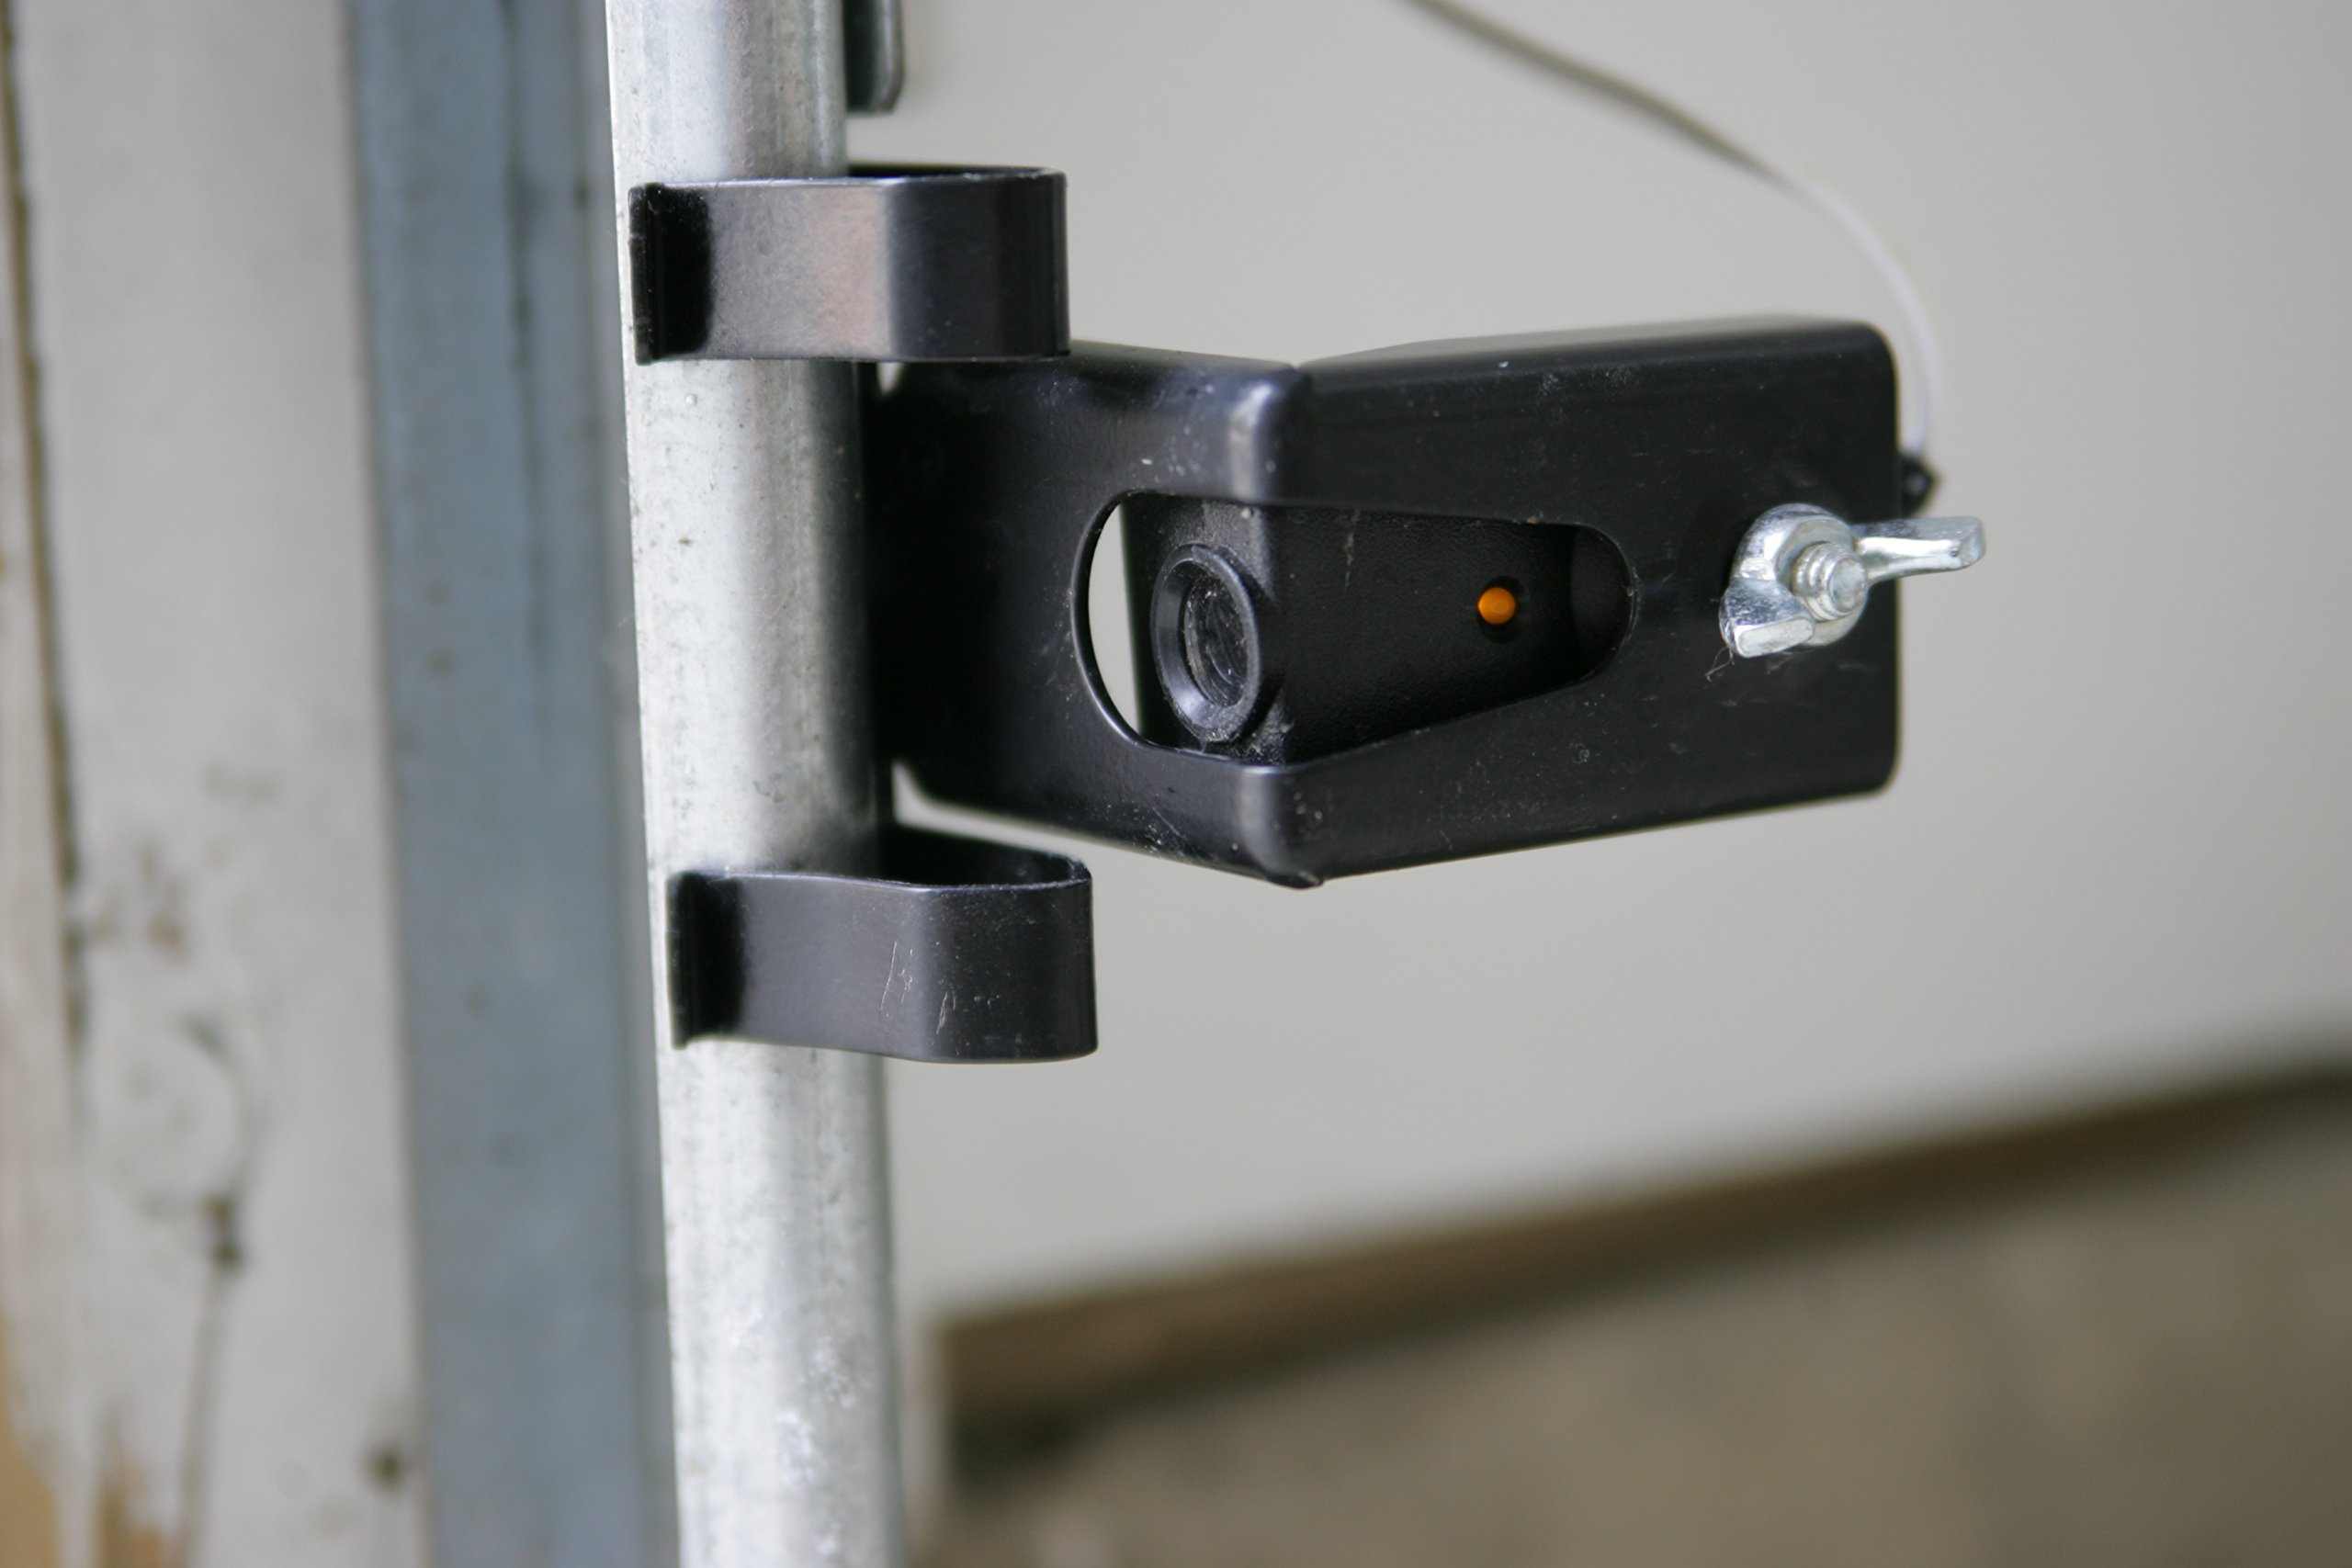
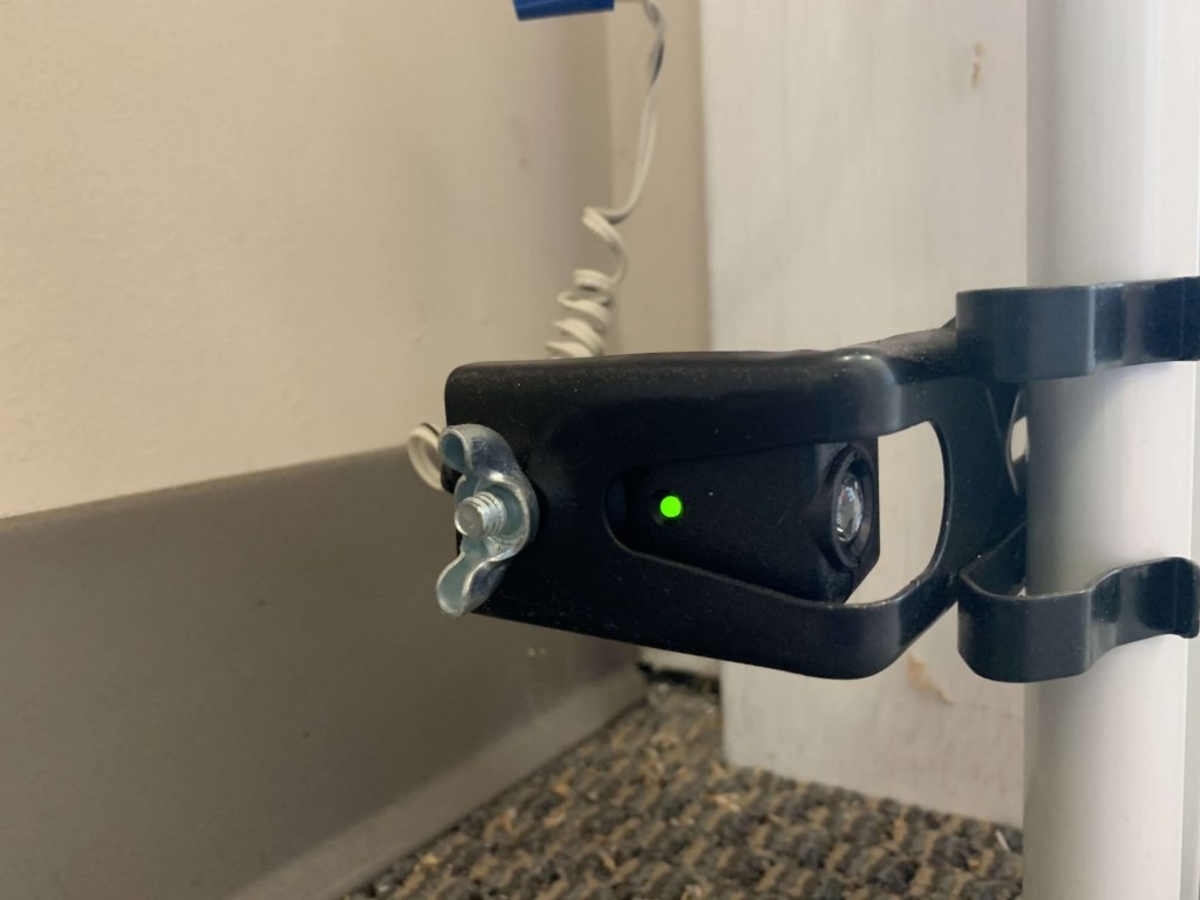
Mount the Door Sensor:
- Choose a side of the top panel of your garage door where you want to mount the door sensor.
- Wipe the mounting surface with a clean cloth and ensure it is nice and dry.
- Use the adhesive strips included with the door sensor to attach them to the back of the sensor.
- Peel off the remaining film and press firmly against the garage door for 30 seconds to secure it.
-
Complete Registration:
- You will receive an email to complete your registration. Follow the instructions in the email, then log into your account on the app.
2. YoLink Smart Garage Door Sensor & Controller
The YoLink Smart Garage Door Sensor & Controller offers long-range connectivity and excellent battery life, making it a reliable choice for many homeowners.
Materials Needed:
- YoLink Smart Garage Door Sensor & Controller
- Wi-Fi network password
- Ladder
- Tools for mounting
Steps:
-
Download and Install the App:
- Download the YoLink app from the App Store or Google Play Store.
-
Setup Your Device:
- Open the app and select “Setup Your Device.”
- Follow prompts within the app to verify your WiFi network and enter your network password.
-
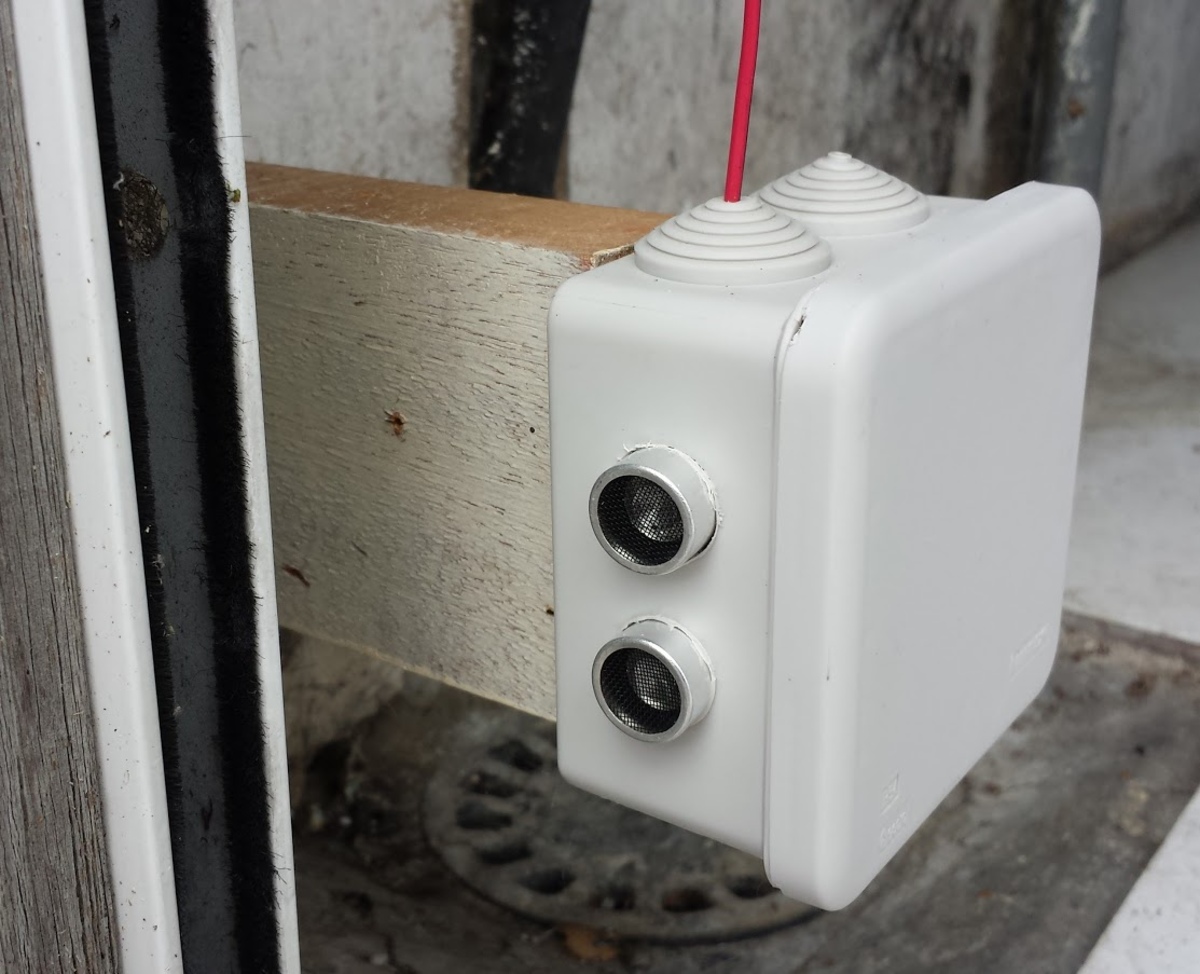
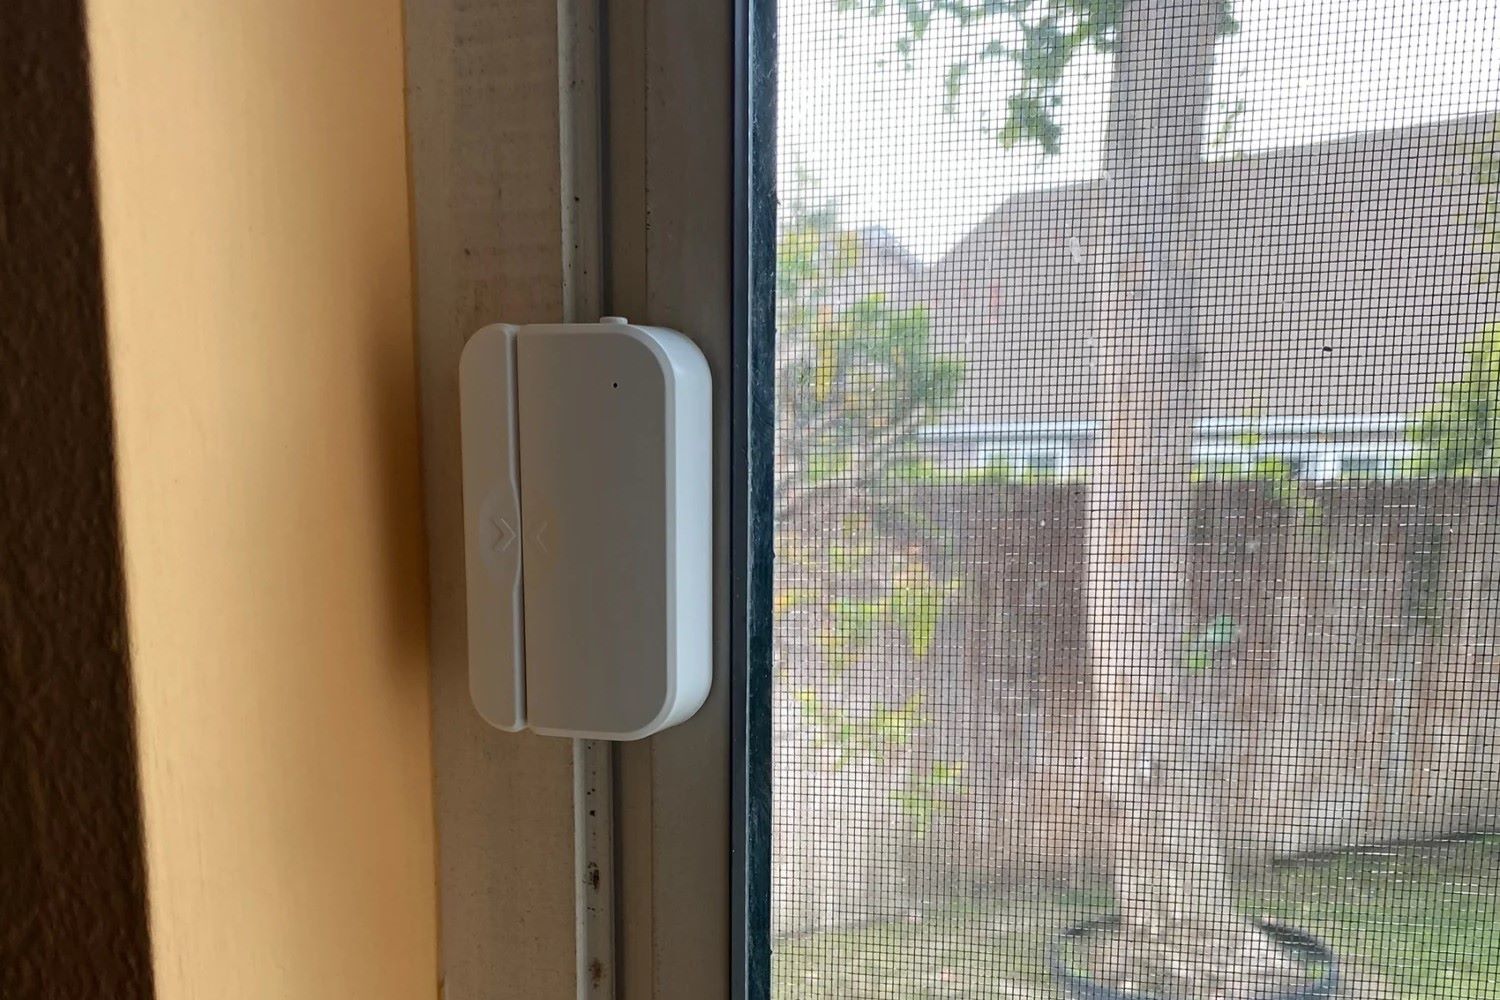
Mount the Sensor:
- Clean and wipe dry an area at the top of your garage door’s interior panel.
- Remove the battery tab from the back of the wireless door sensor and mount it using adhesive Velcro strips.
-
Connect to WiFi:
- Unplug your opener and locate the controller.
- Plug in the power adapter into the DC IN port on the controller and a nearby power source.
- The controller’s WiFi status light will blink orange to indicate it’s ready for setup.
-
Program the Controller:
- Follow prompts within the app to program your controller.
- Press your phone screen tightly against the bottom setup port until successful (indicated by a beep and green WiFi status light).
-
Test Your Setup:
- Scan the wireless door sensor code found on its back using prompts within the app.
- Enter a name to identify your door.
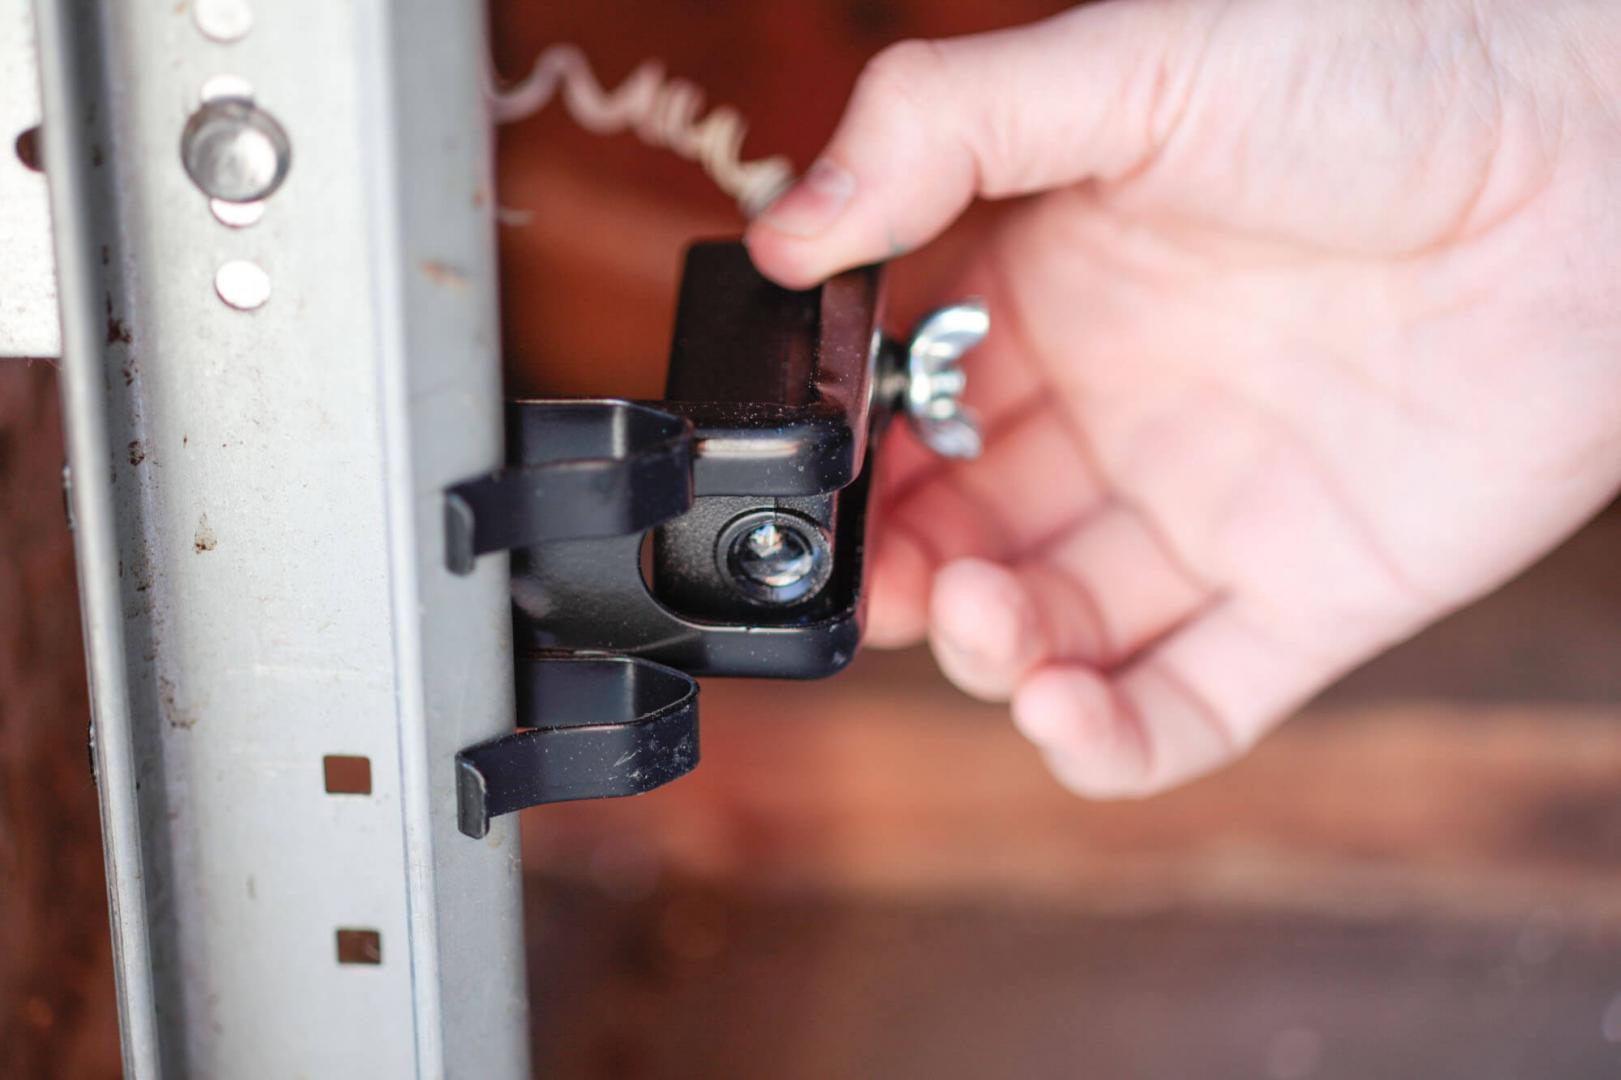
3. Performax Smart Garage Door Controller
The Performax Smart Garage Door Controller offers a straightforward installation process with minimal tools required.
Materials Needed:
- Performax Smart Garage Door Controller
- Wireless door sensor
- Opener cable
- Screwdriver
- Stepladder
Steps:
-
Download & Setup App:
- Download* “beam Home” app from either iOS or Android store.
- Open* “beam Home” app & select “Setup Your beam.”
-
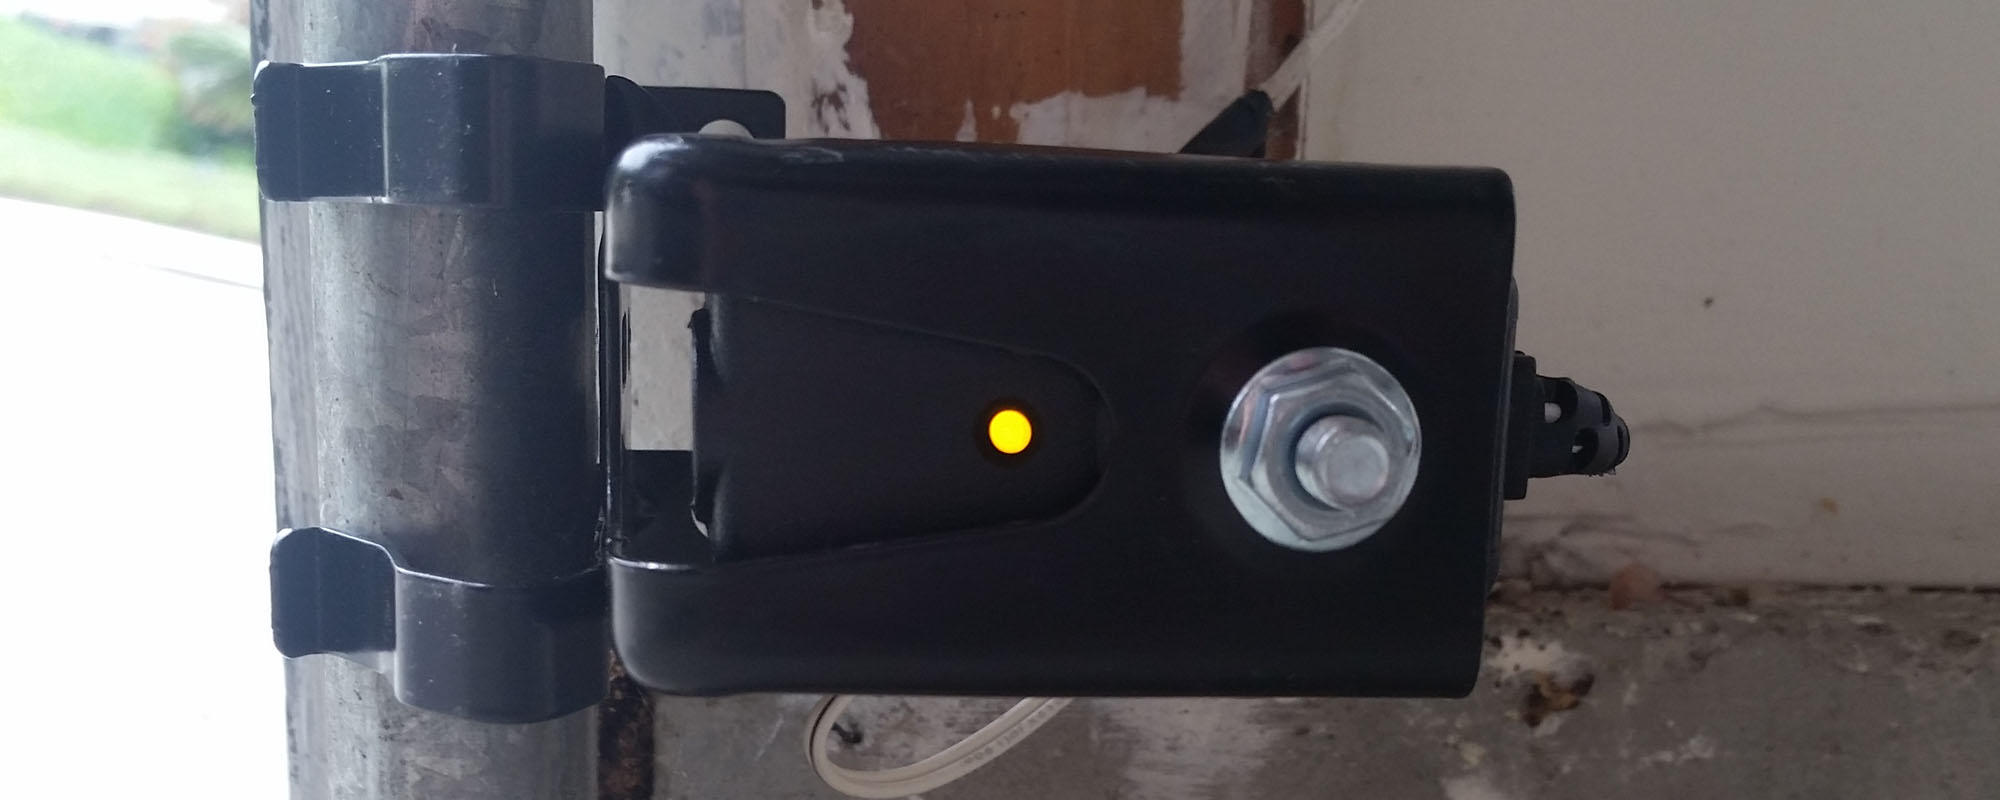
Power Up Controller:
- Locate controller & power adapter; plug adapter into DC IN port on controller & nearby power source.
- Controller’s WiFi status light will blink orange indicating readiness for setup.
-
Program Controller:
- Follow prompts within app; press phone screen tightly against bottom setup port until successful (indicated by beep & green WiFi status light).
-
Mount Wireless Door Sensor:
- Clean & wipe dry area at top of interior panel; remove battery tab from back of wireless door sensor & mount using adhesive Velcro strip.
-
Connect Opener Cable:
- Unplug opener; locate opener cable; plug black connector into opener port on top side of controller.
- Using small screwdriver connect other end of opener cable to garage door opener push button terminals if necessary splicing existing wires together if present.
-
Finalize Setup:
- Ensure all connections are secure; test functionality by opening/closing garage door via app ensuring proper communication between sensor/controller/hub.
Additional Considerations
Compatibility Check
Before purchasing any smart garage door sensor, it is crucial to check compatibility with your existing garage door opener model. Most manufacturers provide compatibility charts or guides that can help you determine if the sensor will work seamlessly with your system.
Power Requirements
Smart garage door sensors typically require either battery power or AC power through an adapter. Battery-powered sensors offer more flexibility but may need frequent replacements depending on usage and battery life. AC-powered sensors are generally more reliable but require a constant power source.
Mounting Options
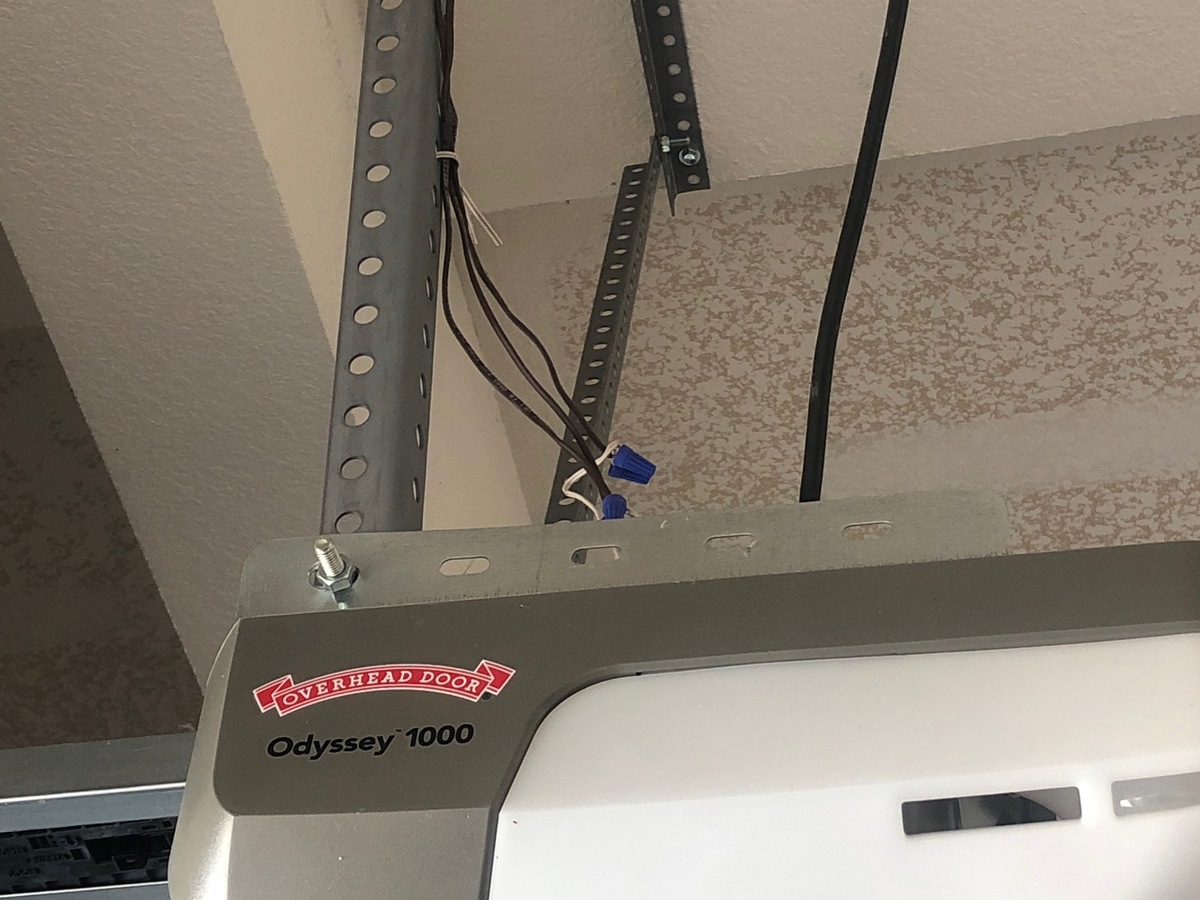
Mounting the sensor correctly is essential for accurate readings and reliable performance. Typically, sensors need to be placed at the top panel of the garage door's interior panel. Ensure that the mounting surface is clean and dry before attaching the adhesive strips provided with most sensors.
Troubleshooting Tips
- Low Battery Issues: If your sensor reports low battery trouble conditions, replace it immediately as prolonged battery depletion can cause malfunction.
- Communication Issues: If communication between the sensor and hub is disrupted, try relearning the sensor into the hub or checking for loose connections.
- Incorrect Installation: Ensure that all components are installed correctly according to manufacturer instructions; improper installation can lead to malfunctioning devices.
Conclusion
Smart garage door sensors offer unparalleled convenience and security for homeowners looking to upgrade their garage systems into high-tech solutions. By following these step-by-step guides for popular brands like Chamberlain, YoLink, and Performax, you can ensure that your garage remains secure while providing remote monitoring capabilities at your fingertips. Always check compatibility with your existing garage door opener model before making a purchase and follow manufacturer instructions carefully during installation to avoid any potential issues down the line.
With these advanced technologies integrated into your home security system, you can rest assured knowing that every aspect of your property is protected and easily manageable from anywhere in the world.
Was this page helpful?
At Storables.com, we guarantee accurate and reliable information. Our content, validated by Expert Board Contributors, is crafted following stringent Editorial Policies. We're committed to providing you with well-researched, expert-backed insights for all your informational needs.
0 thoughts on “Smart Garage Door Sensor Setup to Ensure Your Garage is Secure”