Articles
How Do You Reset Garage Door Sensors
Modified: January 6, 2024
Looking for articles on how to reset garage door sensors? Find step-by-step guides and troubleshooting tips to get your sensors working properly again.
(Many of the links in this article redirect to a specific reviewed product. Your purchase of these products through affiliate links helps to generate commission for Storables.com, at no extra cost. Learn more)
Introduction
Welcome to our comprehensive guide on how to reset garage door sensors. Garage door sensors play a crucial role in ensuring the safety and smooth operation of your garage door. These sensors are responsible for detecting any objects or obstructions in the path of the door, preventing it from closing and potentially causing damage or injury.
However, there may be instances where you need to reset your garage door sensors. This could be due to a variety of reasons, such as sensor misalignment, malfunctioning sensors, or issues with the wiring. In this article, we will walk you through the steps to reset your garage door sensors effectively.
Before we dive into the reset process, it’s important to understand how garage door sensors work and the common reasons why they might need resetting.
Key Takeaways:
- Regularly inspect and reset garage door sensors to ensure safety and smooth operation. Follow step-by-step instructions to align, troubleshoot, and maintain sensors for optimal functionality and peace of mind.
- When troubleshooting garage door sensor issues, check wiring, test range, and seek professional help if needed. Prioritize safety and follow manufacturer guidelines for effective sensor maintenance.
Read more: How Do Garage Door Sensors Work
Understanding Garage Door Sensors
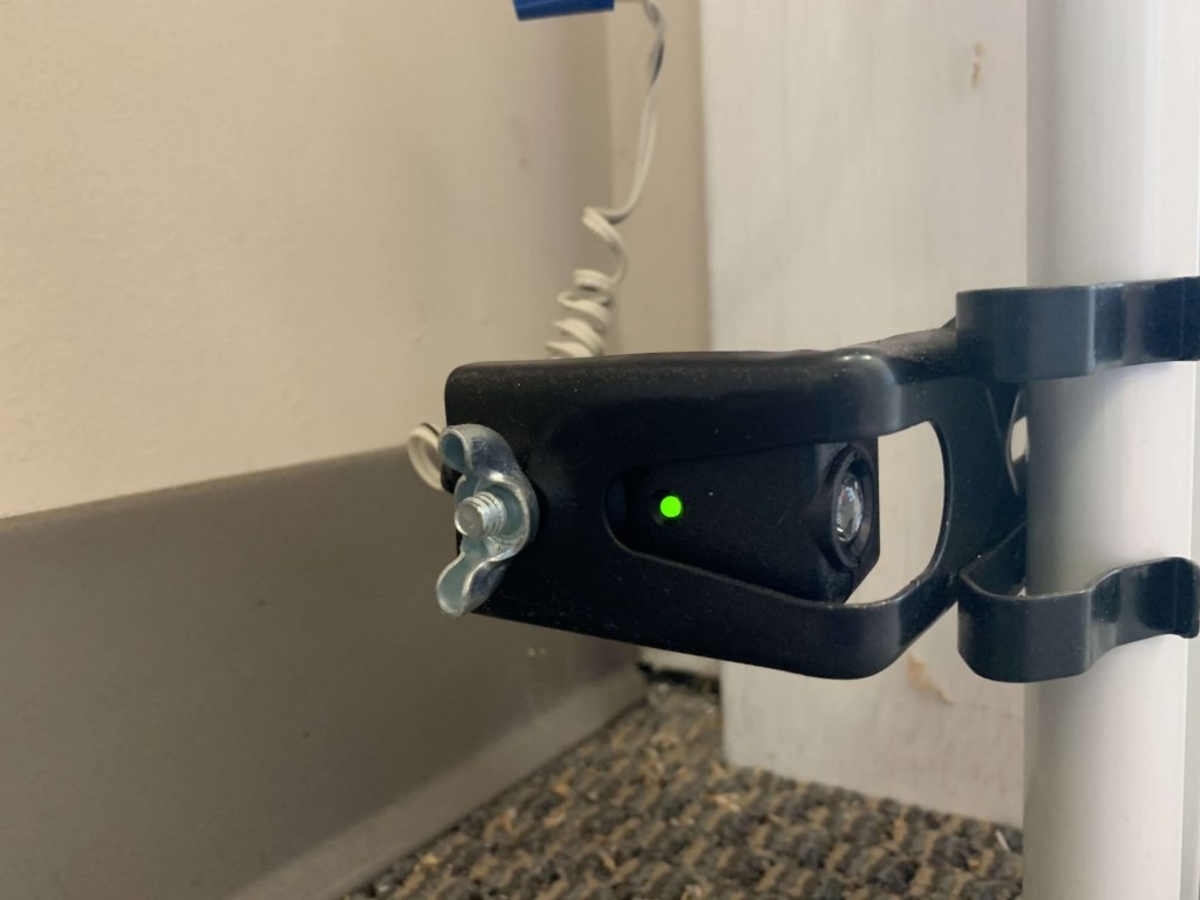
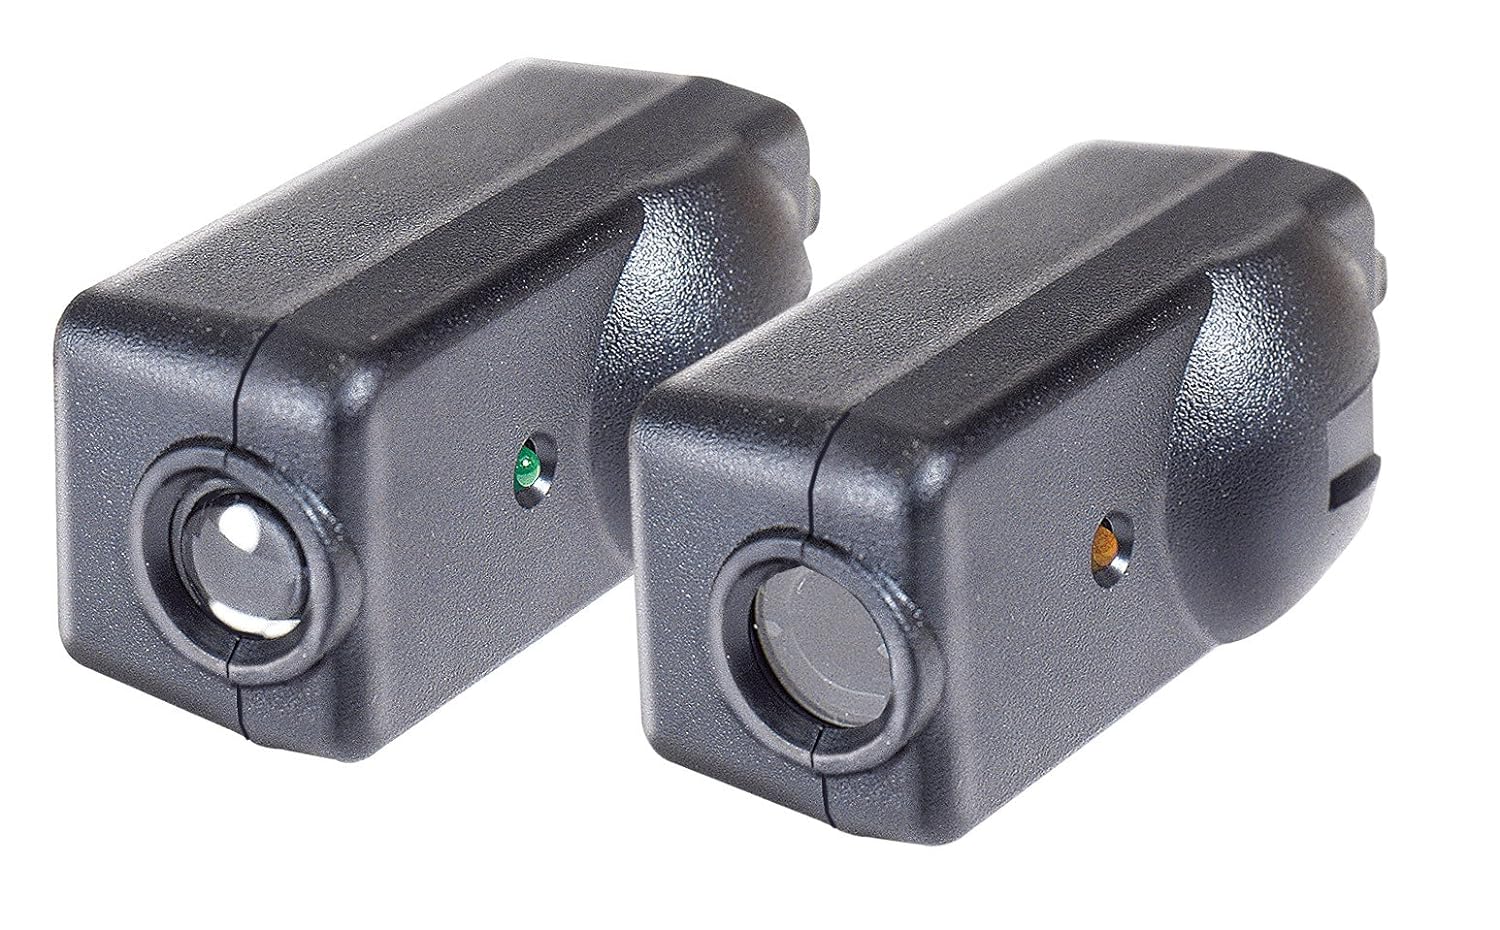
Garage door sensors, also known as photoelectric sensors or safety sensors, are a vital component of modern garage door systems. They are typically installed near the bottom of the door tracks, on both sides of the opening. These sensors consist of two parts: a sending unit and a receiving unit.
The sending unit emits an invisible beam of light, while the receiving unit detects the presence of that beam. When the garage door is closing, if an object or person interrupts the beam, the sensors signal the motor to stop, preventing the door from closing and potentially causing harm or damage.
Garage door sensors are designed to enhance safety by acting as a safeguard against accidents. These sensors are required by law and have become a standard feature in all modern garage door systems. It is important to regularly inspect and ensure the proper functioning of these sensors to maintain a safe and efficient garage door operation.
Now that we have a basic understanding of garage door sensors, let’s explore the common reasons why you may need to reset them.
Common Reasons for Resetting Garage Door Sensors
There are several reasons why you might need to reset your garage door sensors. Here are some of the most common ones:
- Sensor misalignment: Over time, the garage door sensors may become misaligned due to vibrations or accidental bumps. This misalignment can cause the sensors to lose their accuracy and prevent the garage door from closing properly. Resetting the sensors can help realign them and restore their functionality.
- Obstruction in the sensor path: If there is any obstruction blocking the path between the sending and receiving units of the sensors, it can hinder their proper operation. Common obstructions include dirt, dust, cobwebs, or even leaves. Resetting the sensors can help clear any obstructions and allow them to function unhindered.
- Wiring issues: Sometimes, the problem with the garage door sensors may lie in the wiring leading to or from the sensors. Loose connections, damaged wires, or faulty wiring can disrupt the communication between the sensors and the garage door opener. Resetting the sensors can help identify and resolve any wiring issues.
- Sensor malfunctions: In rare cases, the sensors themselves may malfunction due to age or wear and tear. Resetting the sensors can help troubleshoot potential malfunctions and reset them to their default settings, possibly resolving any issues.
Now that we understand the common reasons for resetting garage door sensors, let’s move on to the step-by-step process of resetting them effectively.
Make sure the sensors are aligned and free from any obstructions. Clean the sensors with a soft, dry cloth and check for any loose wiring or connections. If the problem persists, consult the manufacturer’s manual for specific reset instructions.
Steps to Reset Garage Door Sensors
Resetting your garage door sensors involves a systematic process to ensure proper alignment and functionality. Follow these steps to reset your garage door sensors:
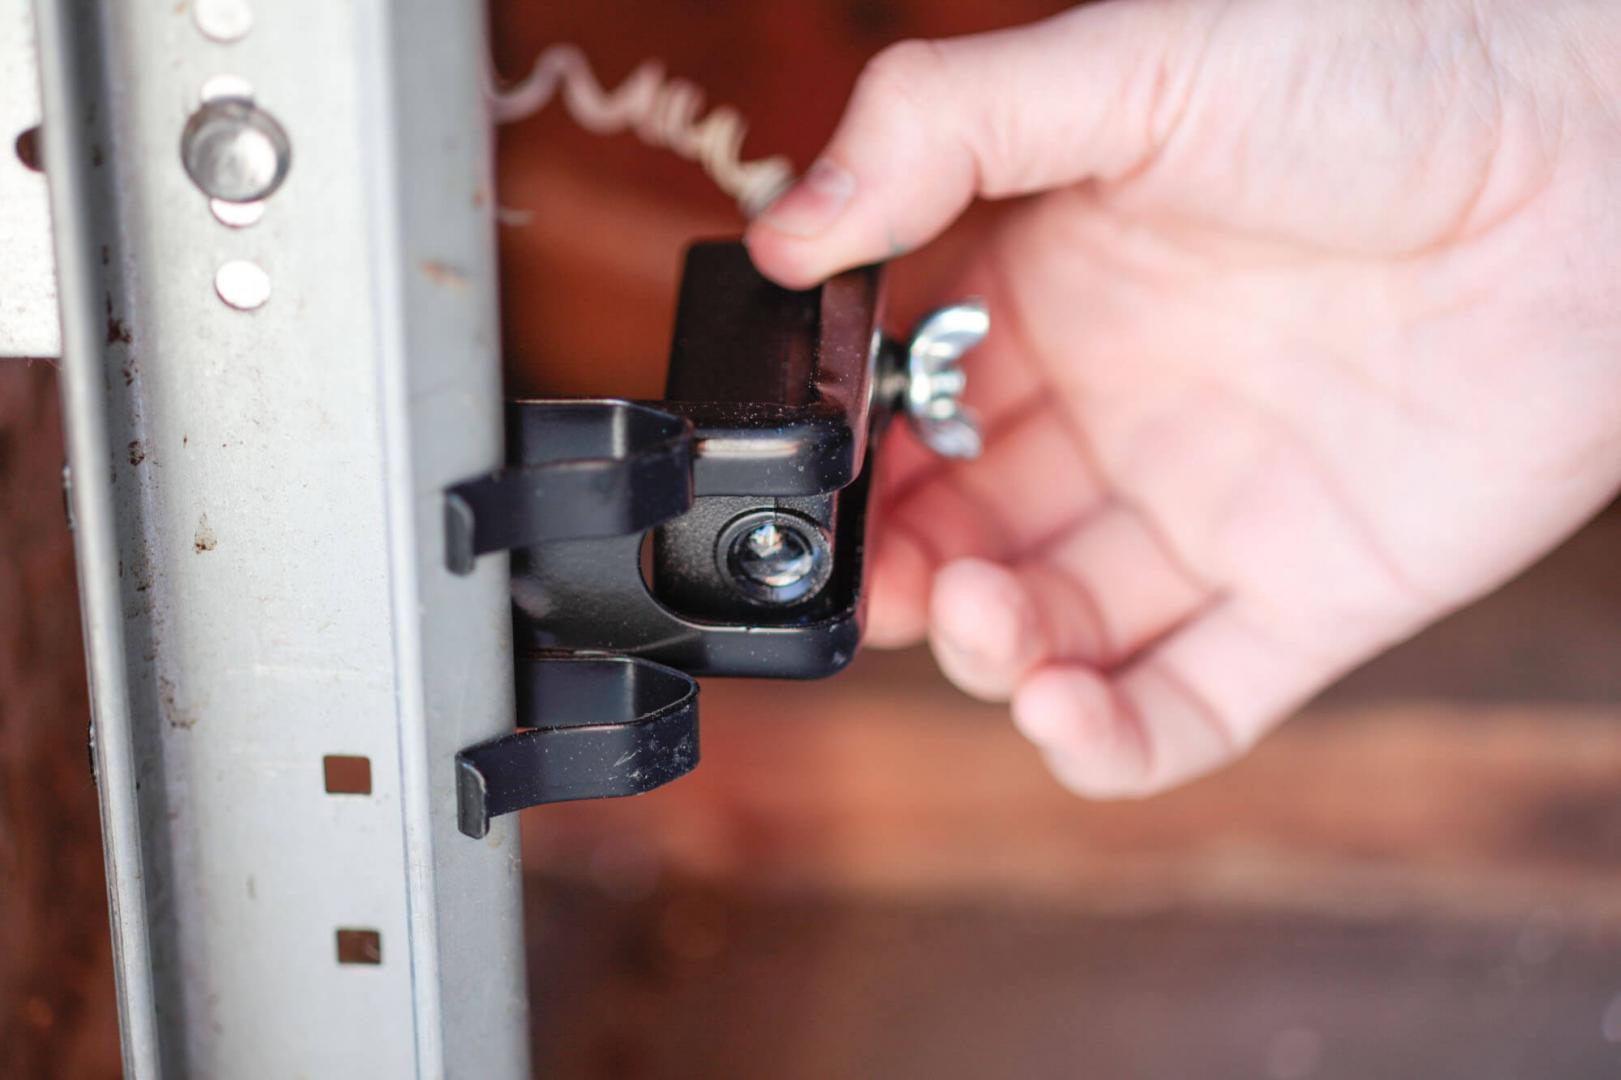
- Inspect the sensor area: Begin by visually inspecting the area around the sensors and make sure there are no obstructions or physical damage. Clear away any debris, dirt or objects that may be blocking the sensor’s path.
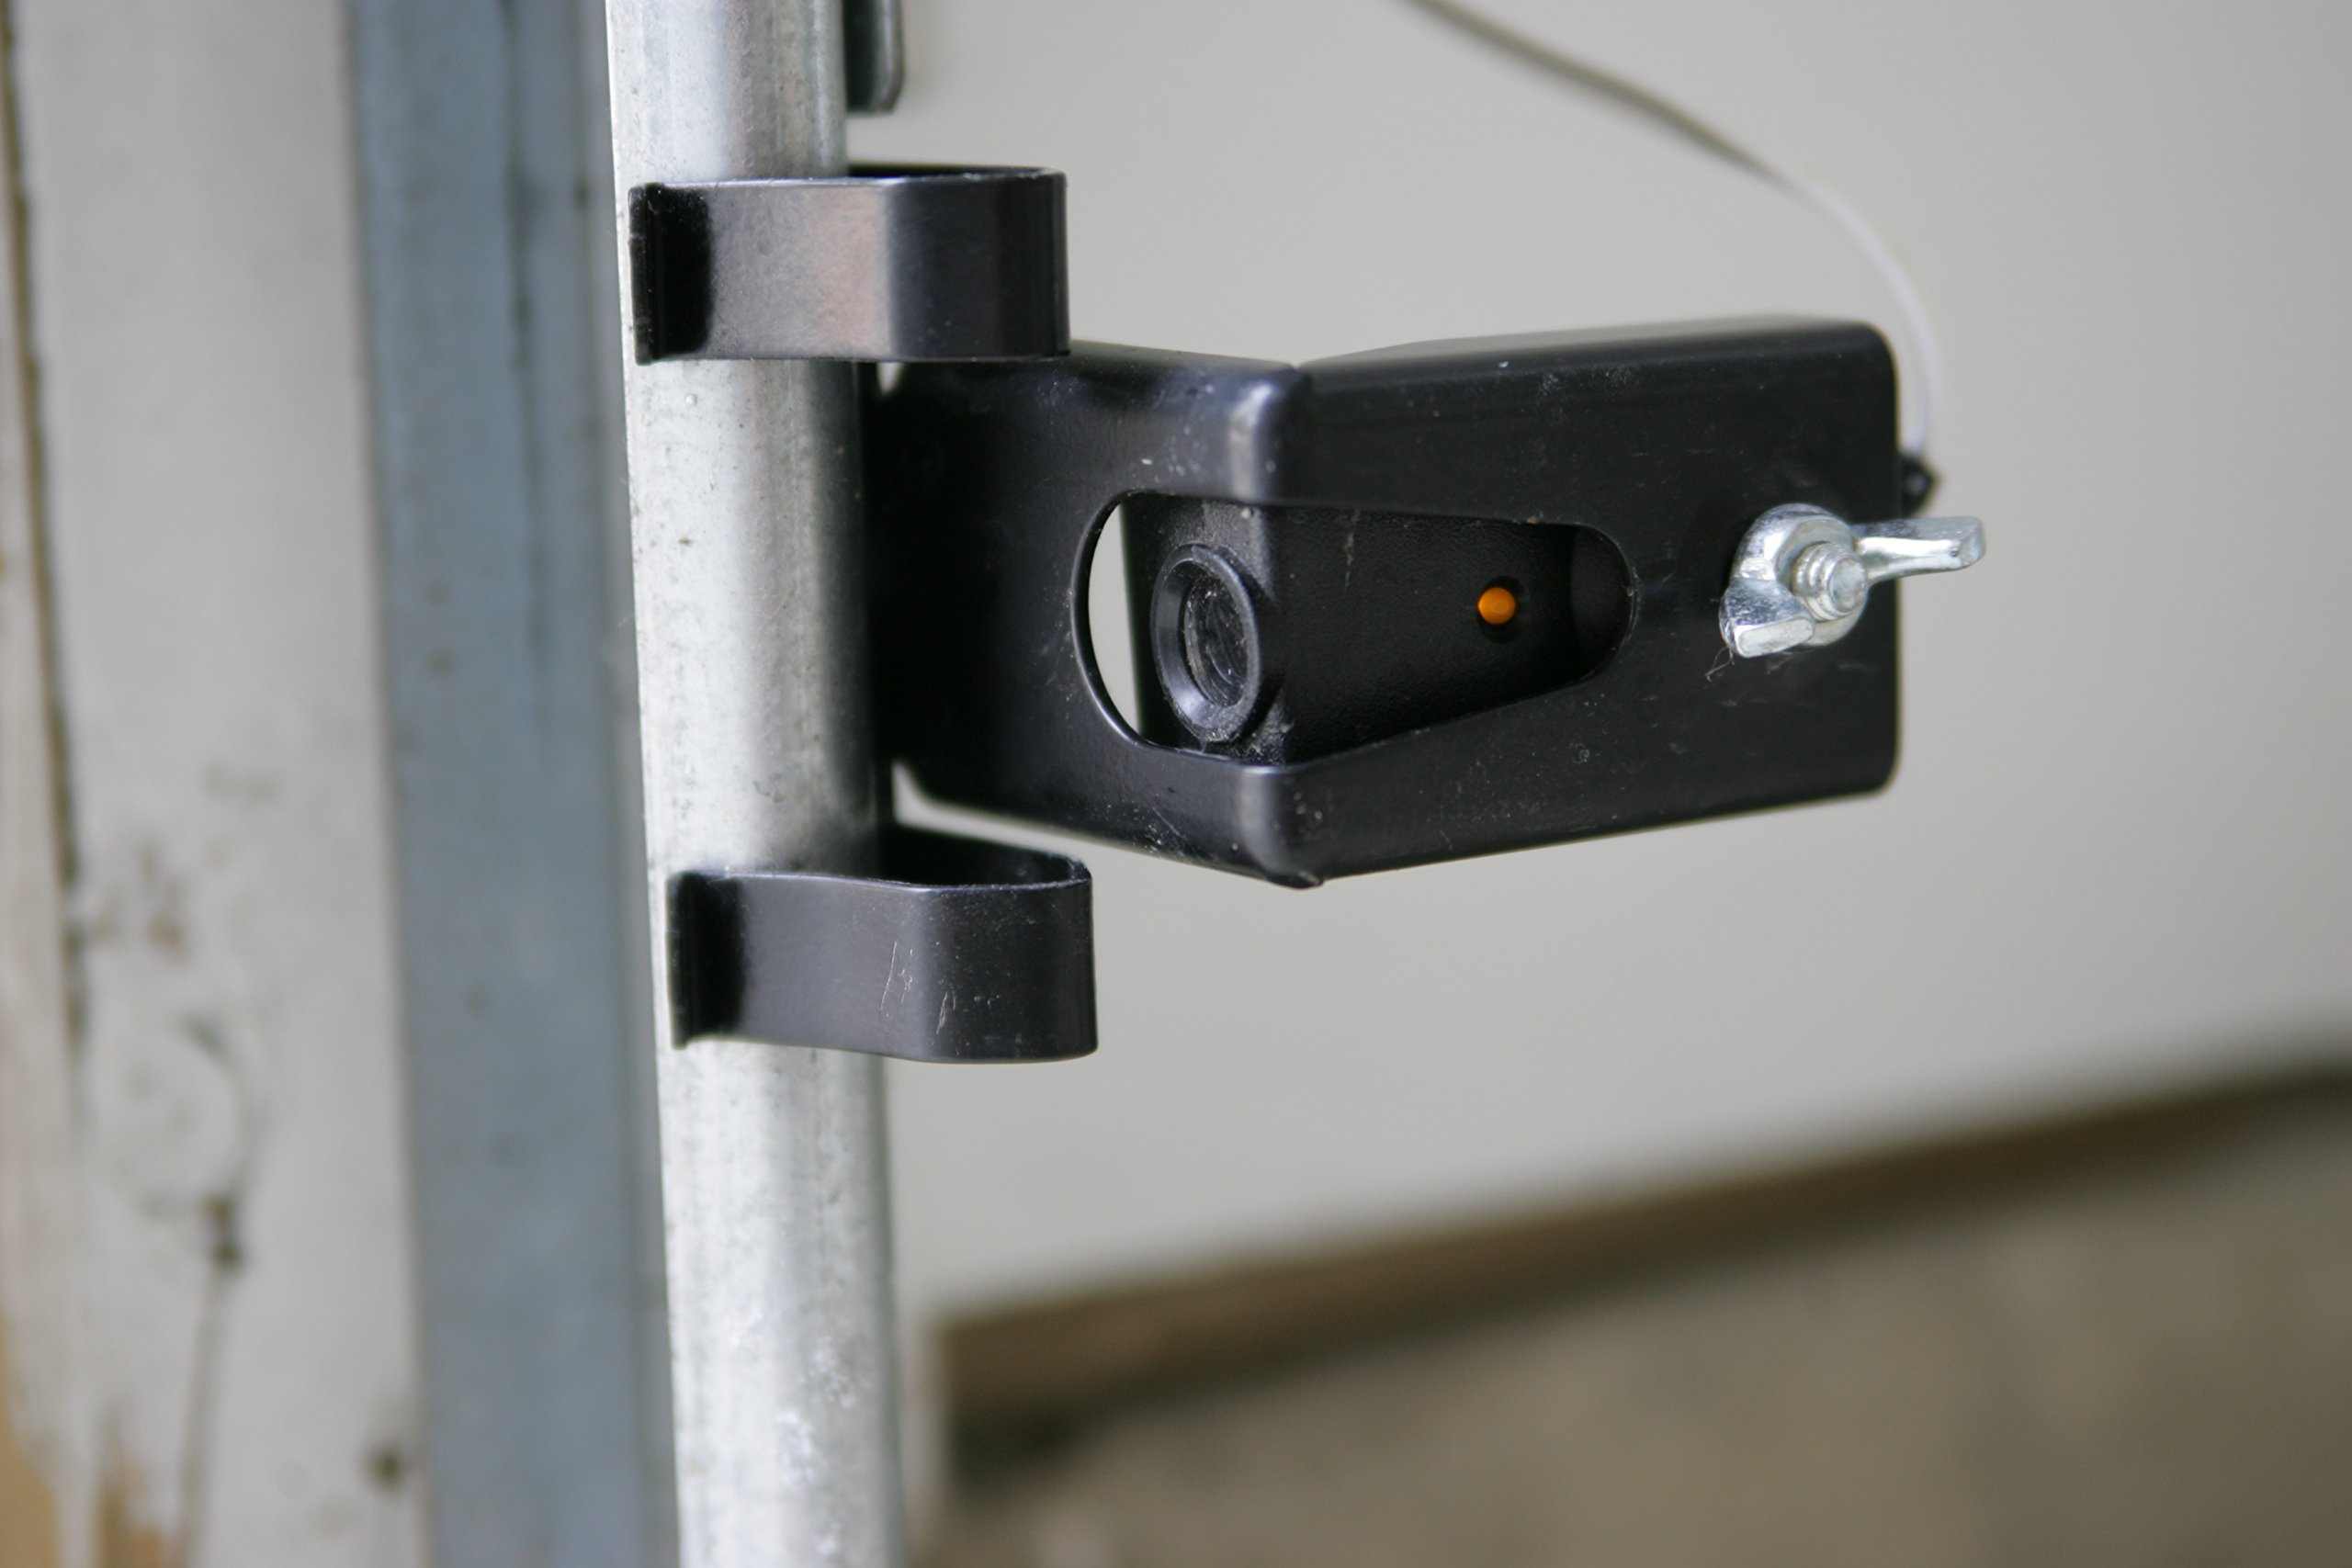
- Check the sensor alignment: Verify that both sensors are properly aligned. They should be facing each other and the lens of each sensor should be clean and free from any dirt or smudges. Use a soft, lint-free cloth to gently clean the lenses if needed.
- Verify power supply: Ensure that the sensors are receiving power. Check the wiring connections and make sure they are secure. If you notice any loose or frayed wires, tighten or replace them as necessary.
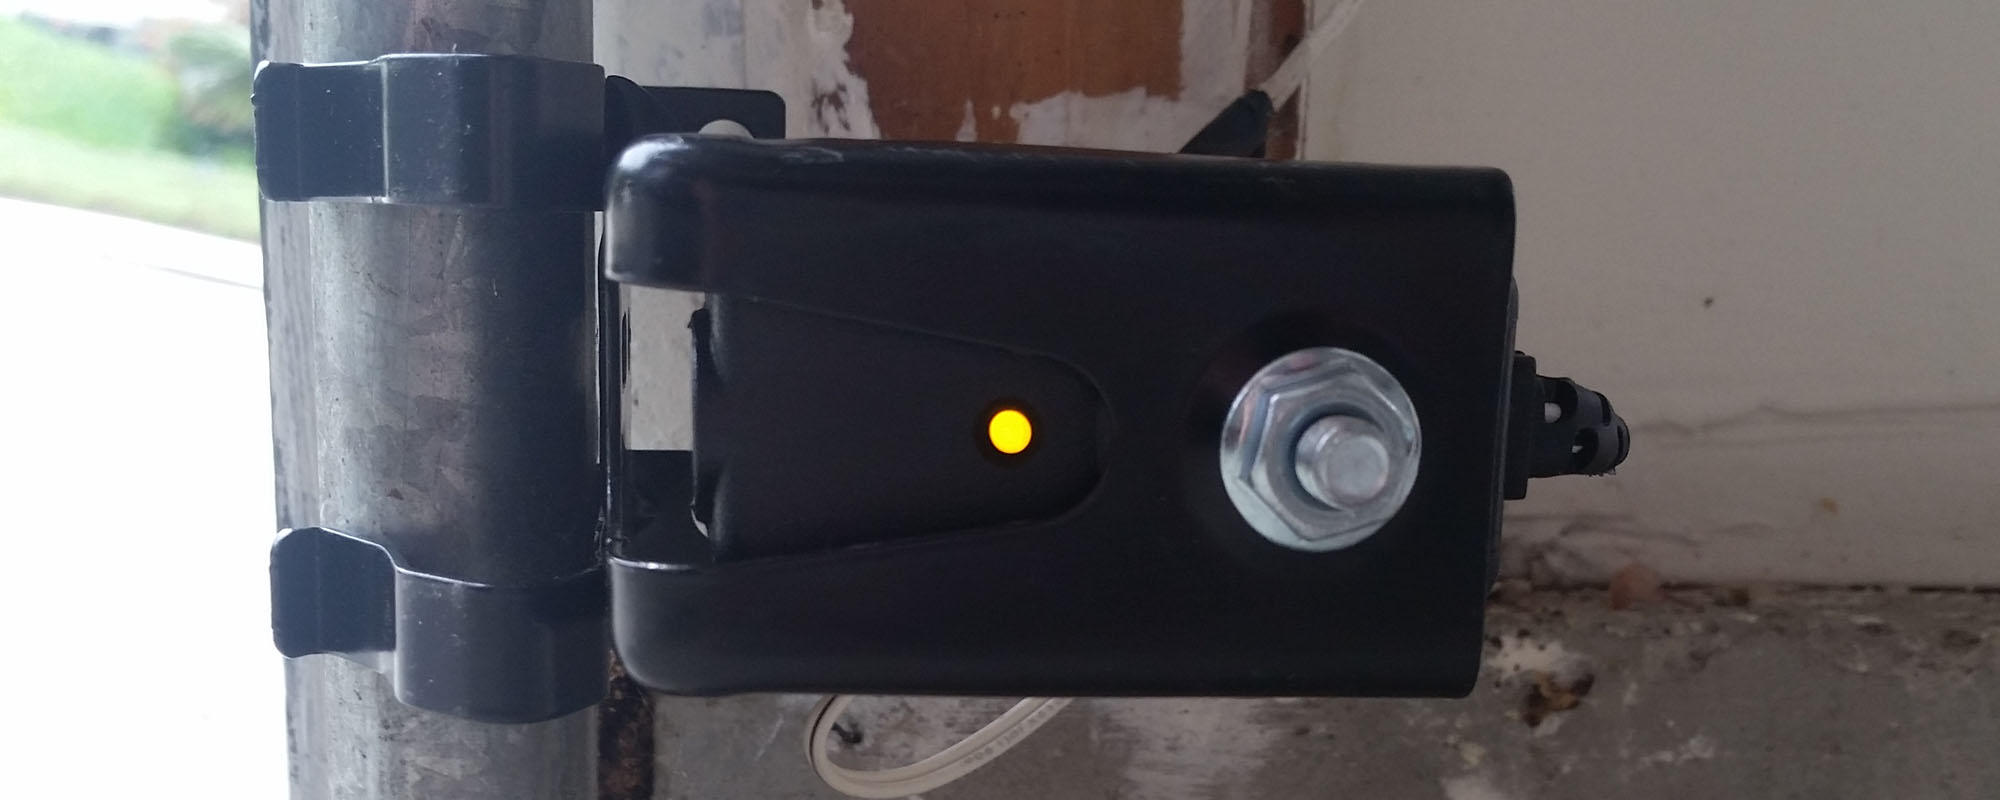
- Test the sensors: Activate the garage door opener and observe the LED lights on each sensor. The LED on the receiving sensor should be solid, indicating that it is receiving the signal from the sending sensor. If the LED lights are blinking or not lit at all, it may indicate an issue with the alignment or wiring.
- Adjust sensor alignment: If necessary, adjust the sensor alignment until the LED lights on both sensors are solid. This may involve slight repositioning or angling of the sensors. Use a level to ensure they are straight and parallel to each other.
- Secure the sensors: Once the sensors are properly aligned, tighten any mounting screws or brackets to secure them in place. This will prevent them from shifting or becoming misaligned in the future.
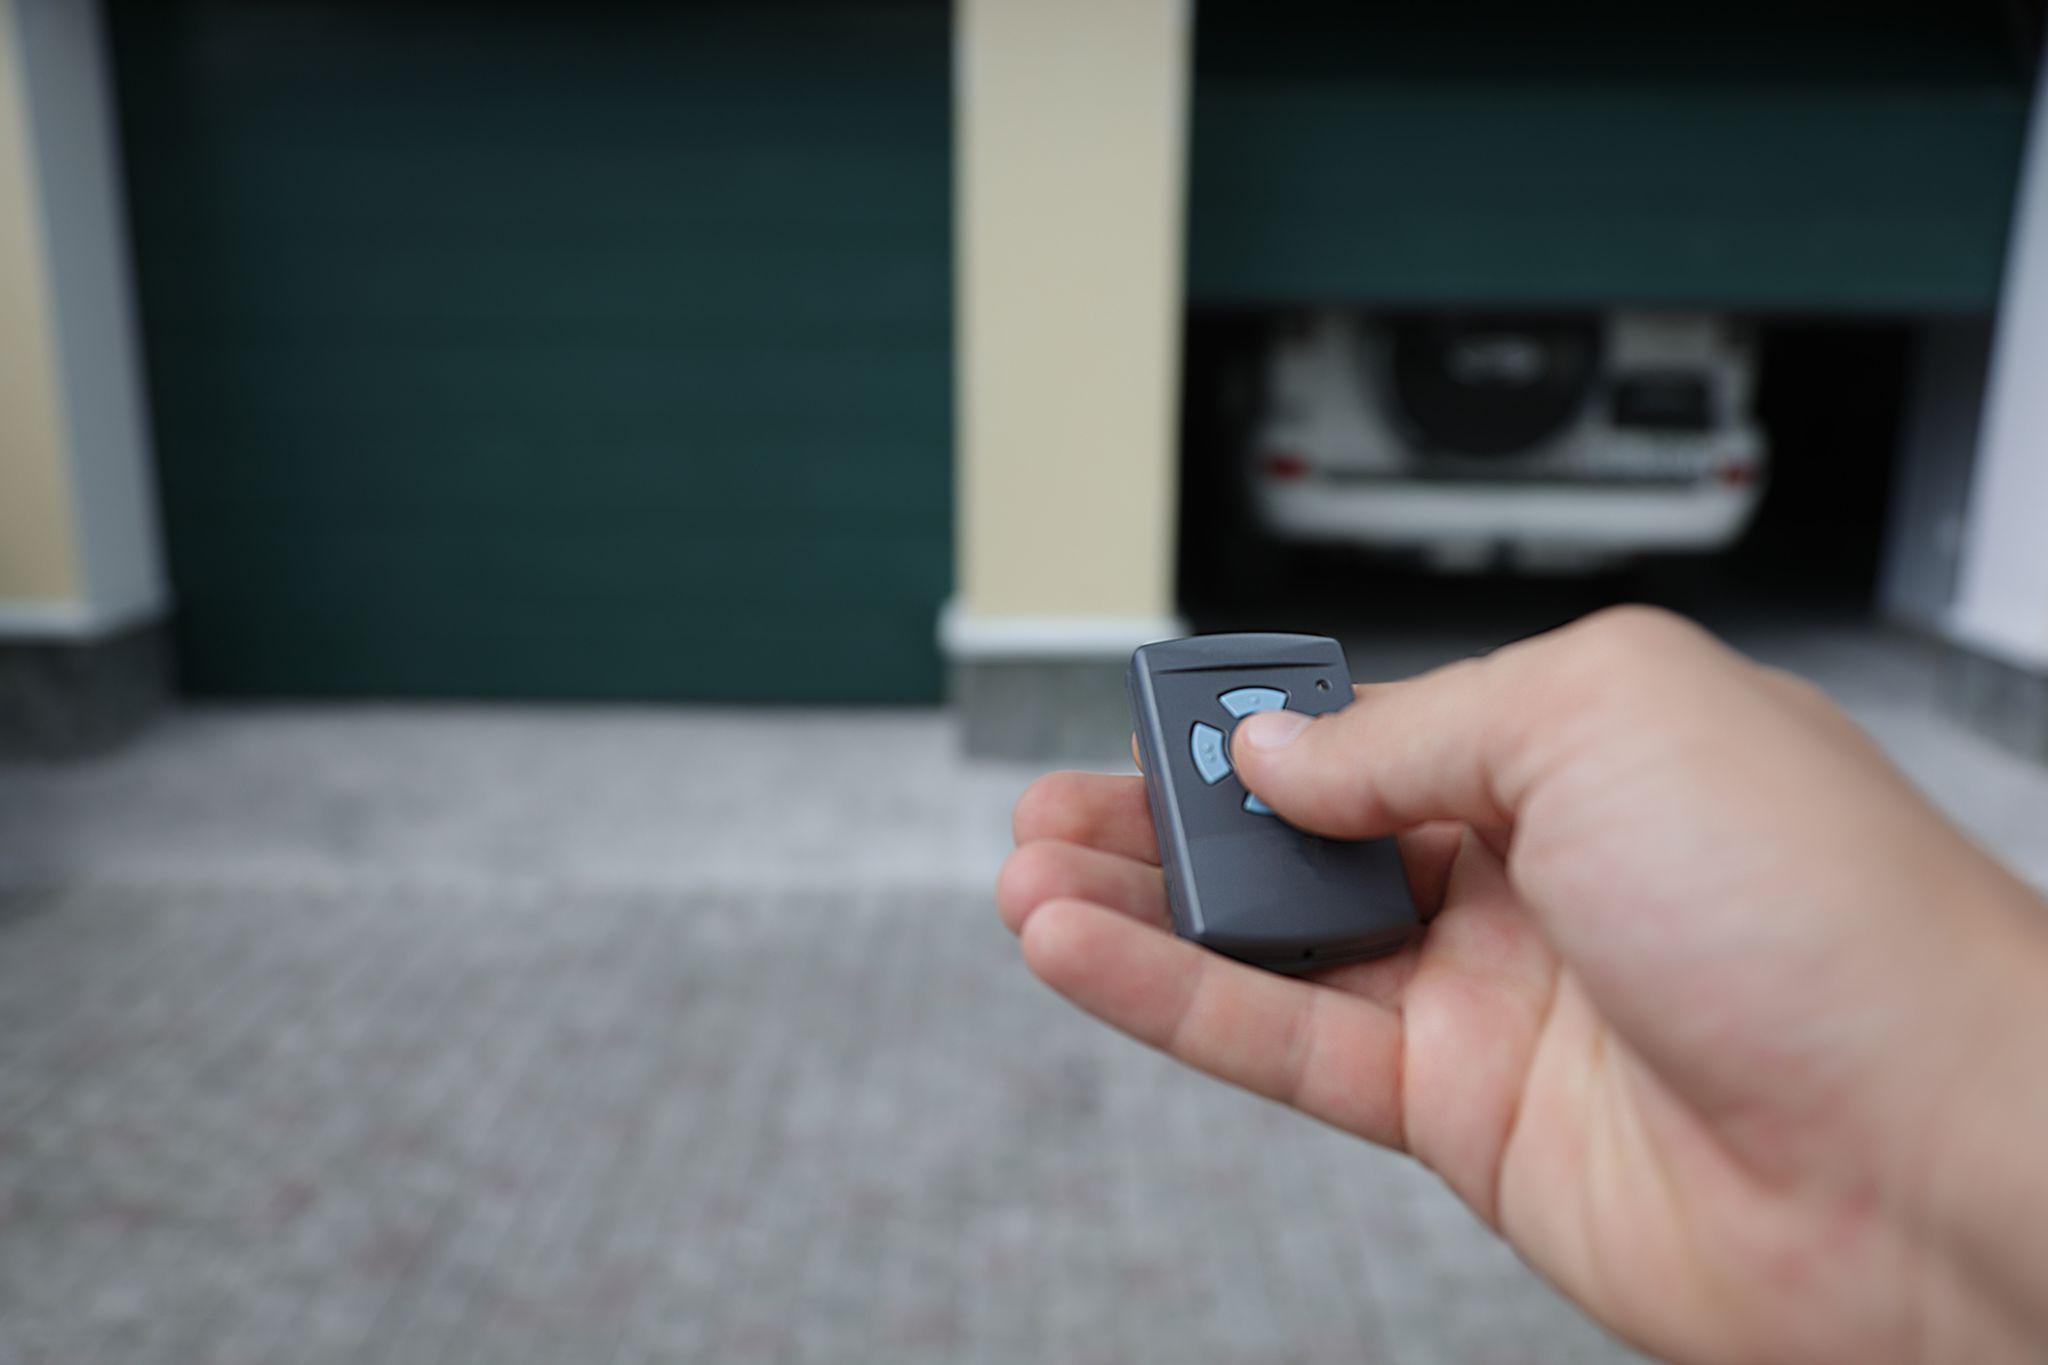
- Test the garage door operation: Finally, test the garage door operation by closing and opening the door. Observe if the sensors are functioning properly by intentionally blocking the sensor’s beam with an object. The garage door should automatically reverse its movement when the beam is interrupted.
By following these step-by-step instructions, you should be able to reset your garage door sensors and ensure their optimal performance.
Additional Troubleshooting Tips
While resetting your garage door sensors can often resolve common issues, there may be instances where further troubleshooting is required. Here are some additional tips to help you troubleshoot and fix potential problems:
- Check the sensor wiring: Inspect the wiring connecting the sensors to the garage door opener. Look for any loose or damaged wires and ensure they are securely connected. If you identify any faulty wiring, consider replacing the damaged wires or contacting a professional for assistance.
- Test the sensor range: Sometimes, the sensors may have a limited range, causing them to malfunction if an object is too close or too far away. Adjust the position of the sensors within their recommended range and test the garage door operation again.
- Replace faulty sensors: If despite resetting and troubleshooting, the sensors continue to malfunction or exhibit inconsistent behavior, it may be necessary to replace them with new ones. Consult your garage door manufacturer or a professional for guidance on compatible sensor replacements.
- Inspect the garage door track: Examine the garage door track for any debris or damage that may interfere with the smooth operation of the door. Clear away any obstructions and consider lubricating the track to reduce friction.
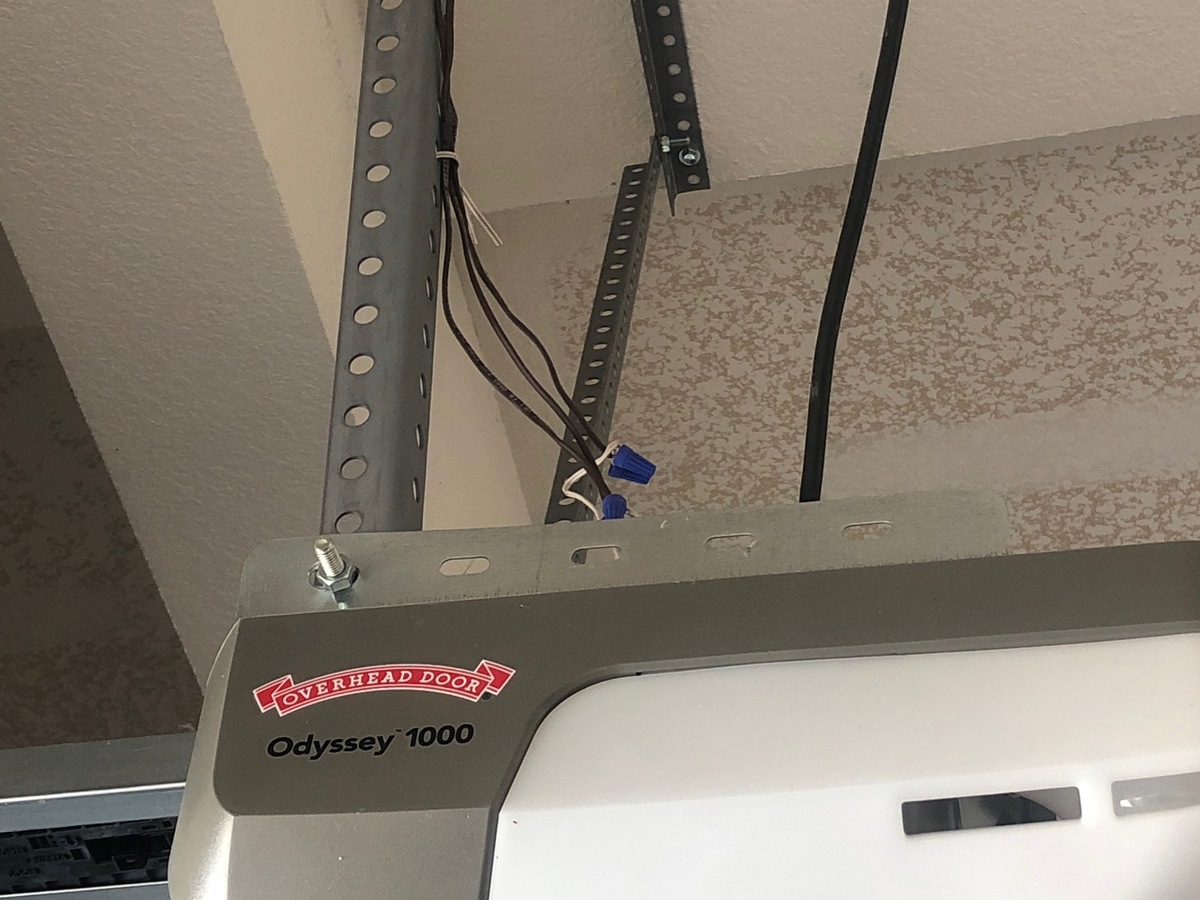
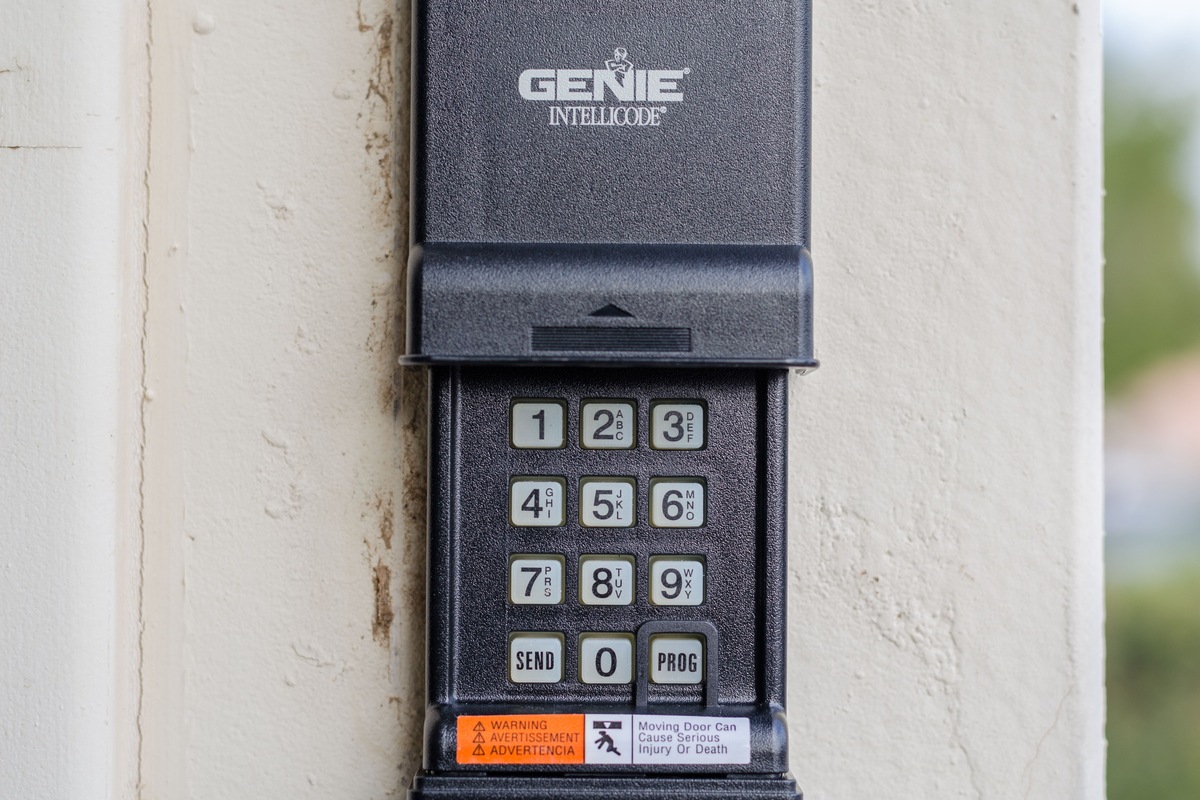
- Reset the garage door opener: If all else fails, try resetting the garage door opener itself. Consult the user manual or reach out to the manufacturer for instructions on how to perform a reset.
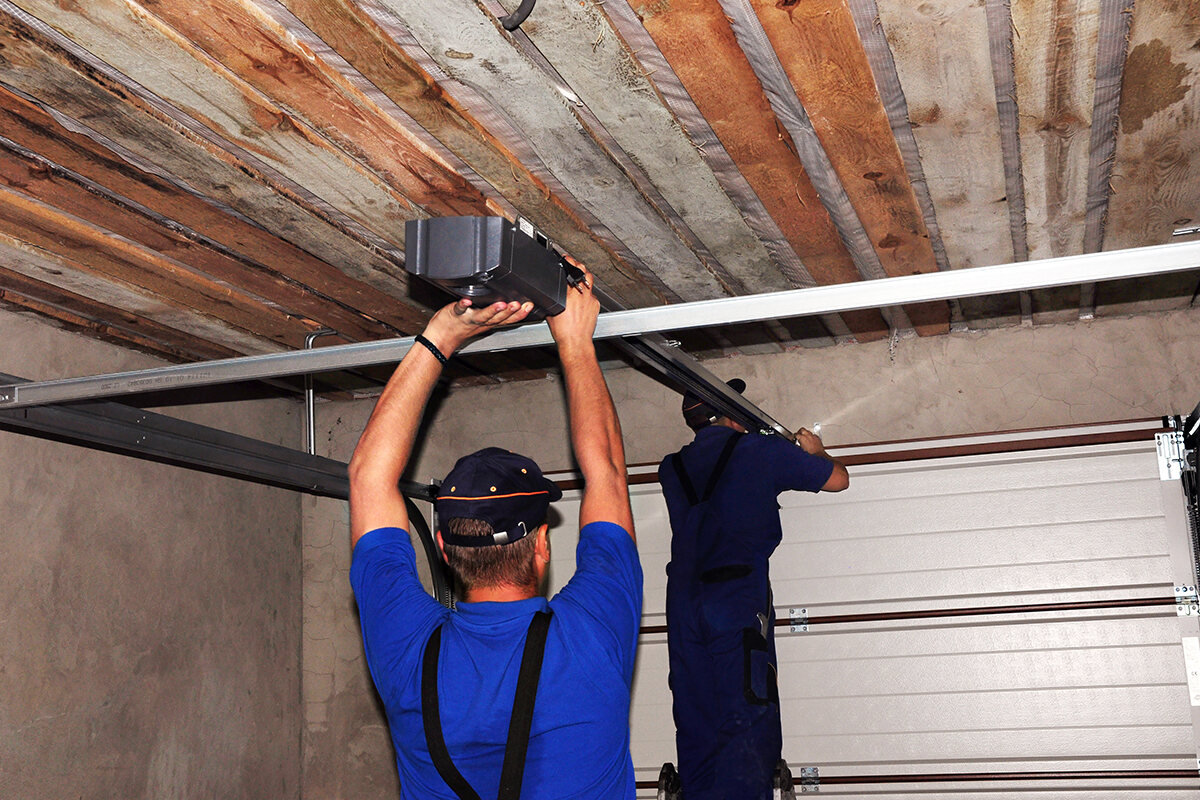
- Seek professional help: If you encounter persistent issues or lack experience in handling garage door repairs, it is advisable to contact a professional technician. They have the expertise and proper tools to diagnose and fix more complex garage door sensor problems safely.
Remember, your safety should always be a top priority when working on garage door sensors or any other components of your garage door system. If you are unsure or uncomfortable performing any repairs or adjustments, it’s best to seek professional assistance to ensure the job is done correctly.
Conclusion
Resetting your garage door sensors is a relatively simple process that can help resolve common issues and ensure the safety and smooth operation of your garage door. By effectively aligning the sensors, checking the wiring, and troubleshooting any potential problems, you can restore the functionality of your sensors and prevent accidents or damage.
Remember to regularly inspect and maintain your garage door sensors to ensure they are in optimal condition. Additionally, following the manufacturer’s guidelines and seeking professional help when needed can provide you with peace of mind and a properly functioning garage door system.
We hope this comprehensive guide has provided you with the knowledge and confidence to reset your garage door sensors successfully. By taking the necessary steps to reset and troubleshoot your sensors, you can enjoy the convenience and safety offered by your garage door for years to come.
Keep in mind that while this guide covers general information, every garage door system may have unique specifications or requirements. Always consult your garage door’s user manual or reach out to the manufacturer if you encounter any specific issues or need additional assistance.
Frequently Asked Questions about How Do You Reset Garage Door Sensors
Was this page helpful?
At Storables.com, we guarantee accurate and reliable information. Our content, validated by Expert Board Contributors, is crafted following stringent Editorial Policies. We're committed to providing you with well-researched, expert-backed insights for all your informational needs.


0 thoughts on “How Do You Reset Garage Door Sensors”